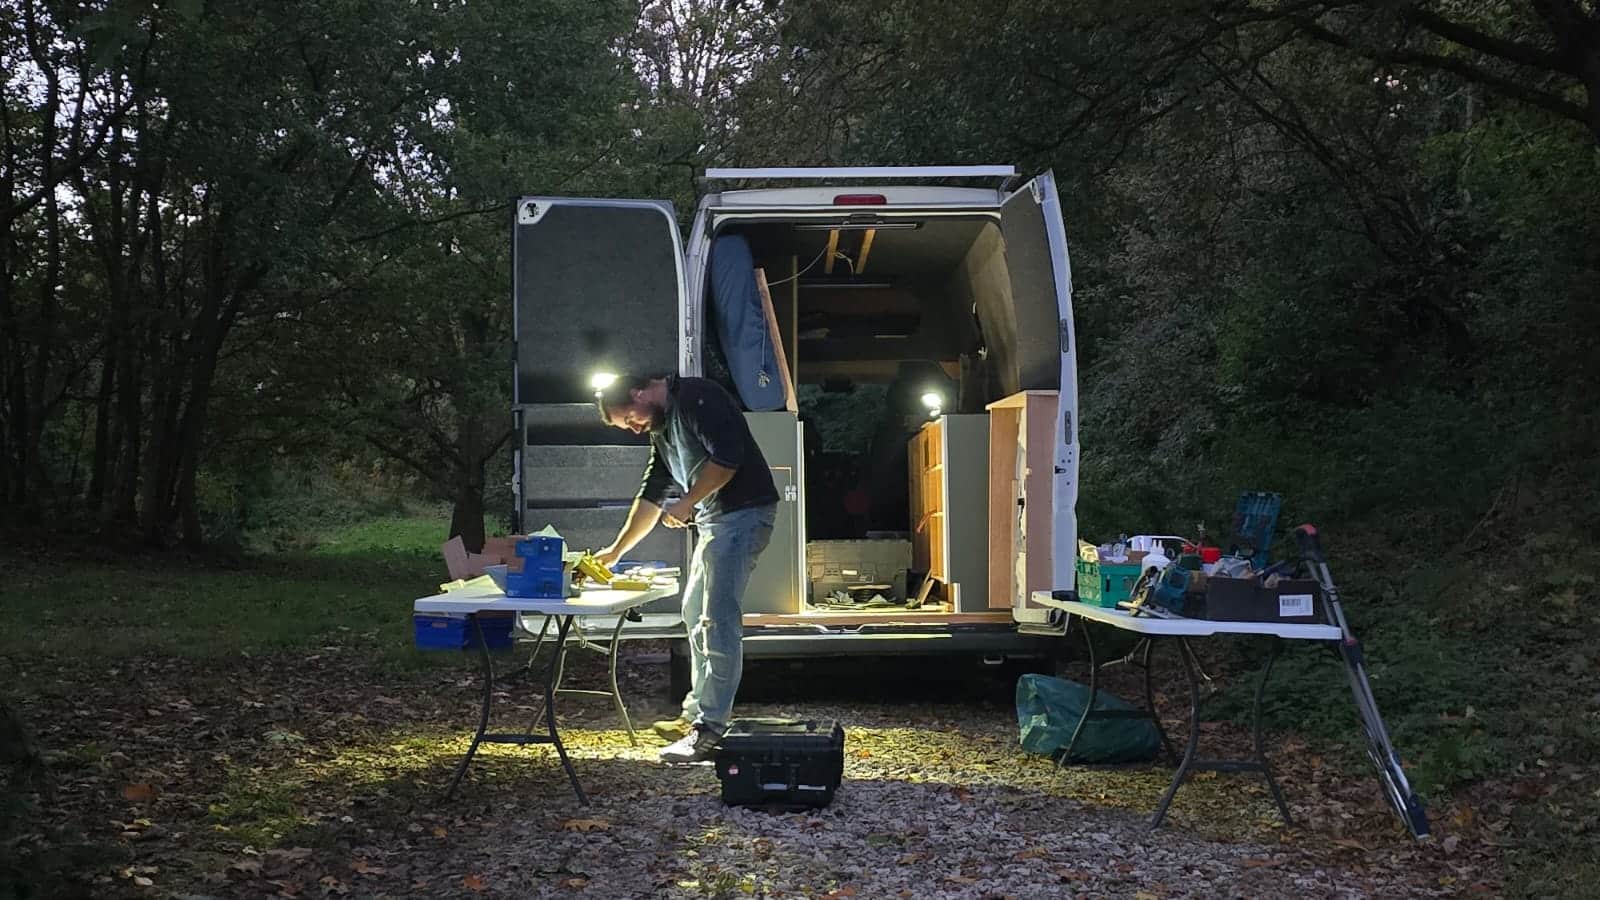
Diary Of A Camper Conversion
For this job I needed help.
I’m using the worktop edge as the load path for the drawbridge bed. With close to 200kg resting right on the edge, standard kitchen cupboard worktop want going to cut it so I’m using 25mm thick plywood. But this is not waterproof or very durable. I could stain and wax or varnish it, but it would still look like plywood. My last van was built from bits of wood found in skips, but for this one I’d like to class it up a bit. So I’m going to laminate the worktop to get as close as I can to a factory looking finish.
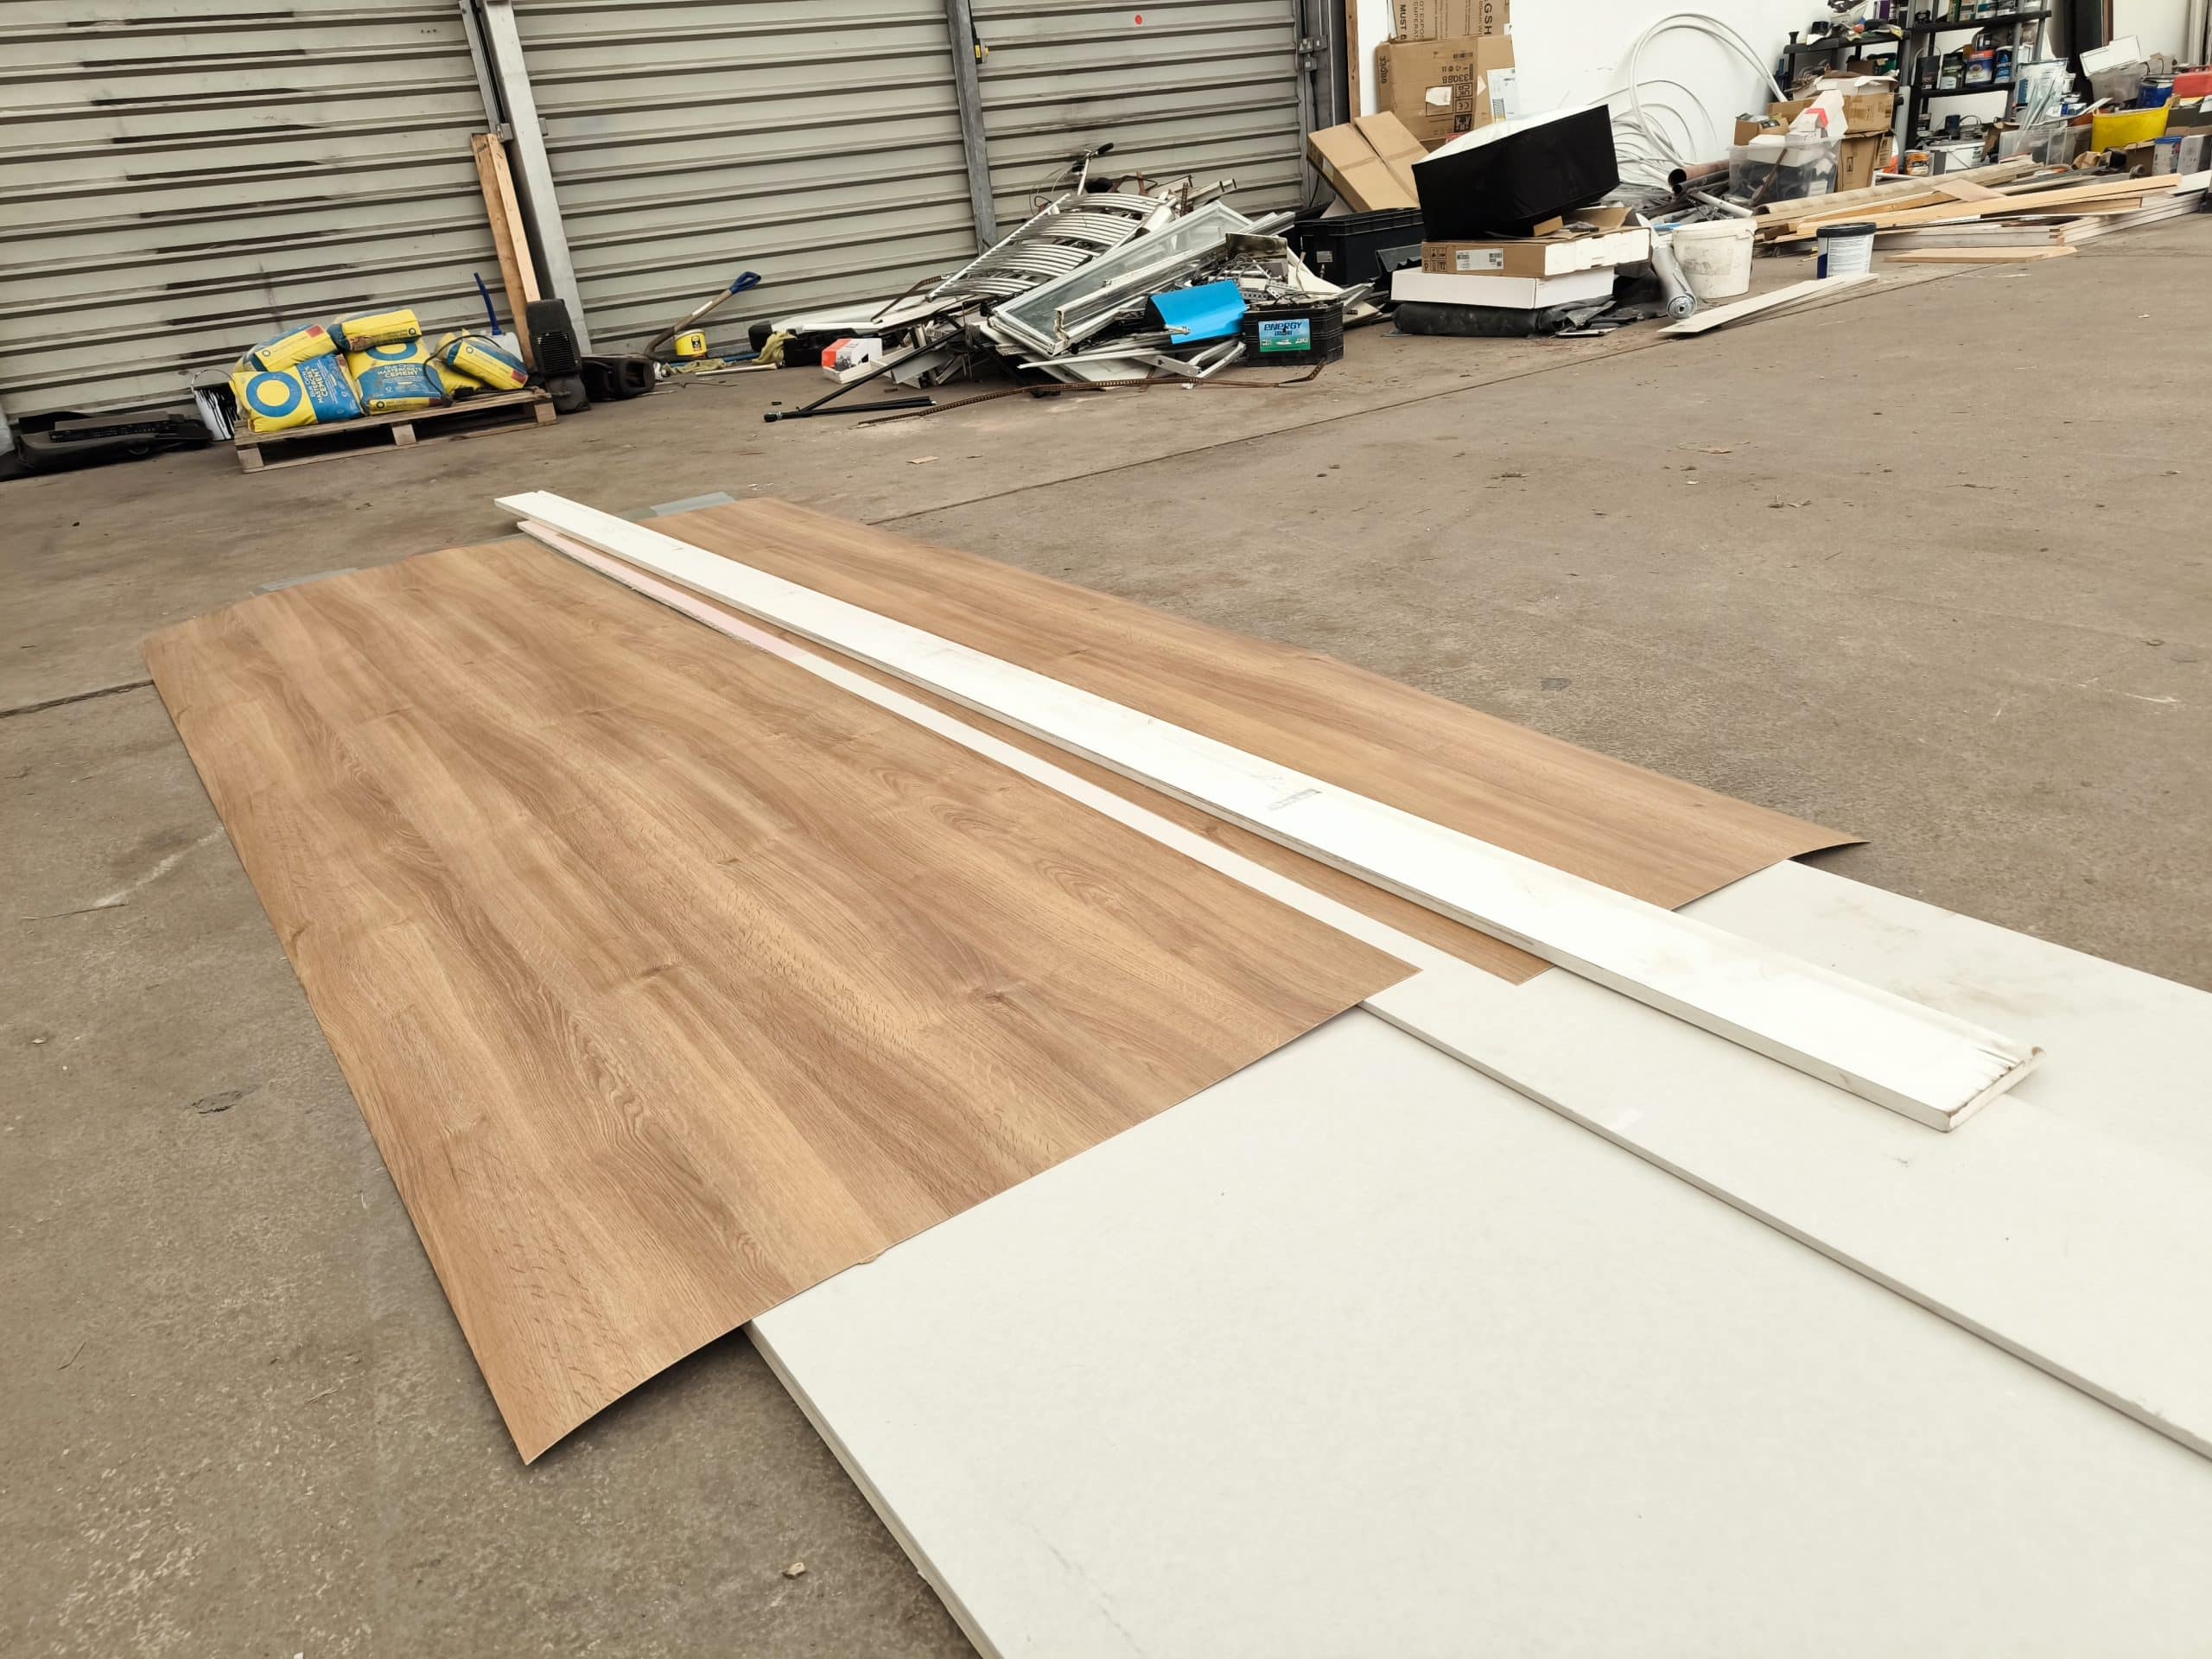
The first thing to do was order the laminate sheet and of course my total run of surface was 150mm longer than the standard sheet. So I ordered the extra long sheet and collected it rolled up in a huge cardboard box.
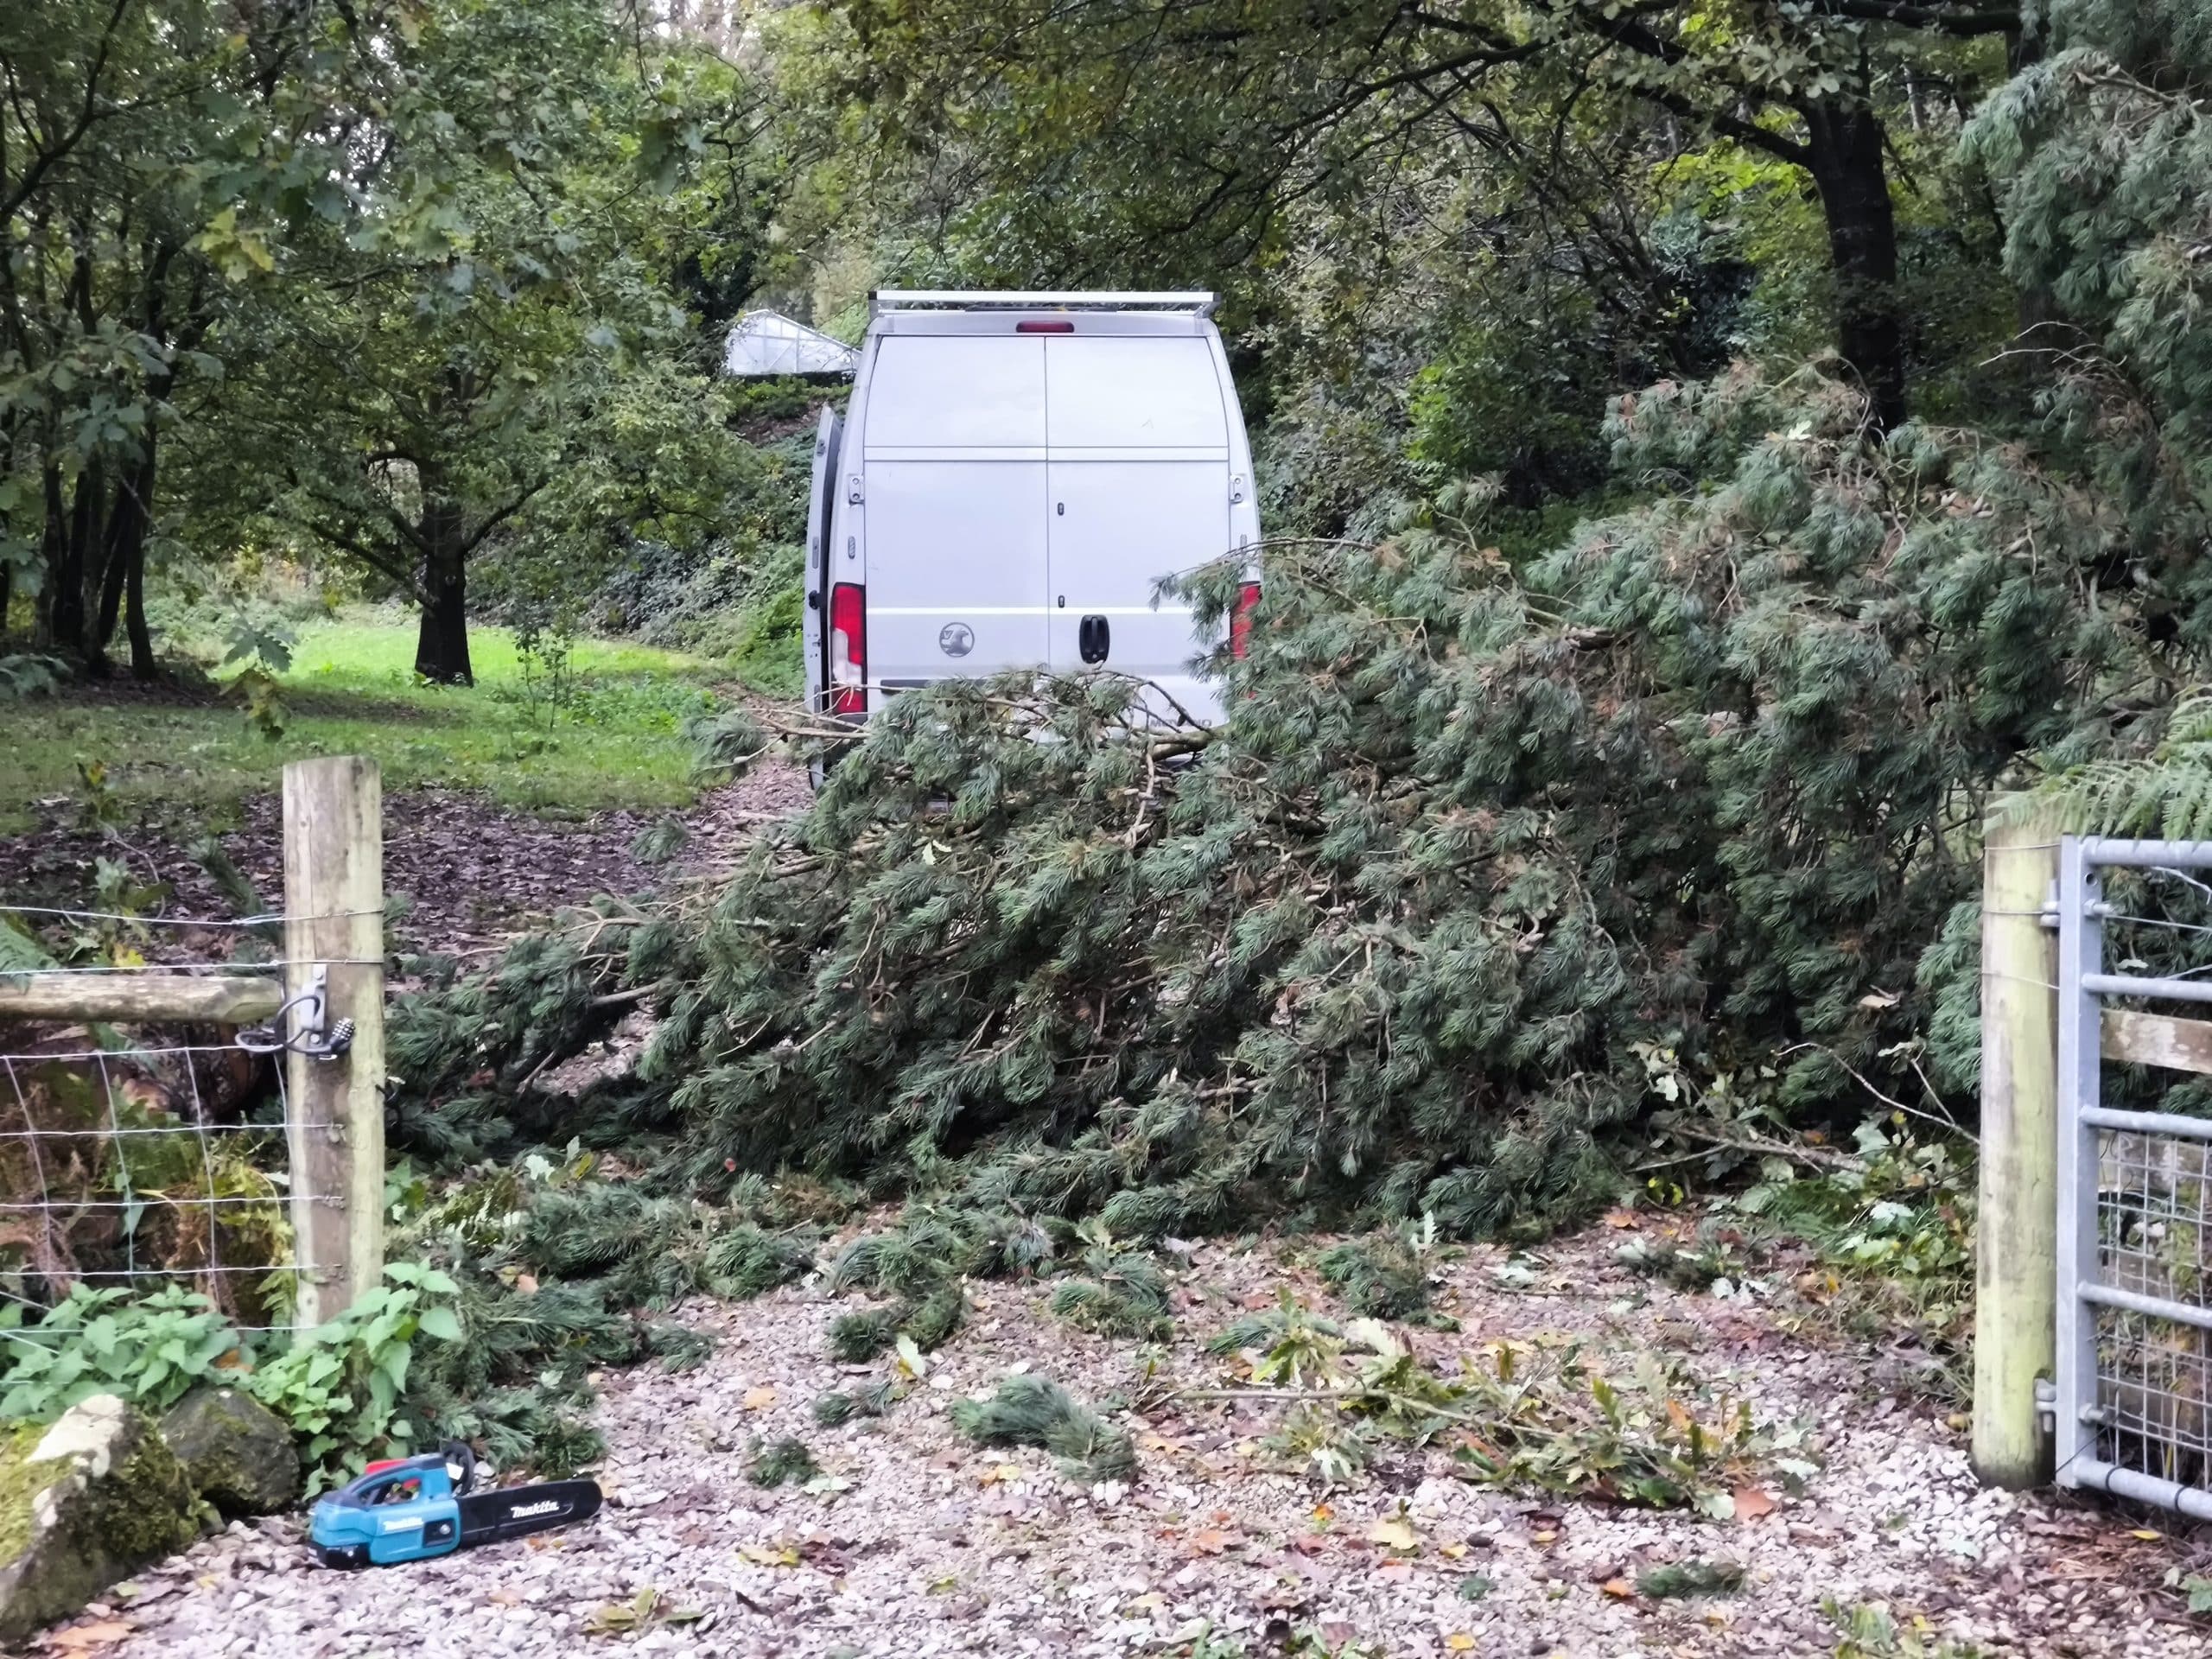
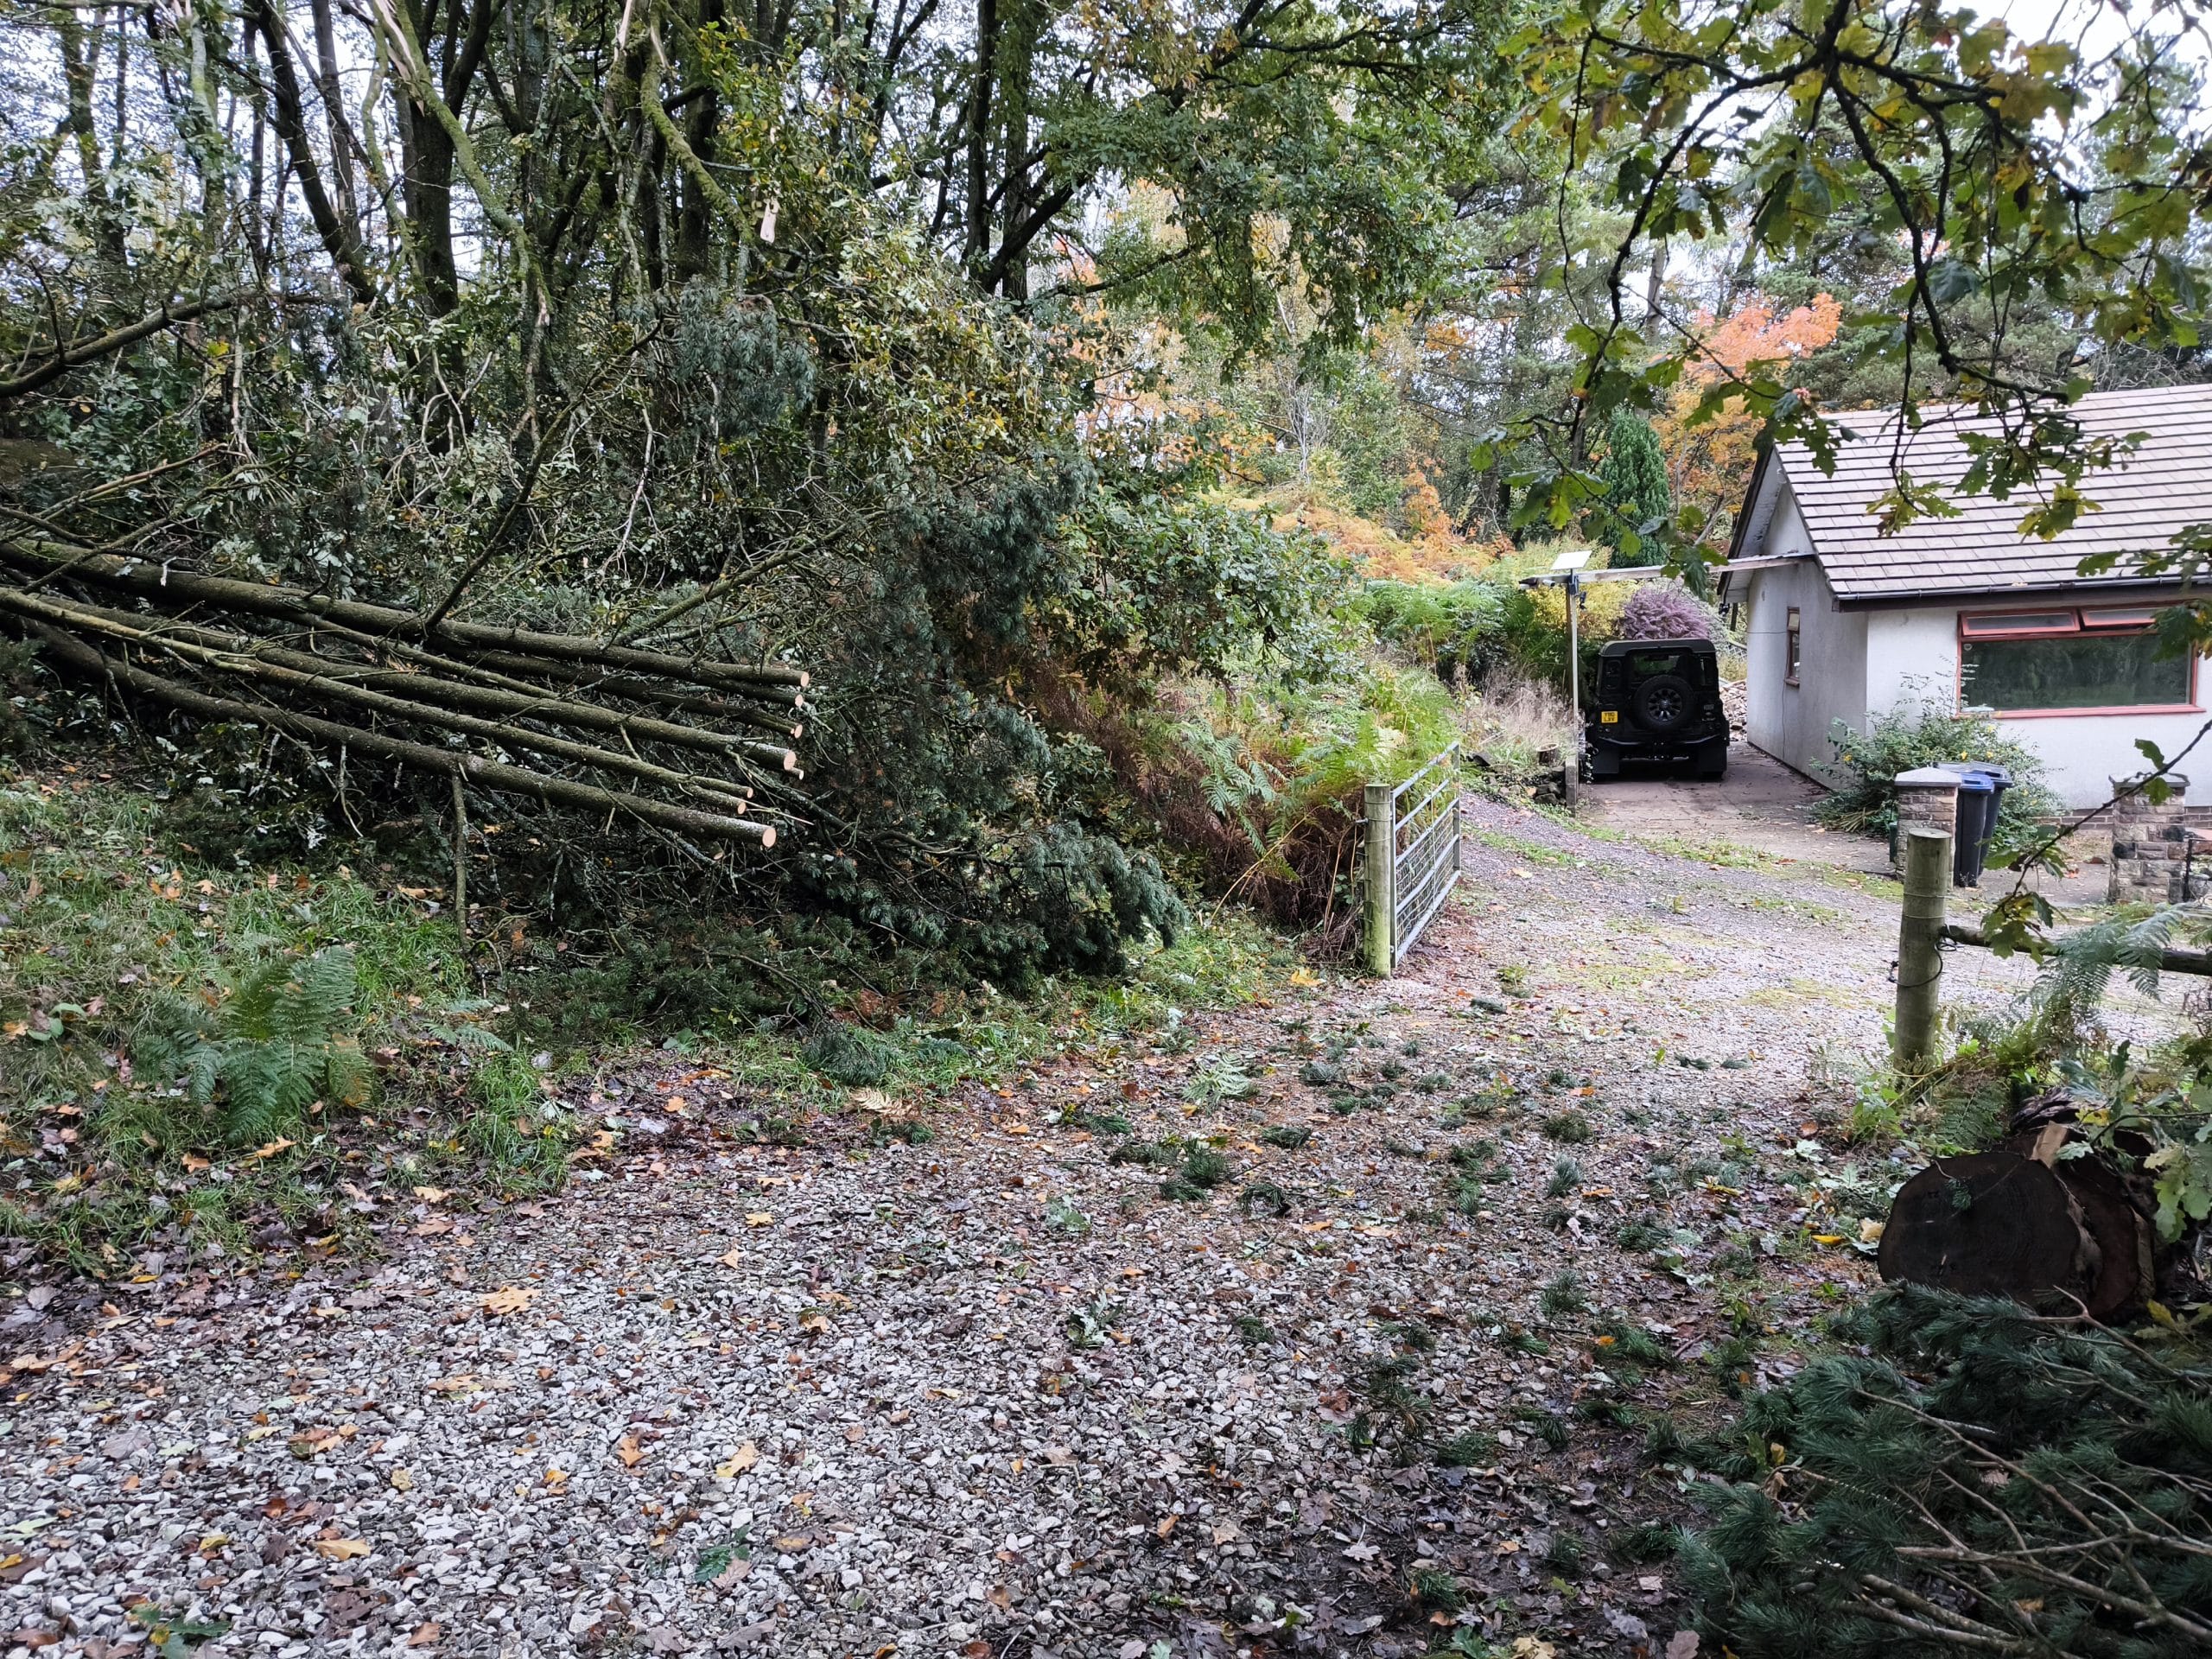
I’d arranged to meet Jord one Sunday morning but I nearly didn’t make it. Overnight the wind had been so strong it knocked over a tree, blocking me in the driveway. I was lucky it didn’t hit the van, that would have been annoying after all the work done! An exciting few mins with the baby chainsaw and I was free!
At the workshop we measured up where the joint would be, making sure it would land on the reinforcing baton built into the cabinets. This is also the location of the sink so this had to be shuffled arrived in the space to make sure there was enough meat in the worktop for the bolts, but also the sink fit in the cabinet.
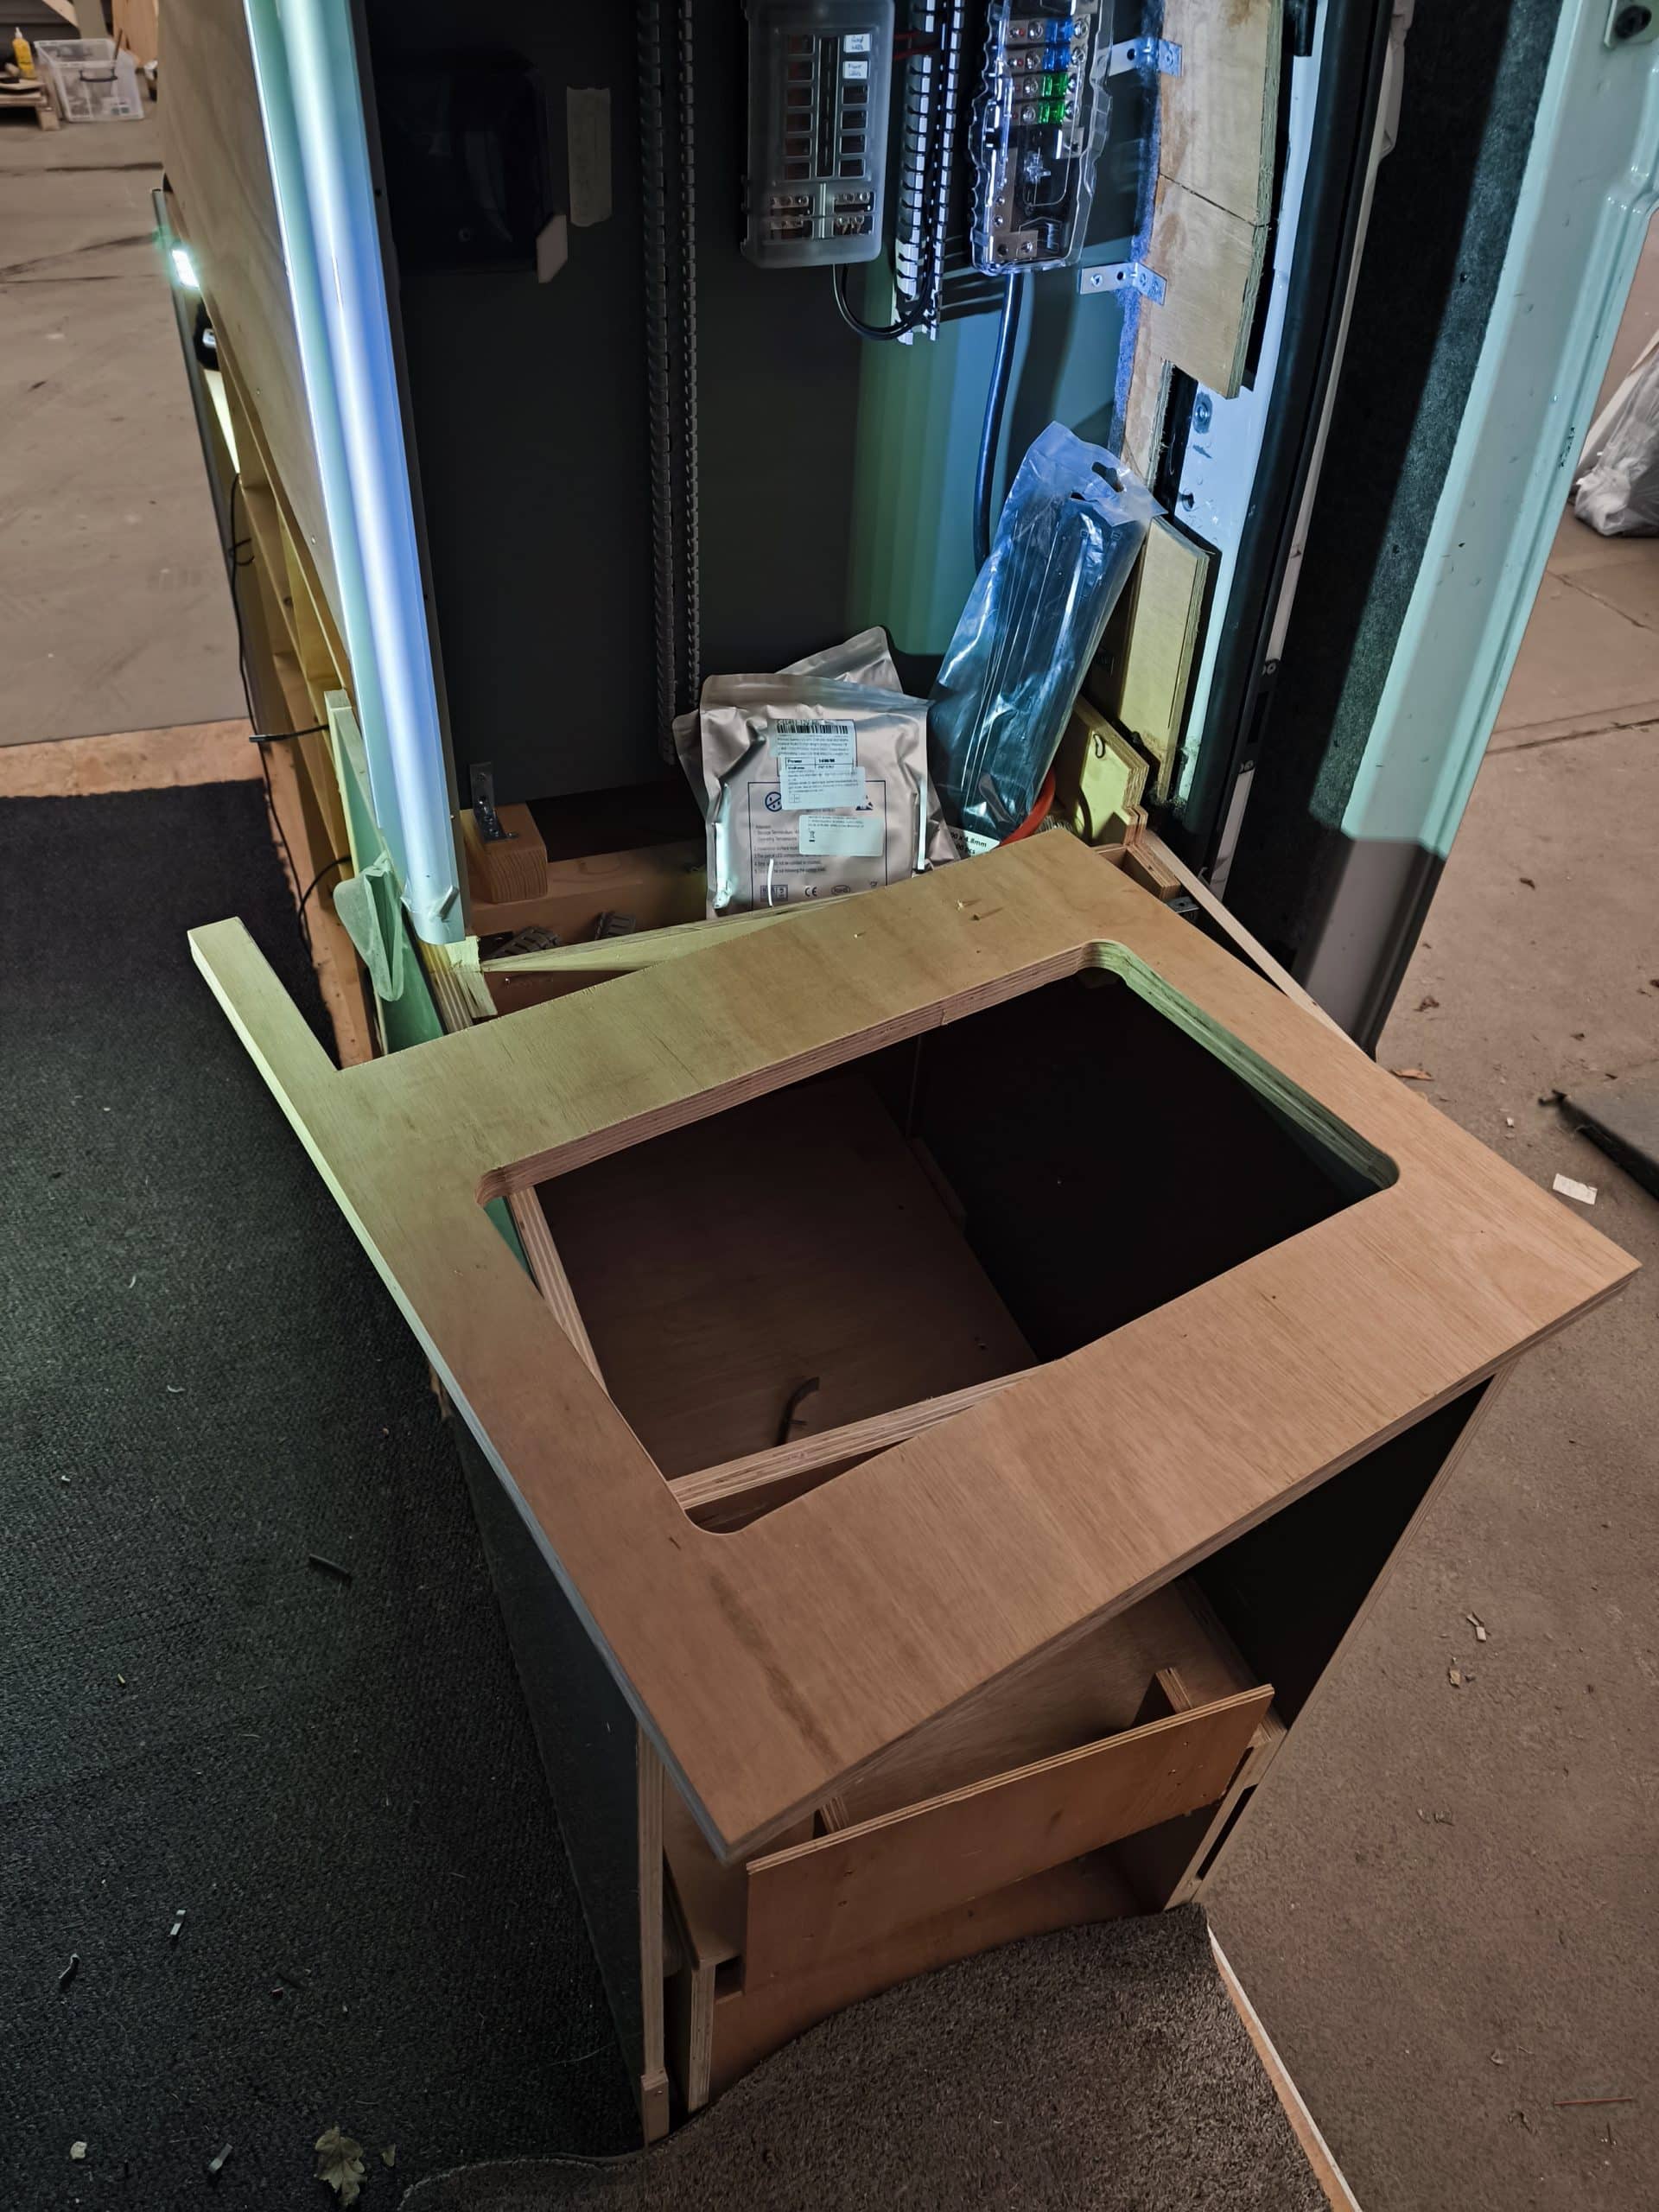
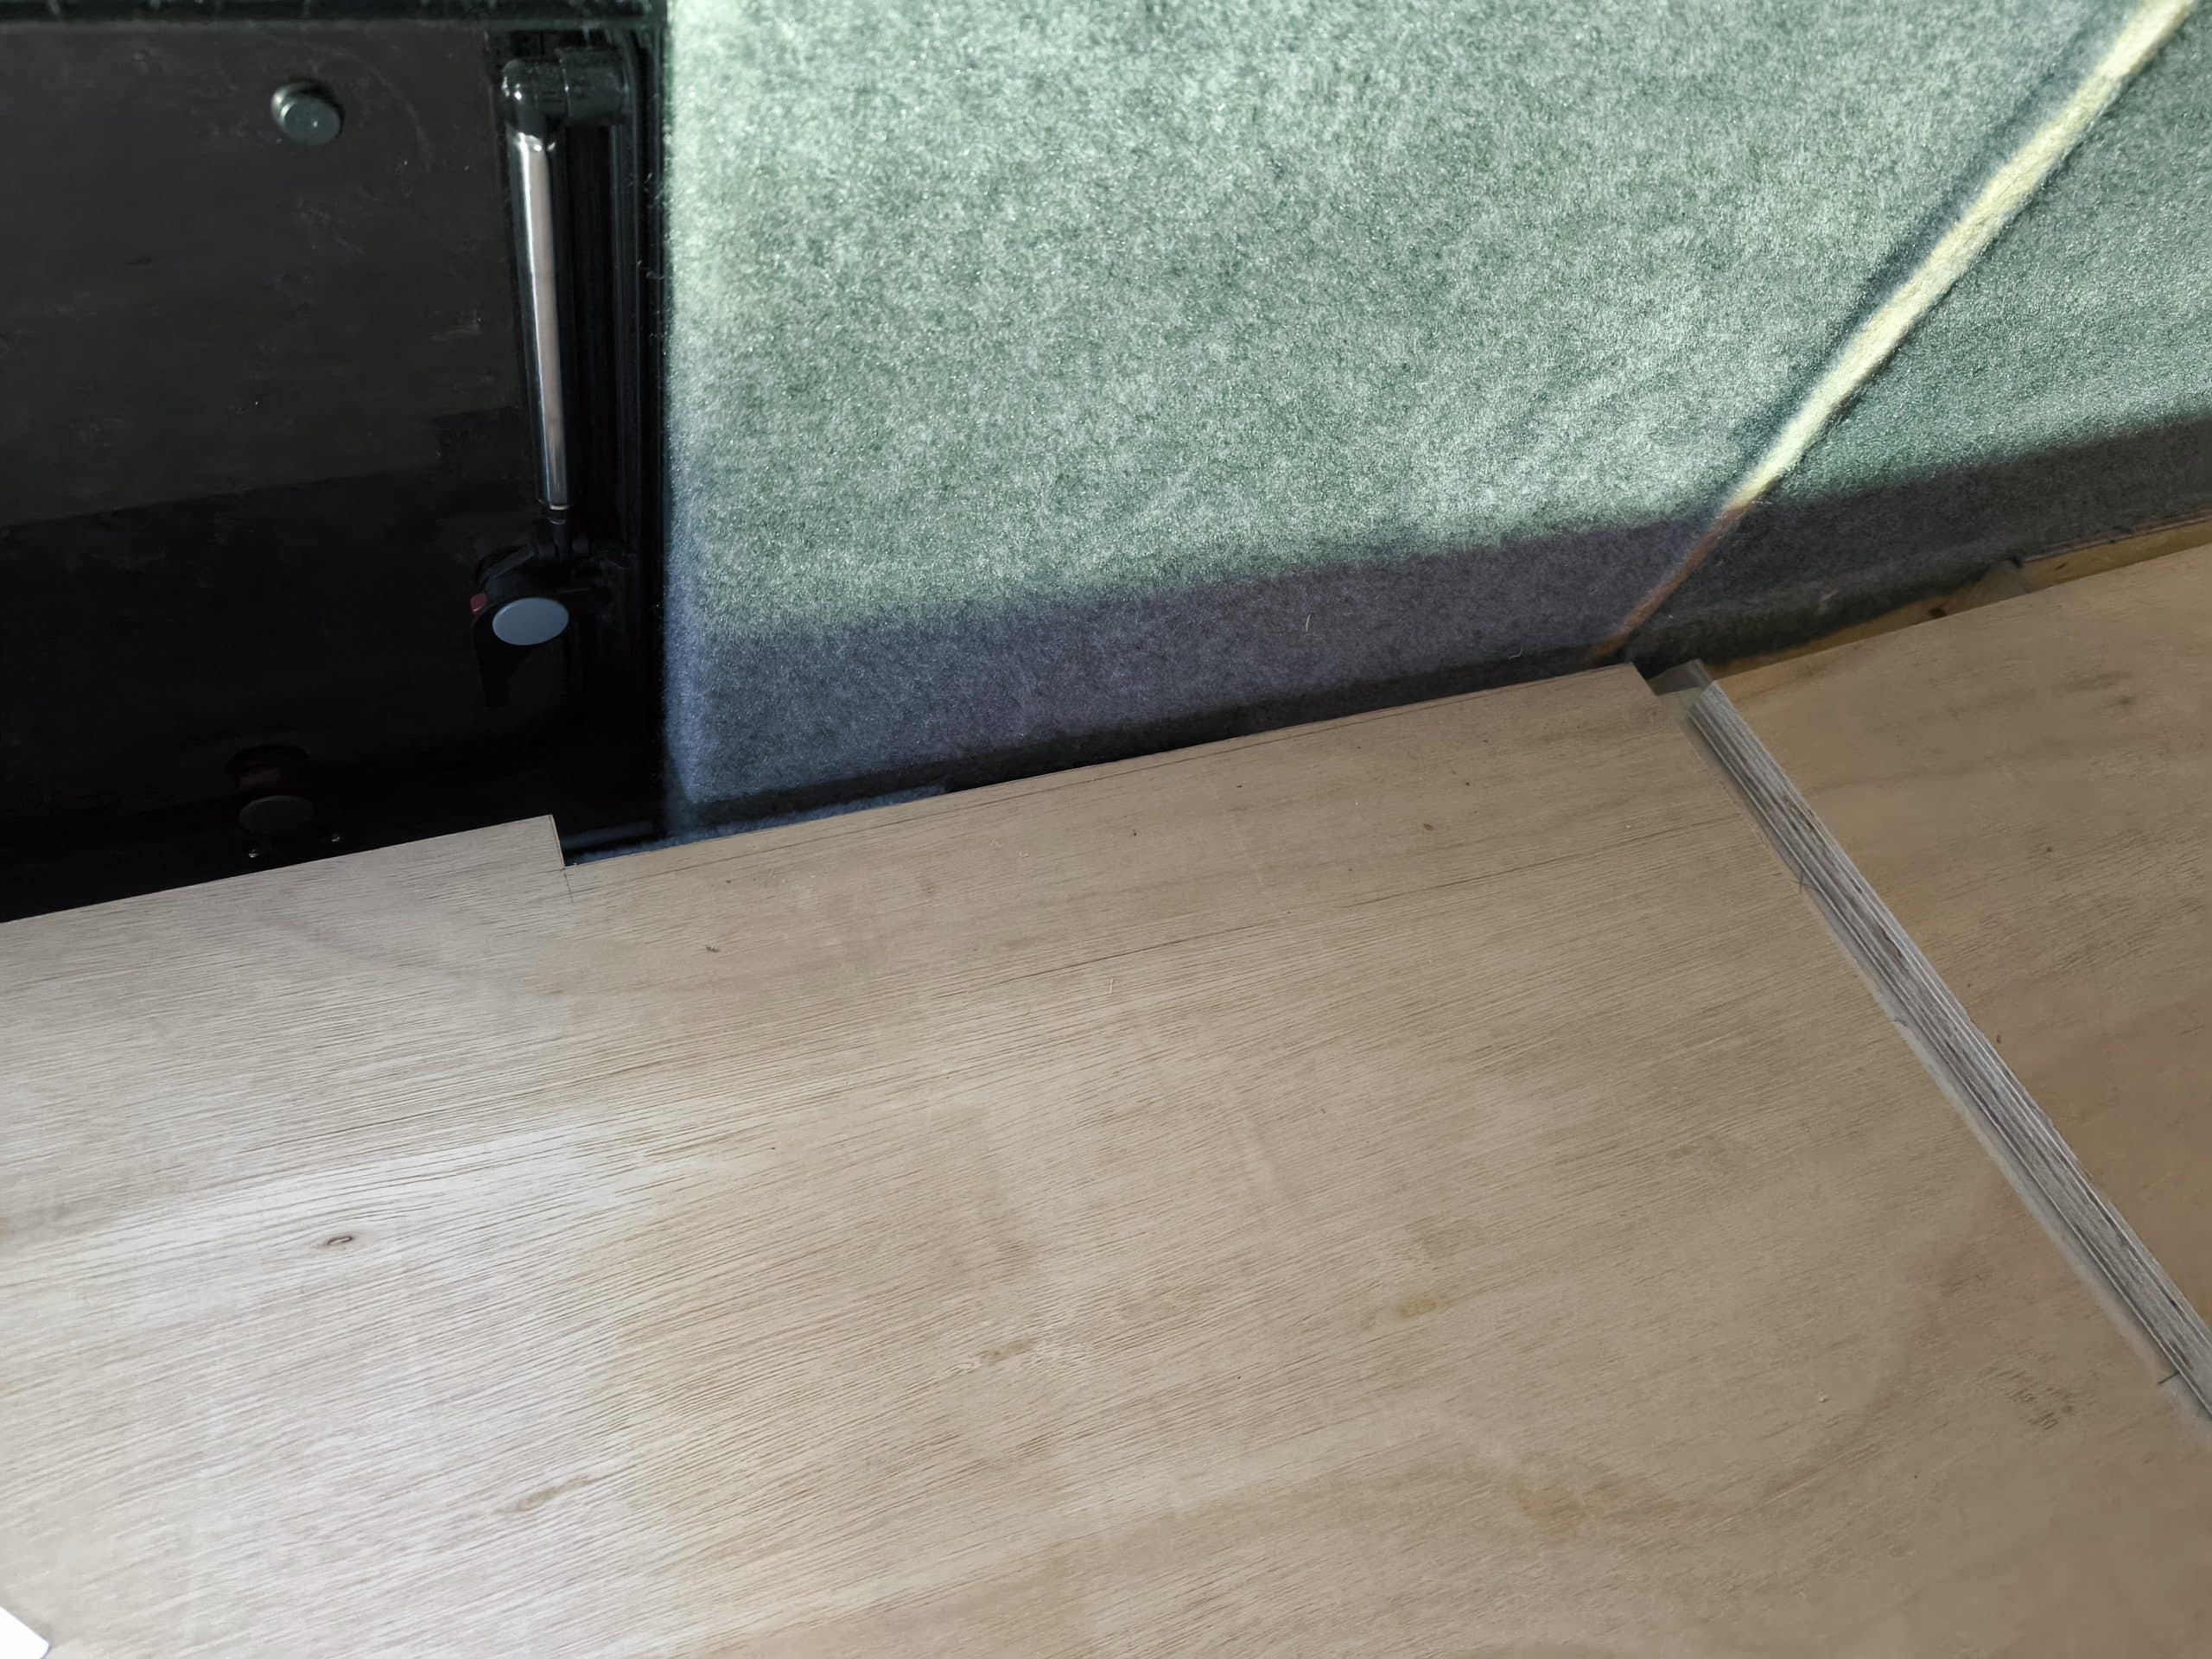
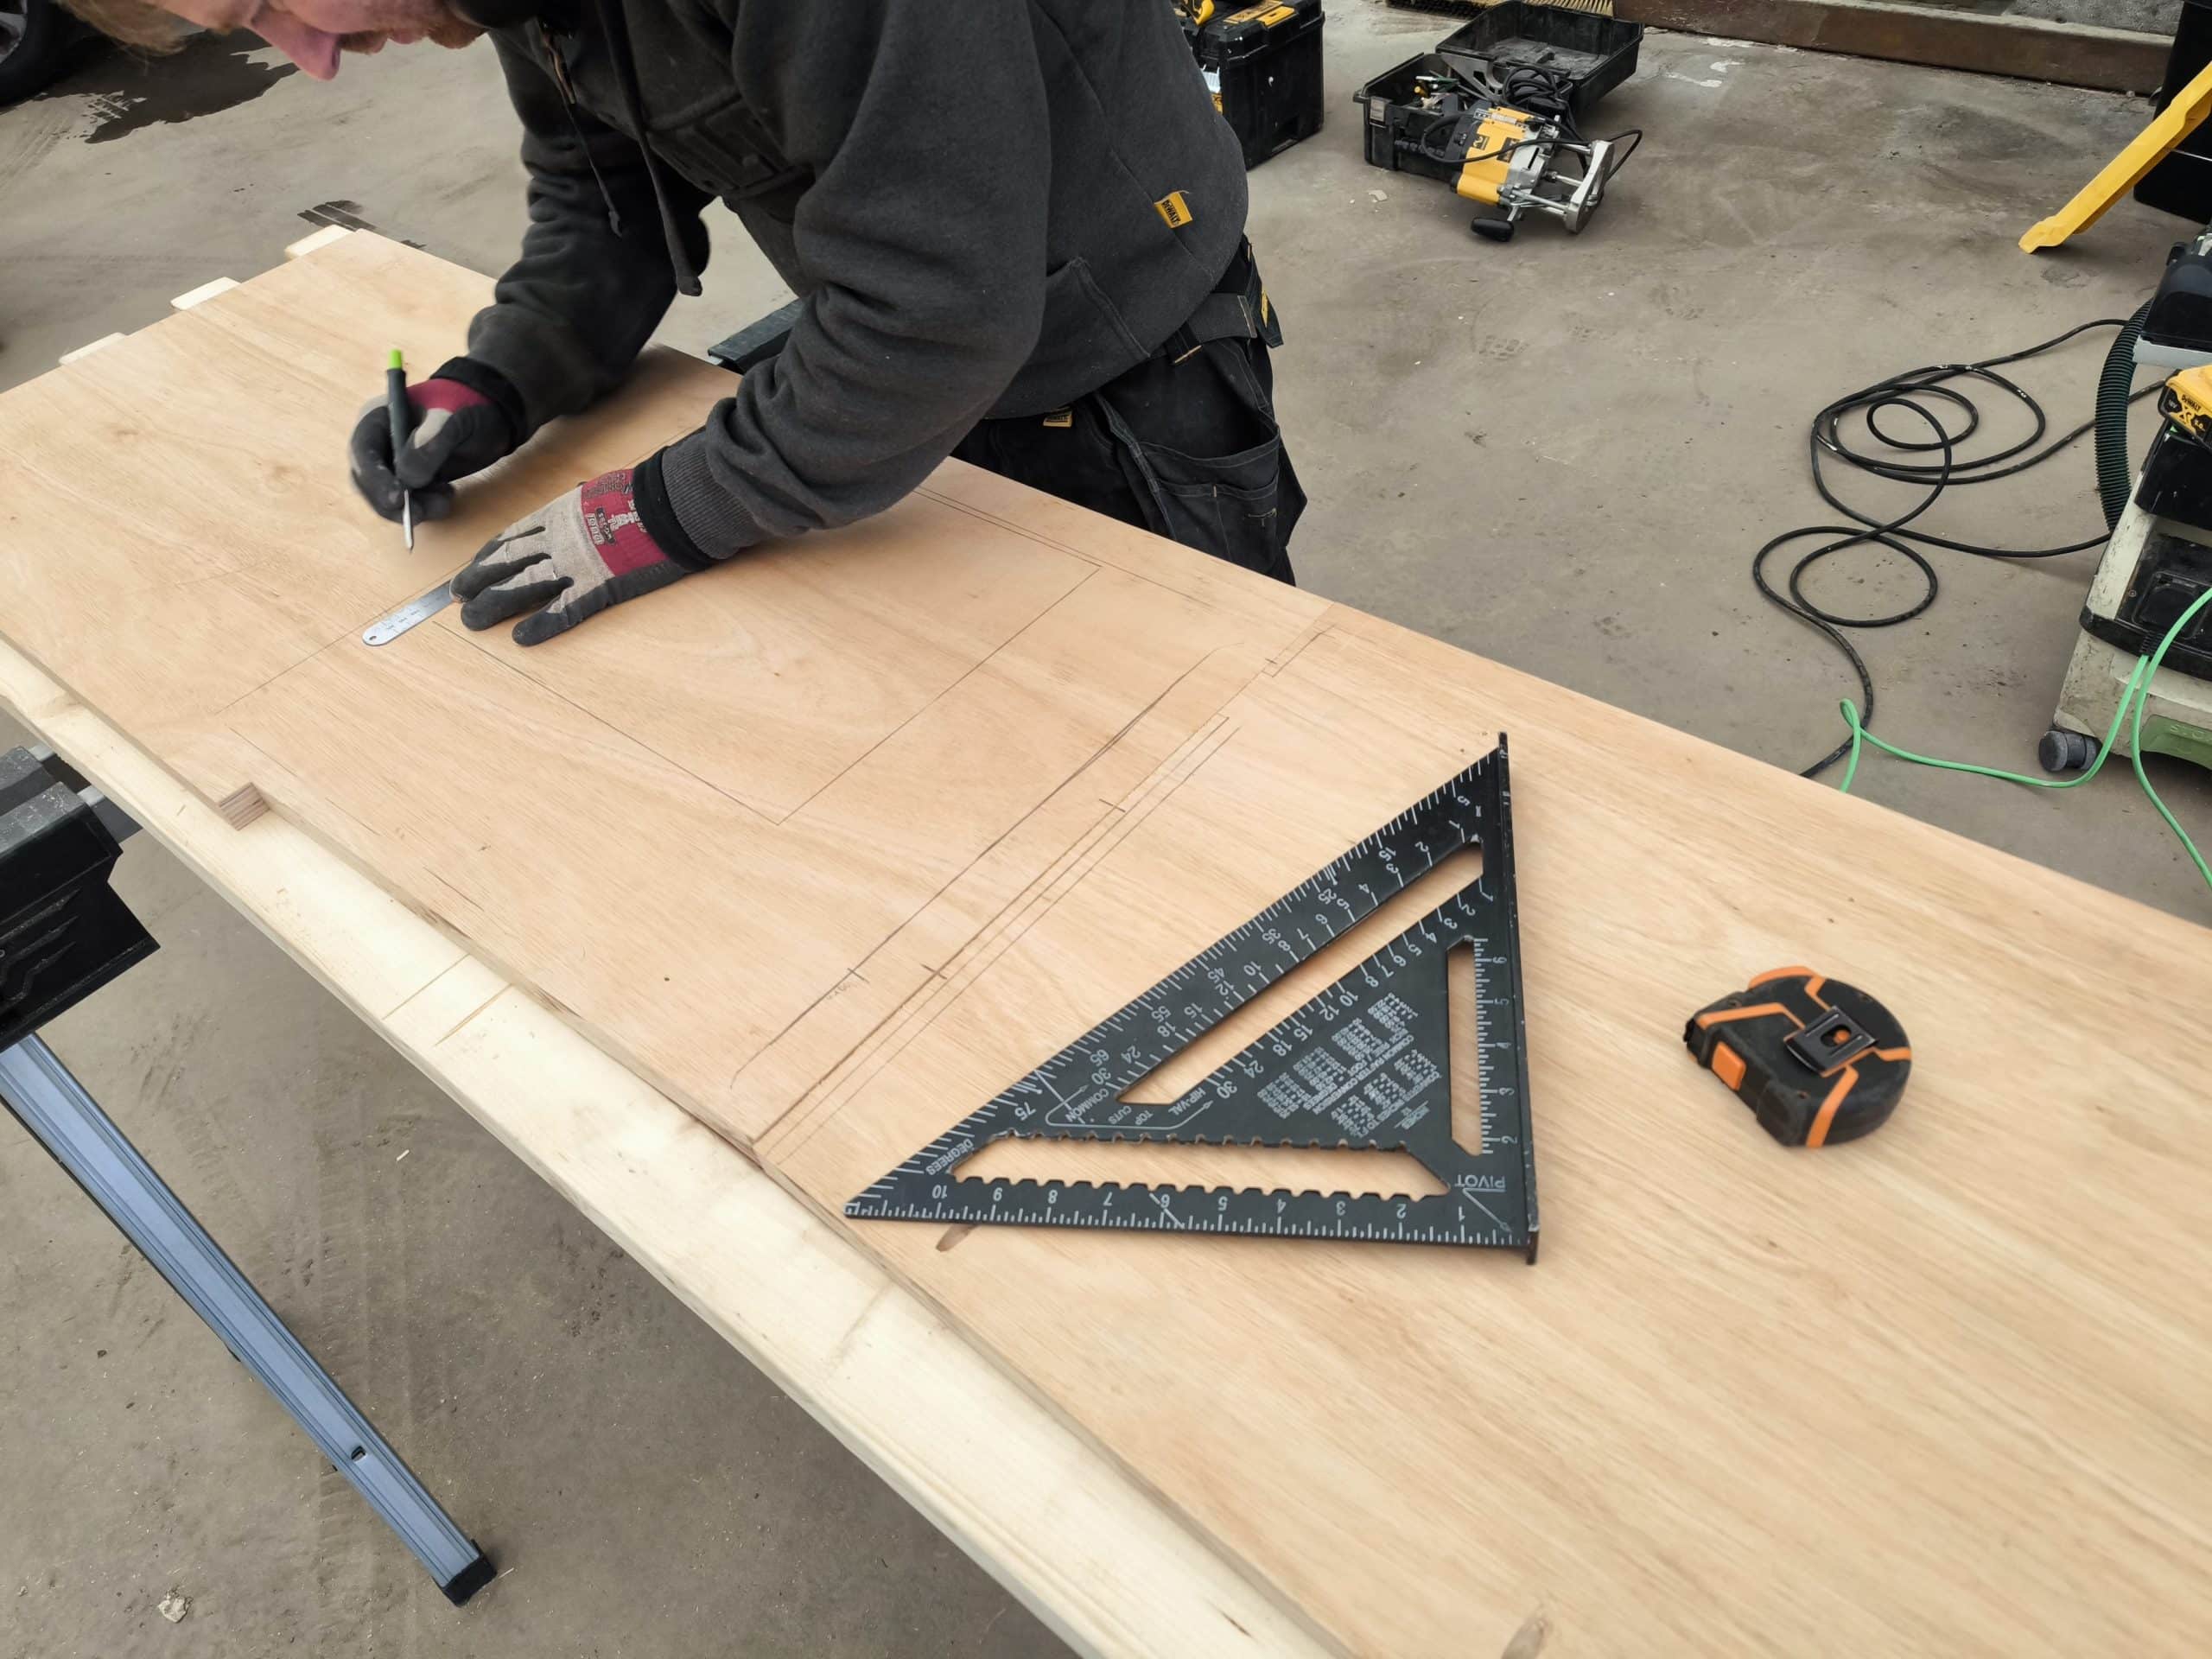
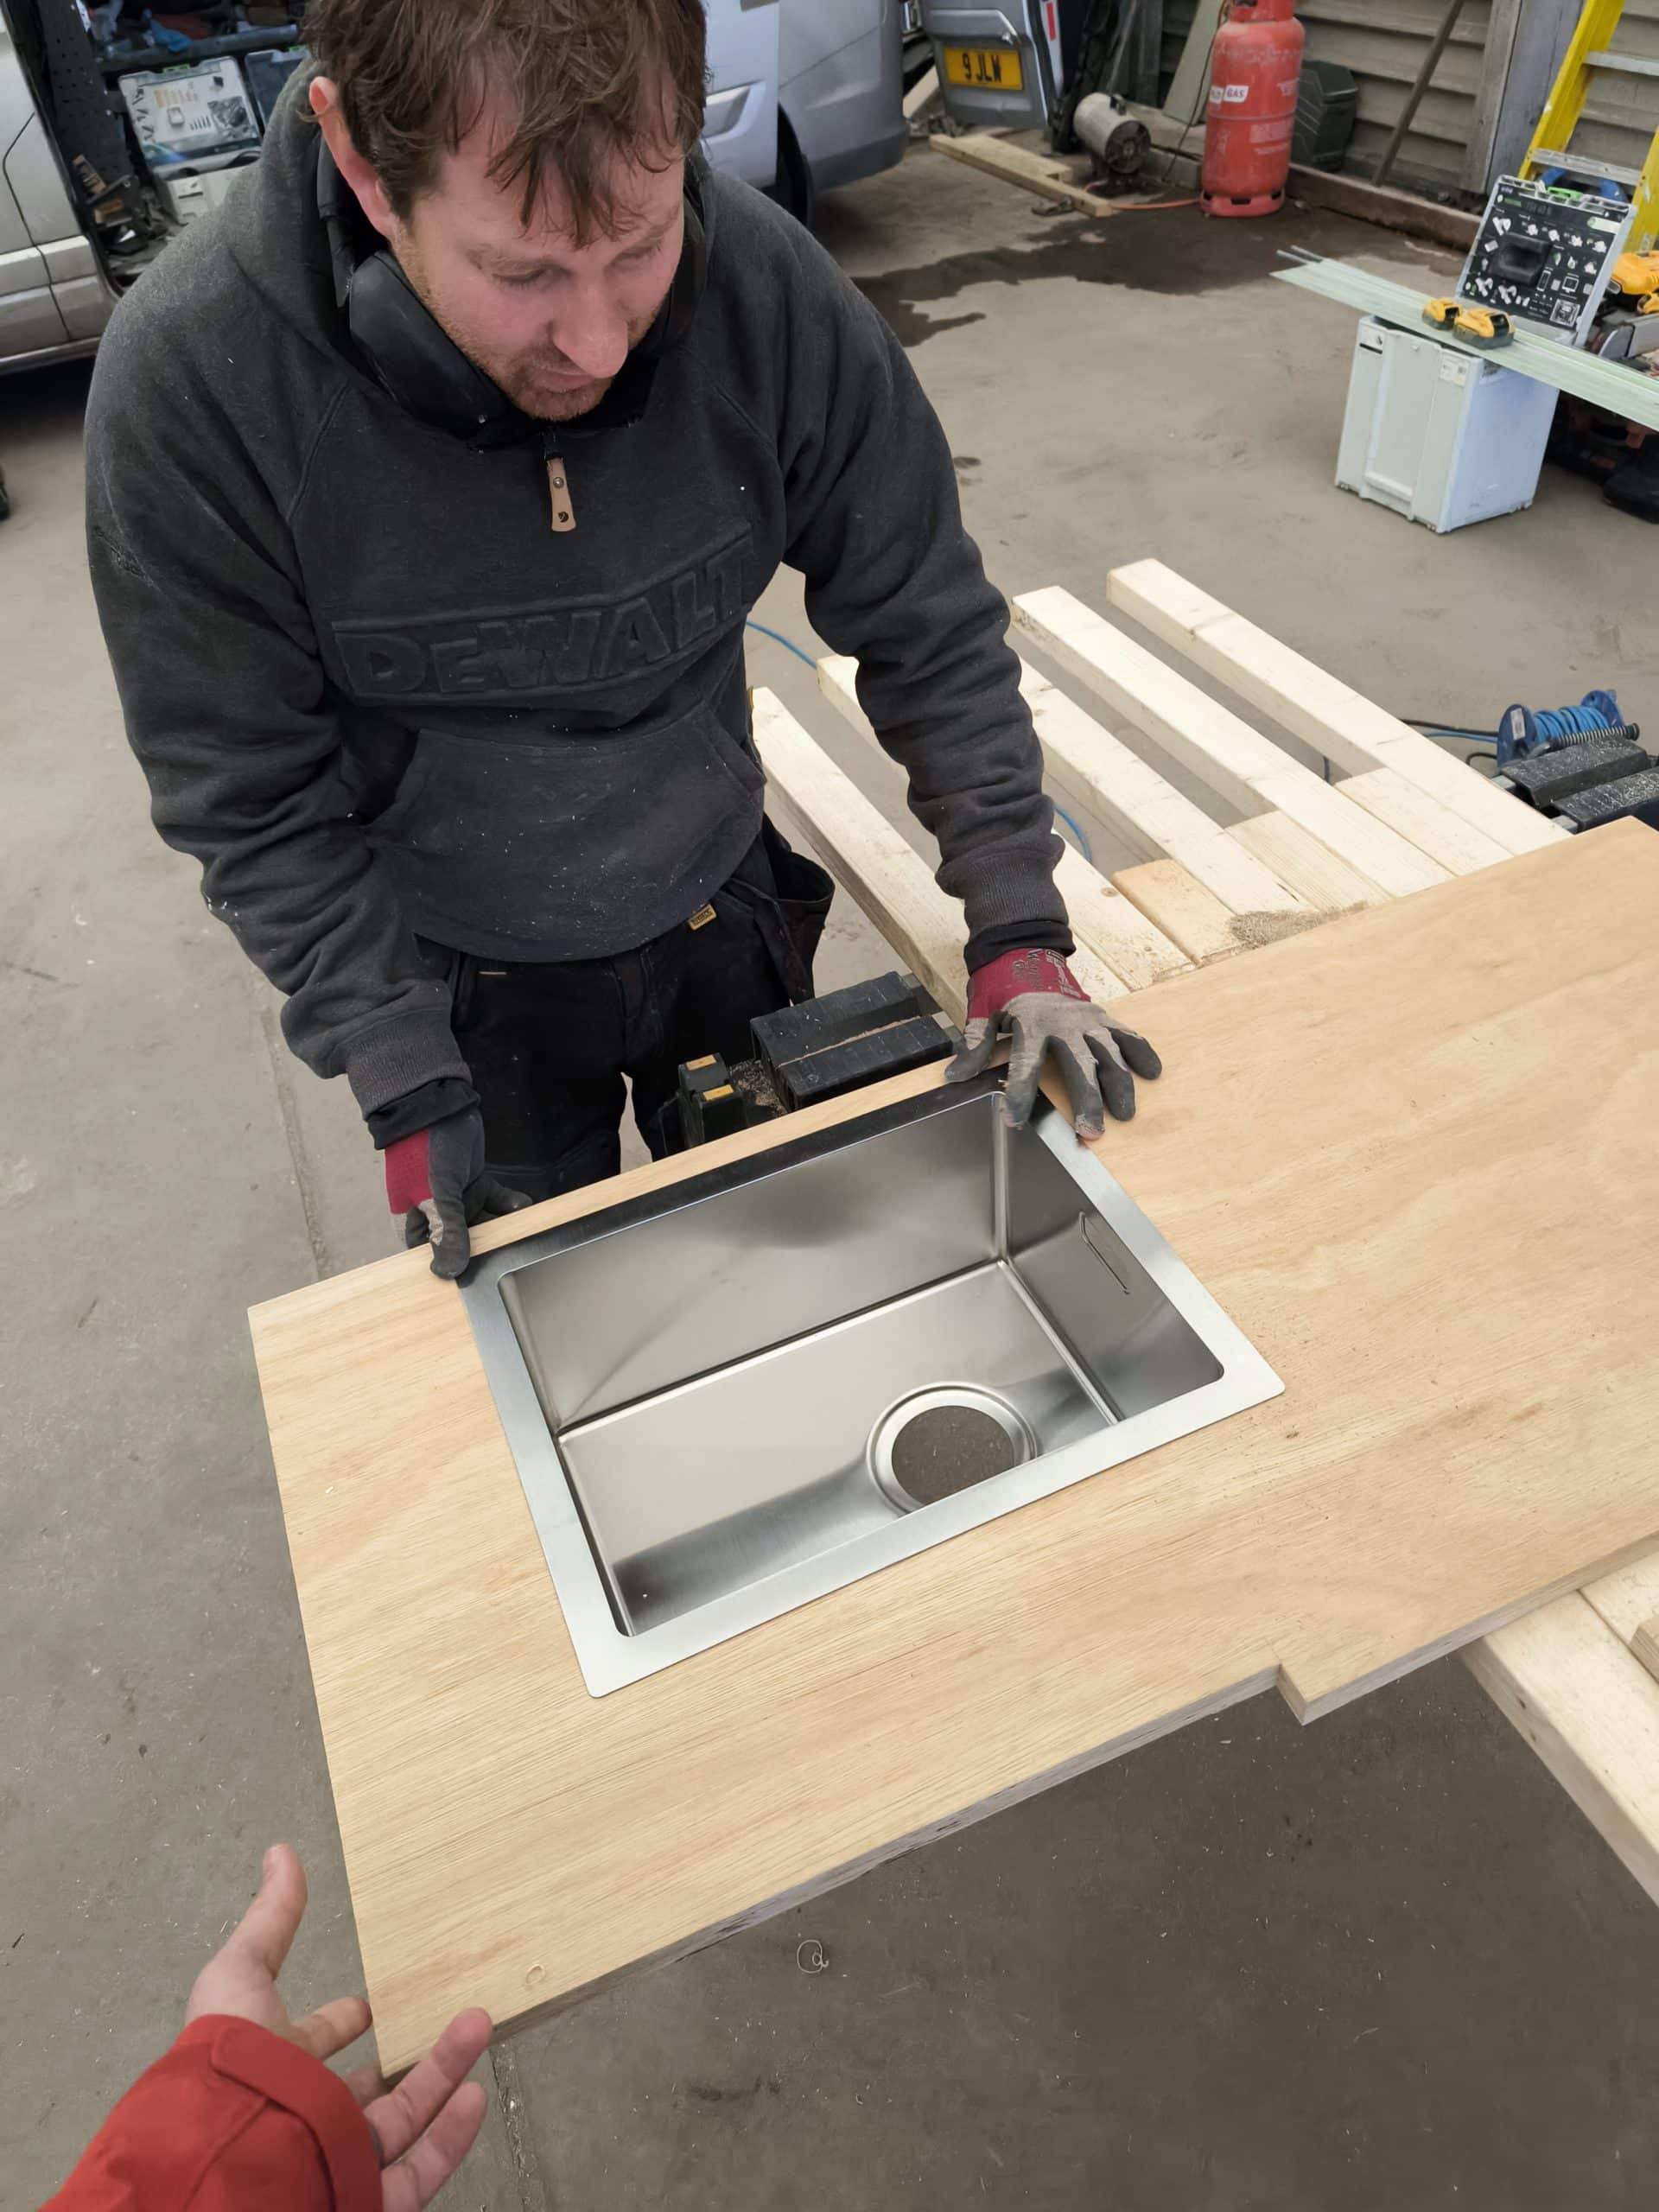
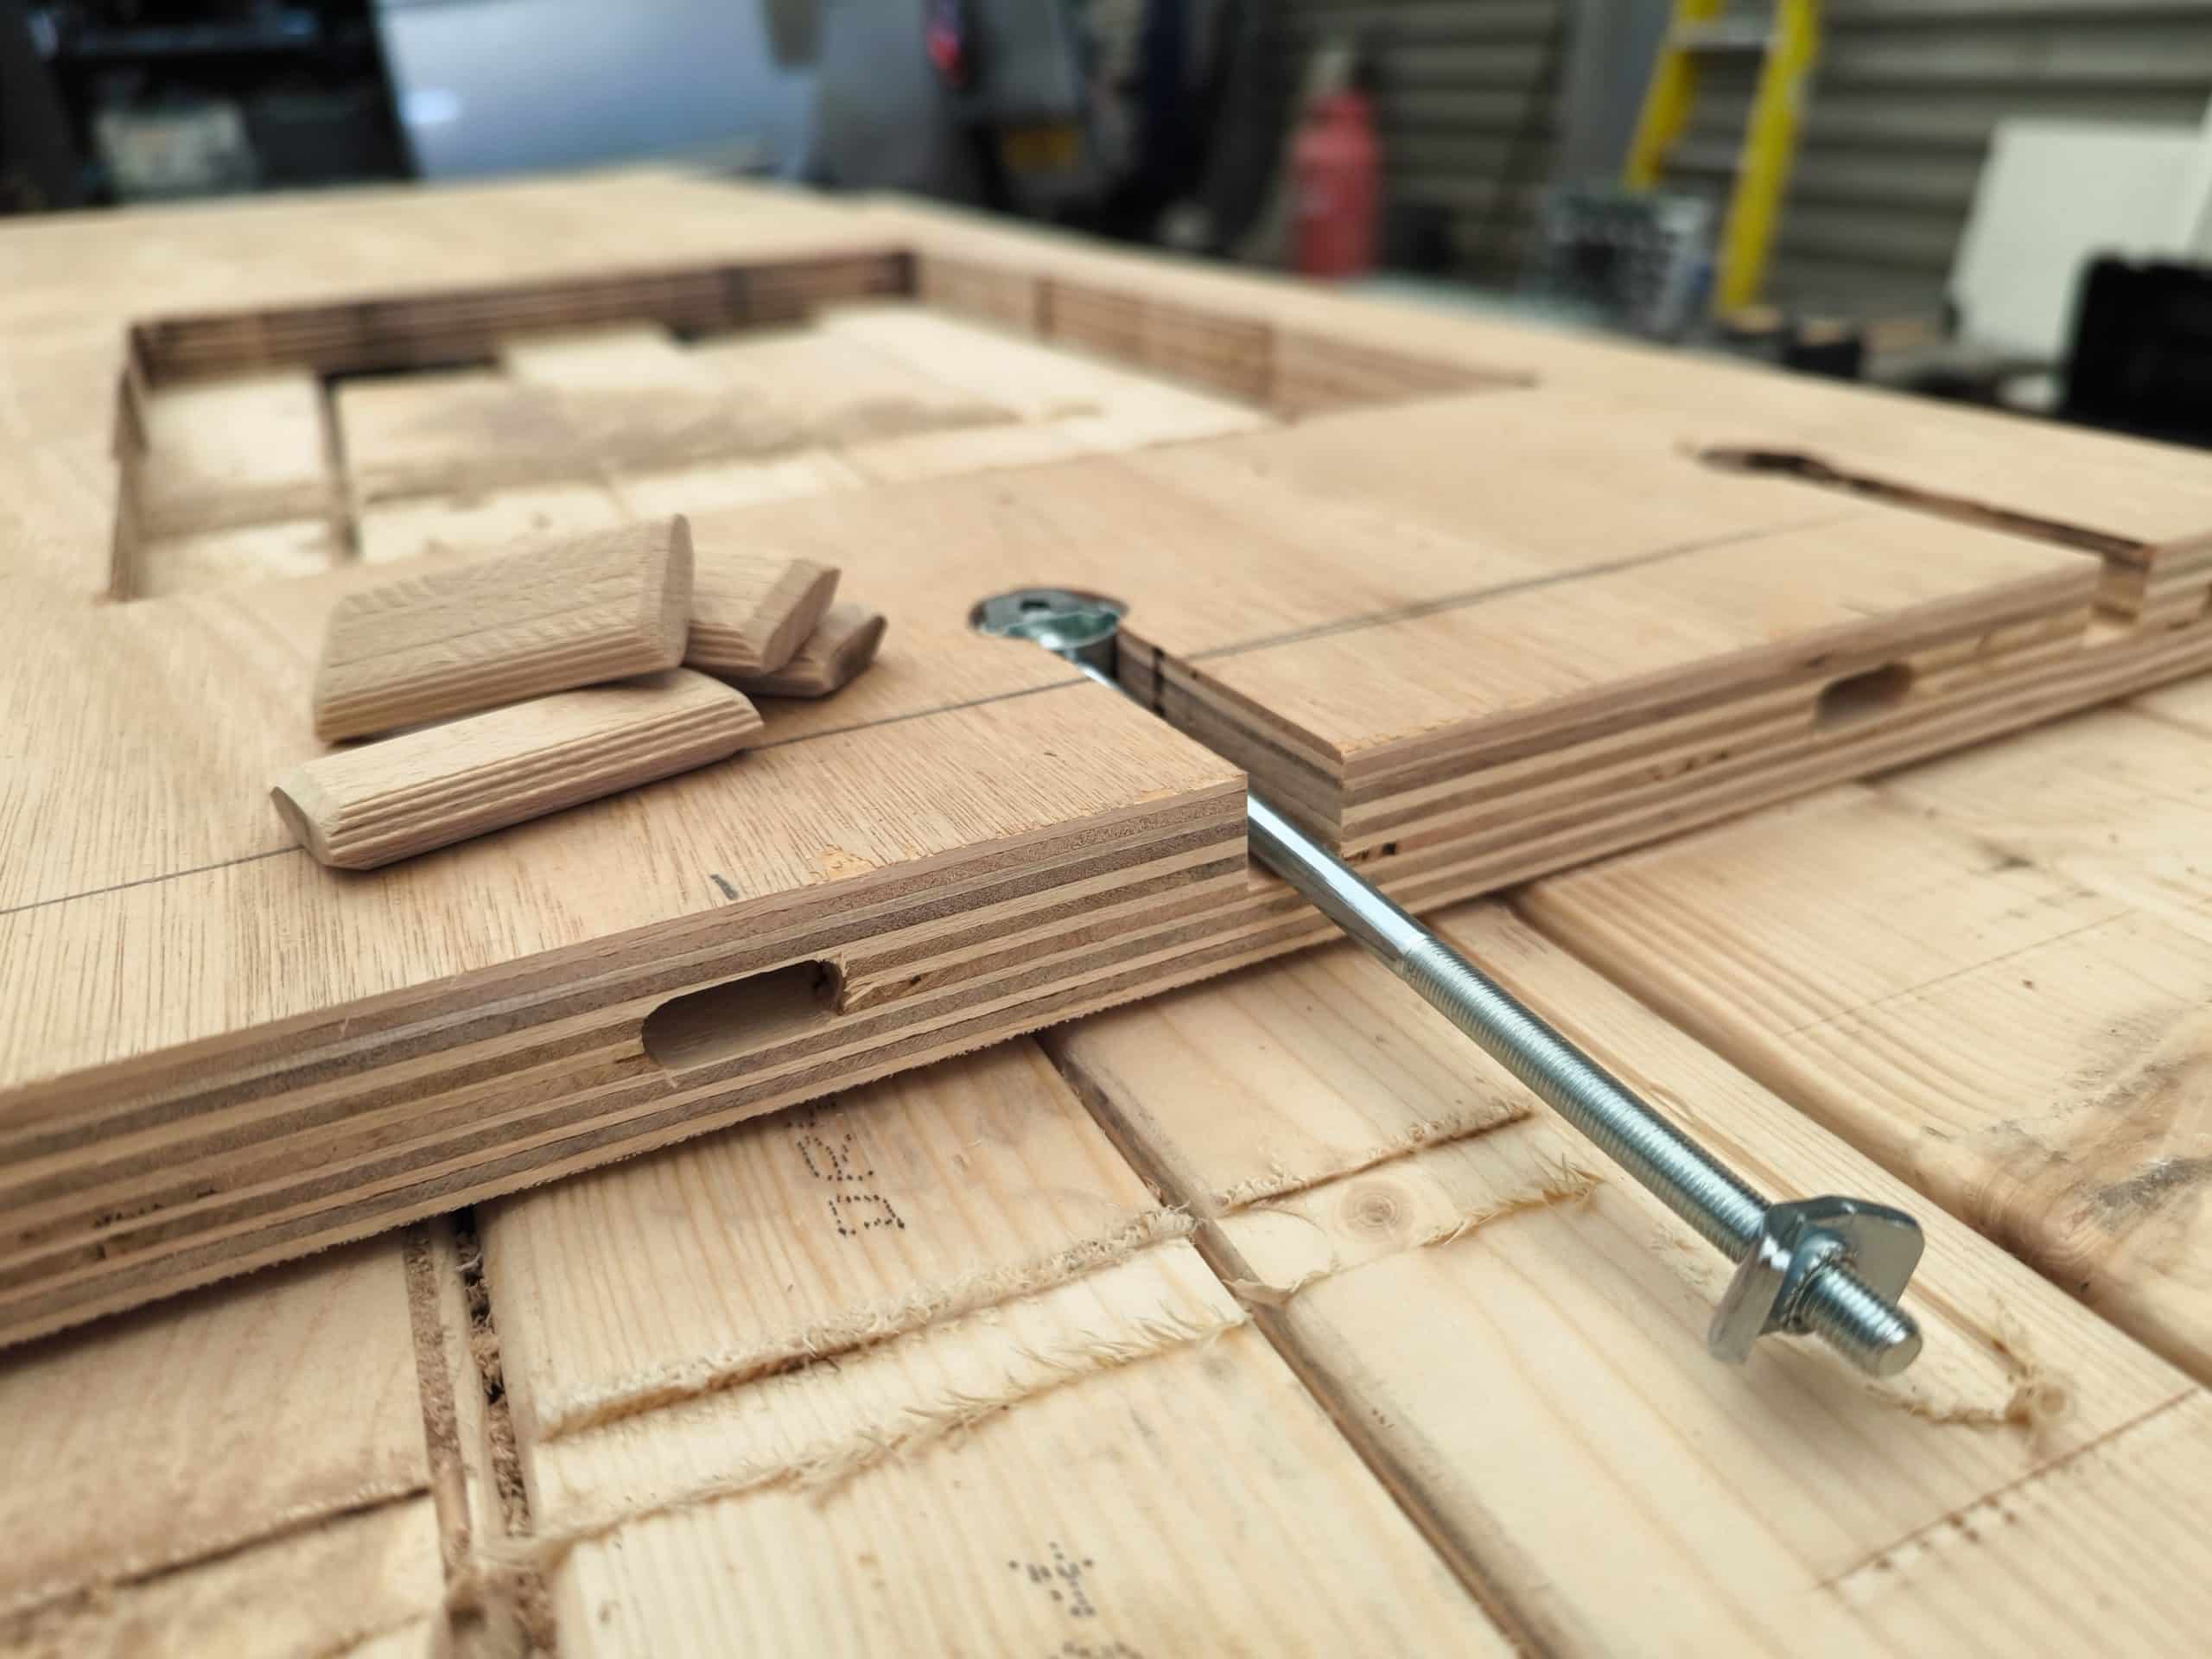
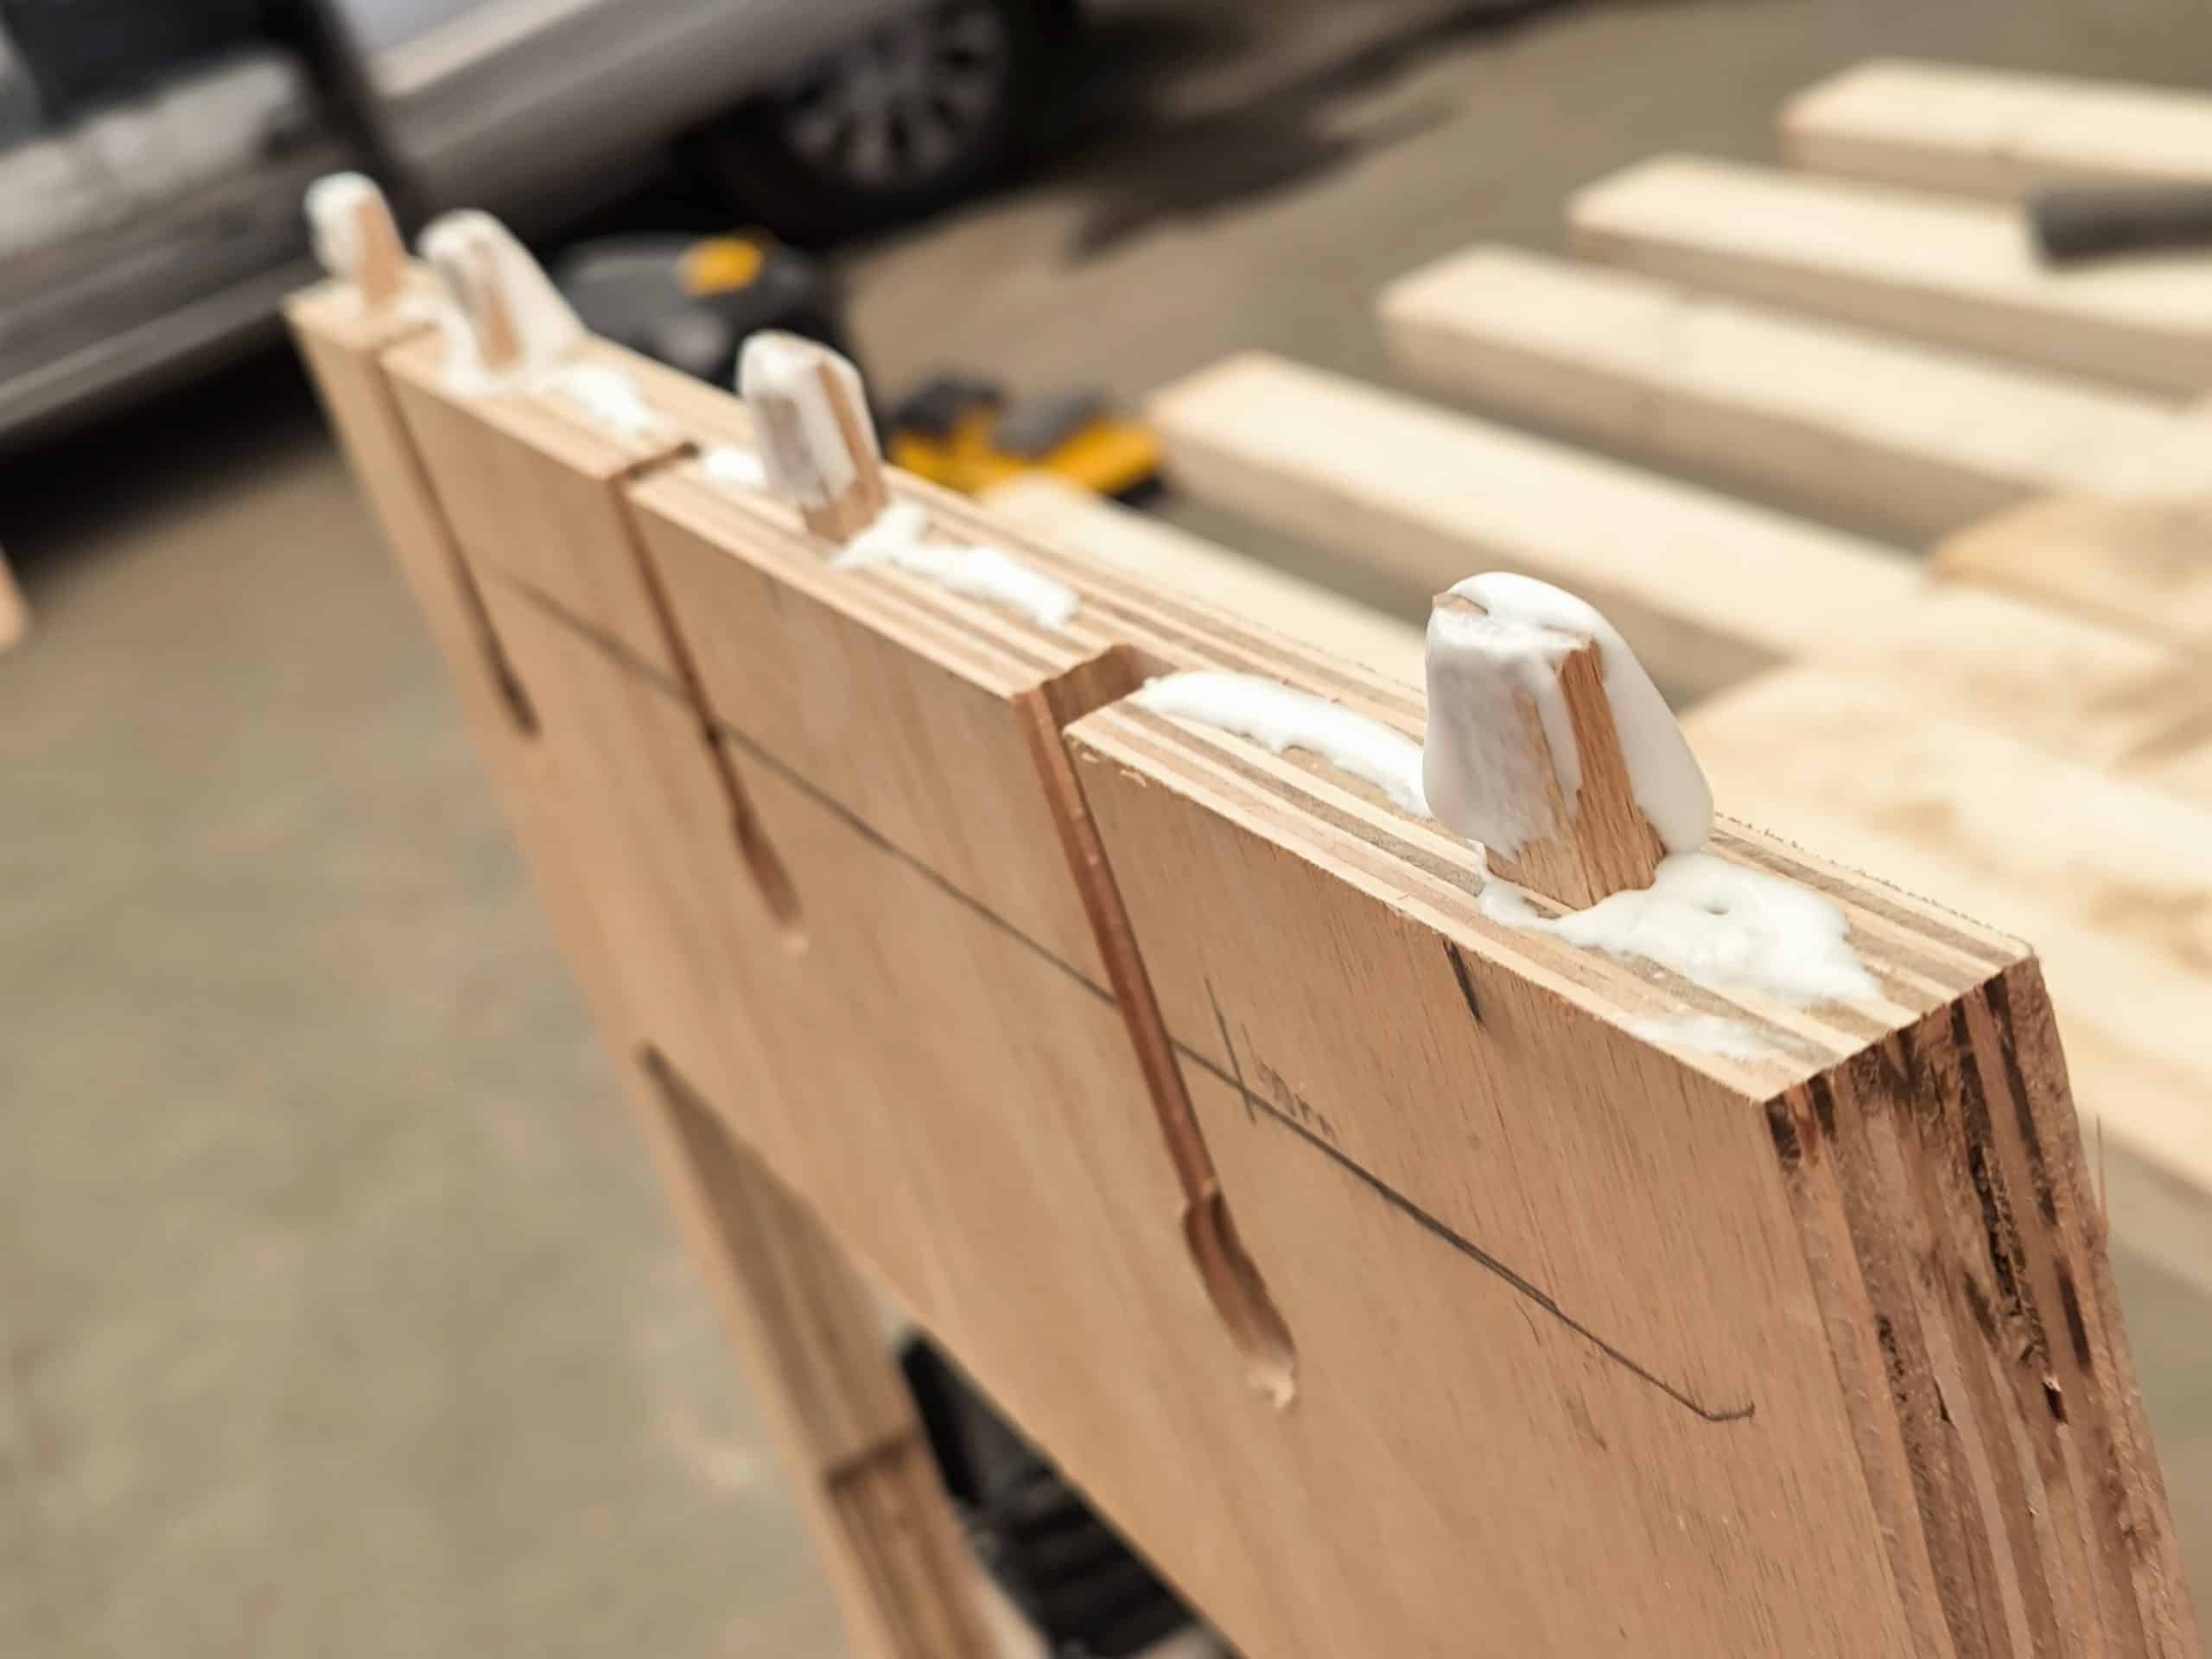
Happy with the measurements we took the 2 sections of worktop out of the van to trim and joint them. I’d deliberately left them over length so this could be done. I’m lucky to have a tradey mate with some awesome tools. Particularly cool is the domino cutter that creates rectangular pockets in the edge of a worktop. You glue in beefy rectangular dowels (they look like dominoes) and then slot the other worktop into the other end and clamp it all together using worktop bolts.
Once glued it was incredibly solid and we could easily move the worktop around as one big bit. After a sanding to blend the joint together, we lifted it back into the van for a final fitting before the lamination process. I planned this van out fully a few months ago in CAD but it’s so satisfying to see it become reality and slot into place.
Now the scary point of no return. So much work had already gone into the worktop I was nervous about fucking up the laminate, but ultimately if it went poorly we could potentially peel it off and try again with the other half of the extra large laminate sheet. That was one bonus ordering the giant size, we had 2 shots at it.
But really it was pretty simple. We prepared the area and laid down batons on the floor. Blew all the dust off the worktop and the laminate sheet and then used a foam roller to apply a coating of PVA glue. We were told that contact adhesive is great, but unforgiving if you fuck it up, whereas PVA does a perfectly adequate job and gives you time to move it if needed. Once coated, we just lifted the laminate into the worktop and then carefully laid it ontop, making sure to try and prevent air pockets forming. We did this by bending it and laying down one end first and then rolling along it’s length till it was all stuck down.
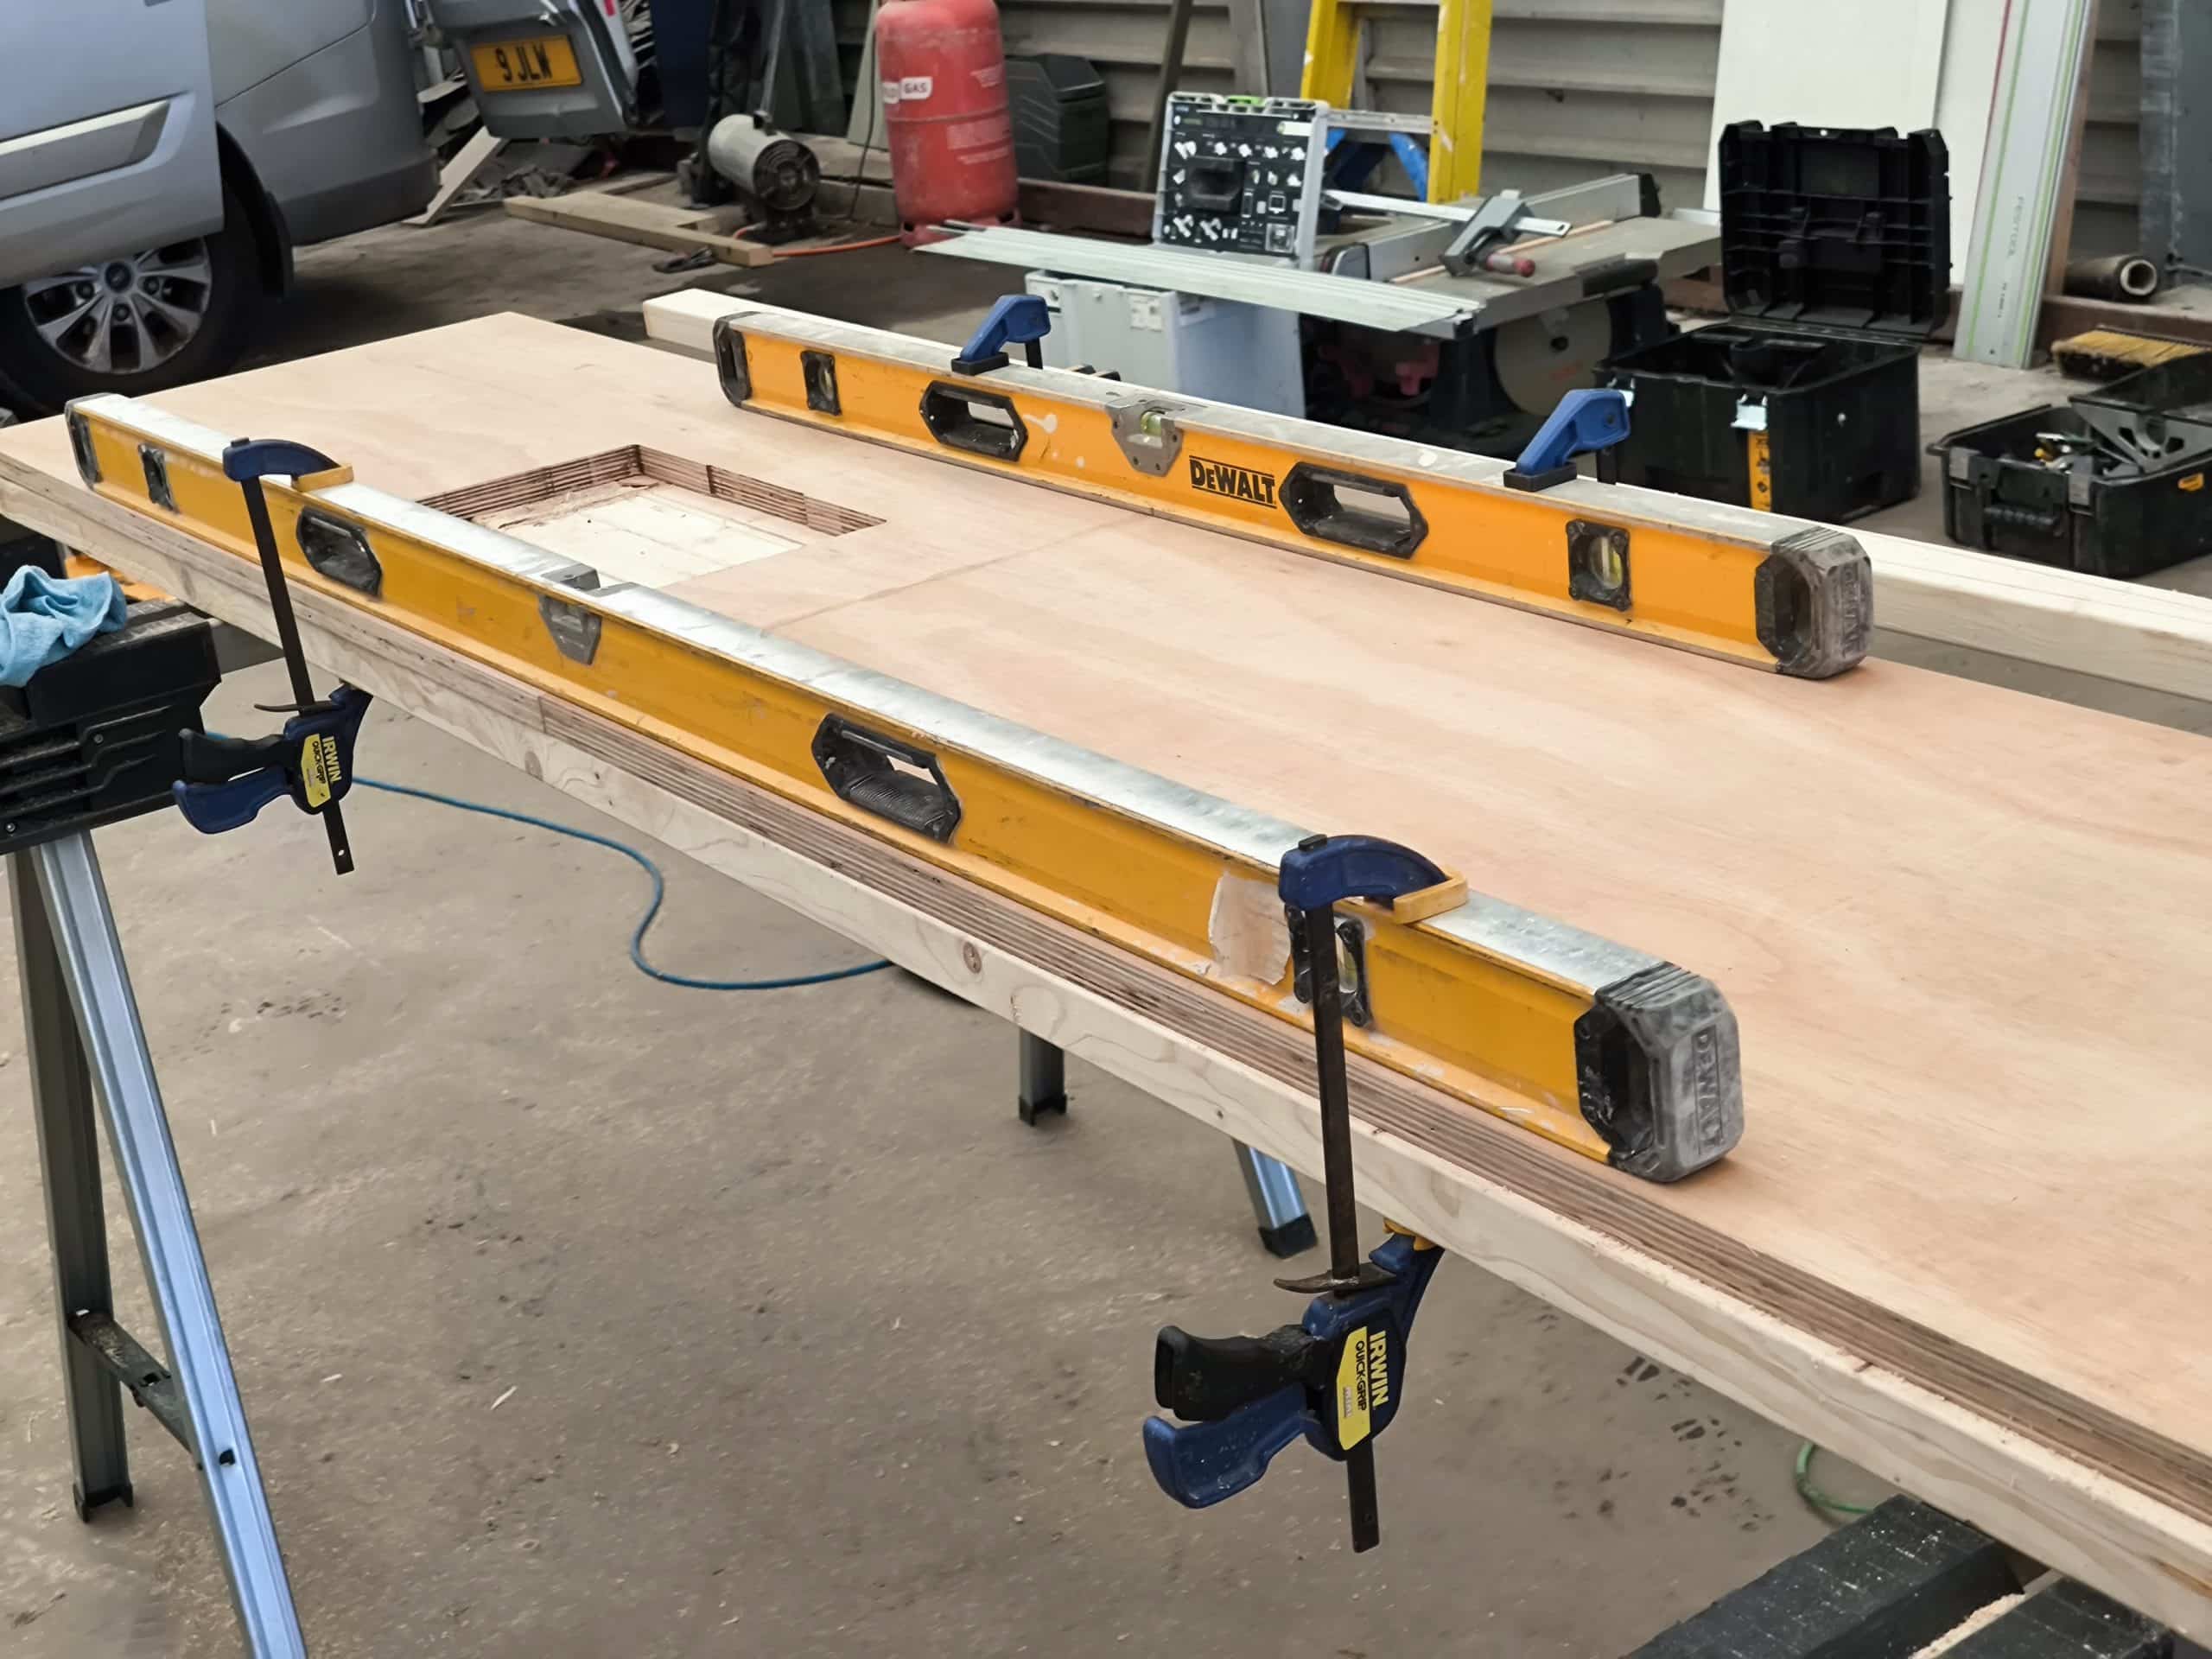
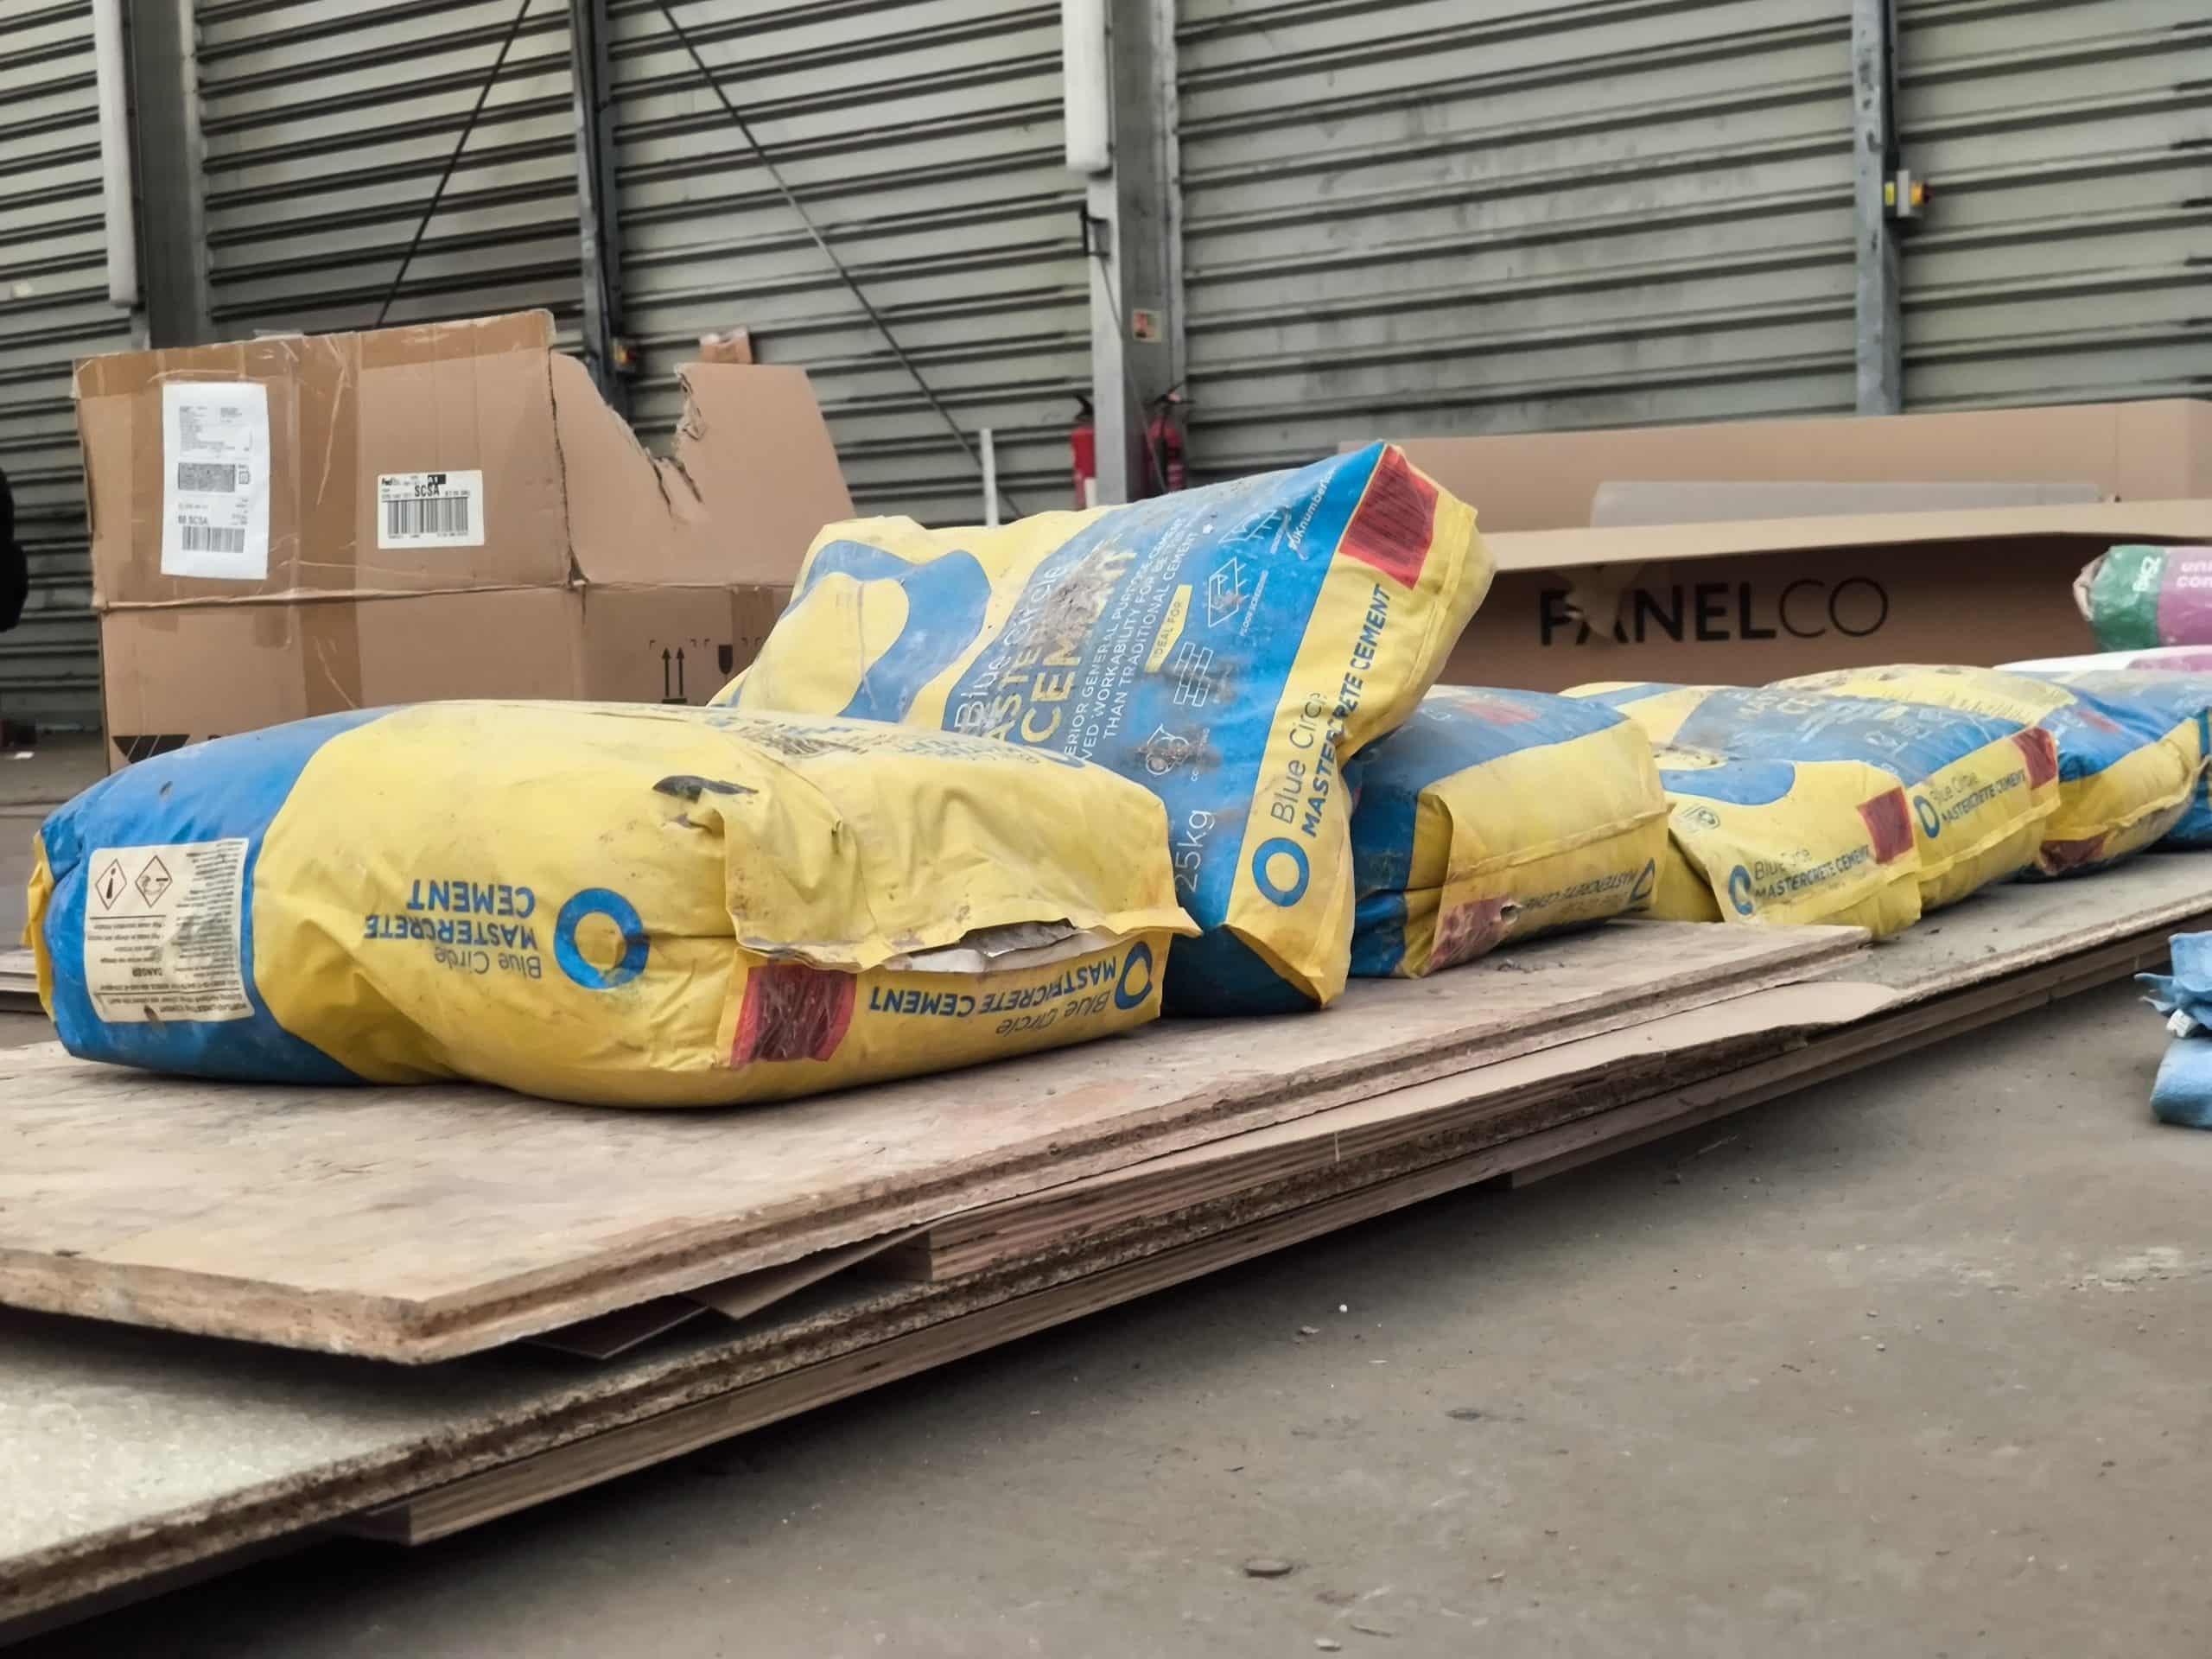
It was then transferred to the batons laid on the floor. We used some bits of plywood on top of the worktop and then about 15 bags of sand and cement to add weight and press the whole laminate glue and plywood sandwich together.
It would take a few days to dry the glue and it was only just passed midday so once home I started on some of the electrics.
This is not a forte of mine so I think subconsciously I’ve been putting it off. But after an hour of mooching around the van, holding up bits of cable and looking at them, (much like I did before with bits of wood) I’ve now got a good understanding of what I’m doing… Sort of.
The components are in the cupboard so I spent the afternoon focusing on the ground wires. Making sure everything was connected back to ground, that should be. Having had my rivnut tool delivered, I was also able to pop that into the bare metal hole I prepared earlier.
As the light faded, halting any further work, I’d run about 50% of the ground wires. I’m going to have to get a move on with the electrics now it’s getting dark earlier or I’m going to have no light to work by