Diary Of A Camper Conversion
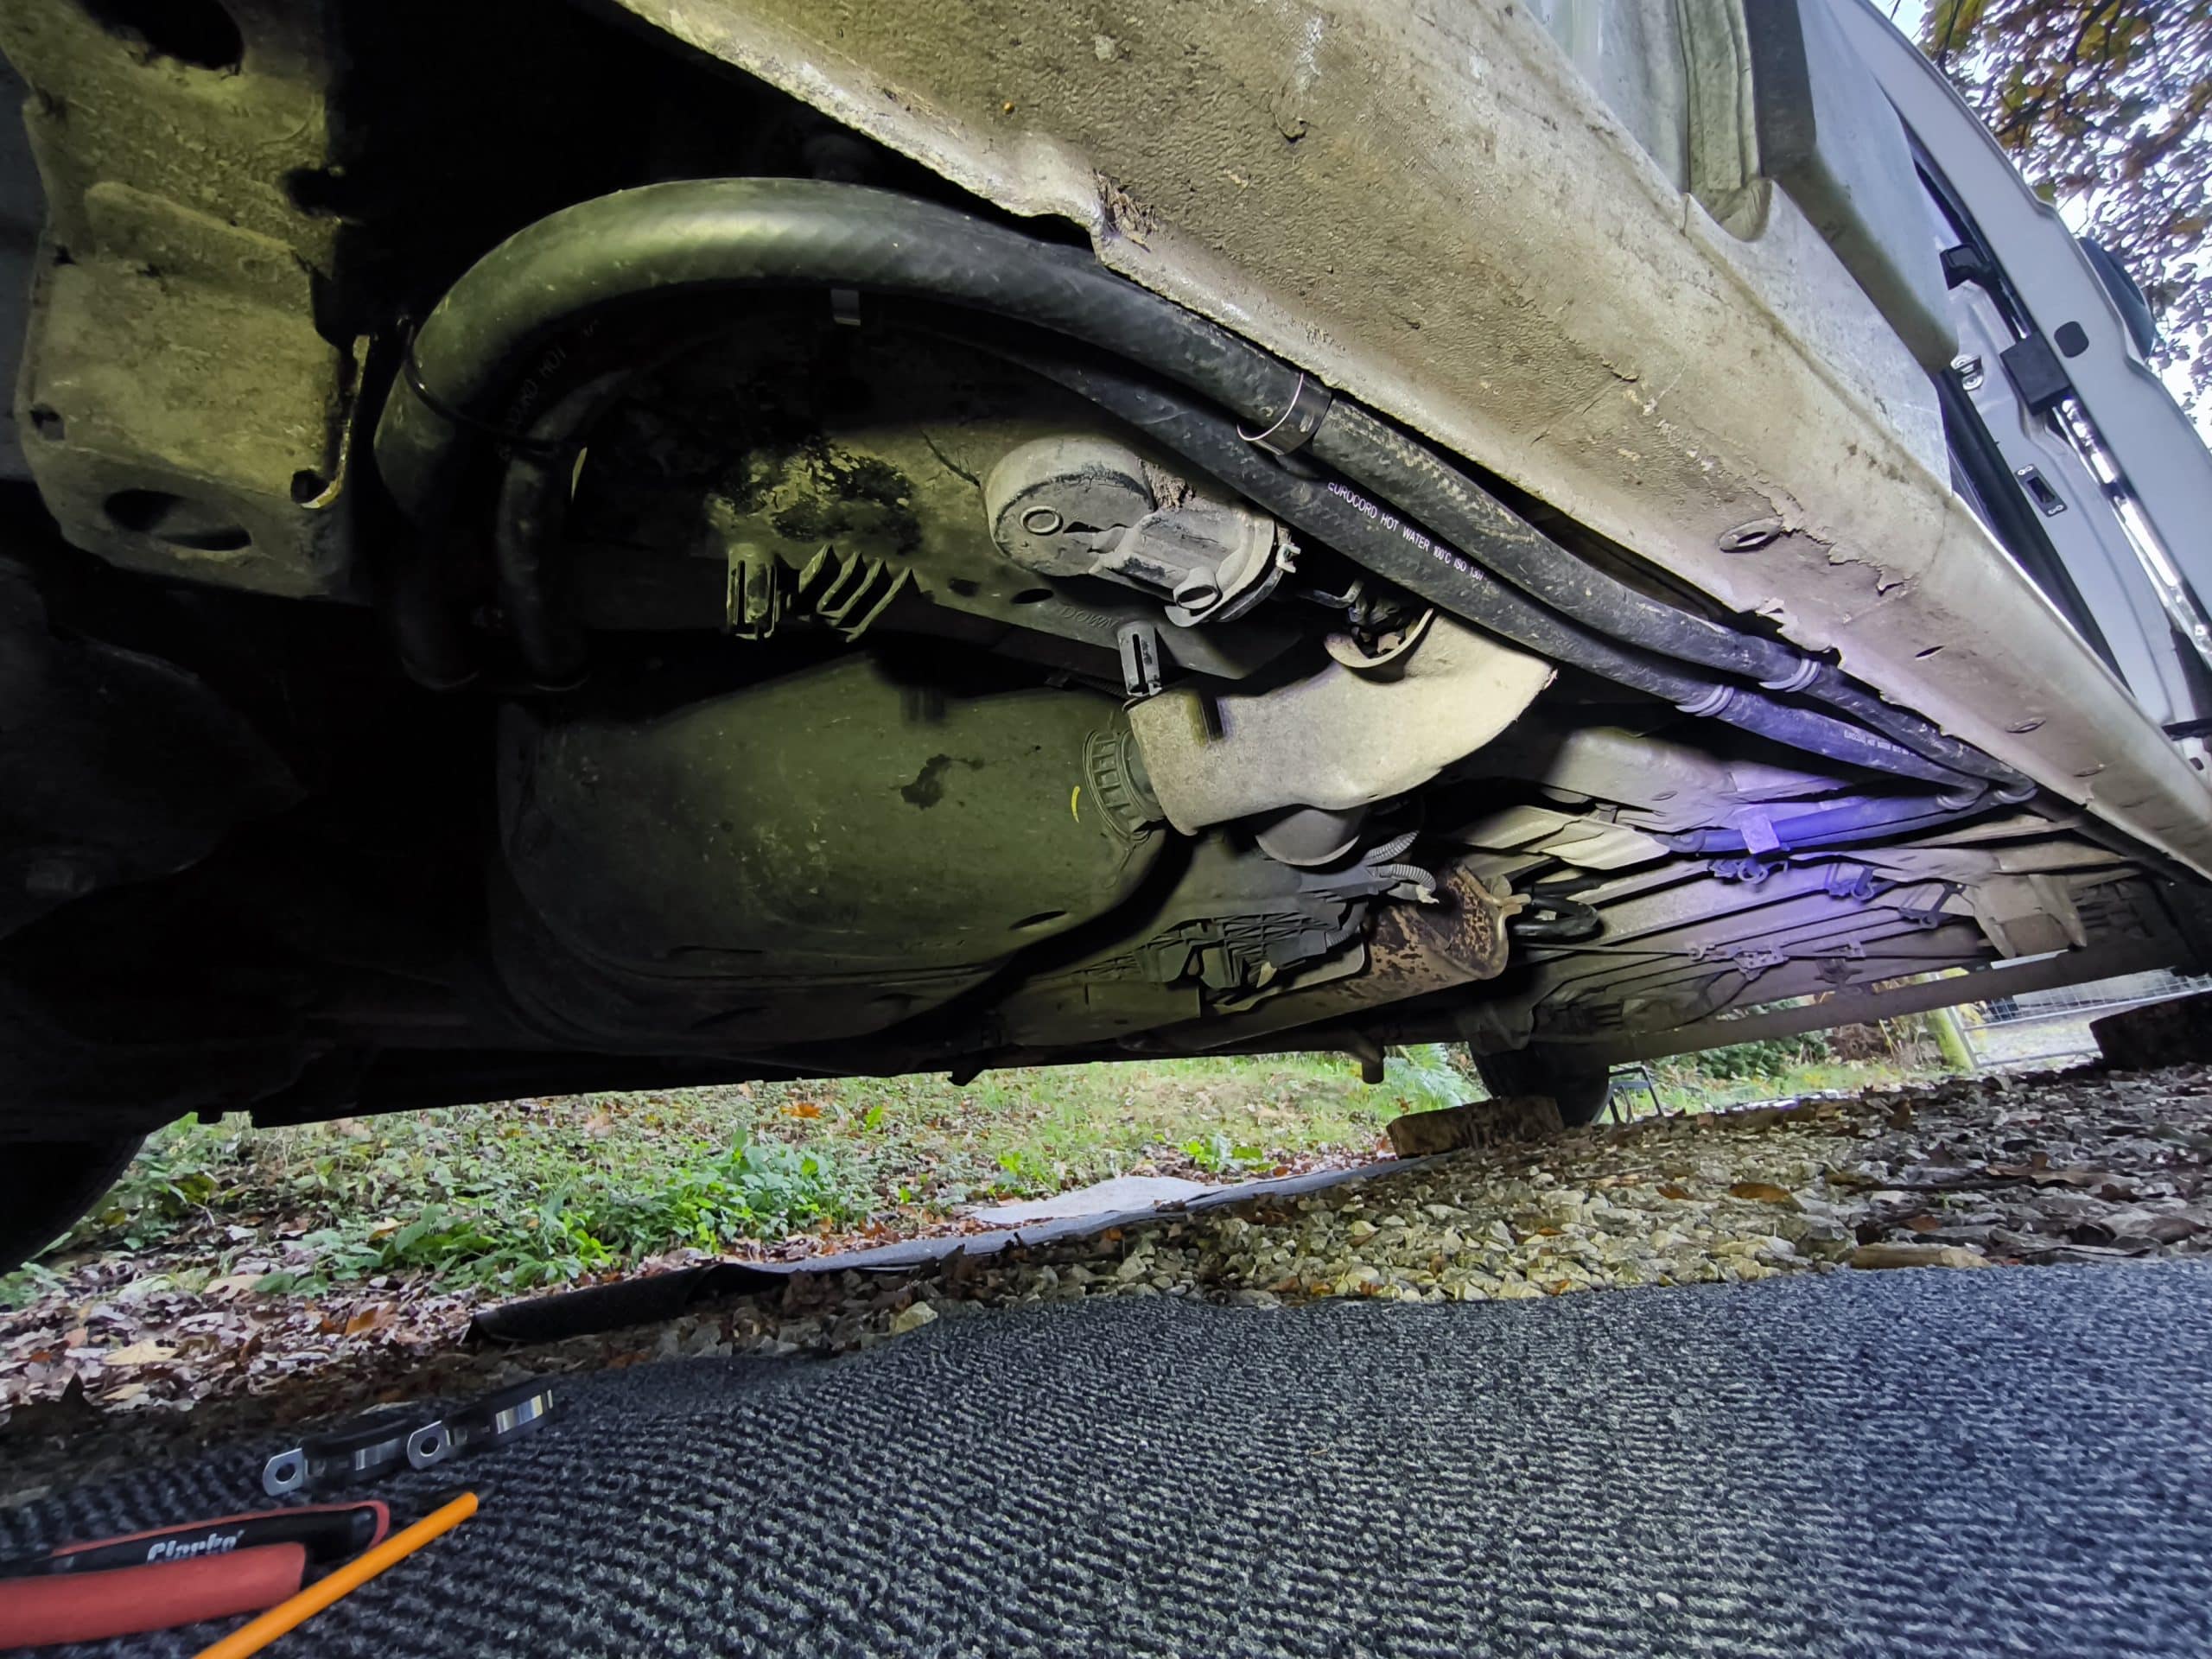
Previously I ran the hot water pipes run from the engine bay back to under the van. Now my rivnut tool has arrived I can make this installation more permanent. No matter how high temperature the zip ties claim to be I’m much prefer to have metal pipe brackets holding them in place.
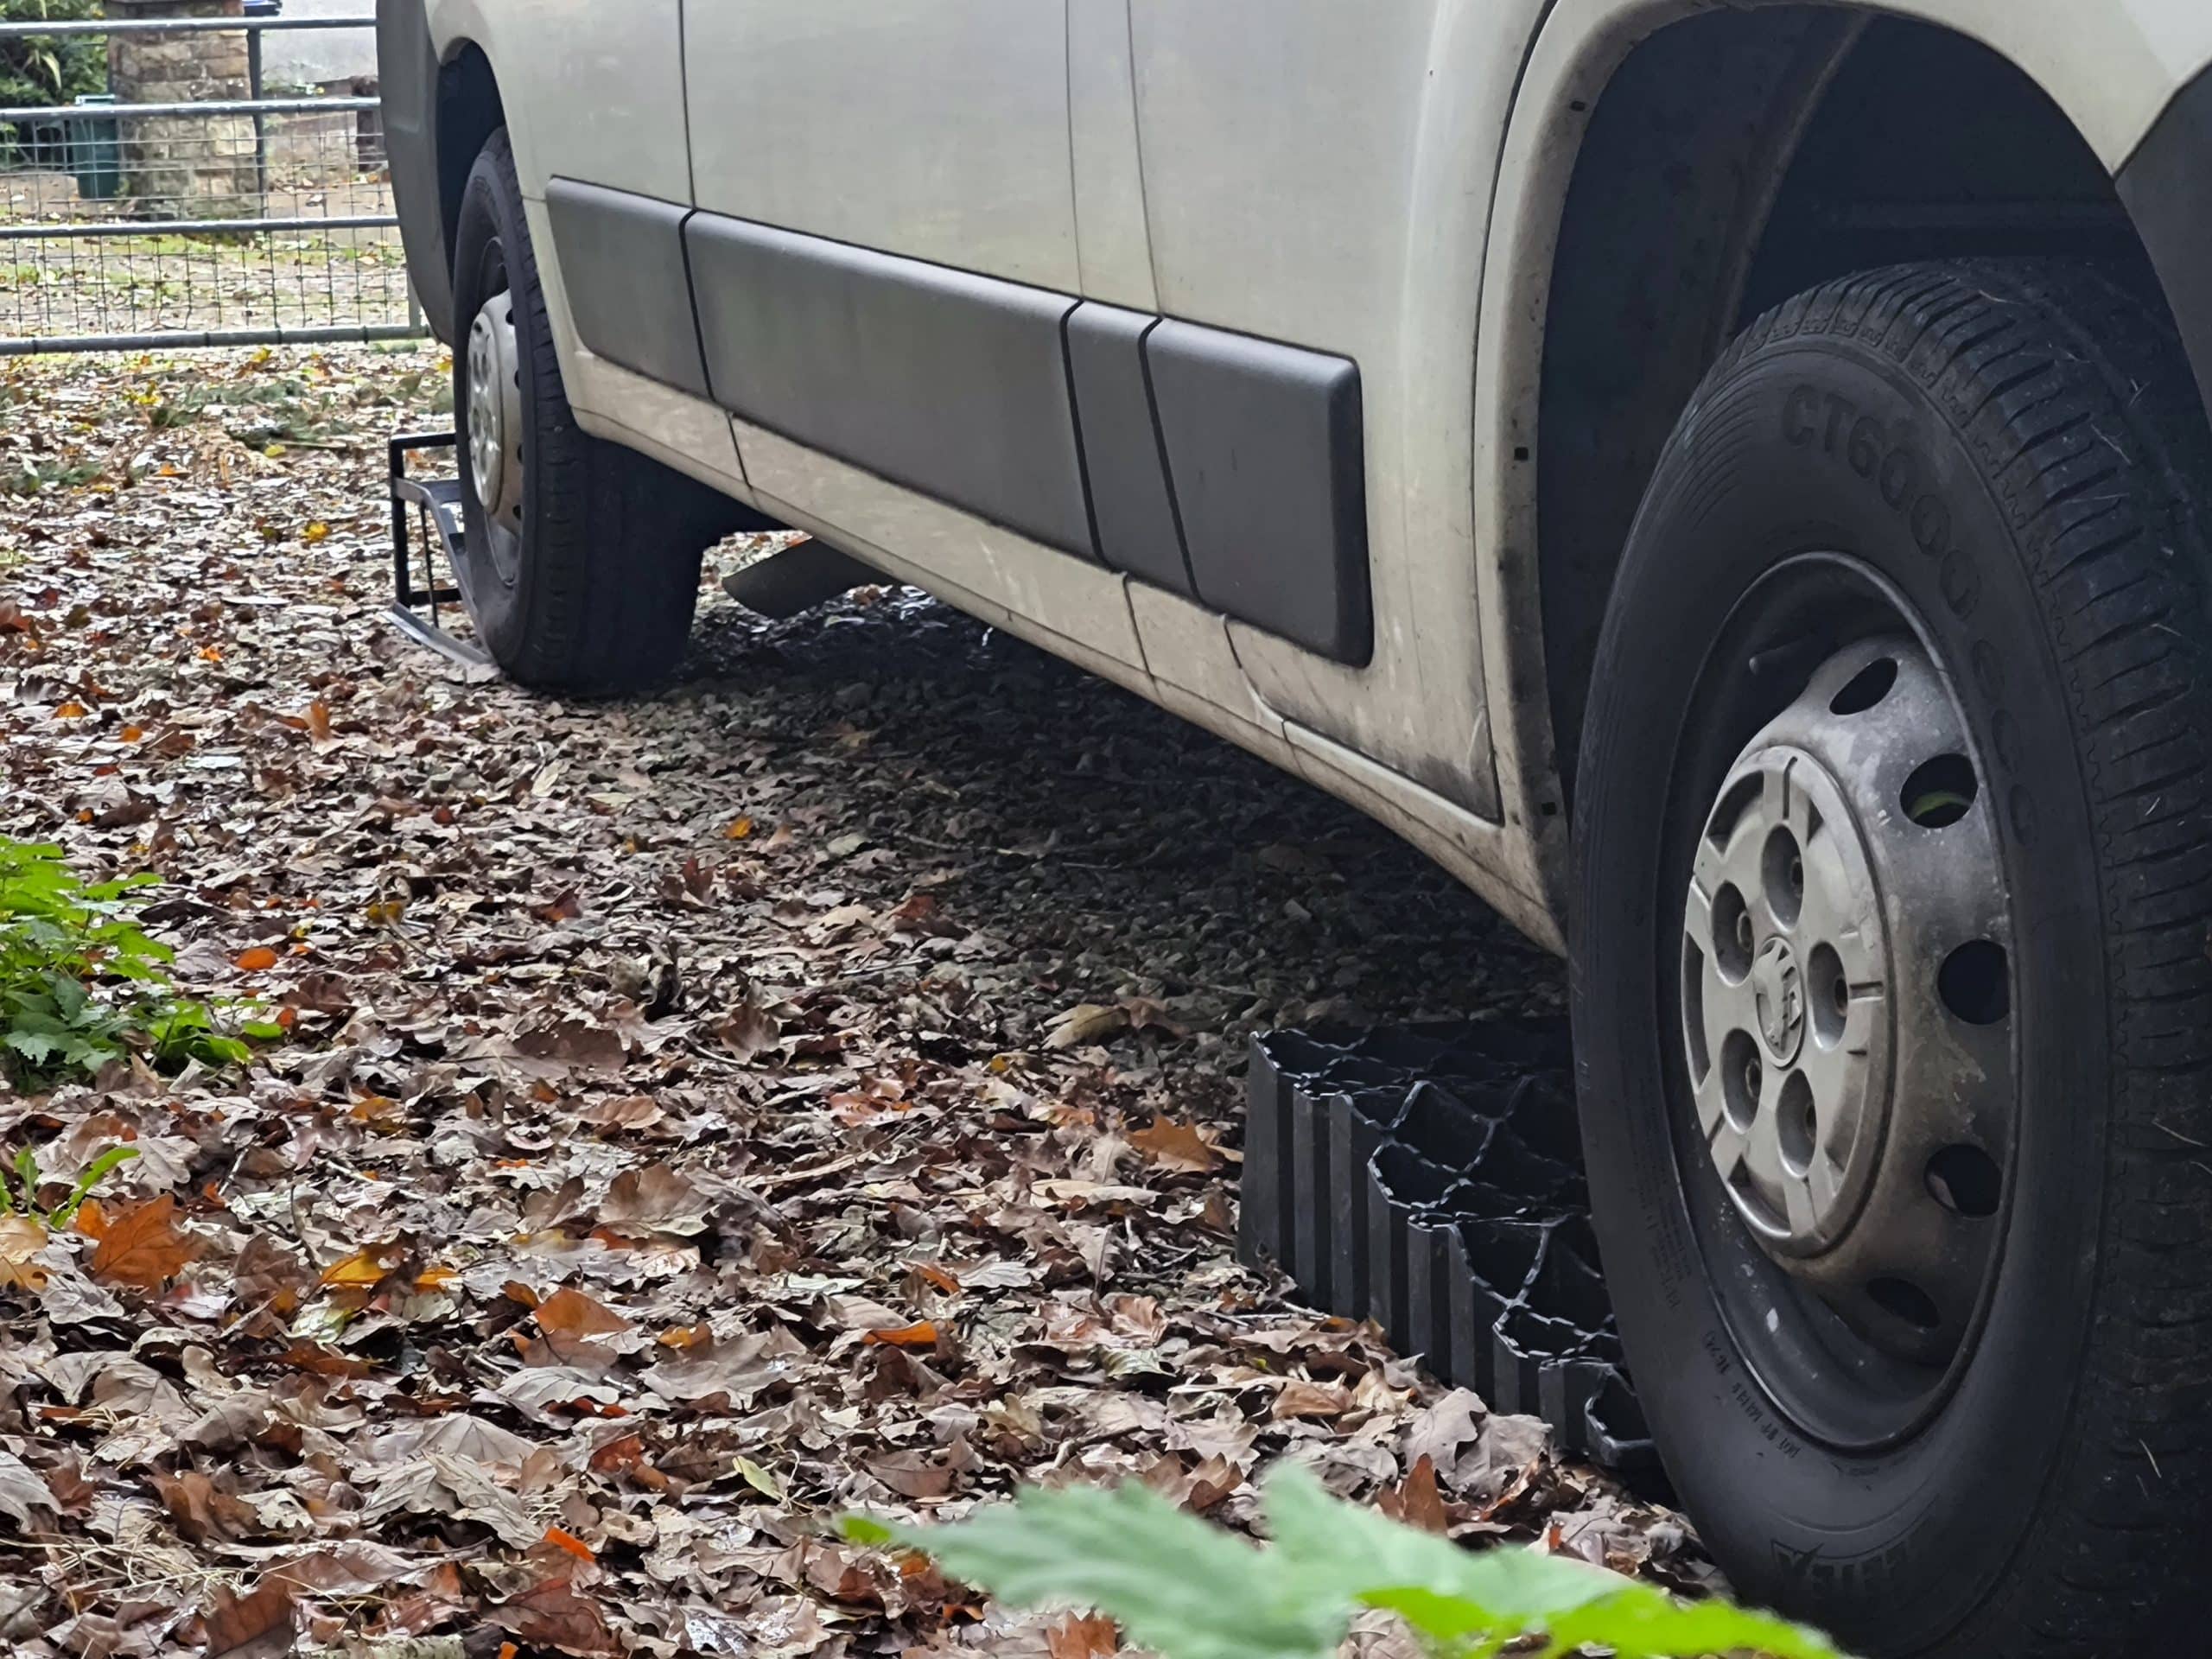
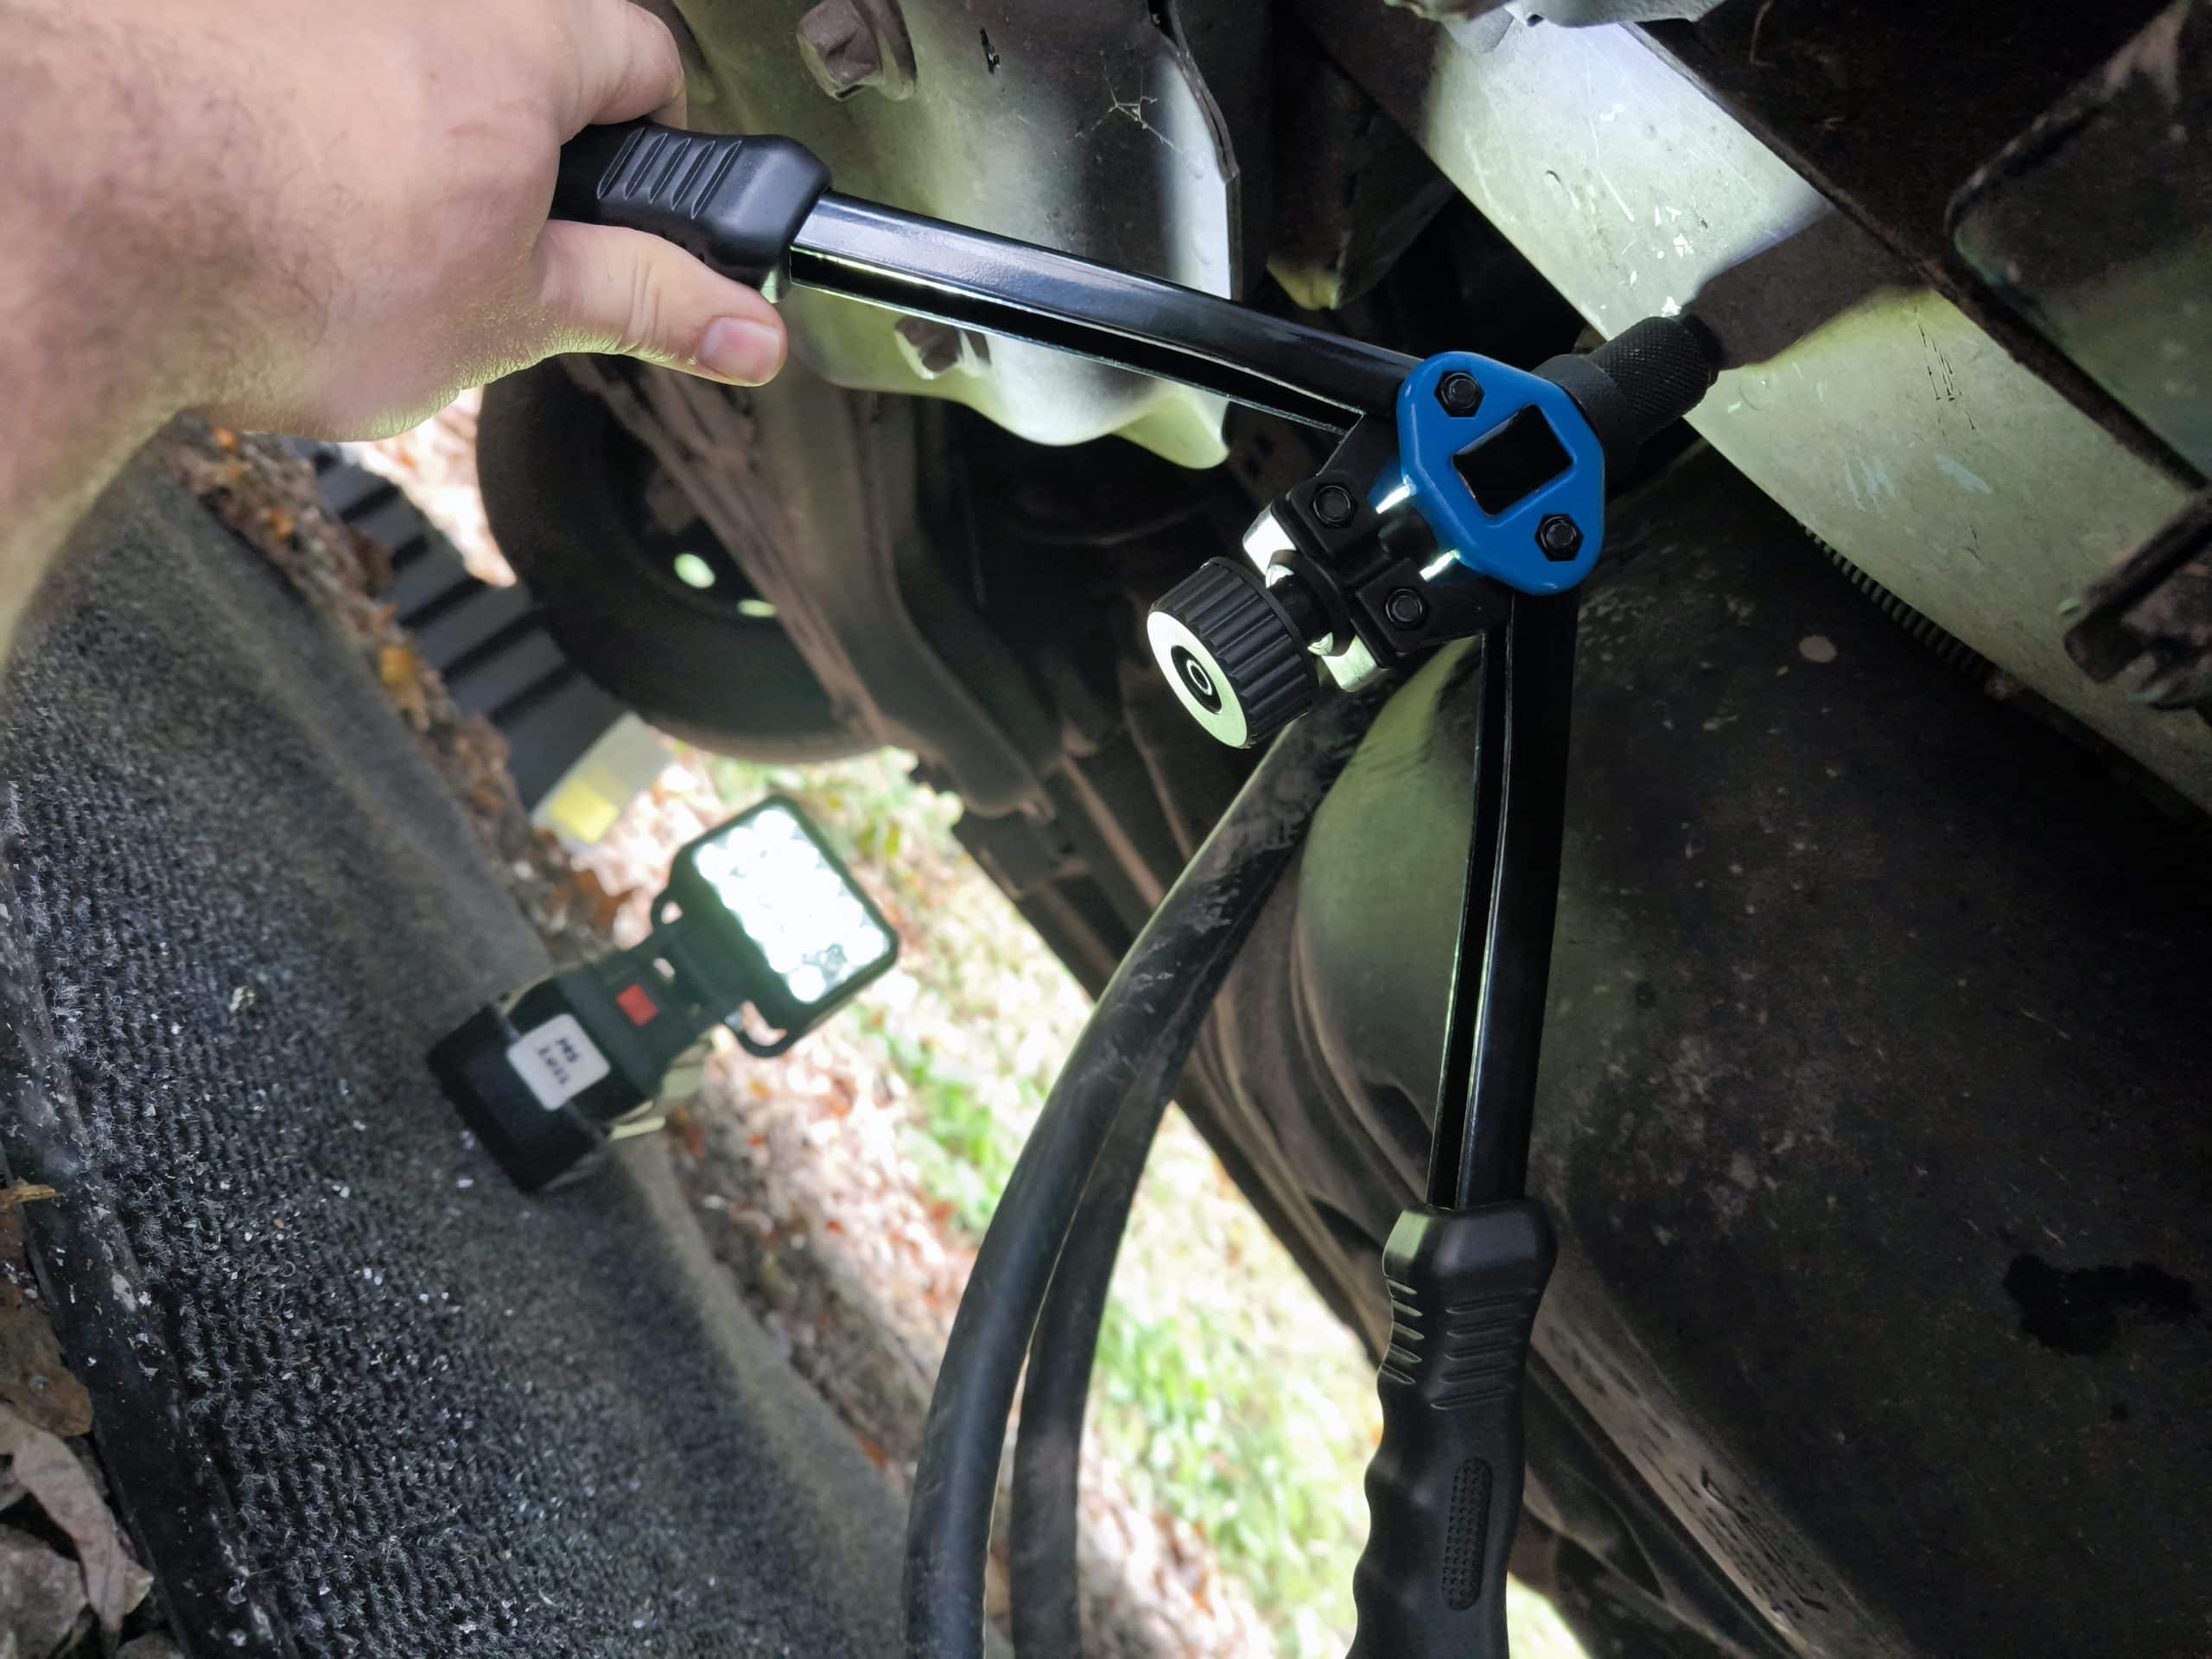
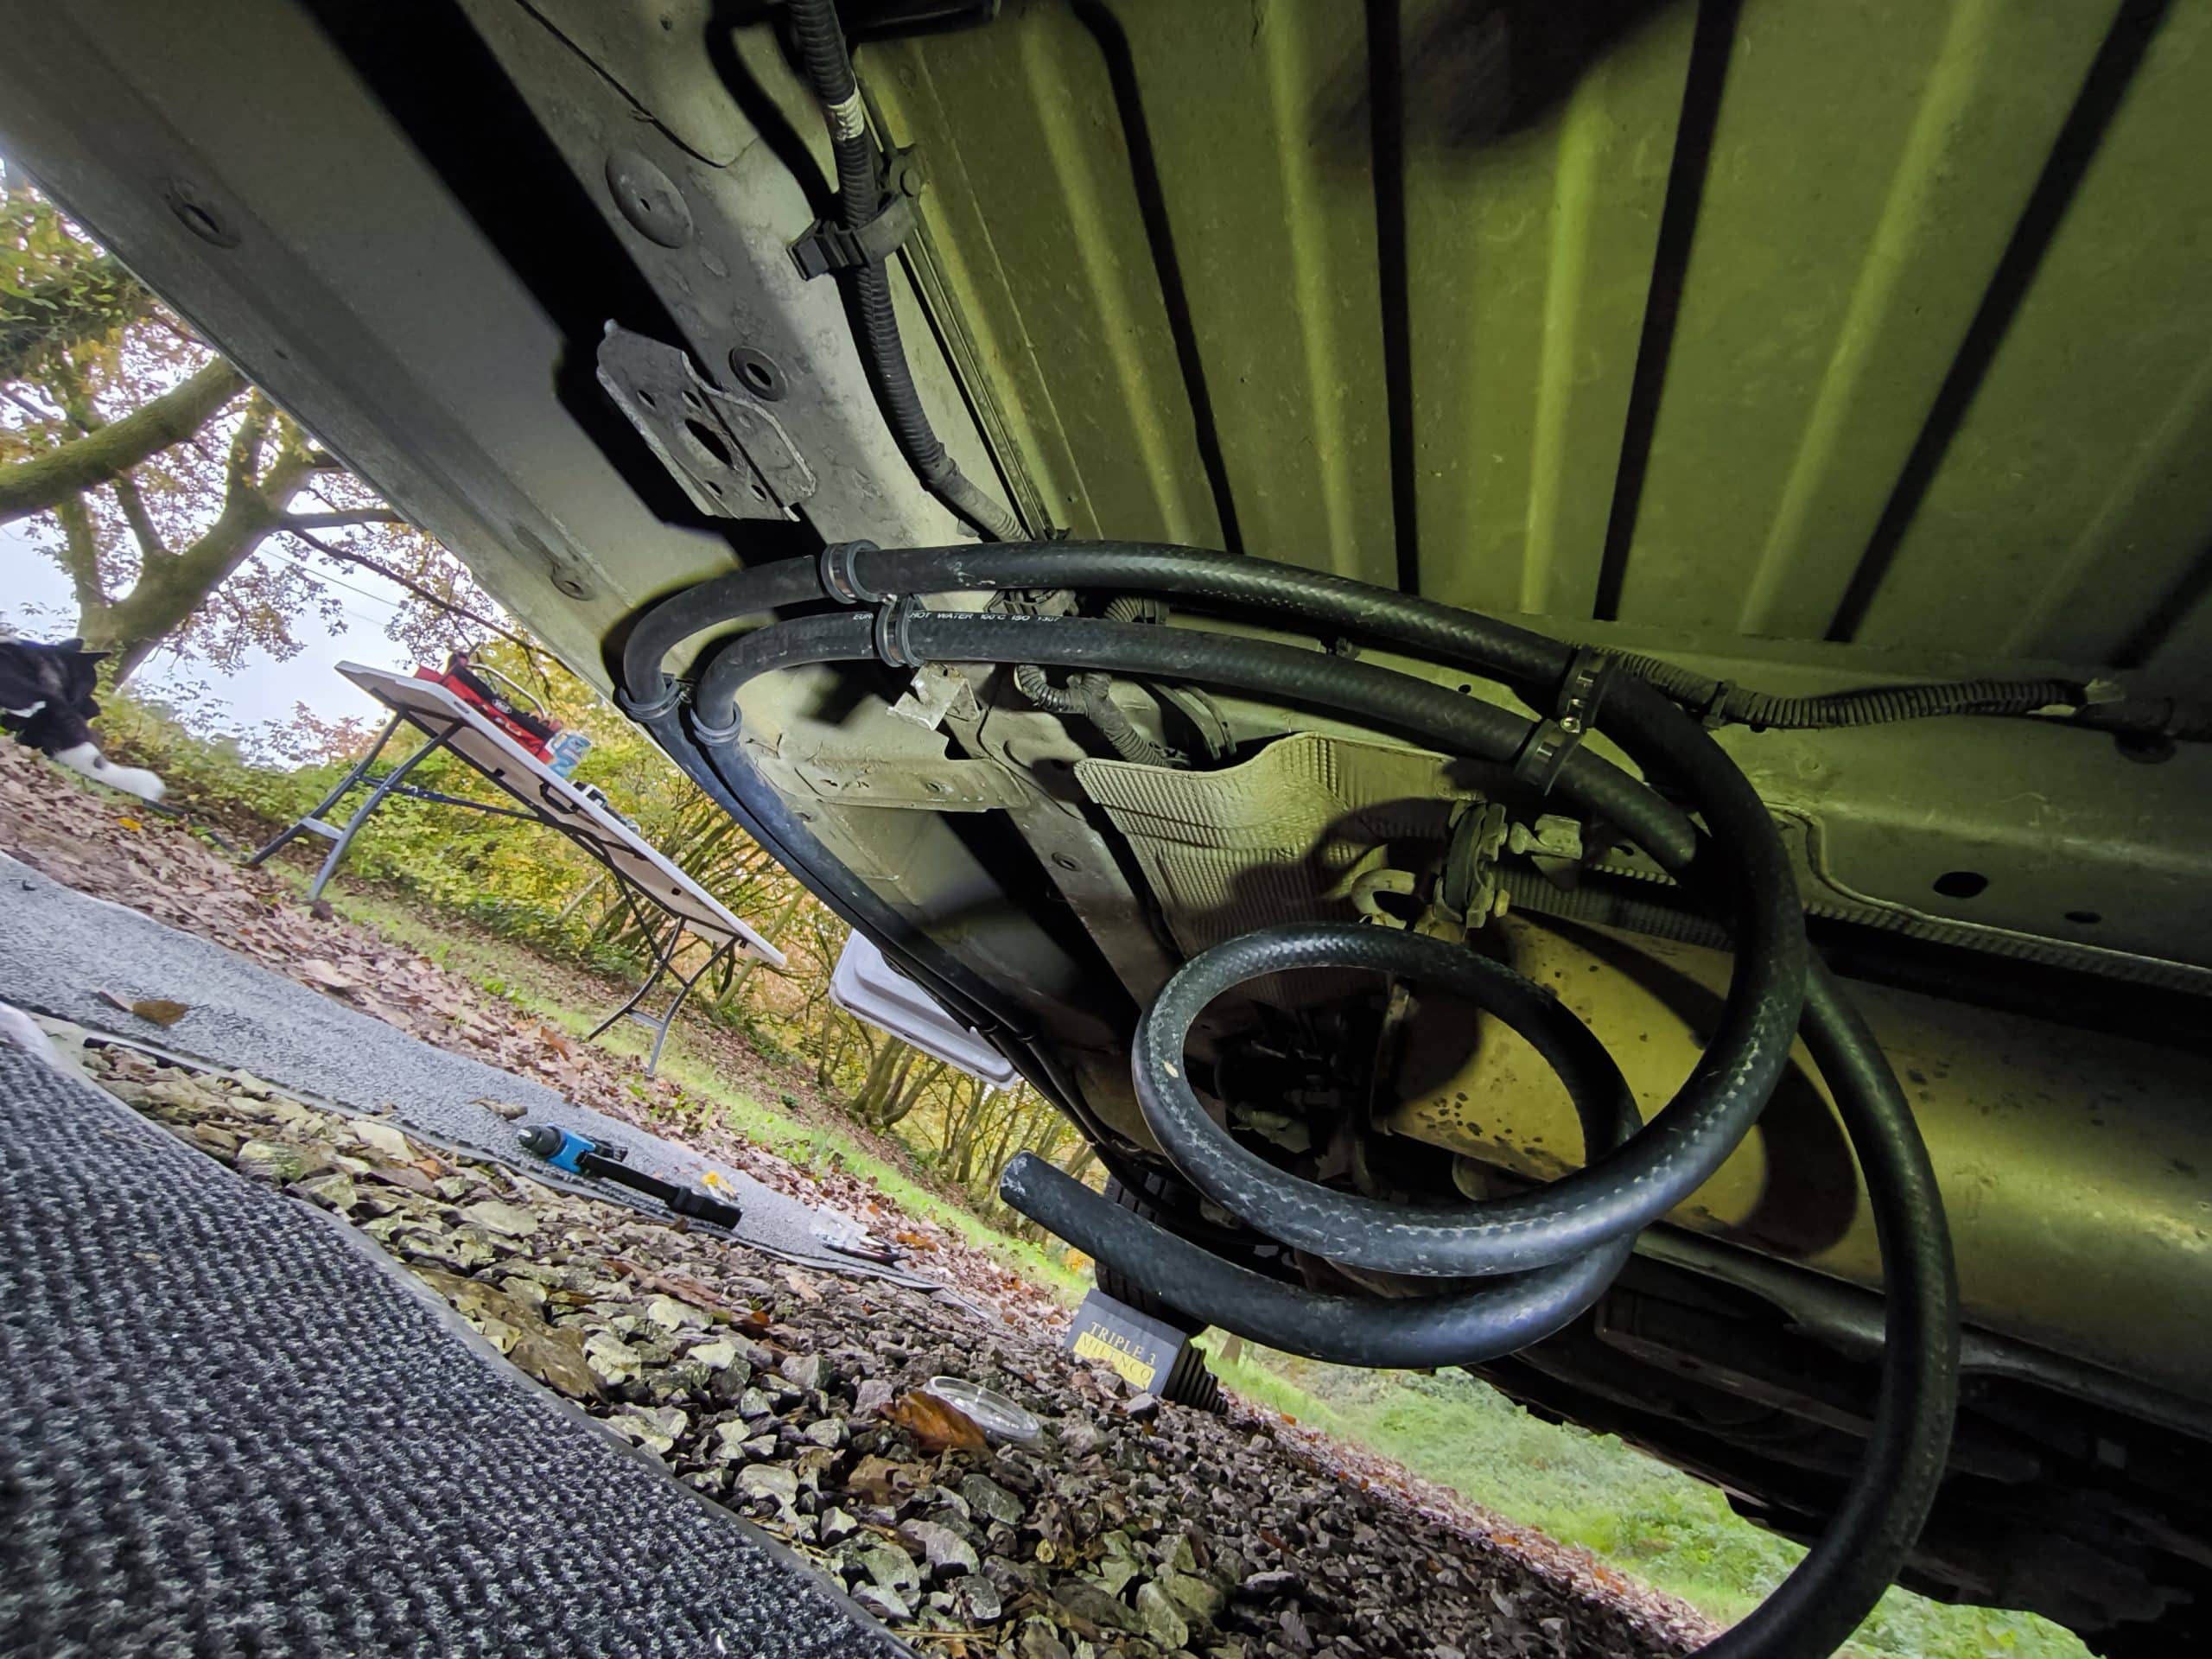
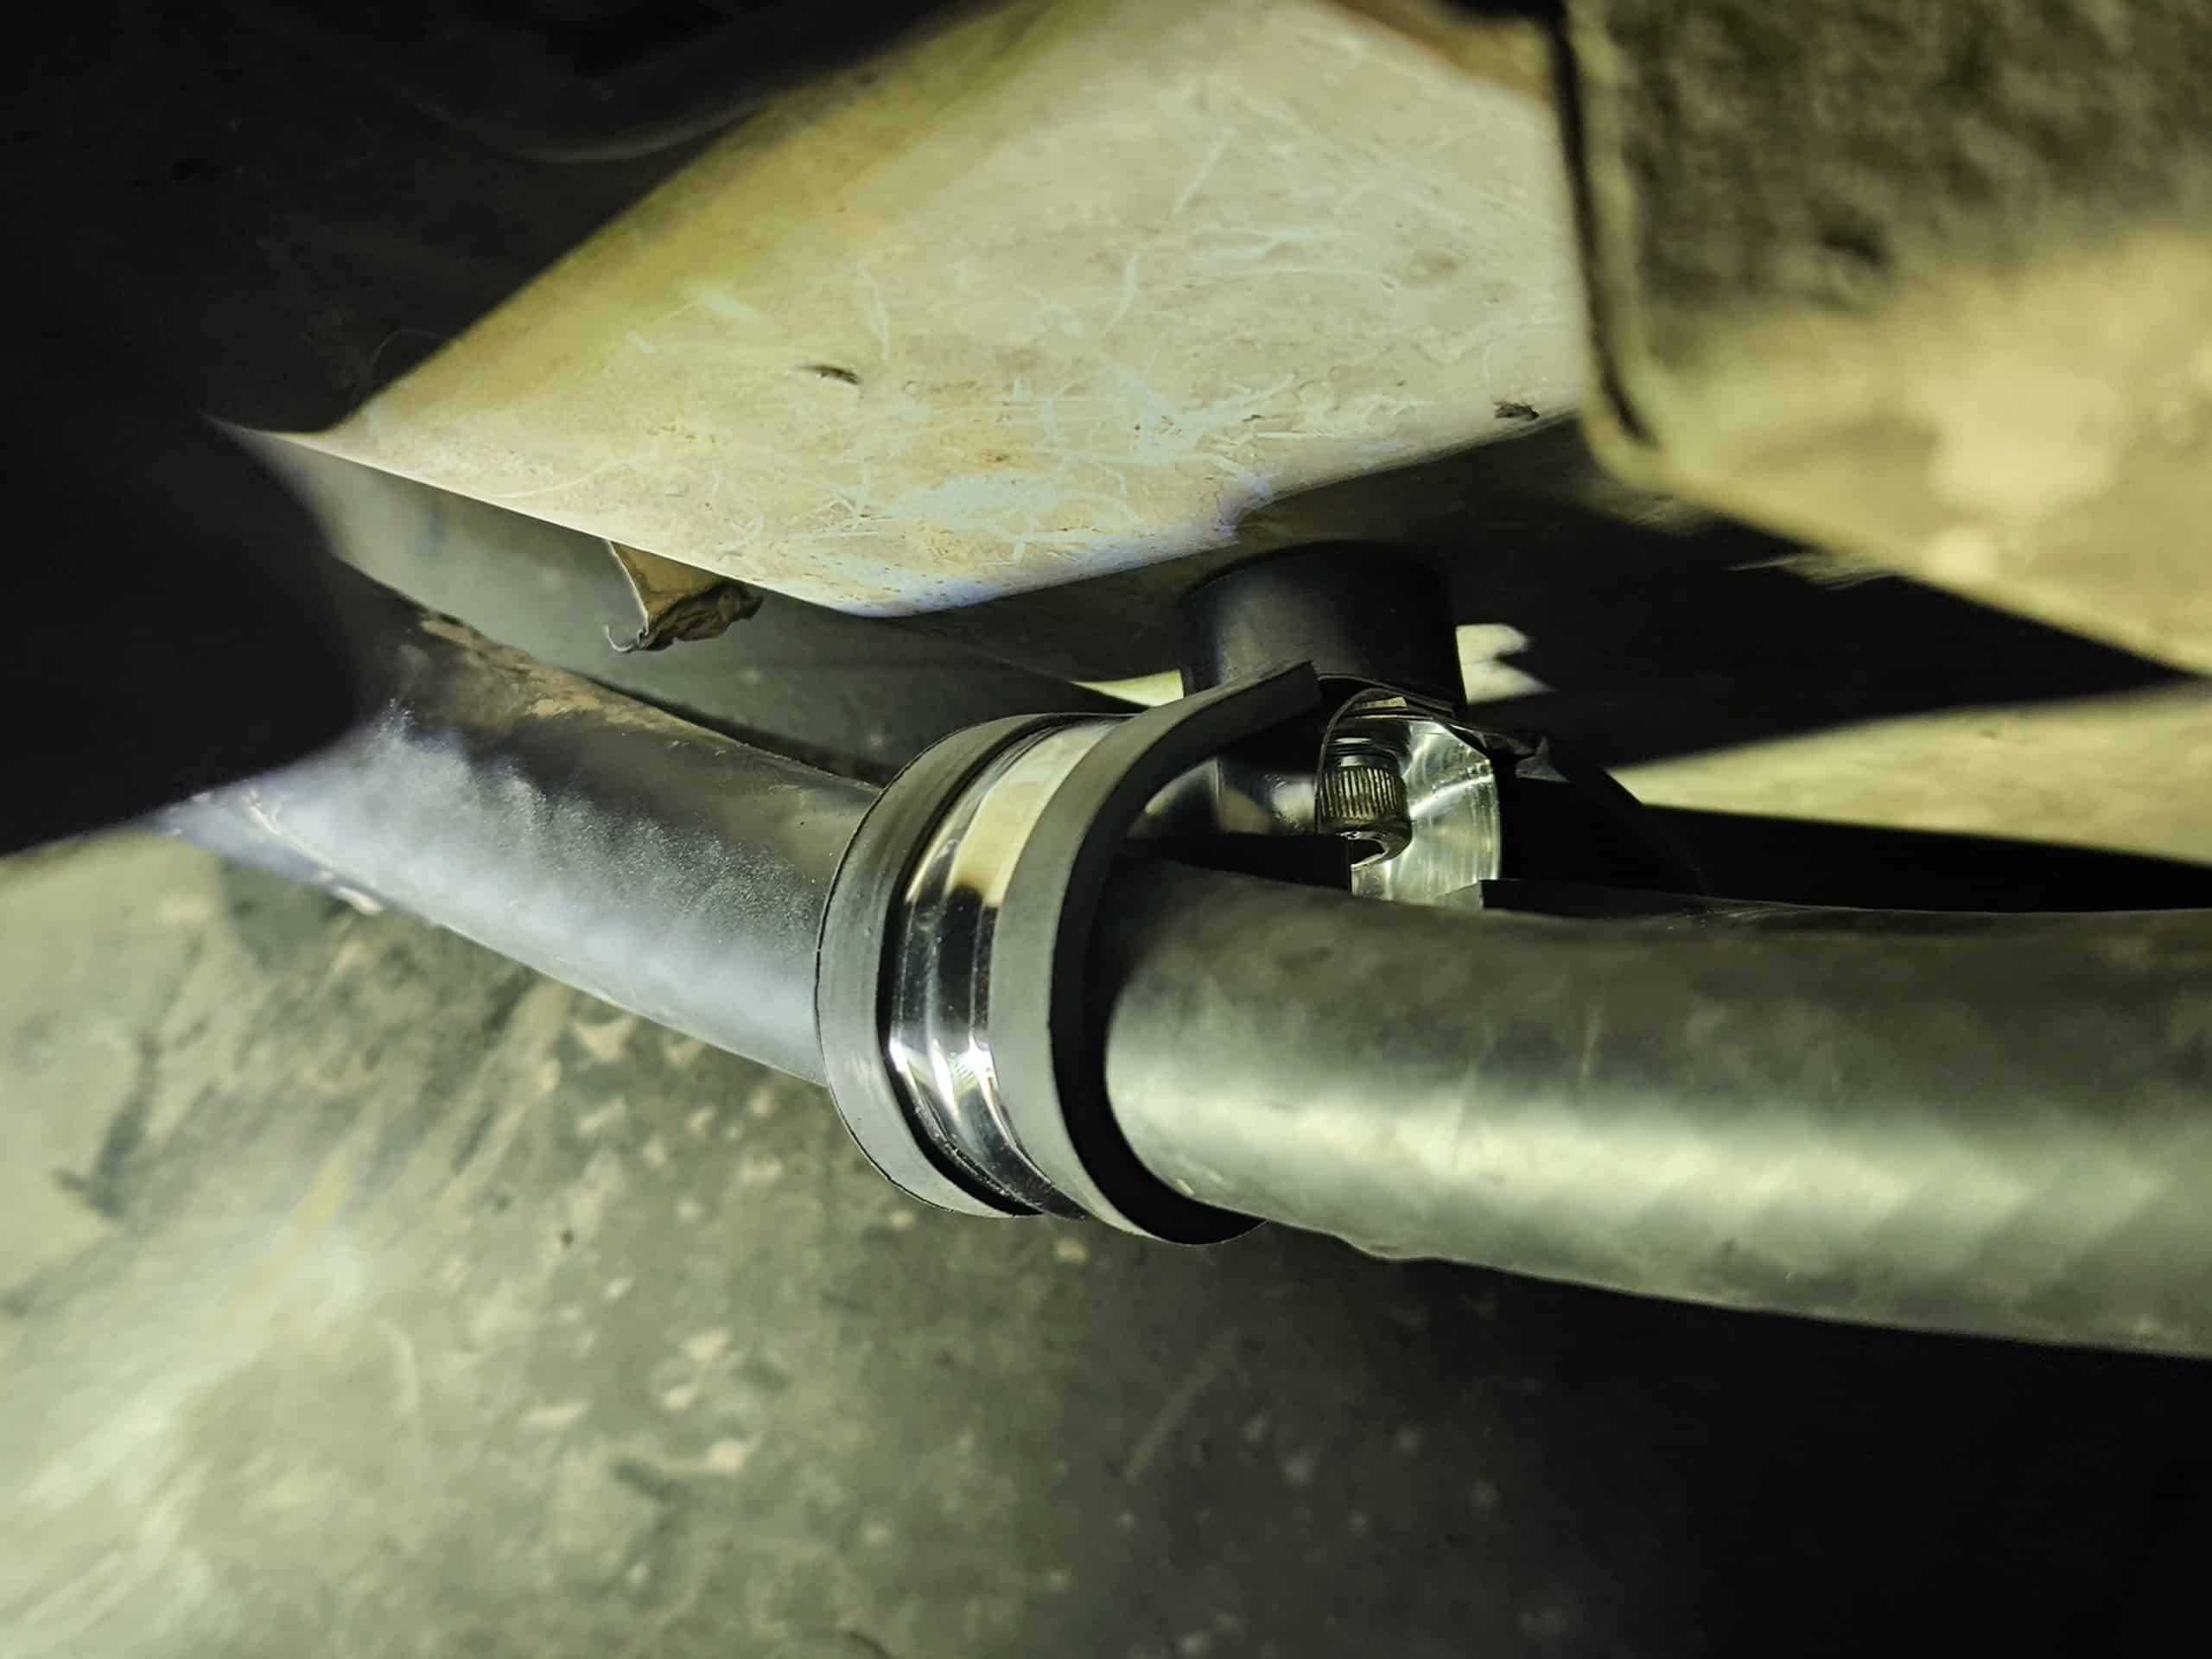
I managed to use two existing bolts under the van near the passenger wheel. These held in a plastic doo-hickey so it was just a case of unbolting them bending the pipe bracket into place and bolting it back in. Sounds simple but it took a lot longer than expected.
Then I worked my way along the length of the van drilling holes and inserting a riven nut to allow the pipe brackets to be bolted in place.
Of course every now and again I forgot something and so had to run back down to the shed. On these occasions I took the opportunity to apply another coat of spray paint to the heater mounting bracket. I picked this up the other day from the fabricators. It’s had three coats of paint but being so cold it is not fully dried. I’ve moved it indoors and hung it from our light fitting to dry out overnight.
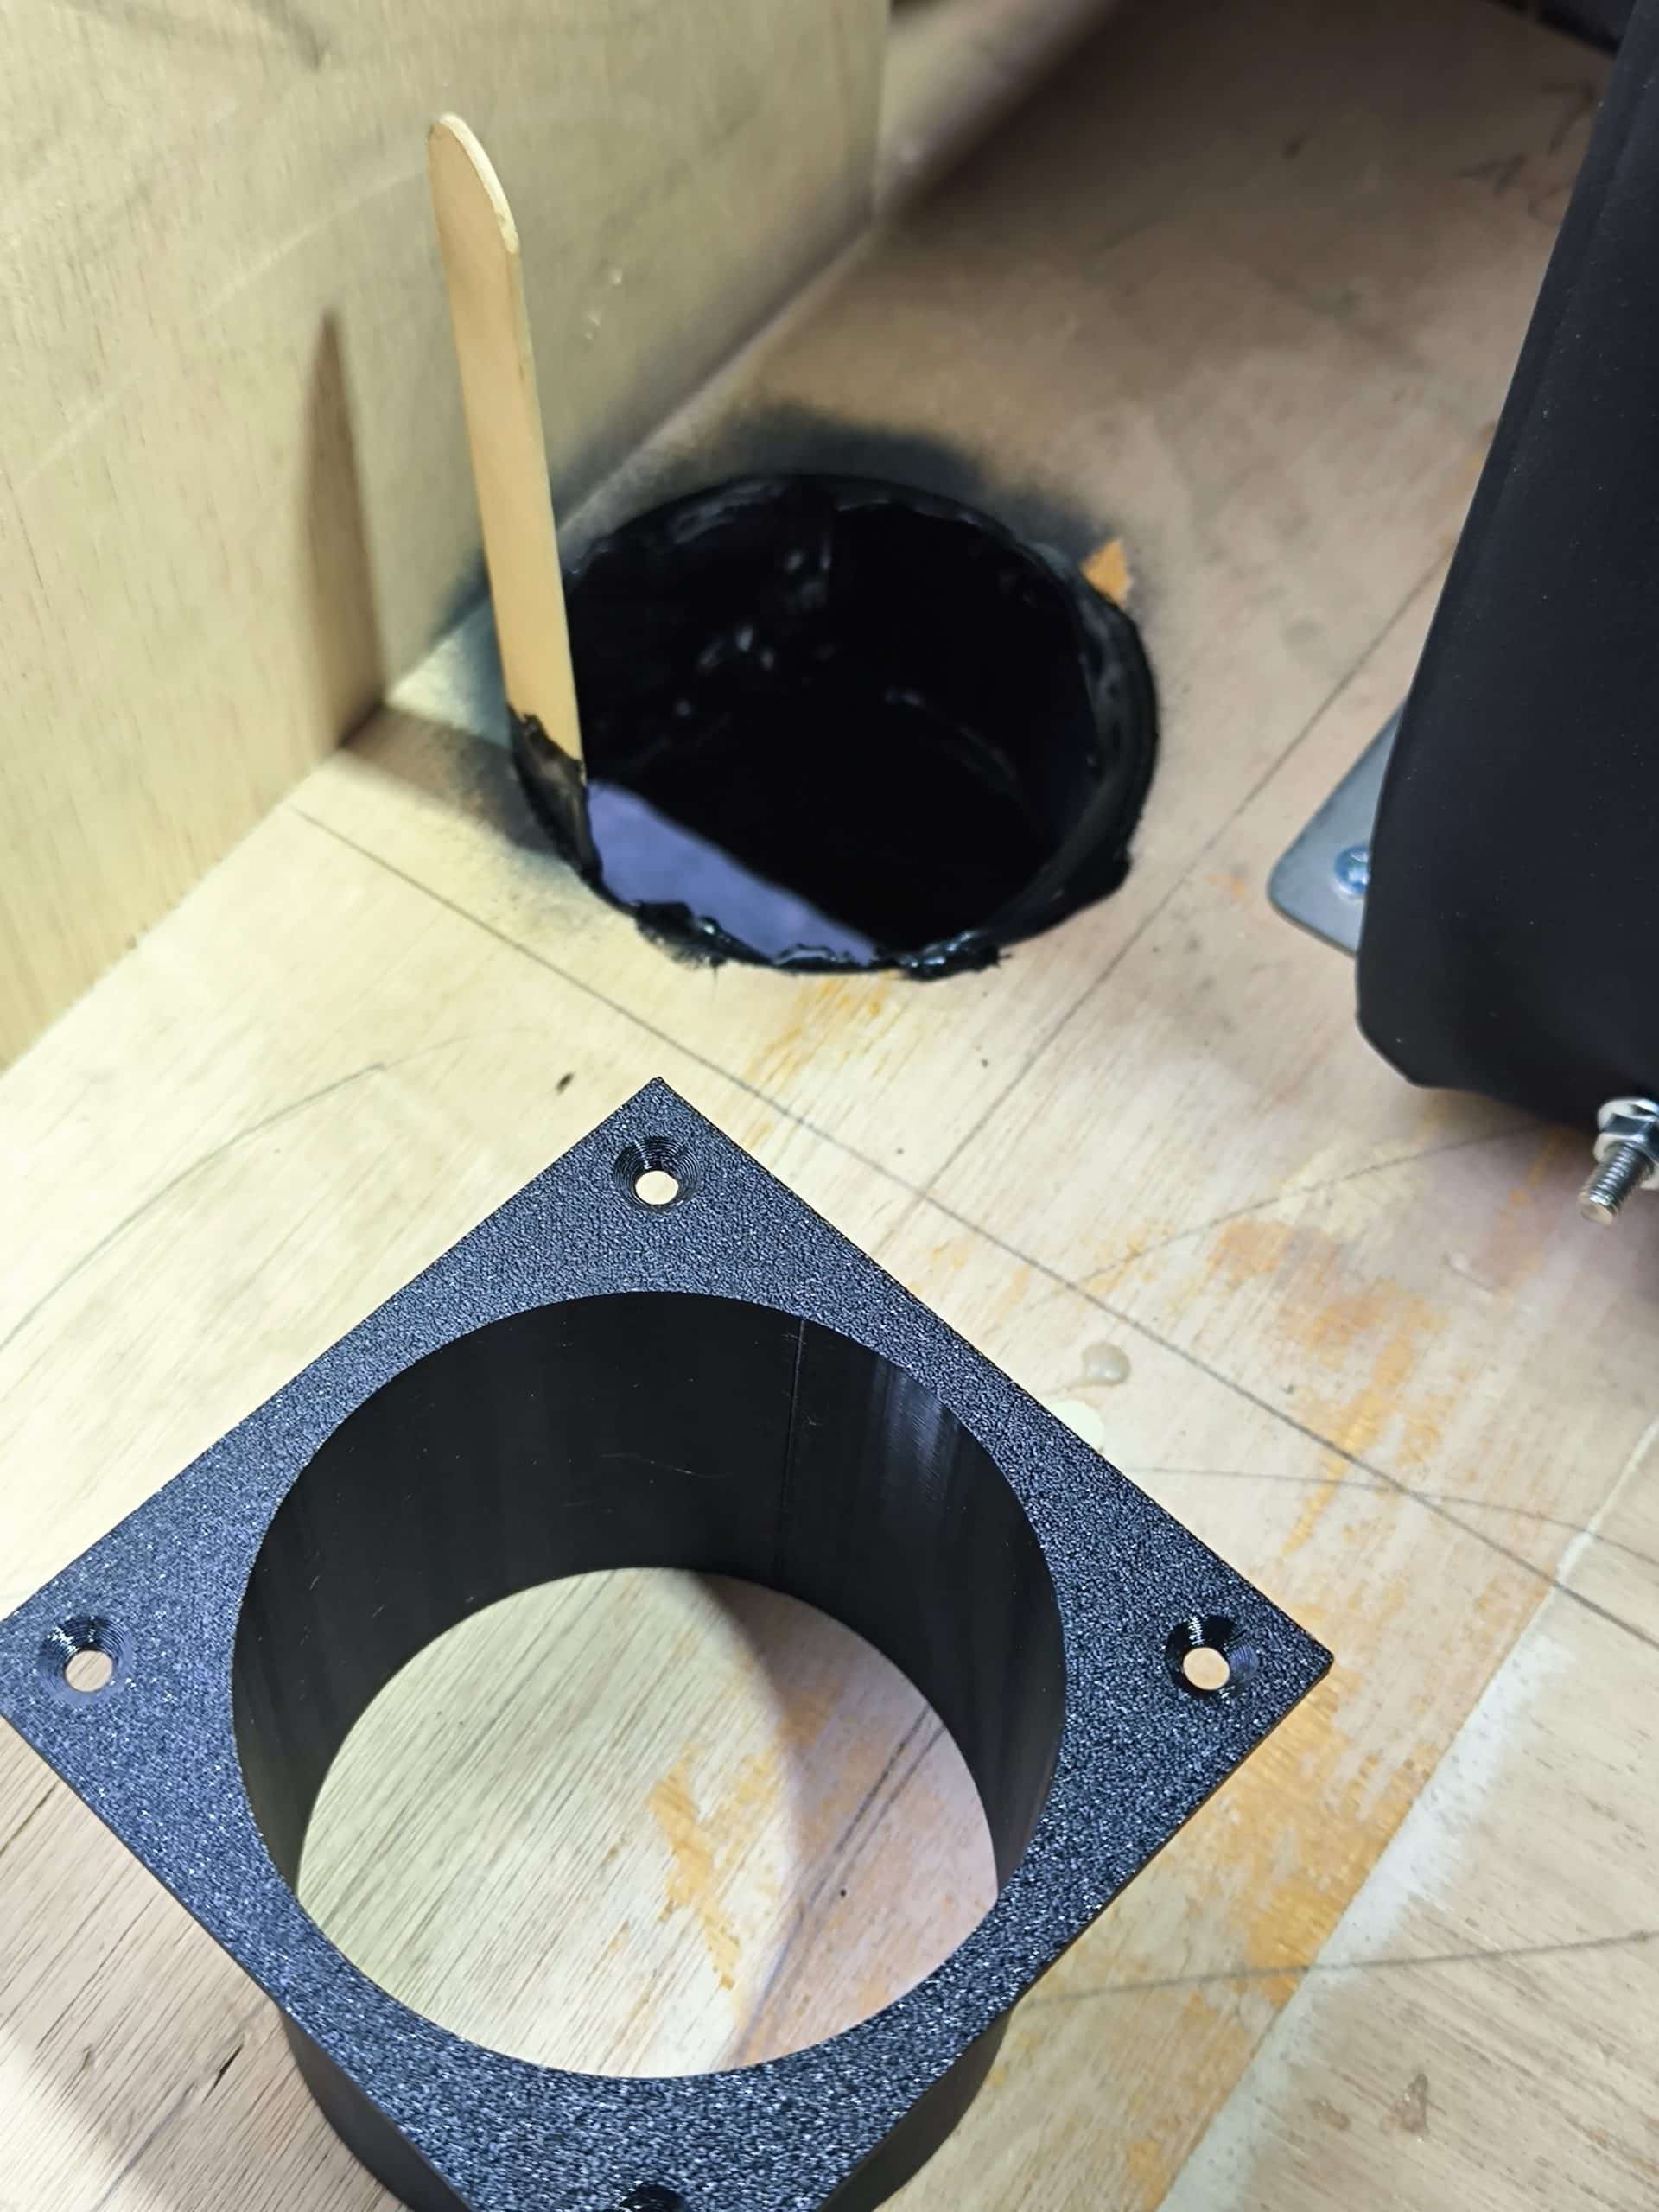
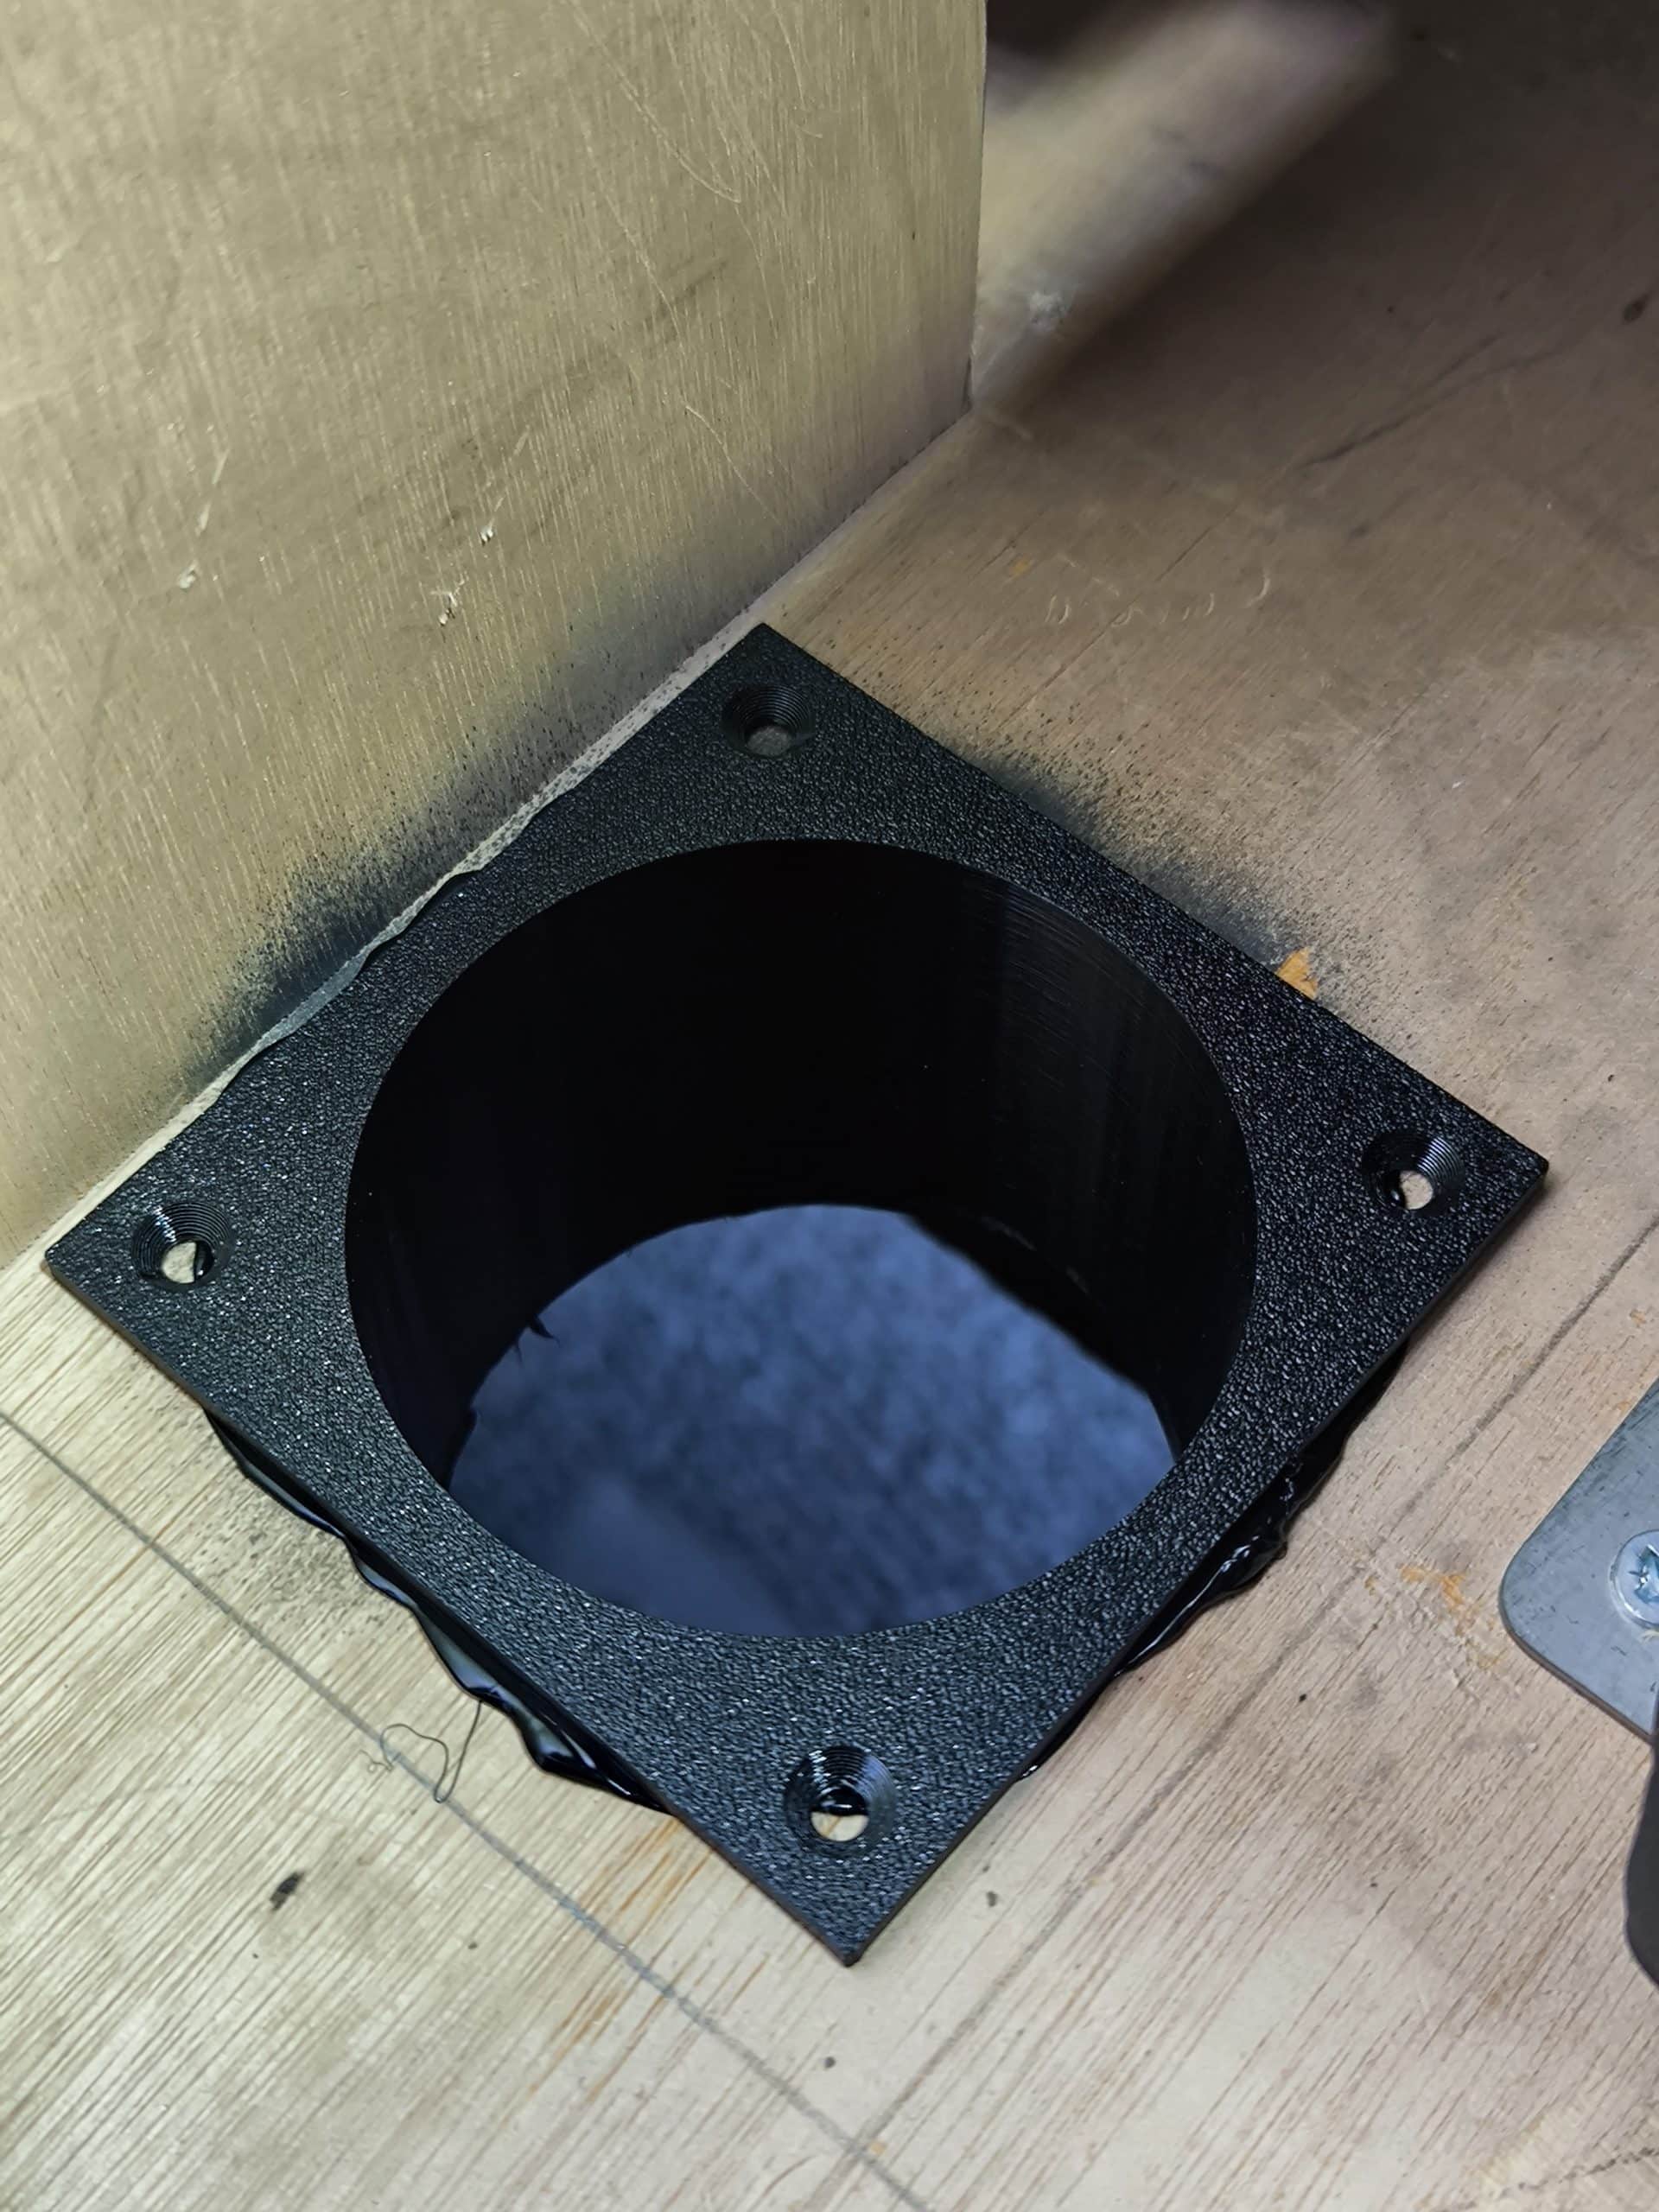
As I could not finish the pipe install I instead took a small side quest. Kai had printed me a hole sleeve. I just got one printed first to make sure it fits and it does. So I took some black sikaflex and slathard it on. This will create a waterproof tunnel up into the van through which I can pass pipes and cables. I made sure that it was thoroughly coated in sikaflex so that no water can get into the subfloor. Now I know this works I can do it for the other holes that I have created as soon as I get more prints.
While letting the sikaflex dry and as the heating is a priority, I then turned my attention to the wiring. The instruction manual says it must be attached directly to a battery however the cables provided are not long enough. I cannot imagine there are many vehicles where these cables would be long enough so I’m going to extend them and hope that there is not too much voltage drop. Just incase there is, I’m pulling an extra power cable so I can double up if needed
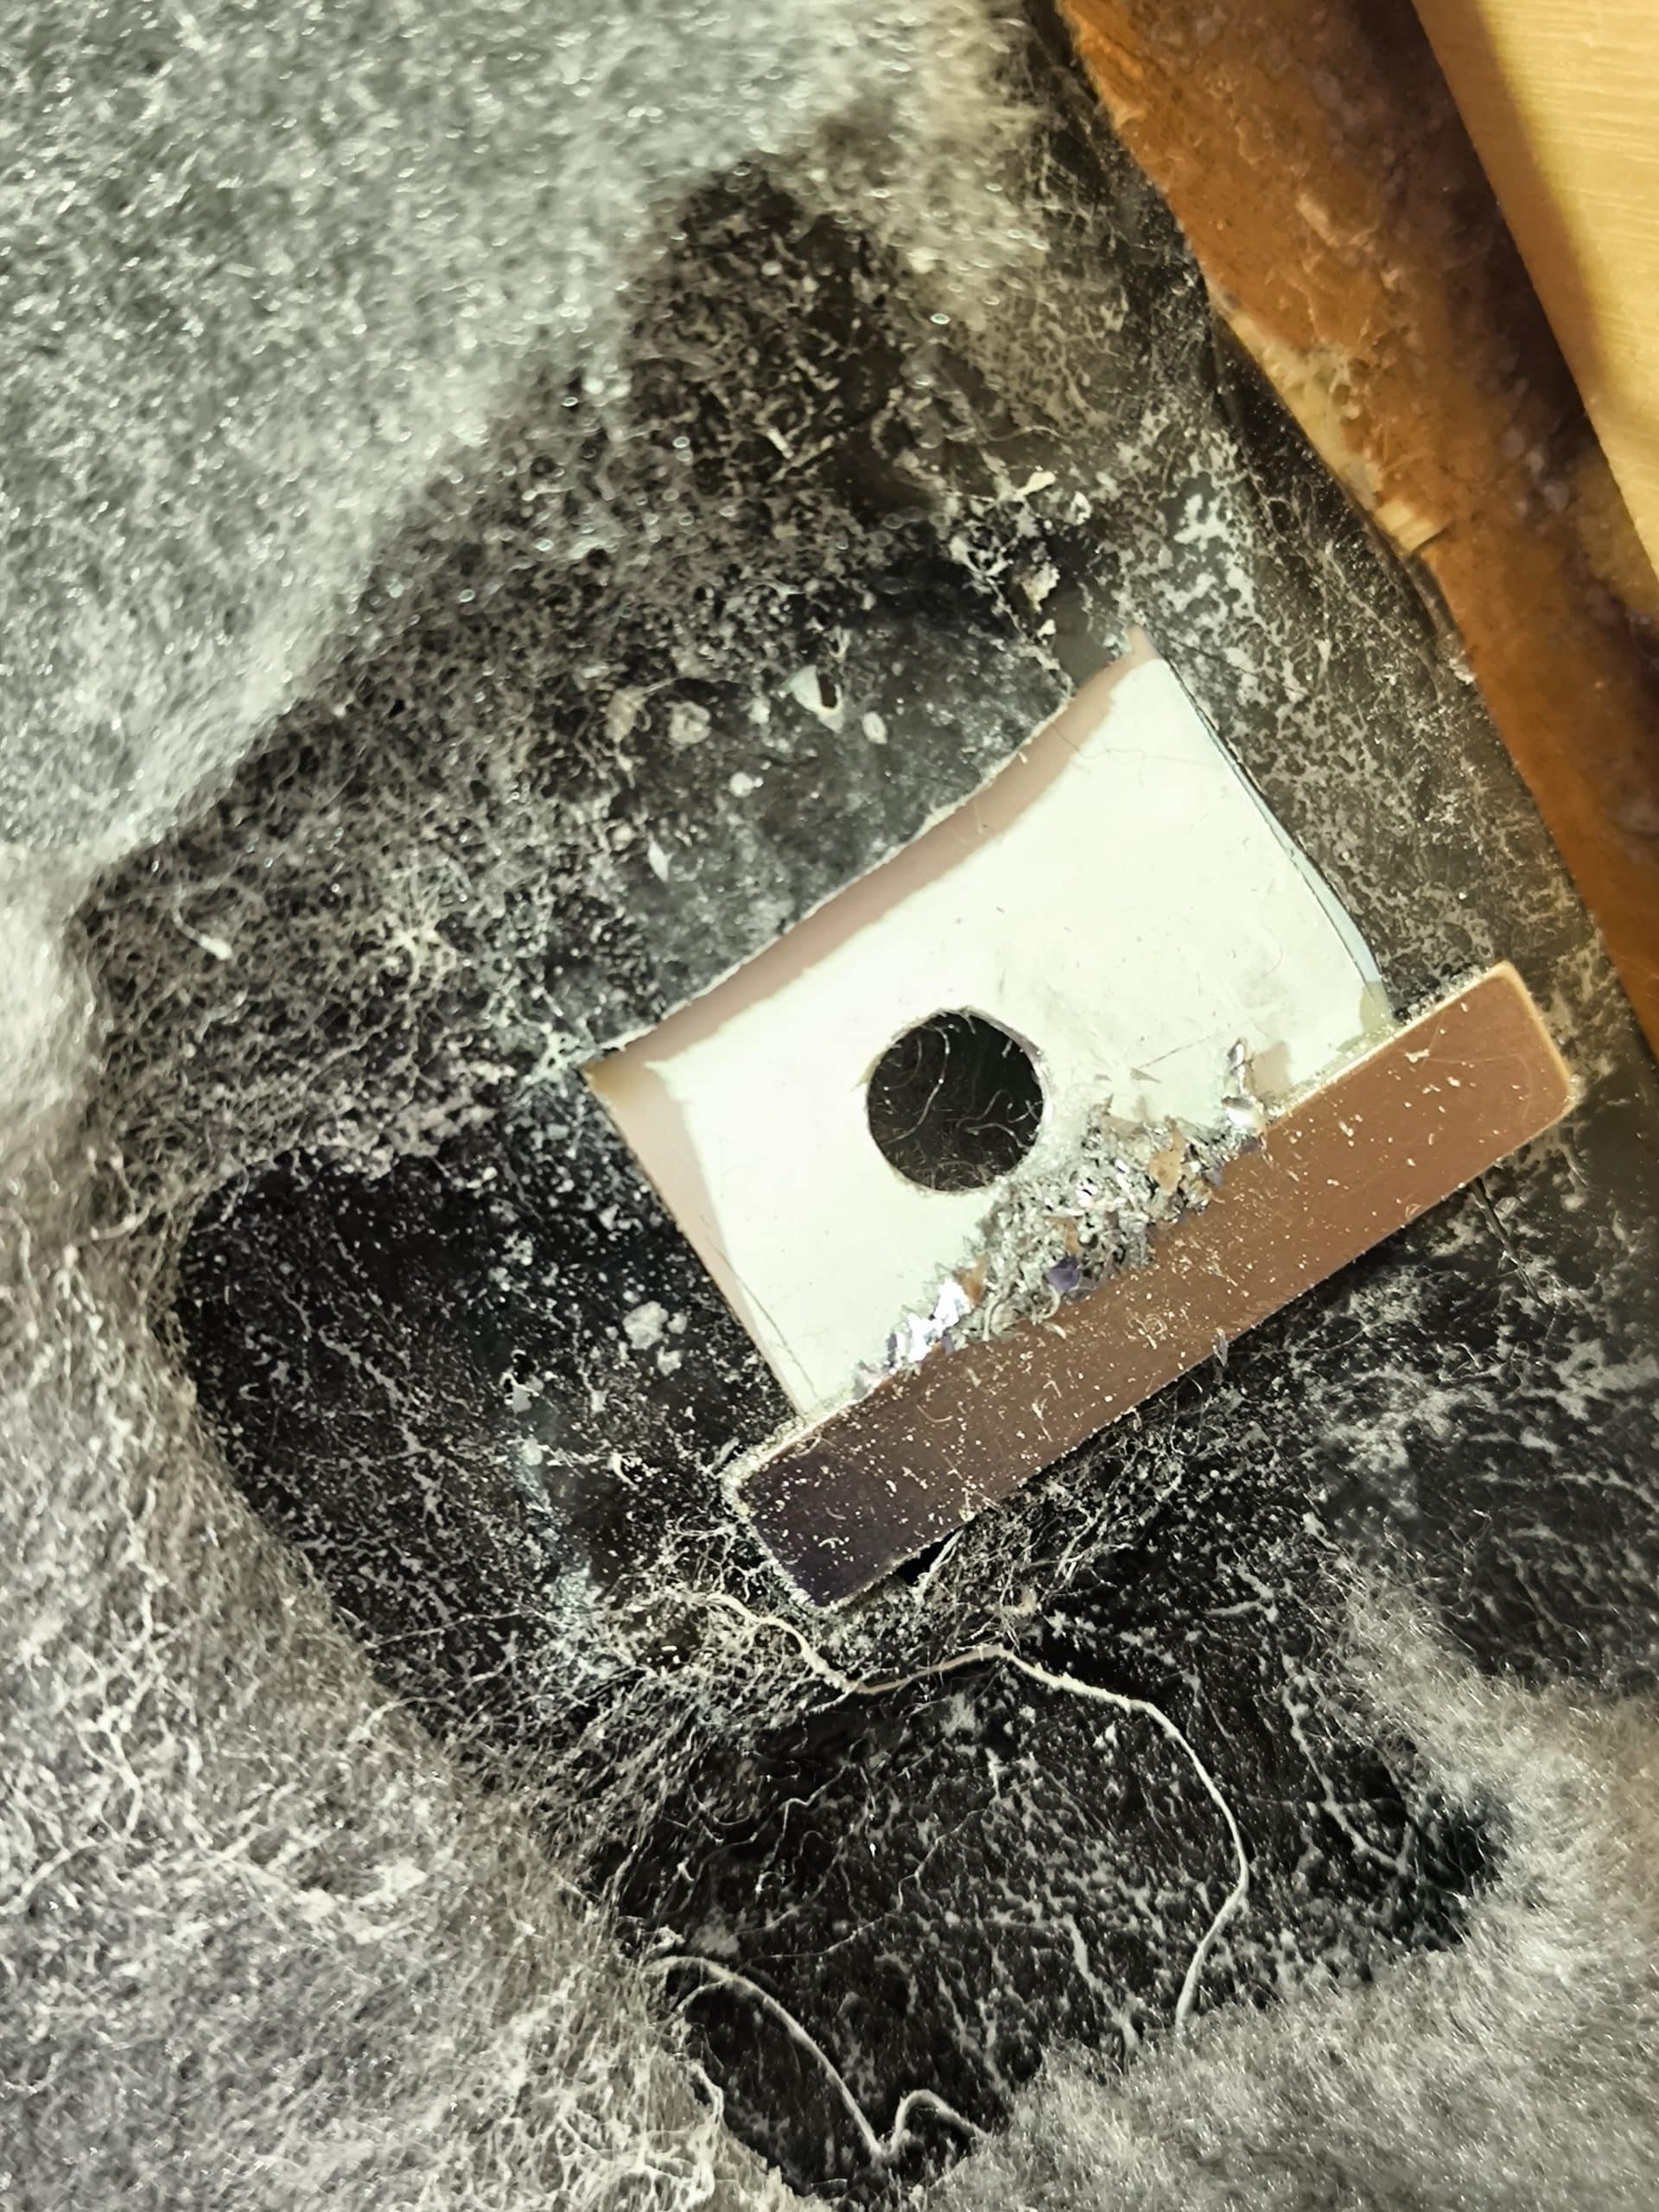
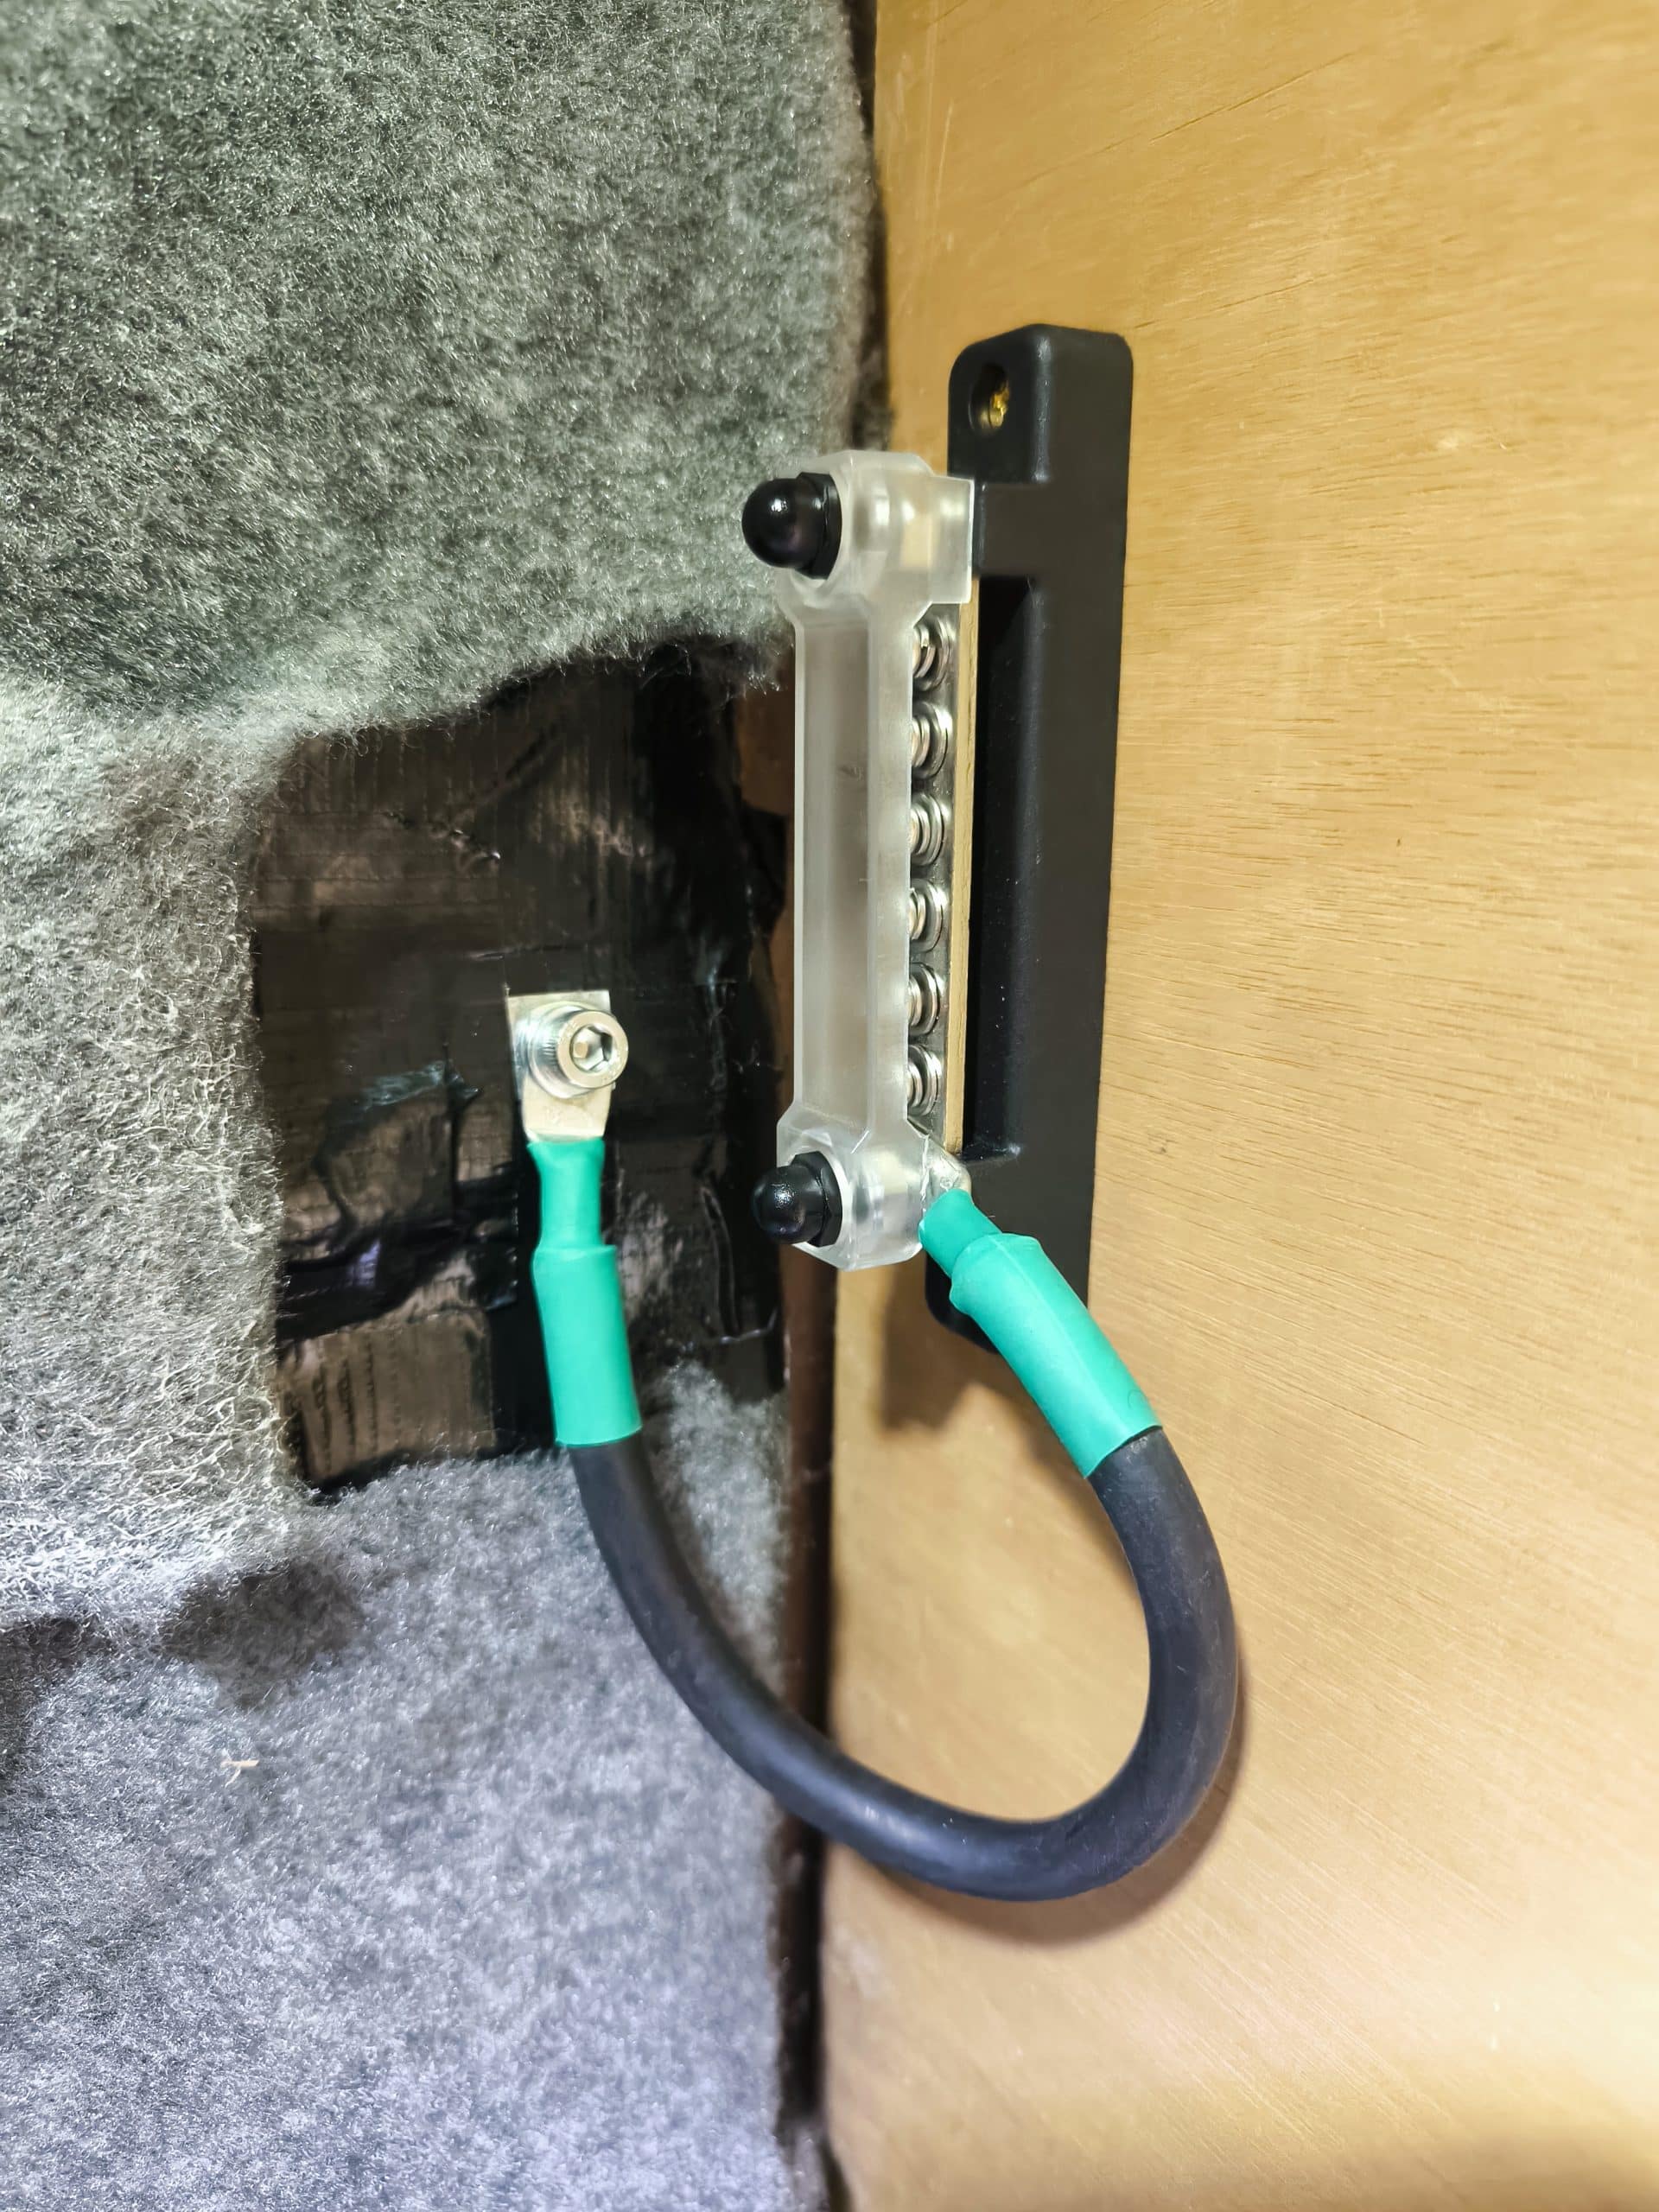
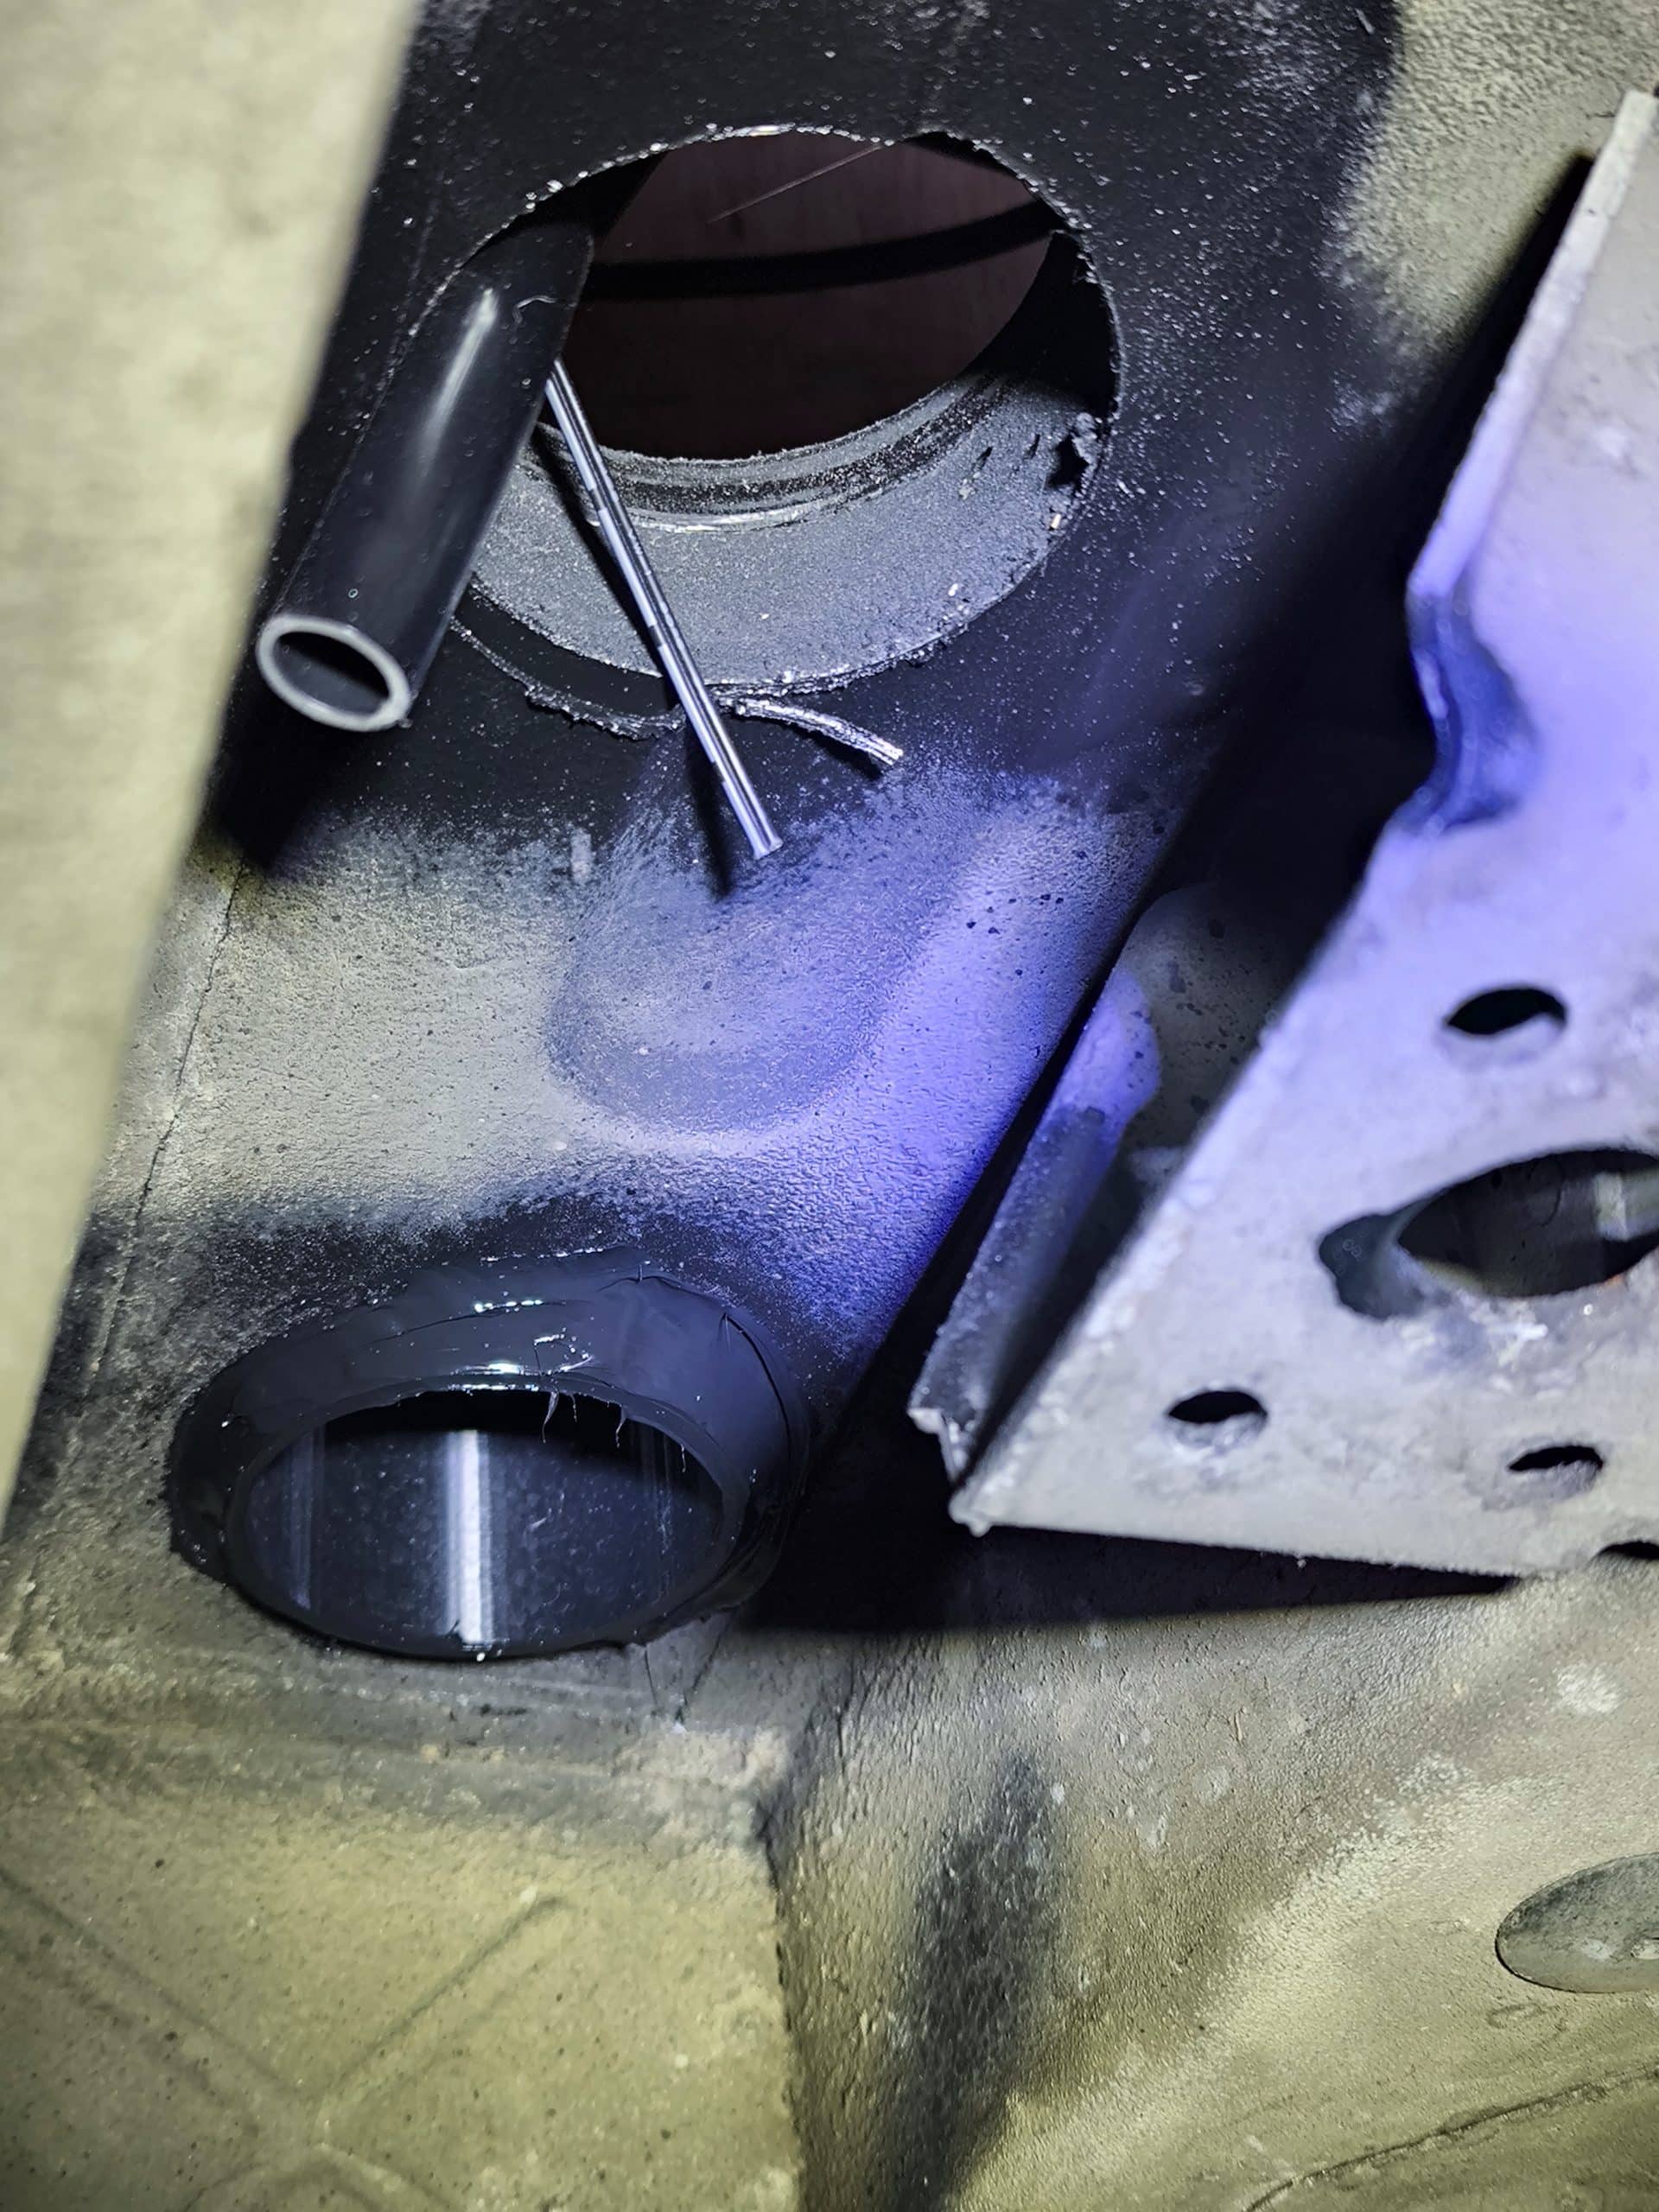
To get as best connection as possible I cut away a small section of carpet and found an area of van chassis. Here I drilled a hole and then ground back the paint to reveal bare metal so I could create a chassis ground locally. A magnet helped keep the metal shavings under control. A short chunky cable coupled with a terminal block gave me a decent ground connection.
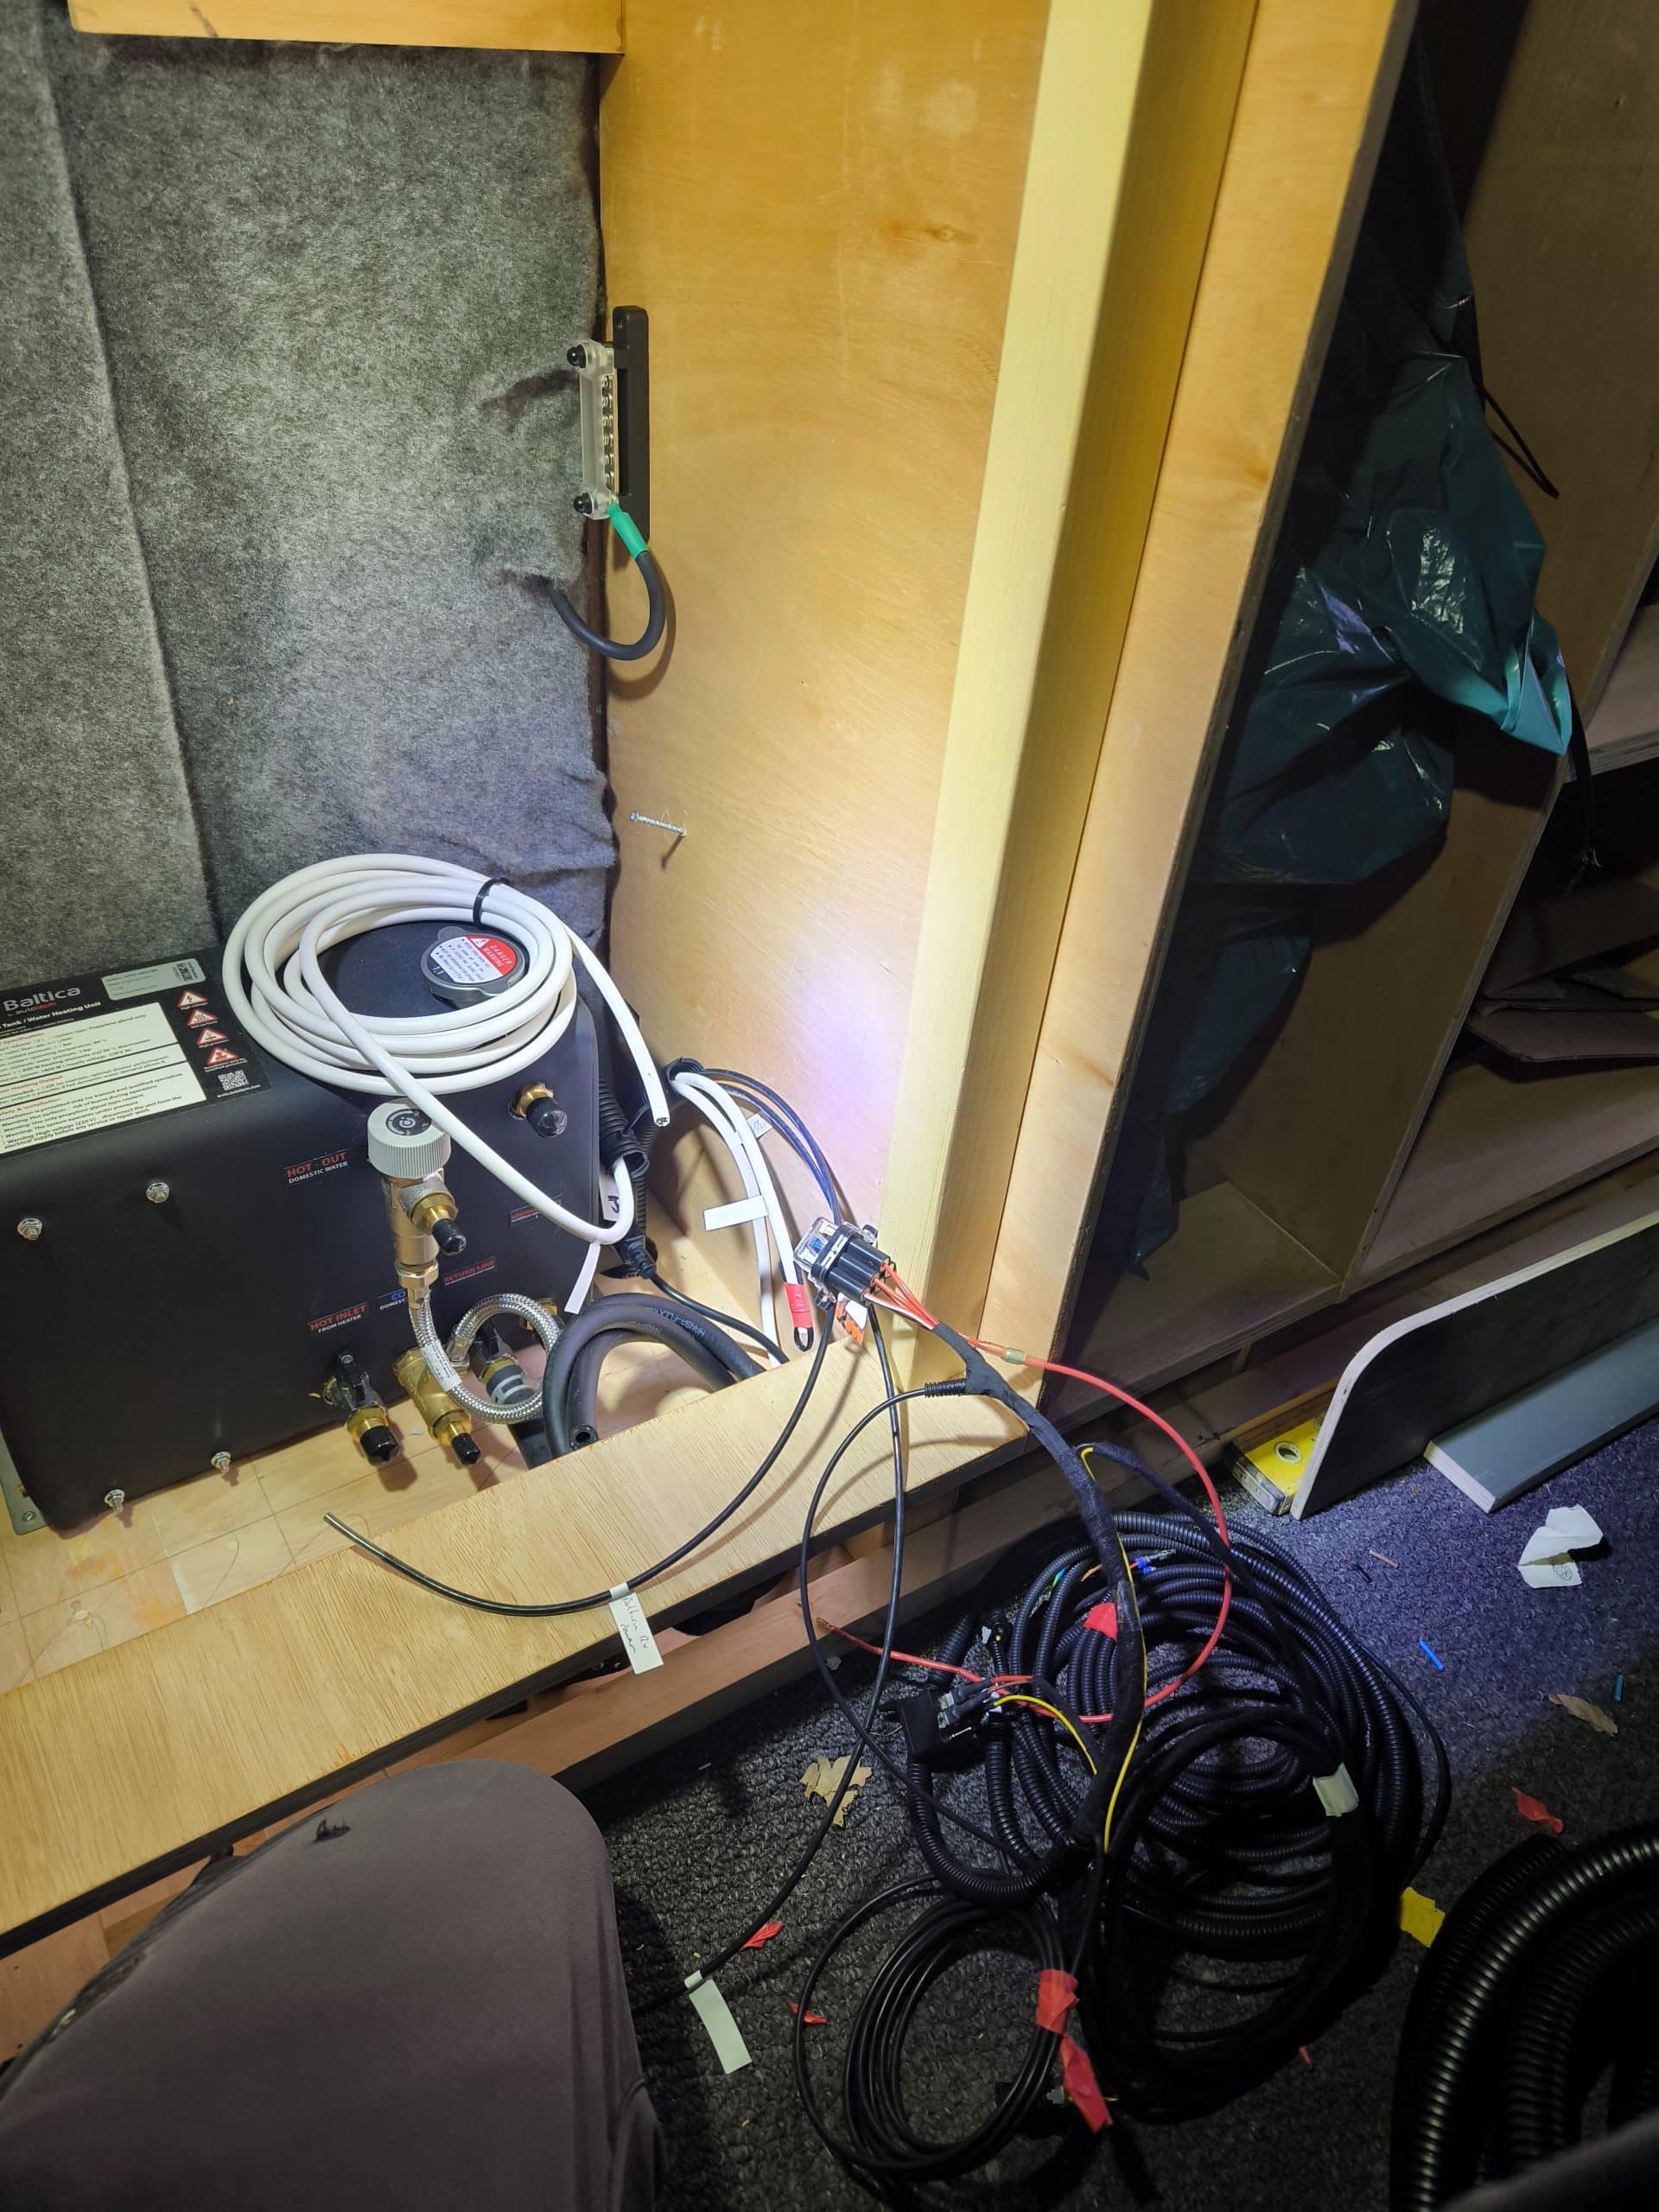
Then I unraveled the baltica heating system wiring loom to get a handle on what needed to go where.
Terrifying!
Checking out the fuses they add up to 45 amps which is worryingly high. I suspect that whilst it may pull up to 45 amps at some point, this is likely to only be for a short duration. Most likely when the heater glow plug and fan is running at the same time. I would have liked to oversize the cable leading to this point but I did not have any in the box of cable David gave me. But he did have a cable that closely matched the positive cable gauge. I pulled this through the conduit in my floor and fed it up into my electrical panel. The next challenges is that this gauge of cable is slightly too big for my 12 volt smart switches so I will have to think of some other way to turn this on and off remotely.
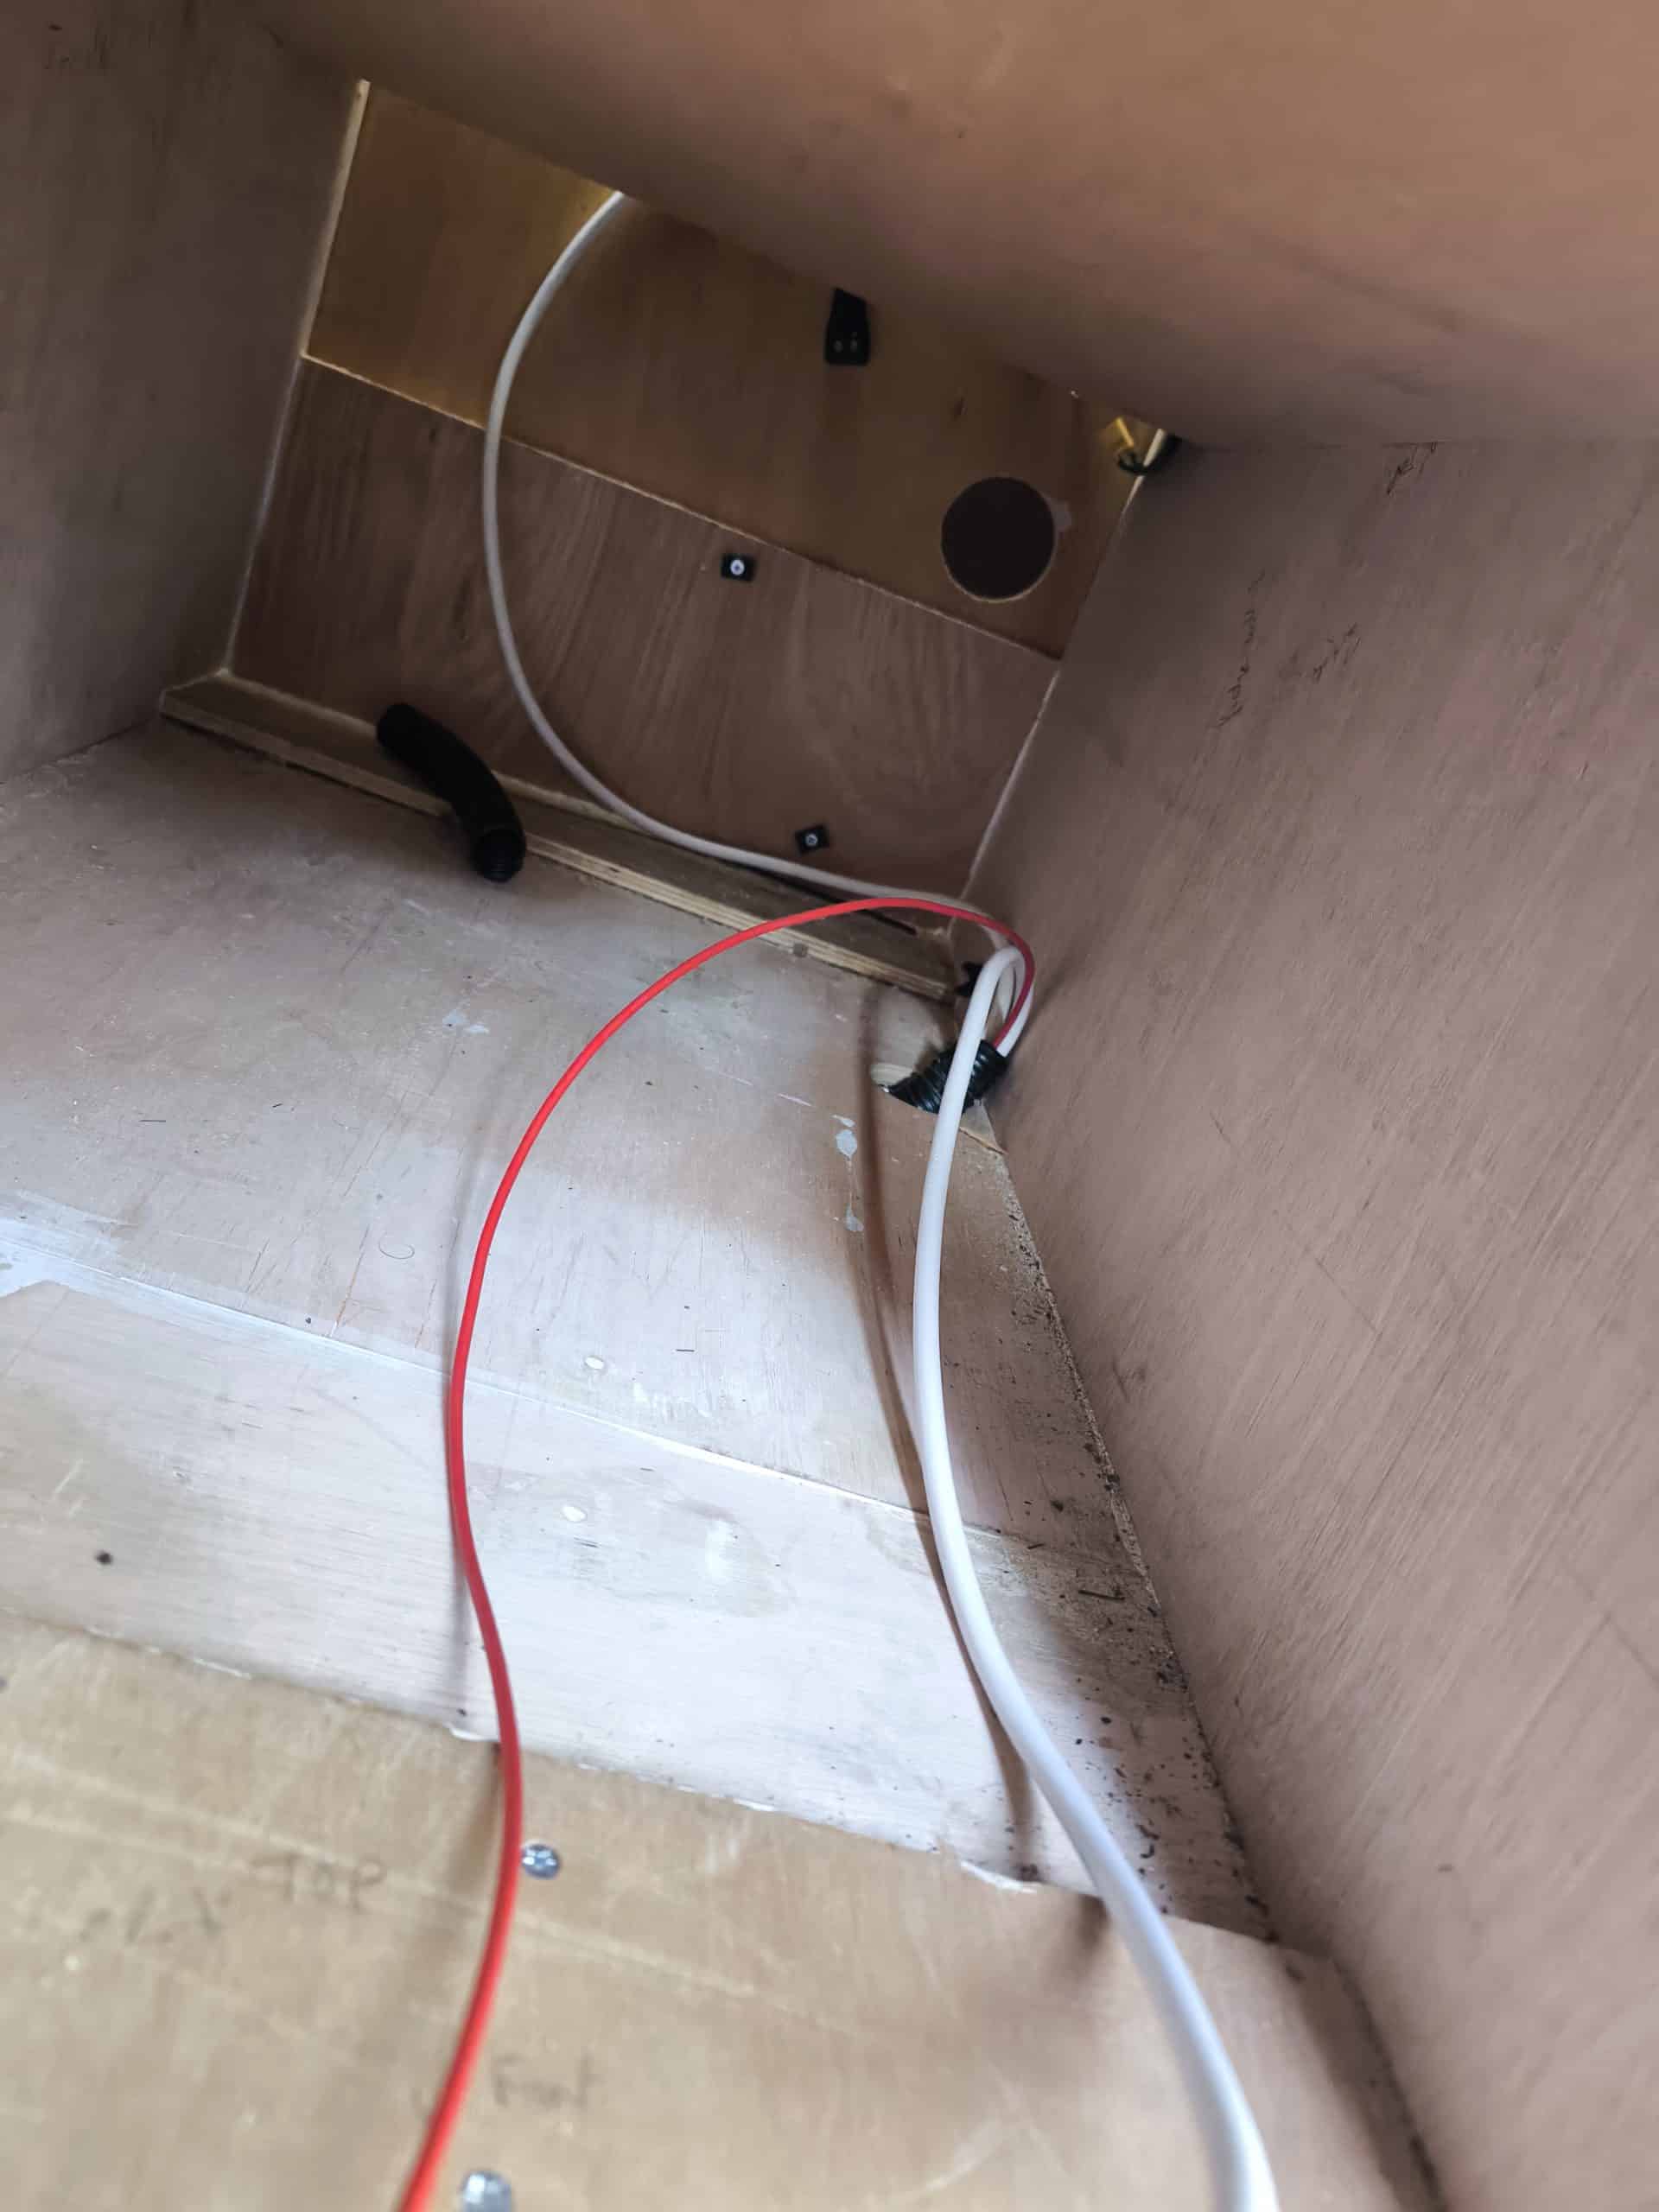
The next cables that needed extending were the communications cable for the control unit and the electric heater power cable. I had cables for this and so pulled them through and up to the electrical box as well.
I still do not have lights in the van and so I’m working from Makita battery powered lamps. I spent all day on the van and wanted to get the last few cables tidied up before finishing. But it’s starting to get dark around 4:00 pm now so I was packing up in the dark which is very tricky. I really need to get this electrical system done so I can put at least one flood light on the outside of the van so I can see what I’m doing!