Diary Of A Camper Conversion
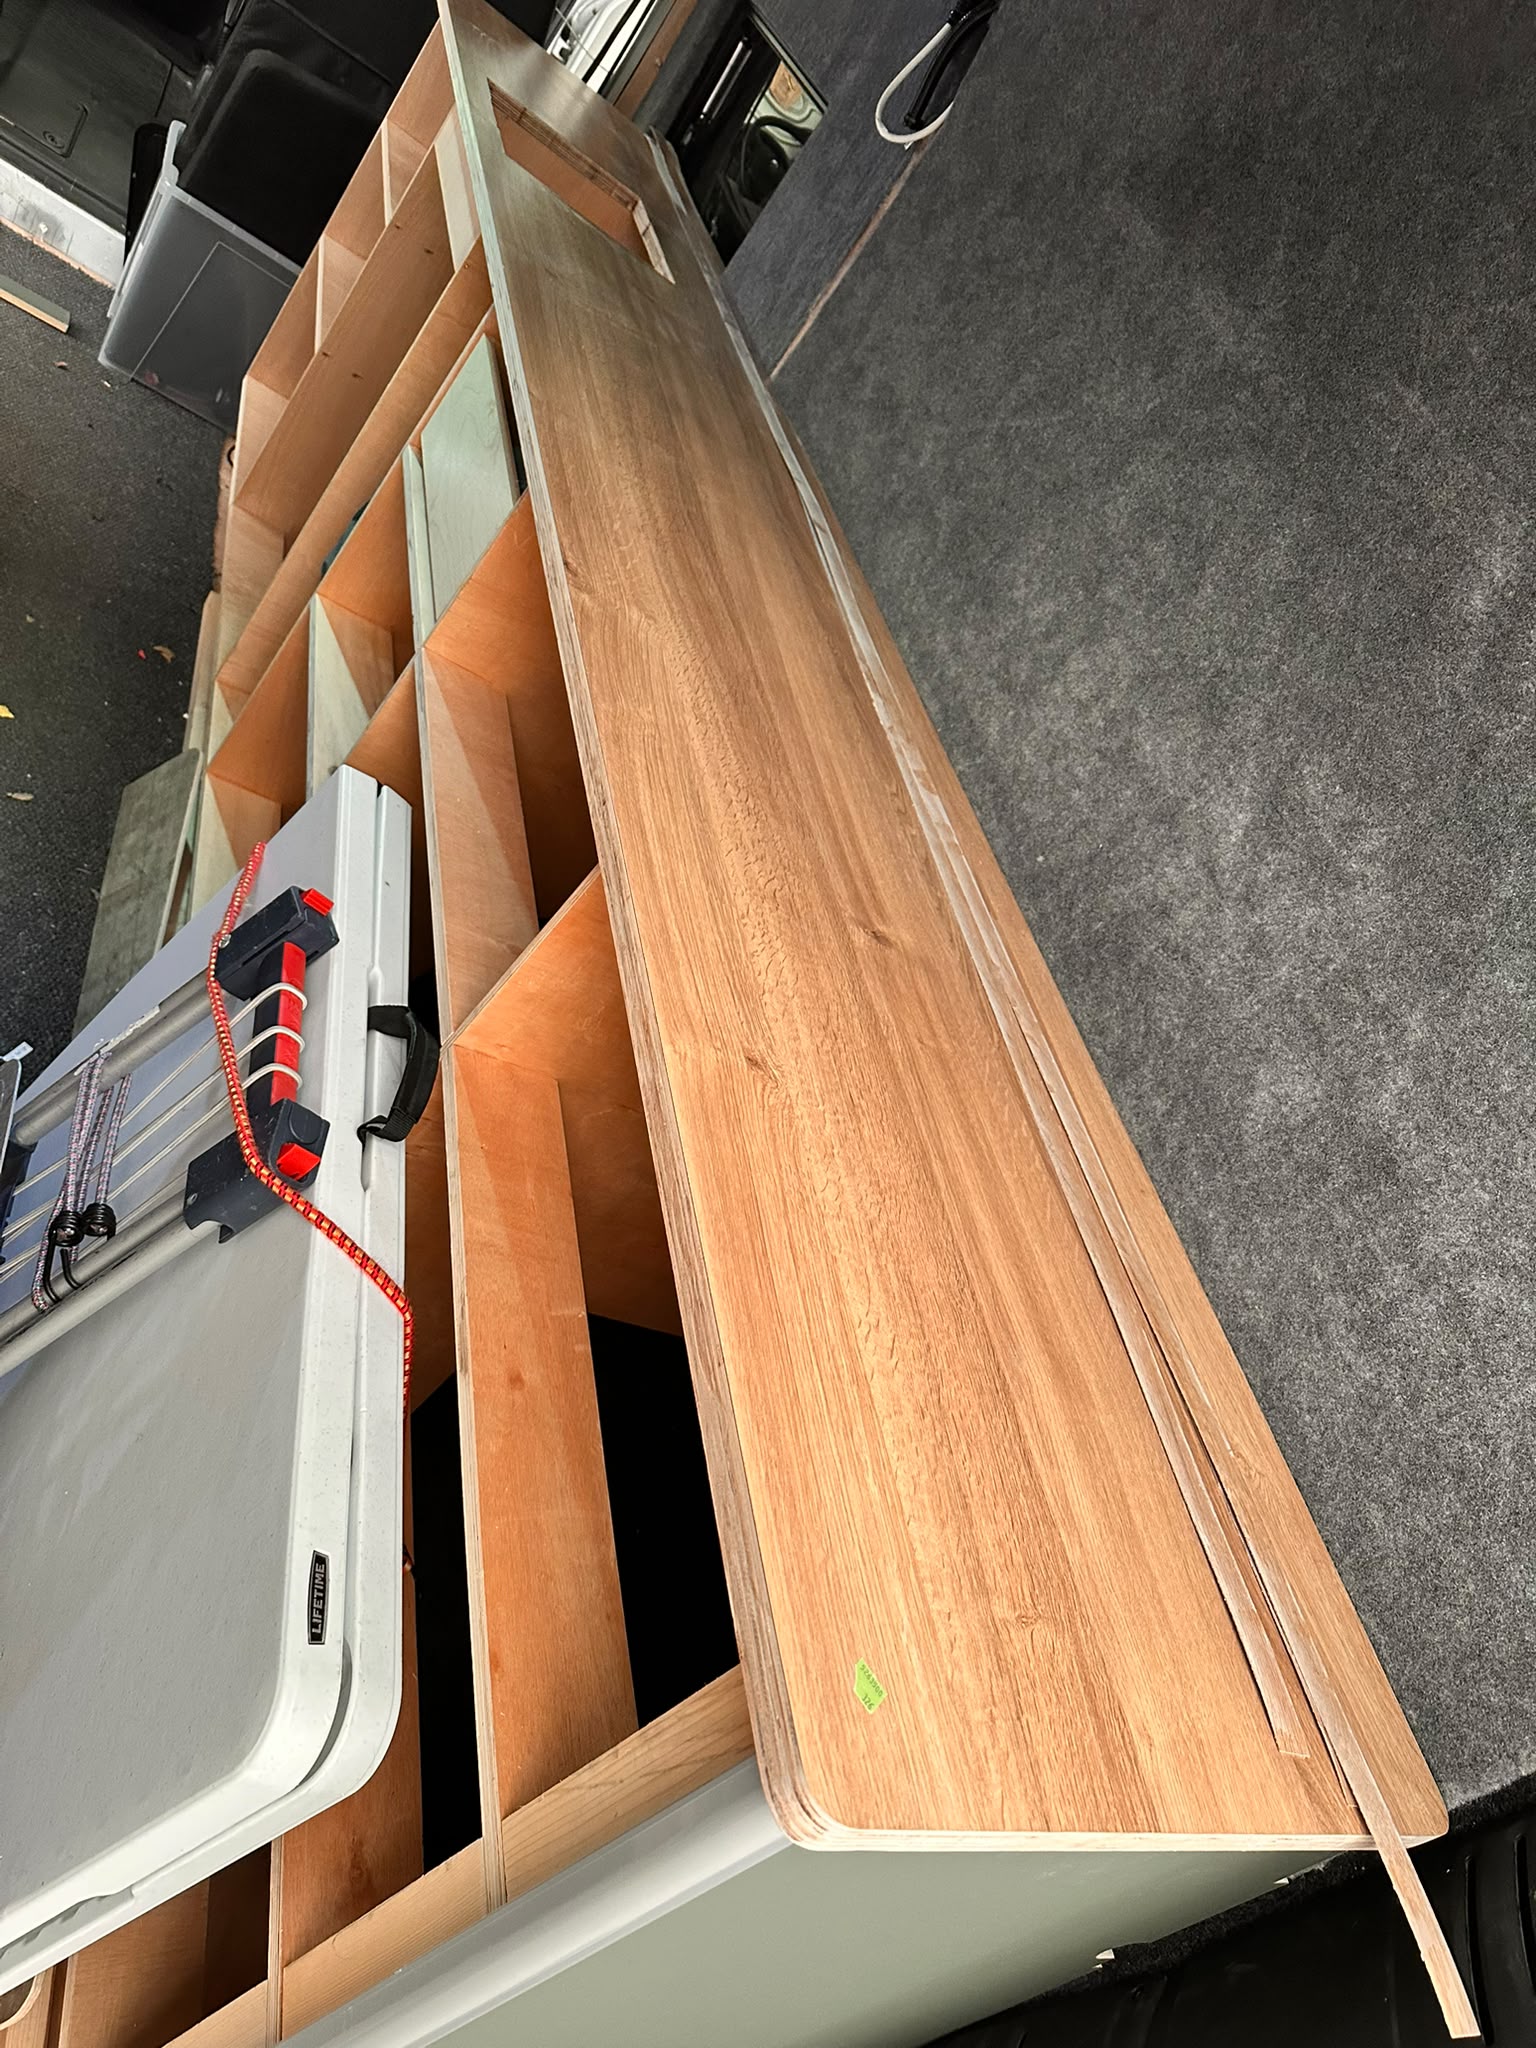
Today’s the day we find out if our attempted lamination worked out. It’s had a whole week to set and so I find myself back at Jord’s workshop shifting half a ton of sand and cement off the boards. And on first impressions it seems to have gone very well! It is certainly stuck very securely to the plywood.
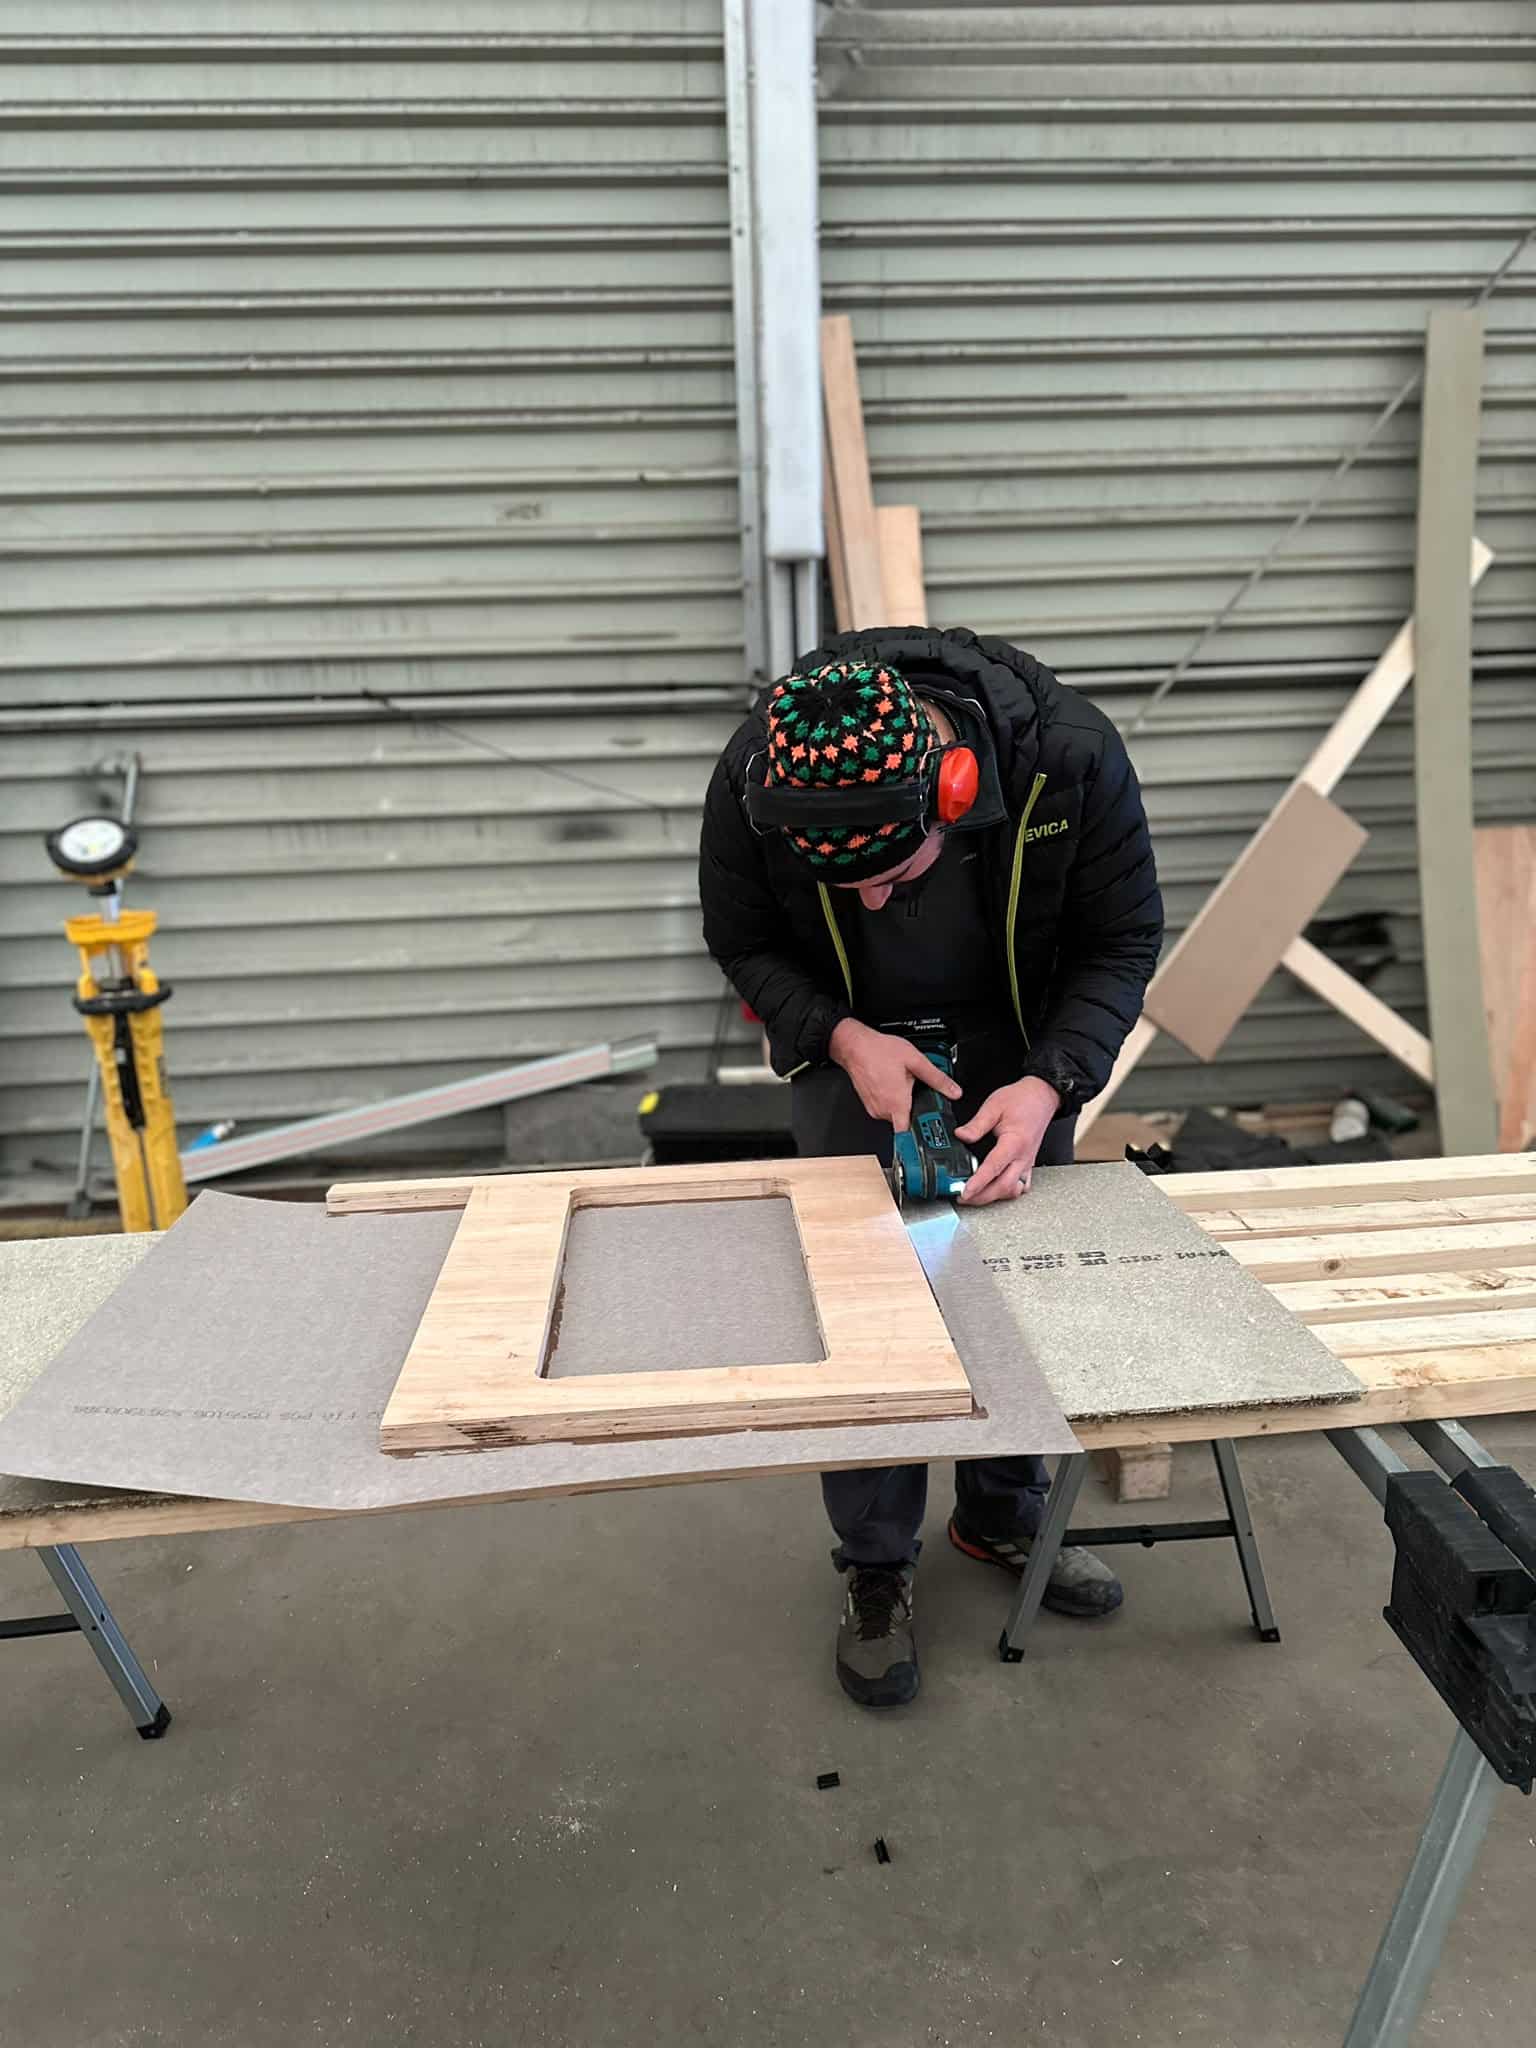
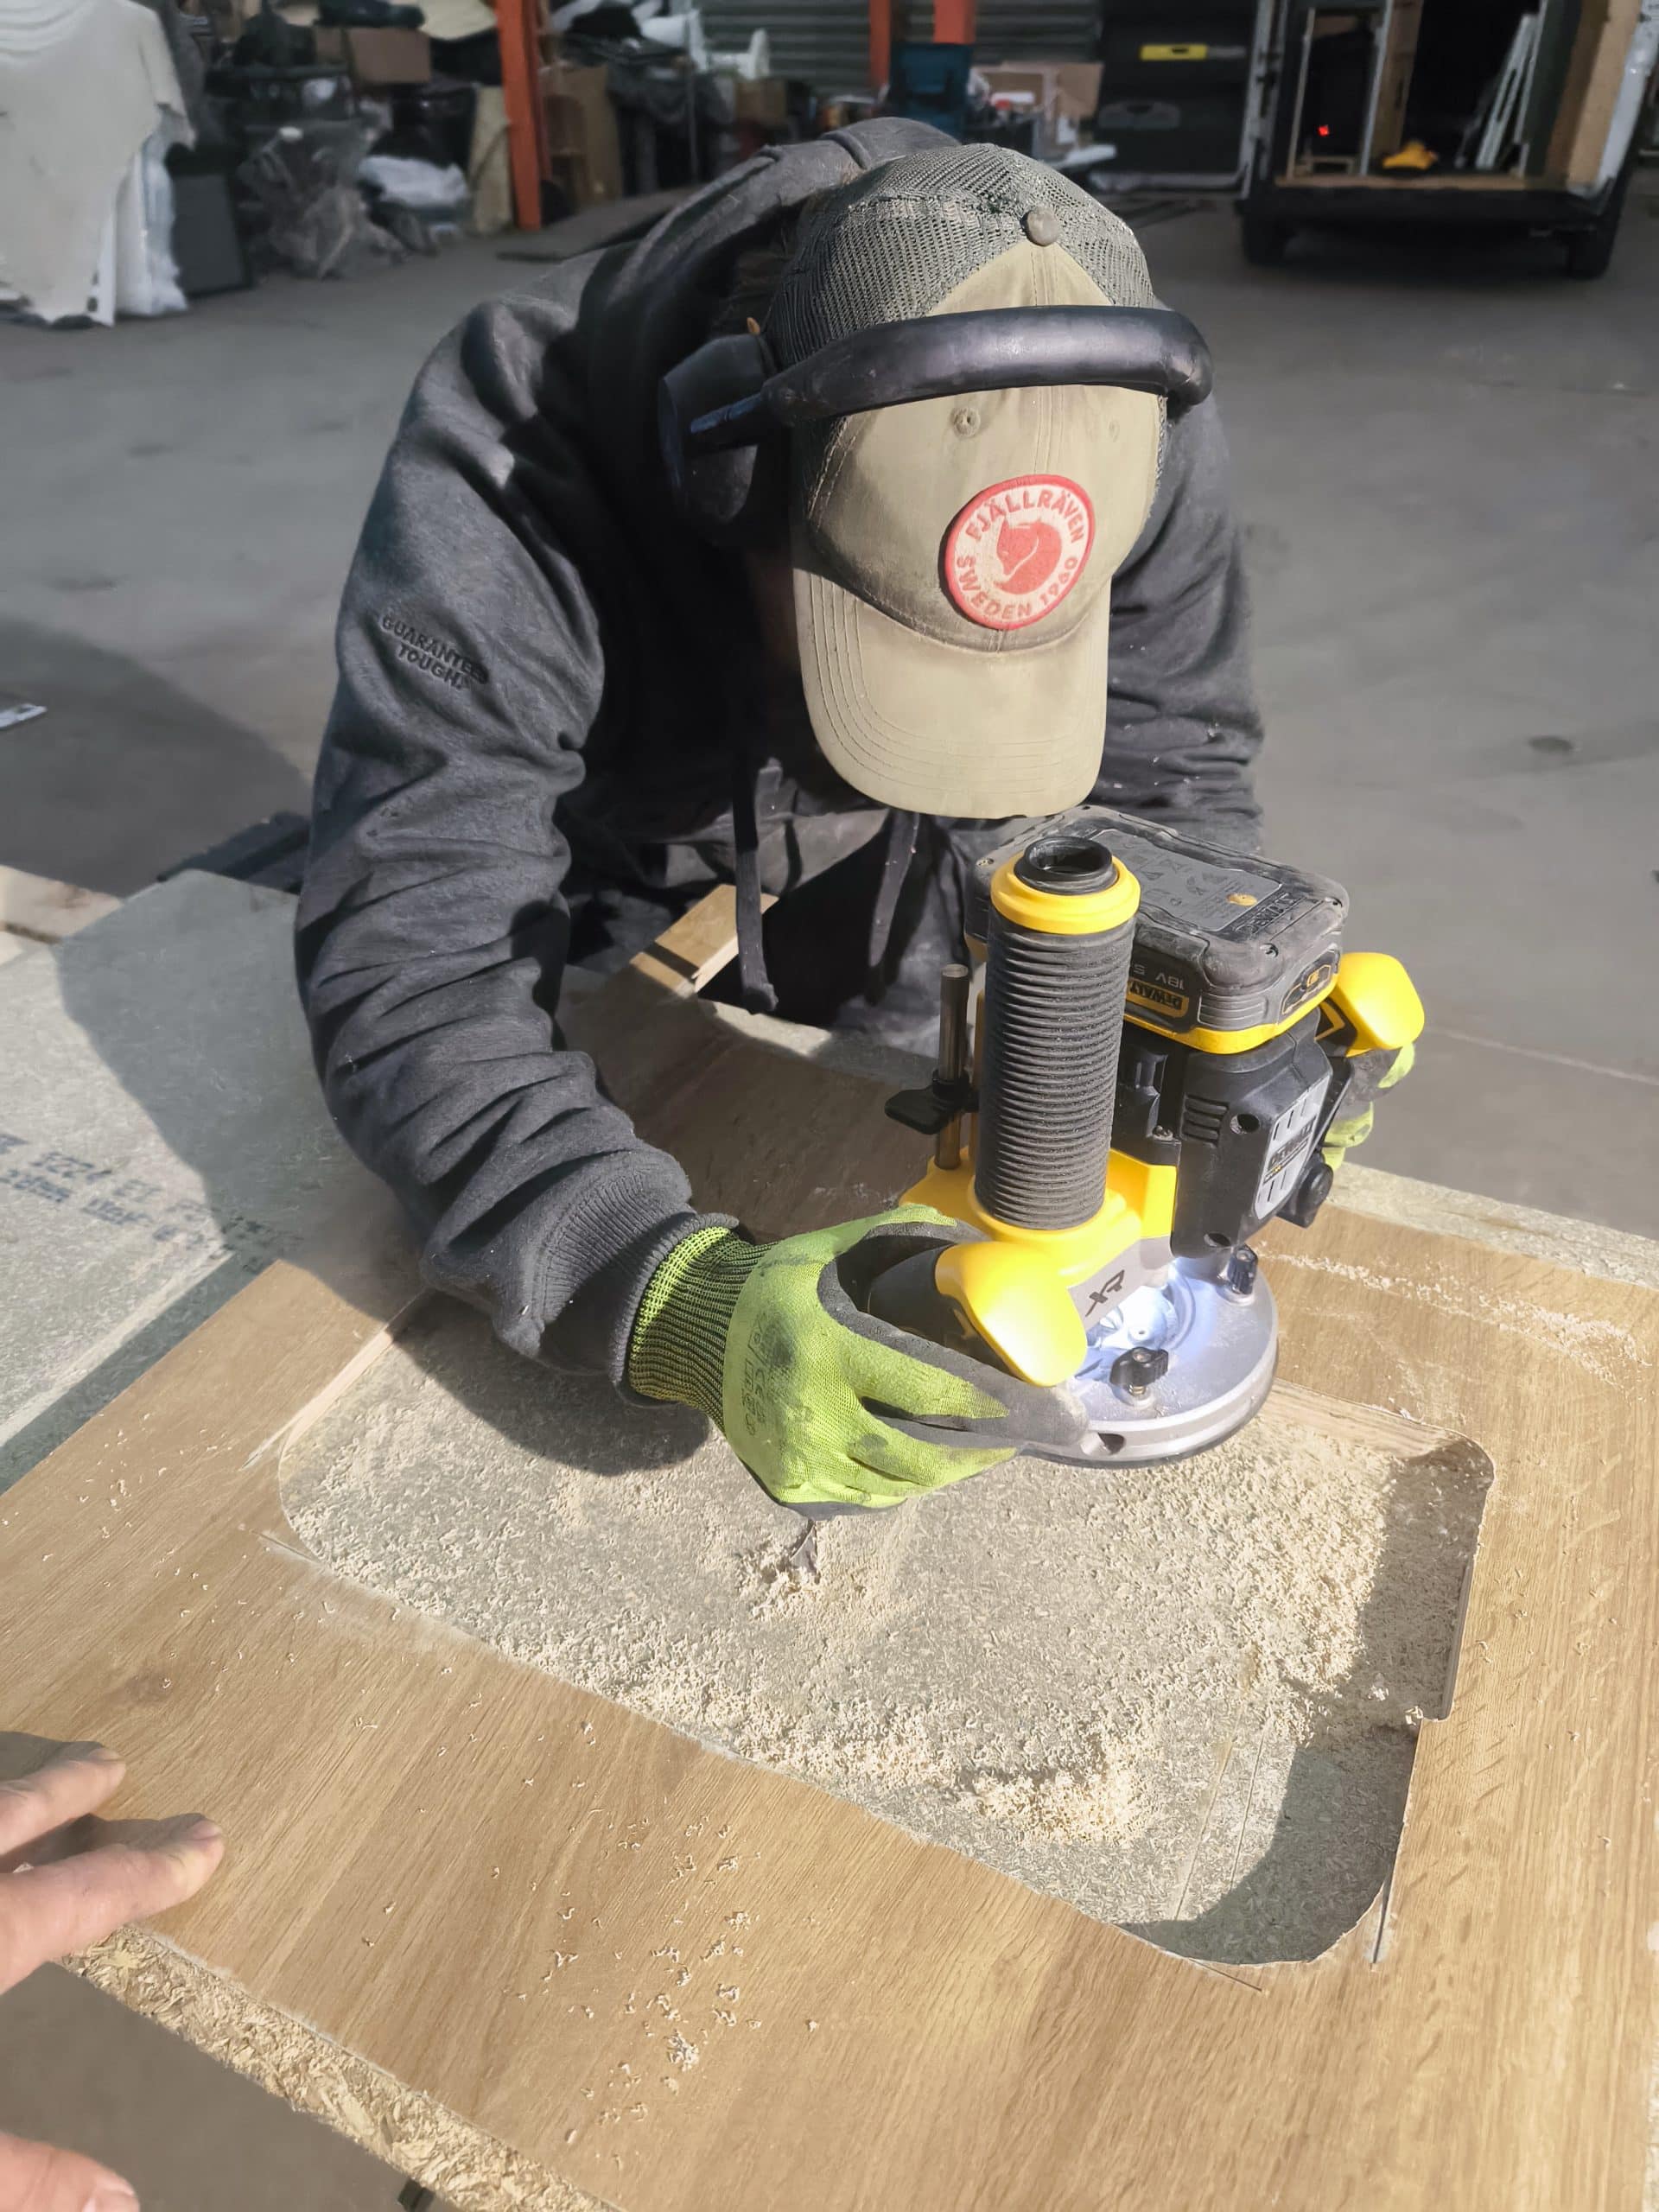
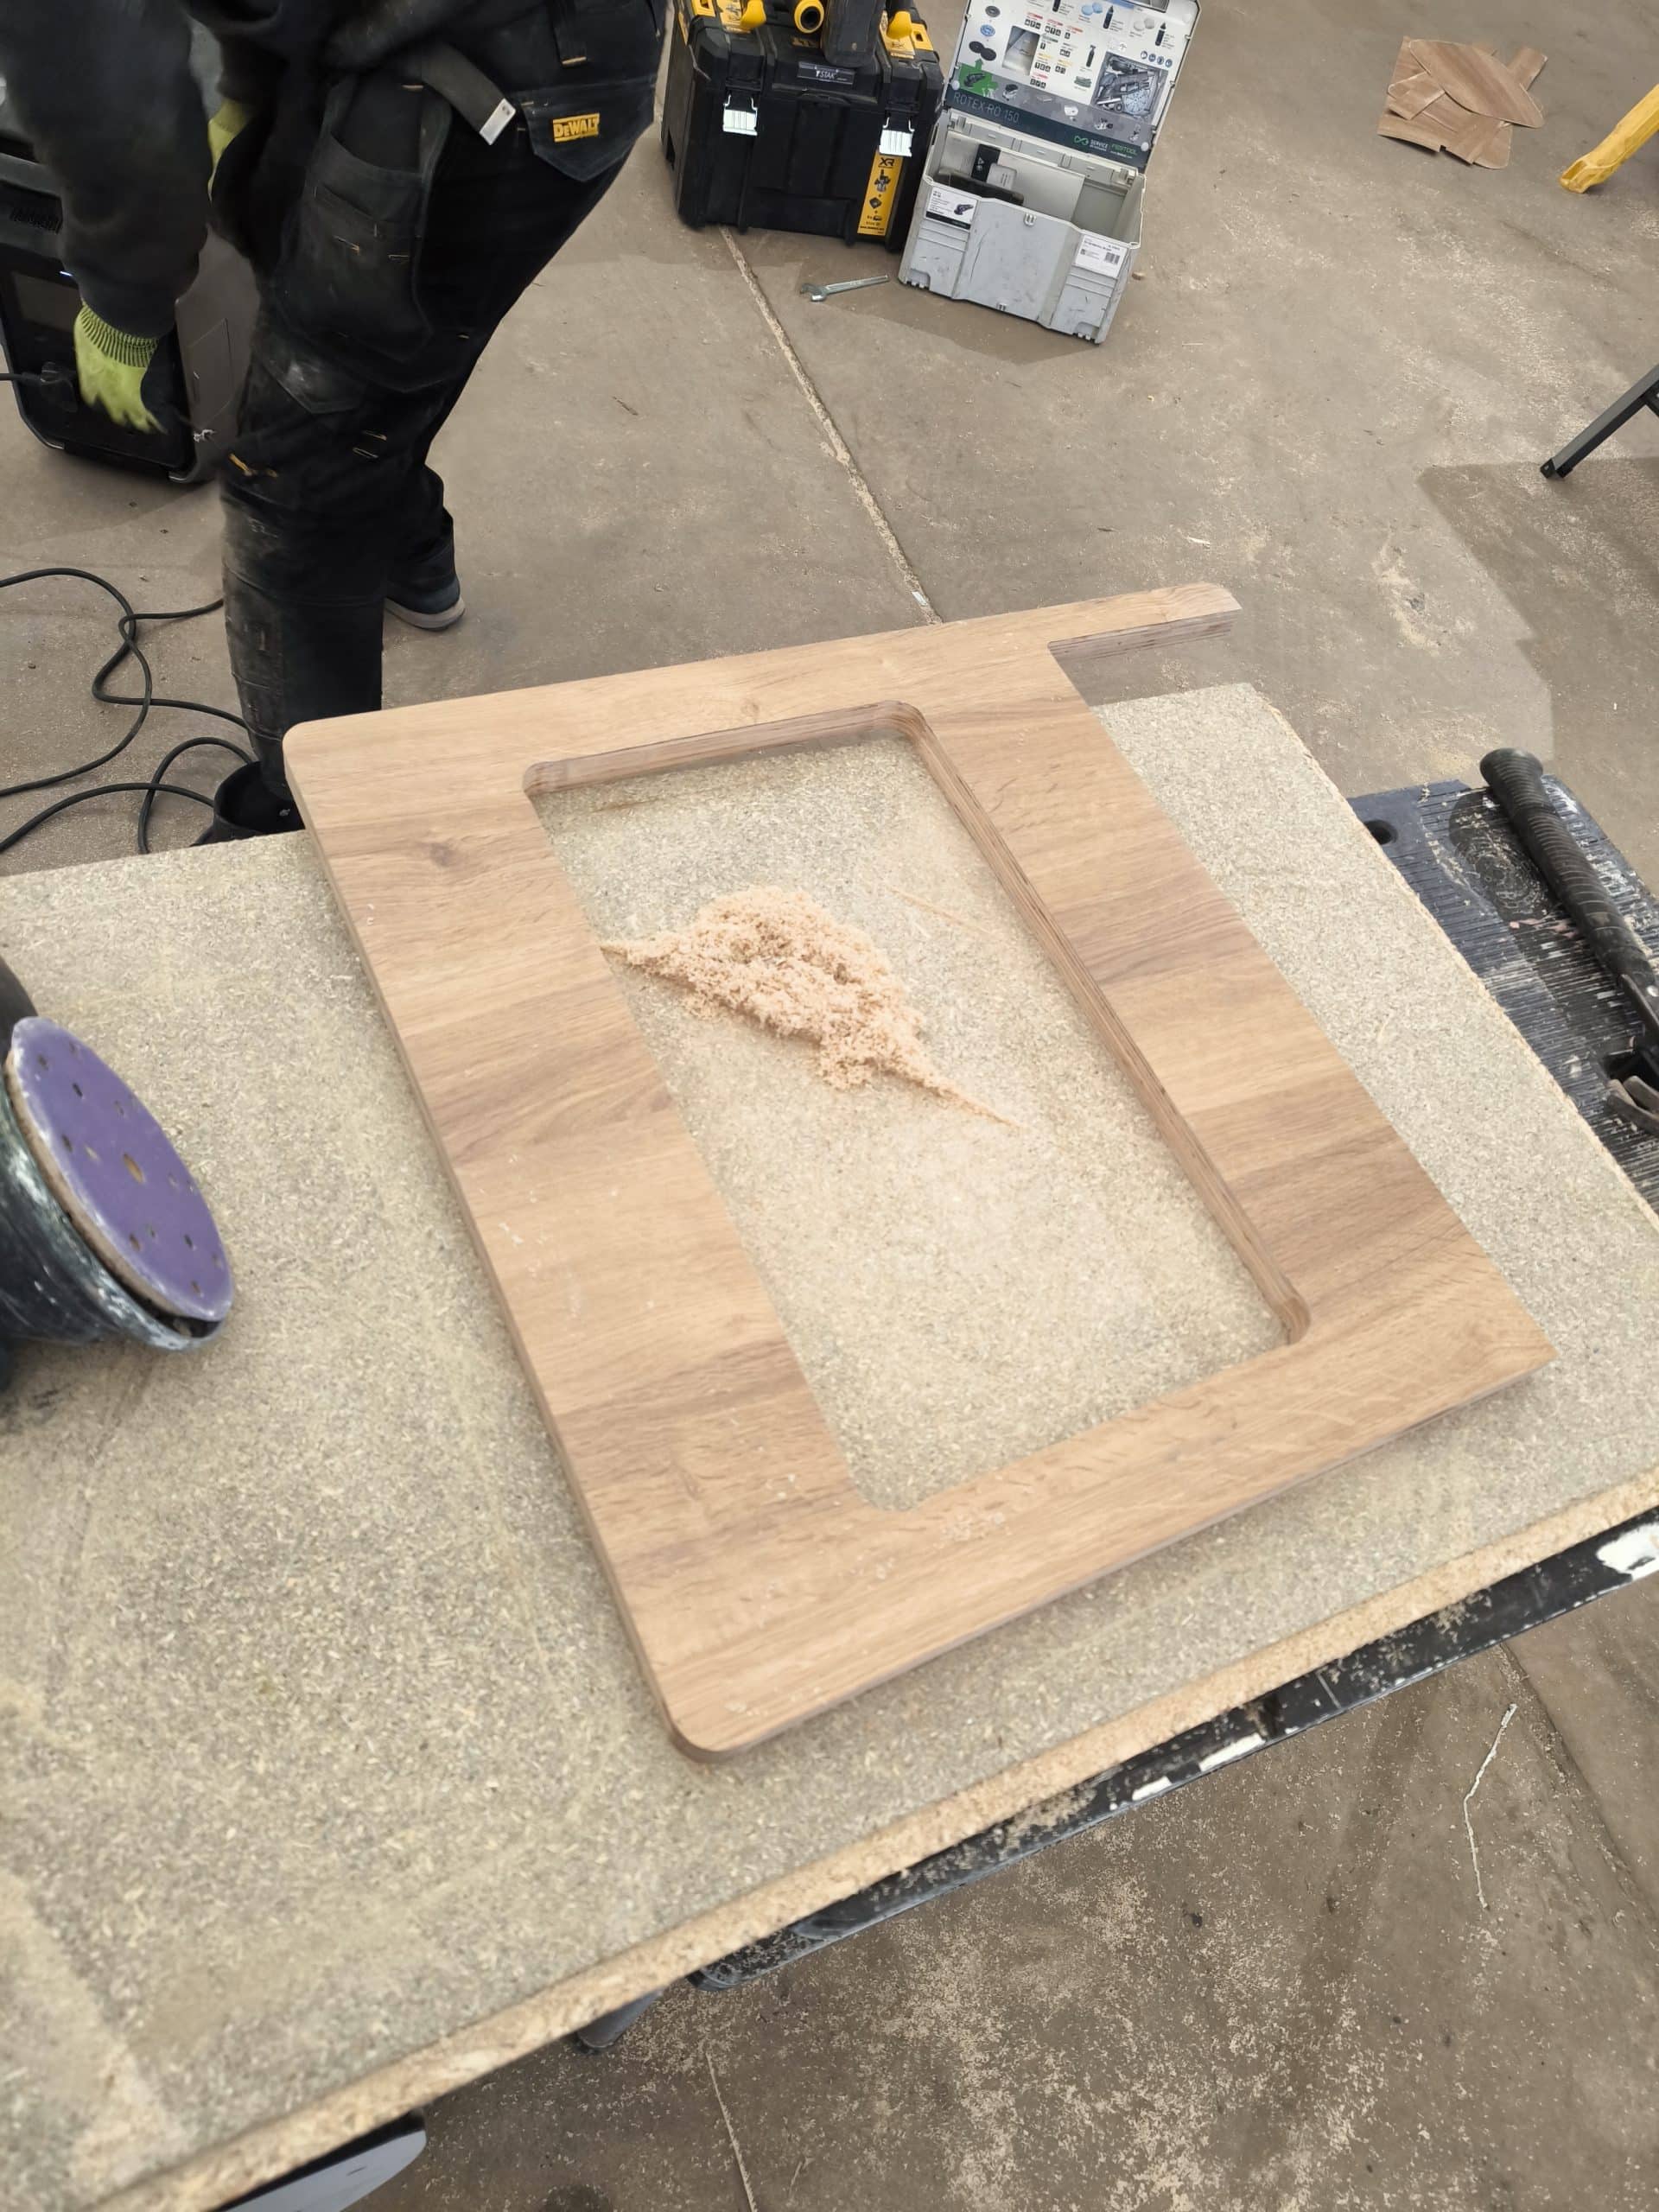
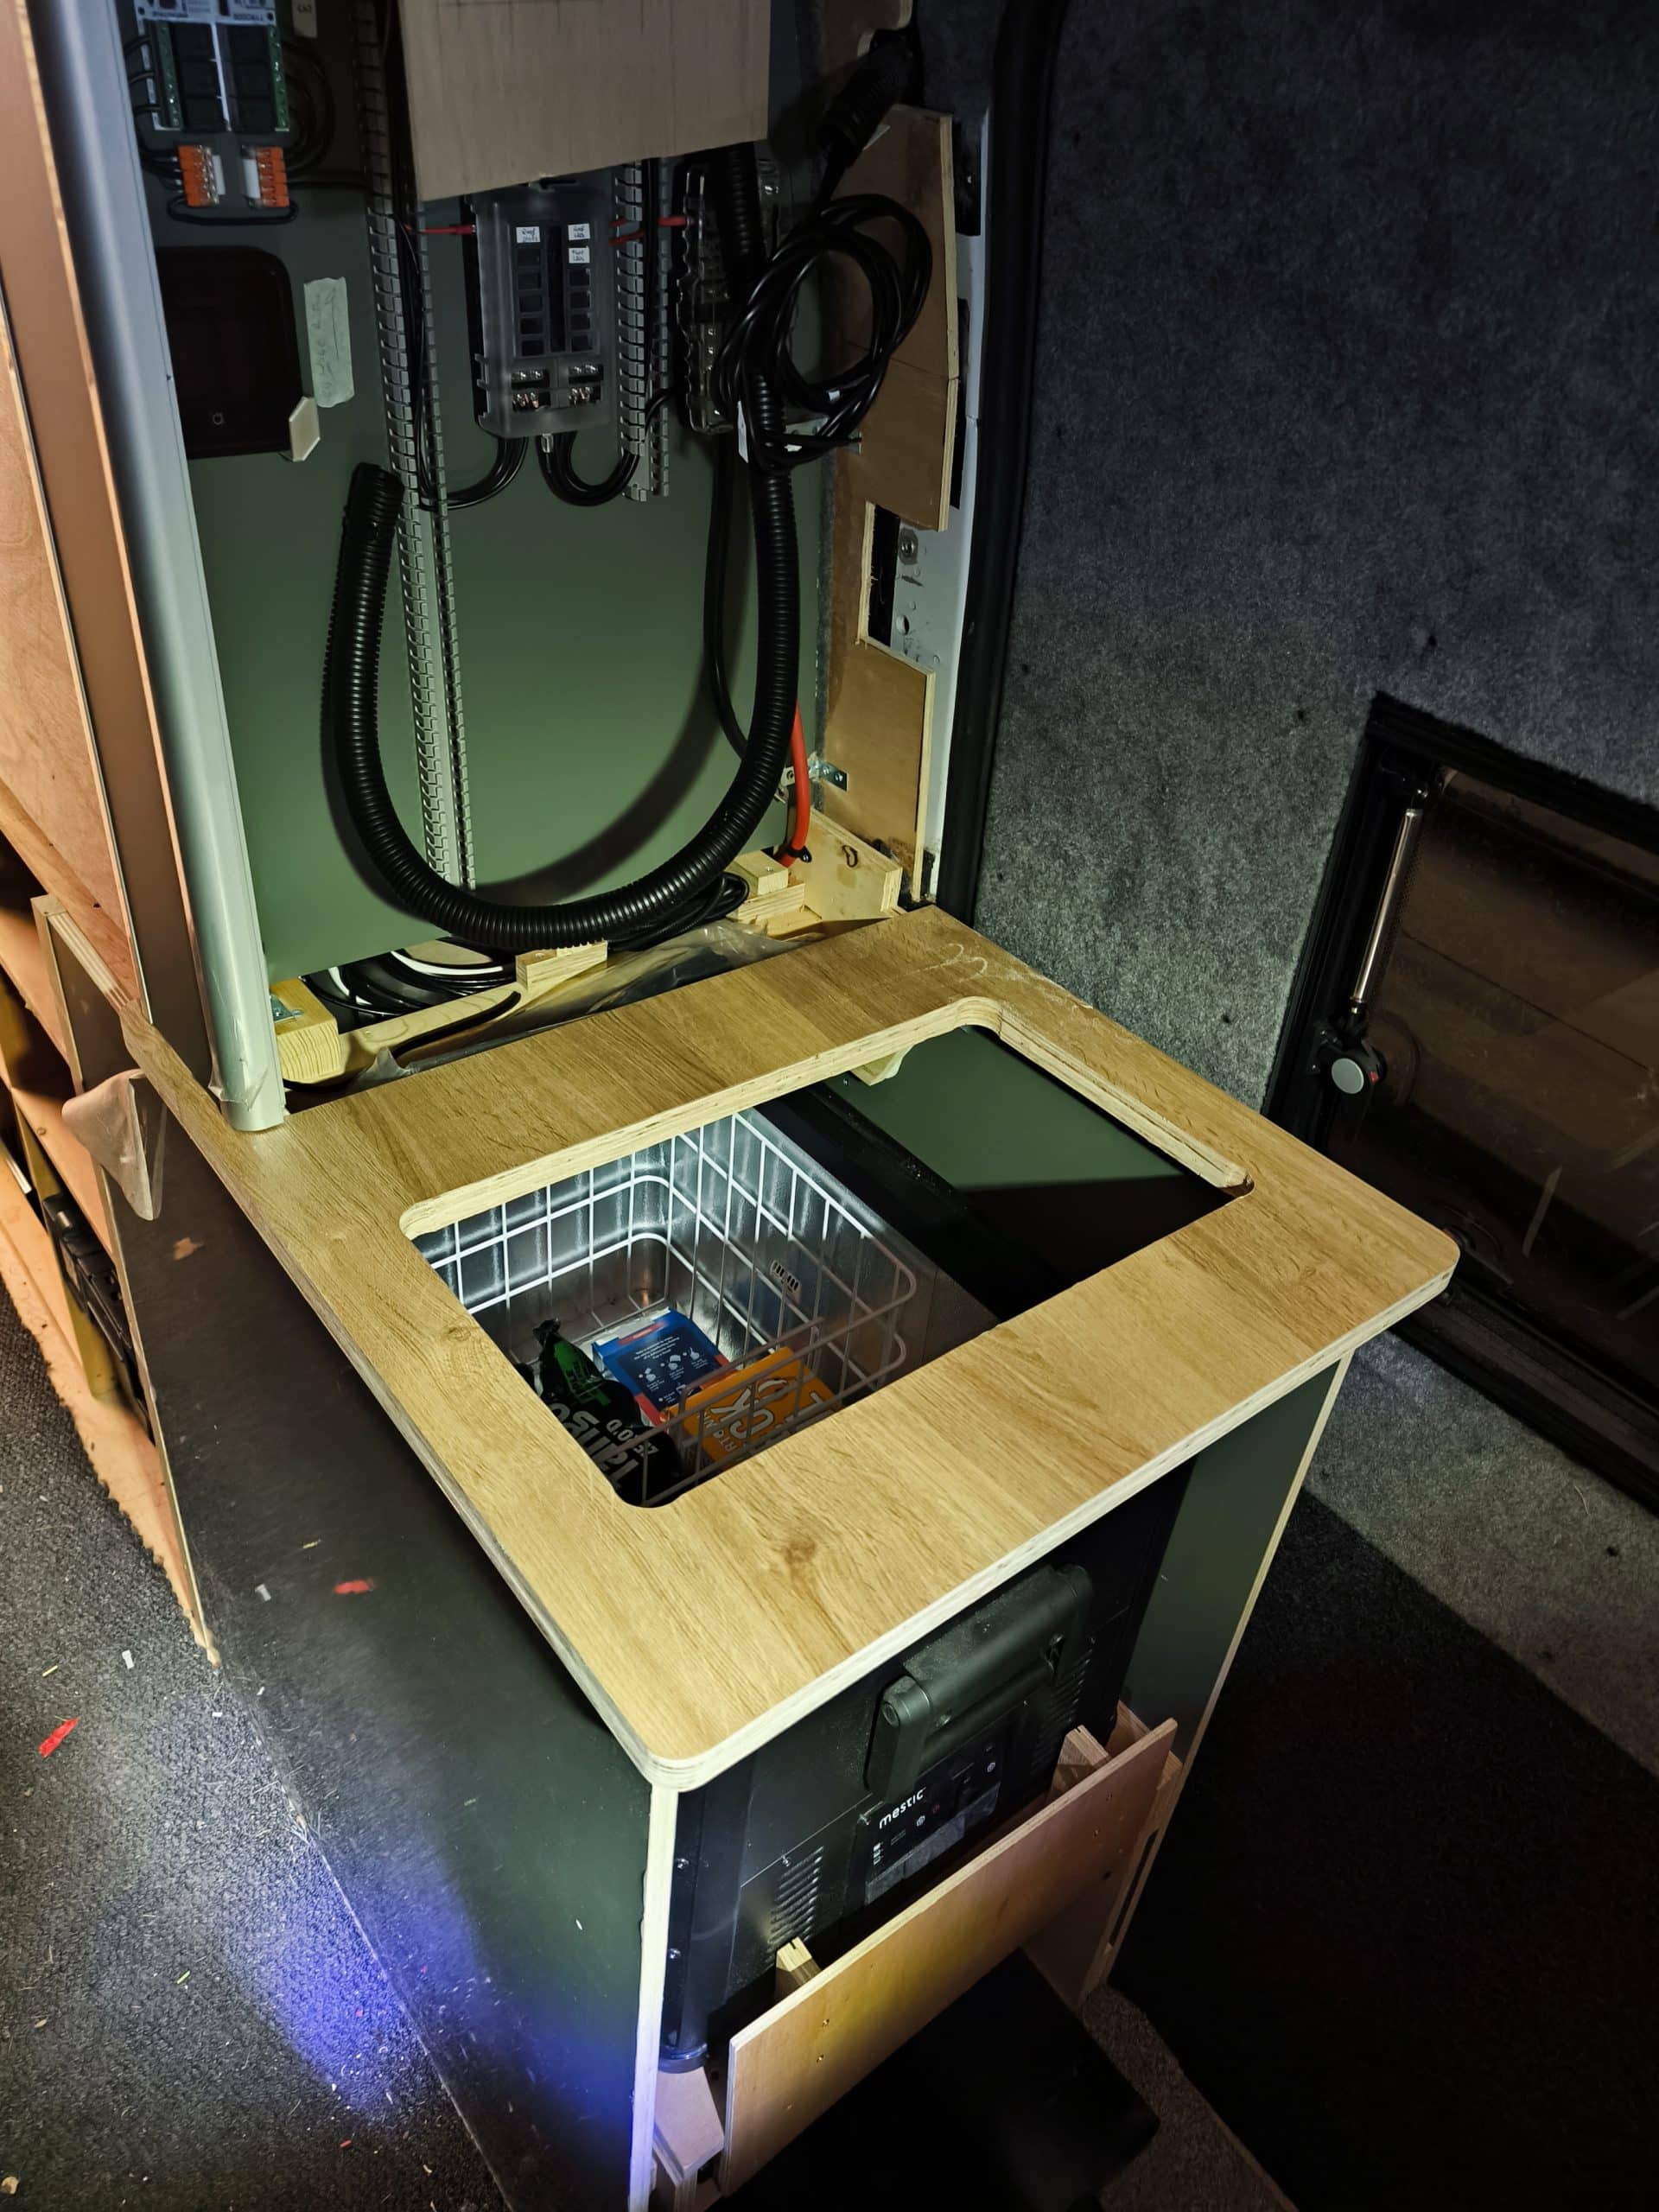
I used my multi-tool to trim off the majority of the excess laminate before Jord did the final neat pass with a flush cutting router. He let me have a go on the back edge so I can say I actually helped rather than just lifted stuff and passed him things while he did it all. Putting the worktops back in the van they look the bees knees and give an idea what the finished result will be.
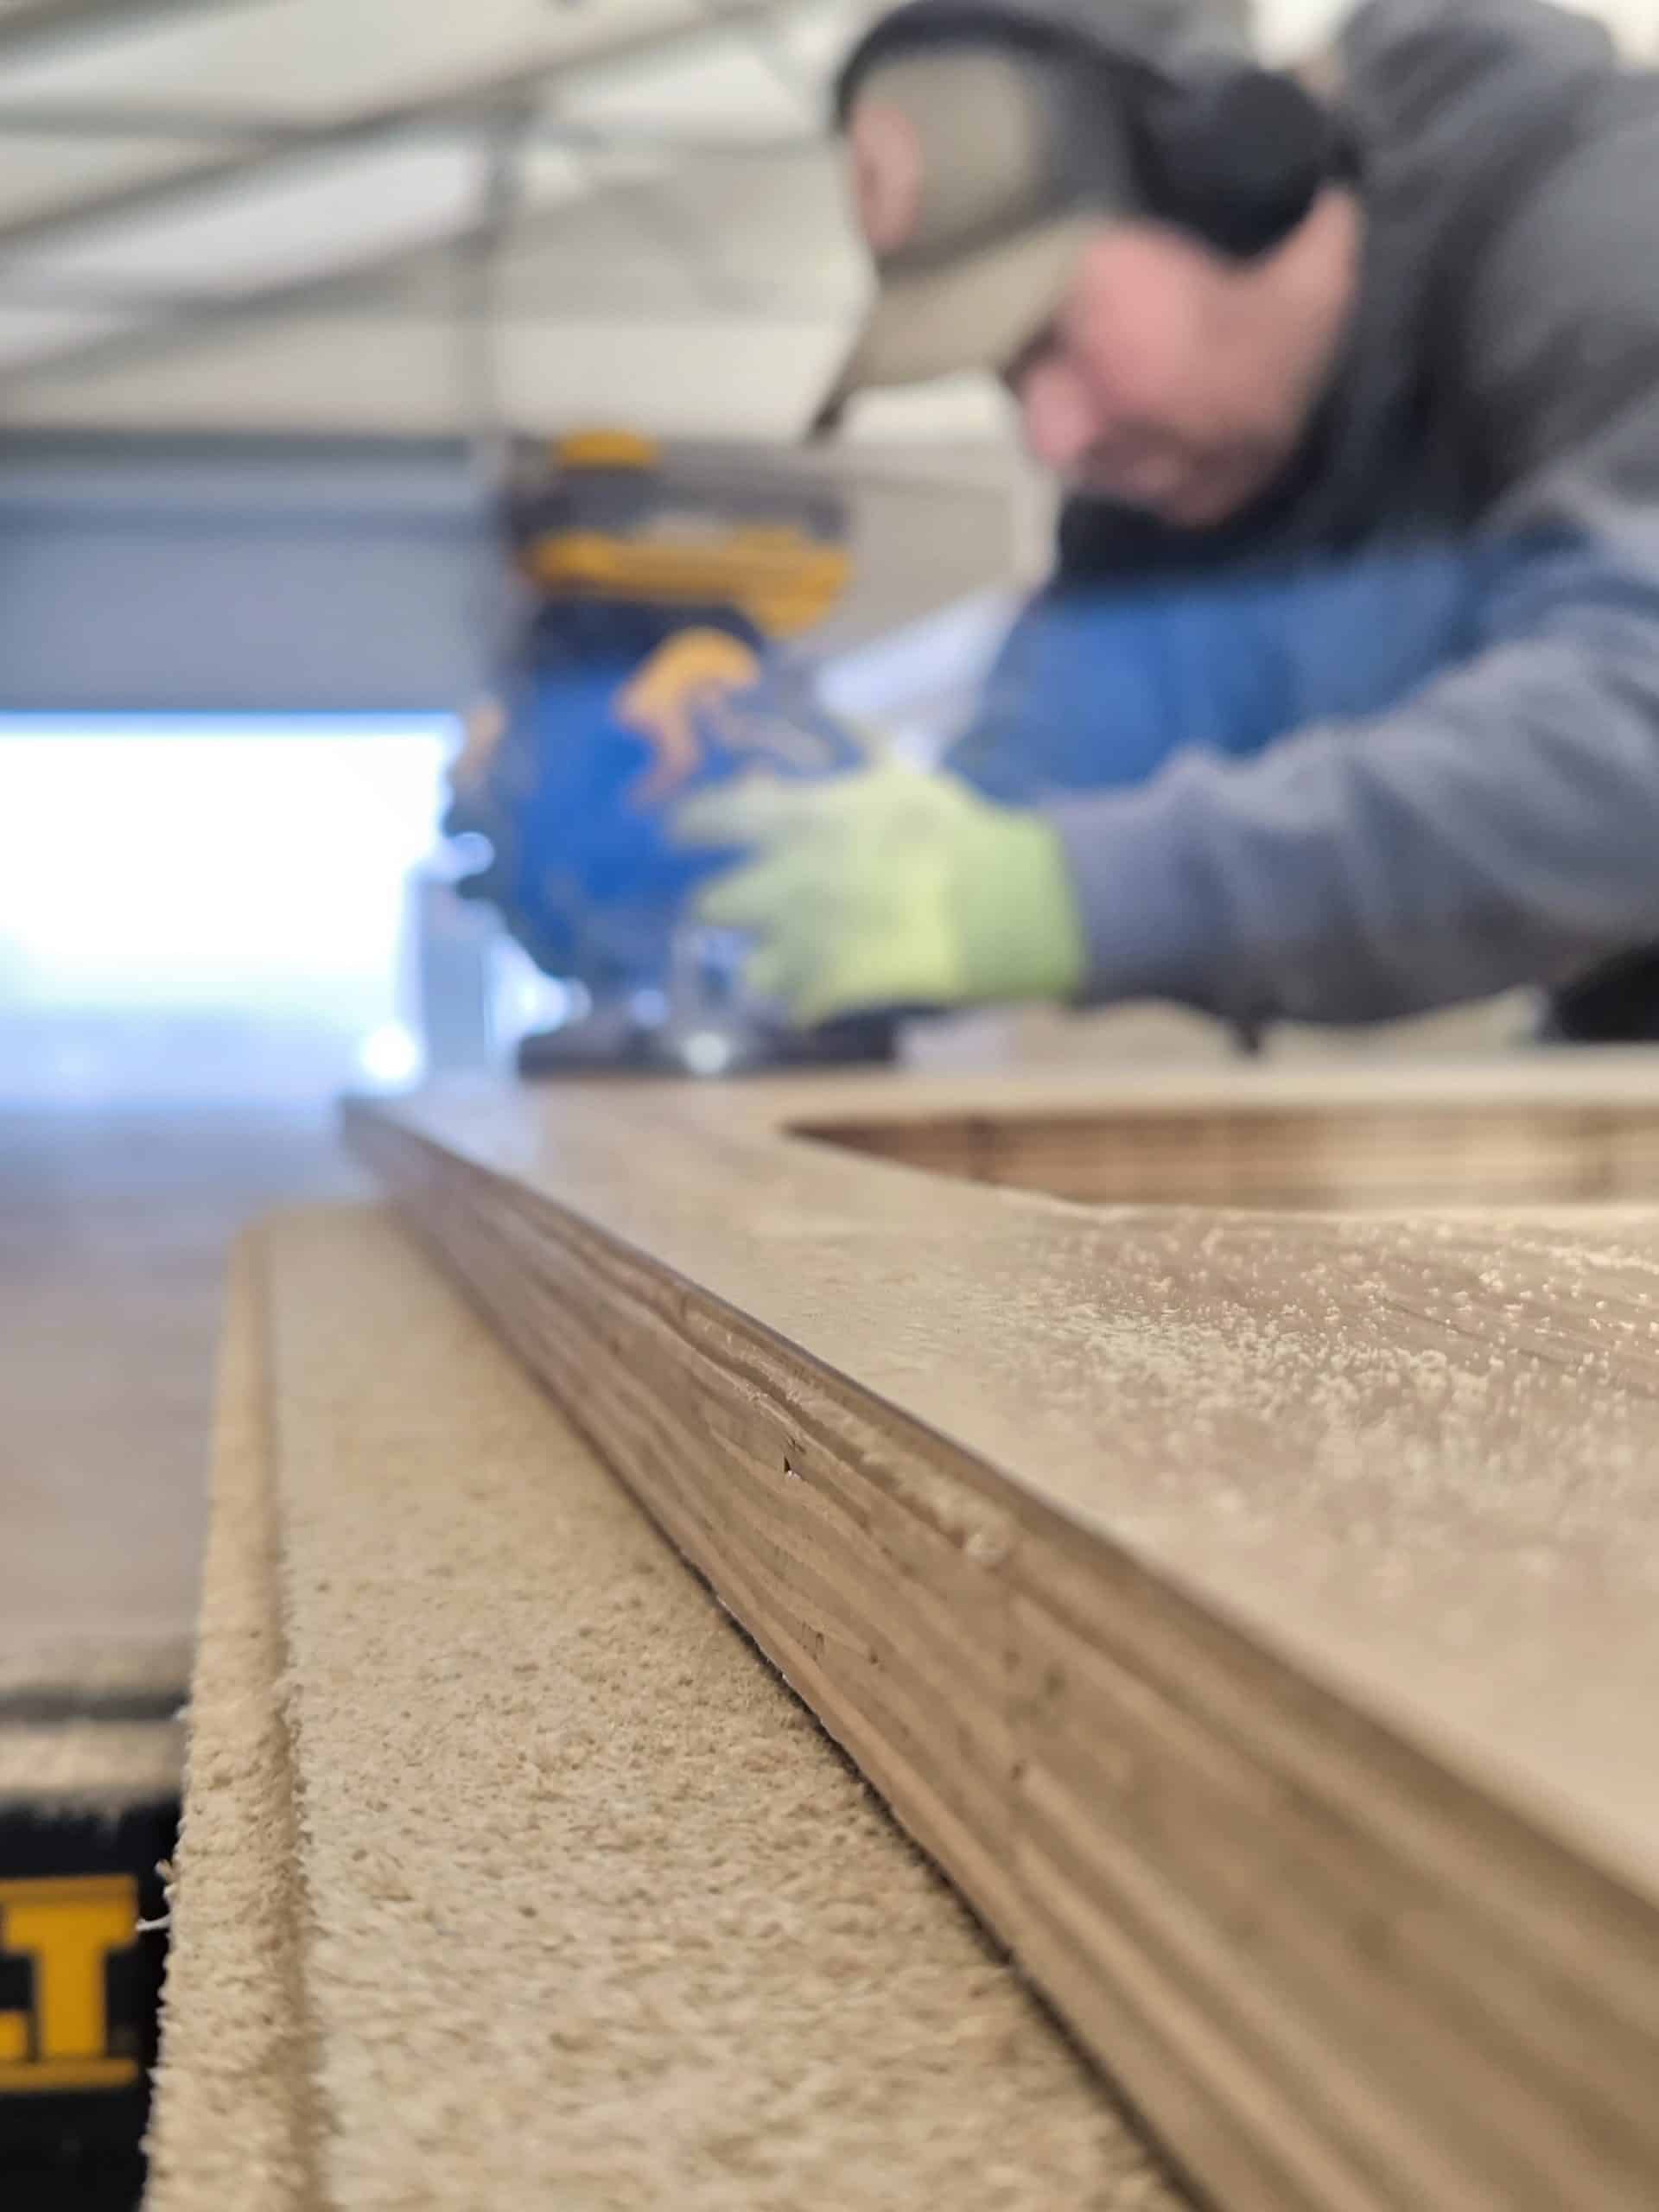
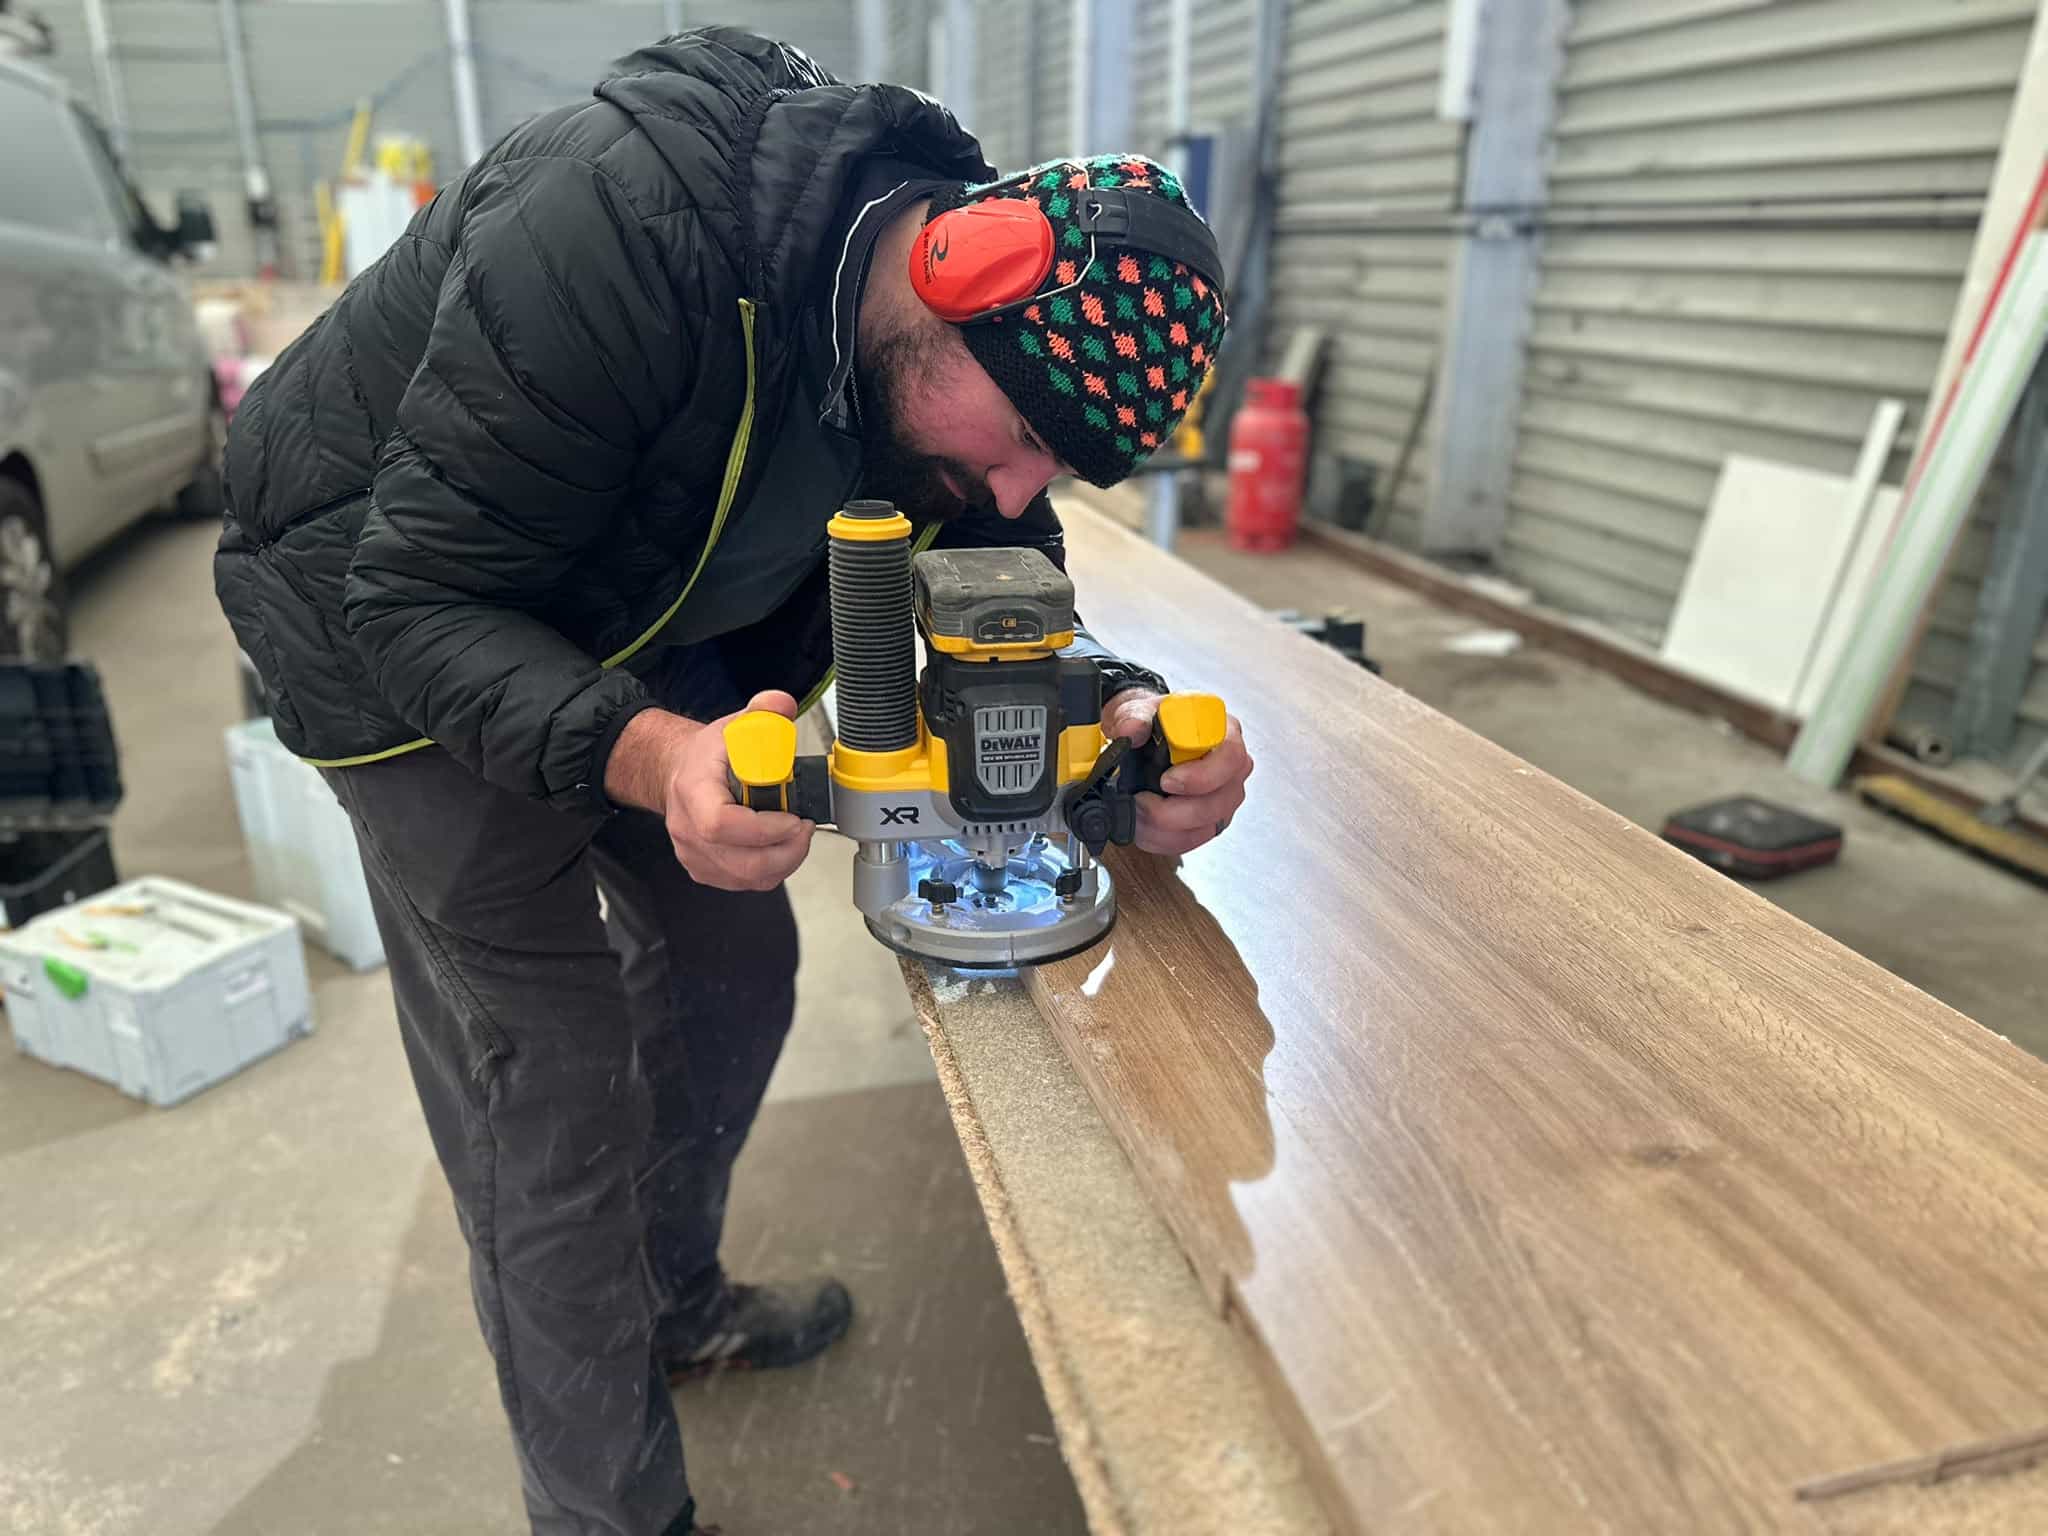
All that is needed now is to edge band the plywood so it’s laminated on all visible surfaces. This just required three long strips of excess laminate to be cut so they can be glued to the edge later. Jord was running out of time so the only other thing we did this morning was cut a strip of green ply so I can finish my roof lighting design.
I’m super grateful for all of Jords help, because without it, this van would be nowhere near as neat or professional looking as it is.
I’m also super grateful for Kai for 3D printing all the random brackets I’m asking for. I stopped in on the way home to pick up a few more pieces that will make up the drivers shelf. When I got home I tried out these bits and they were so close to being perfect but they will need a bit of adjustment before the final print.
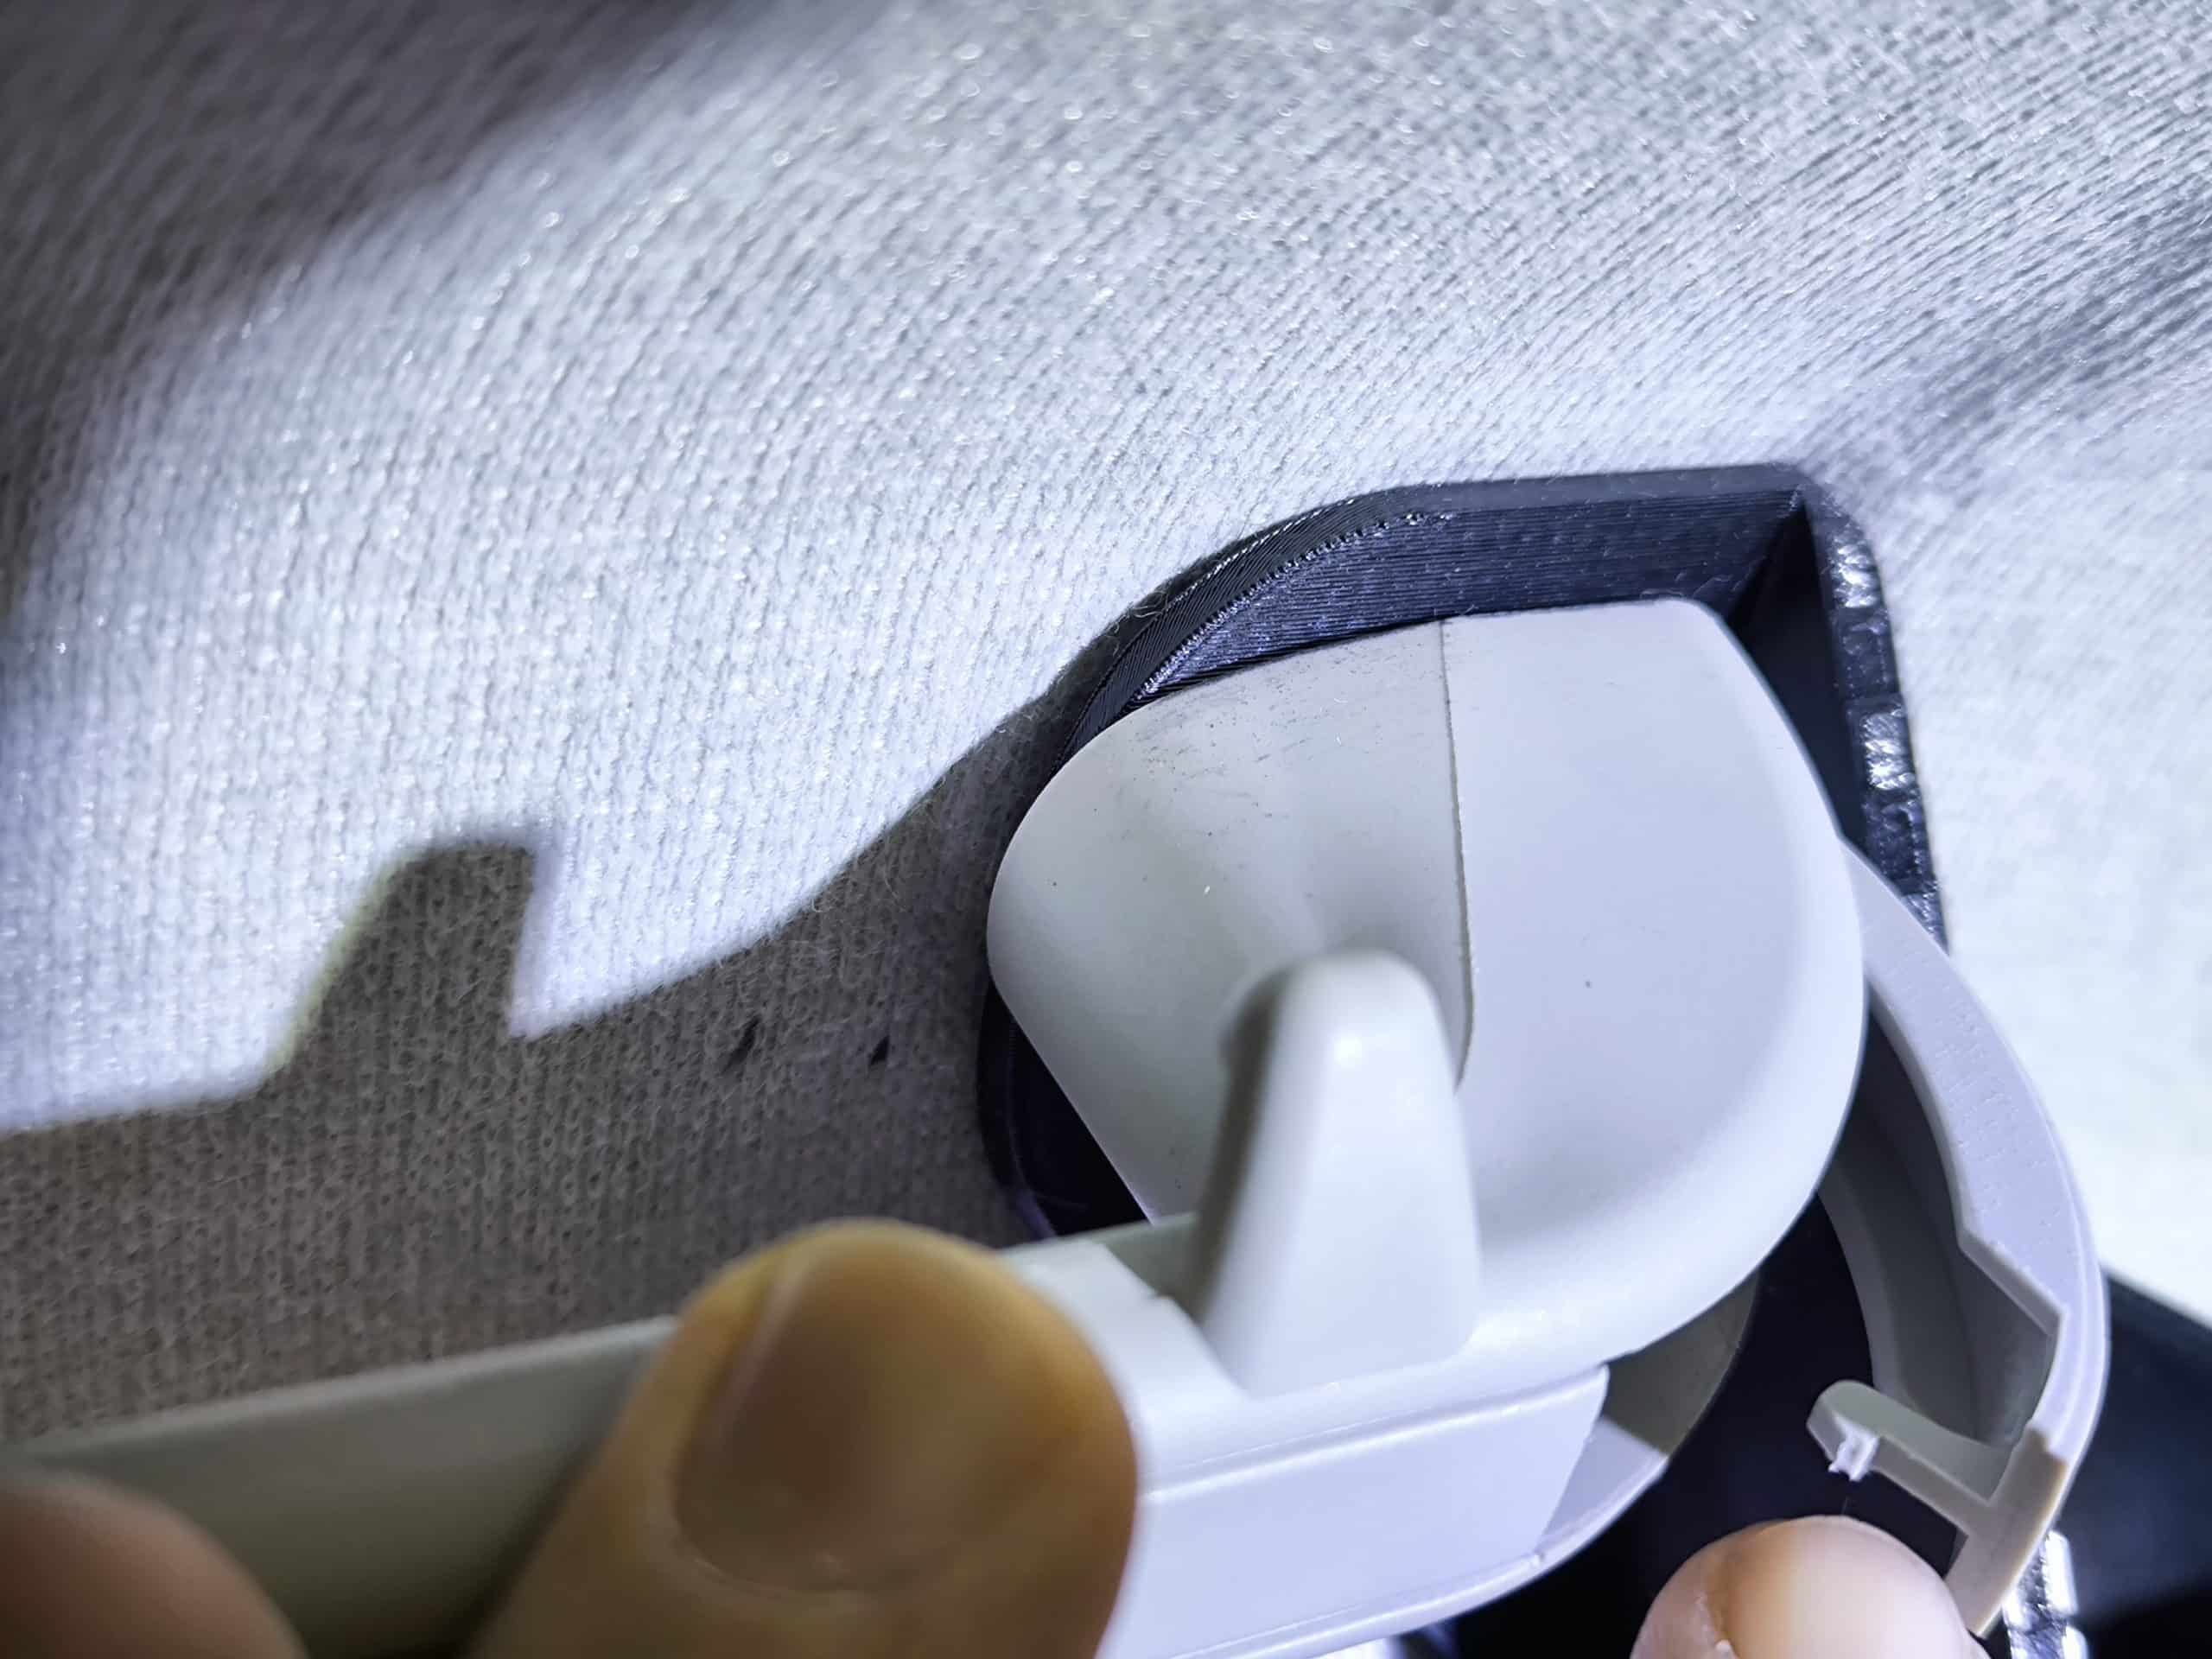
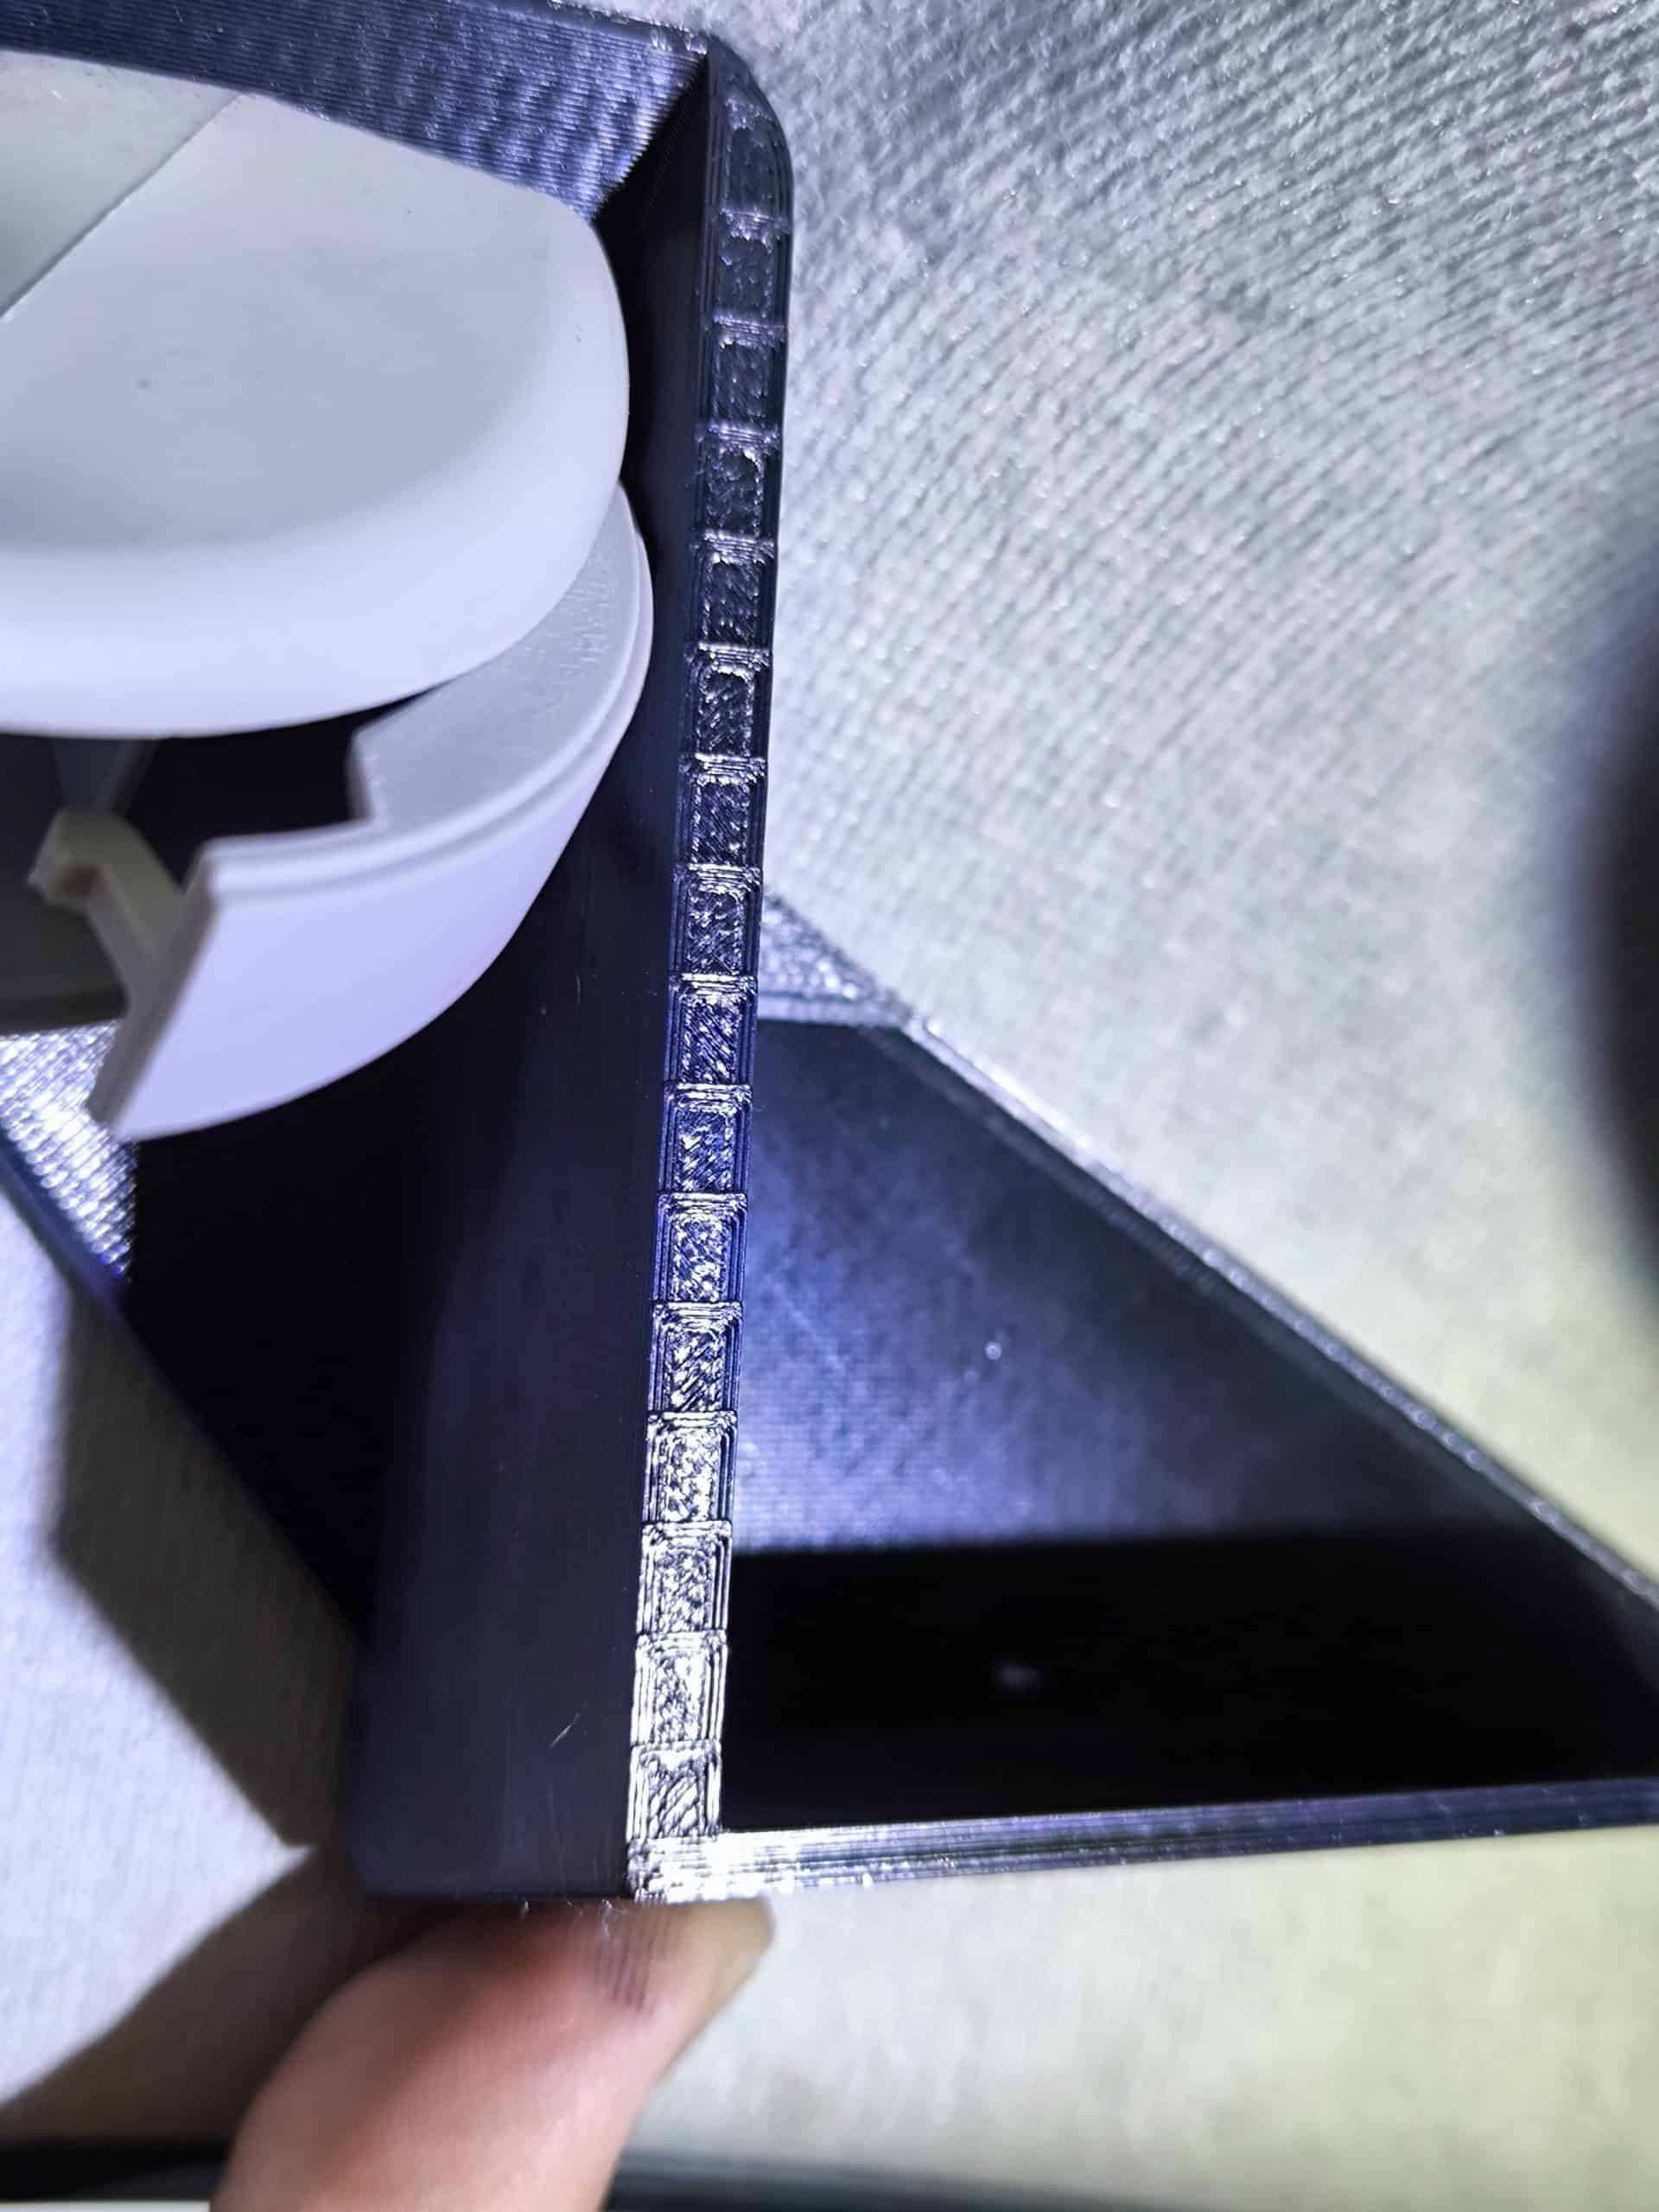
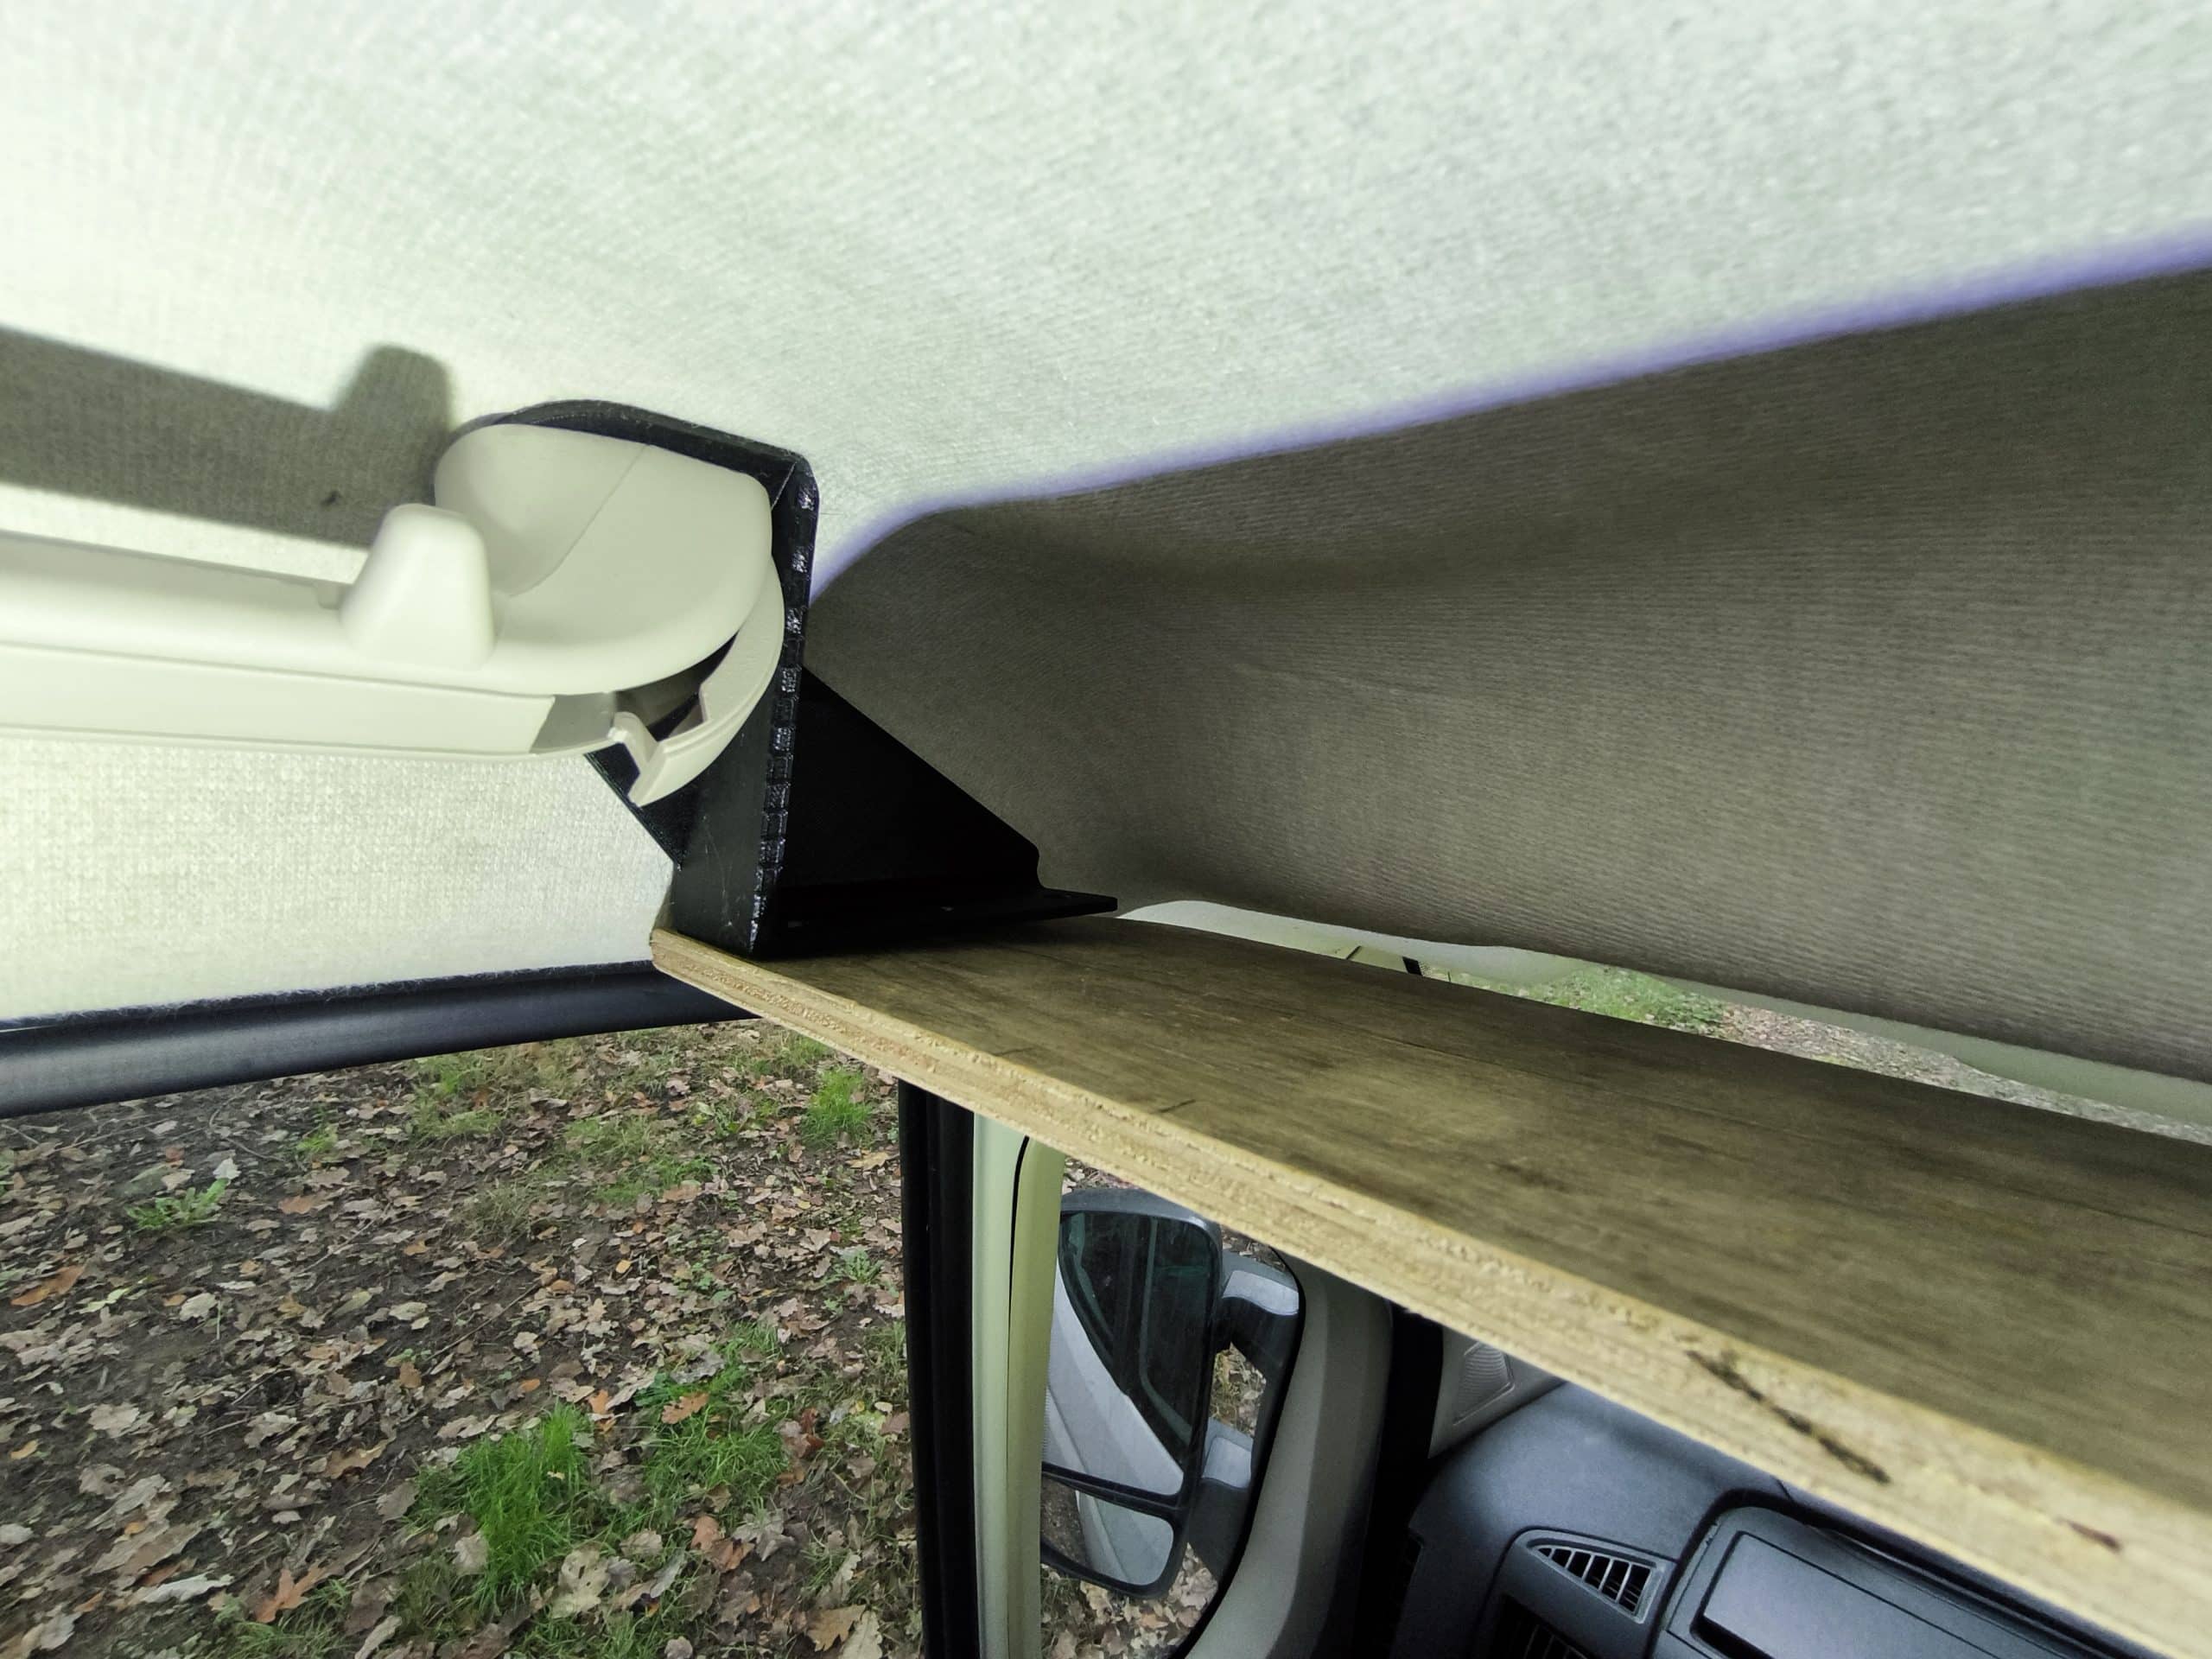
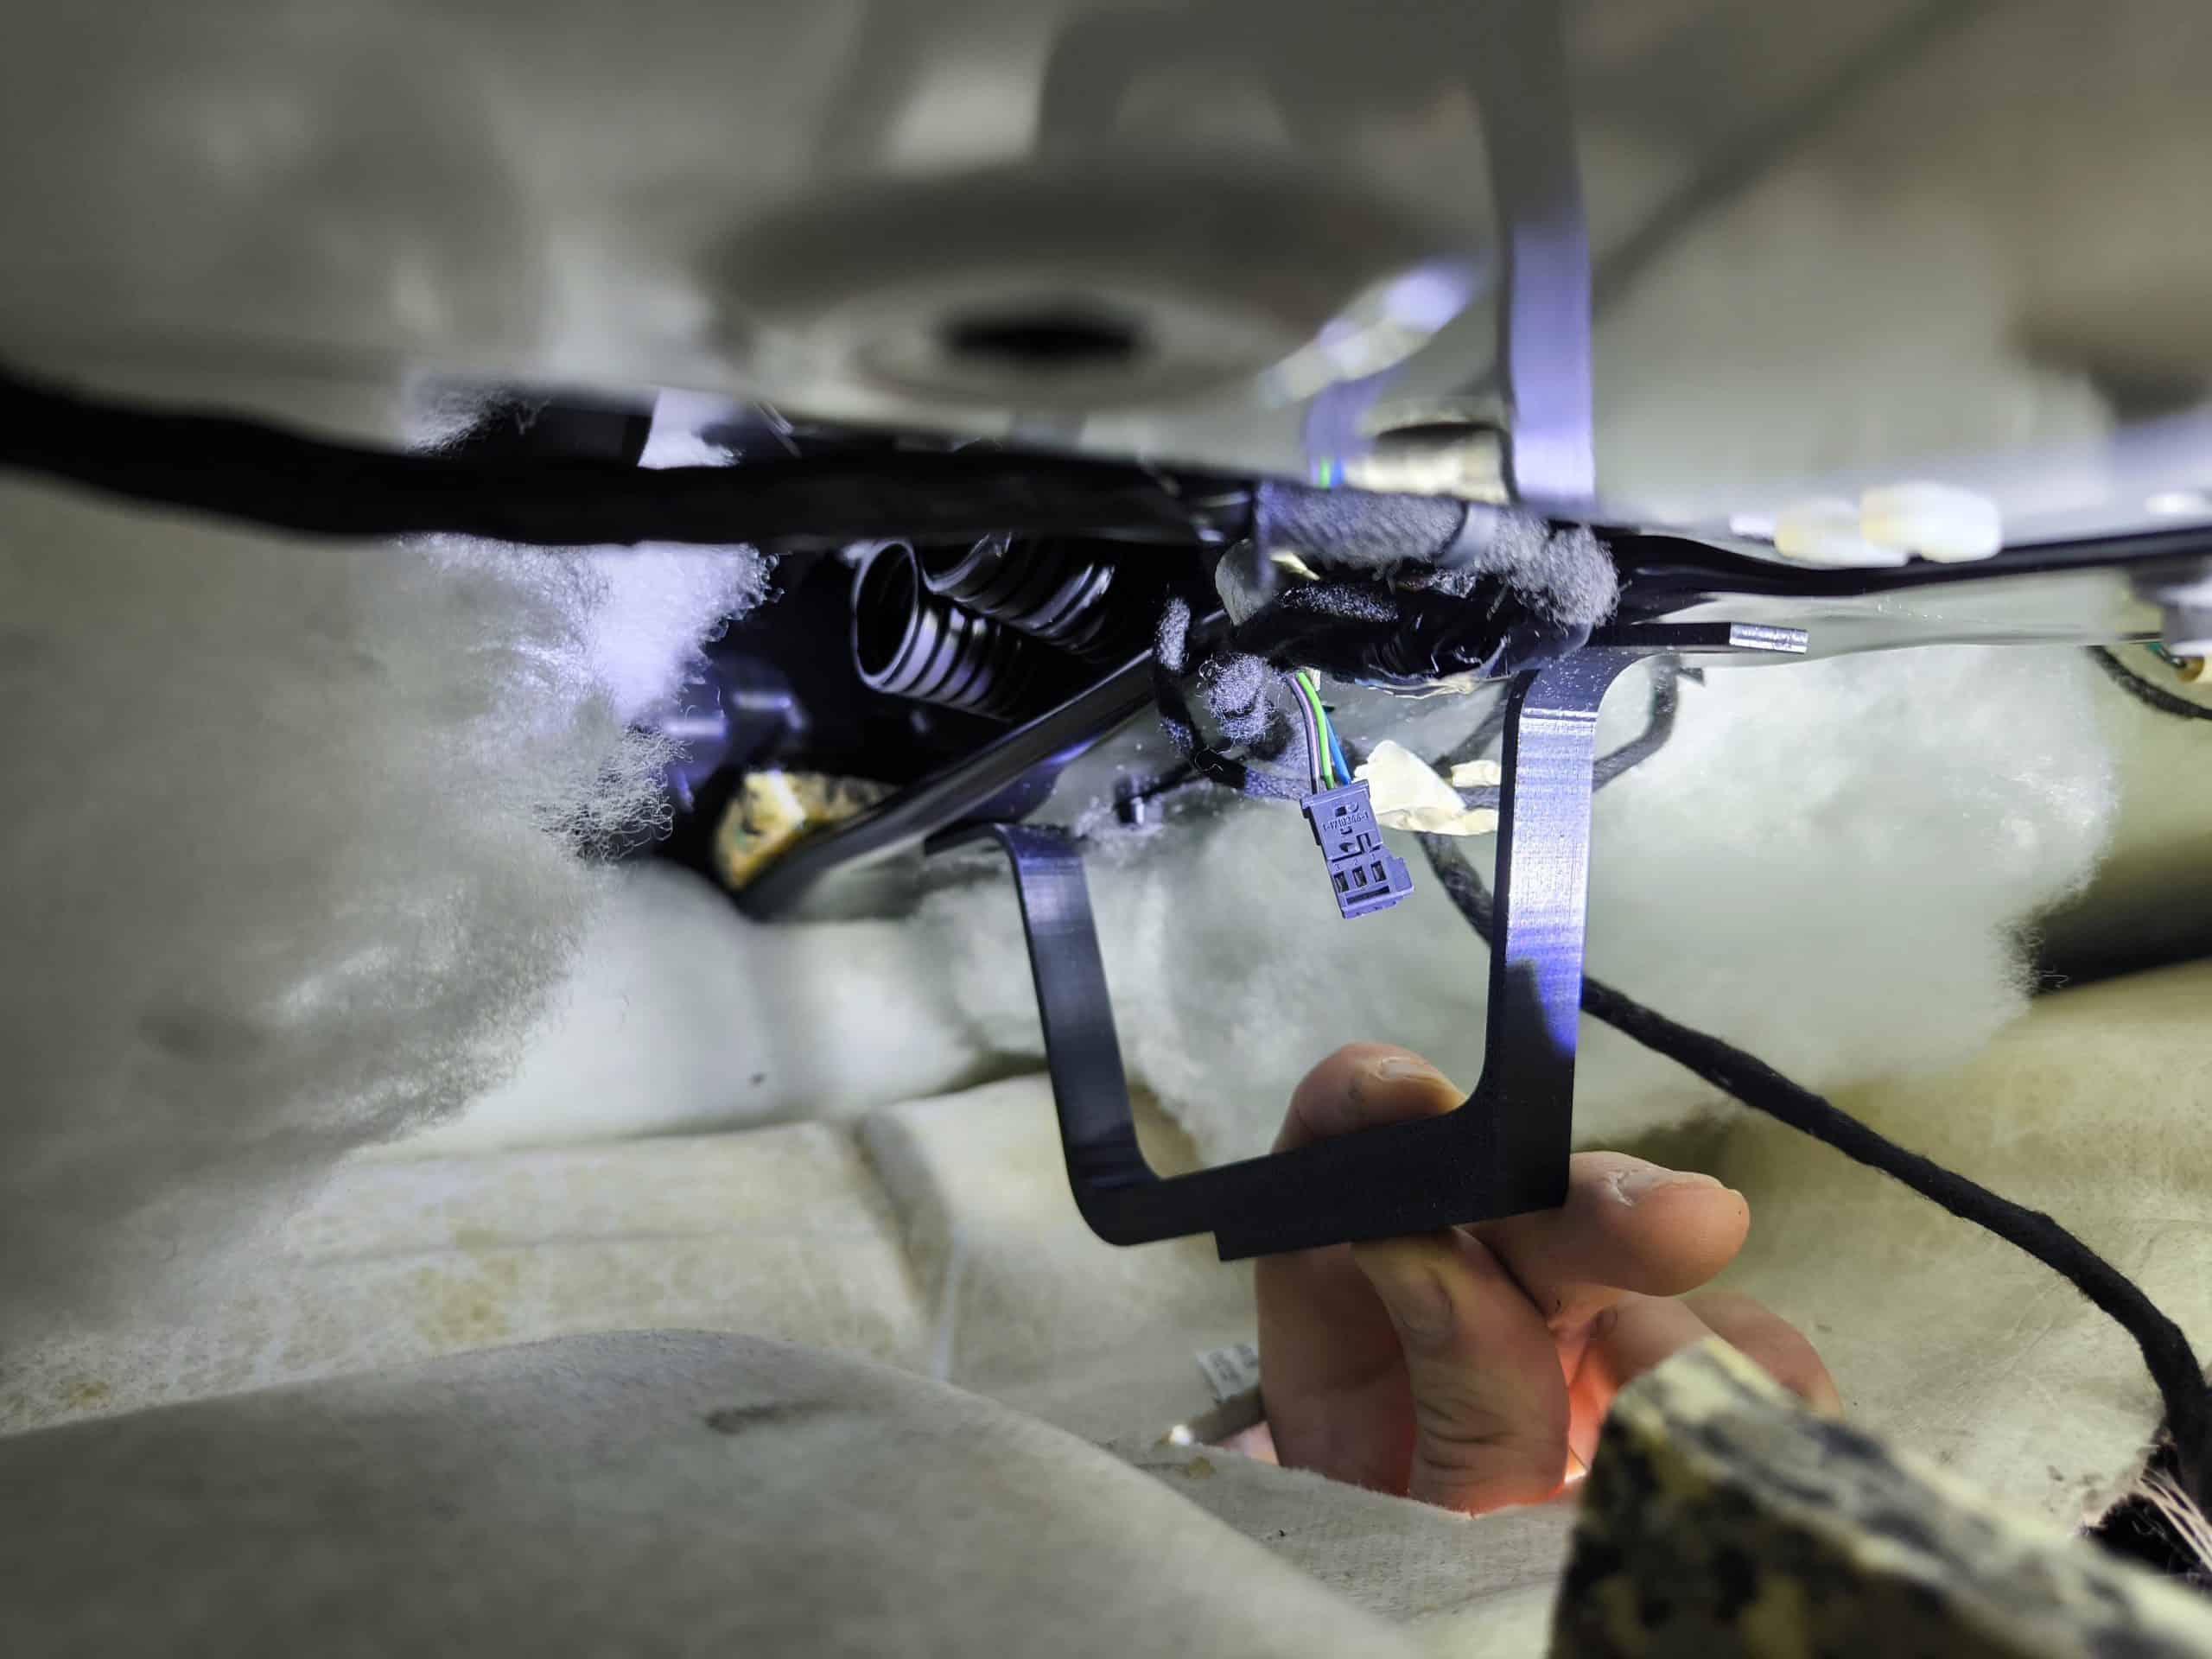
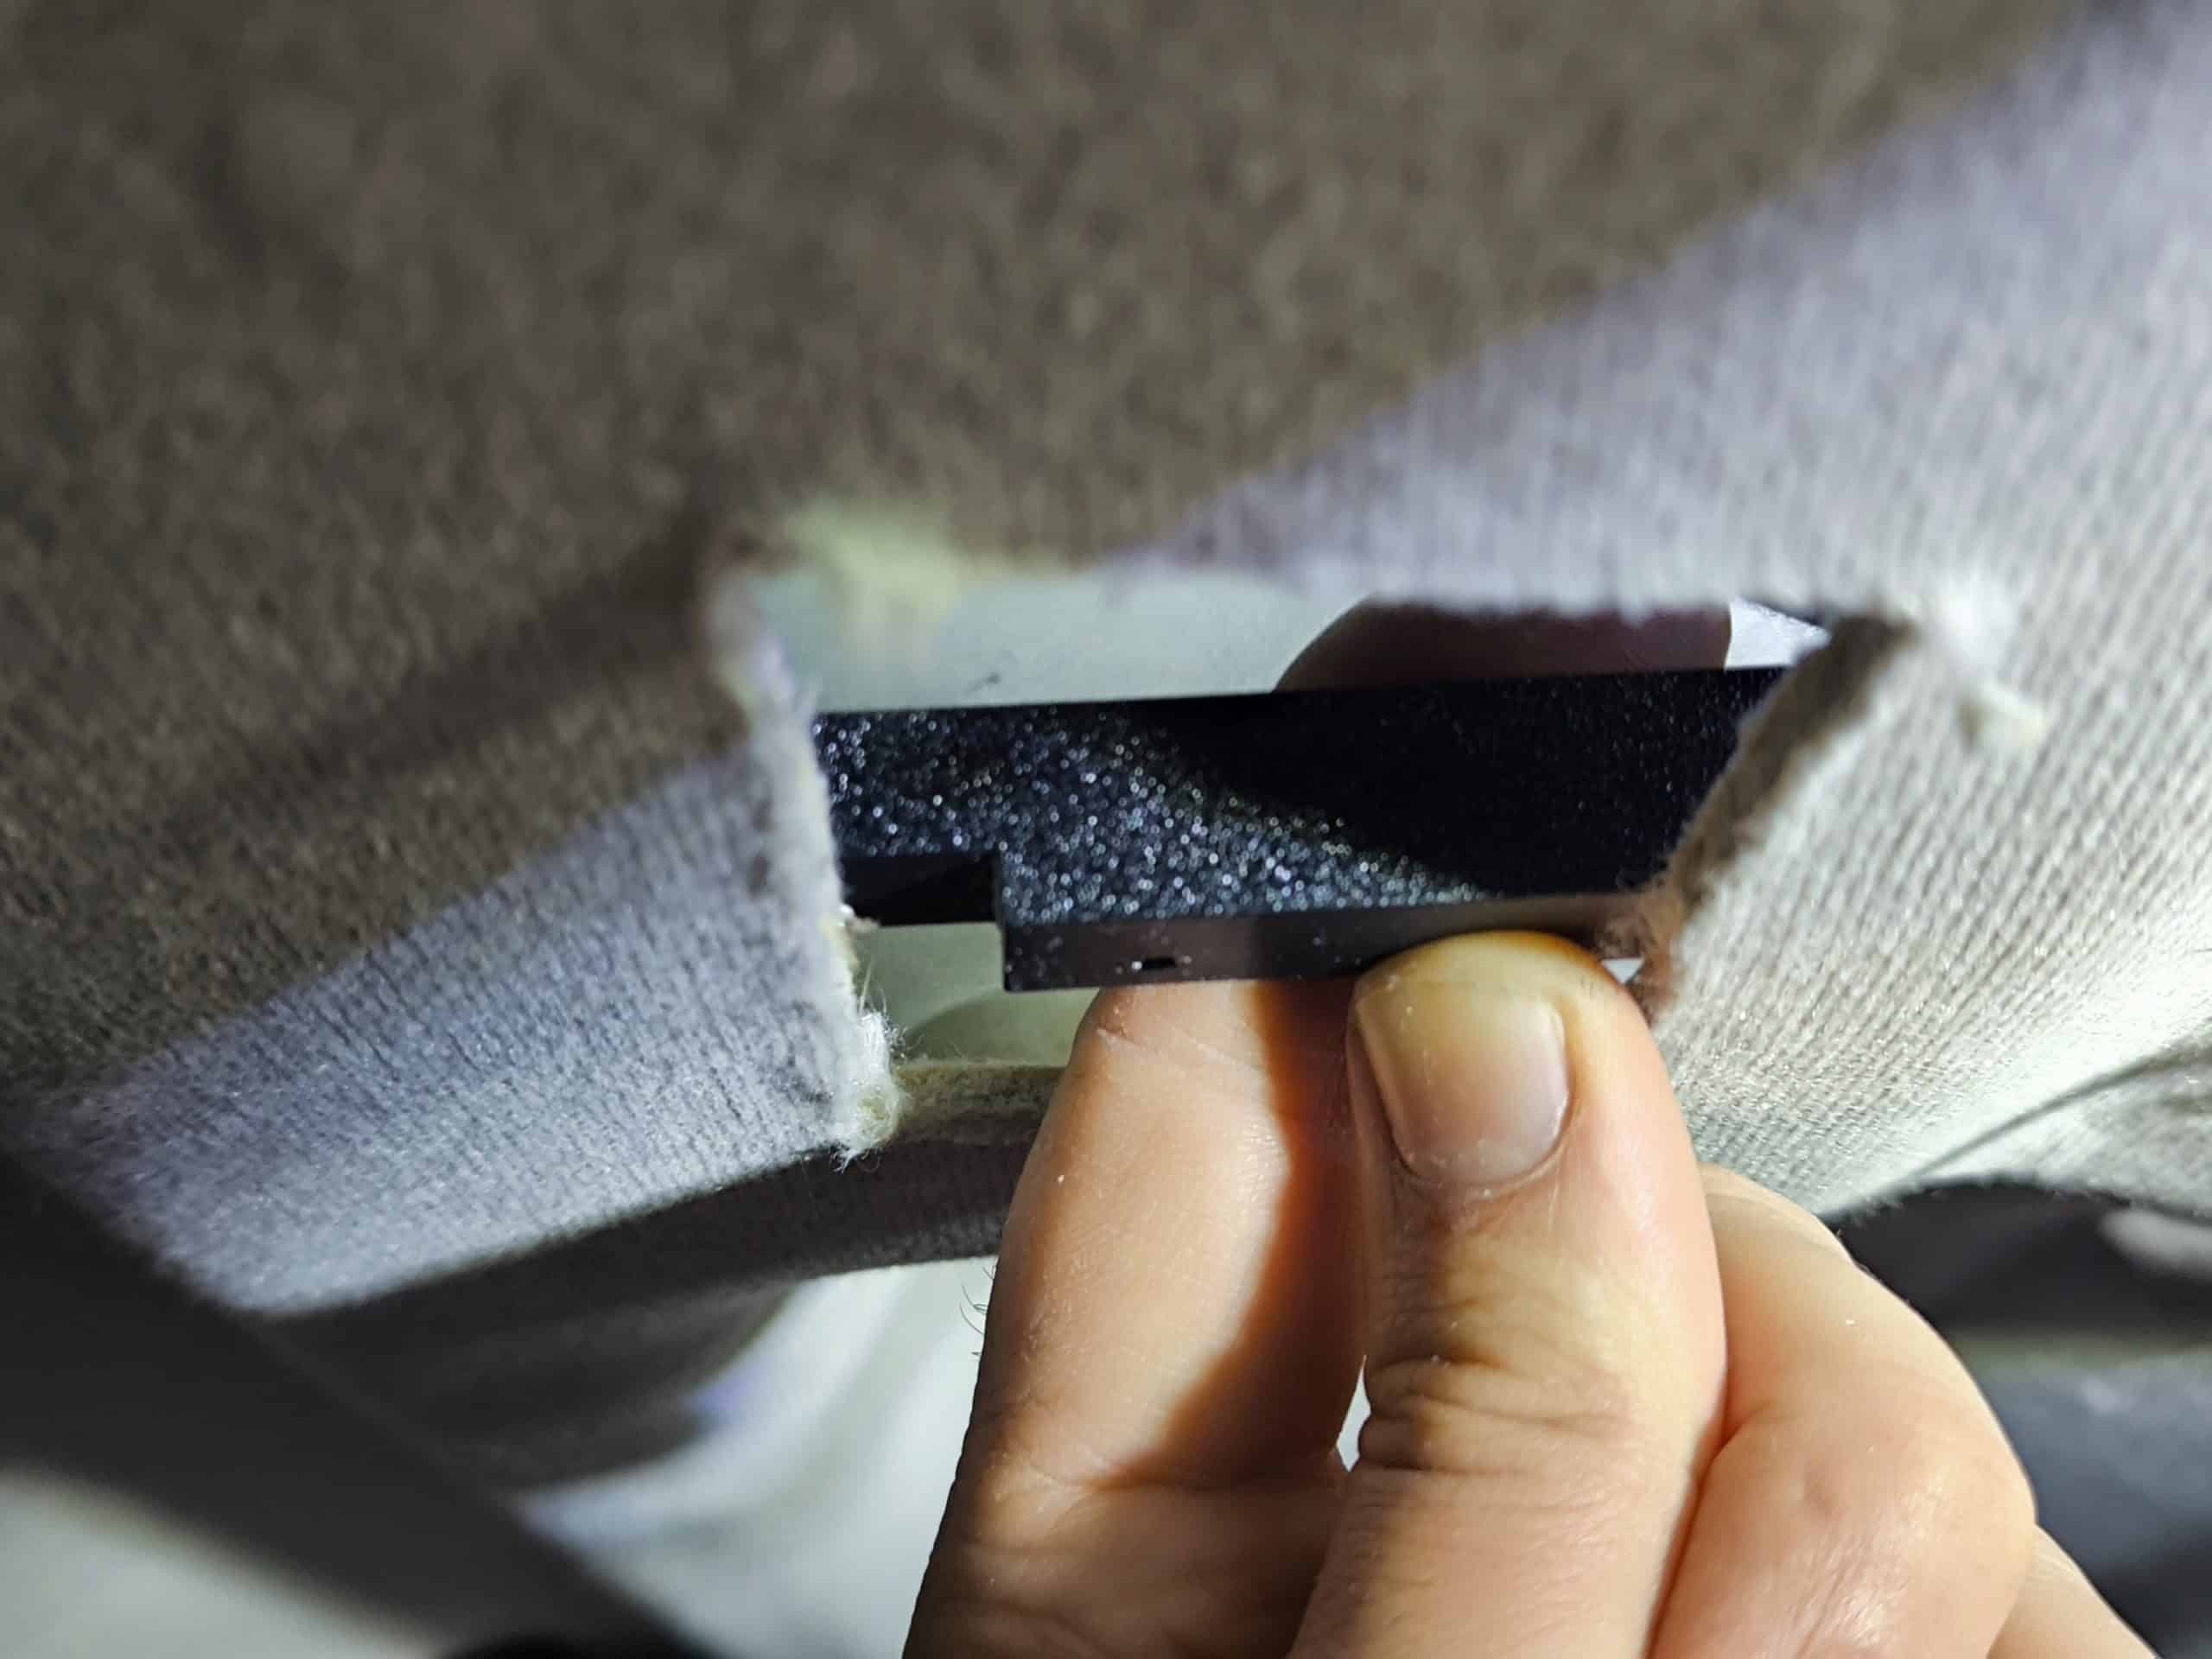
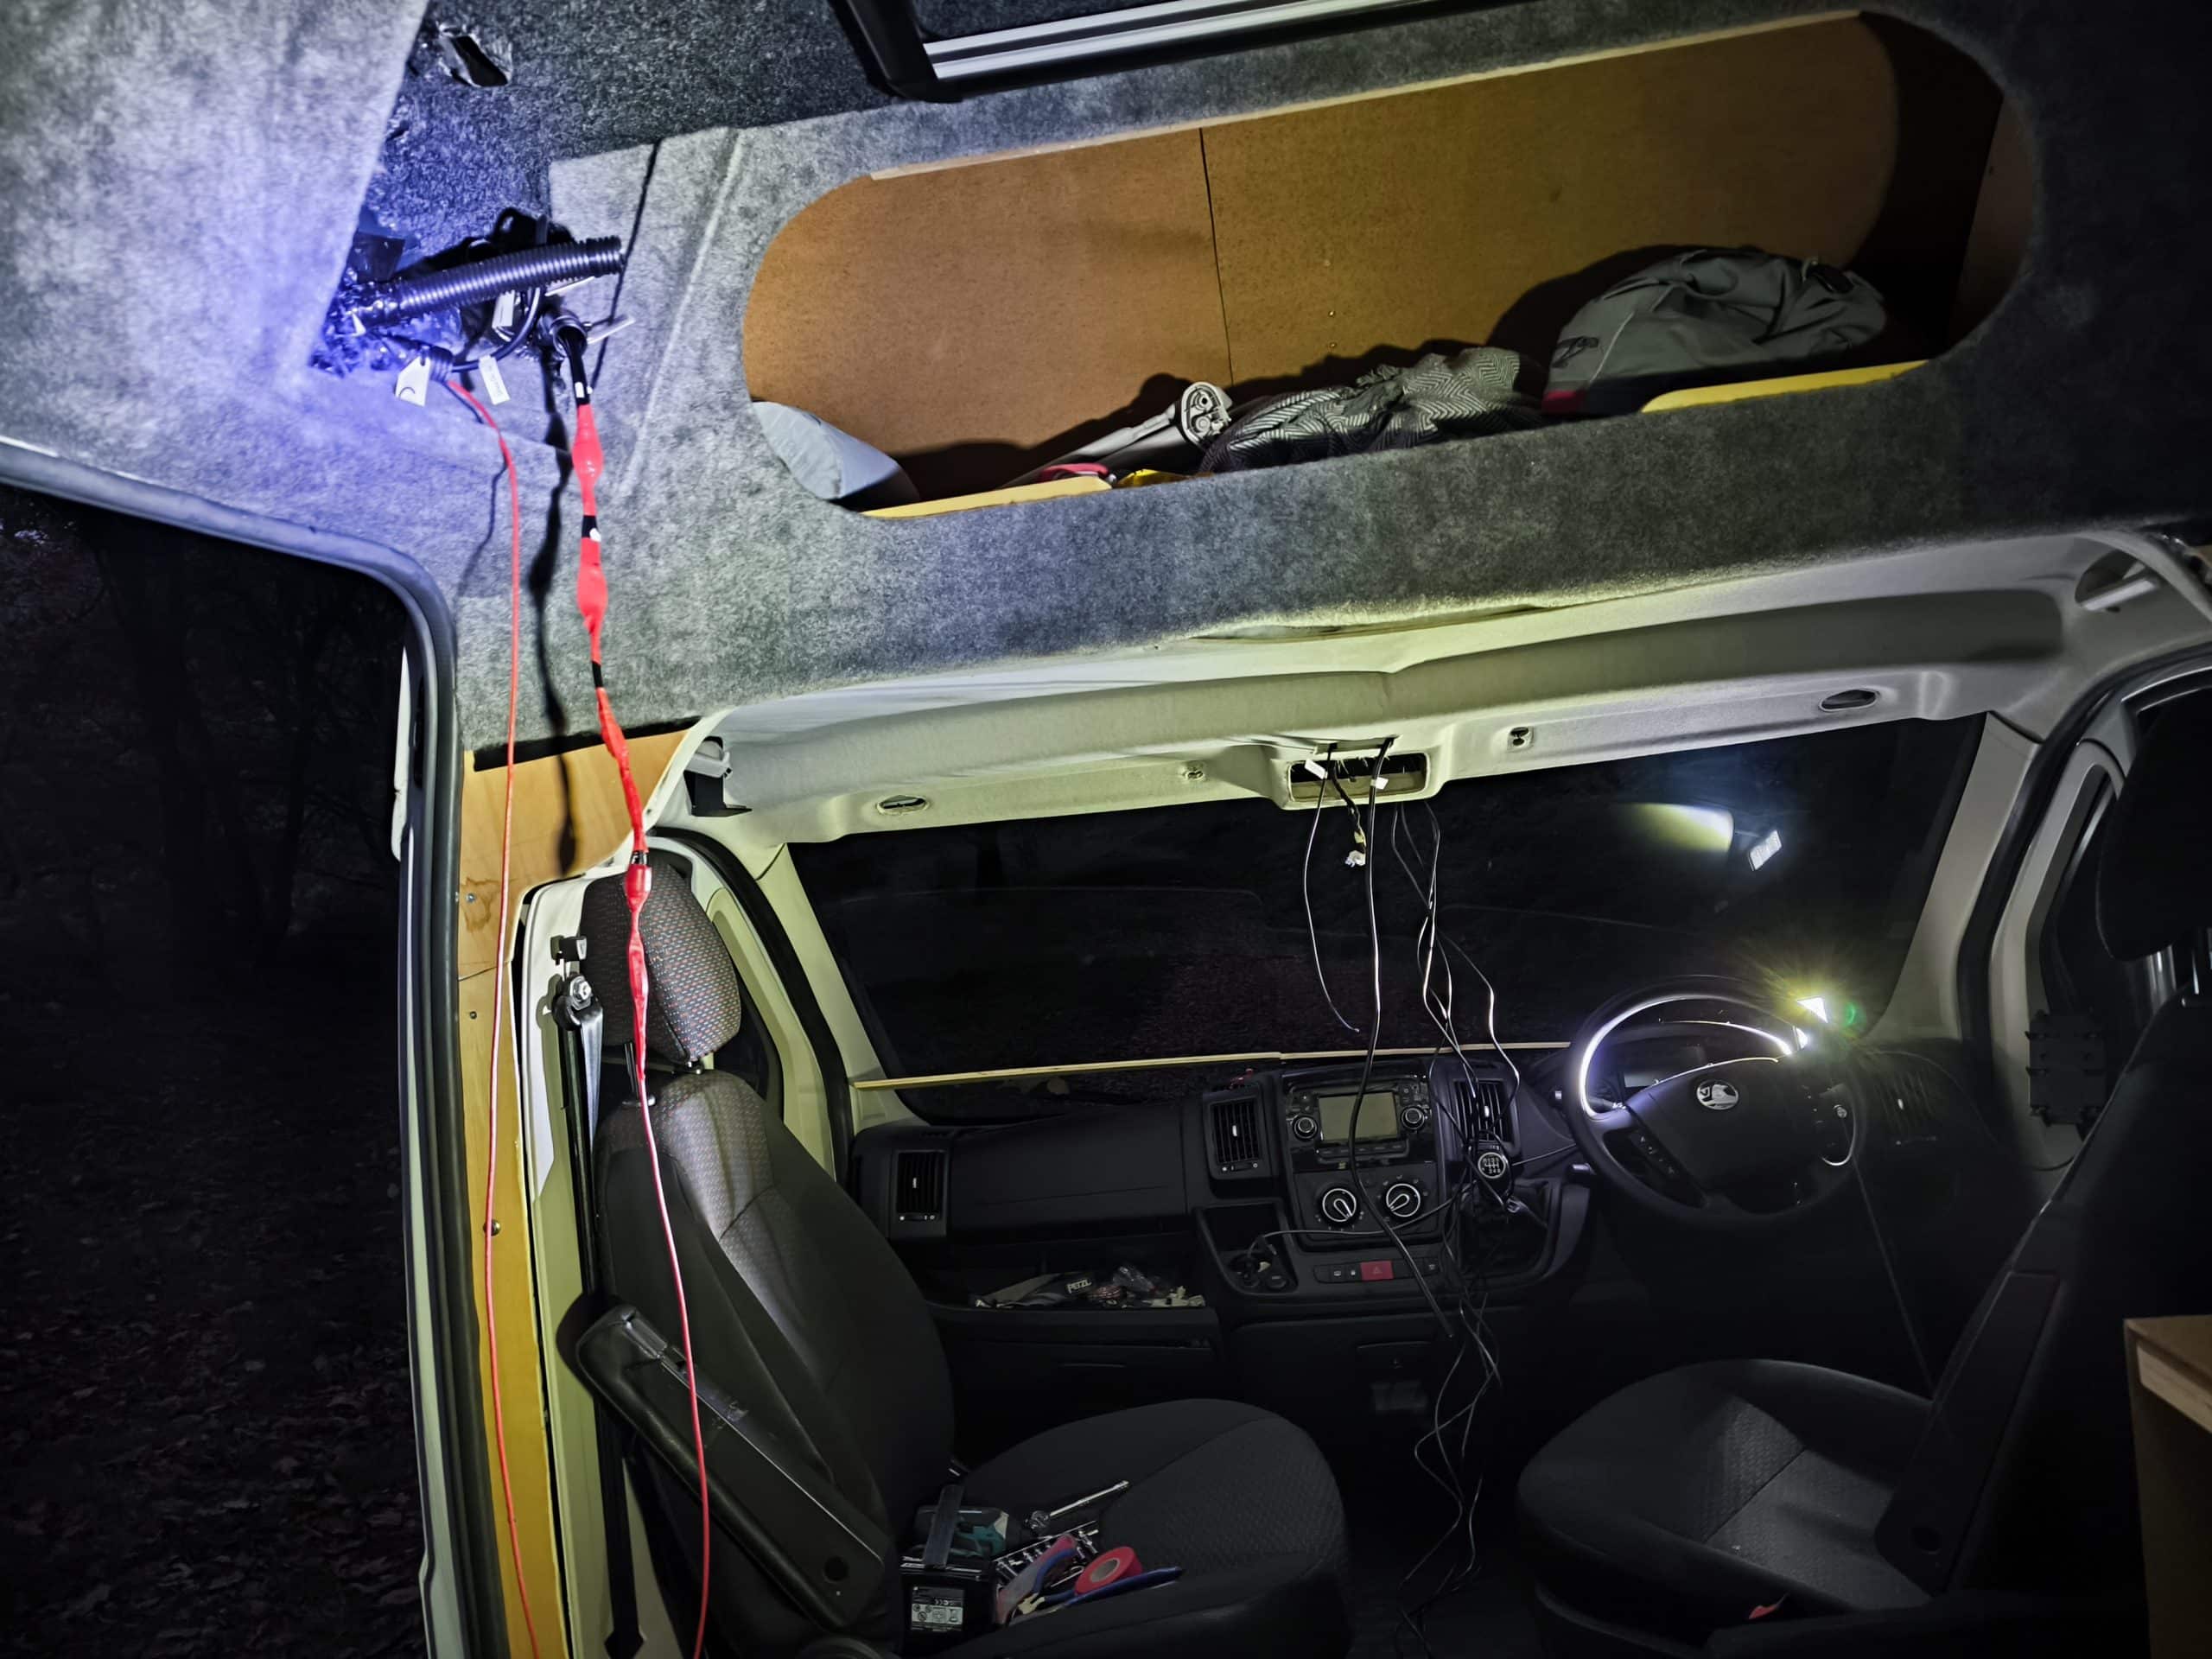
While Aimi cooked sunday roast dinner I had a few hours of sunlight left to play with. I had wanted to make a start on the interior roof lighting but it was lightly raining mist outside so instead I worked on some more wiring in the van. While the roof lining was open test fitting those 3D prints I took the opportunity to run the cables for the switches and camera system.
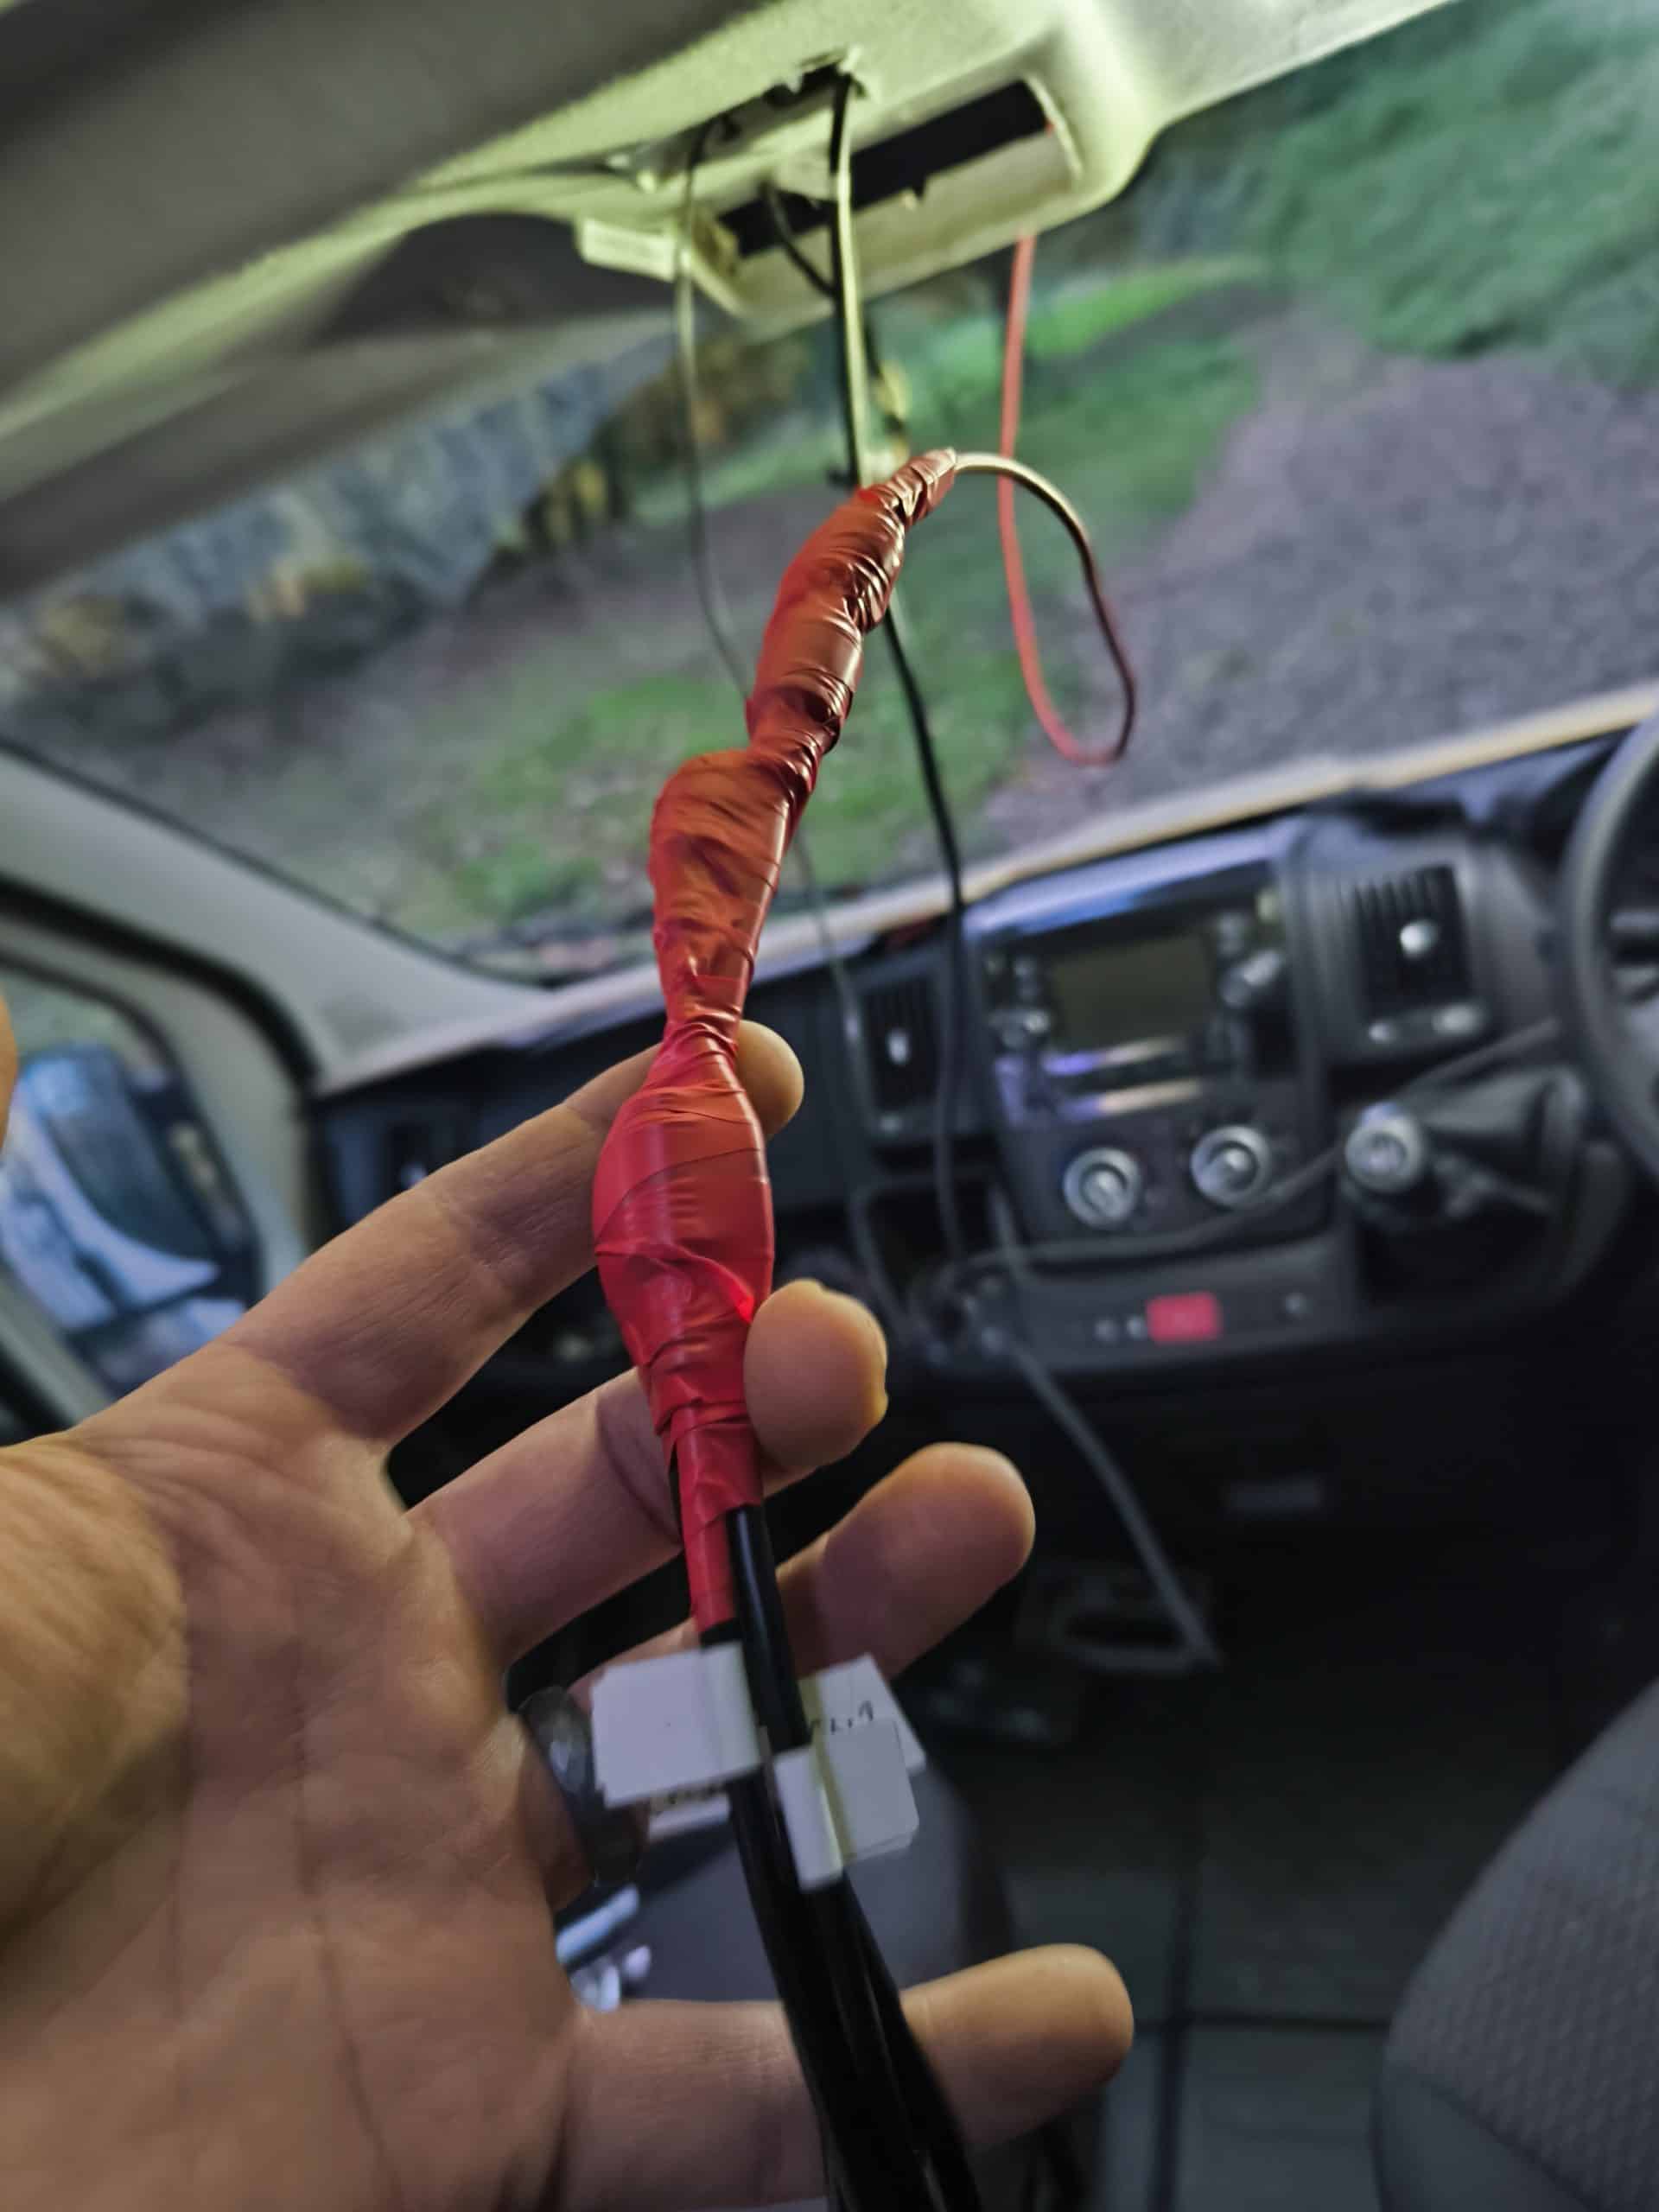
The camera cables all have chunky waterproof connectors. I don’t want to have to remove these as they are functionally very useful so I had to make a long train of cables wrapped up with zip ties and electrical tape to try and make them smooth enough to pass through the conduit in the van walls. I used a thick power cable to pull this train of cables through. It took several attempts of re-taping the wires together but eventually they made it through the conduit and into the box where they will go through the roof. Hopefully pretty soon I can get this camera system working which will help me when parking this massive van.