Diary Of A Camper Conversion
Today started with beautiful clear skies after not raining all night. The floor was dry and while it was super cold it was a good day to do stuff under the van. So I took this opportunity to finally install the burner.
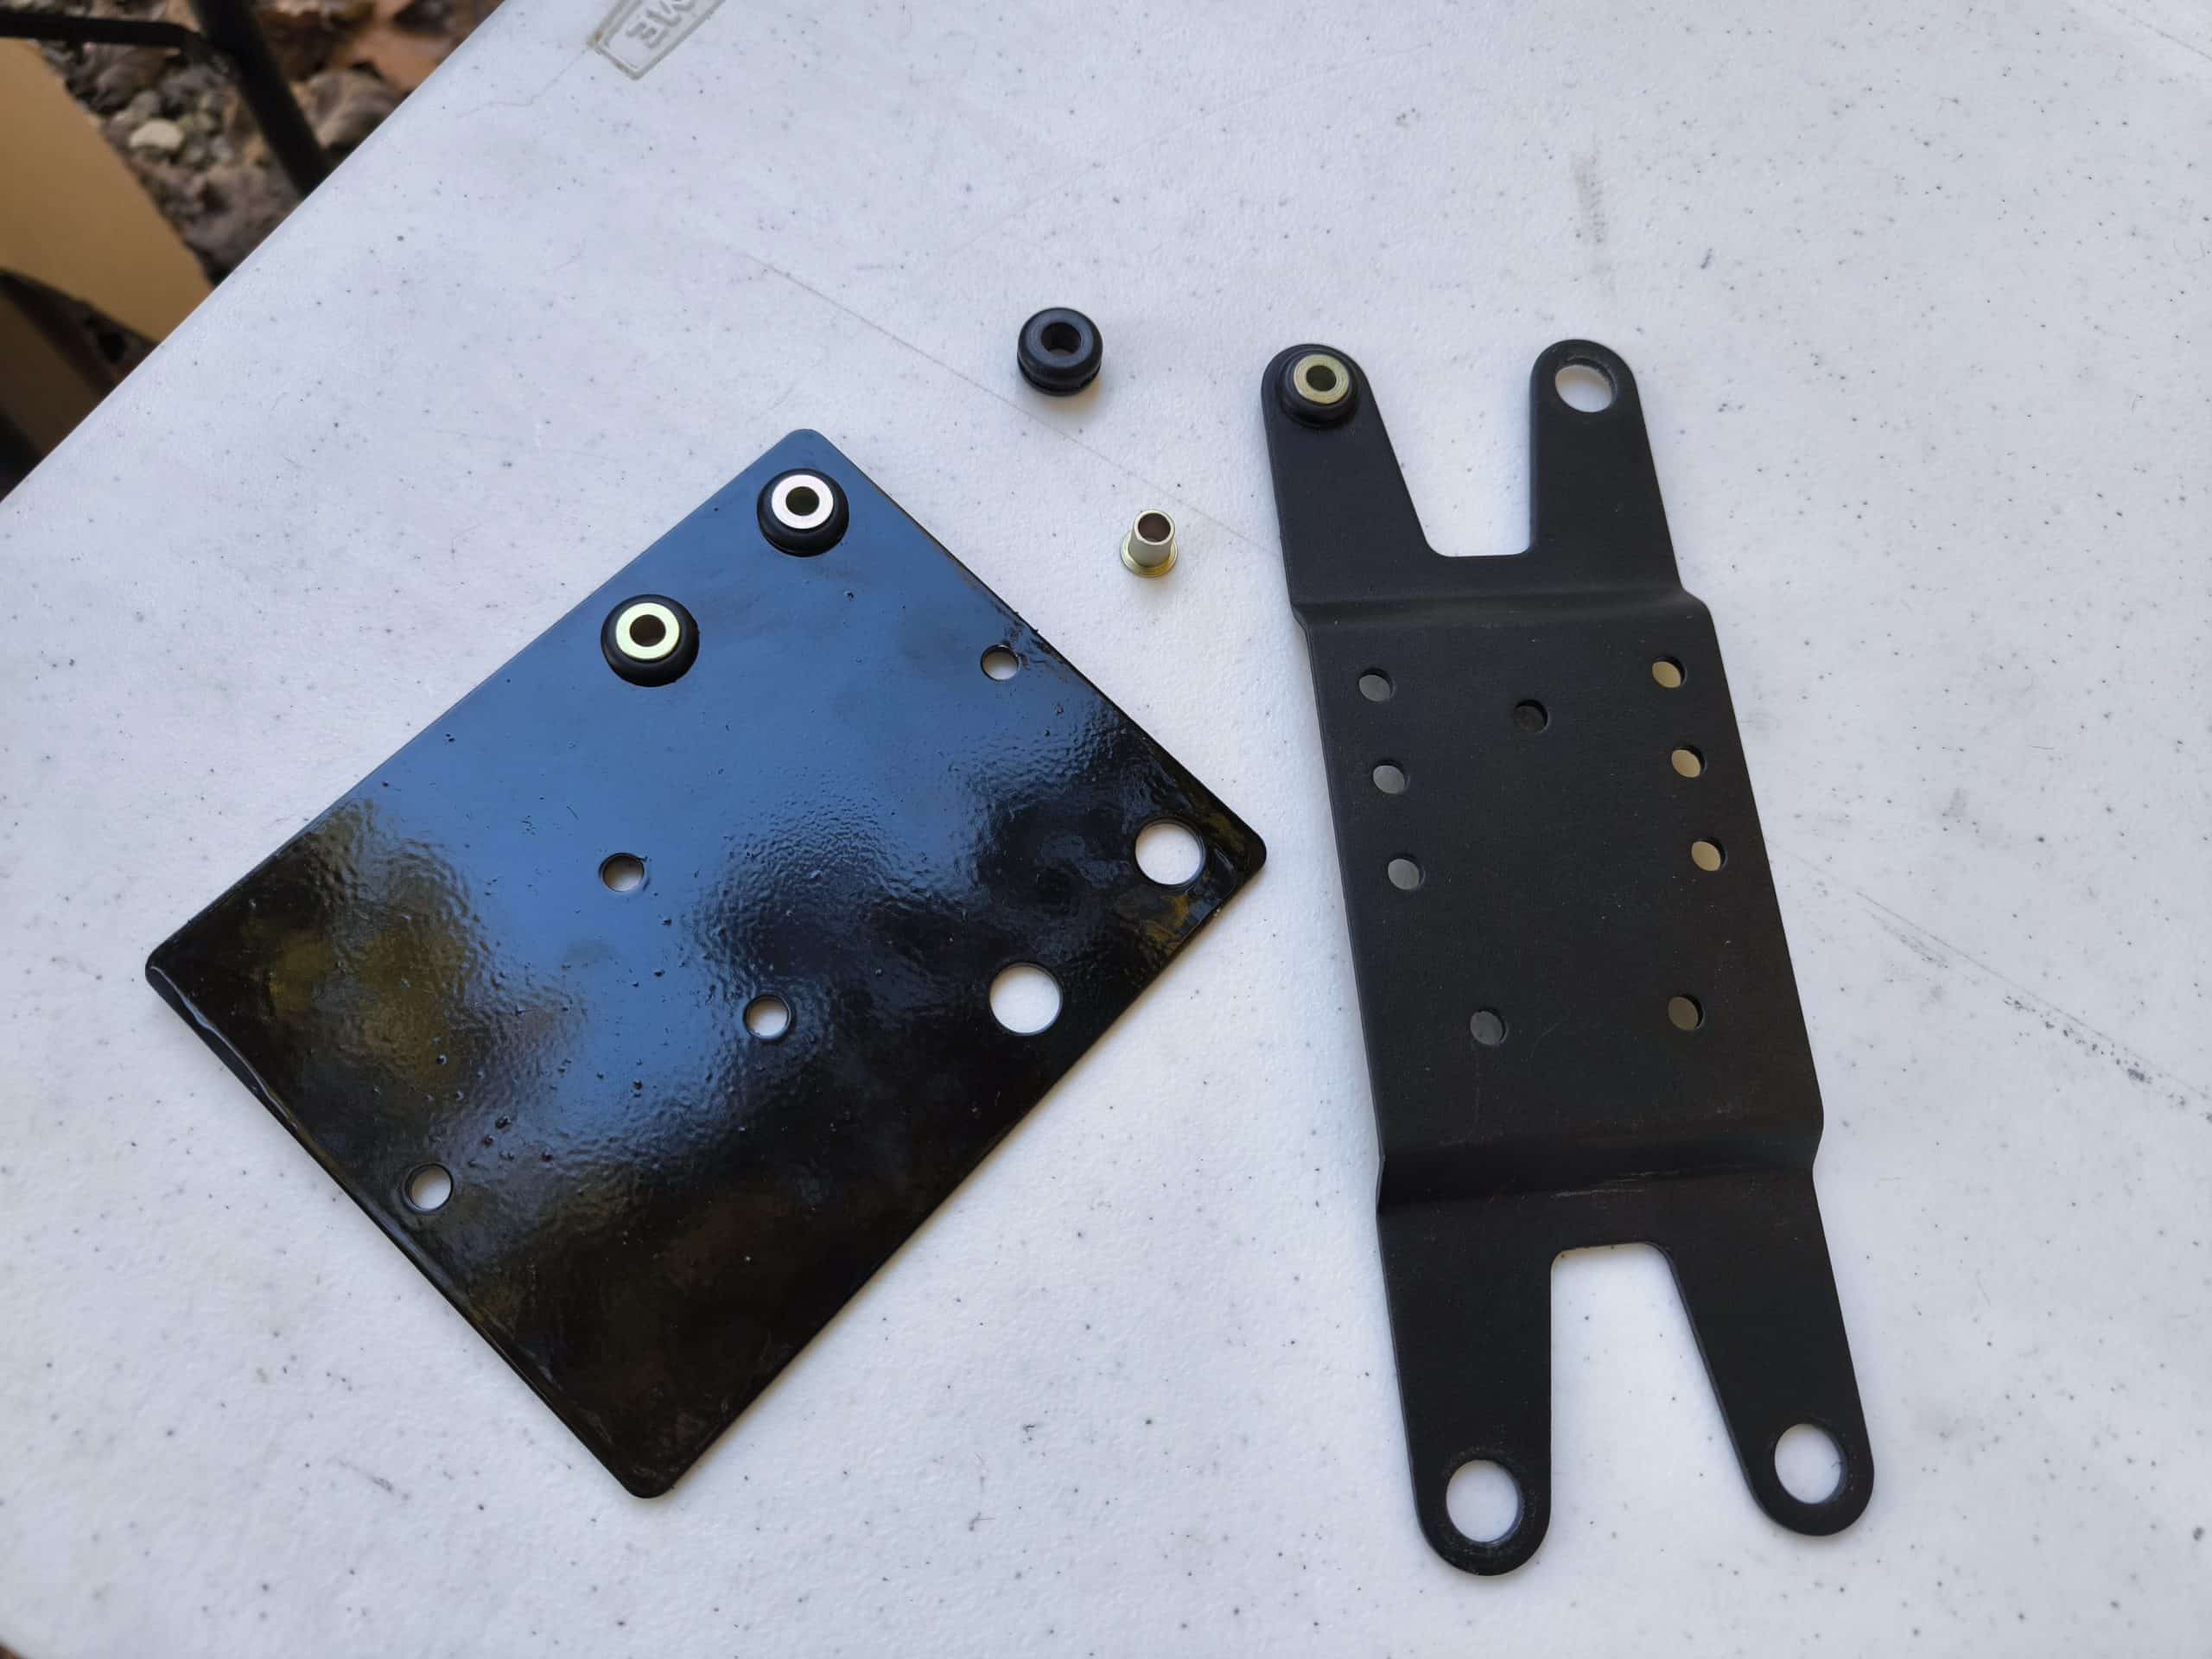
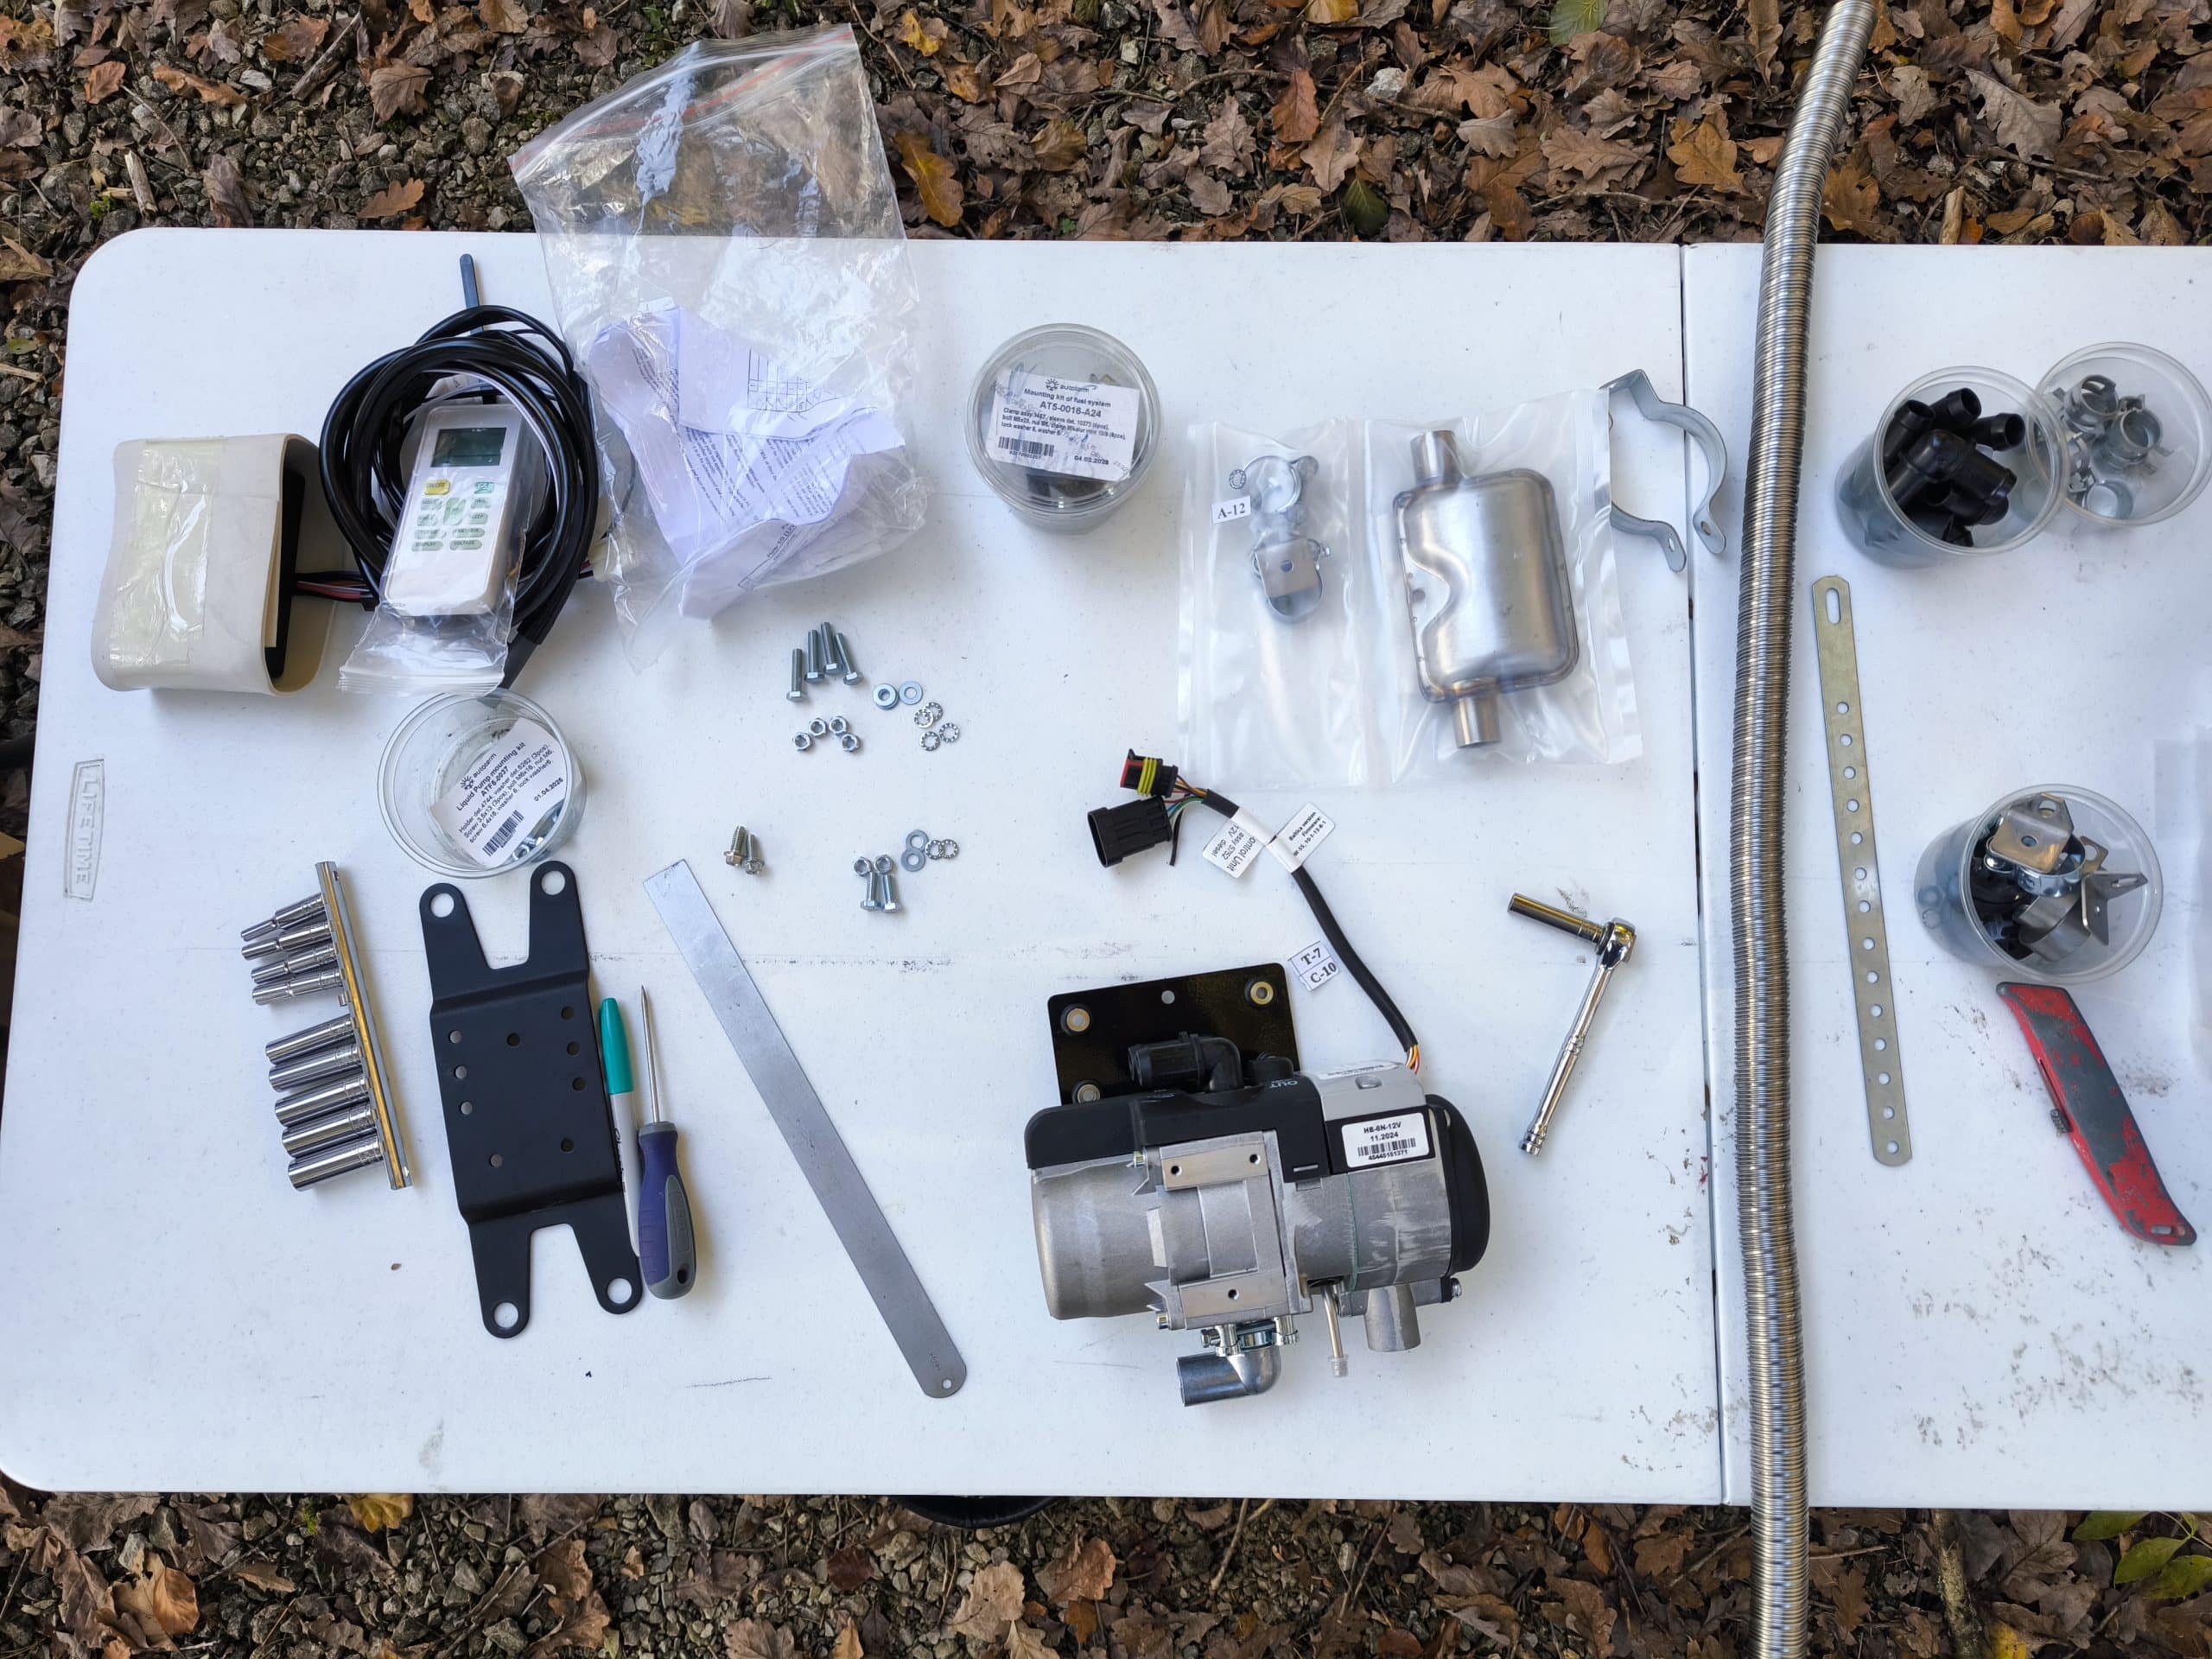
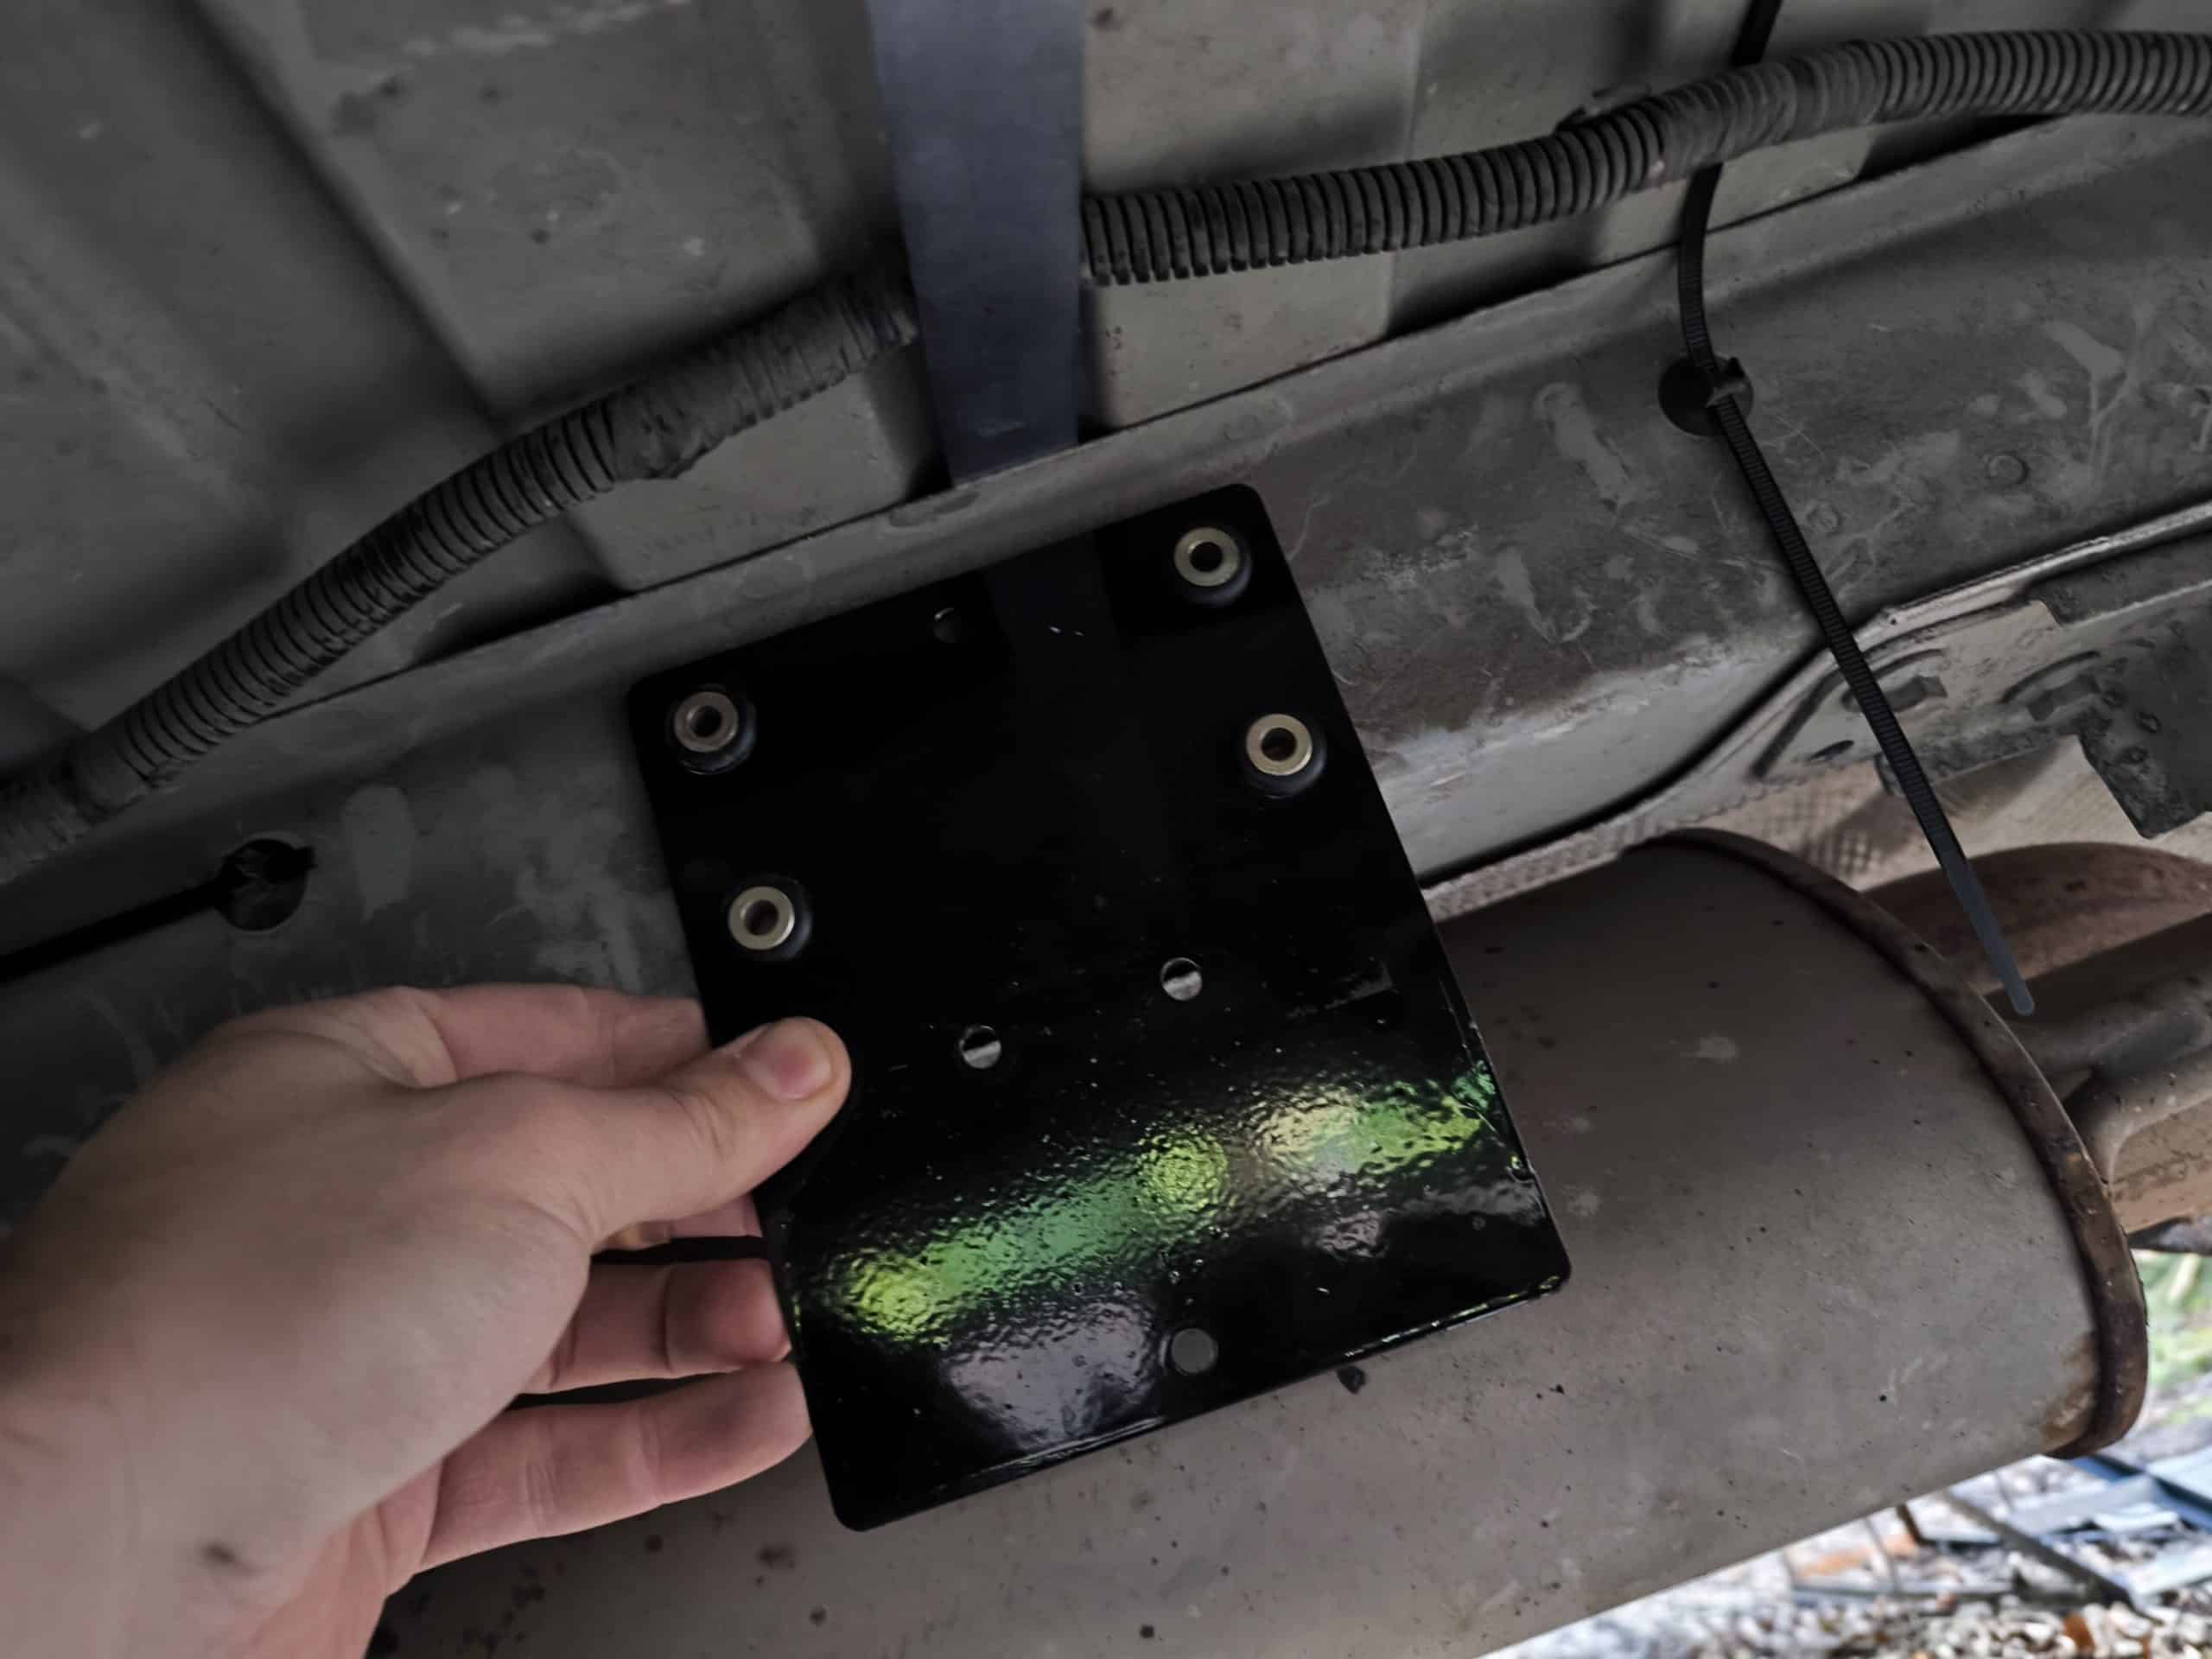
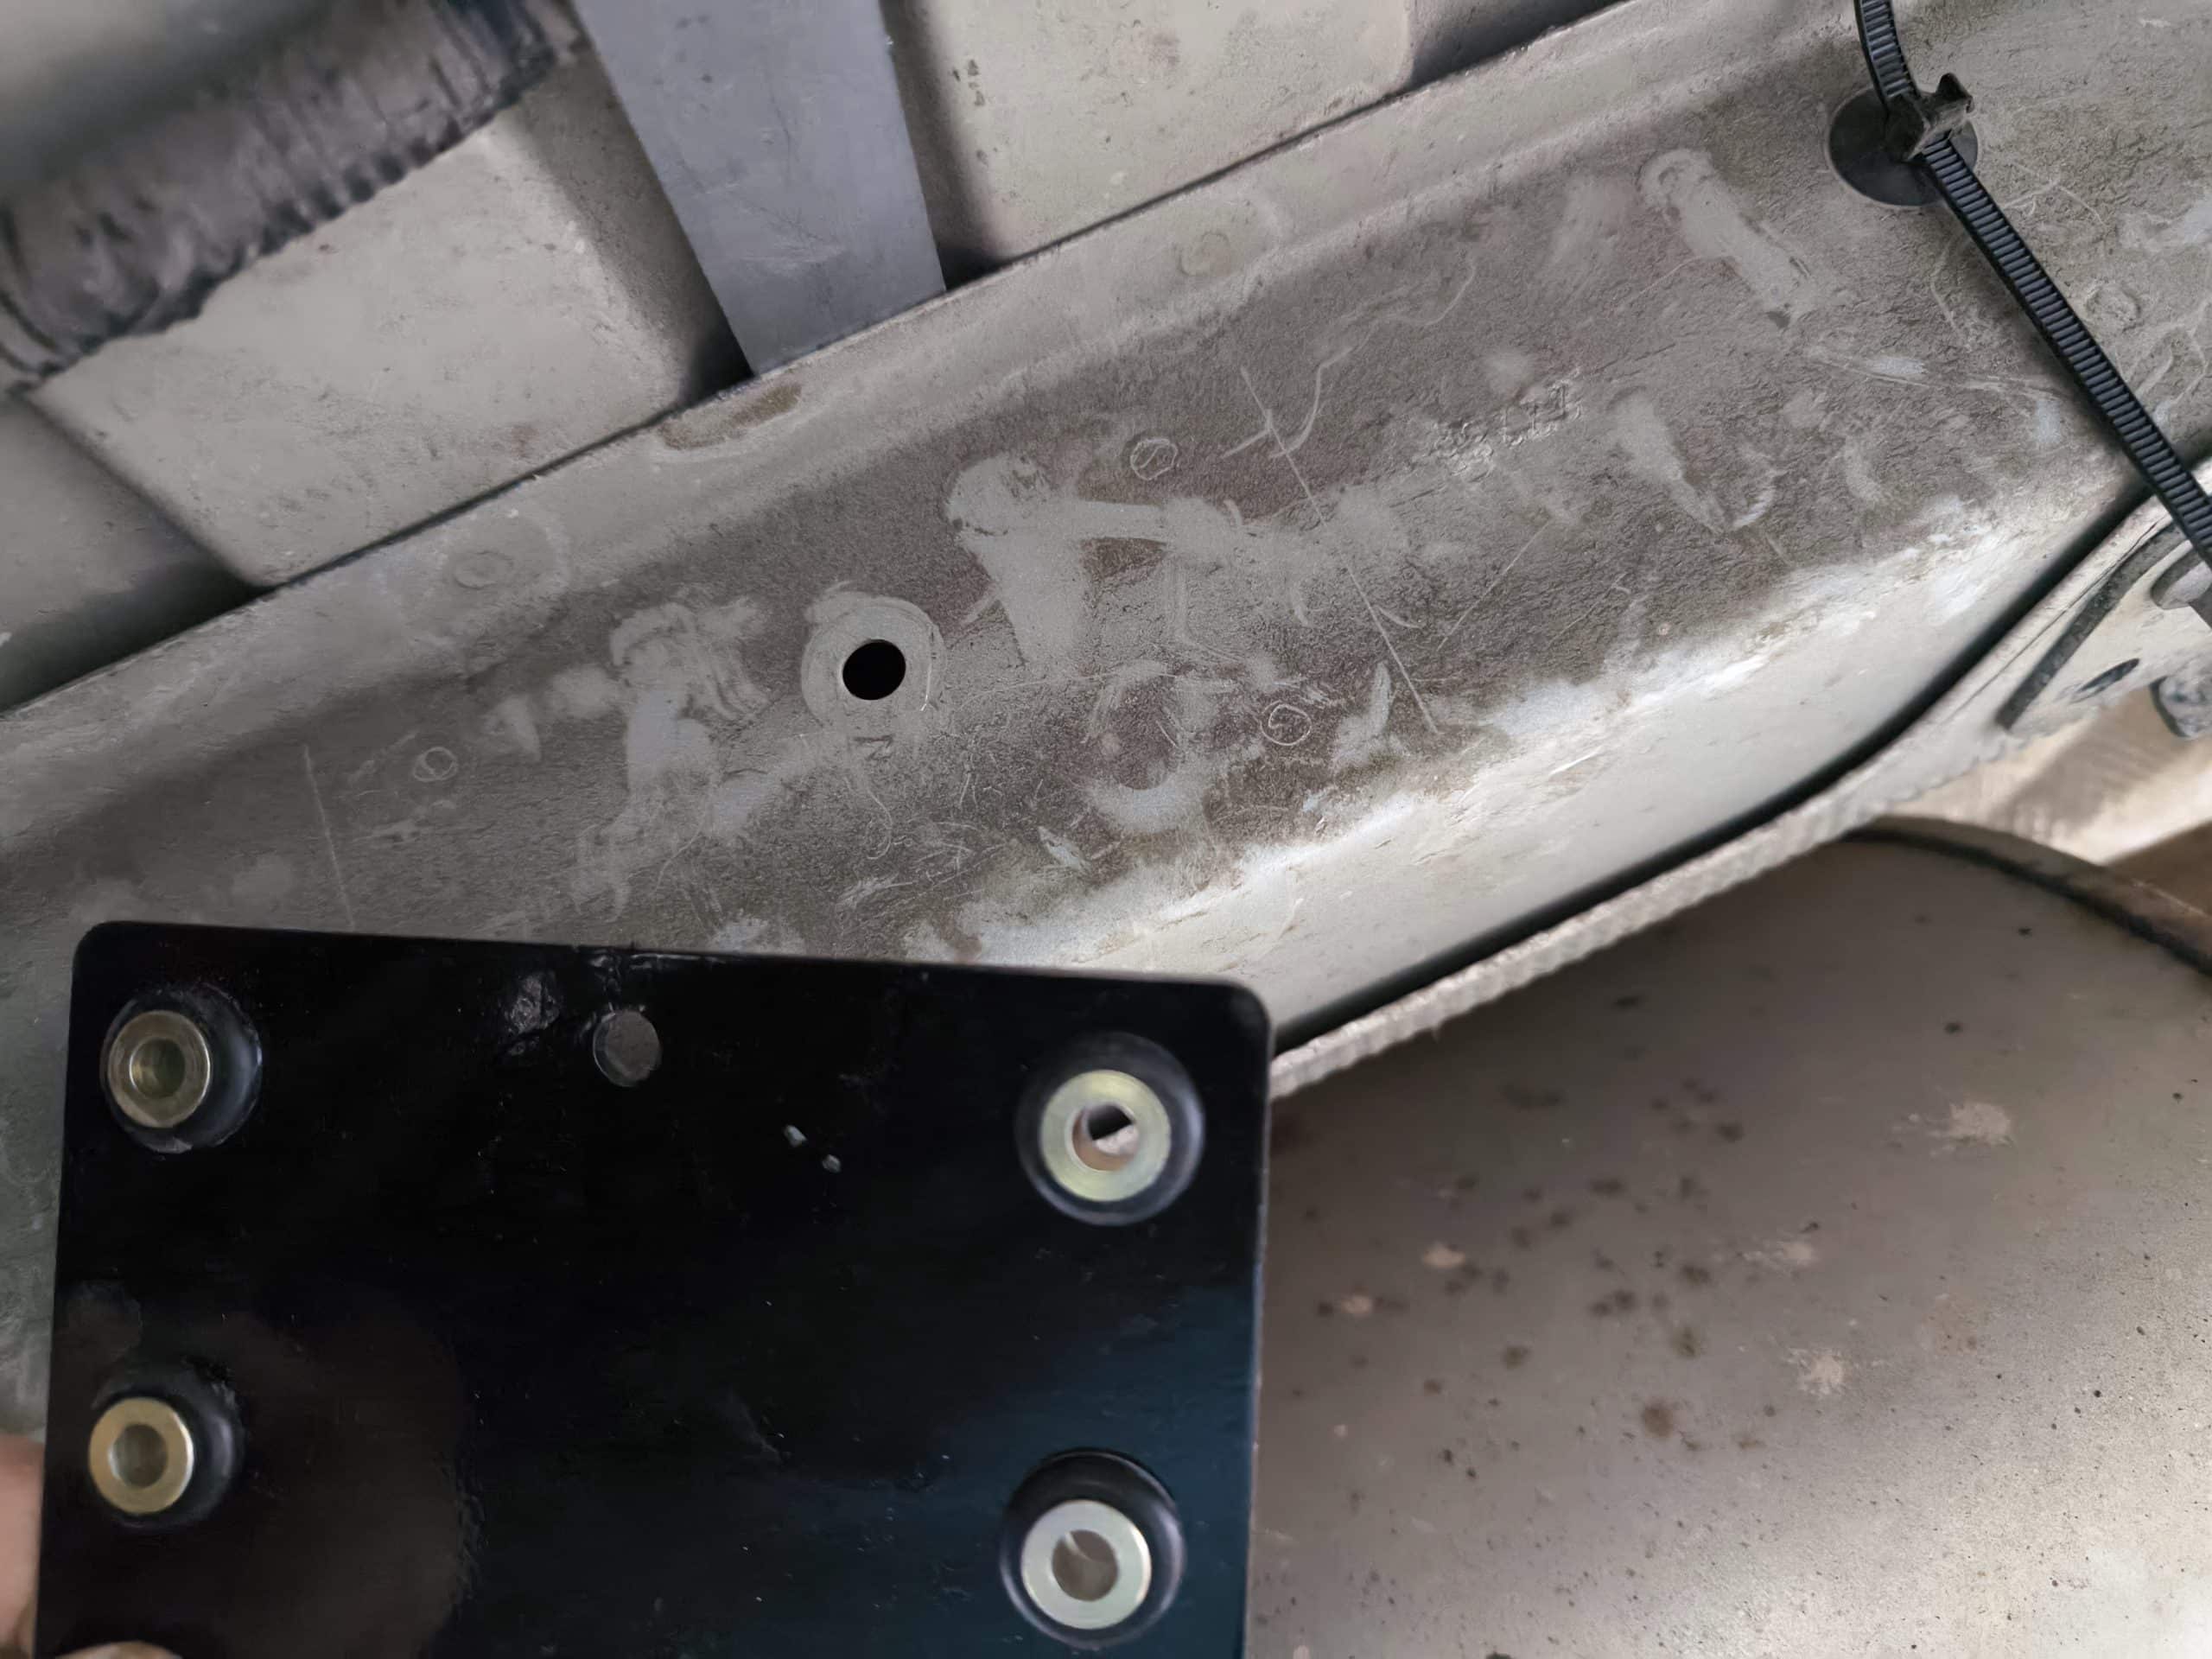
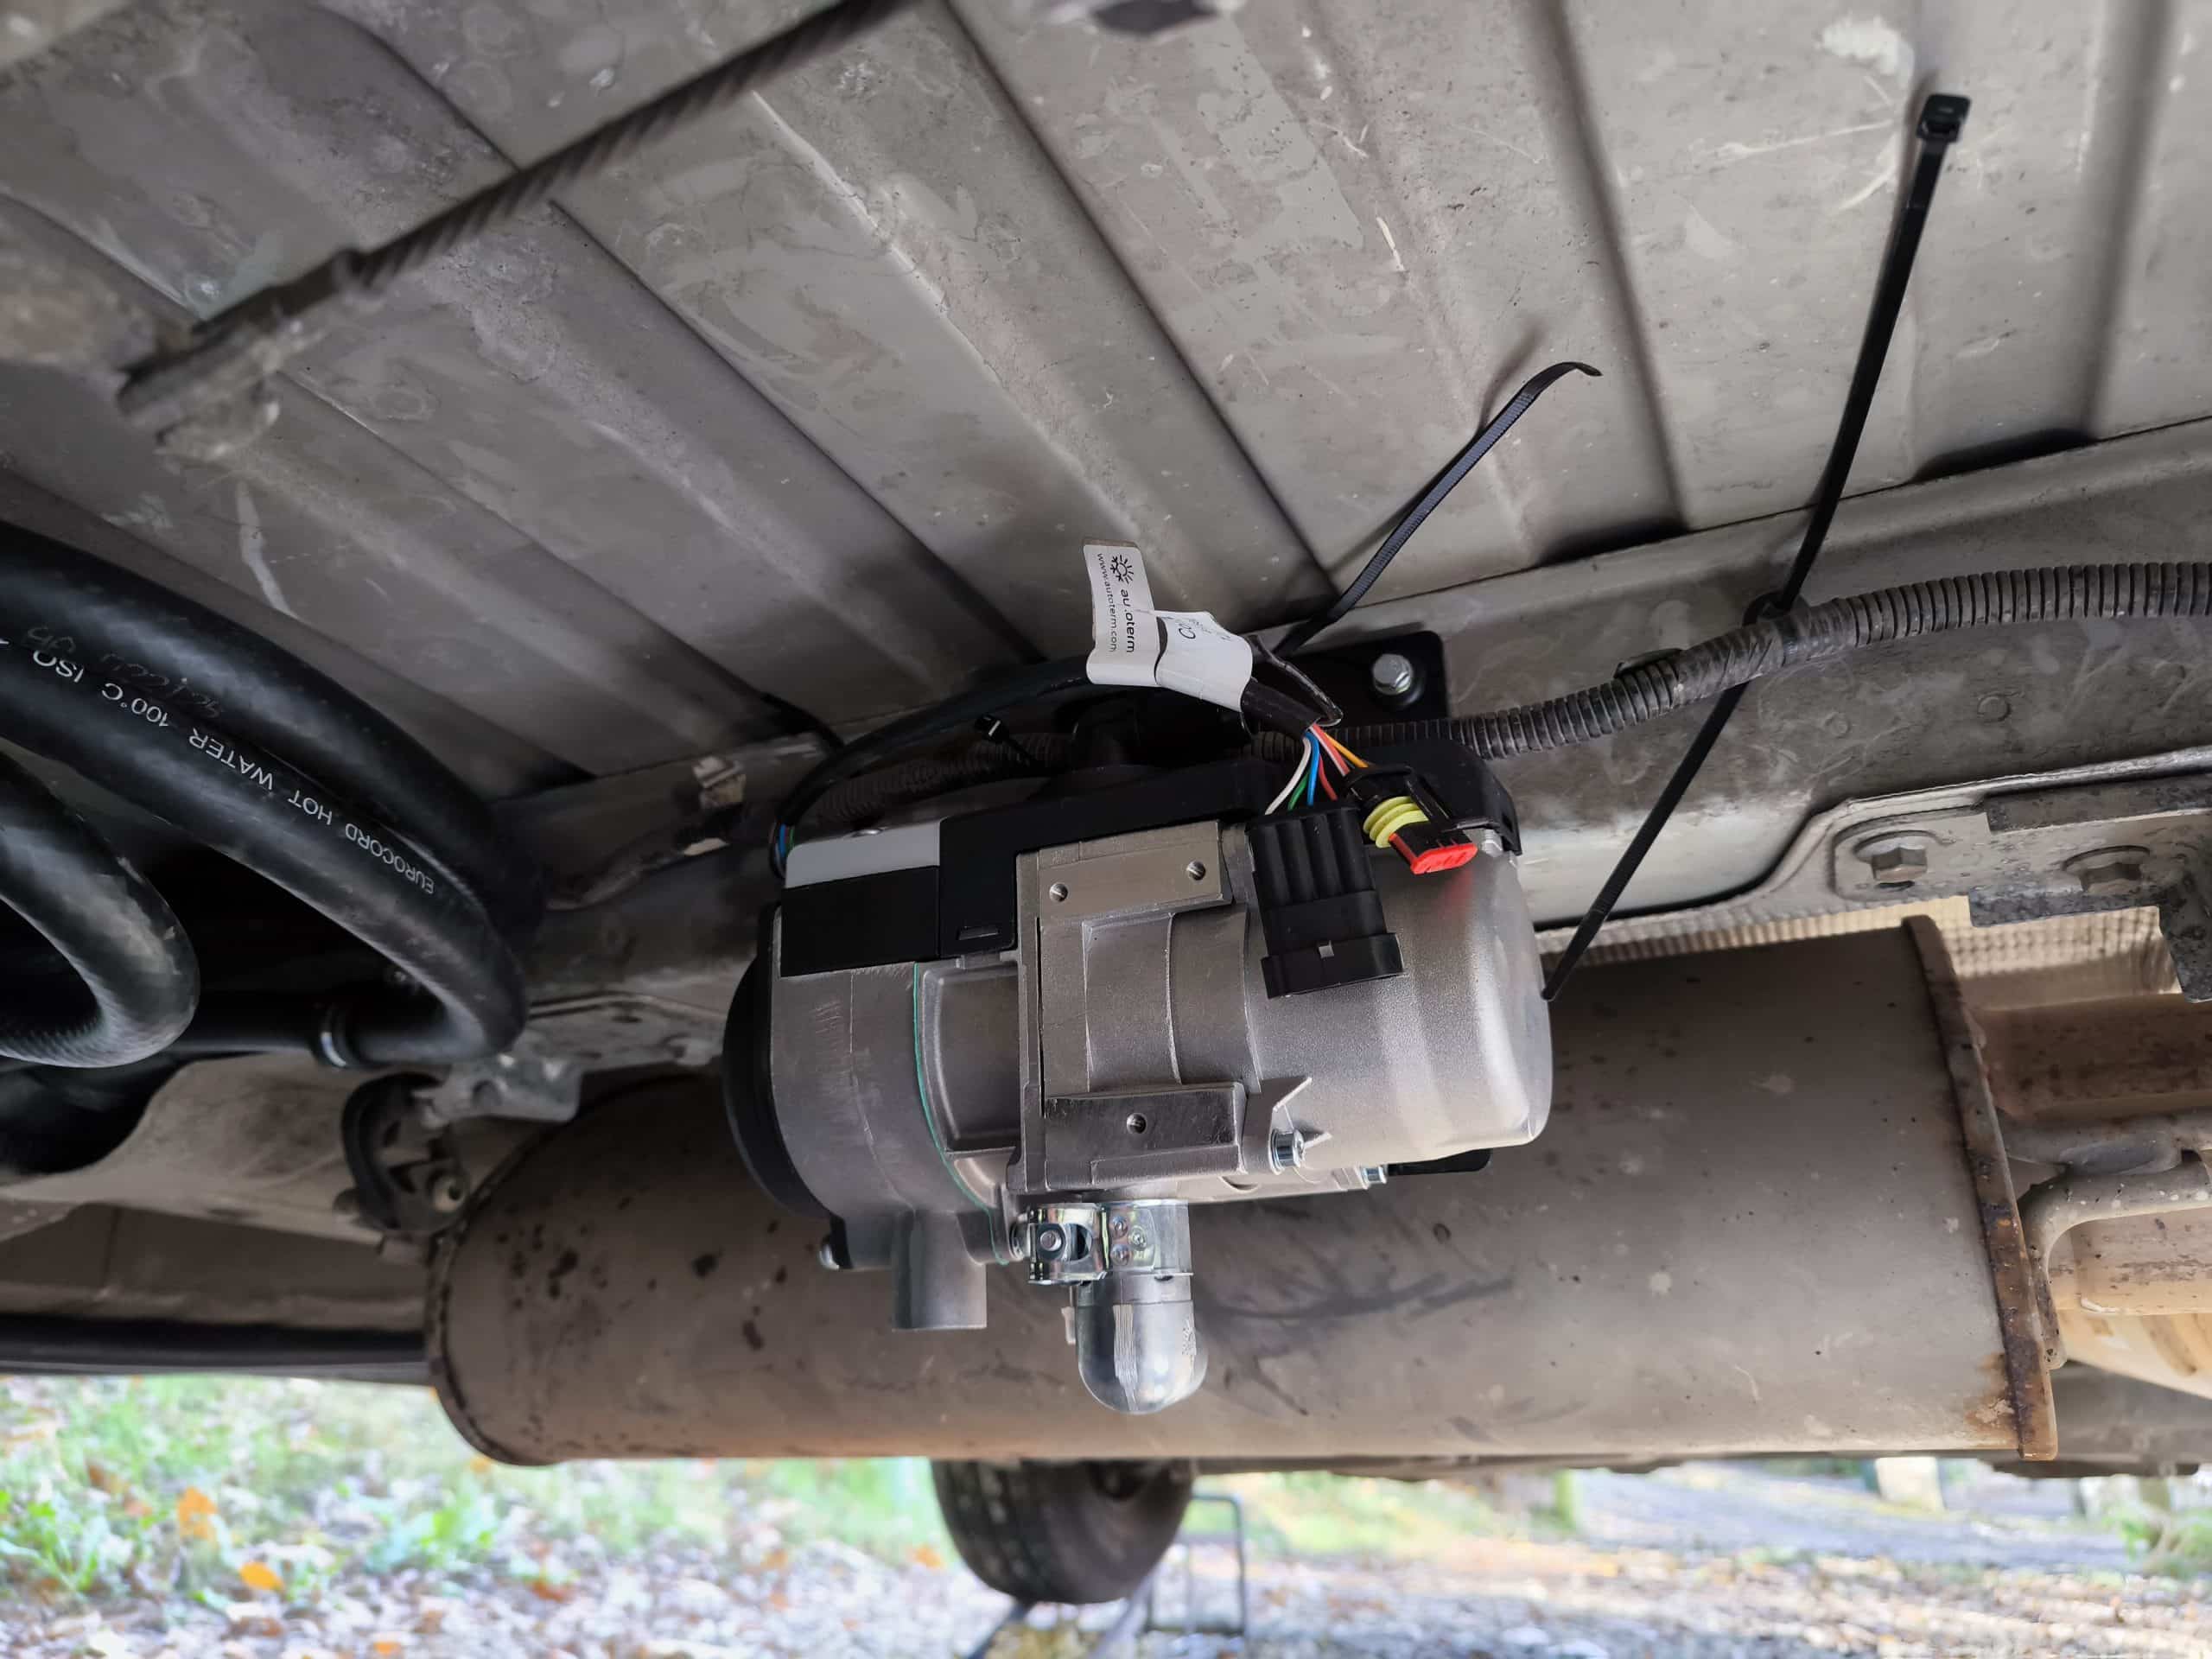
With my newly painted mounting plate I test fit bolted it to the burner. It fit which was a good start. I then transferred the rubber mounting washers from the supplied mounting brackets to my one and offered it up in place under the van. Marking the holes, drilling them and 4 rivnuts later the burner was mechanically bolted in place. Of course while that is the biggest component it actually took the least amount of time. The entire rest of the day was devoted to connecting all the pipes and wires that are needed to complete this system.
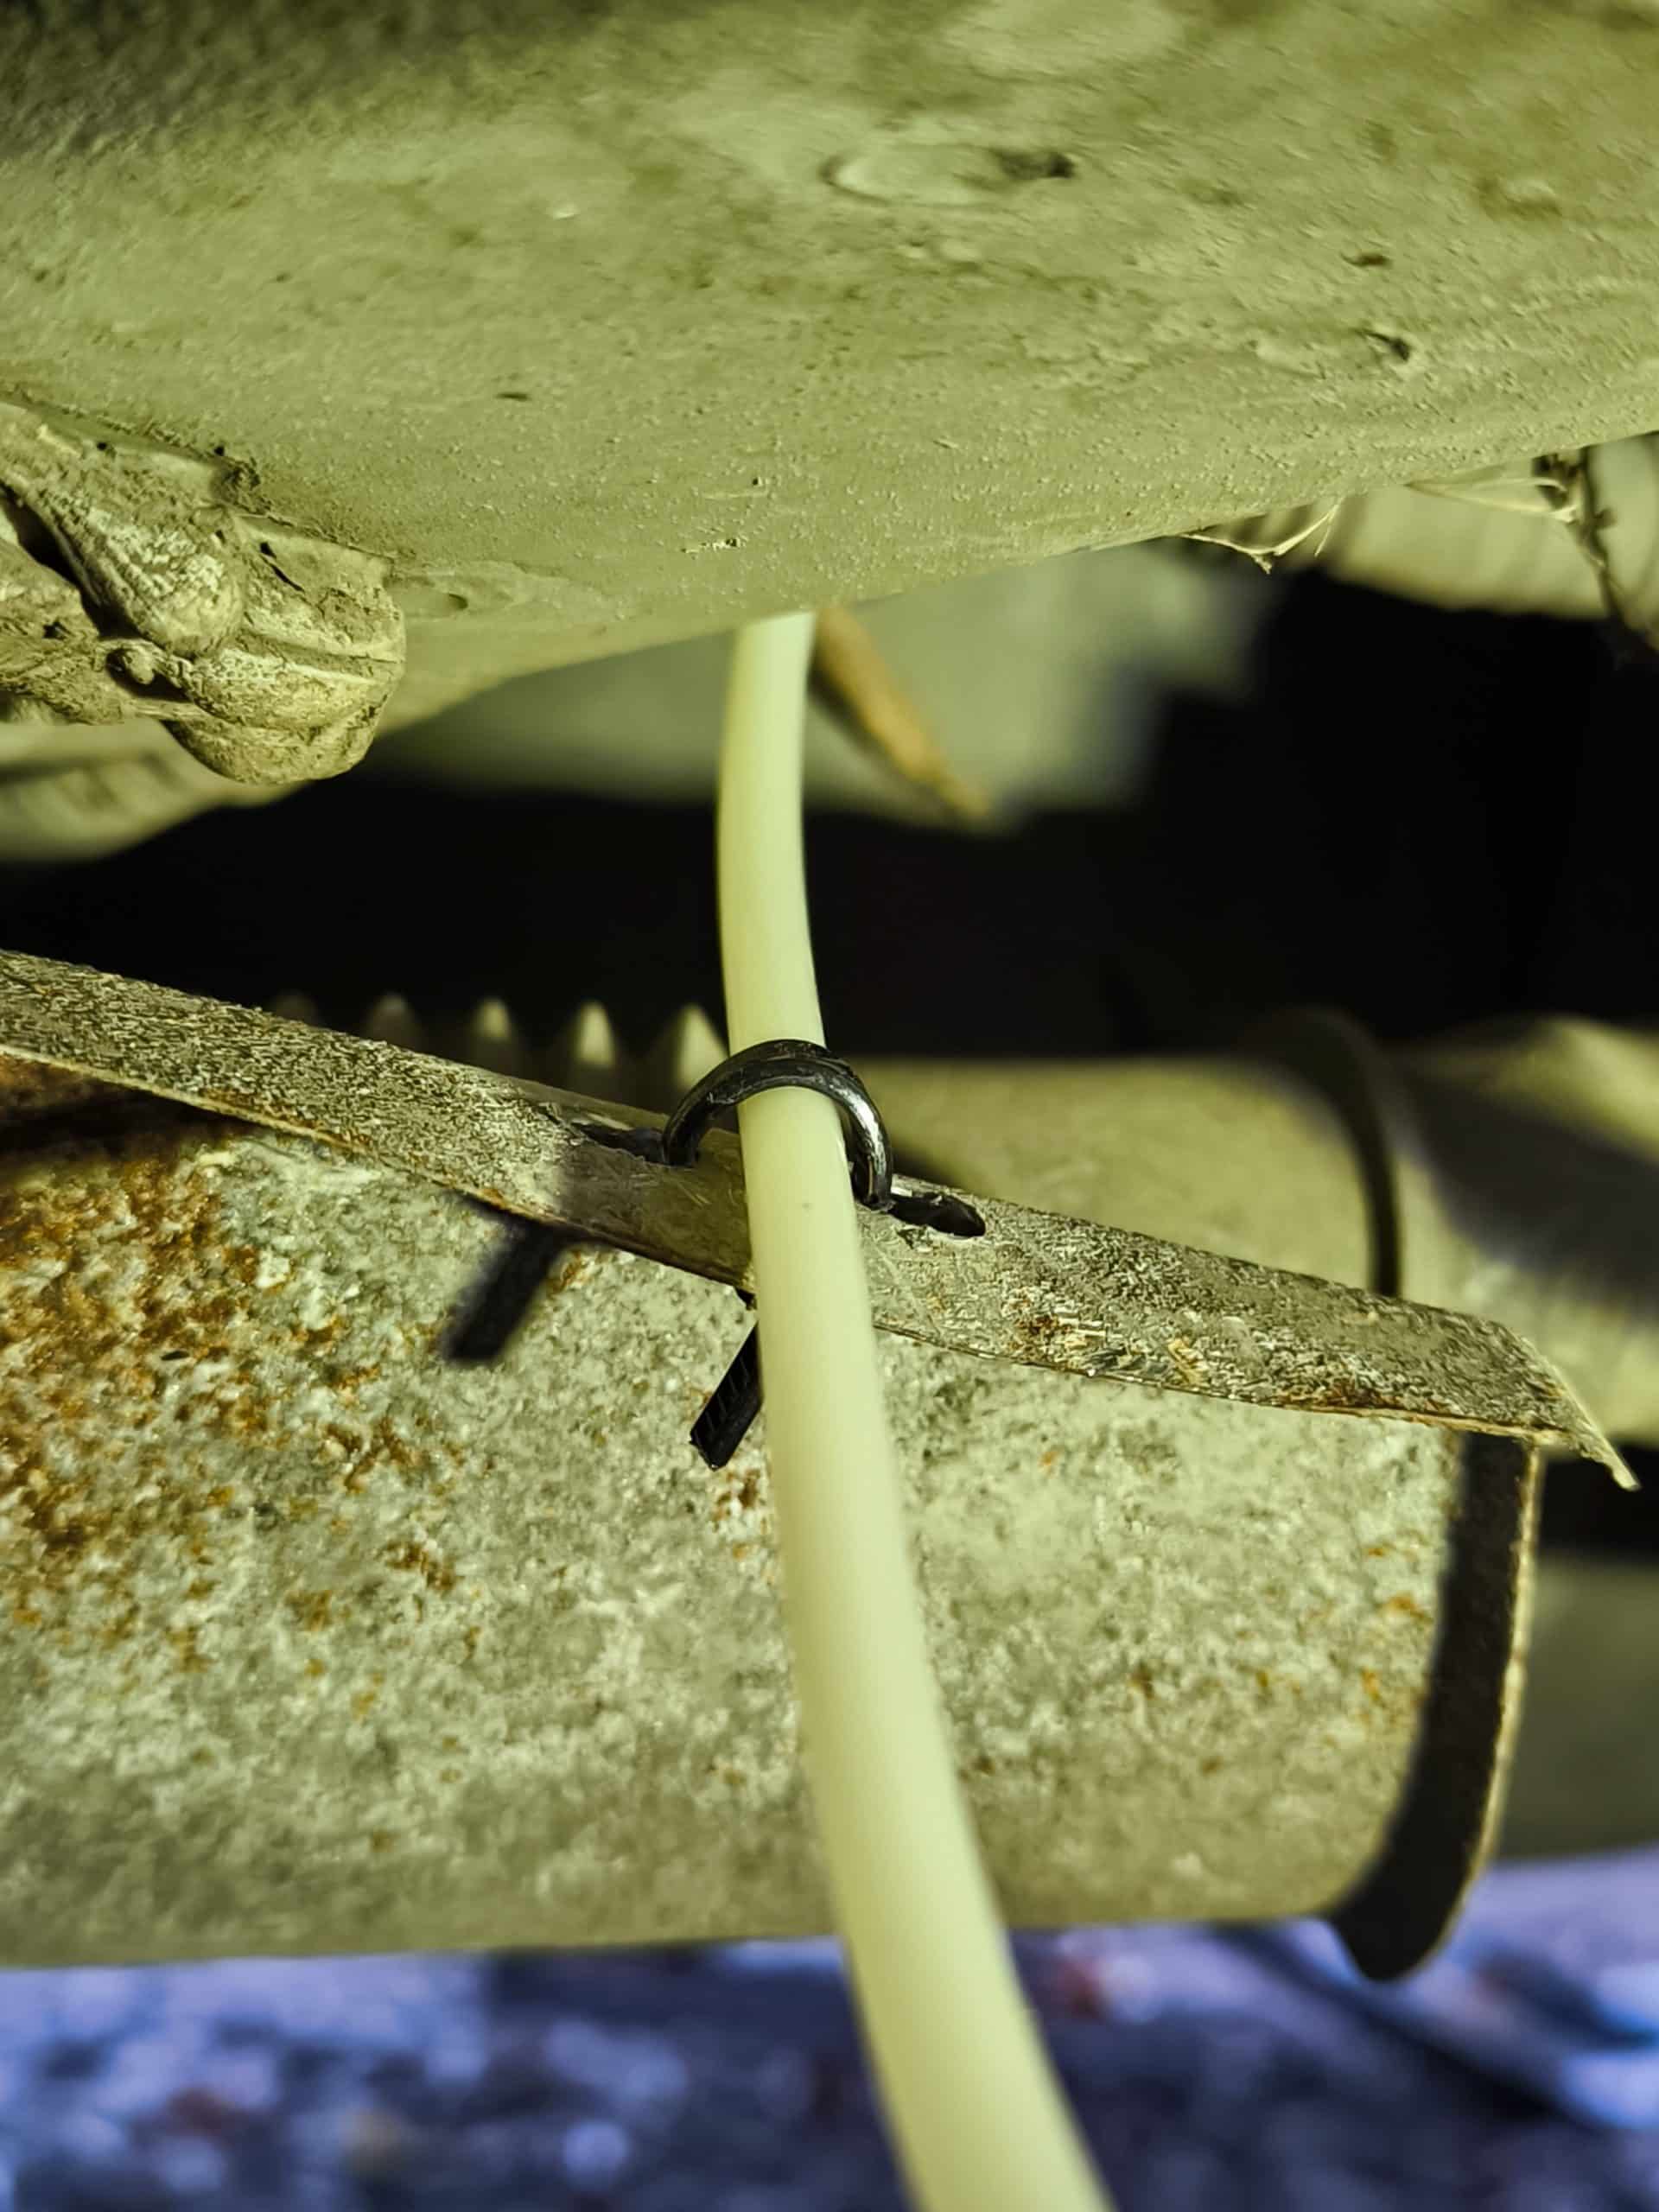
The coolant pipes from inside the van passed through my beautifully lined and waterproofed hole in the floor. A couple pipe brackets kept these from getting too close to the van exhaust. I placed one directly above the handbrake cable because a small melted patch showed me it had drooped down onto the exhaust in the past. I used a zip tie to stop this from happening again.
Next I tackled the routing of the heater exhaust pipe. It made sense to try and keep all the hot exhaust pipes near each other. I also wanted to avoid a problem that I had with the last van where the heater exhaust exited near the sliding door. This meant that if you ever got out while the heater was running you got a face full of exhaust fumes. Running these two exhaust pipes next to each other avoided this problem as Vauxhall had already thought of this, and routed it out the opposite side of the van. It only required one bracket cutting and twisting to shape and a few more riv nuts to bolt it in place.
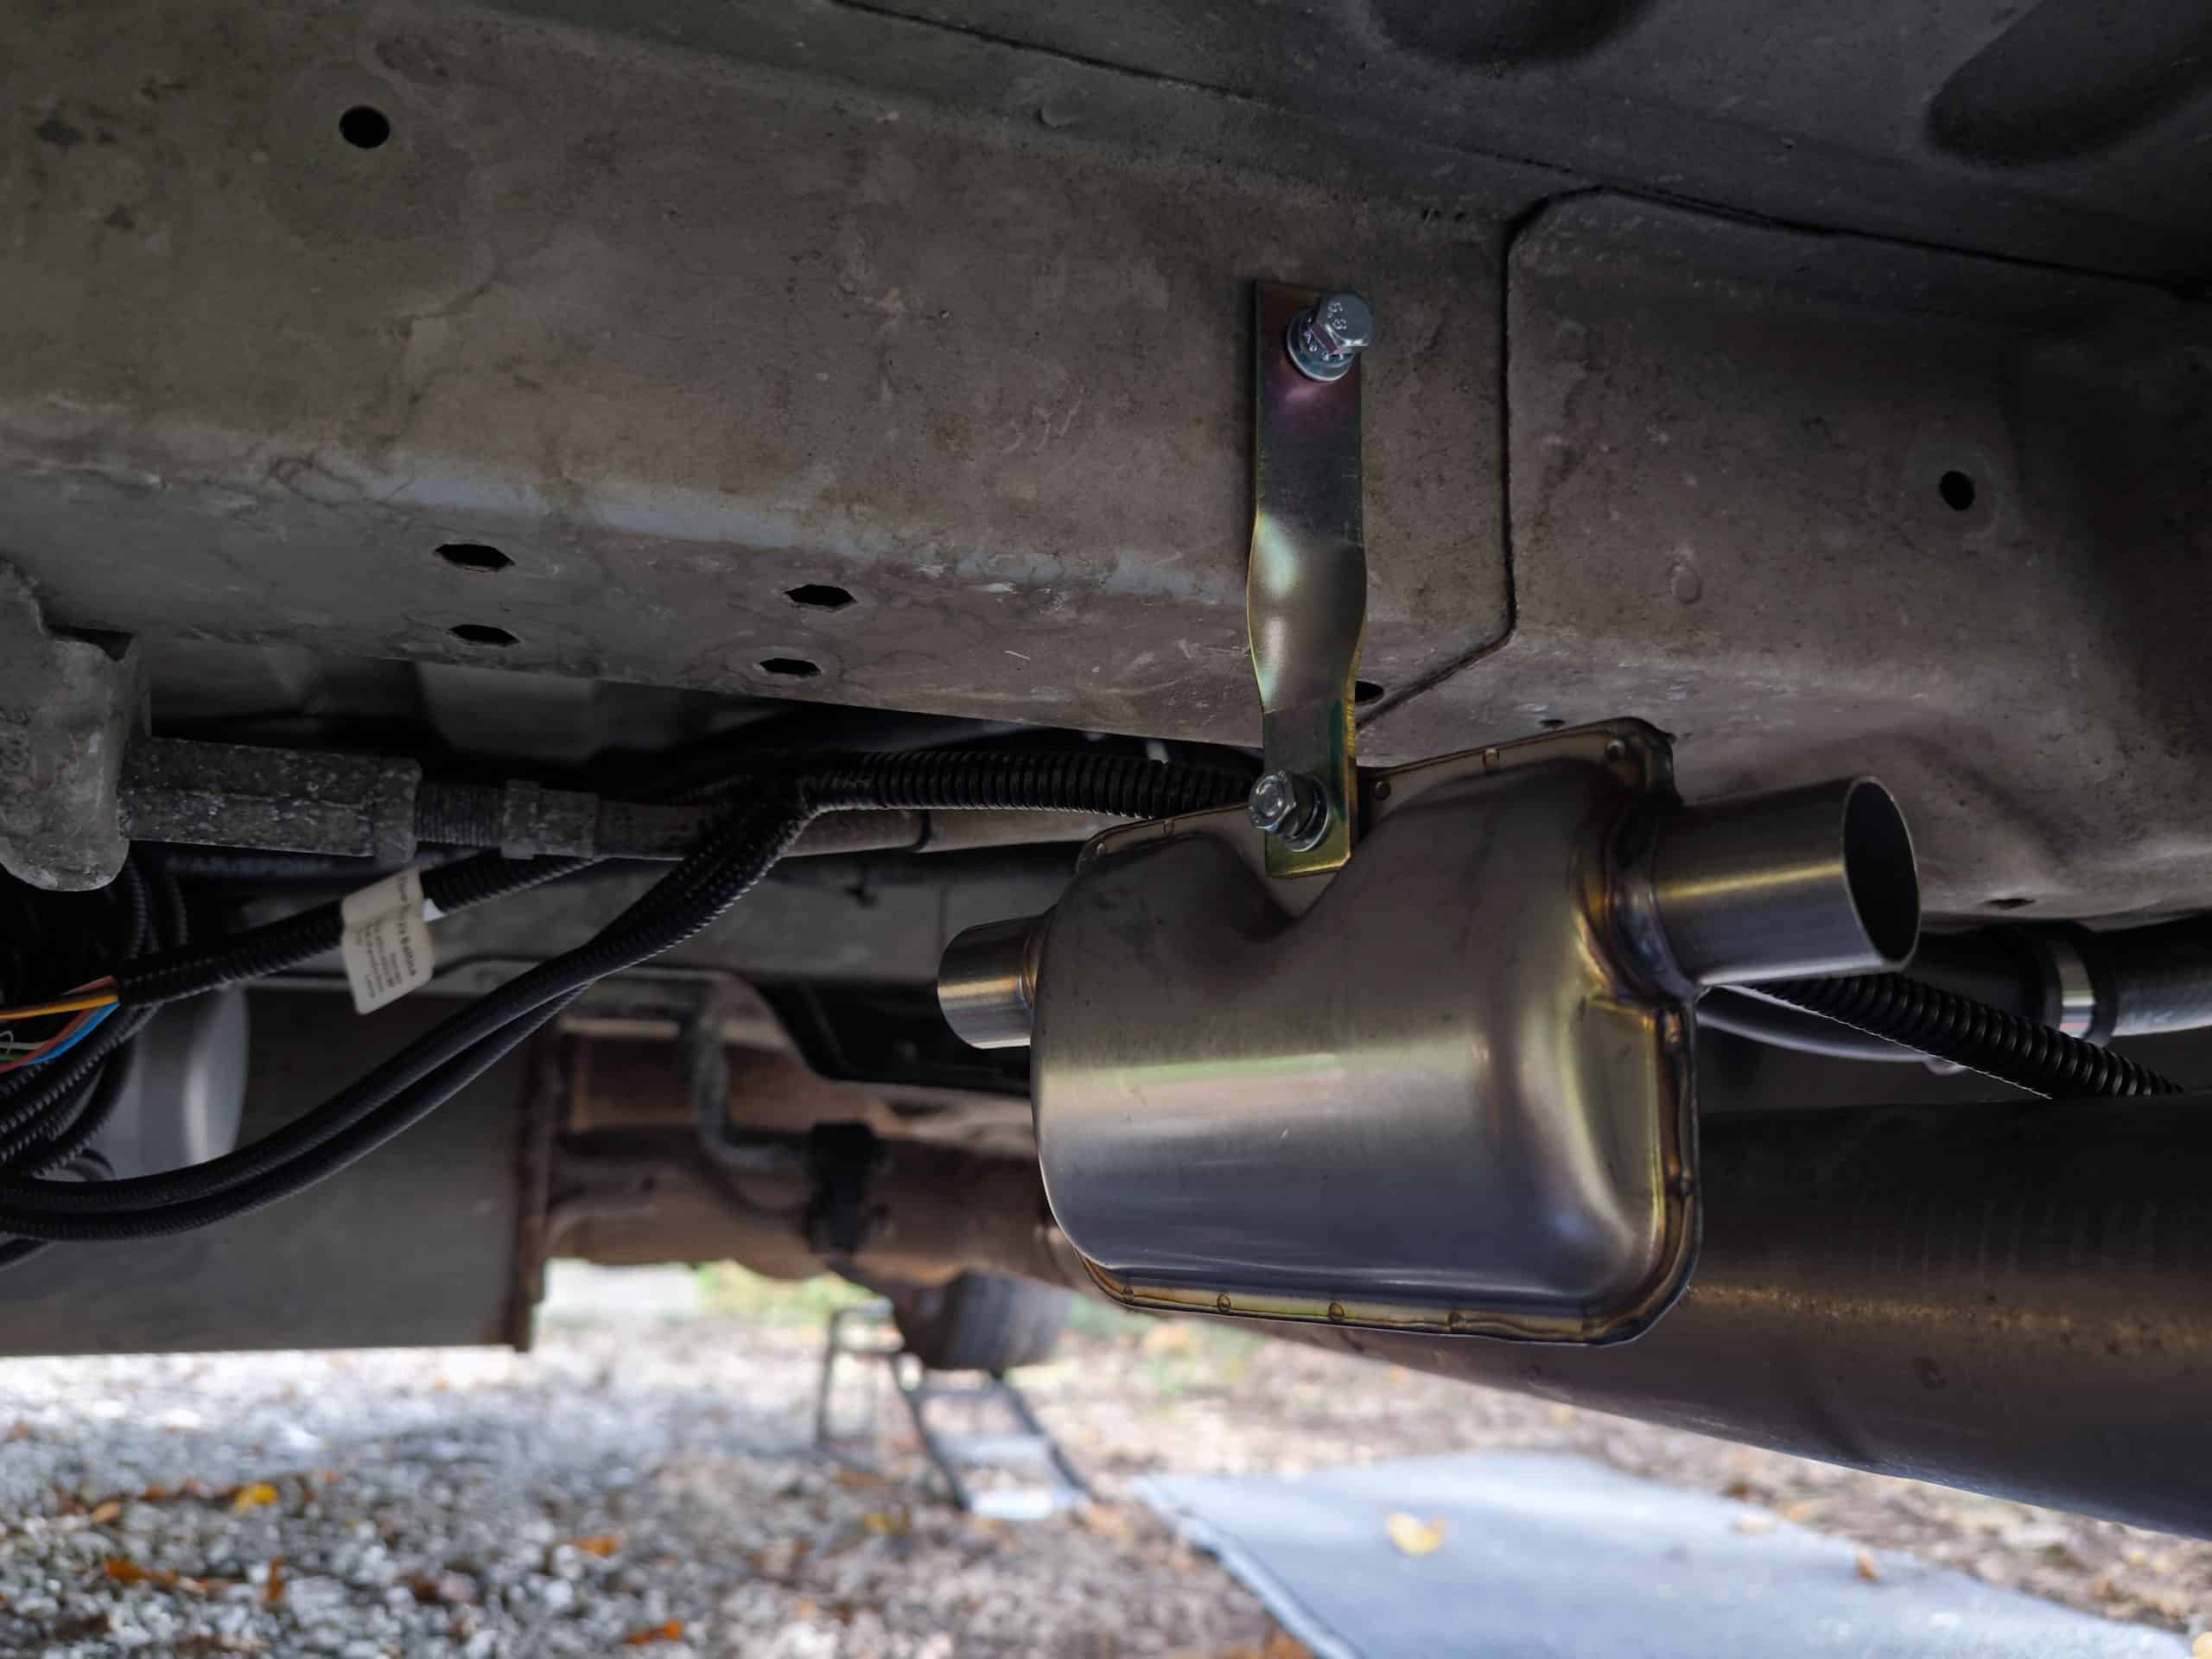
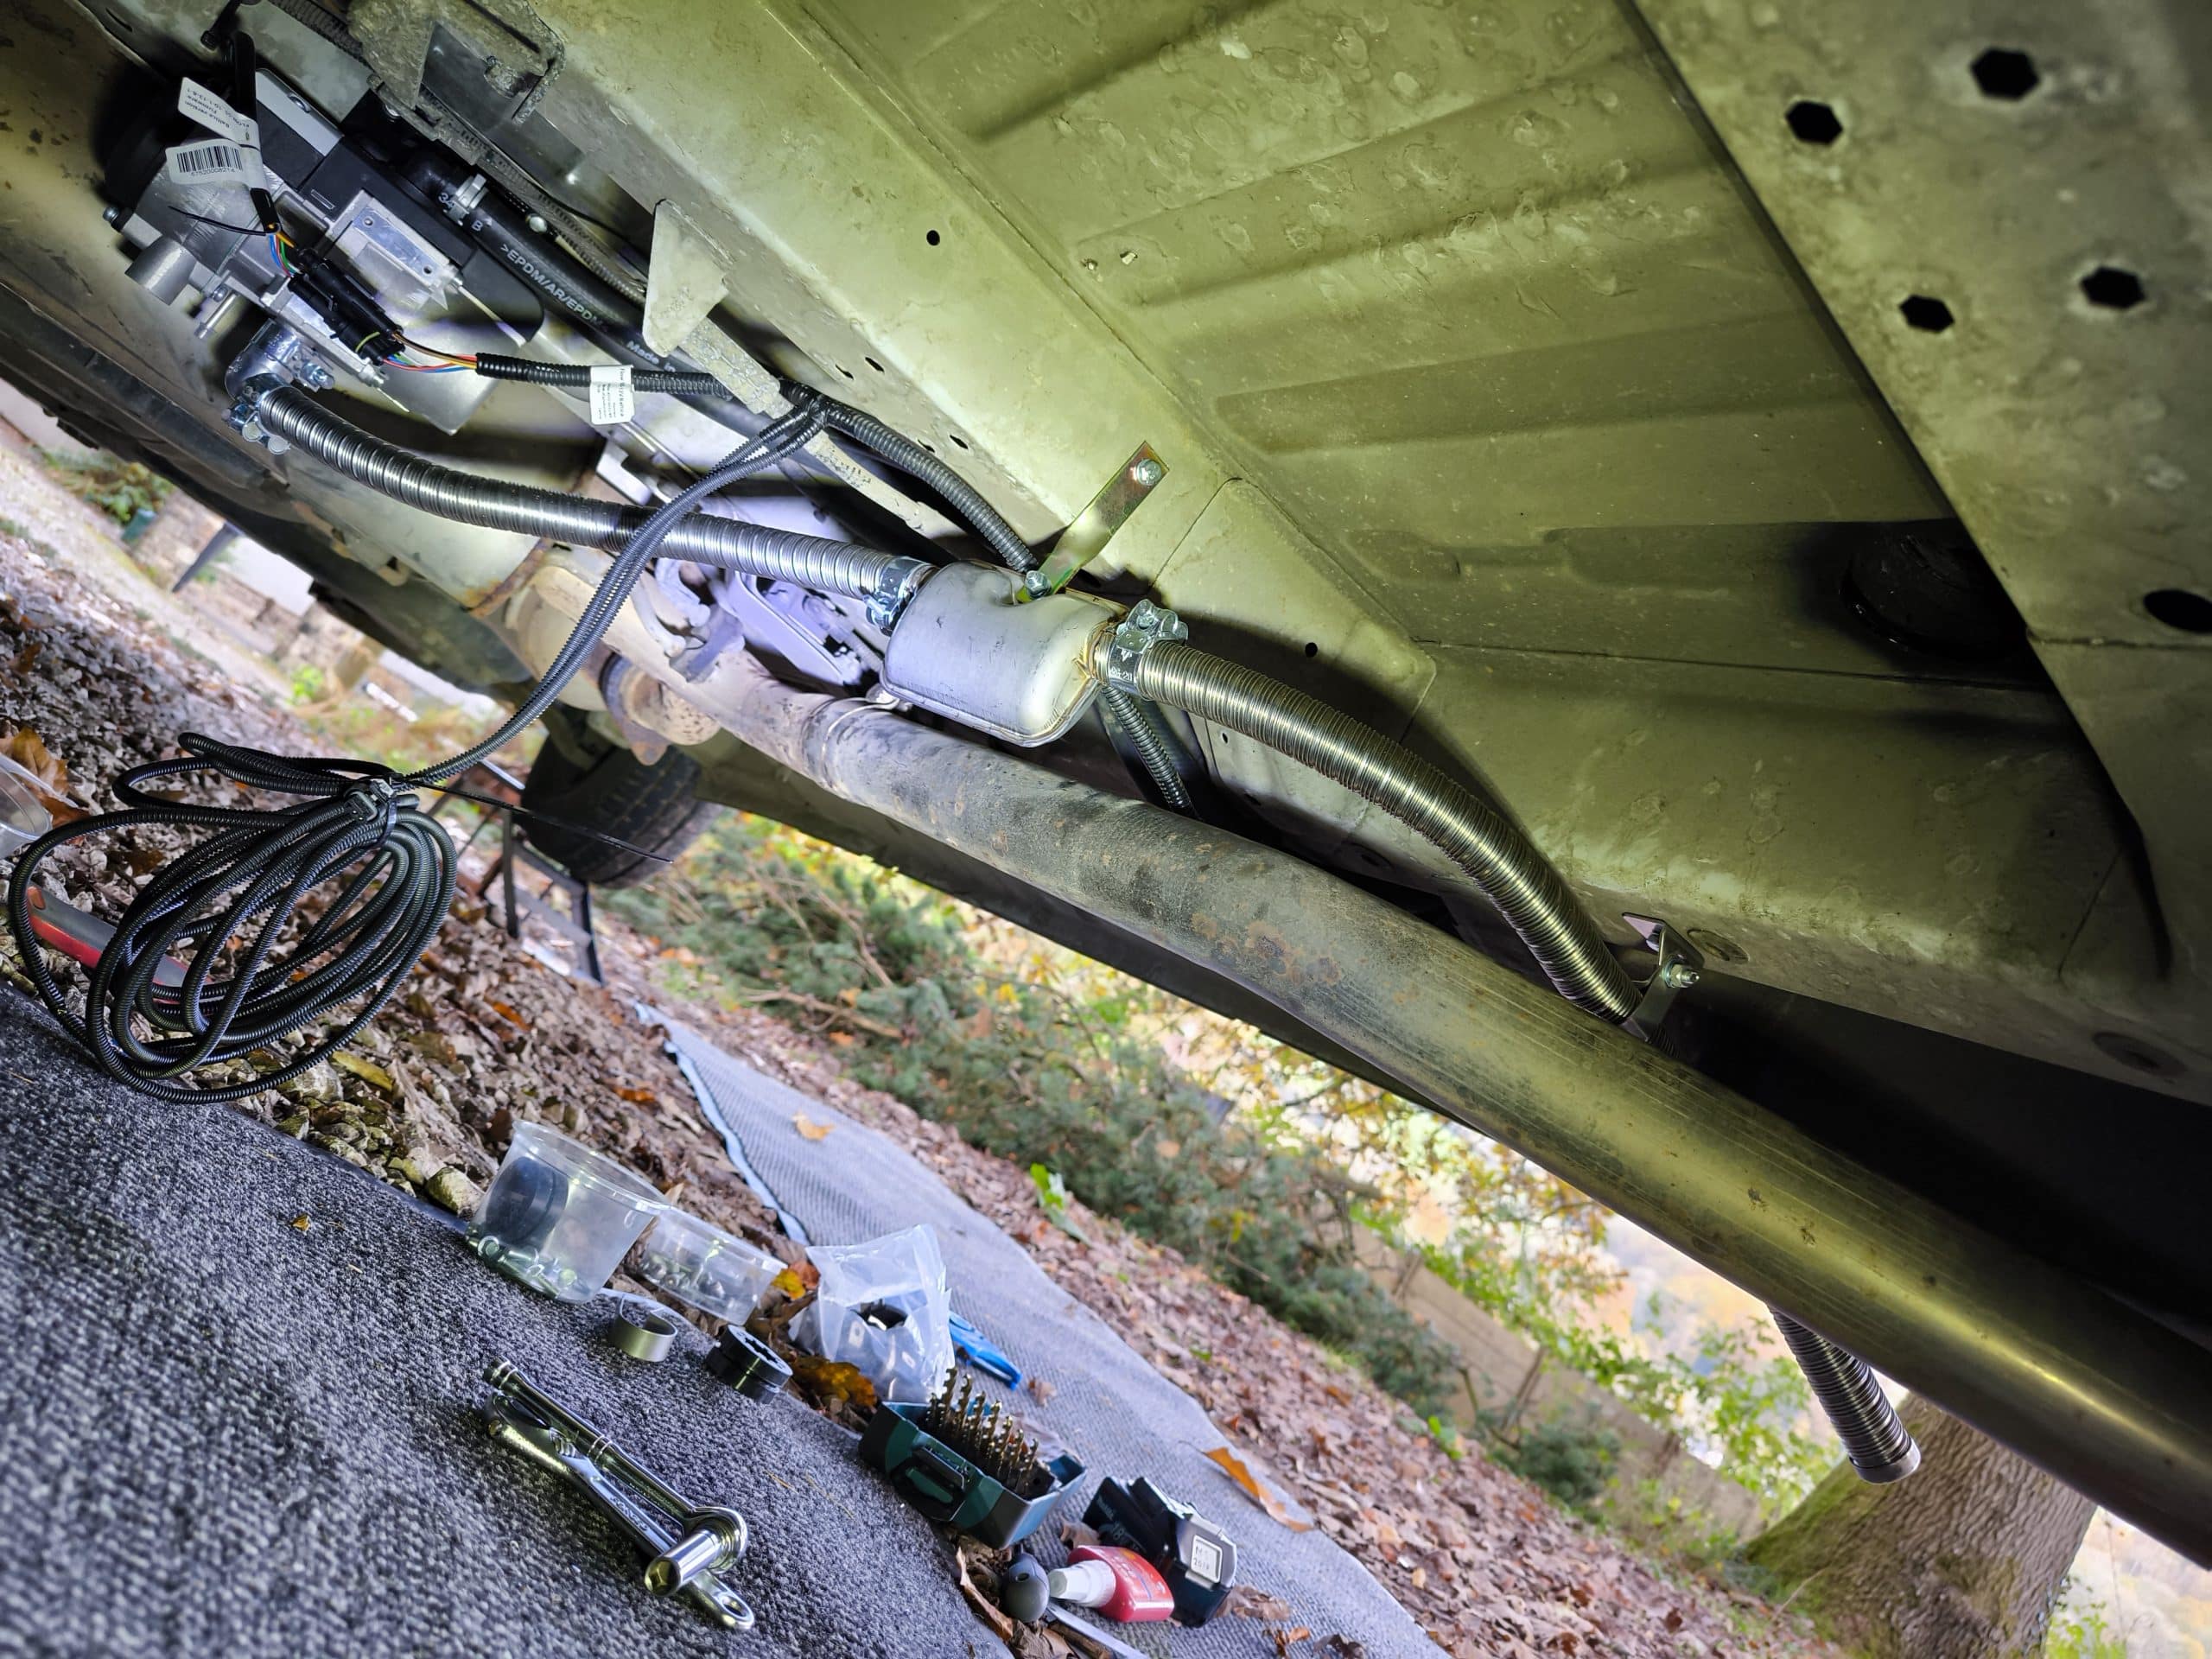
Next I moved my attention to the air intake of the burner. Surprisingly this is a piece of plastic conduit which clamped directly to the bottom of the burner. I was not confident that this was correct seeing the plastic would likely melt under the heat. But I checked the manual and that is how it’s meant to be. Nevertheless I rooted it in the opposite direction to the exhaust pipe to avoid it going anywhere near anything hot. That’s required another piece of metal bent and drilled to make a bracket. The exhaust pipe came with a handy 90 degree angle but the air intake did not and so this bracket was needed to ensure the pipe did not go to low under the van and risk hitting things while driving.
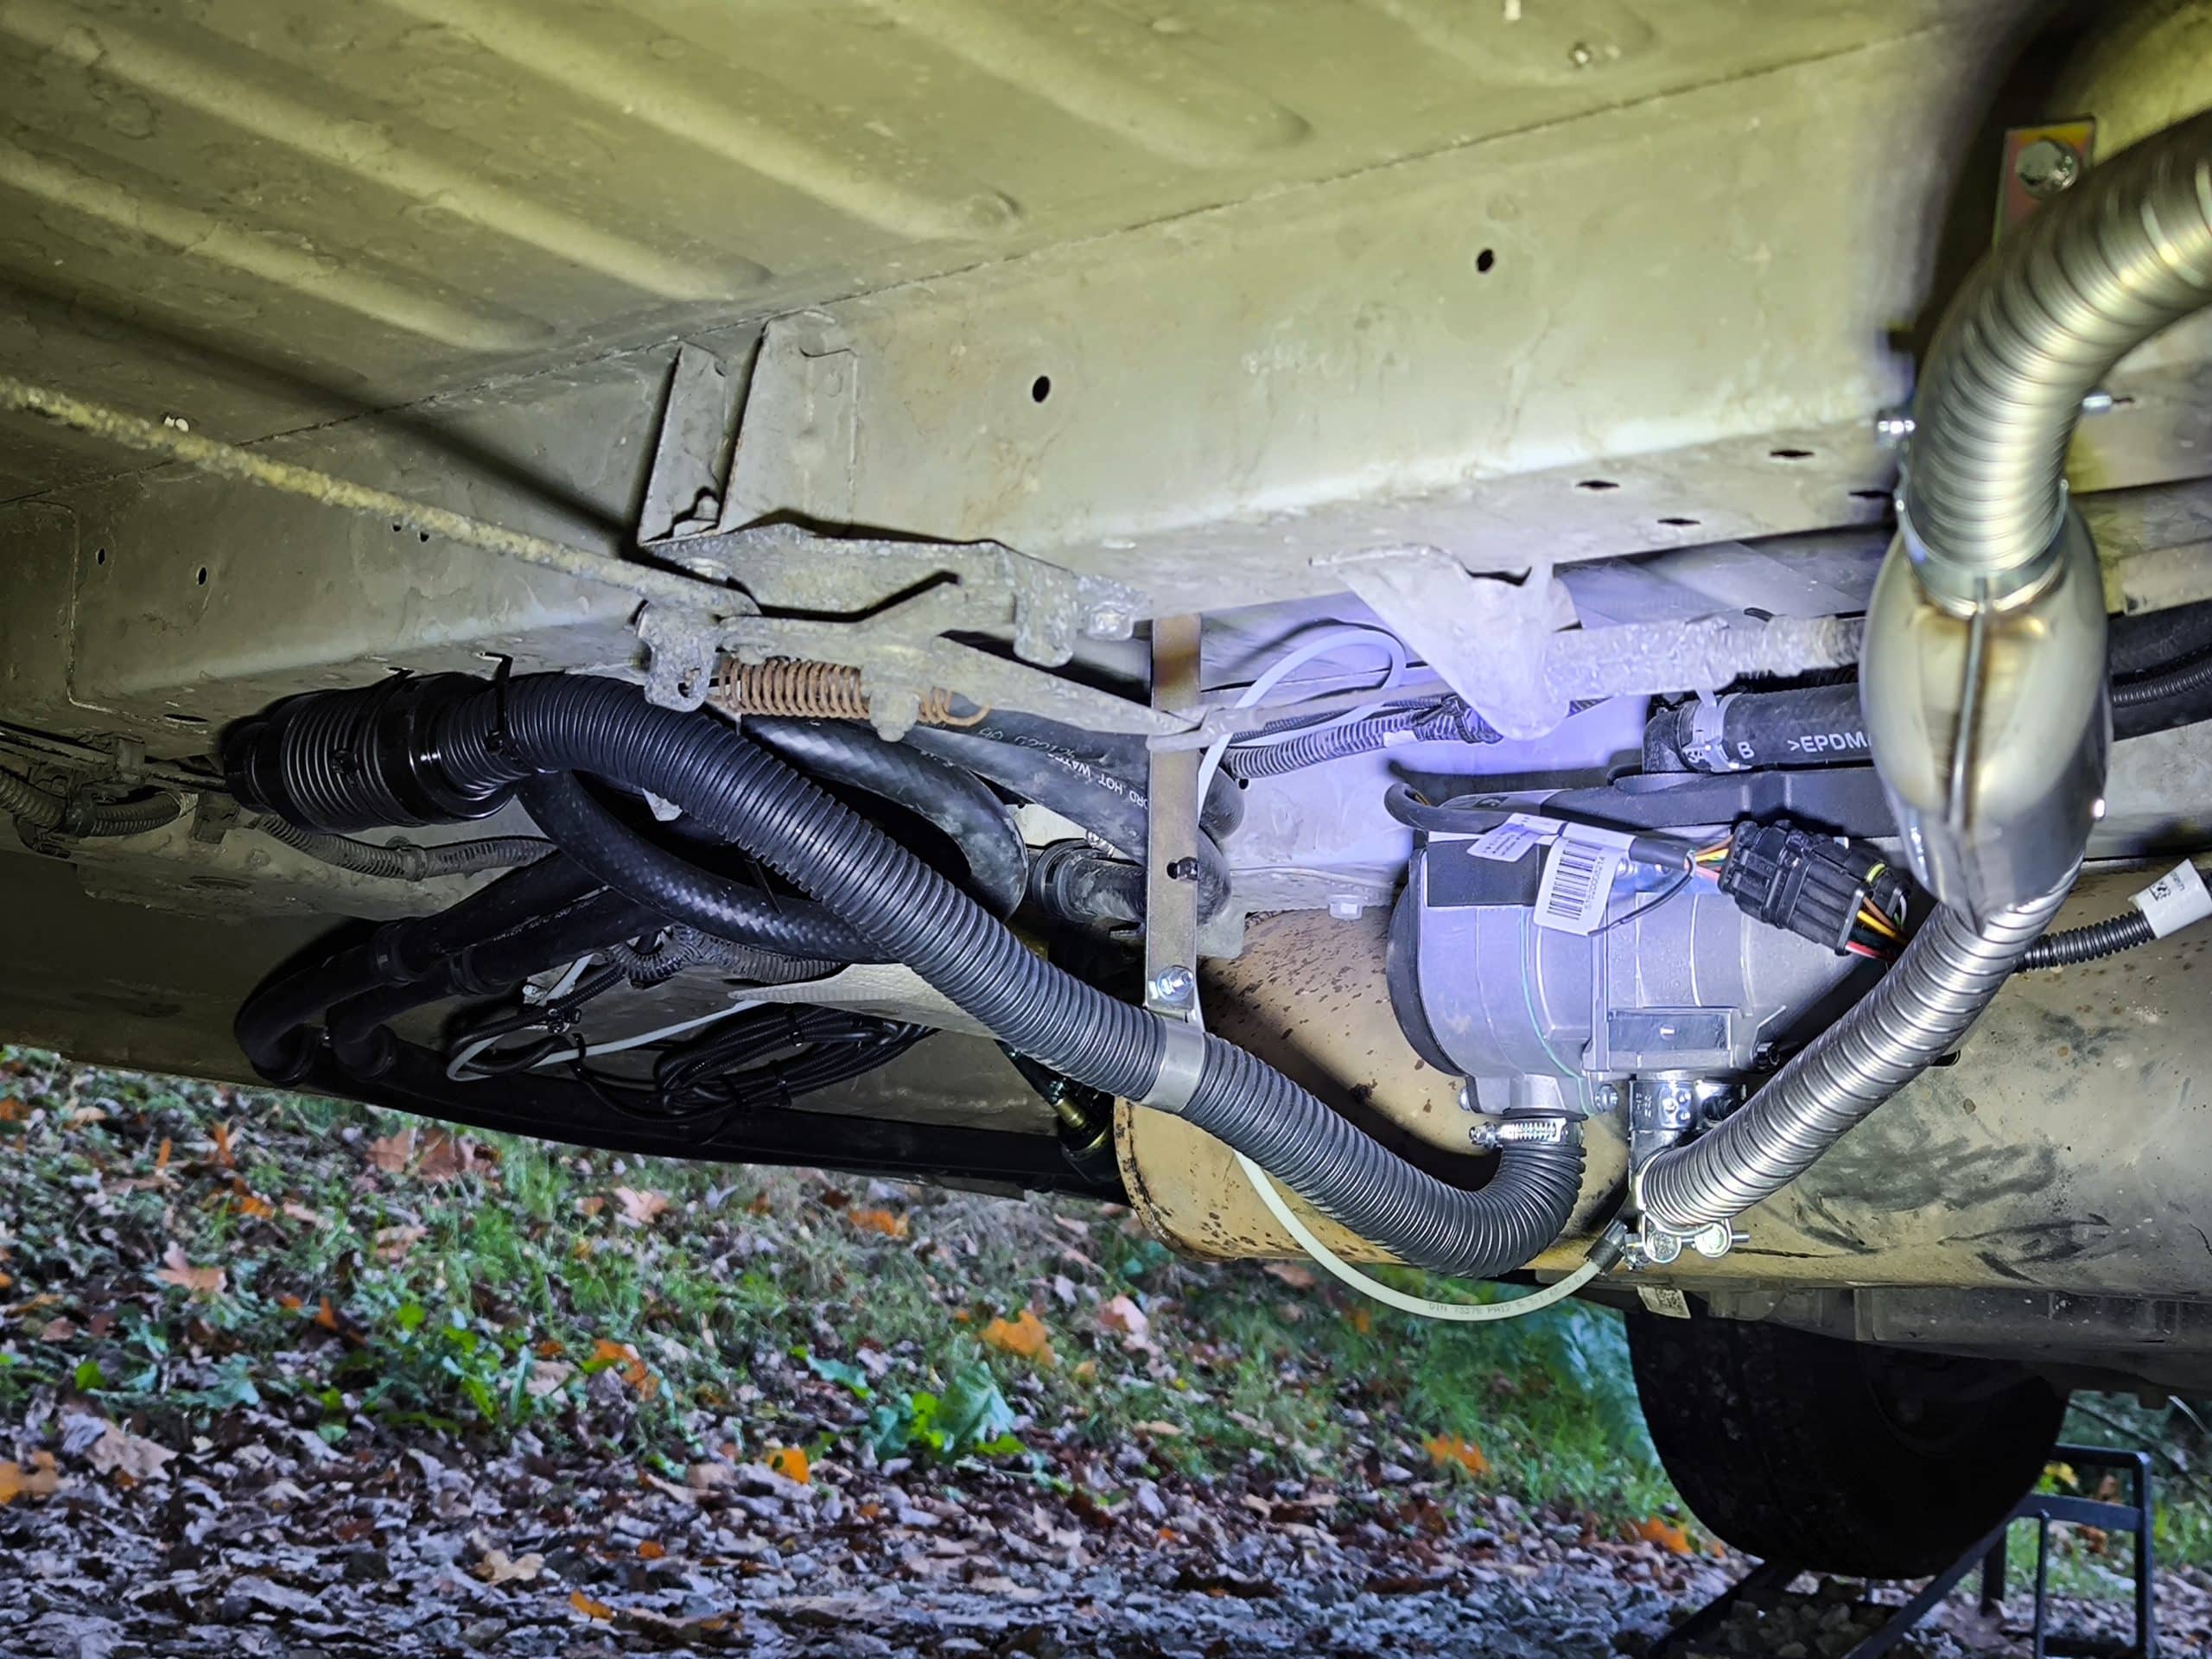
Moving on to the wiring, this got dropped through my nice neat hole and threaded between the vans cables and pipes to the burner. This took a few attempts to get a neat route and I used zip ties to hold it in place on a combination of van brackets existing zip tie mounts and the pipe clamps. The process of putting this wiring harness in place was mostly lying on the ground looking at where the cables would run to try and avoid hot things or moving things or sharp edges whilst trying to follow places where it could be zip tied in place. In the end I decided to make yet another bracket which I bolted to the burner and then bent it to stand off the hot parts. This holds the main connectors from wobbling around too much and the rest of the wiring loom gets attached to the van zip tie mounts.
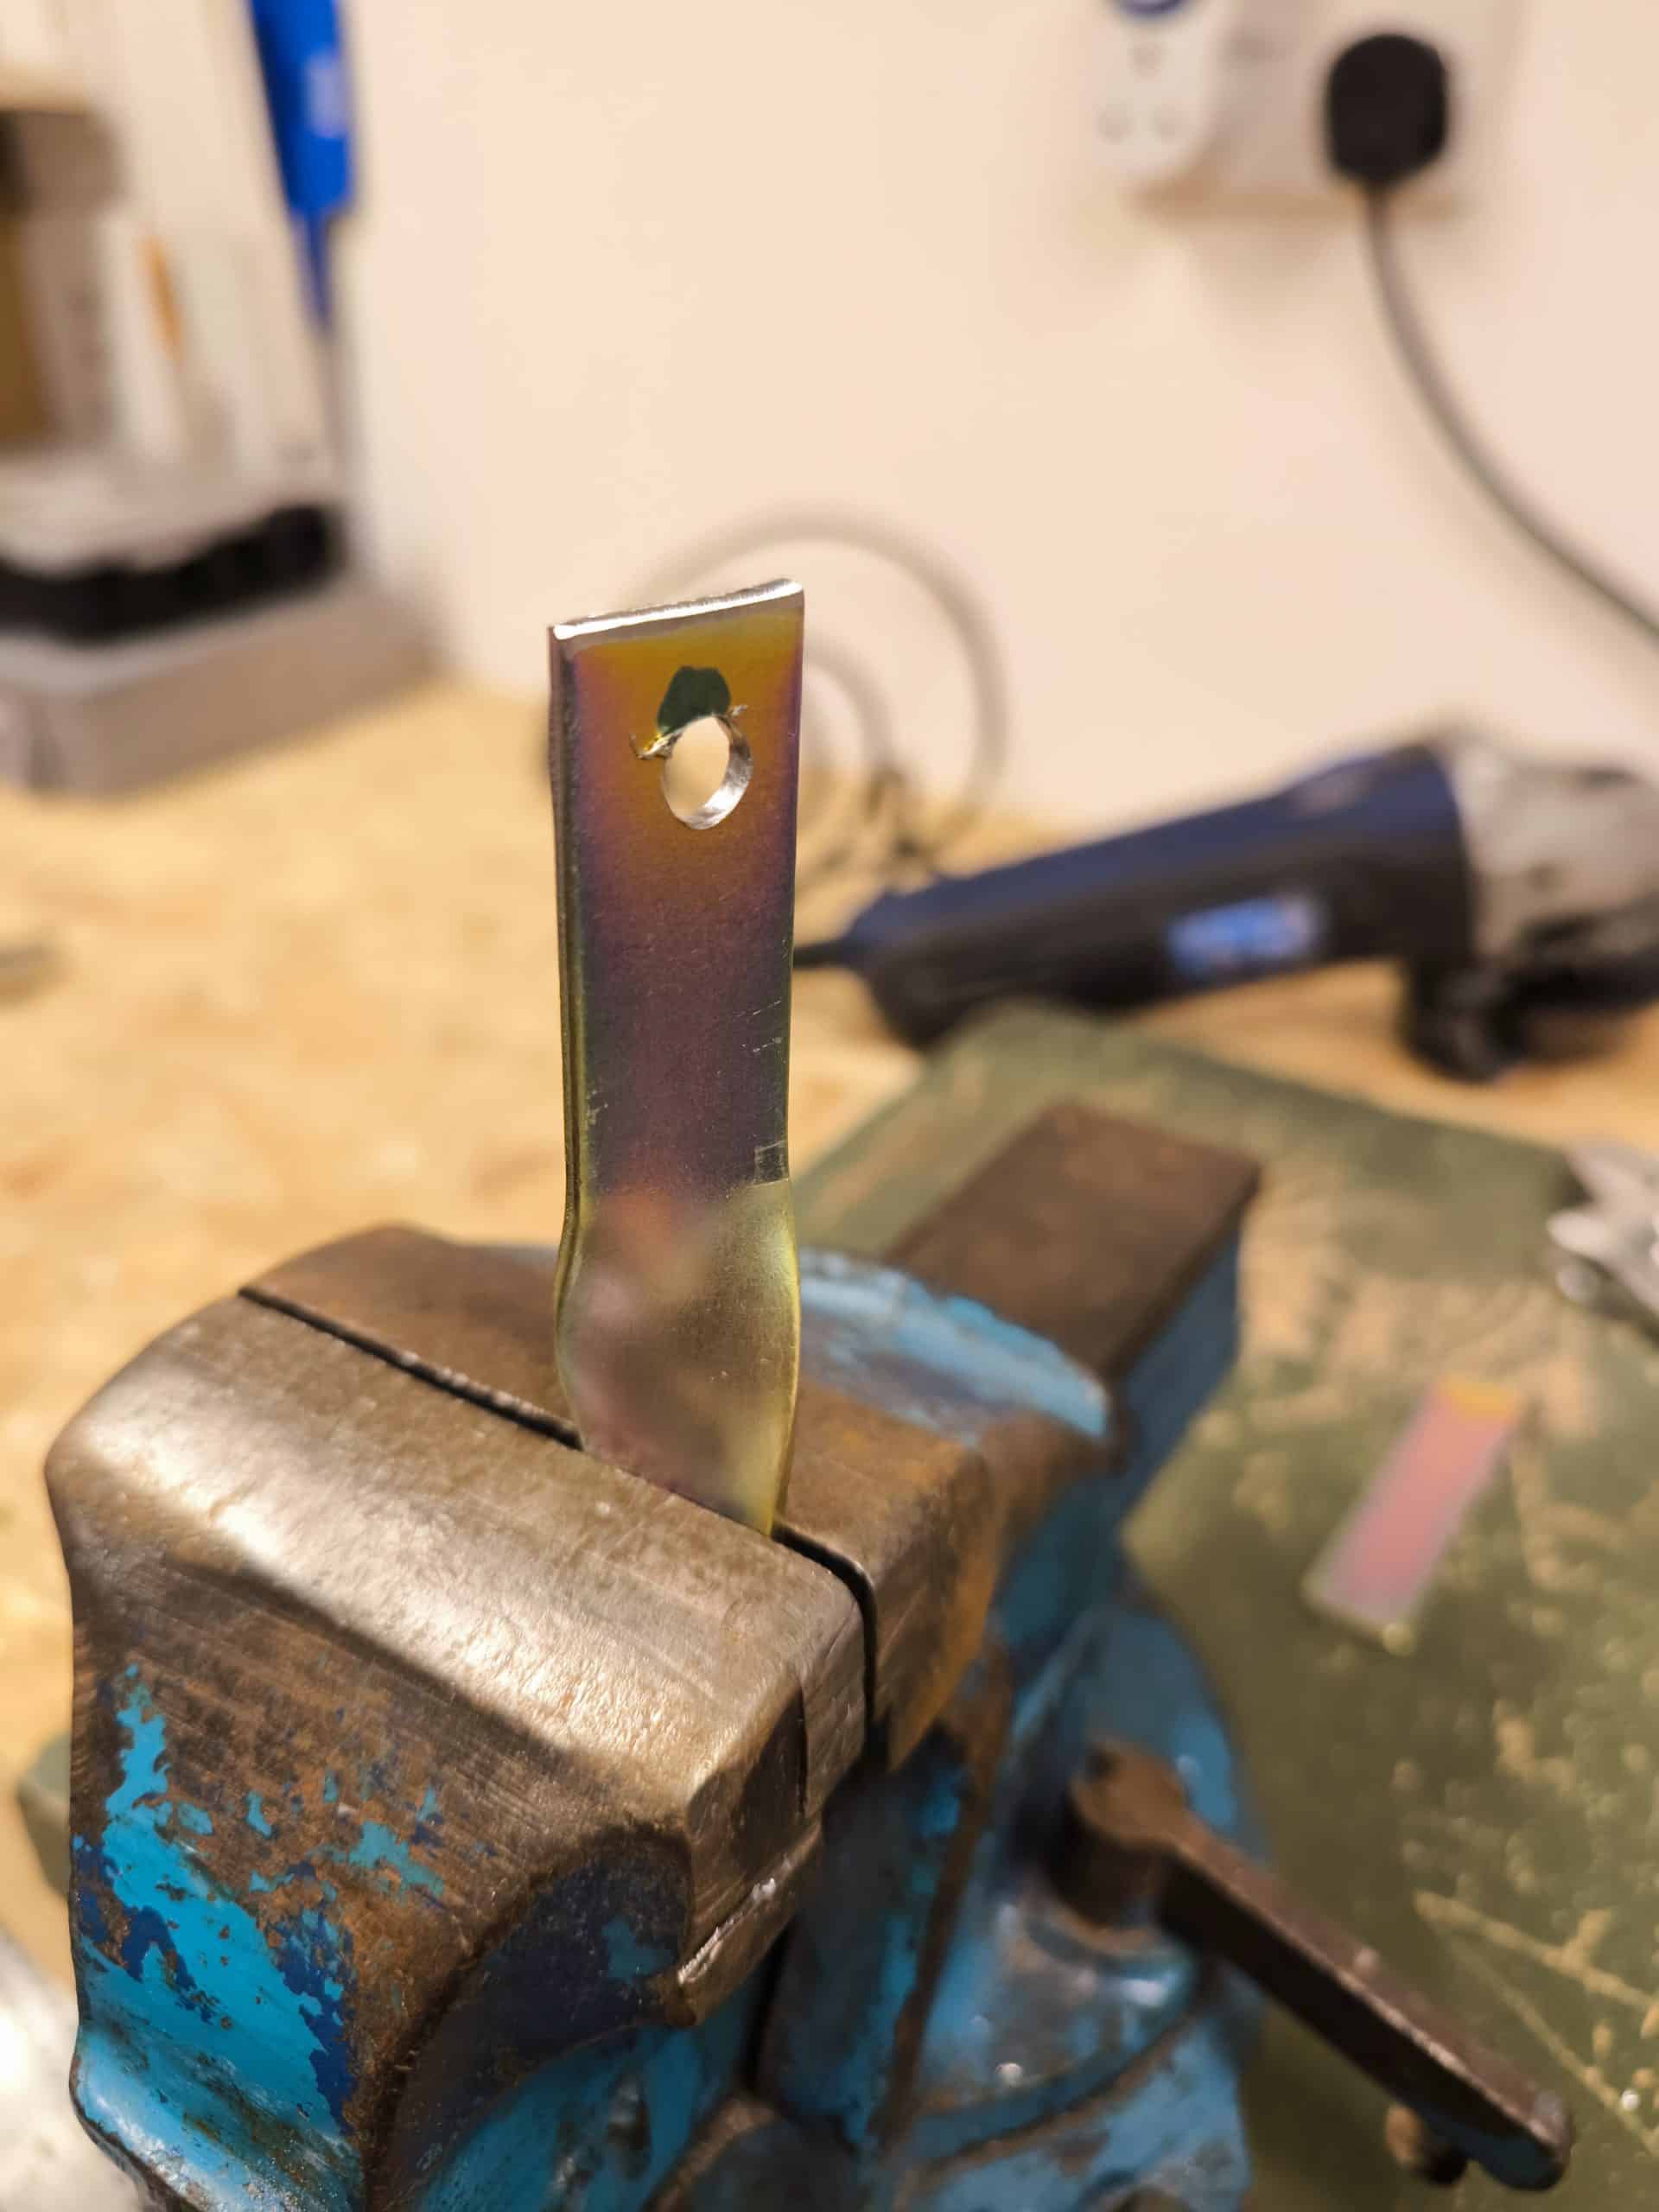
I’ve been casually saying that I created brackets from time to time. Whilst each of them was not very complex it did require working out what length and where they would go and how they were bent and then walking from the van all the way down to the shed to make it in my vice. Cutting, drilling and bending as needed, and then walking back up to the van before crawling under it to install. Each one was made bespoke and so the whole process took a lot of time. But now they are done I’m very confident nothing will move.
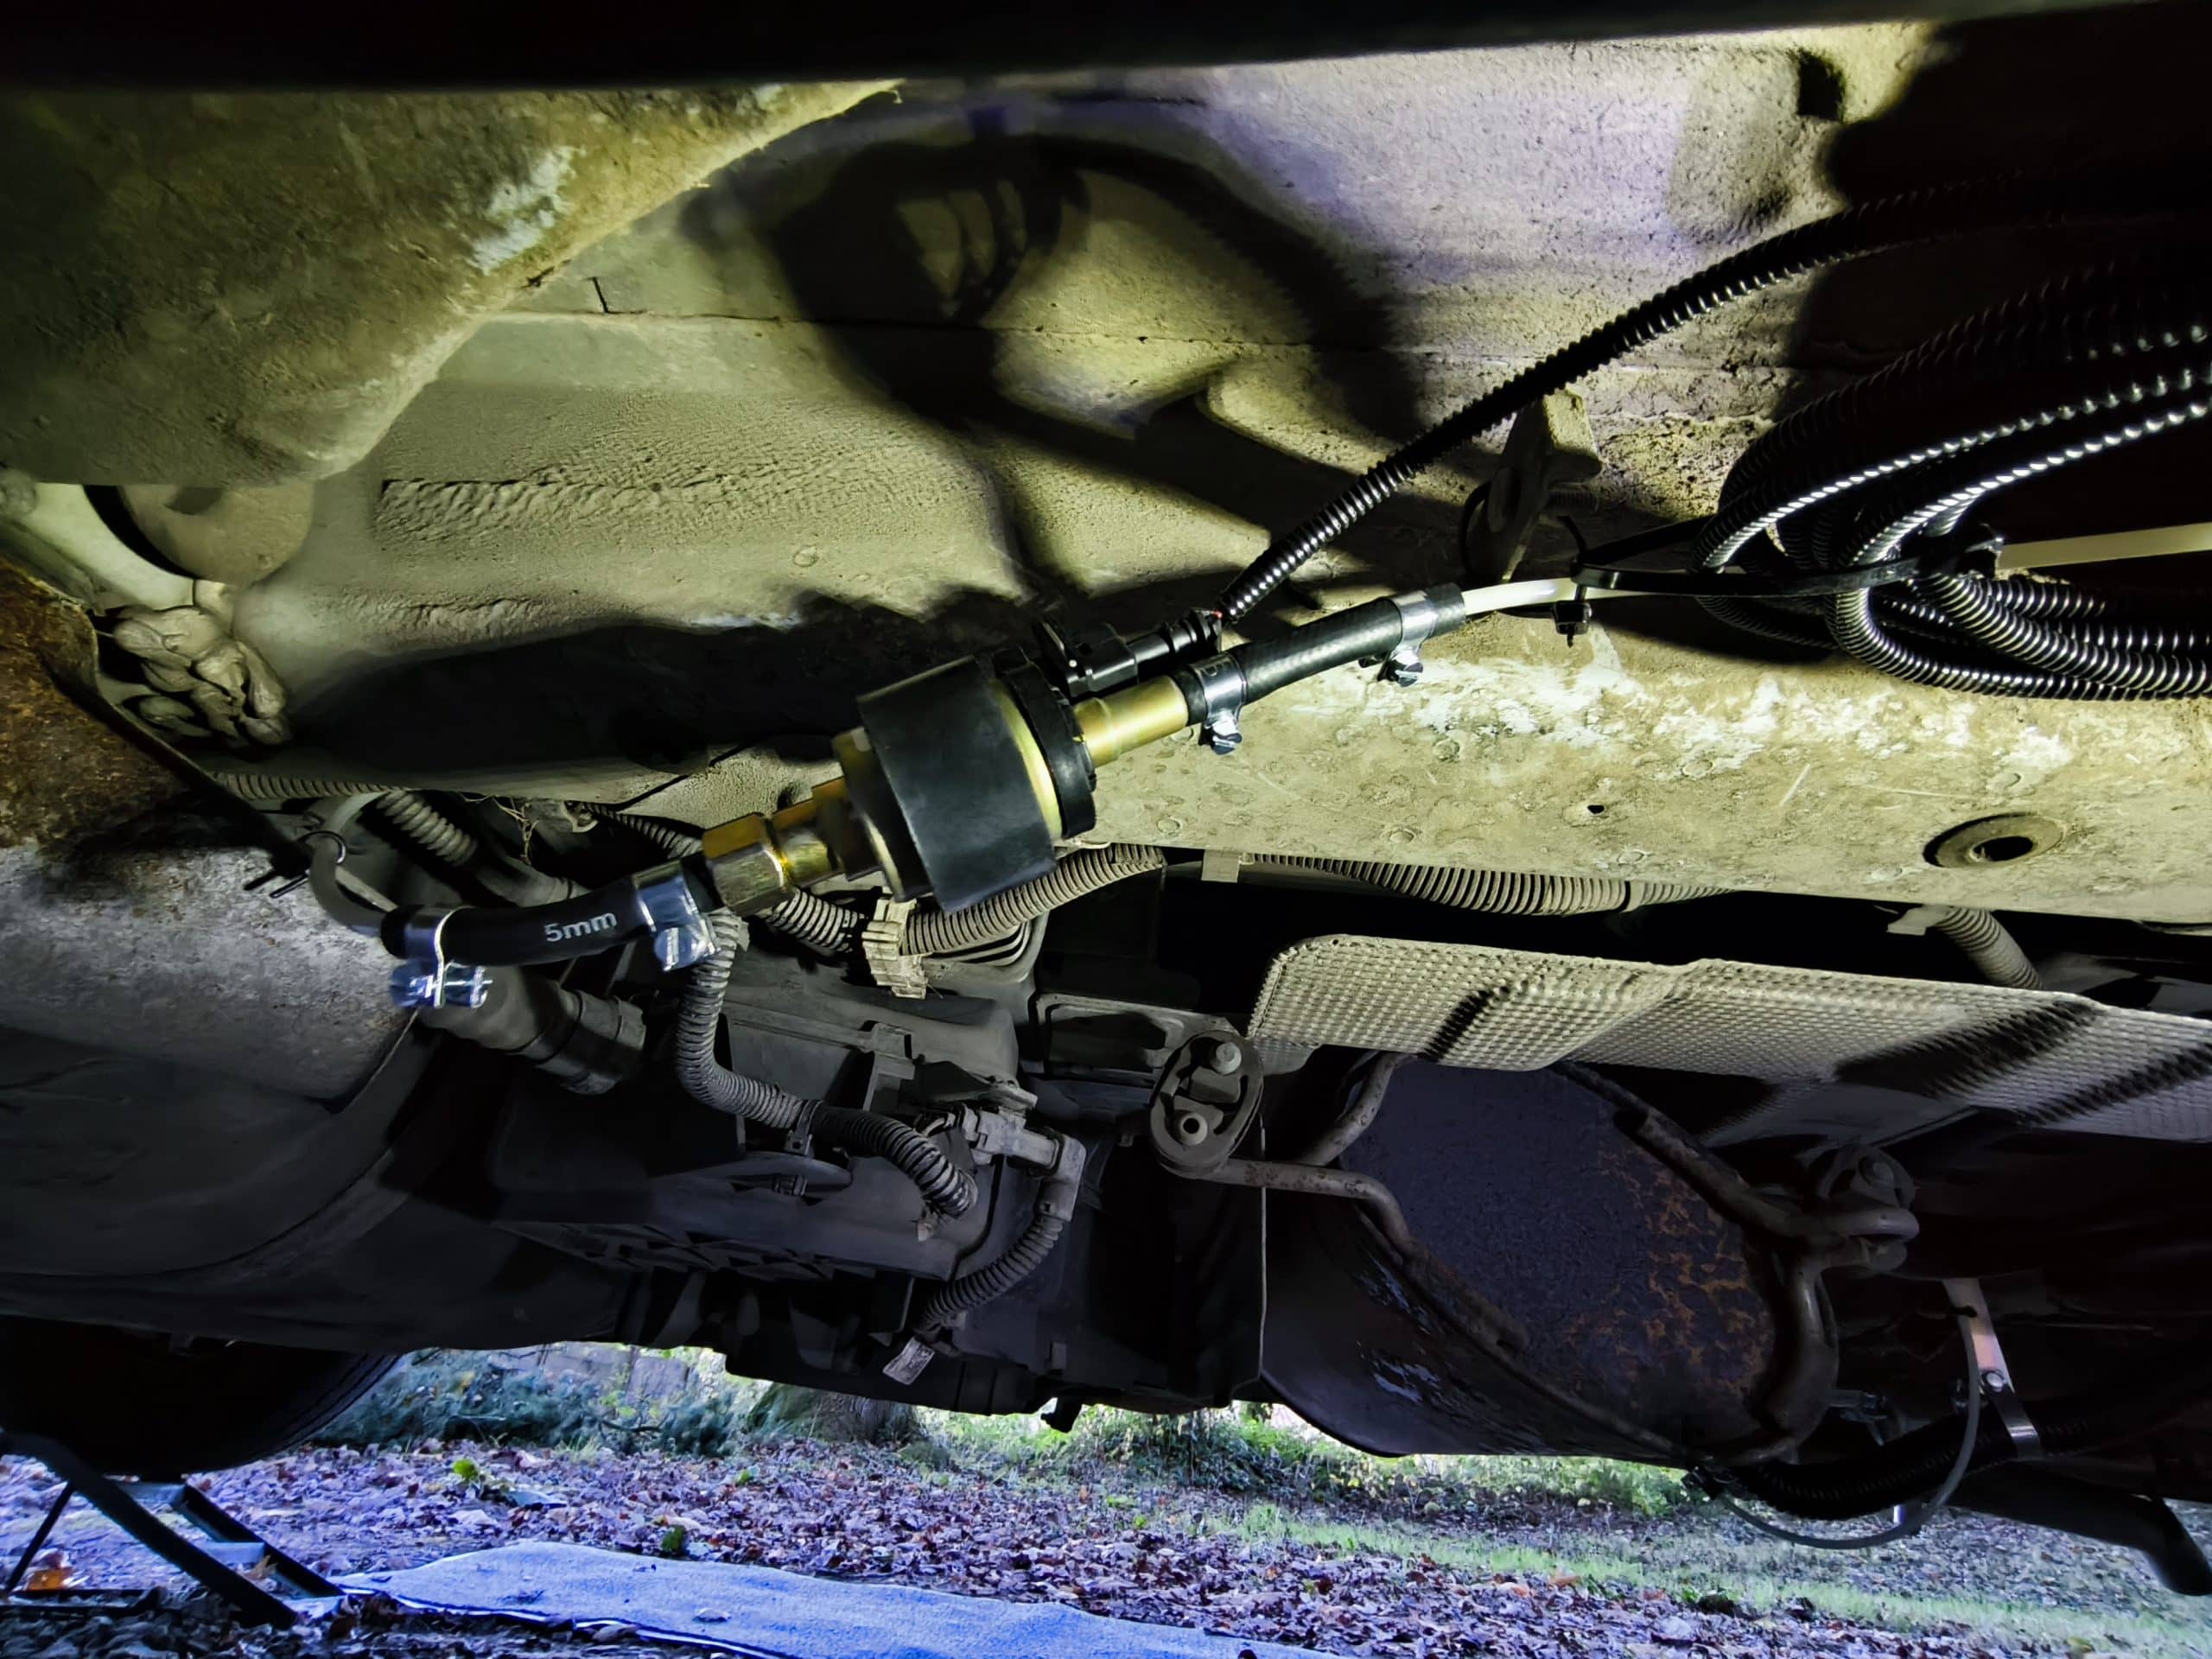
The next mechanical component to install was the solenoid pump that takes fuel from the van tank and feeds it to the burner. This was simply one rivnut and the included brackets. But linking up the pipes took a lot of time.
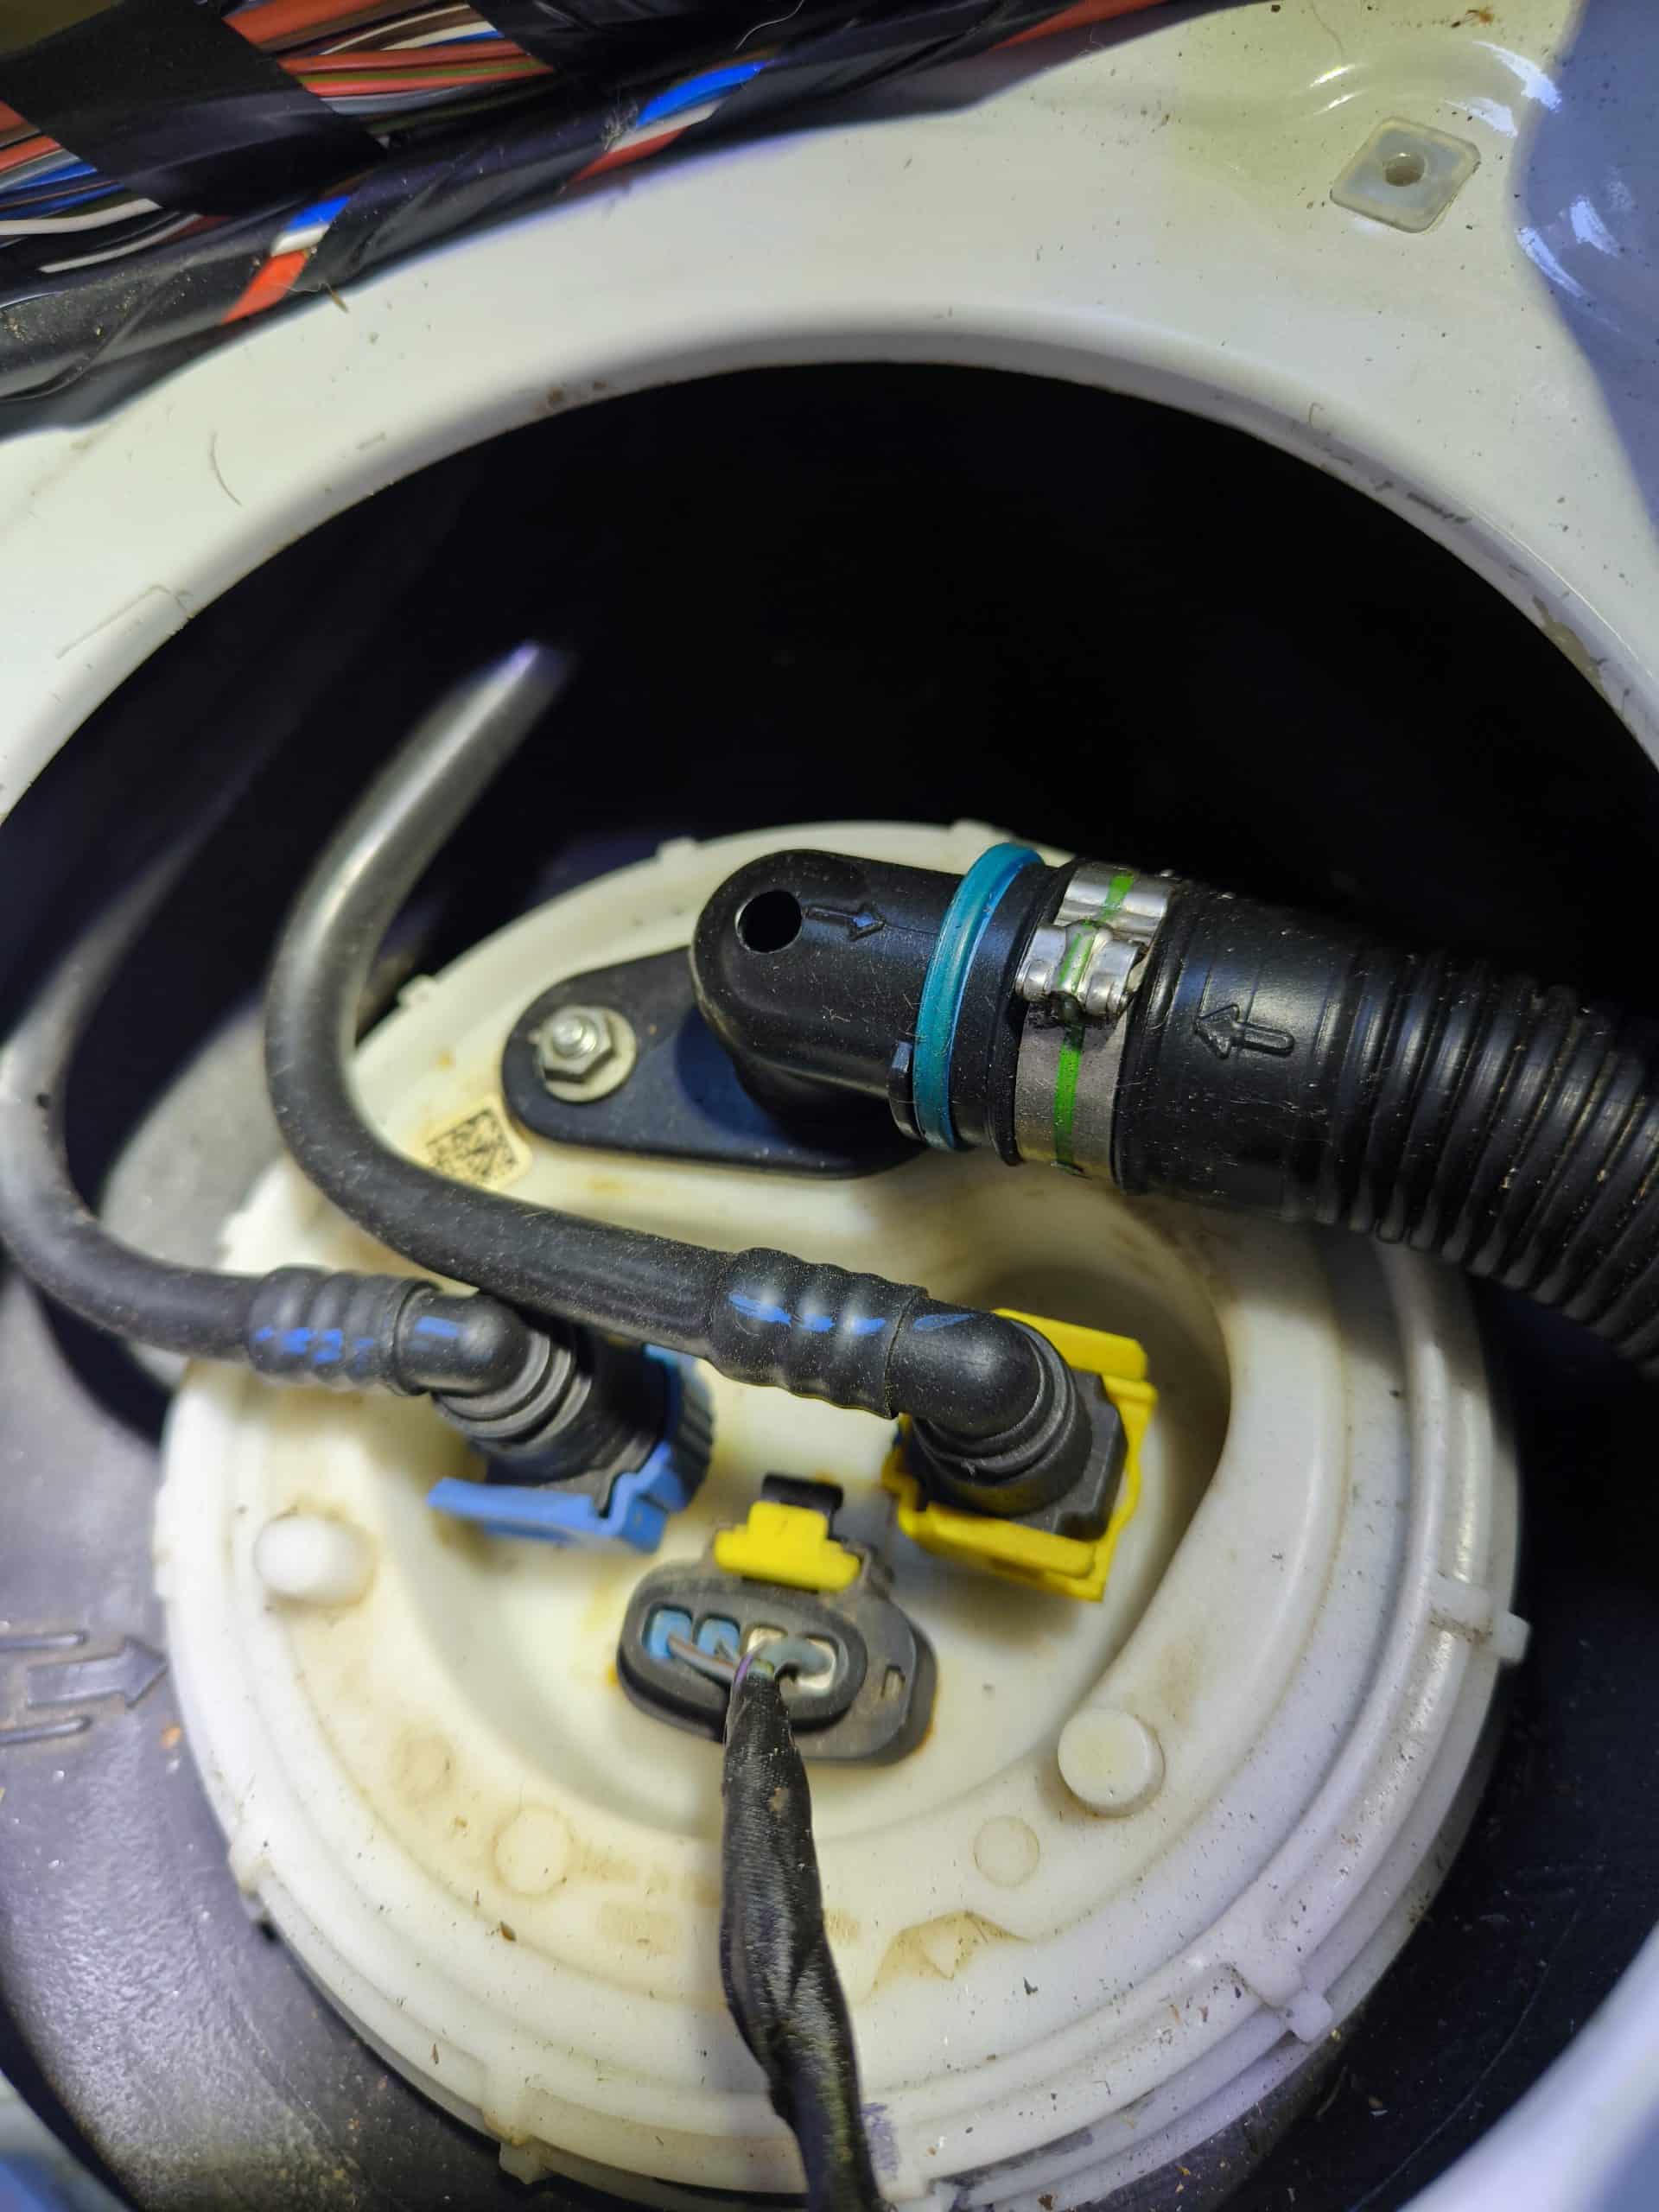
Firstly I had to tap into the fuel tank. This was incredibly daunting until I found a very helpful video online. Getting to the top of the tank is really easy because the van has an access hatch between the seats. Once this is removed you can get to the top of the fuel pump and pipework on top of the tank. Someone had worked out that you can simply drill into the top of one of these pipes and install your dipstick tube by screwing it’s directly into the plastic. It may not be the most professional of installs but it works perfectly and the rubber o-ring seats nicely sealing the connection.
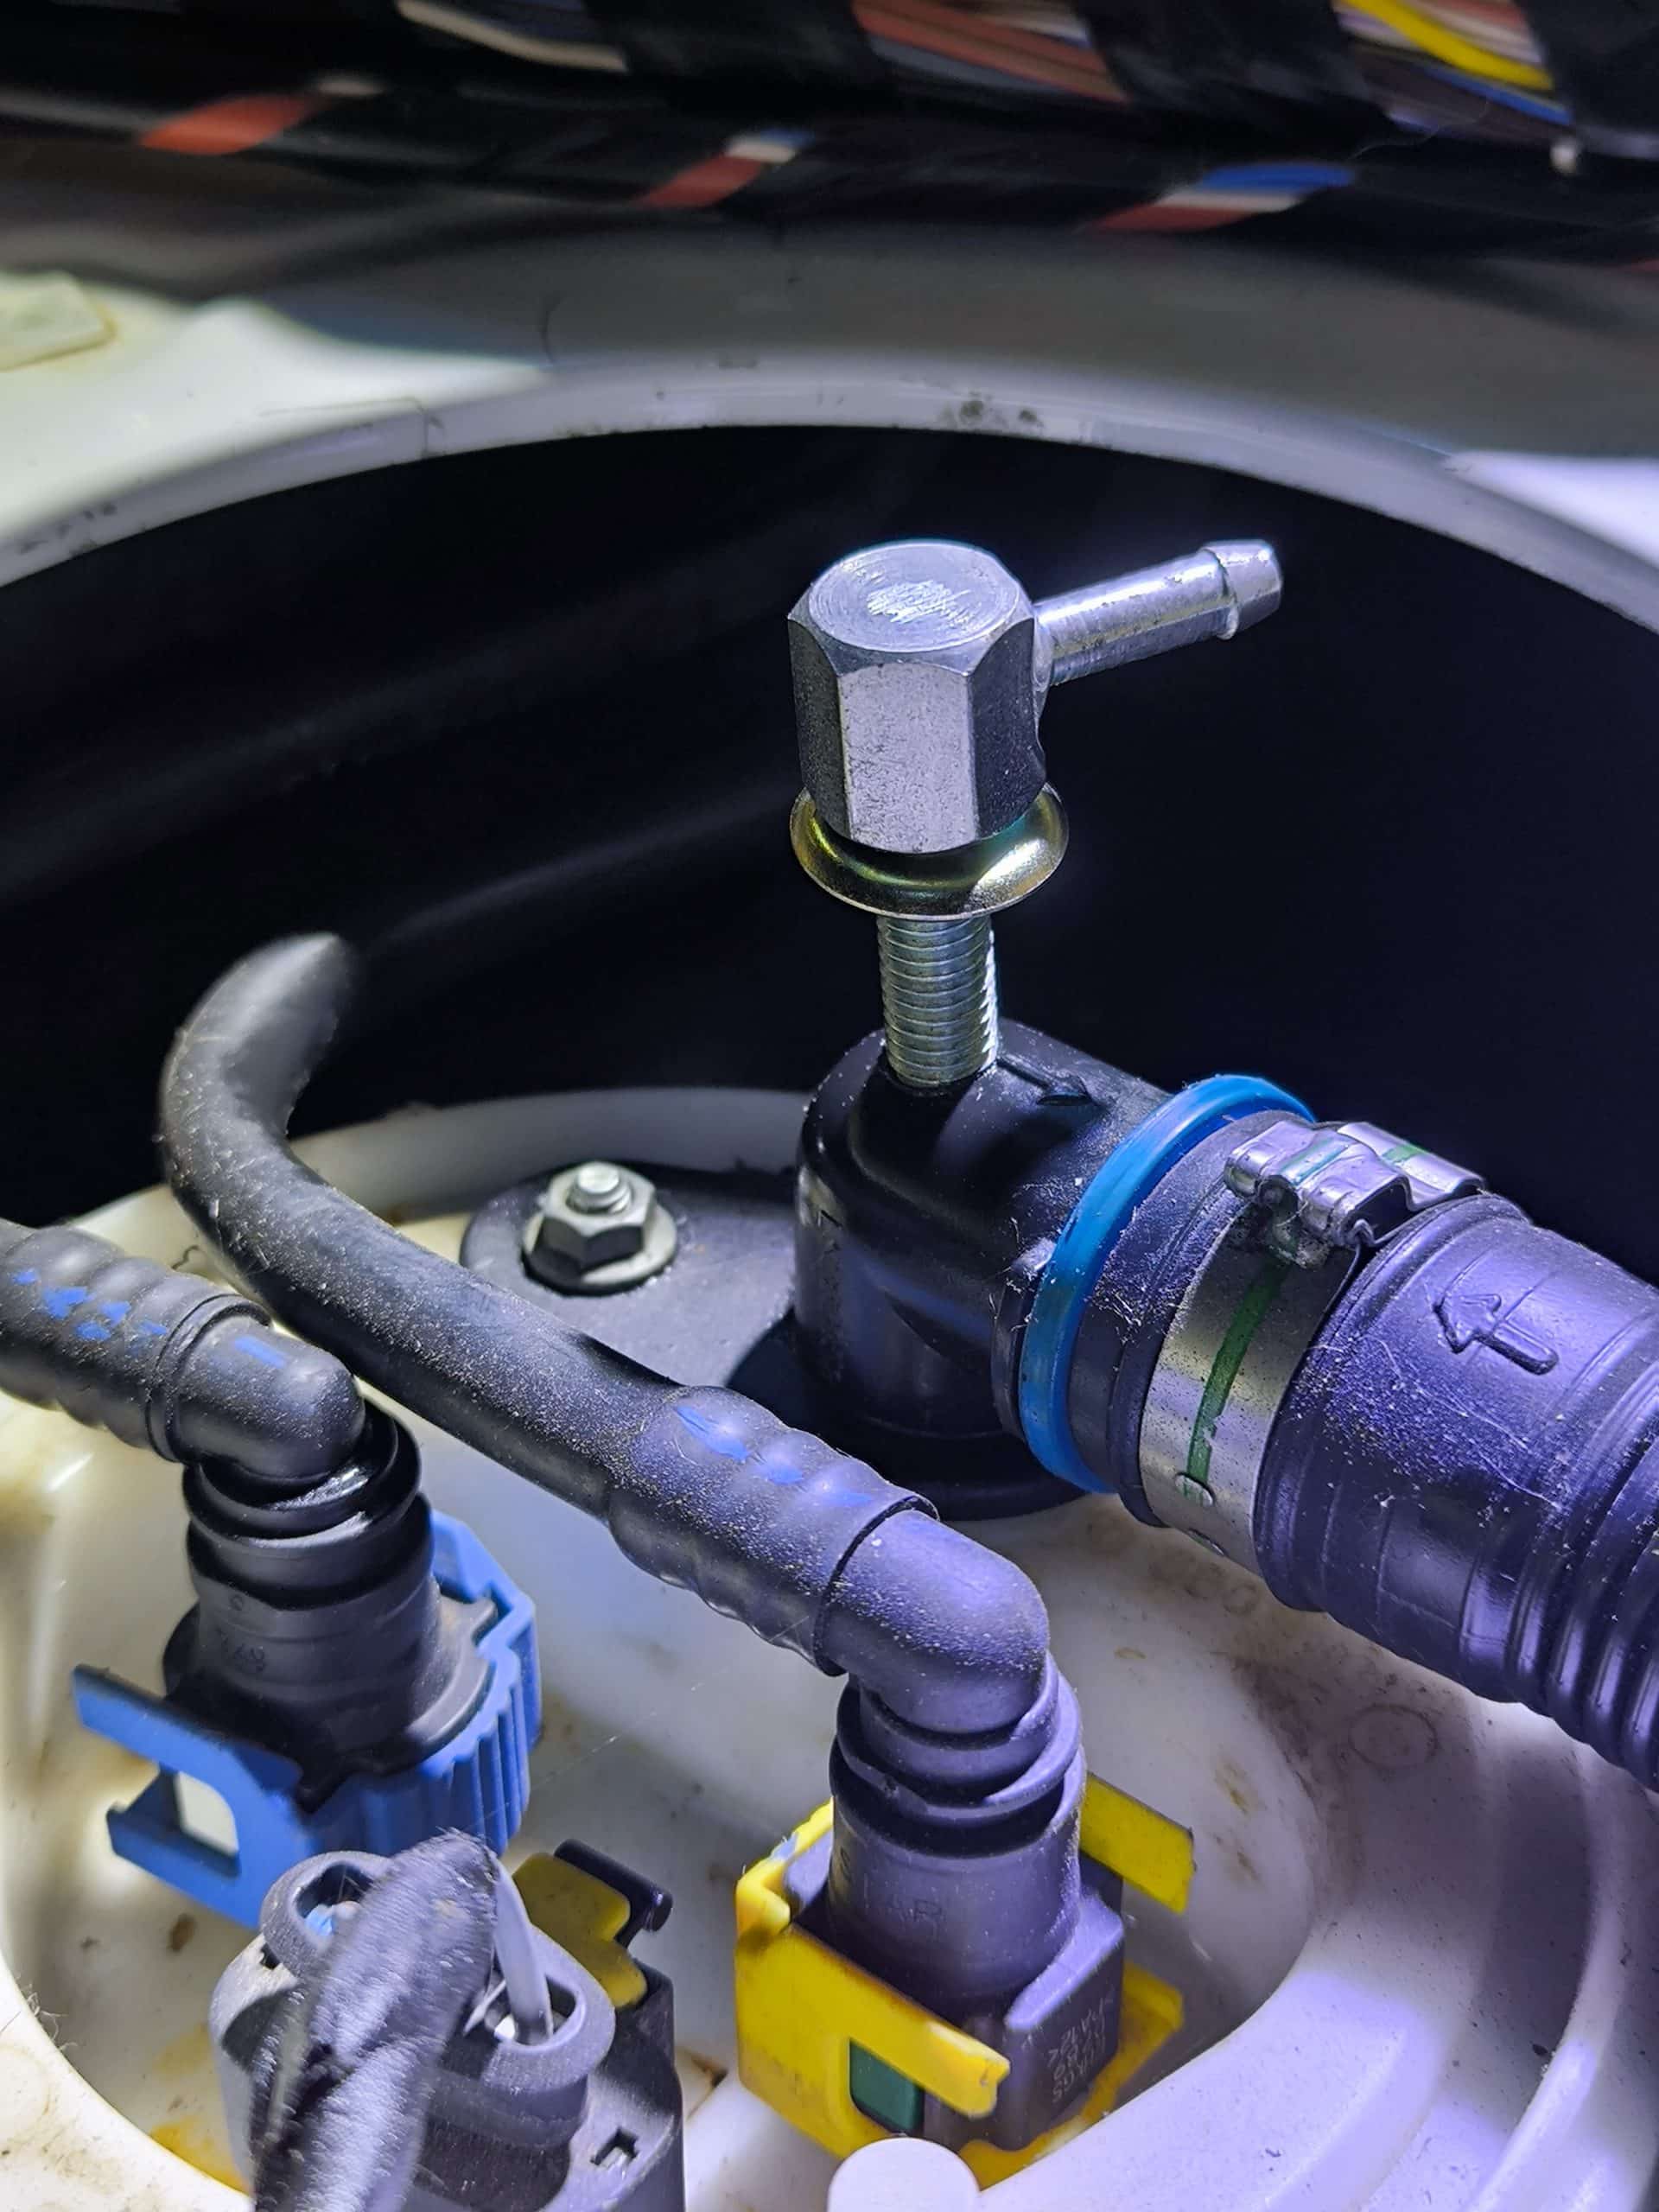
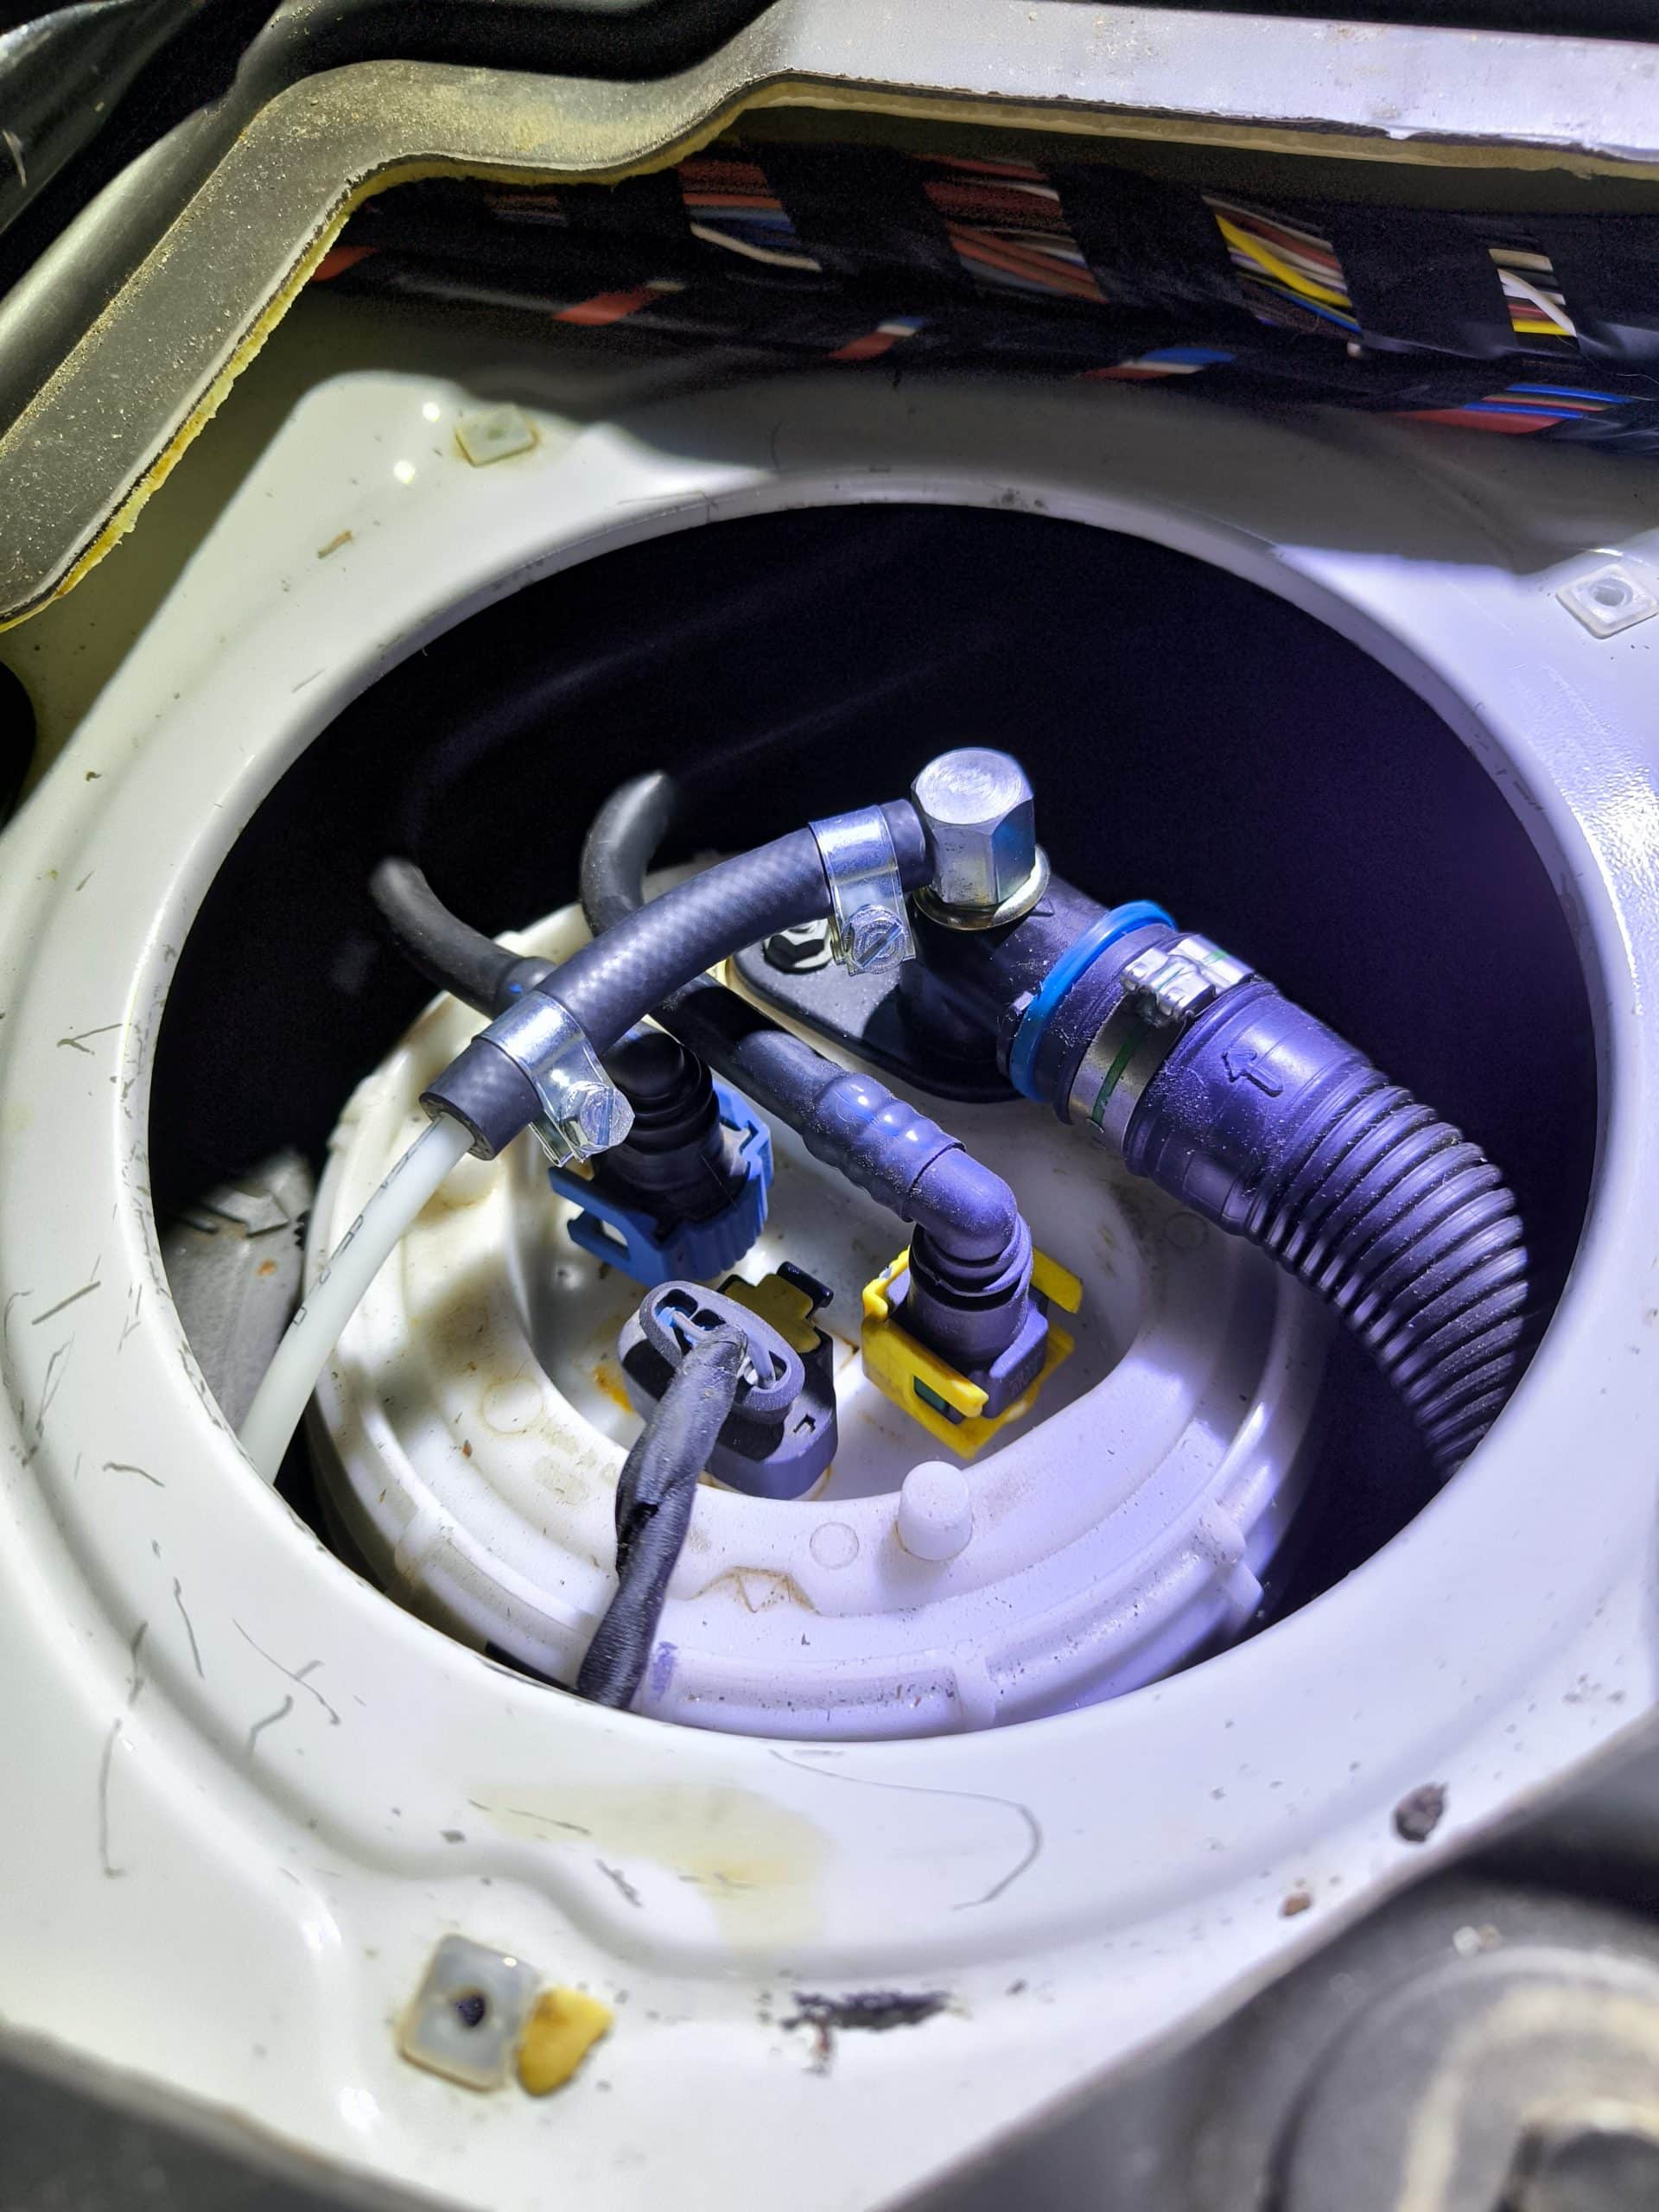
The fuel line was fed down the side of the tank towards the solenoid pump, cut to length and installed with some rubber hose and clamps. I then fed the fuel along the same path as the coolant hoses from the engine towards the burner matched by the pumps electrical cable
I had planned to connect the engine coolant hoses up to the heater and the baltica reservoir tank but I had an epiphany!
Doing this would create one big coolant system with two tanks each a different levels and both having overflow pipes. If I attempted to fill up one, because there are different levels, the lower would just piss coolant out the overflow pipe. So I’m going to get myself a plate heat exchanger and separate the coolant circuits before attempting to connect to the engine. This will mean I’m currently unable to preheat the engine but I will avoid creating myself a much bigger headache!
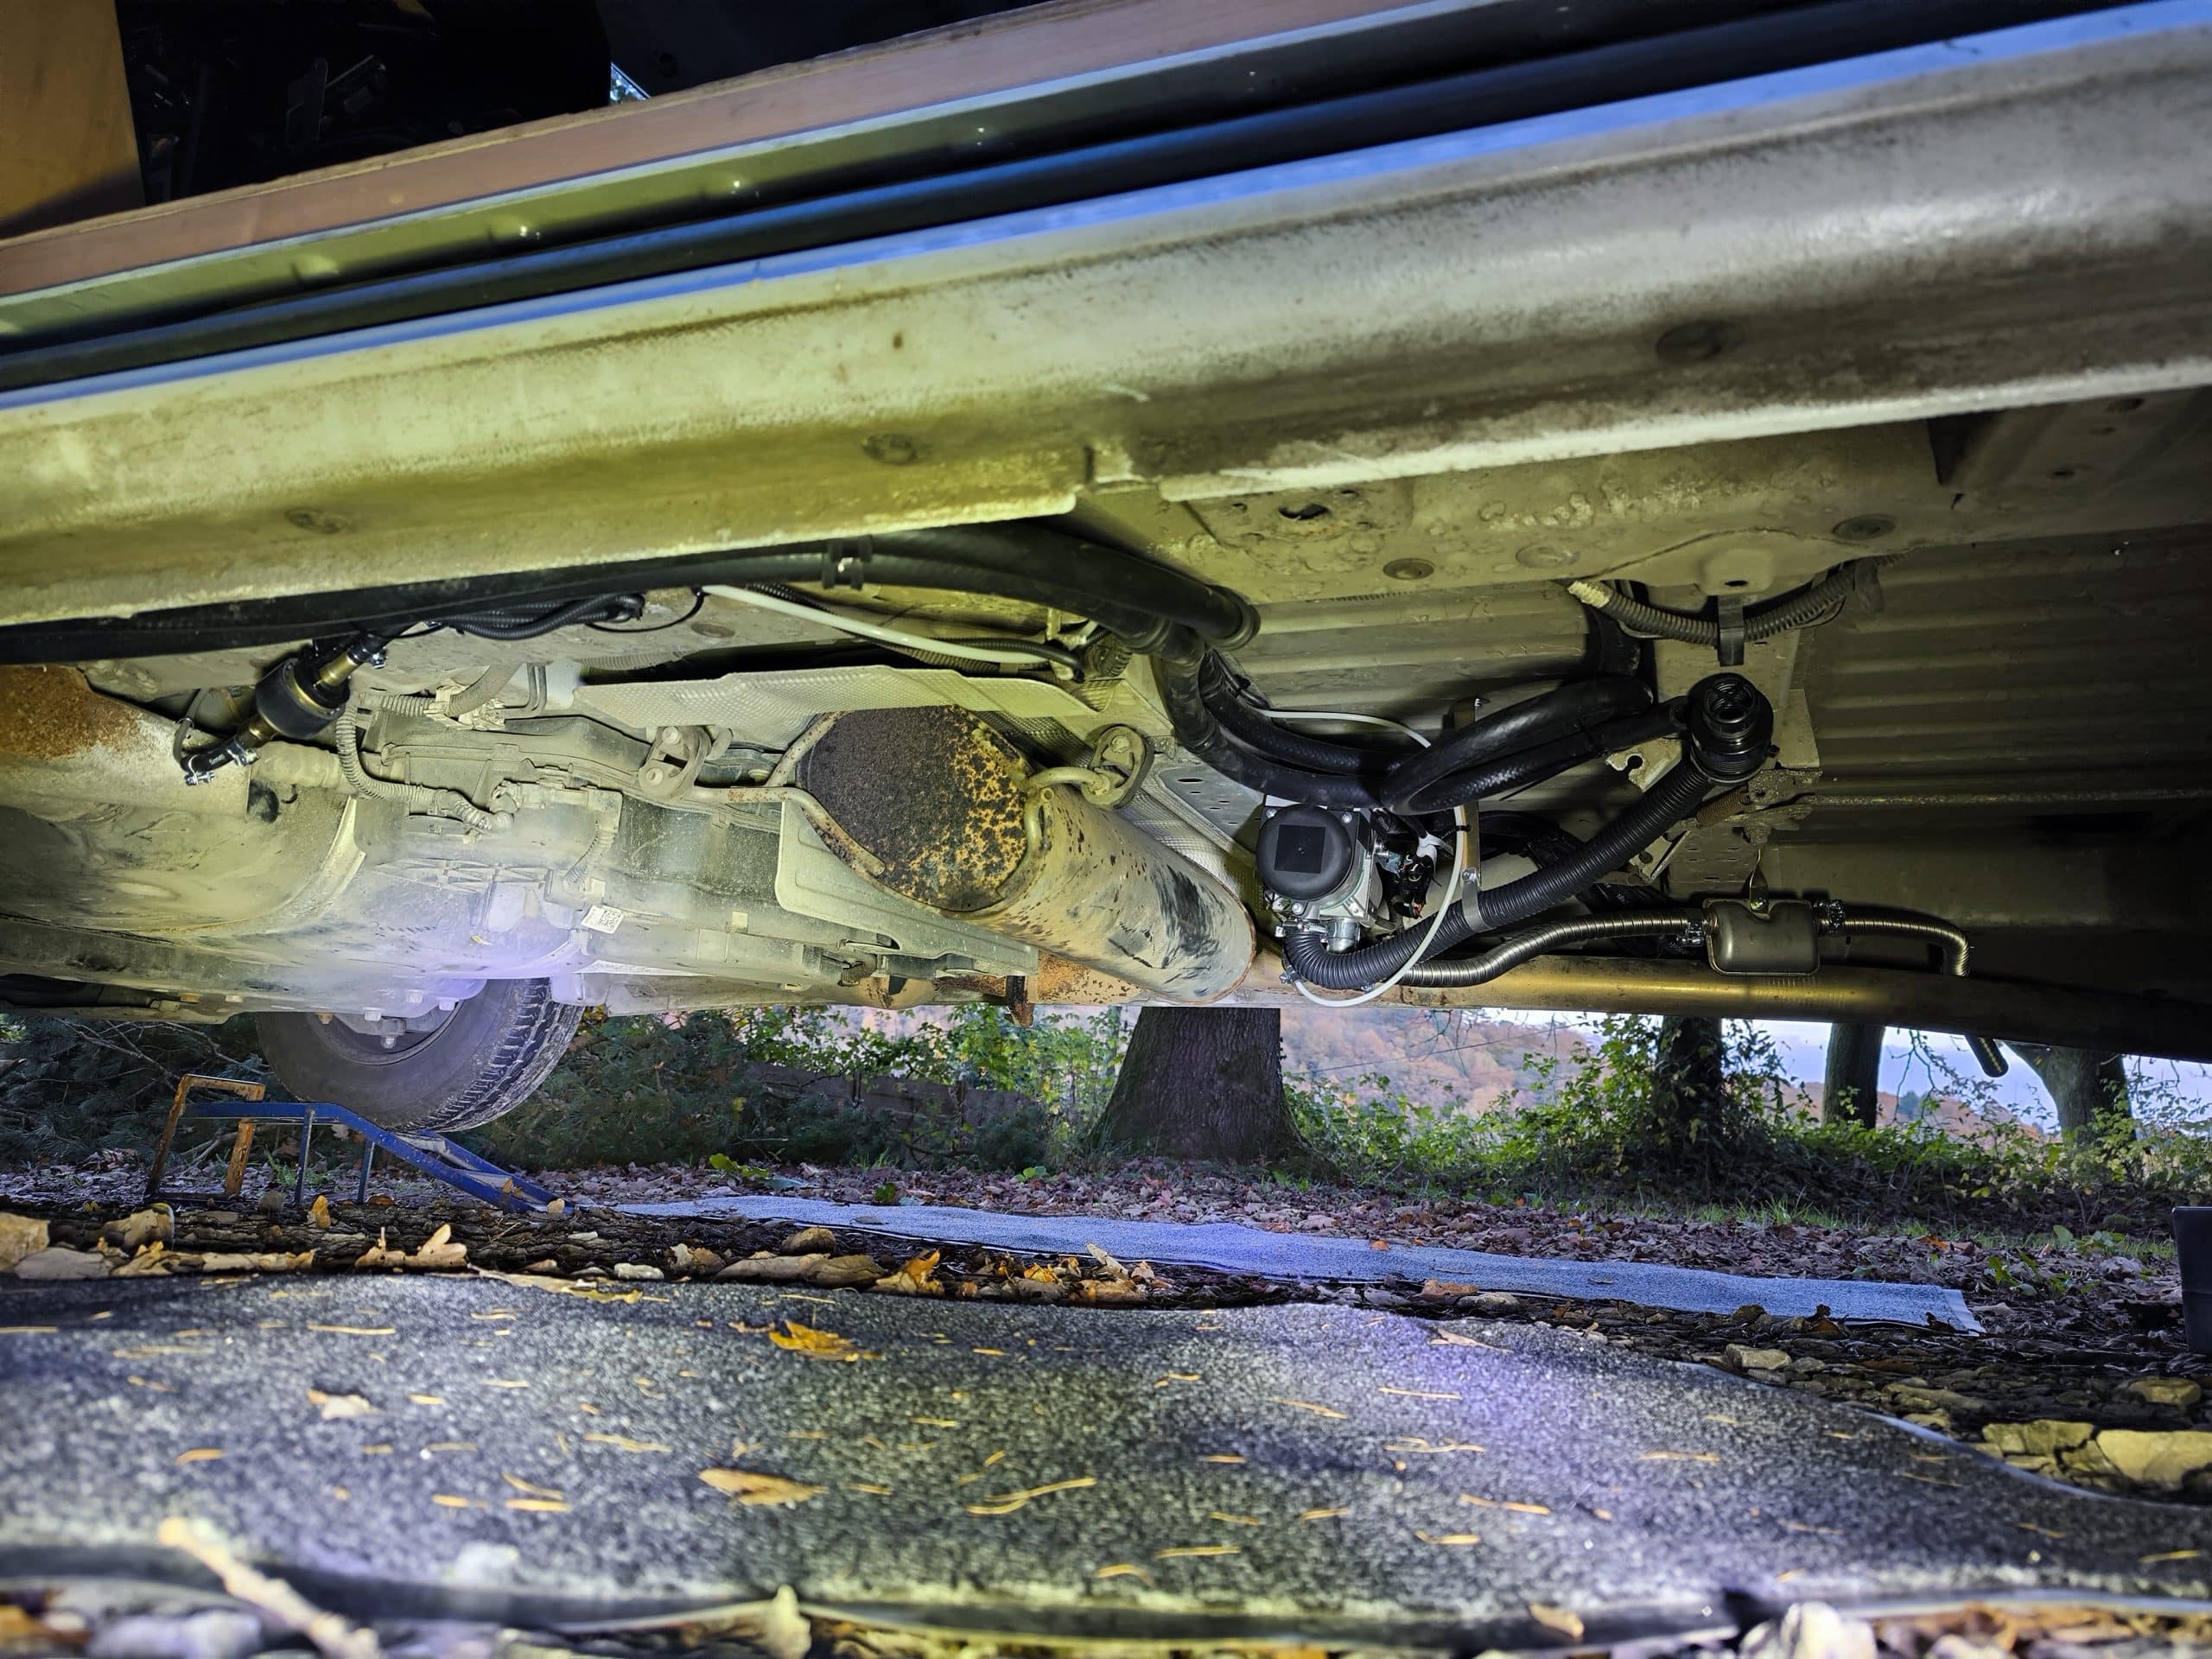
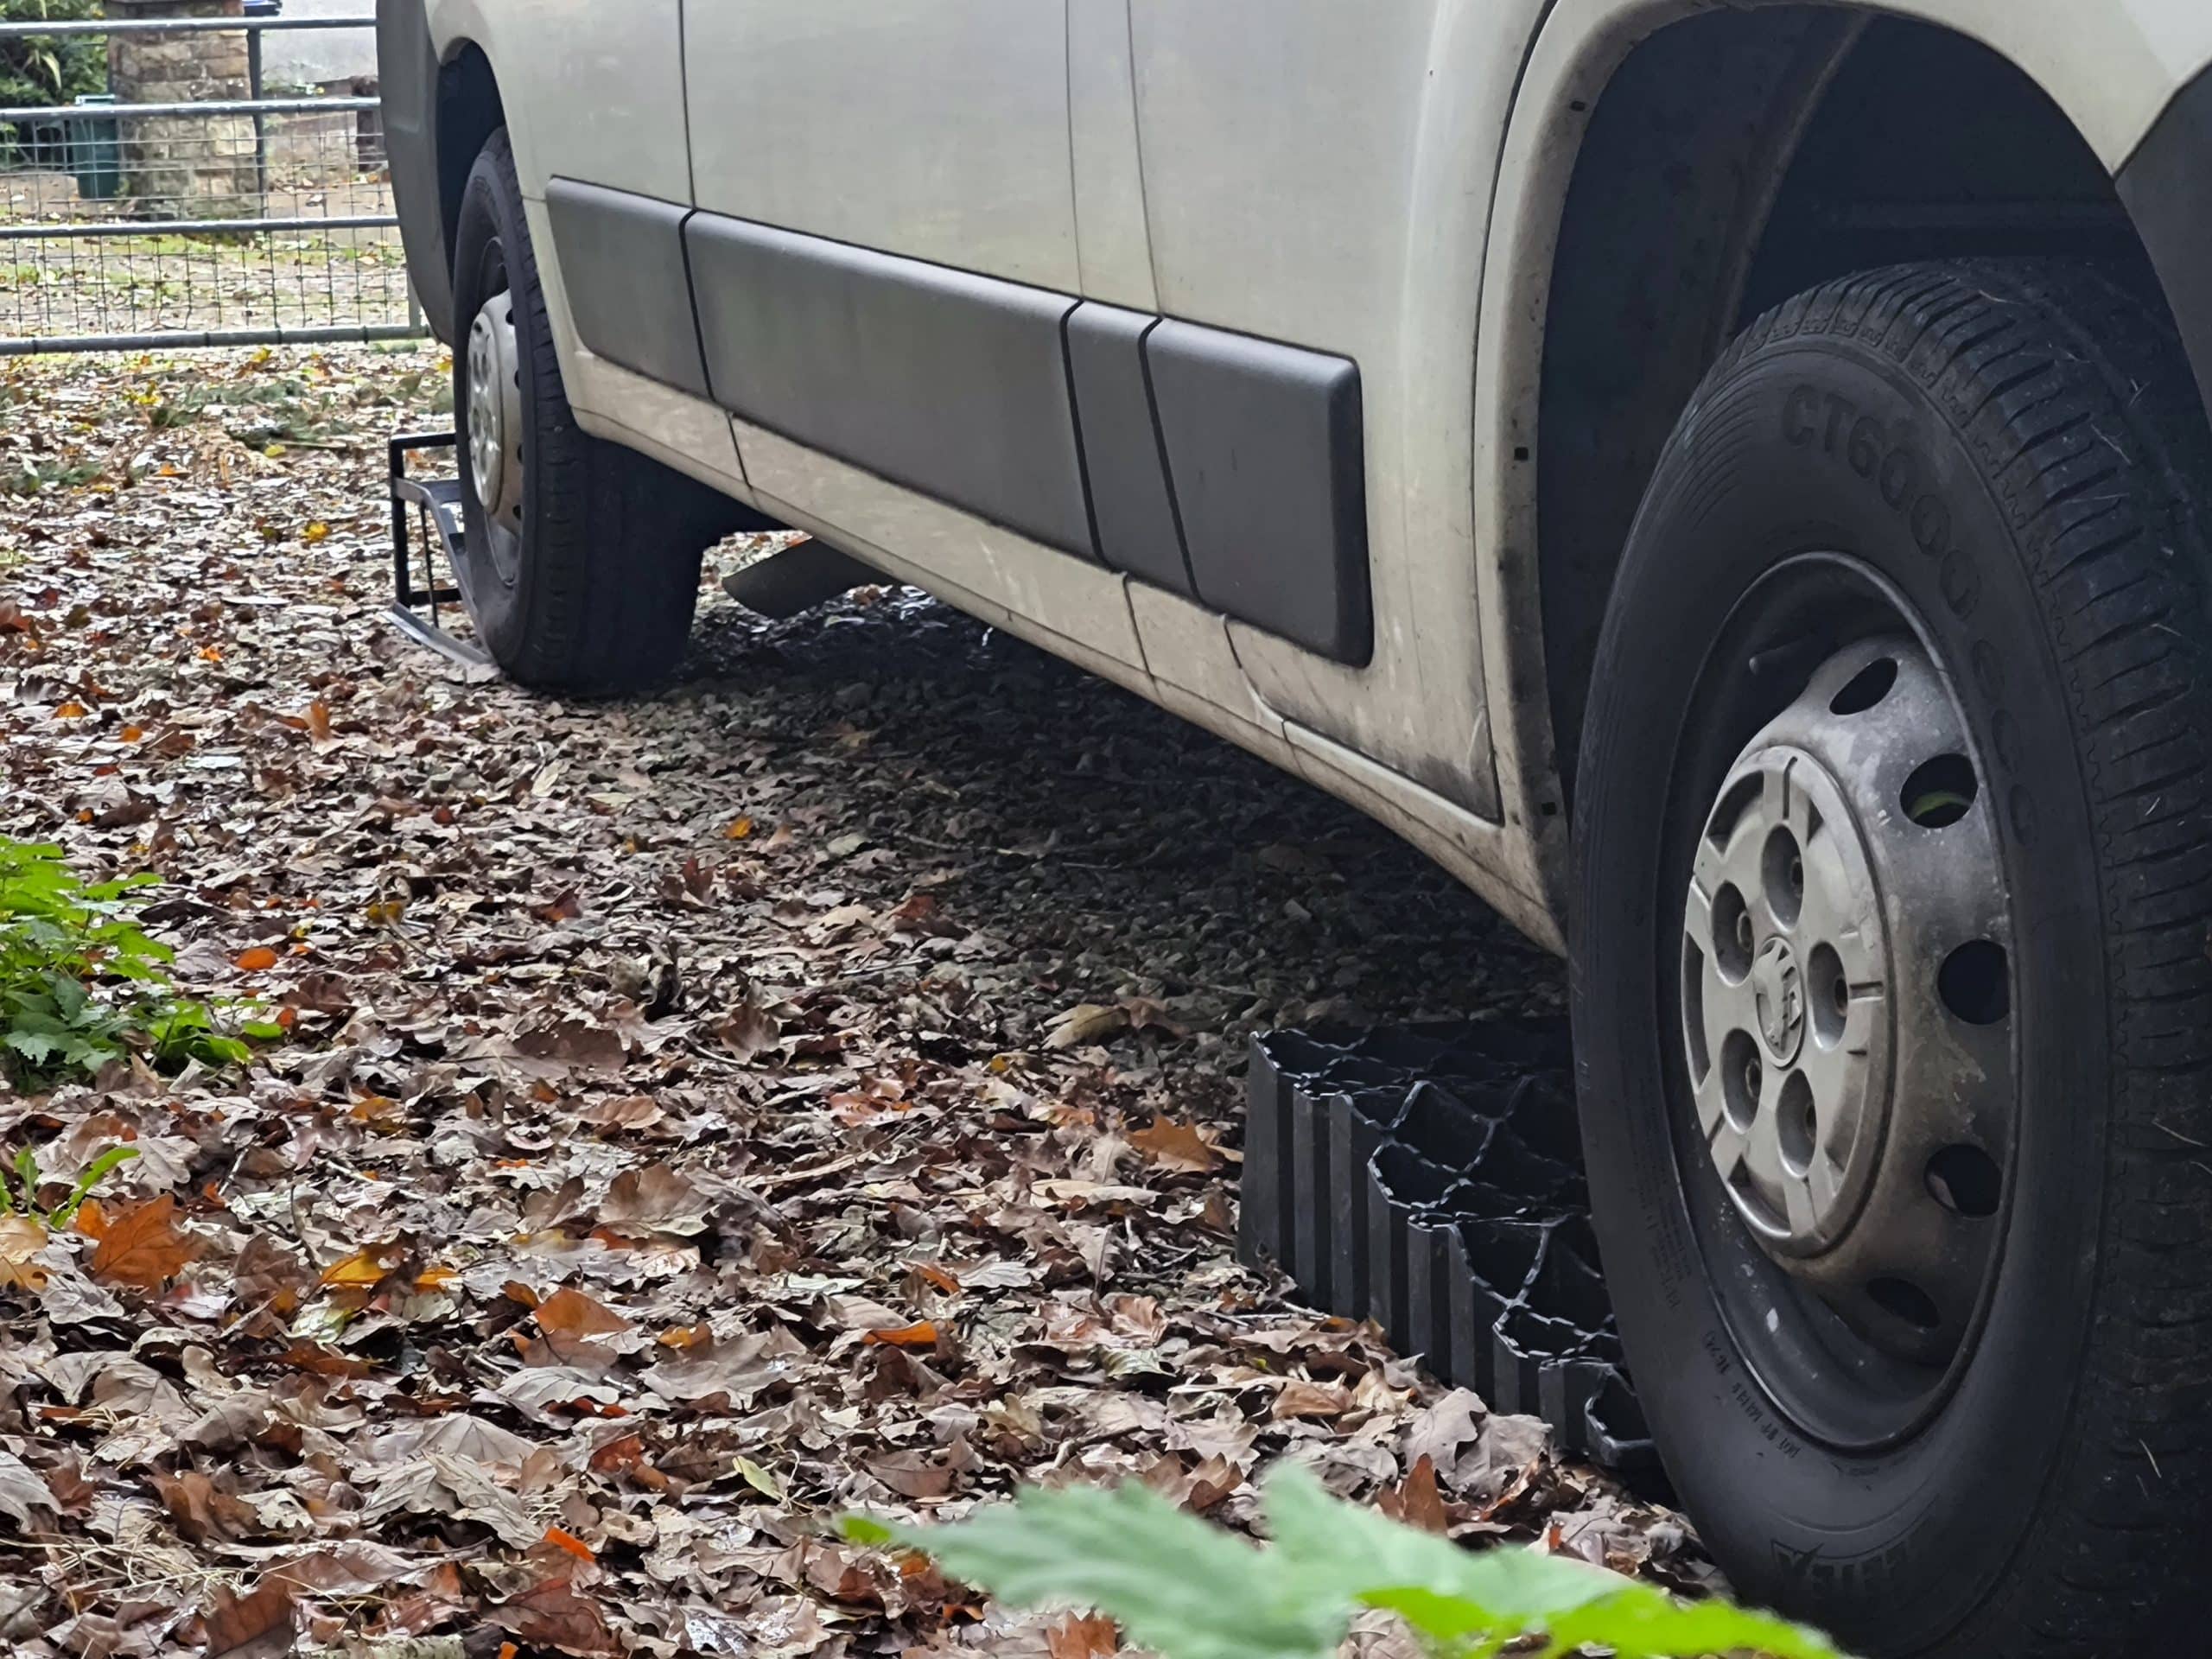
With the last few zip ties zipped and tied, I cleared up all my stuff and took the van off the ramps. Overall I’m very happy with the install. It is very neat and keeps things secure to prevent them rattling around. The only slight concern I have is that I’ve changed the heater mounting plate for one of my own design. The plate that was supplied has very wide fixing points and thin arms presumably to avoid reaching a resonant frequency that might shake the heater and damage it. I think when I go for my first drive I will put a camera under the van and record what happens to see if it is being shaken around or if any of my brackets come loose.
The installation instructions also say that the heater should be protected from road salt spray and debris. I have installed it tucked up as high into the chassis as I can behind the van exhaust muffler. It is not in the direct line of any debris but everything under the van gets covered in salt spray when driving. I could install some sort of shield or box but with so many pipes going in and out of it I’m not sure it would be very effective. The whole product is repairable if there are any problems so let’s see how it does this winter.
I have a few more pipes to connect inside the van and a little more wiring to do and then it’s time to test it! We nearly have a working heating system!