Diary Of A Camper Conversion
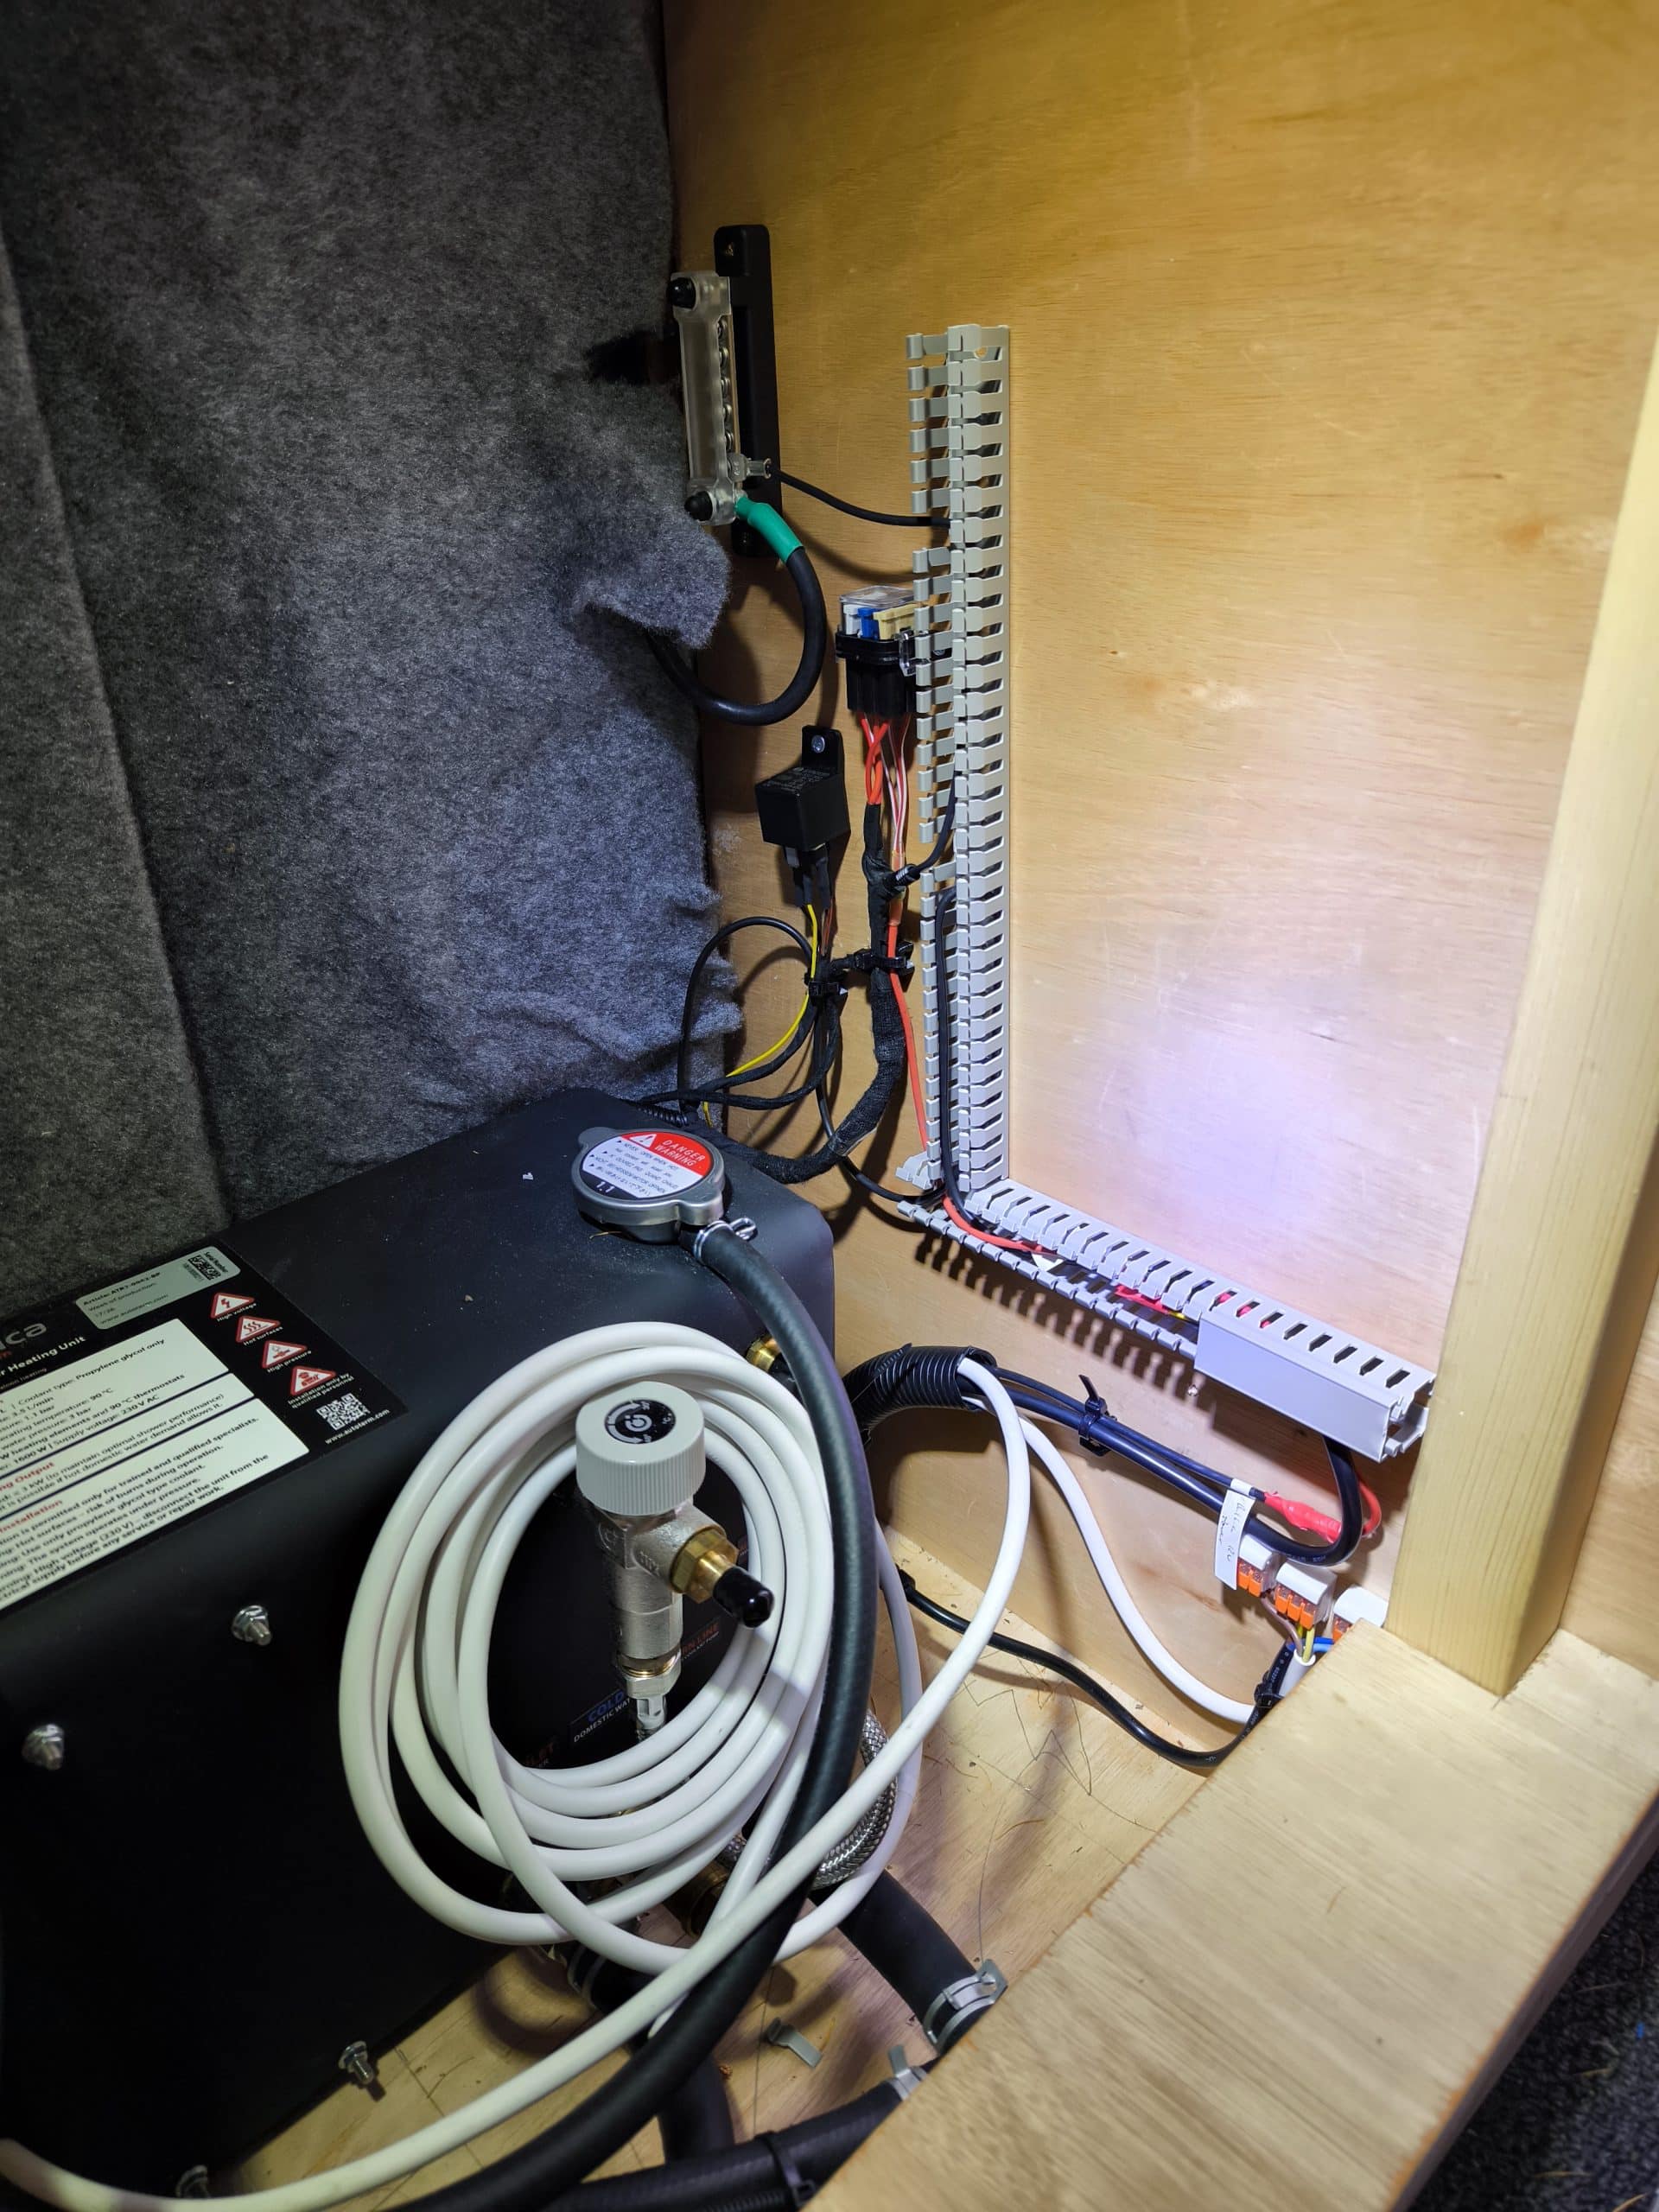
Today I finished off the baltica system wiring back to the control panel. This started with running a 10 core cable from under the sink back to the fuse board. This is far more cores than needed but will give me a lot of flexibility in future. This allowed me to extend the baltica control panel wiring.
I cut the data plug off the wiring loom leaving a short tail and then I choose to solder and heat shrink these cables at both ends to give me the best connection possible. Then the baltica control panel cable was routed up to where I will have all my switches and mounted flush on my temporary panel. I left all the cables long so that I could change the position of things in future when I finally put the last green panel in place.
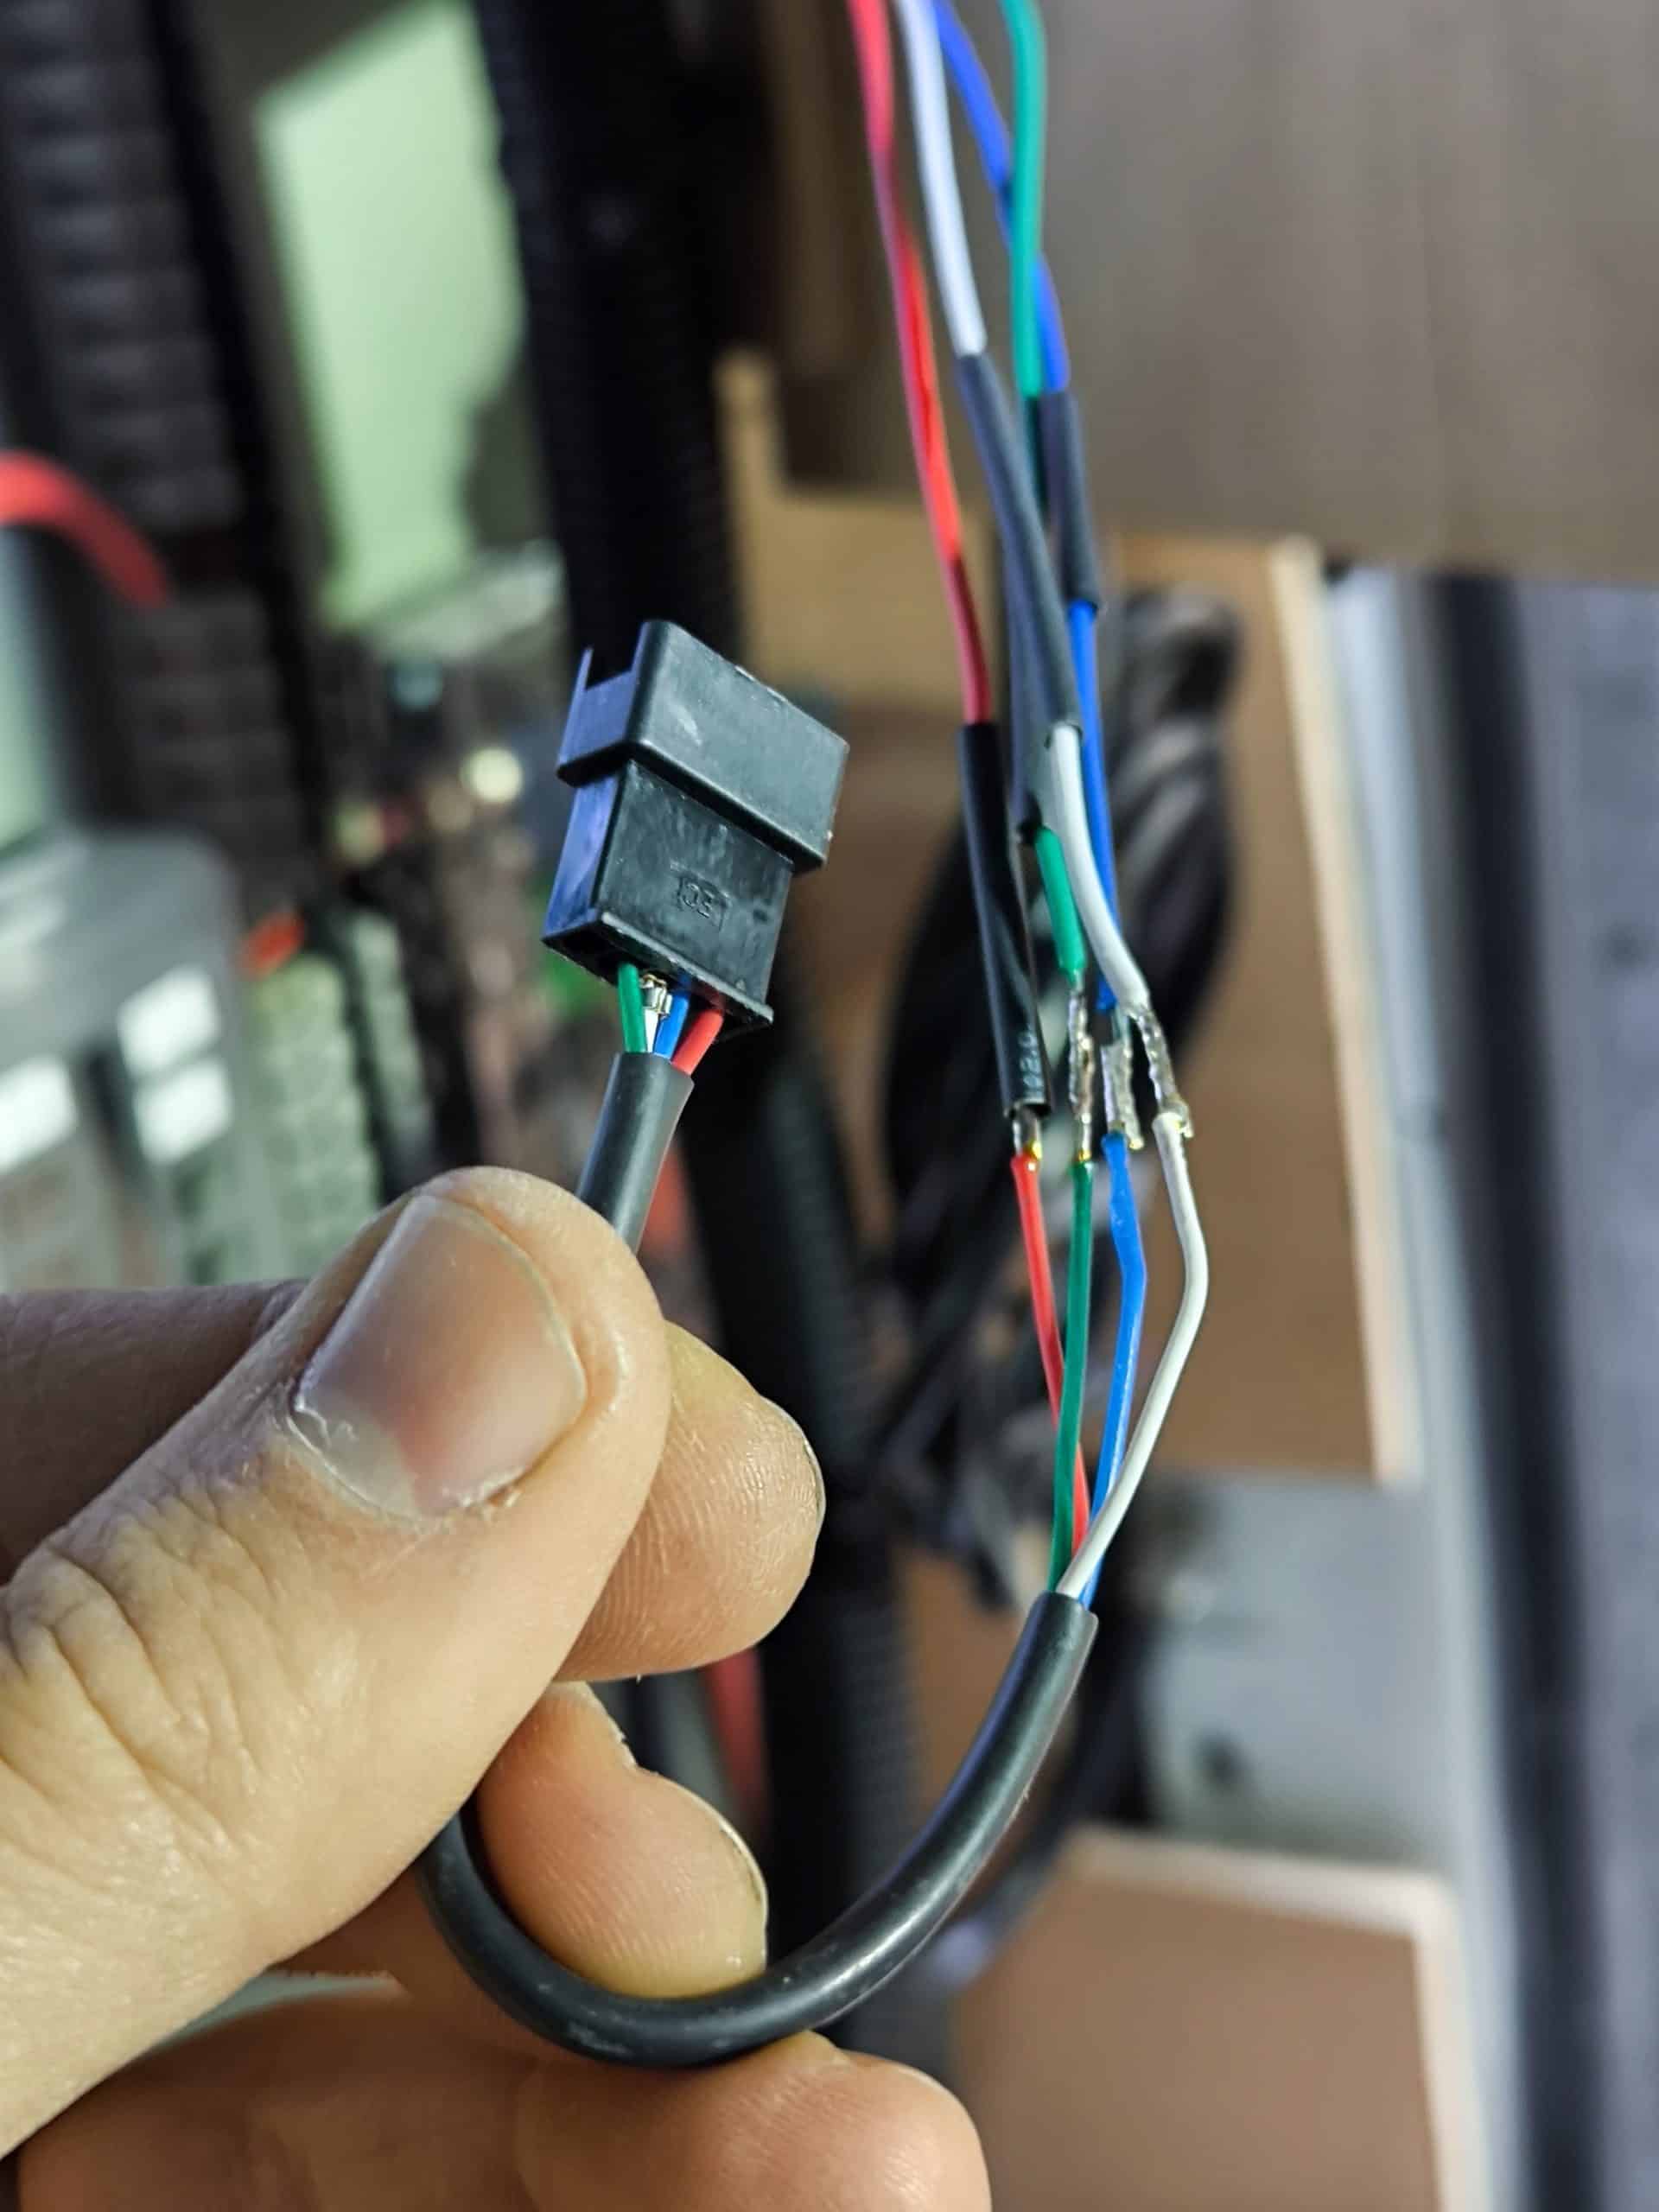
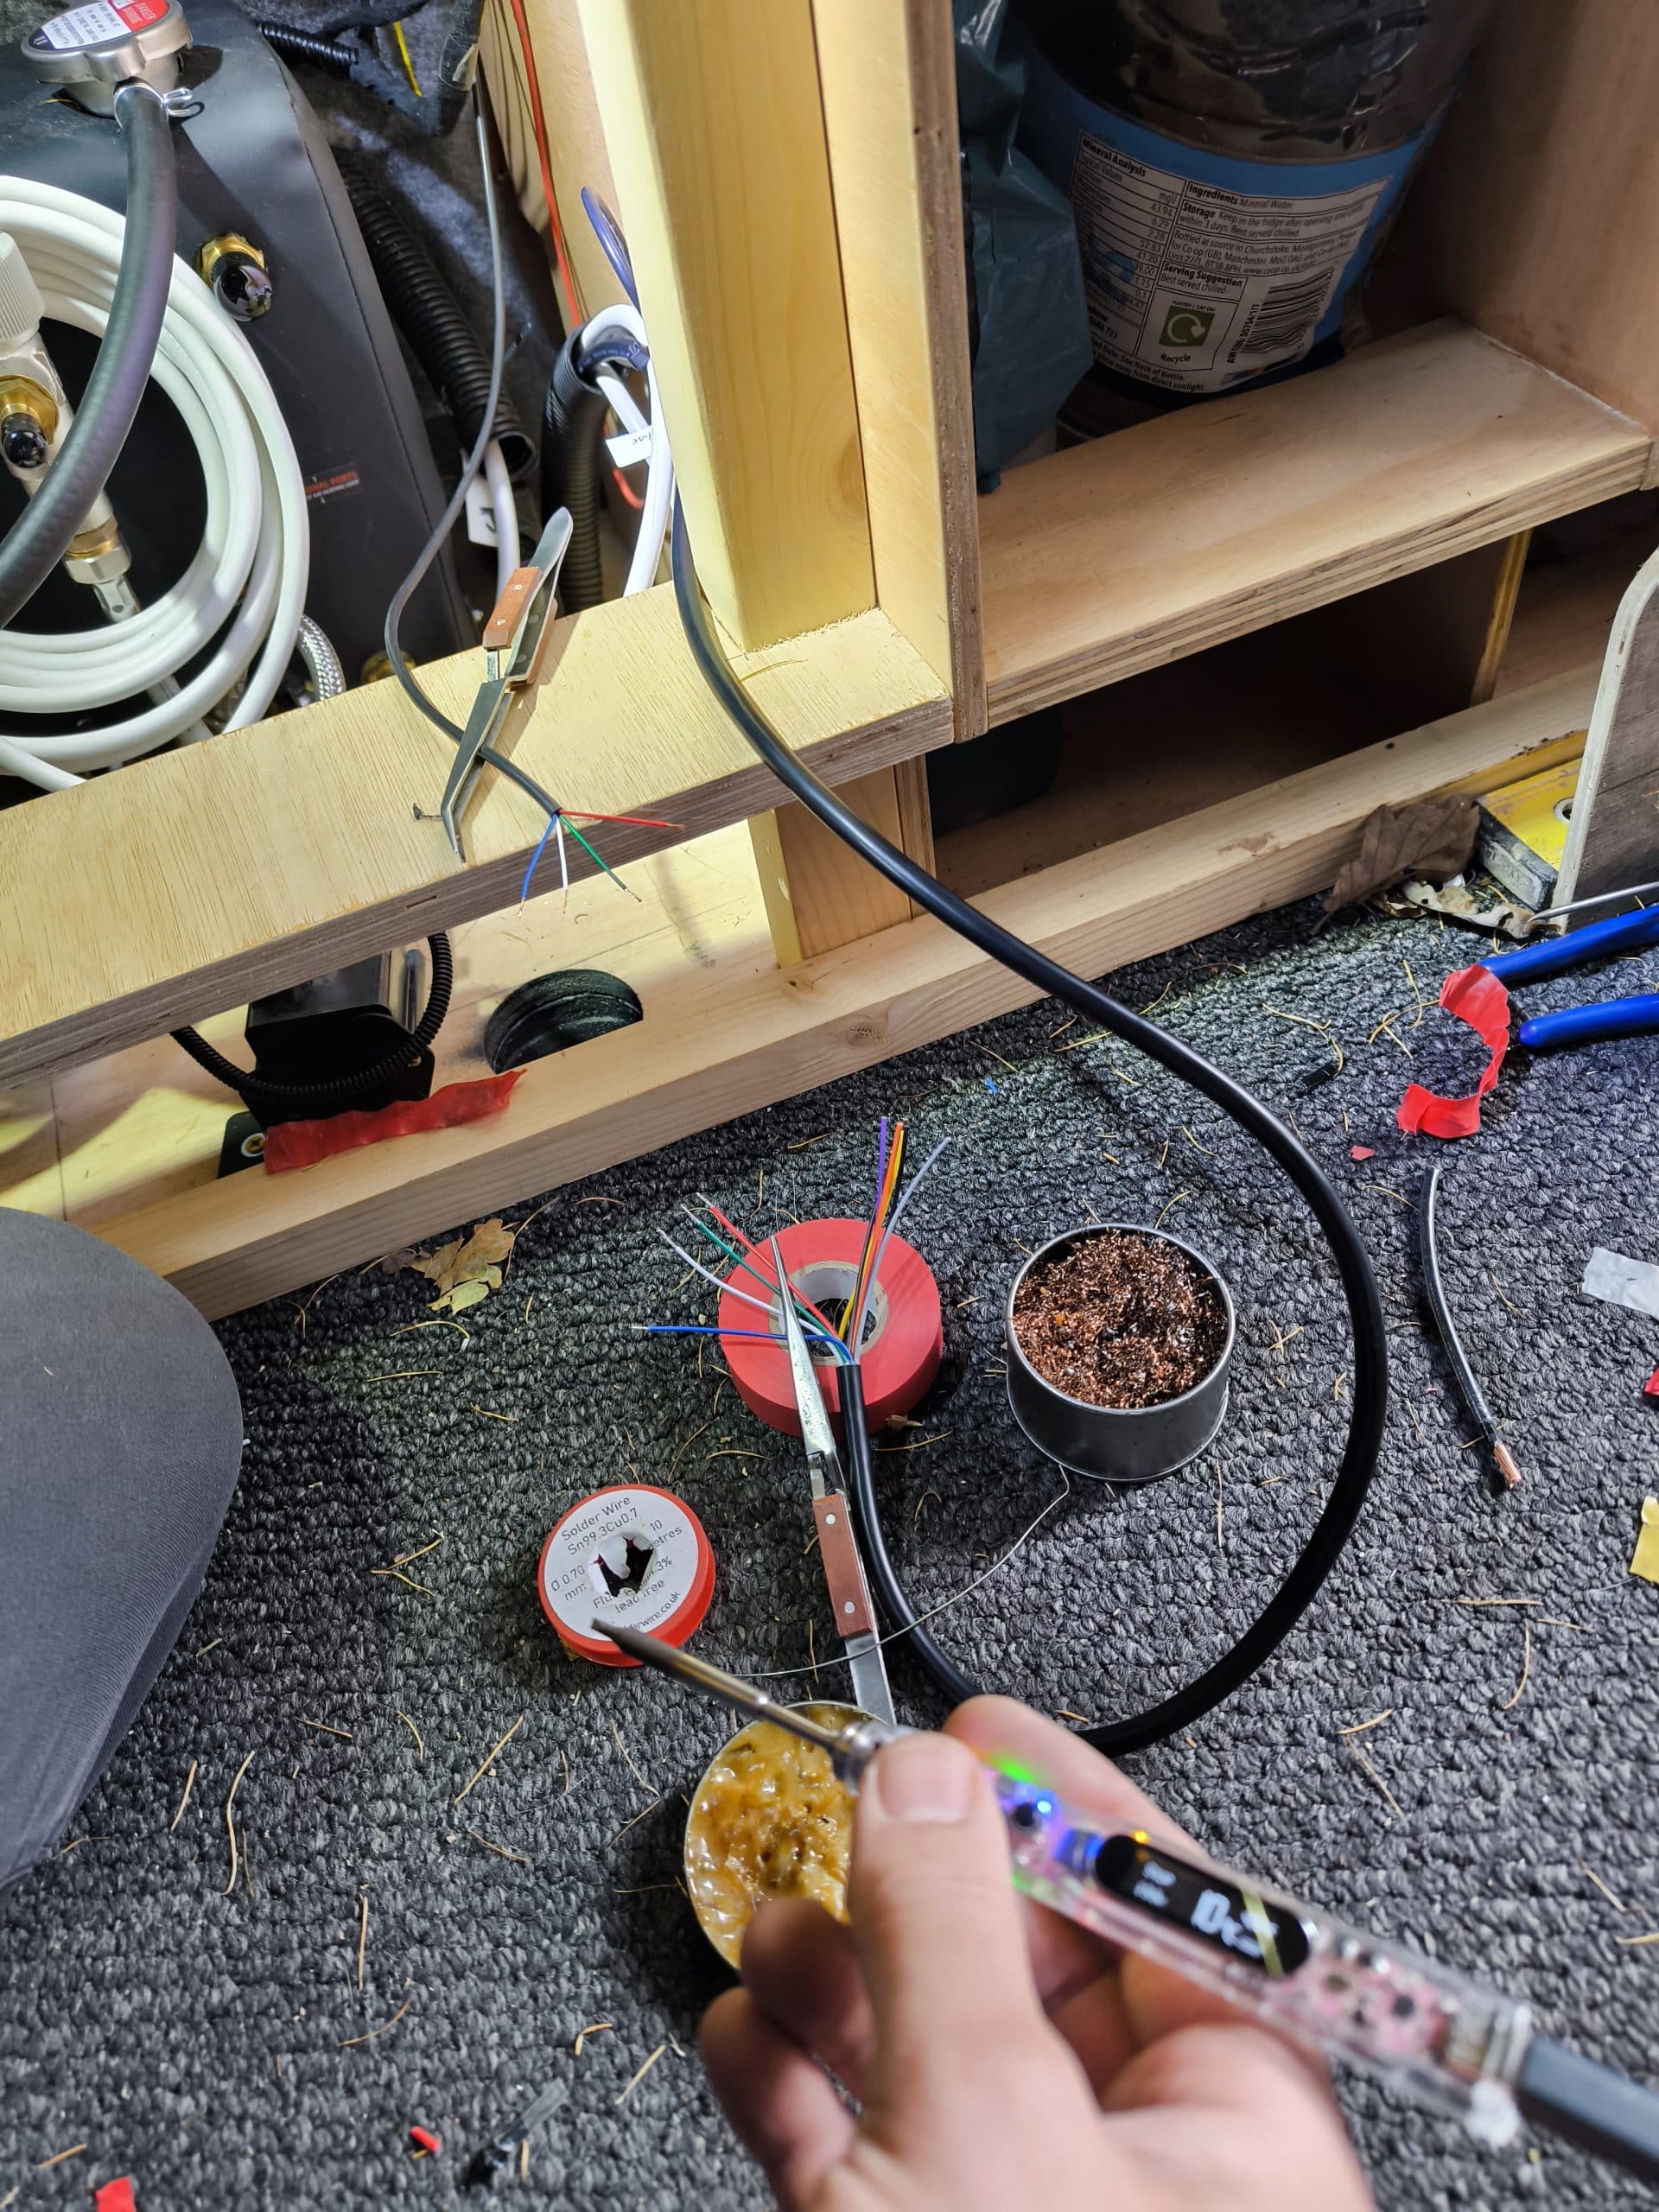
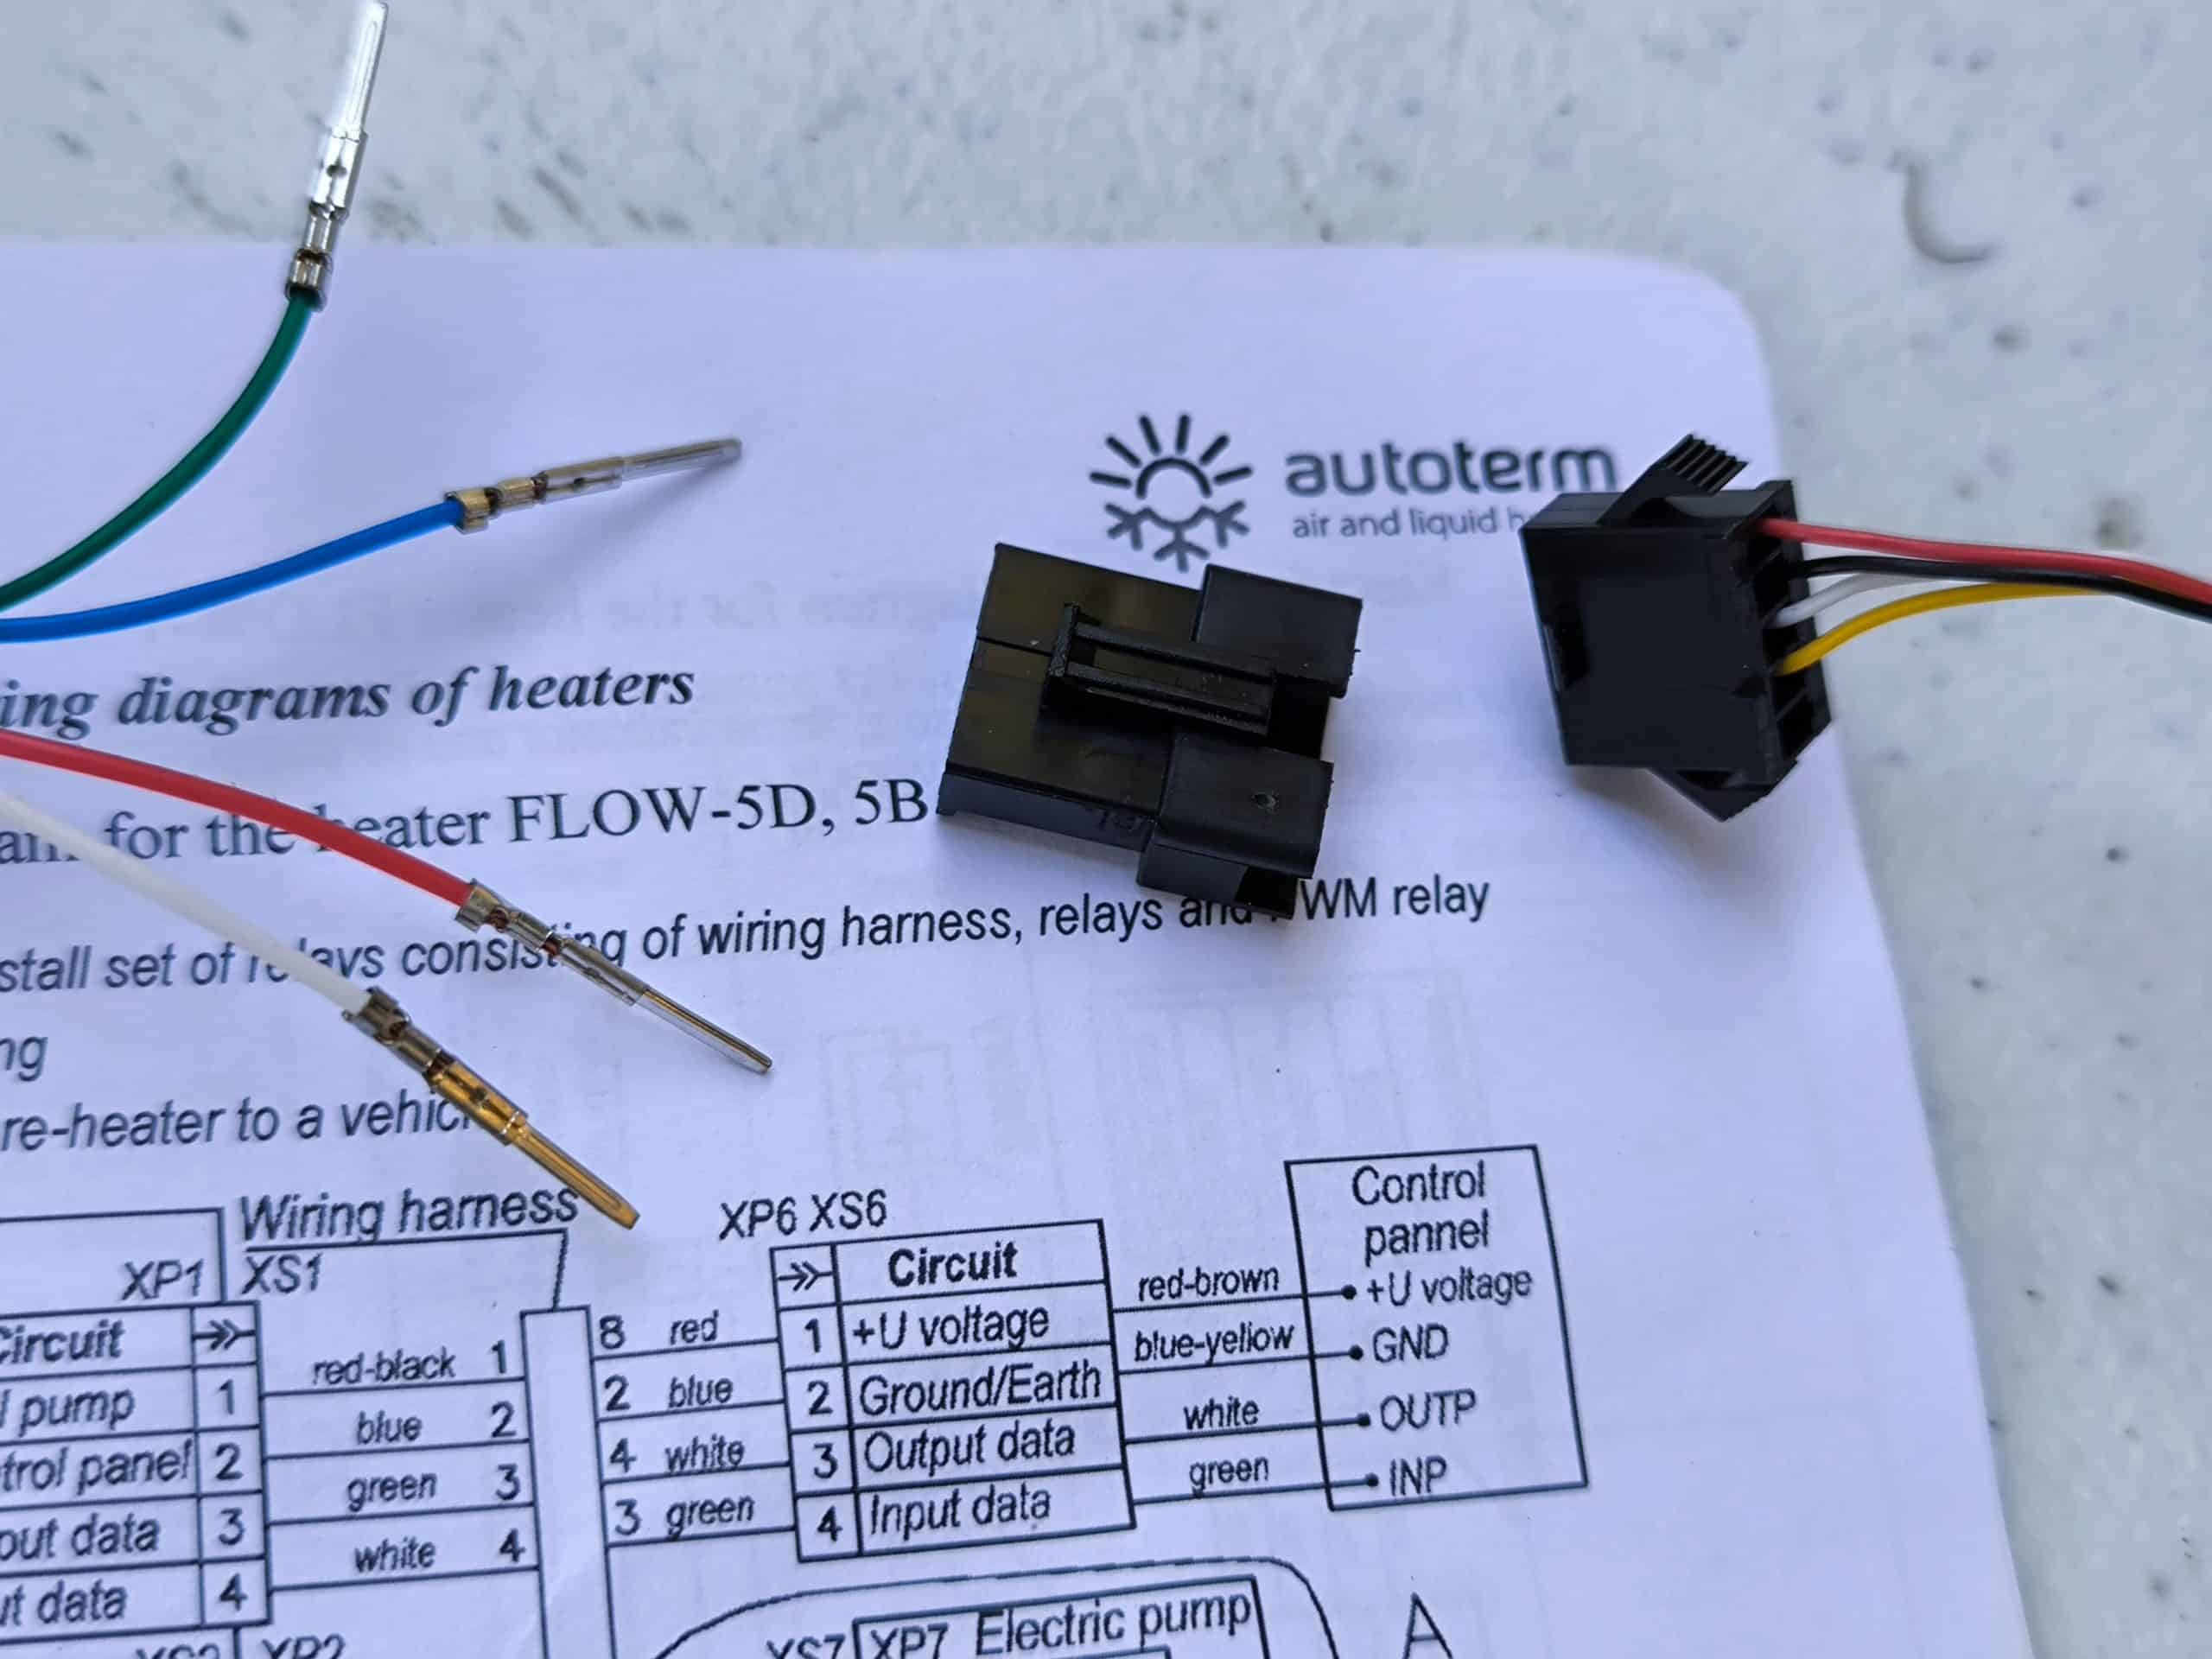
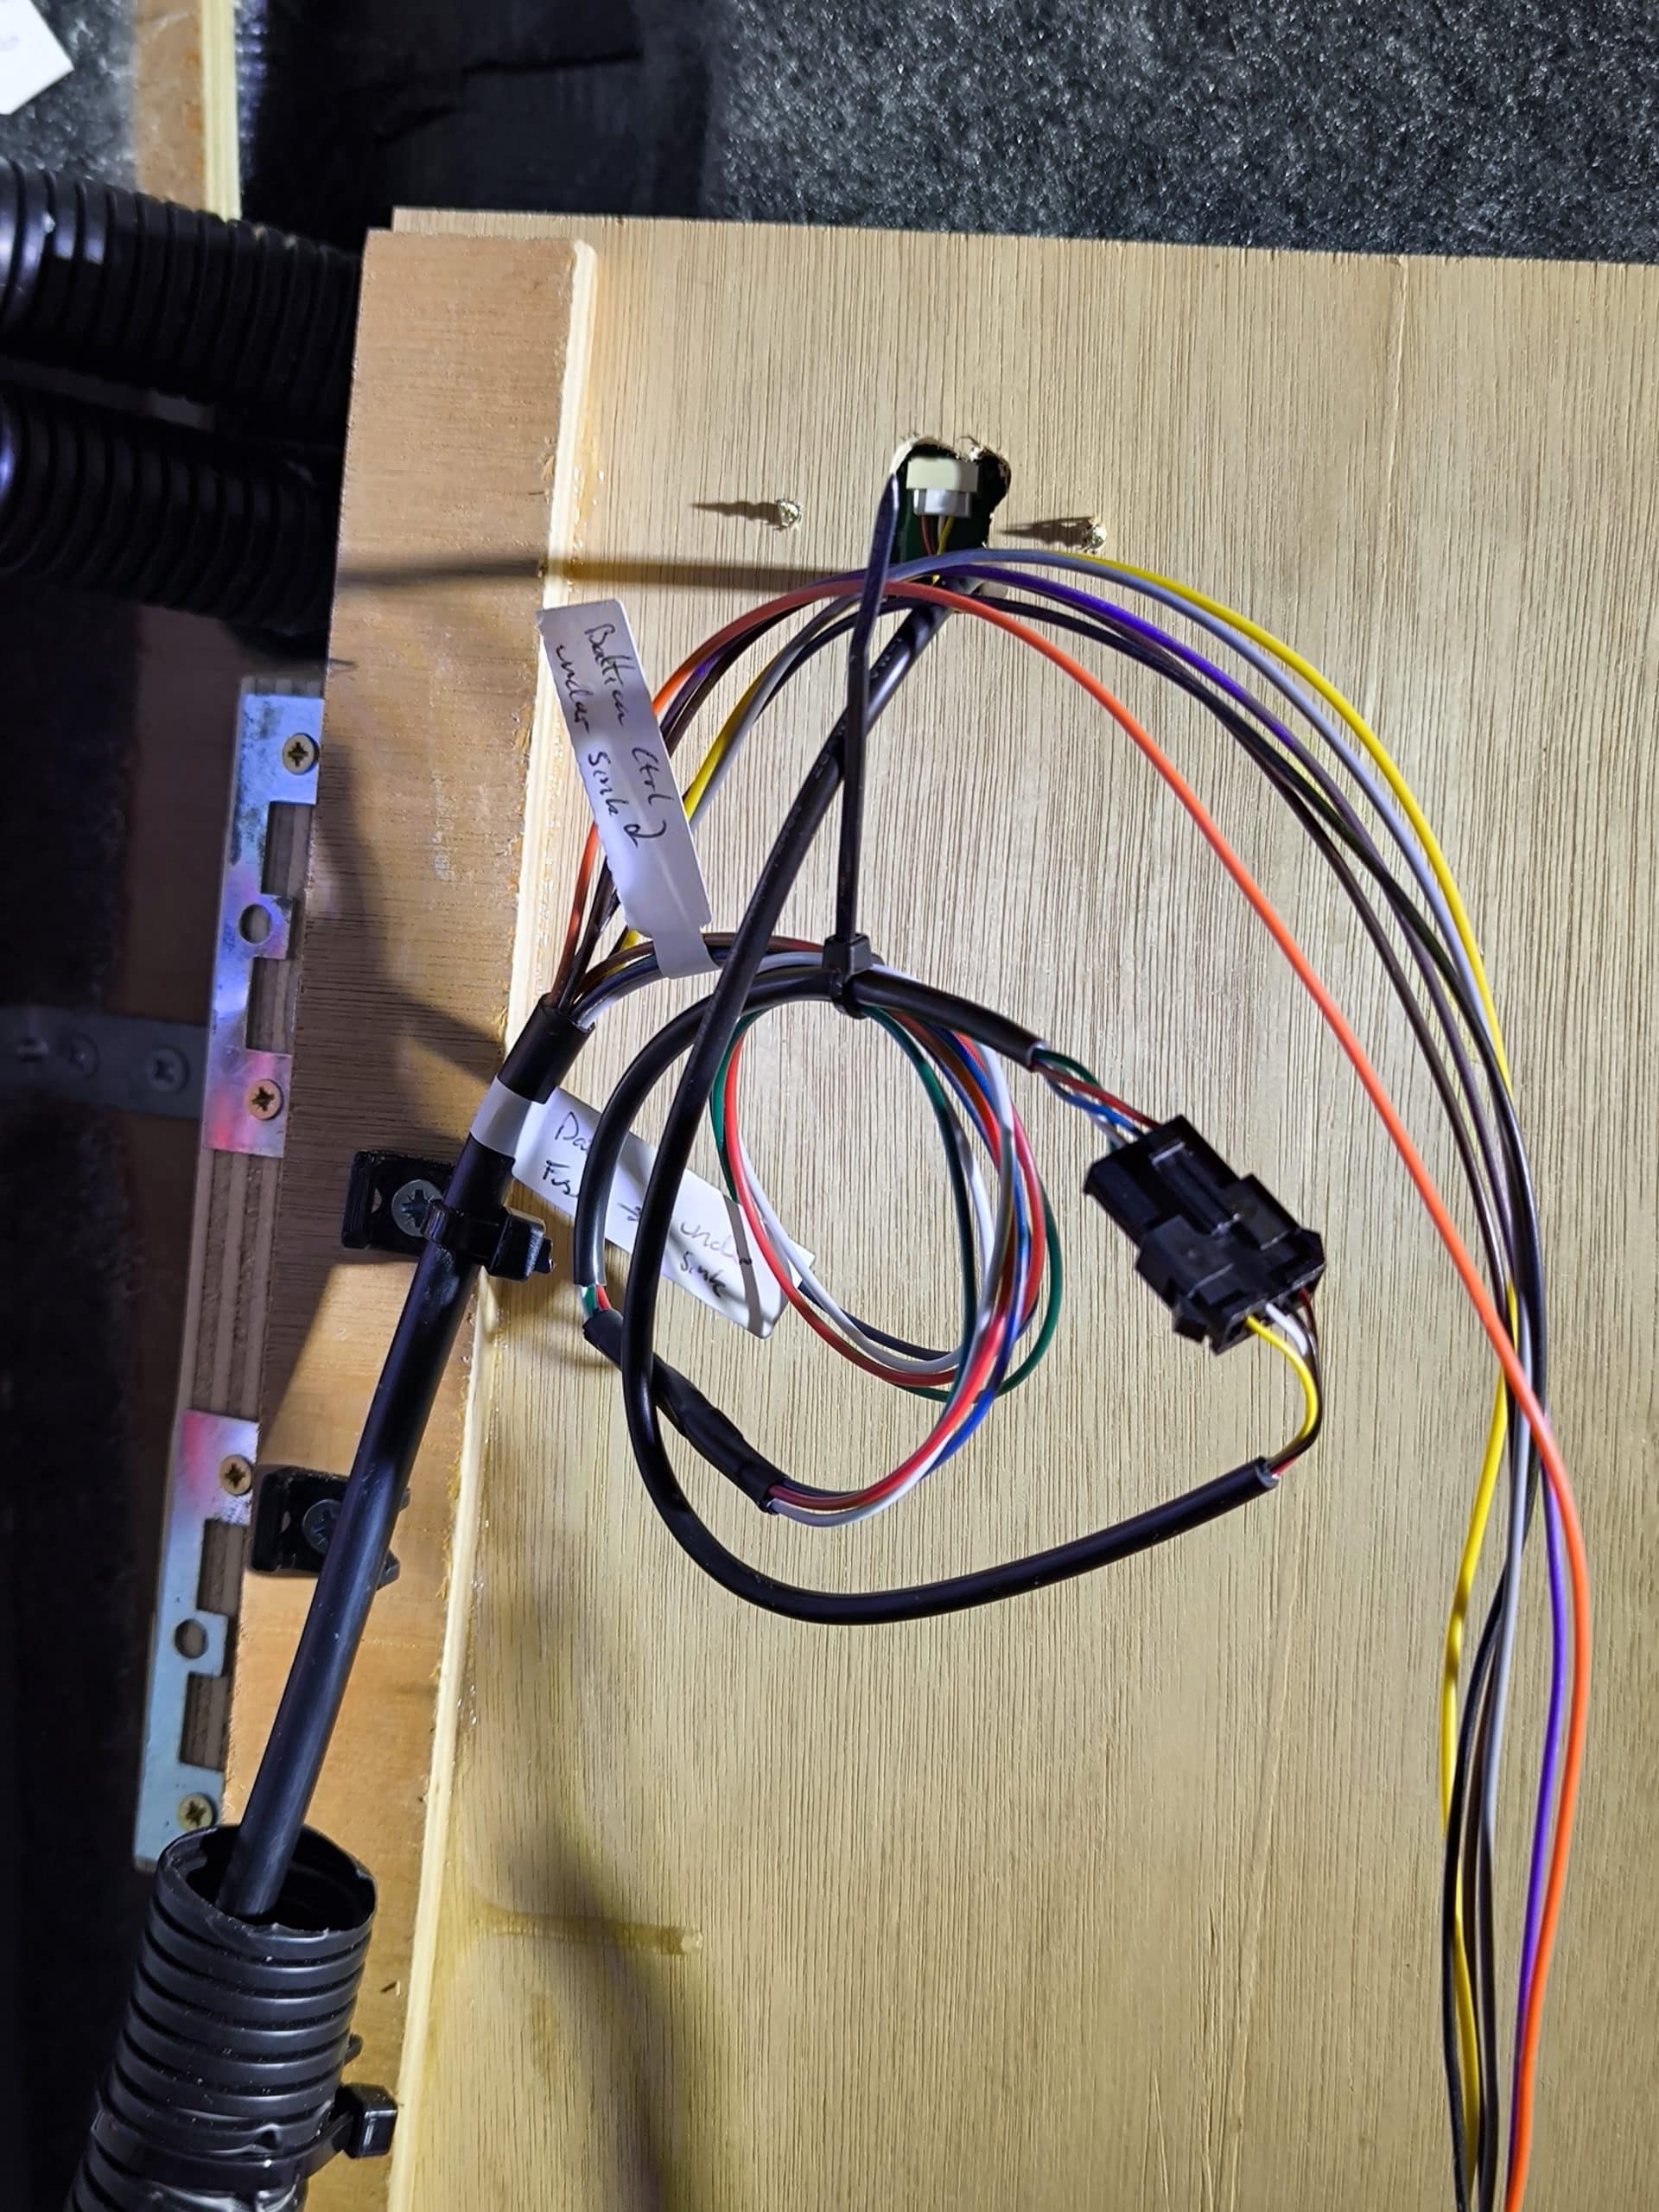
My whole baltica system is designed to get a tank of water hot and then pump it through a blower box. I bought an air conditioning unit from China that included a blower box with both an AC coolant loop and a hot water heater loop. You’ve seen this mechanically installed and now it was time to electrically hook it all up. So I broke out all the cables from the Chinese AC kit and tried to work out which ones connected to the blower box because it has its own control panel.
This took a long time to work out.
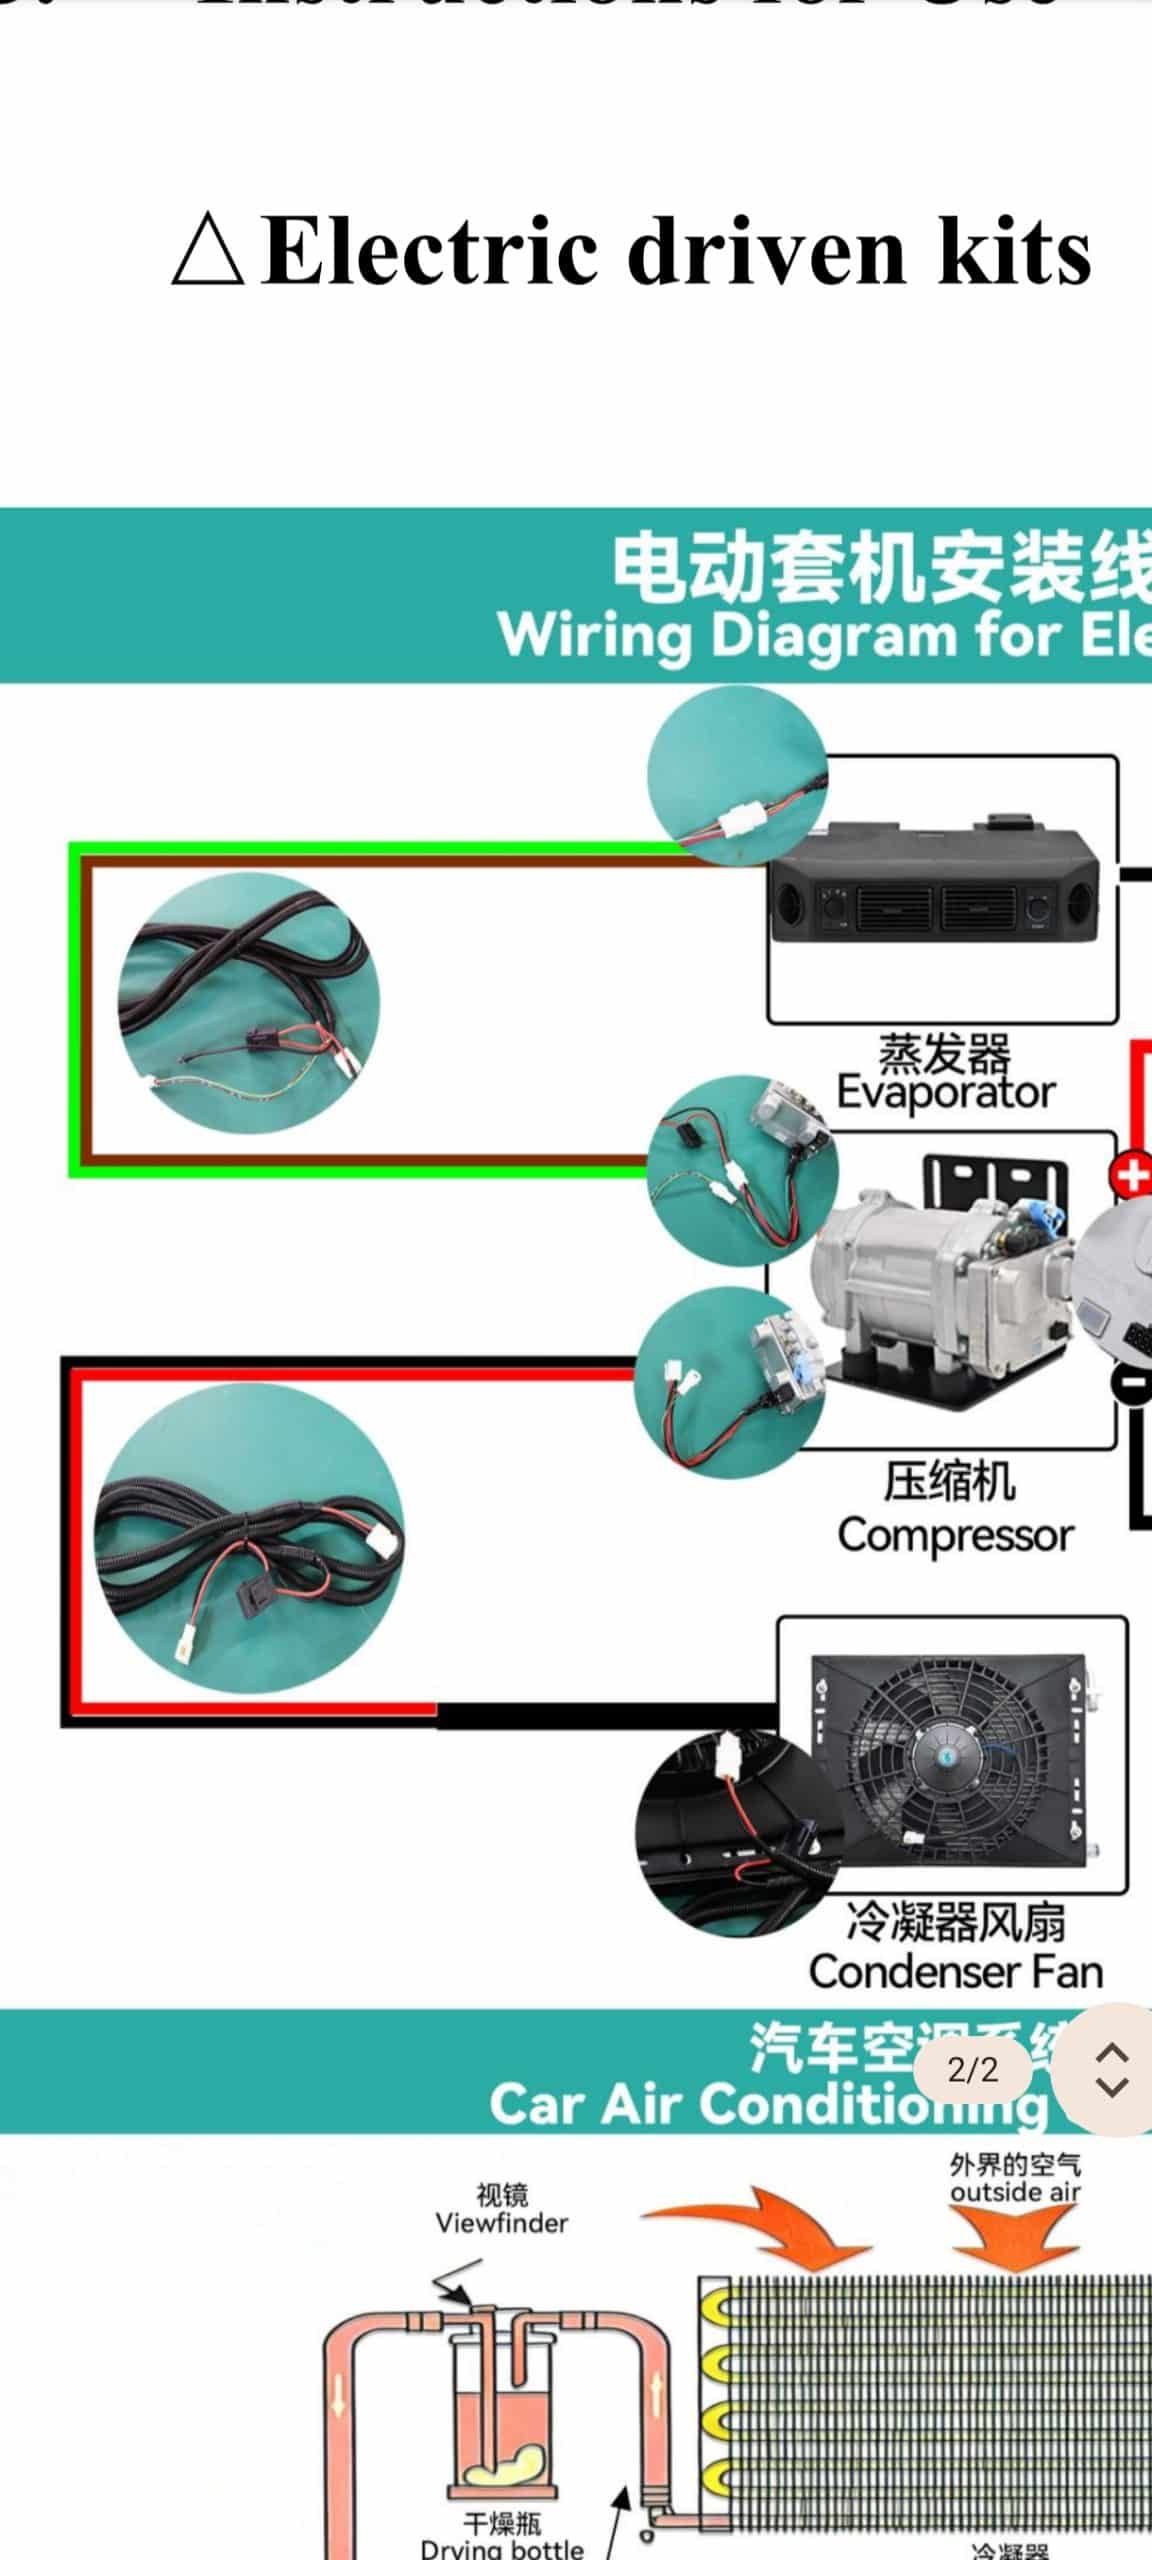
Either the AC unit set of parts is missing a cable or they have crimped one connector onto where two connectors should be. I cannot work out how the control box simultaneously controls the fan on the radiator for the AC loop and also the blower box fans.
So it was time to do some investigating. The whole AC system runs on 12 volts and so I figured that the blower box, with only a positive and negative wire coming from it must be receiving variable voltages to run different fan speeds. But if it runs on 12 volts then it runs on 12 volts and I can use it to heat my van. Using a bit of spare cable I took 12 volts from the battery and applied it directly to the blower box and voila it spun up and blew air!
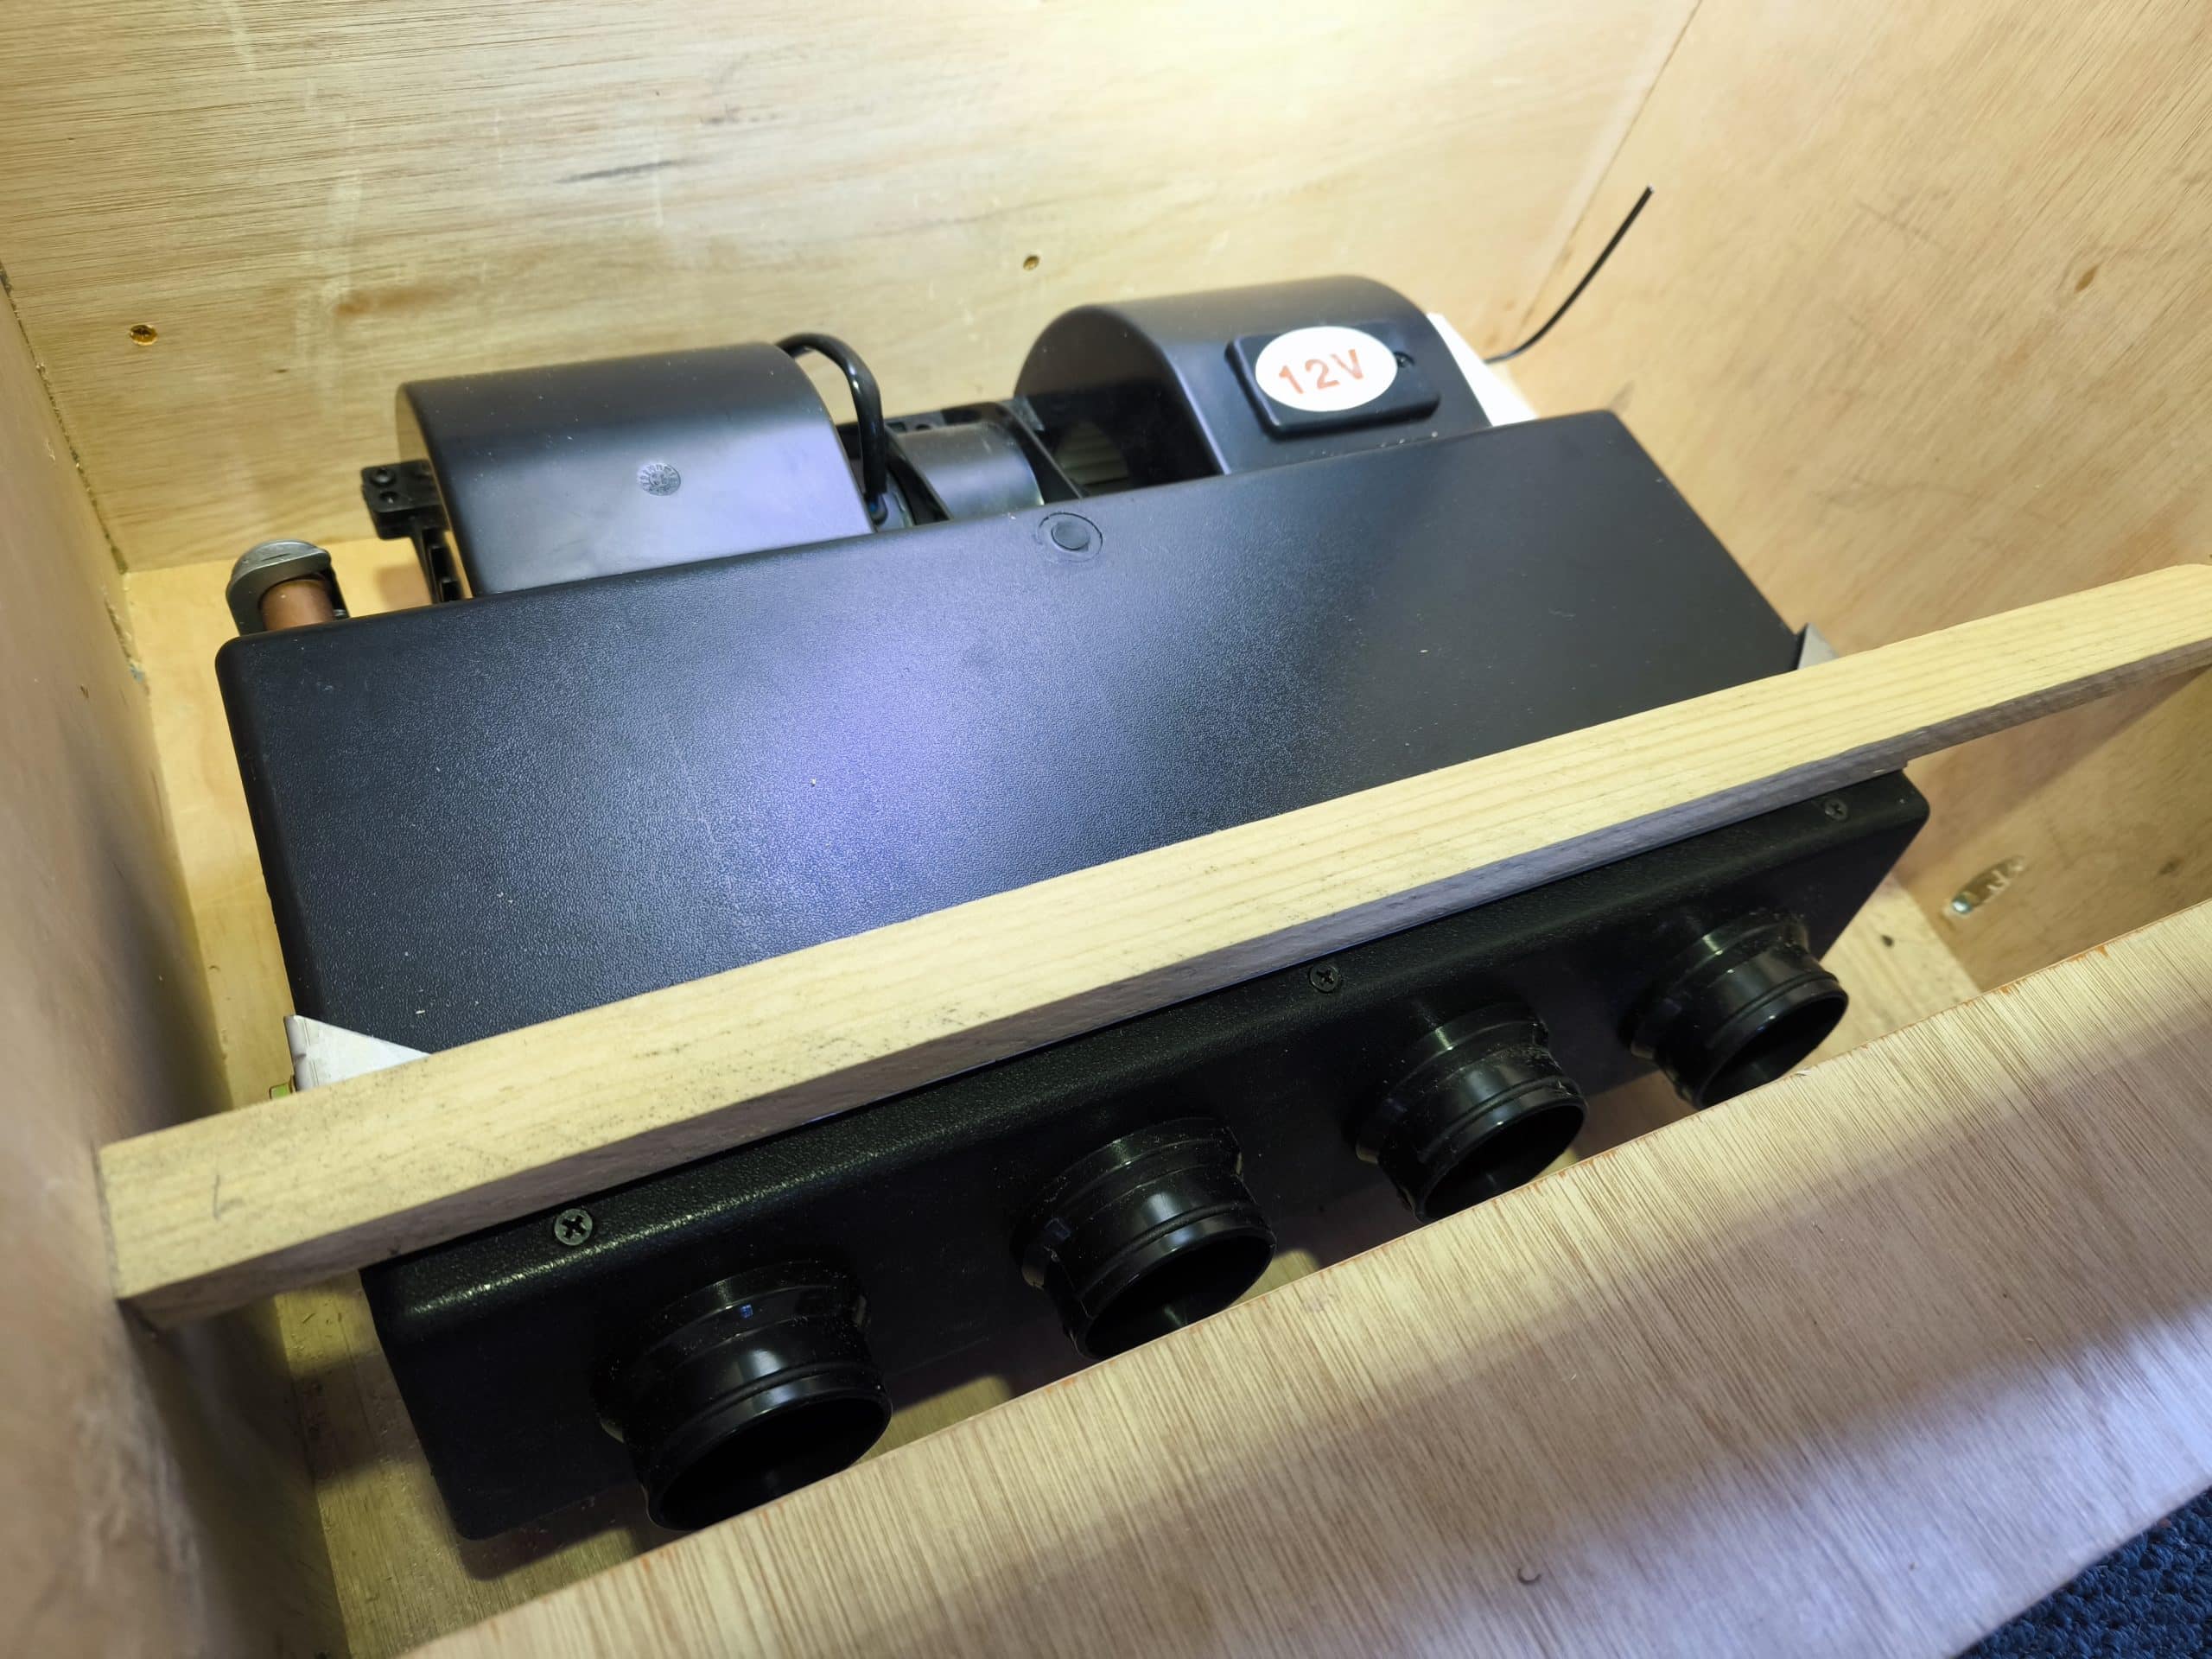
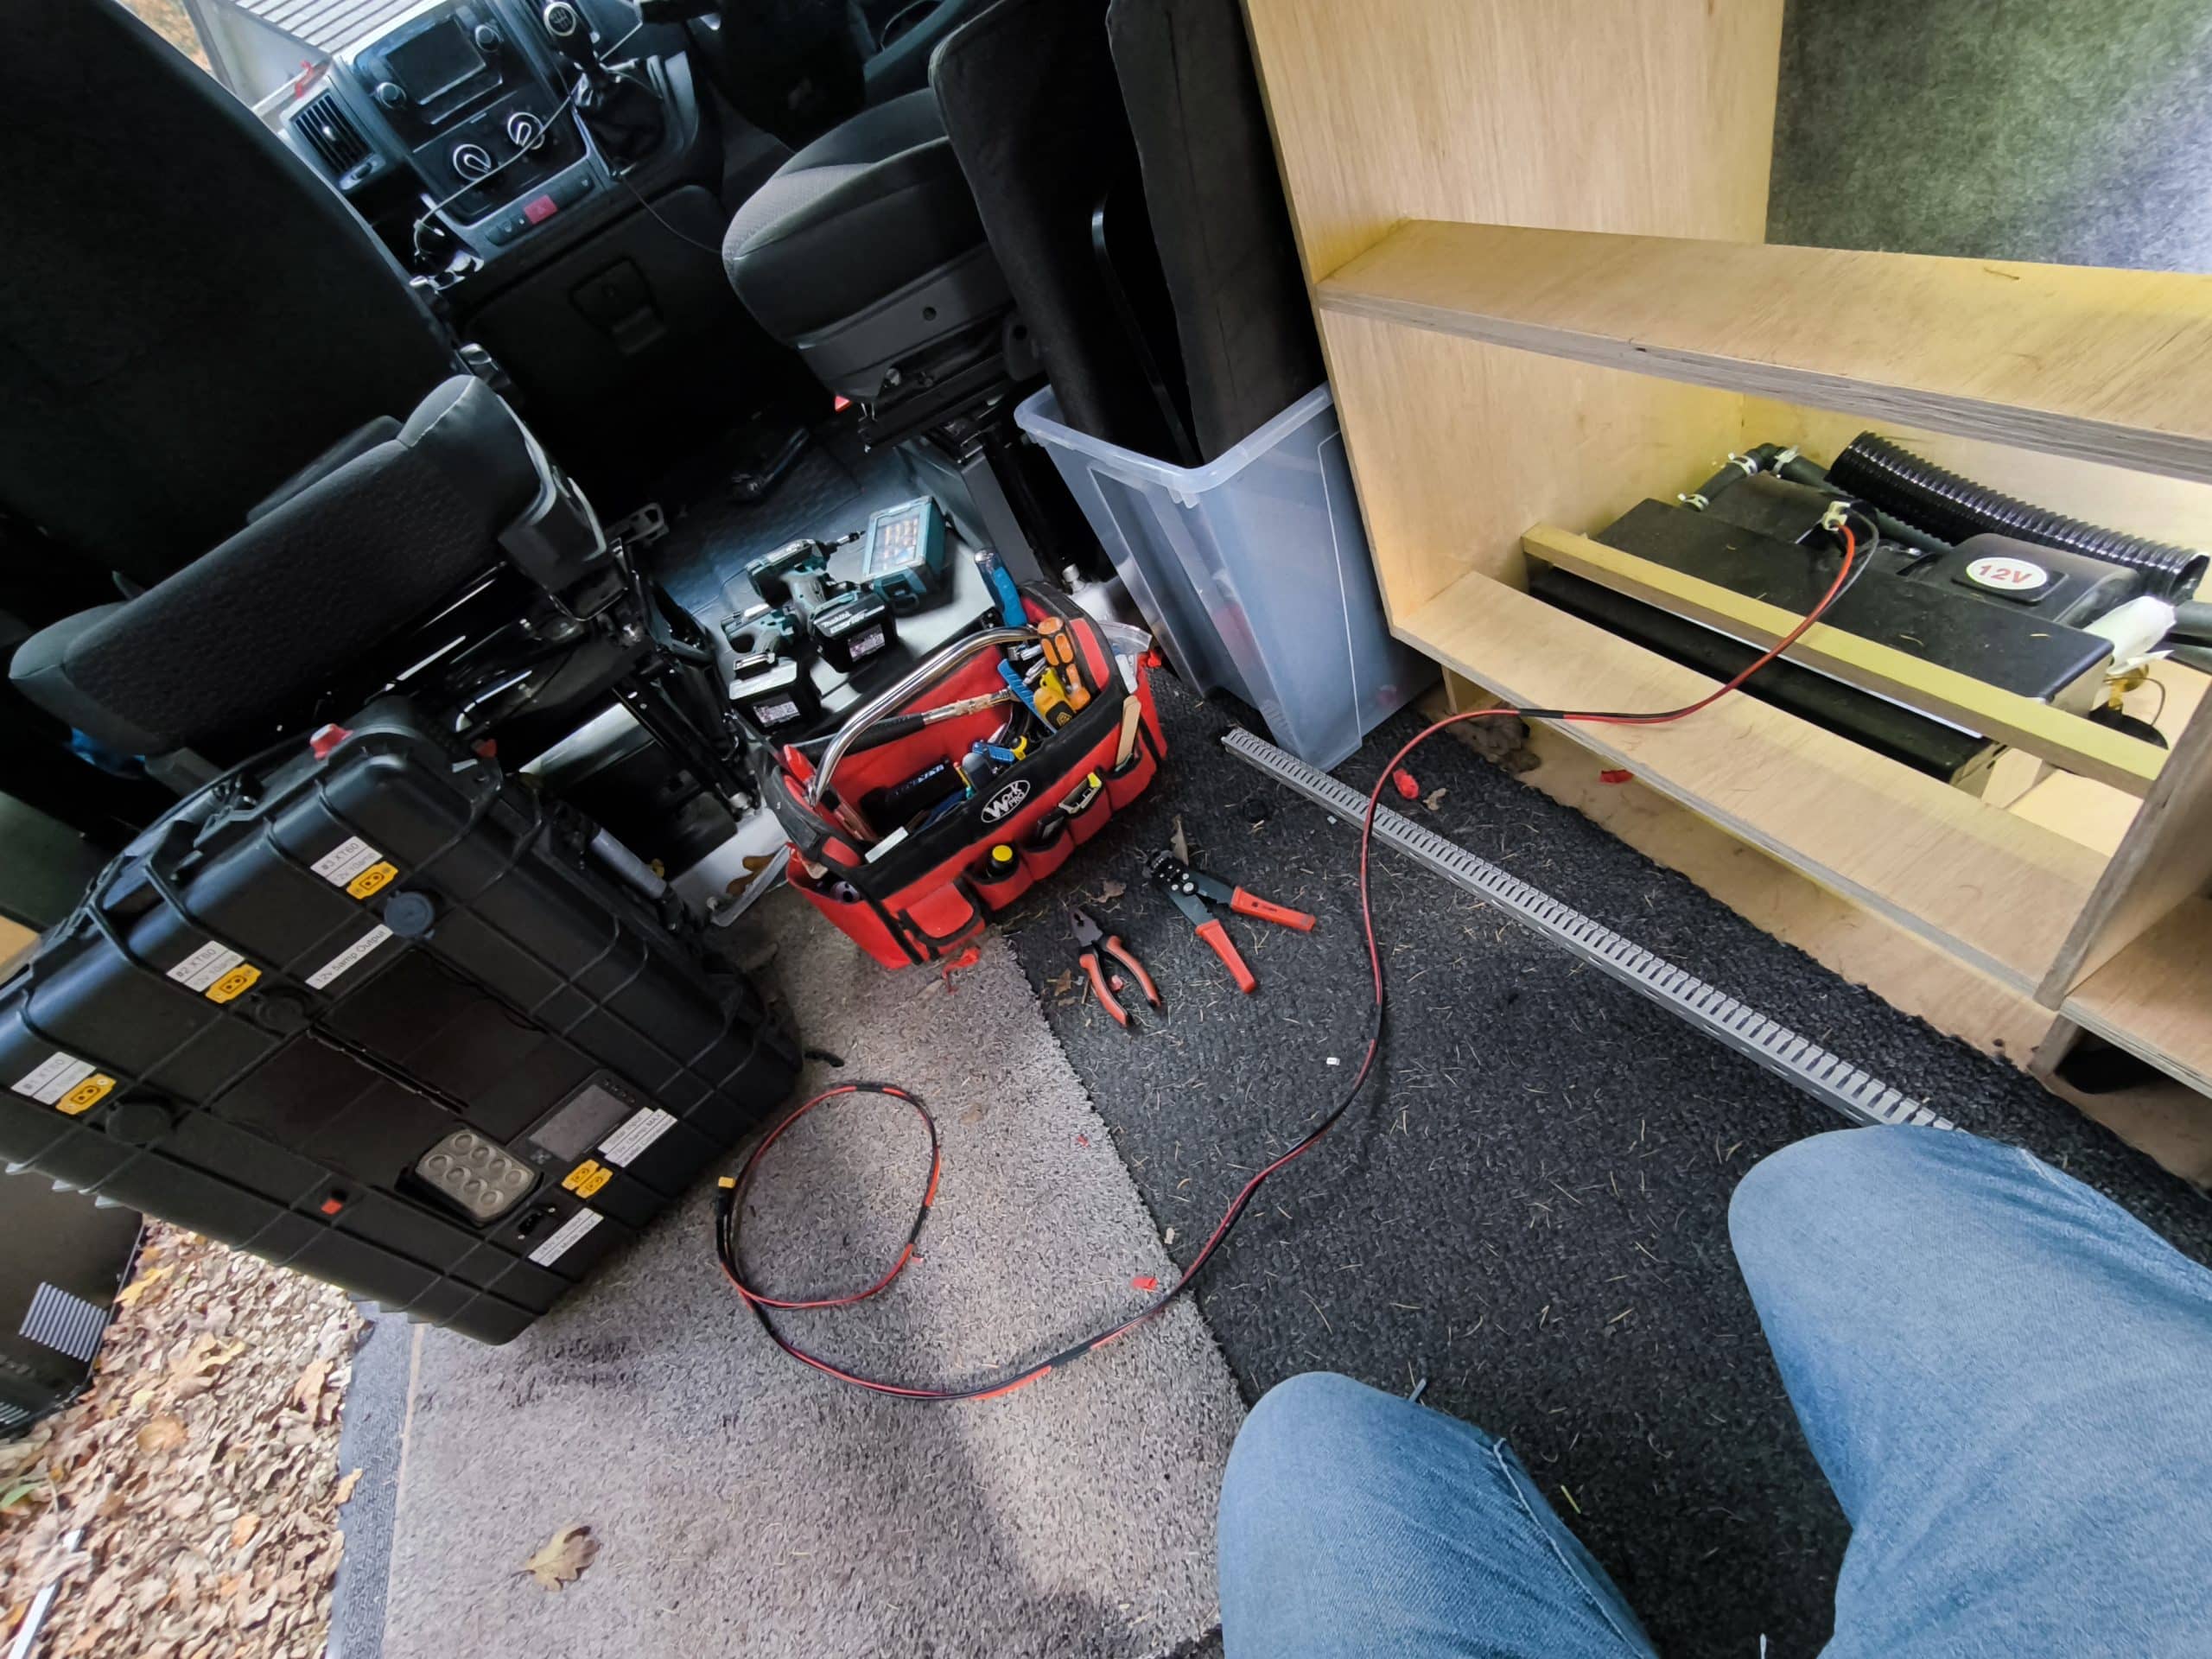
With this proof of concept all I needed was a way to turn it on and off on my fuse board. I had previously bought a thermostat for another project and so digging it out I proceeded to hook it up to power and one of my smart switch grounds. This took quite a long time to figure out in my head and work out what cables needed to go where. And also what cables I needed to use, from the cables that I had available, for which part, to make sure I wasn’t going to draw too much current down a thin cable.
I also spent a little time tidying up the cables under the sink with some trunking. This will just keep things neat when invariably I have hundreds of cables down here going all which ways.
Next and most importantly I moved on to the power connection to the battery. This is the chunkiest cable on the whole van. The main earth is connected to a local chassis ground near the van and the positive cable runs from the battery all the way along the van to my fuse panel. I started by trimming to length and crimping a connector to the end of this main cable run so I could bolt it to the positive buzz bar. First I used the correct size crimping anvil in the clamp but when I gave the connector a tug it just came straight off. So even though I was using a 50mm2 cable I used the 35mm2 anvil in the clamp to ensure a solid crimp.
With the main supply cable bolted to the buzz bar I could then take another length of cable and create a loop for my plug connection to the battery. I didn’t want to go straight to the plug into the battery because if I needed to take any power at this location in future I would have to cut it and redo that battery connection.
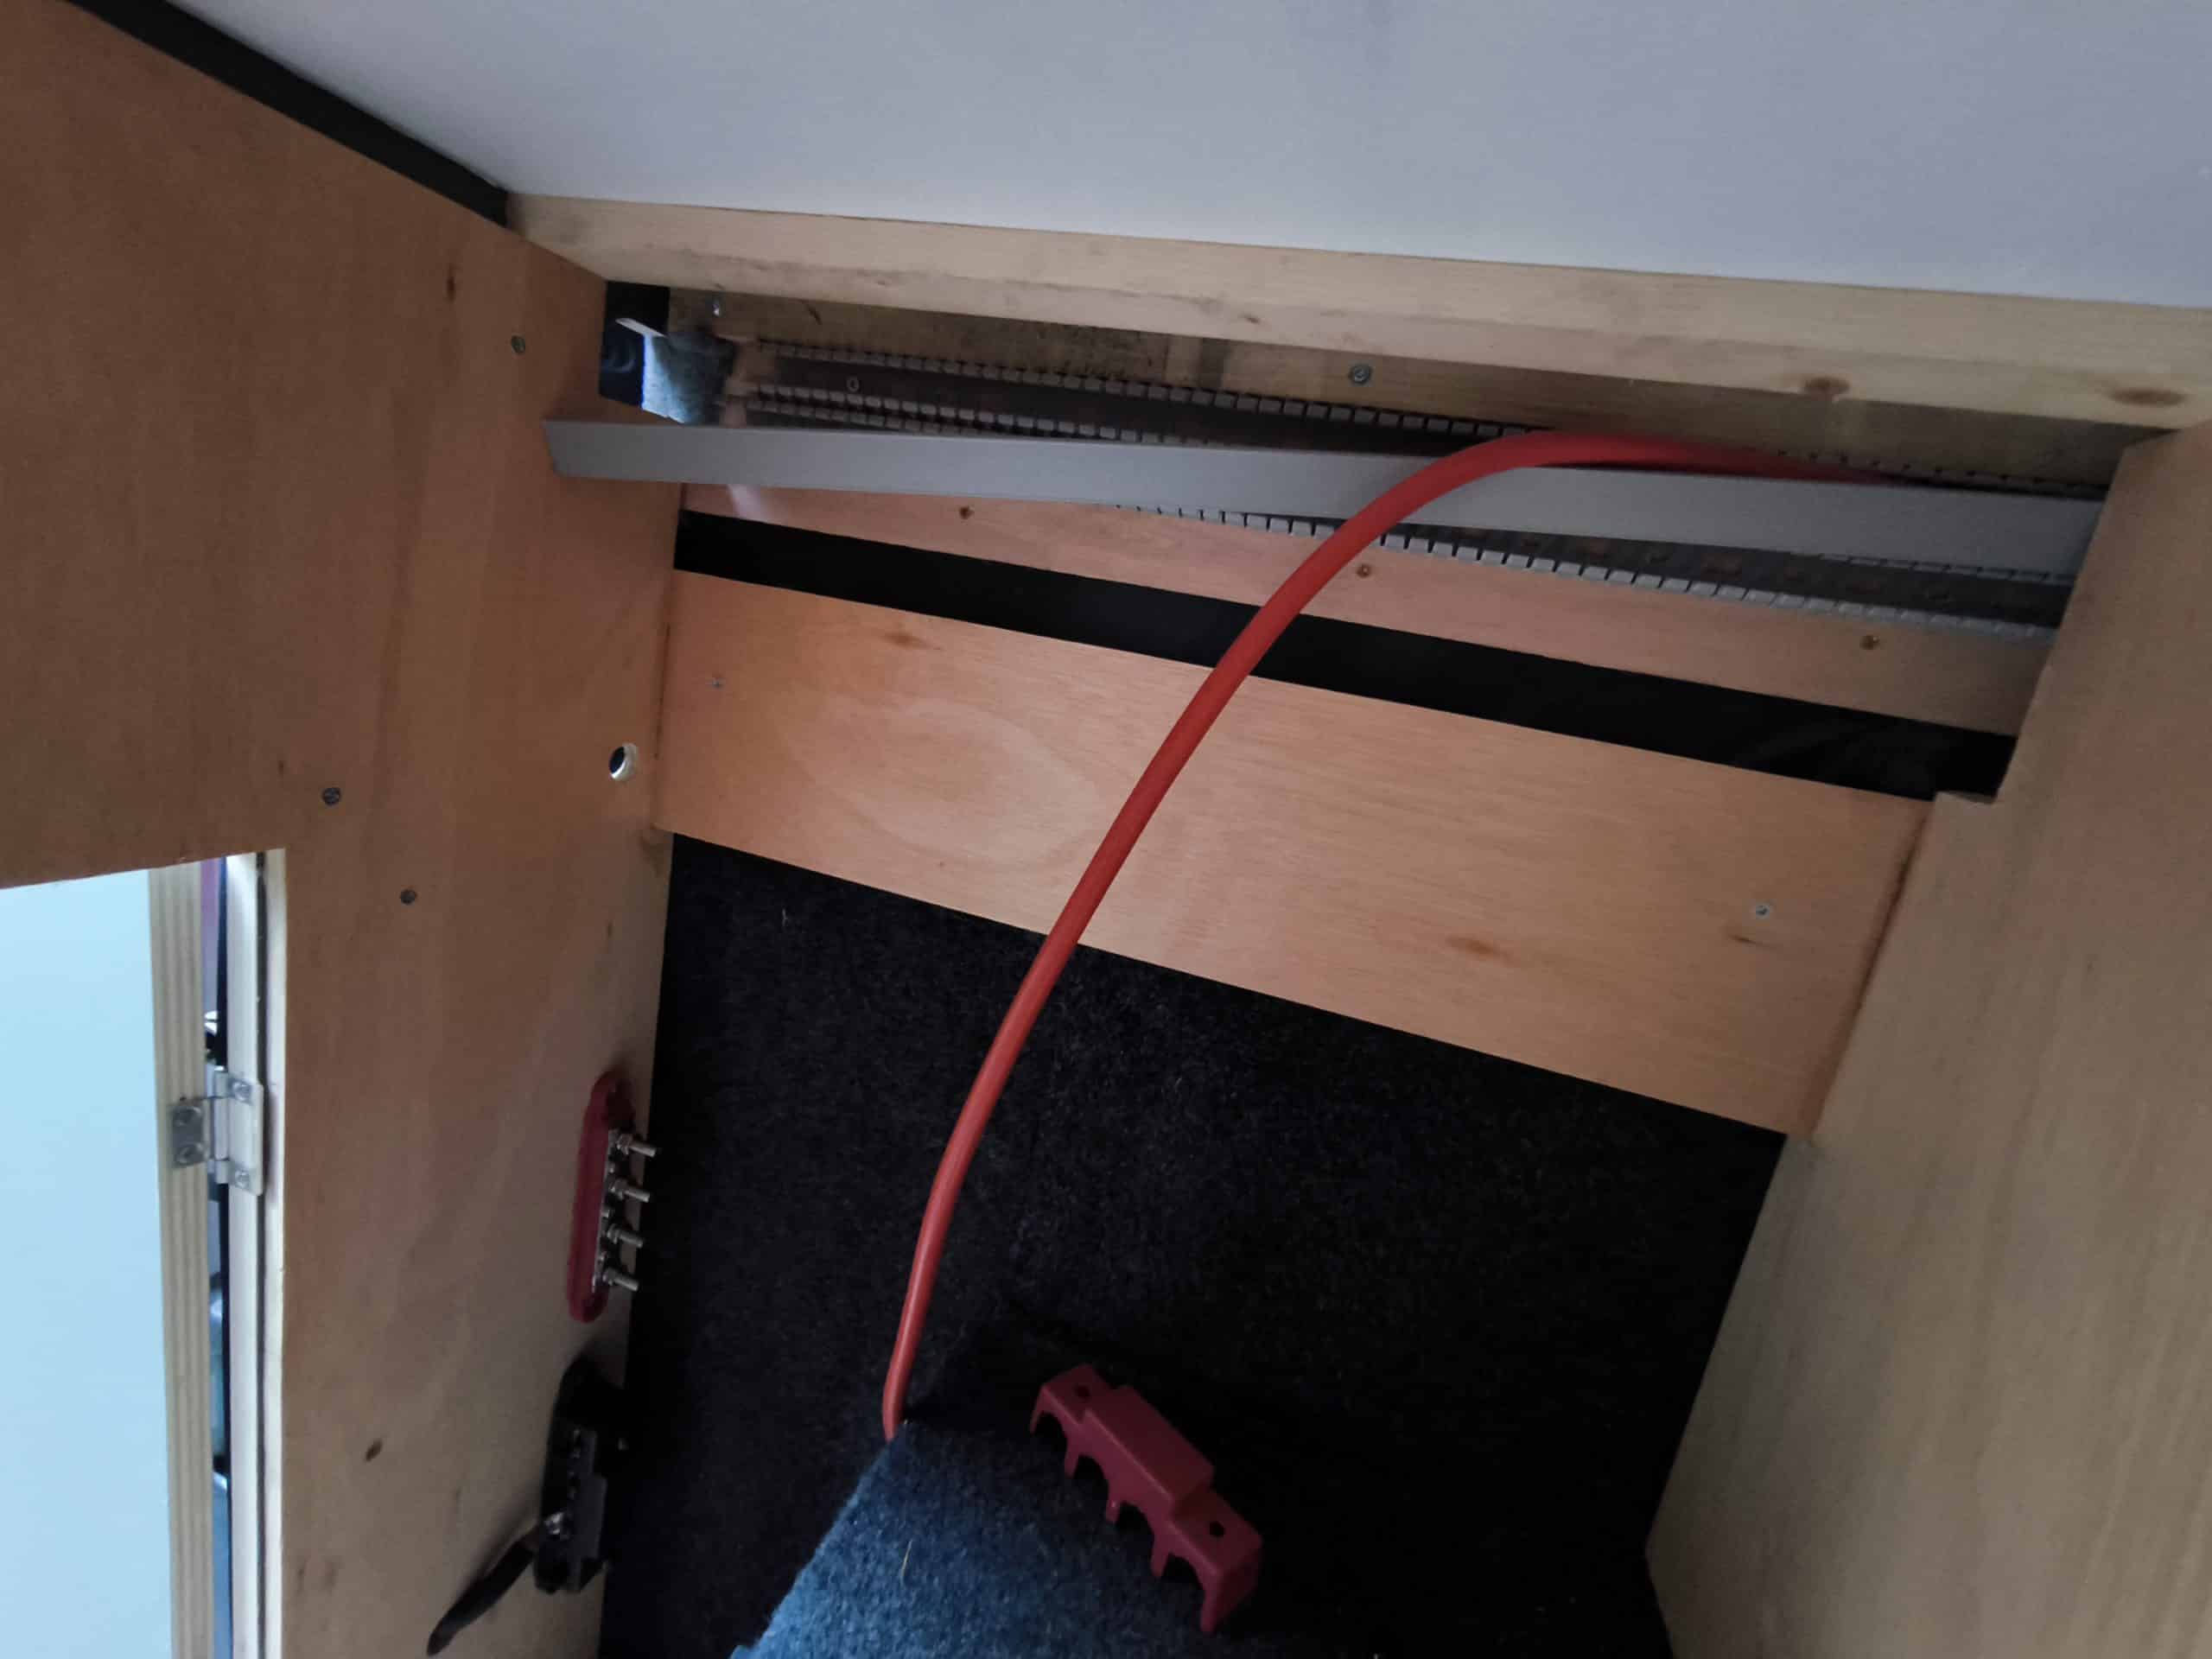
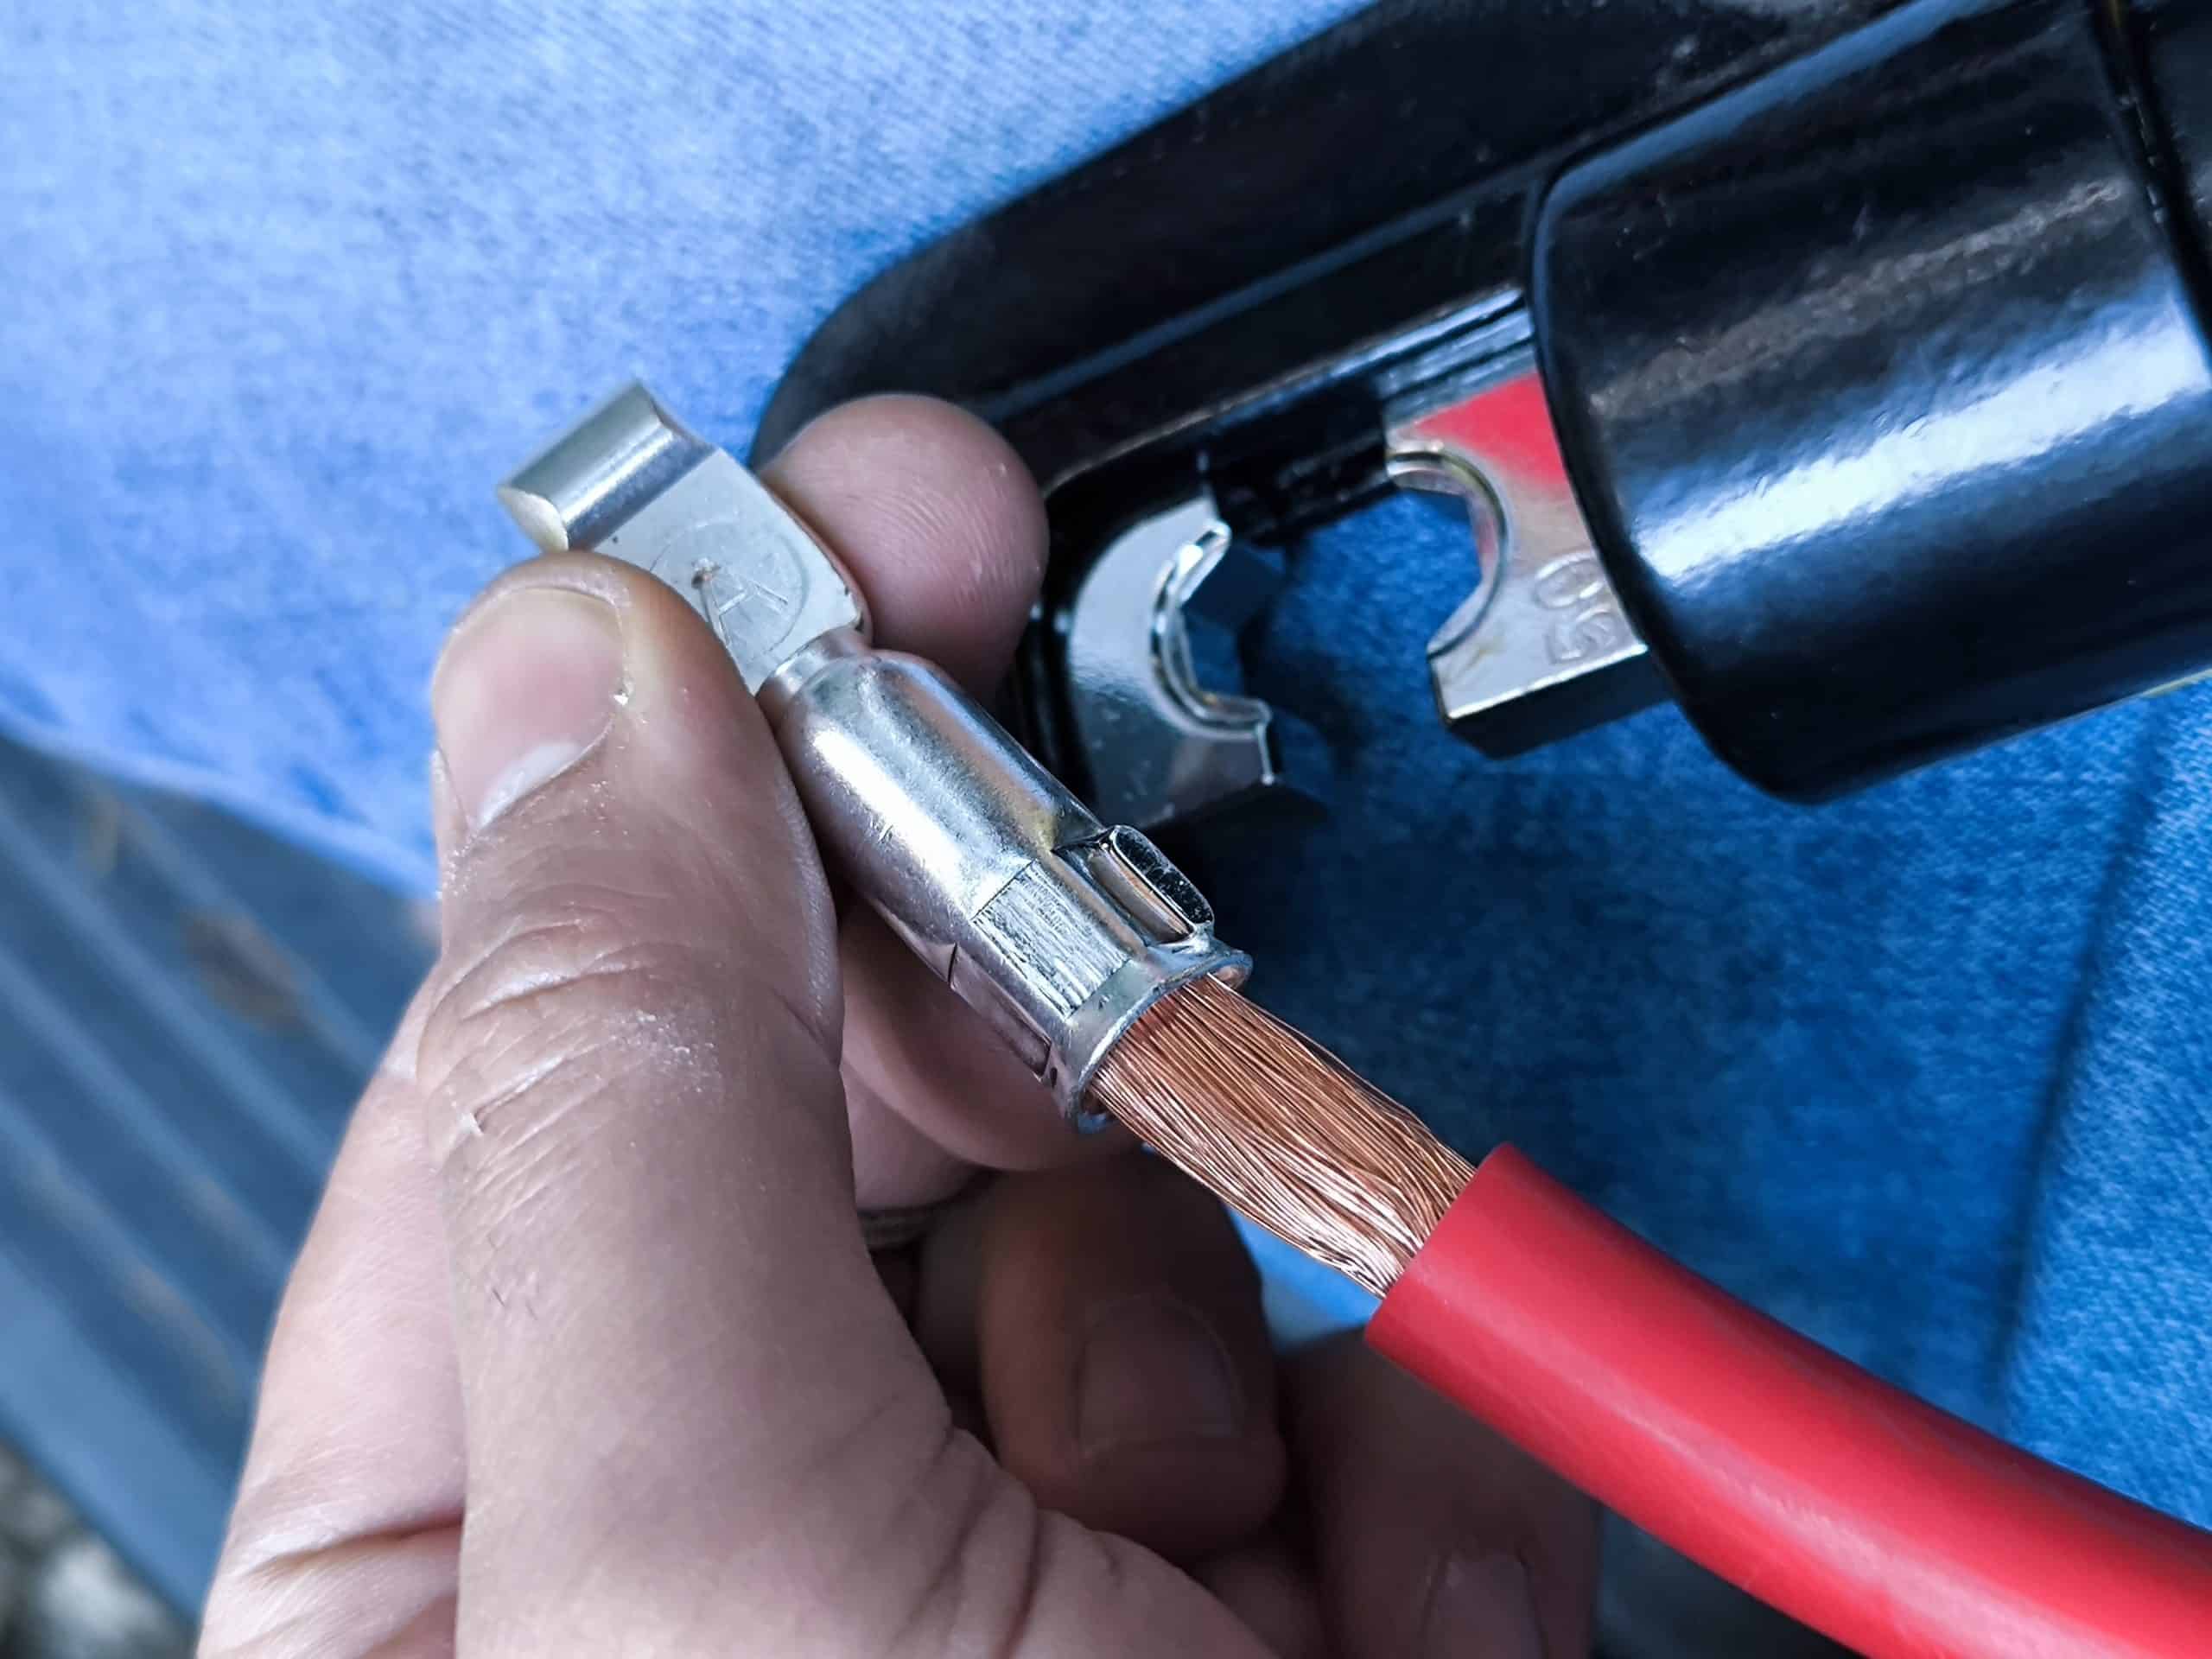
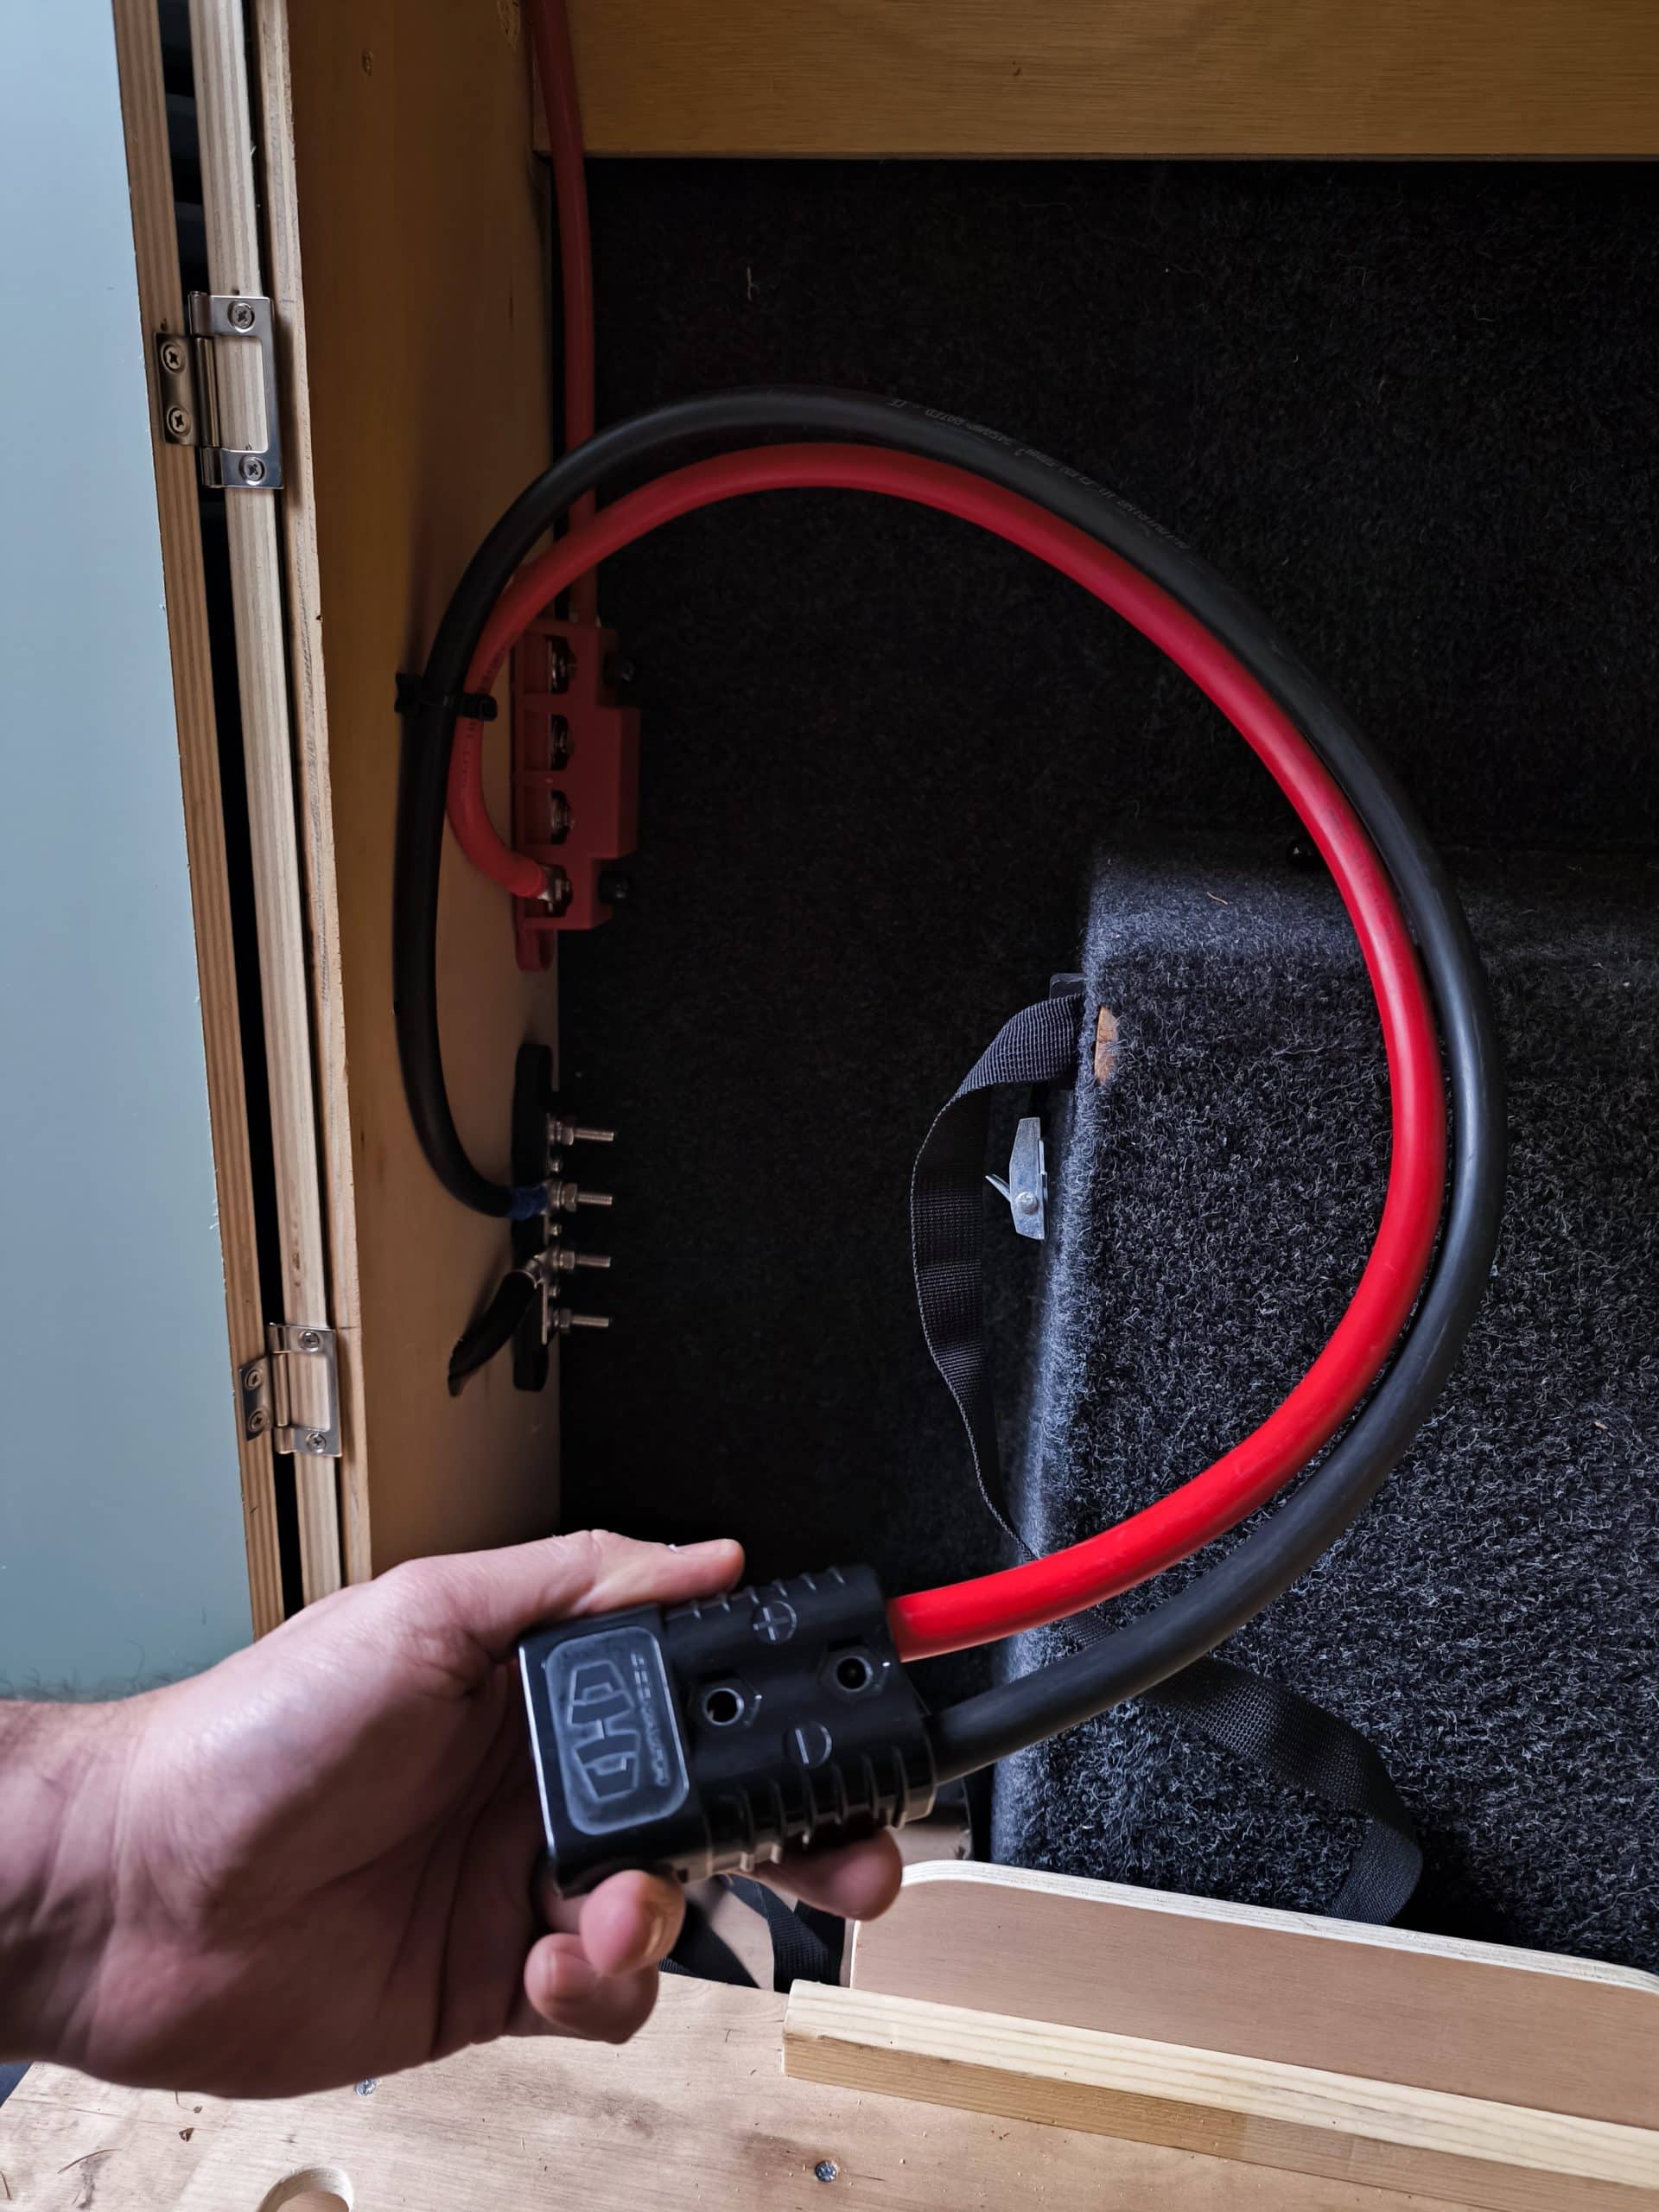
The battery plug is a big Anderson connector. I roughly measured out a loop of cable that would allow me easy manipulation of the plug and cut it to length before crimping the internals on the end. That gets installed in the plug and the other end gets bolted to the buzz bar. Then using some zip tie mounts I arranged the cable in a loop so it can be easily connected to the battery when in the vans cupboard.
With a final sanity check of all the electrical connections I’ve made so far I was happy to plug the battery in and try it out. But no matter how hard I try, I am becoming like my dad. I am sure I had some blade fuses that came with the blade fuse holder but I’ve clearly put them somewhere safe and now I can’t find them. I will have to pick up some blade fuses from Halfords or something tomorrow but the Baltica system is on my big fuse block and so this can be tested.
Throwing the main switch on the battery box to power up the Anderson connector I went around to have a look at the fuse panel and I could see all of my non-existent fuses were showing as blown which was to be expected. But most importantly and triumphantly I could see that the baltica control panel had lit up and was asking for time and date settings.
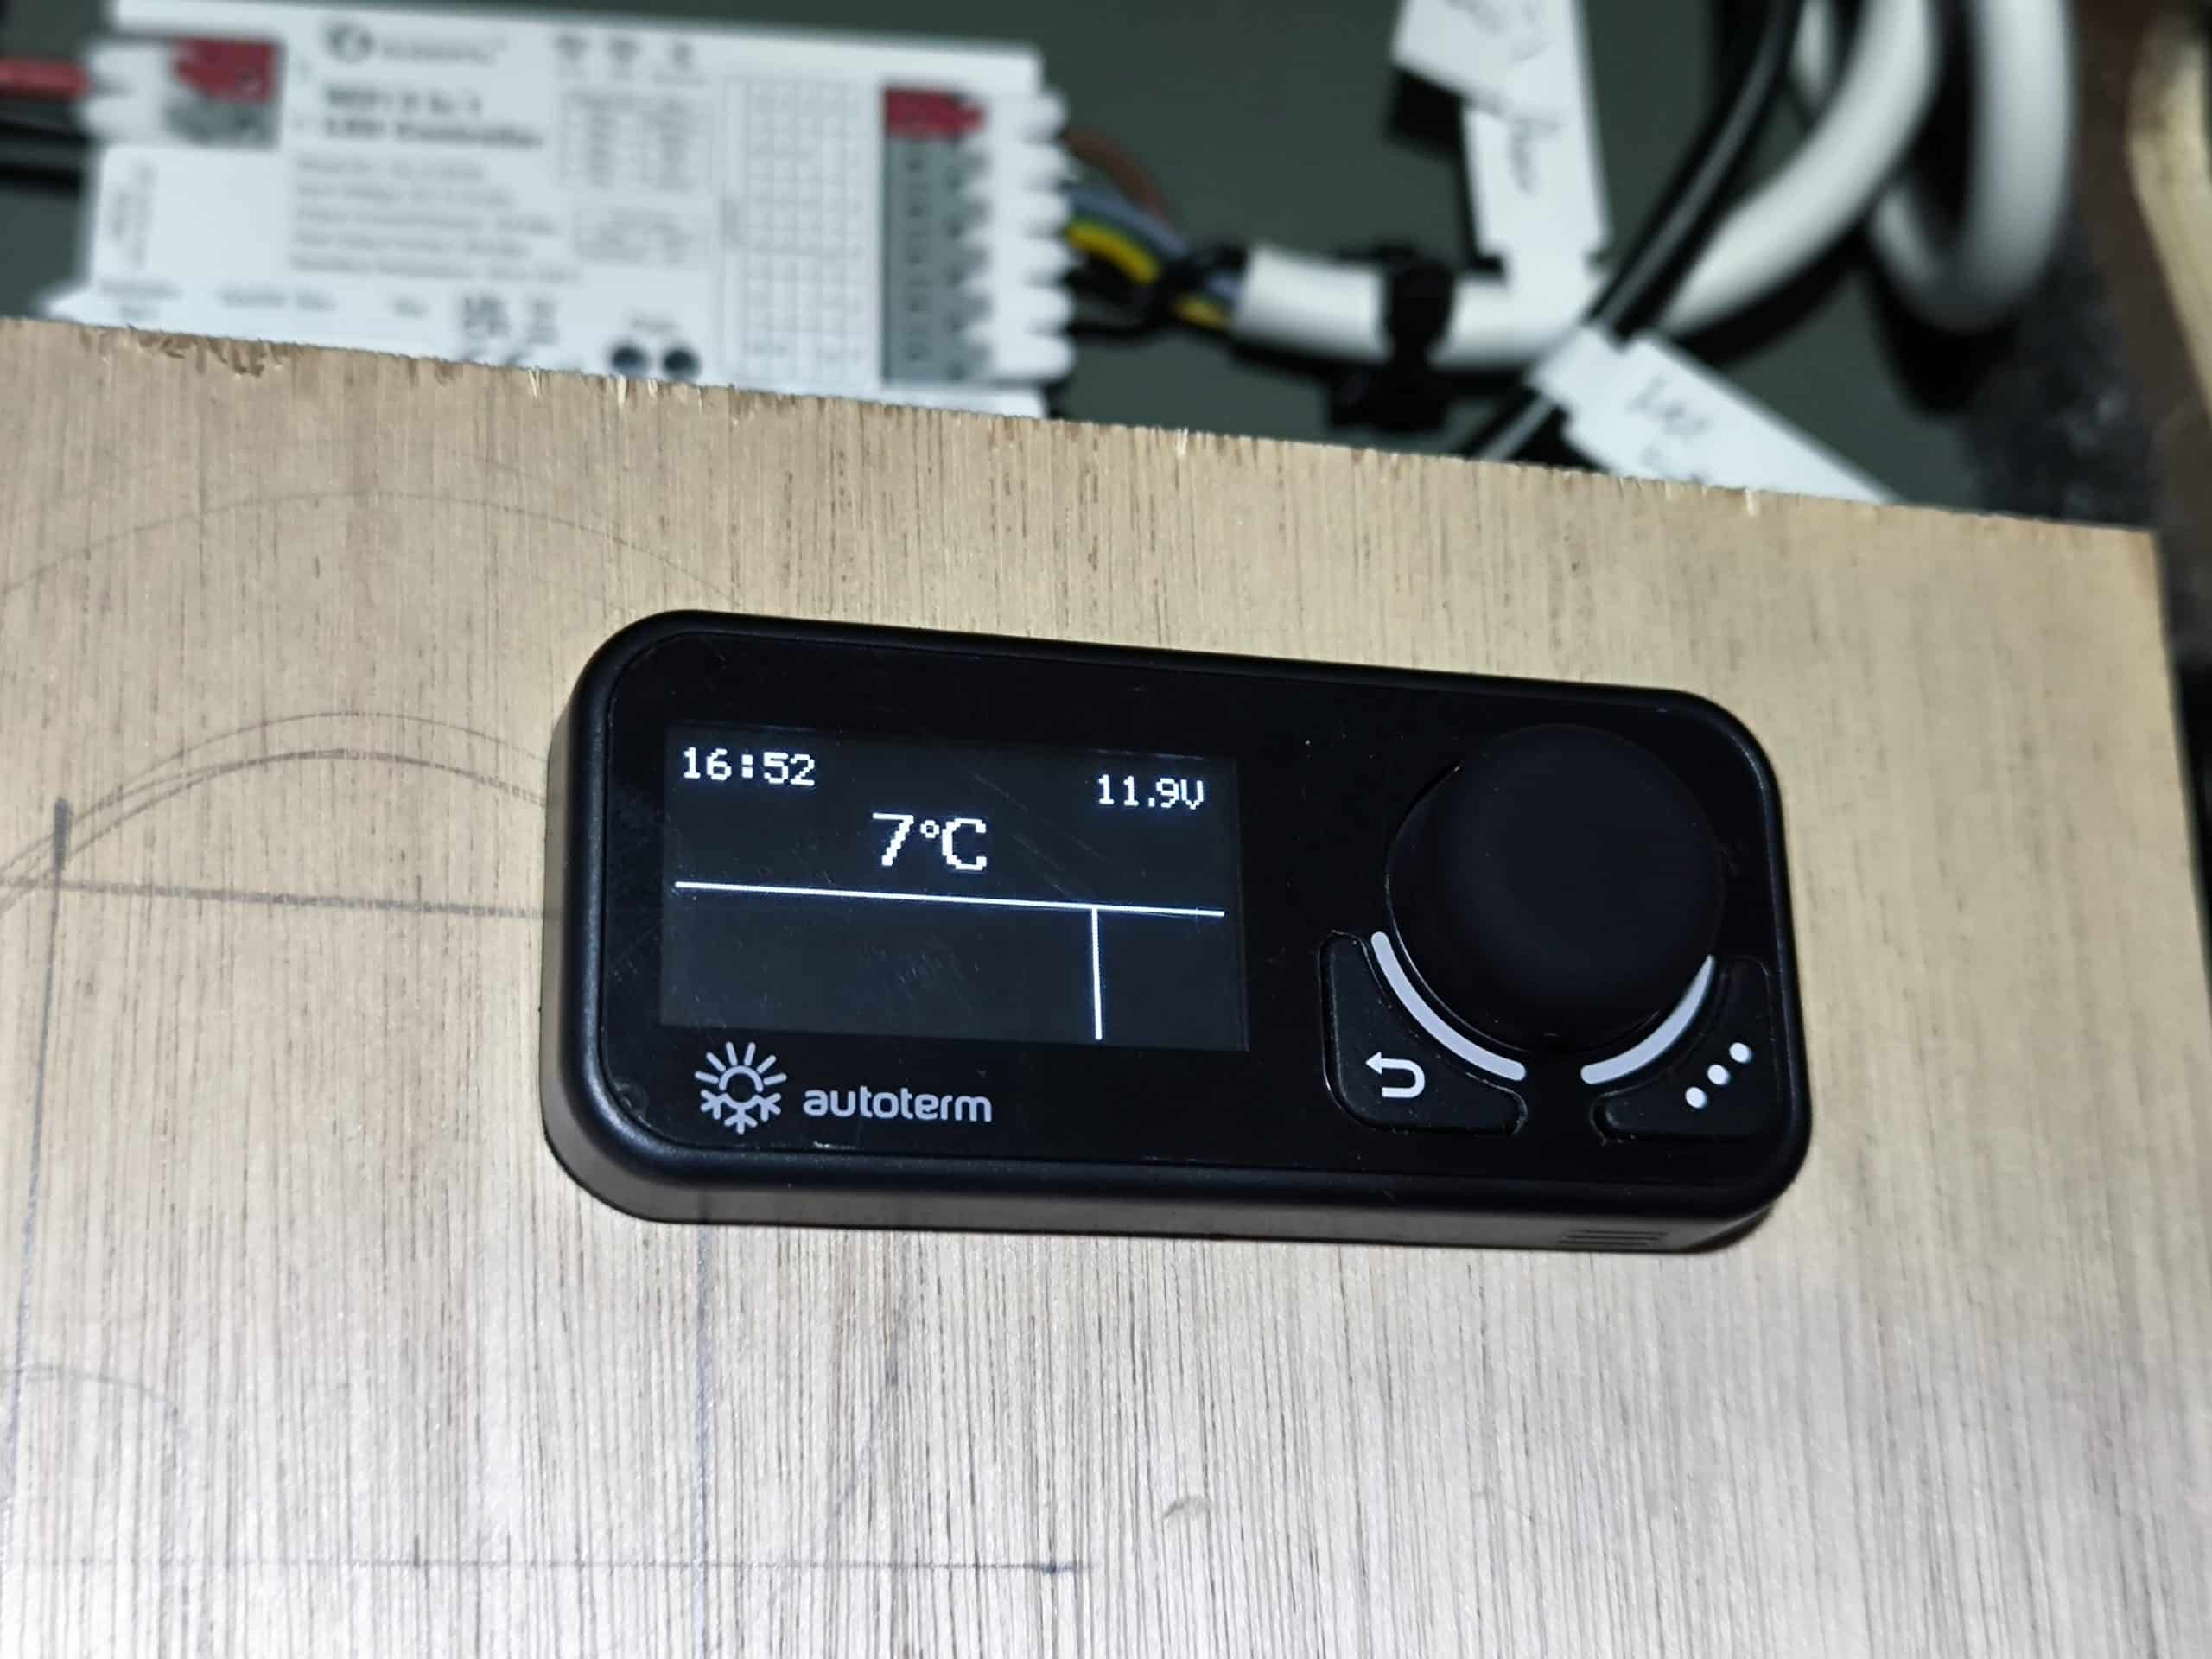
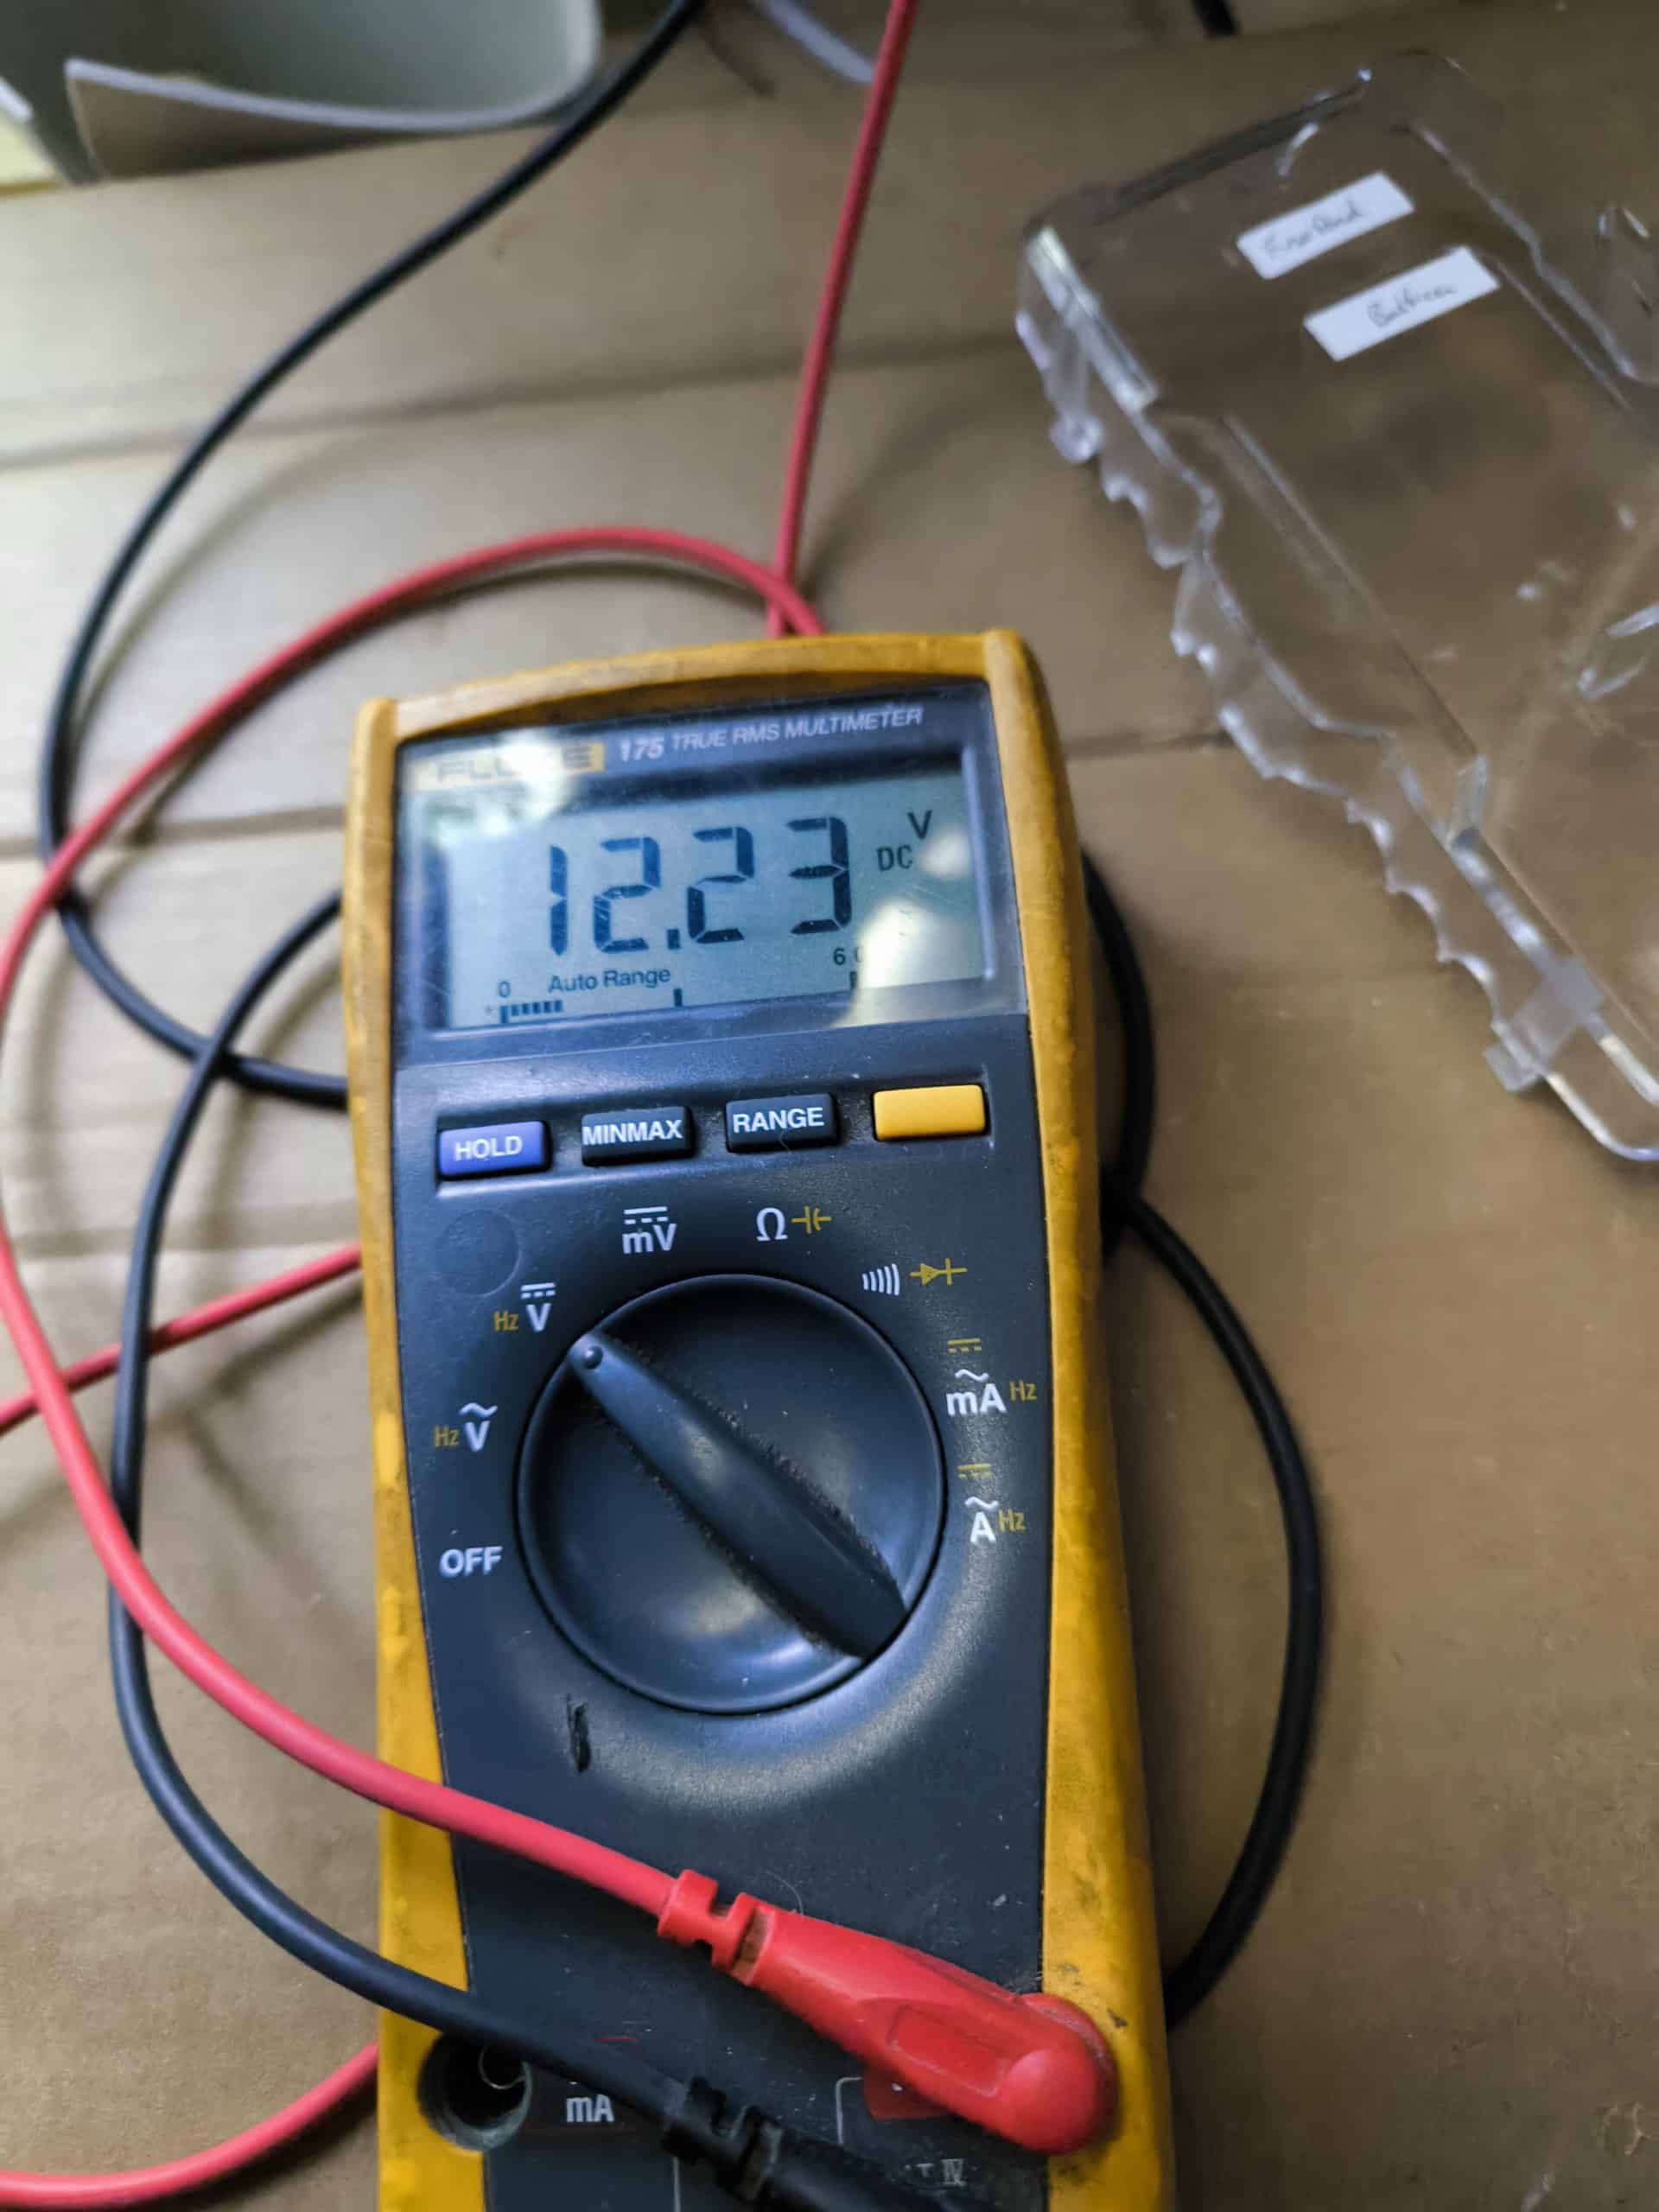
It worked!
Helpfully, the baltica control panel gives you a voltage reading which is the voltage it would be seeing at the start of its wiring loom. Now I have extended it, this is important to know because if the voltage is too low the heater may not fire up. The battery voltage is reading 12.3 volts and the Baltic control panel reads 11.9 so there is a 0.4 volt drop along the supply cable.
Not ideal…
When I go to Halfords to get some blade fuses I’m also going to pick up some coolant so that I can fill the system and test to see whether it fires up. This will be the acid test weather that voltage drop is too much. If it is then I’ll have to run an additional thicker core cable to the Baltica system which would be a pain in the ass.
You know what else is a pain in the ass? Cleaning up after a day of wiring!