Diary Of A Camper Conversion
Today was all about the electrics. I actually started by slightly redoing a couple of the cables from yesterday. There is no point running loads of ground cables all the way back to the fuseboard for every circuit when I can just share local ground.
To do this I used a 3D printed clip and a wago connector to combine the cables into 1. Then connected it back to the fuseboard with one thicker cable.
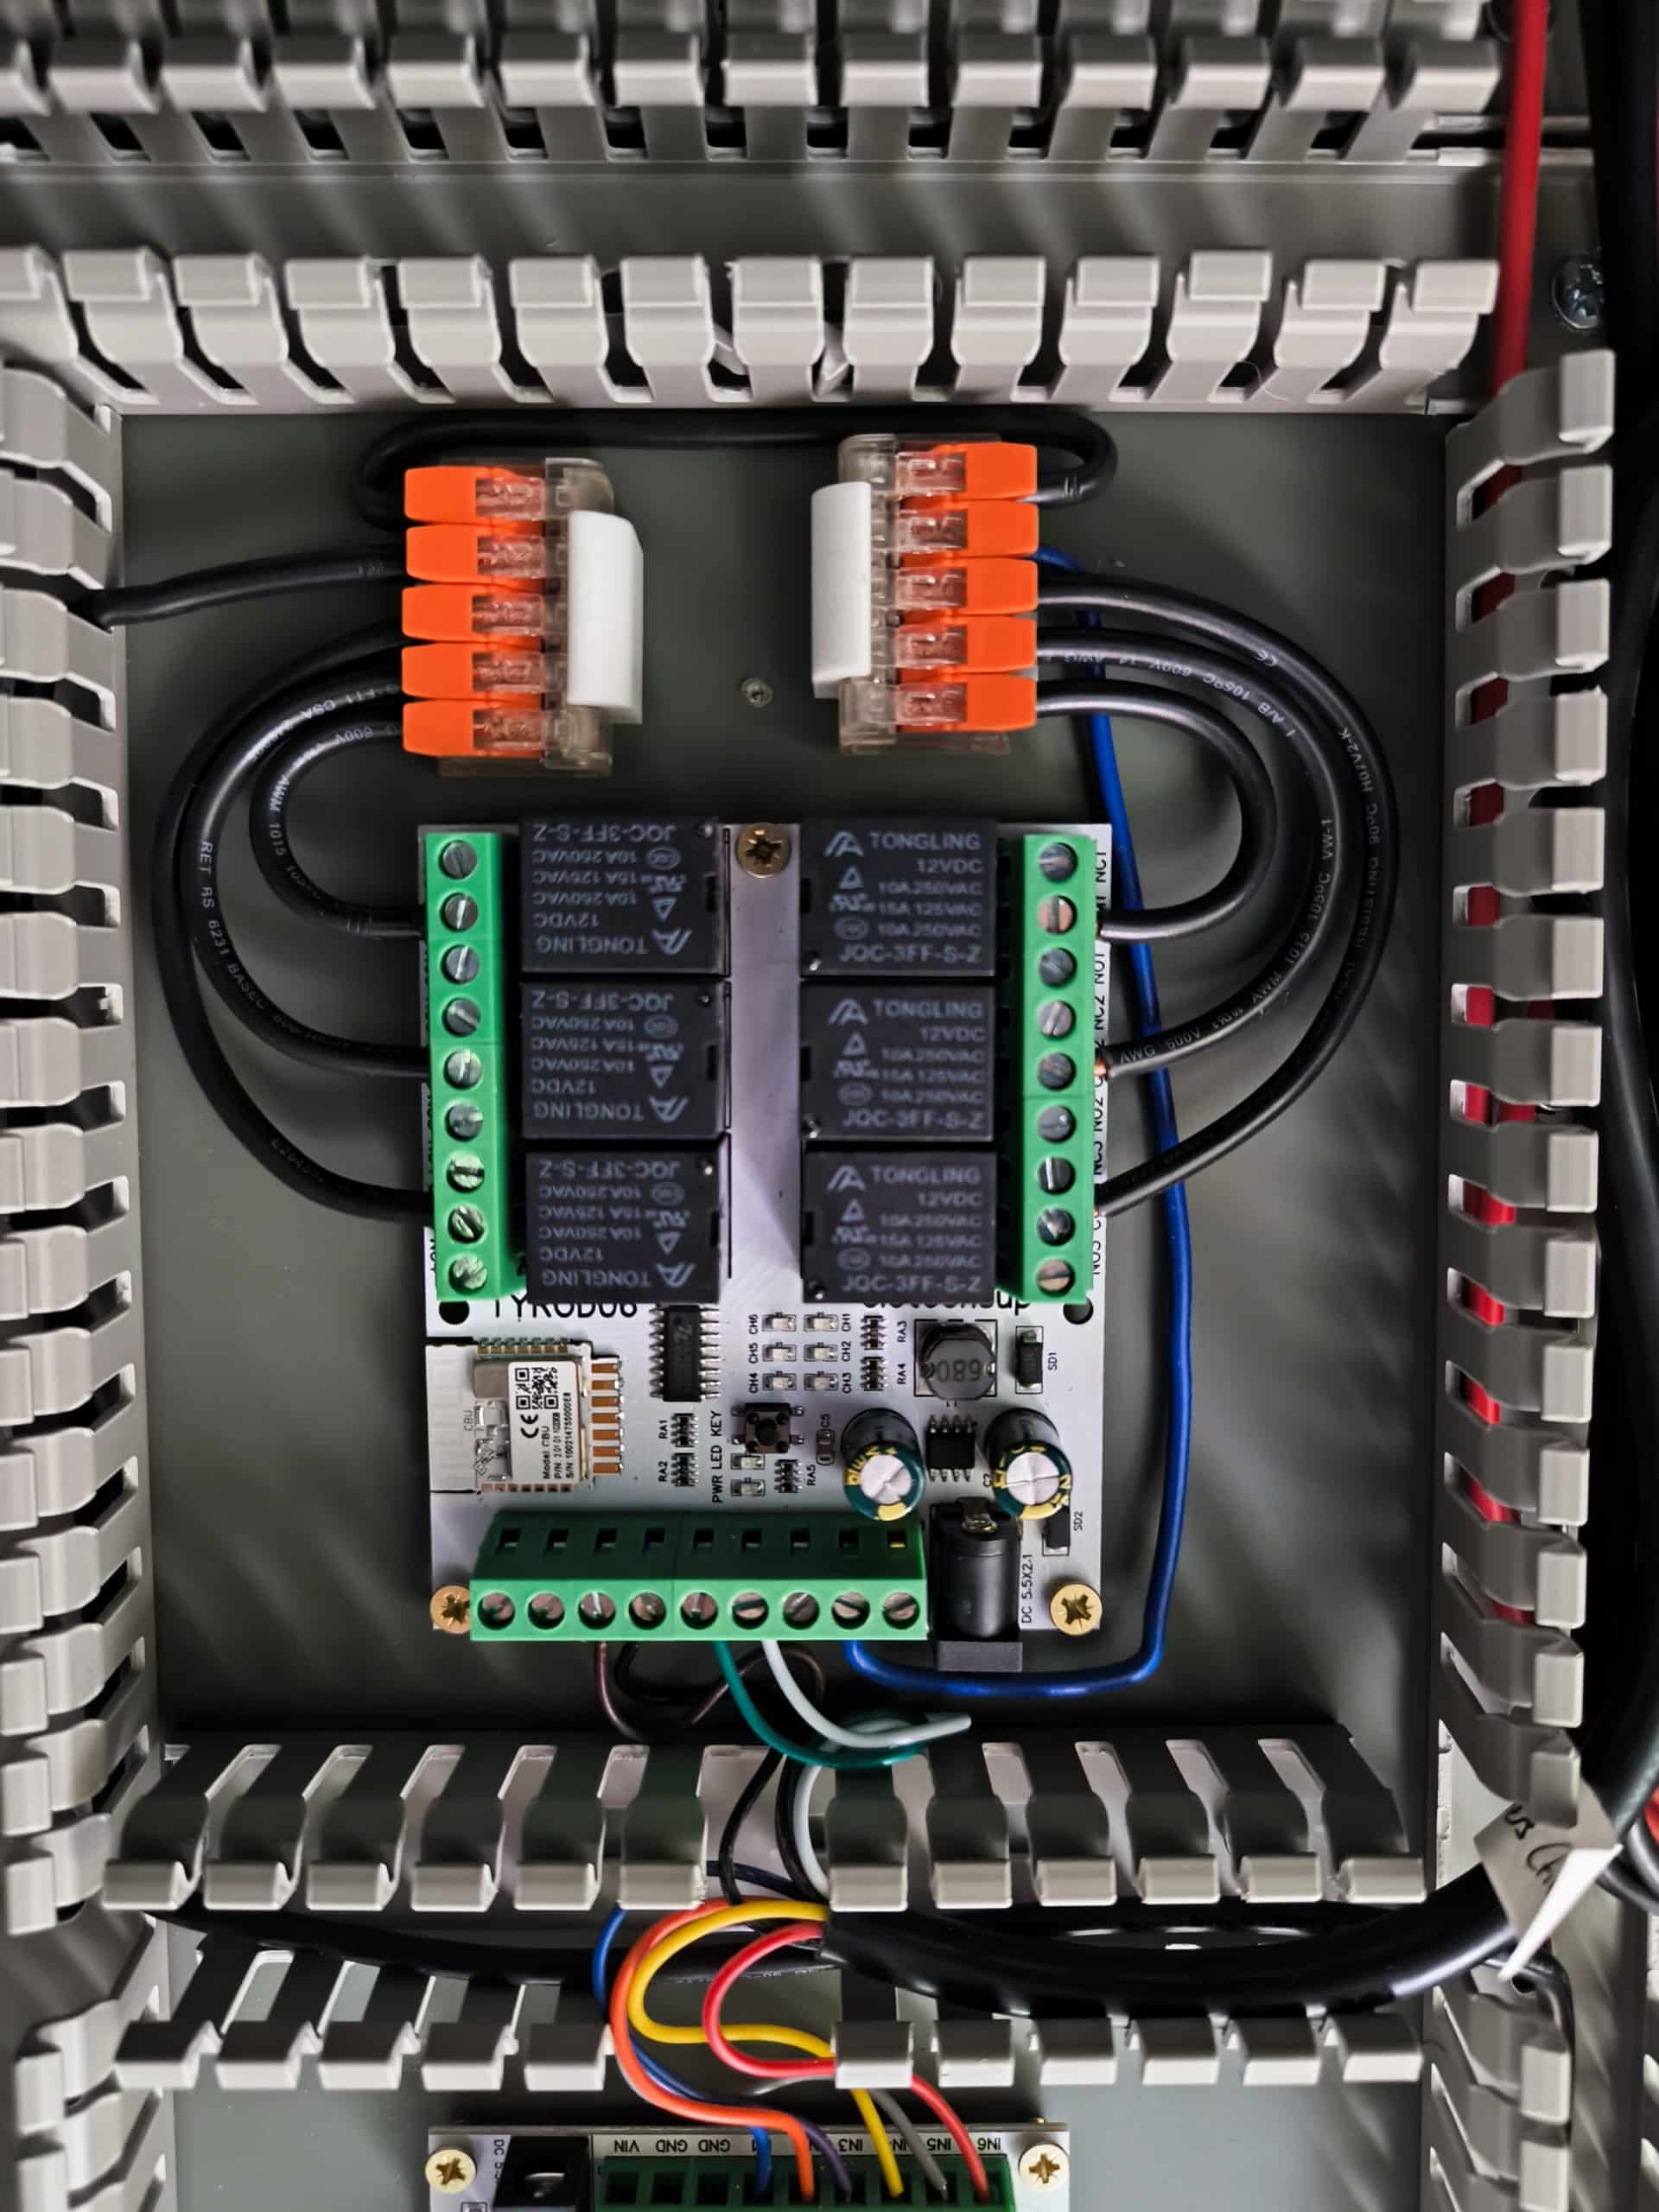
It was quite satisfying cutting, stripping, bending and screwing in each of the cables. It was a challenge to get them all neat and seated correctly all in the right places. I’m still not 100% confident with electrics but I’m pretty happy with how this went. And as a bonus the patterns the cable makes is quite satisfying.
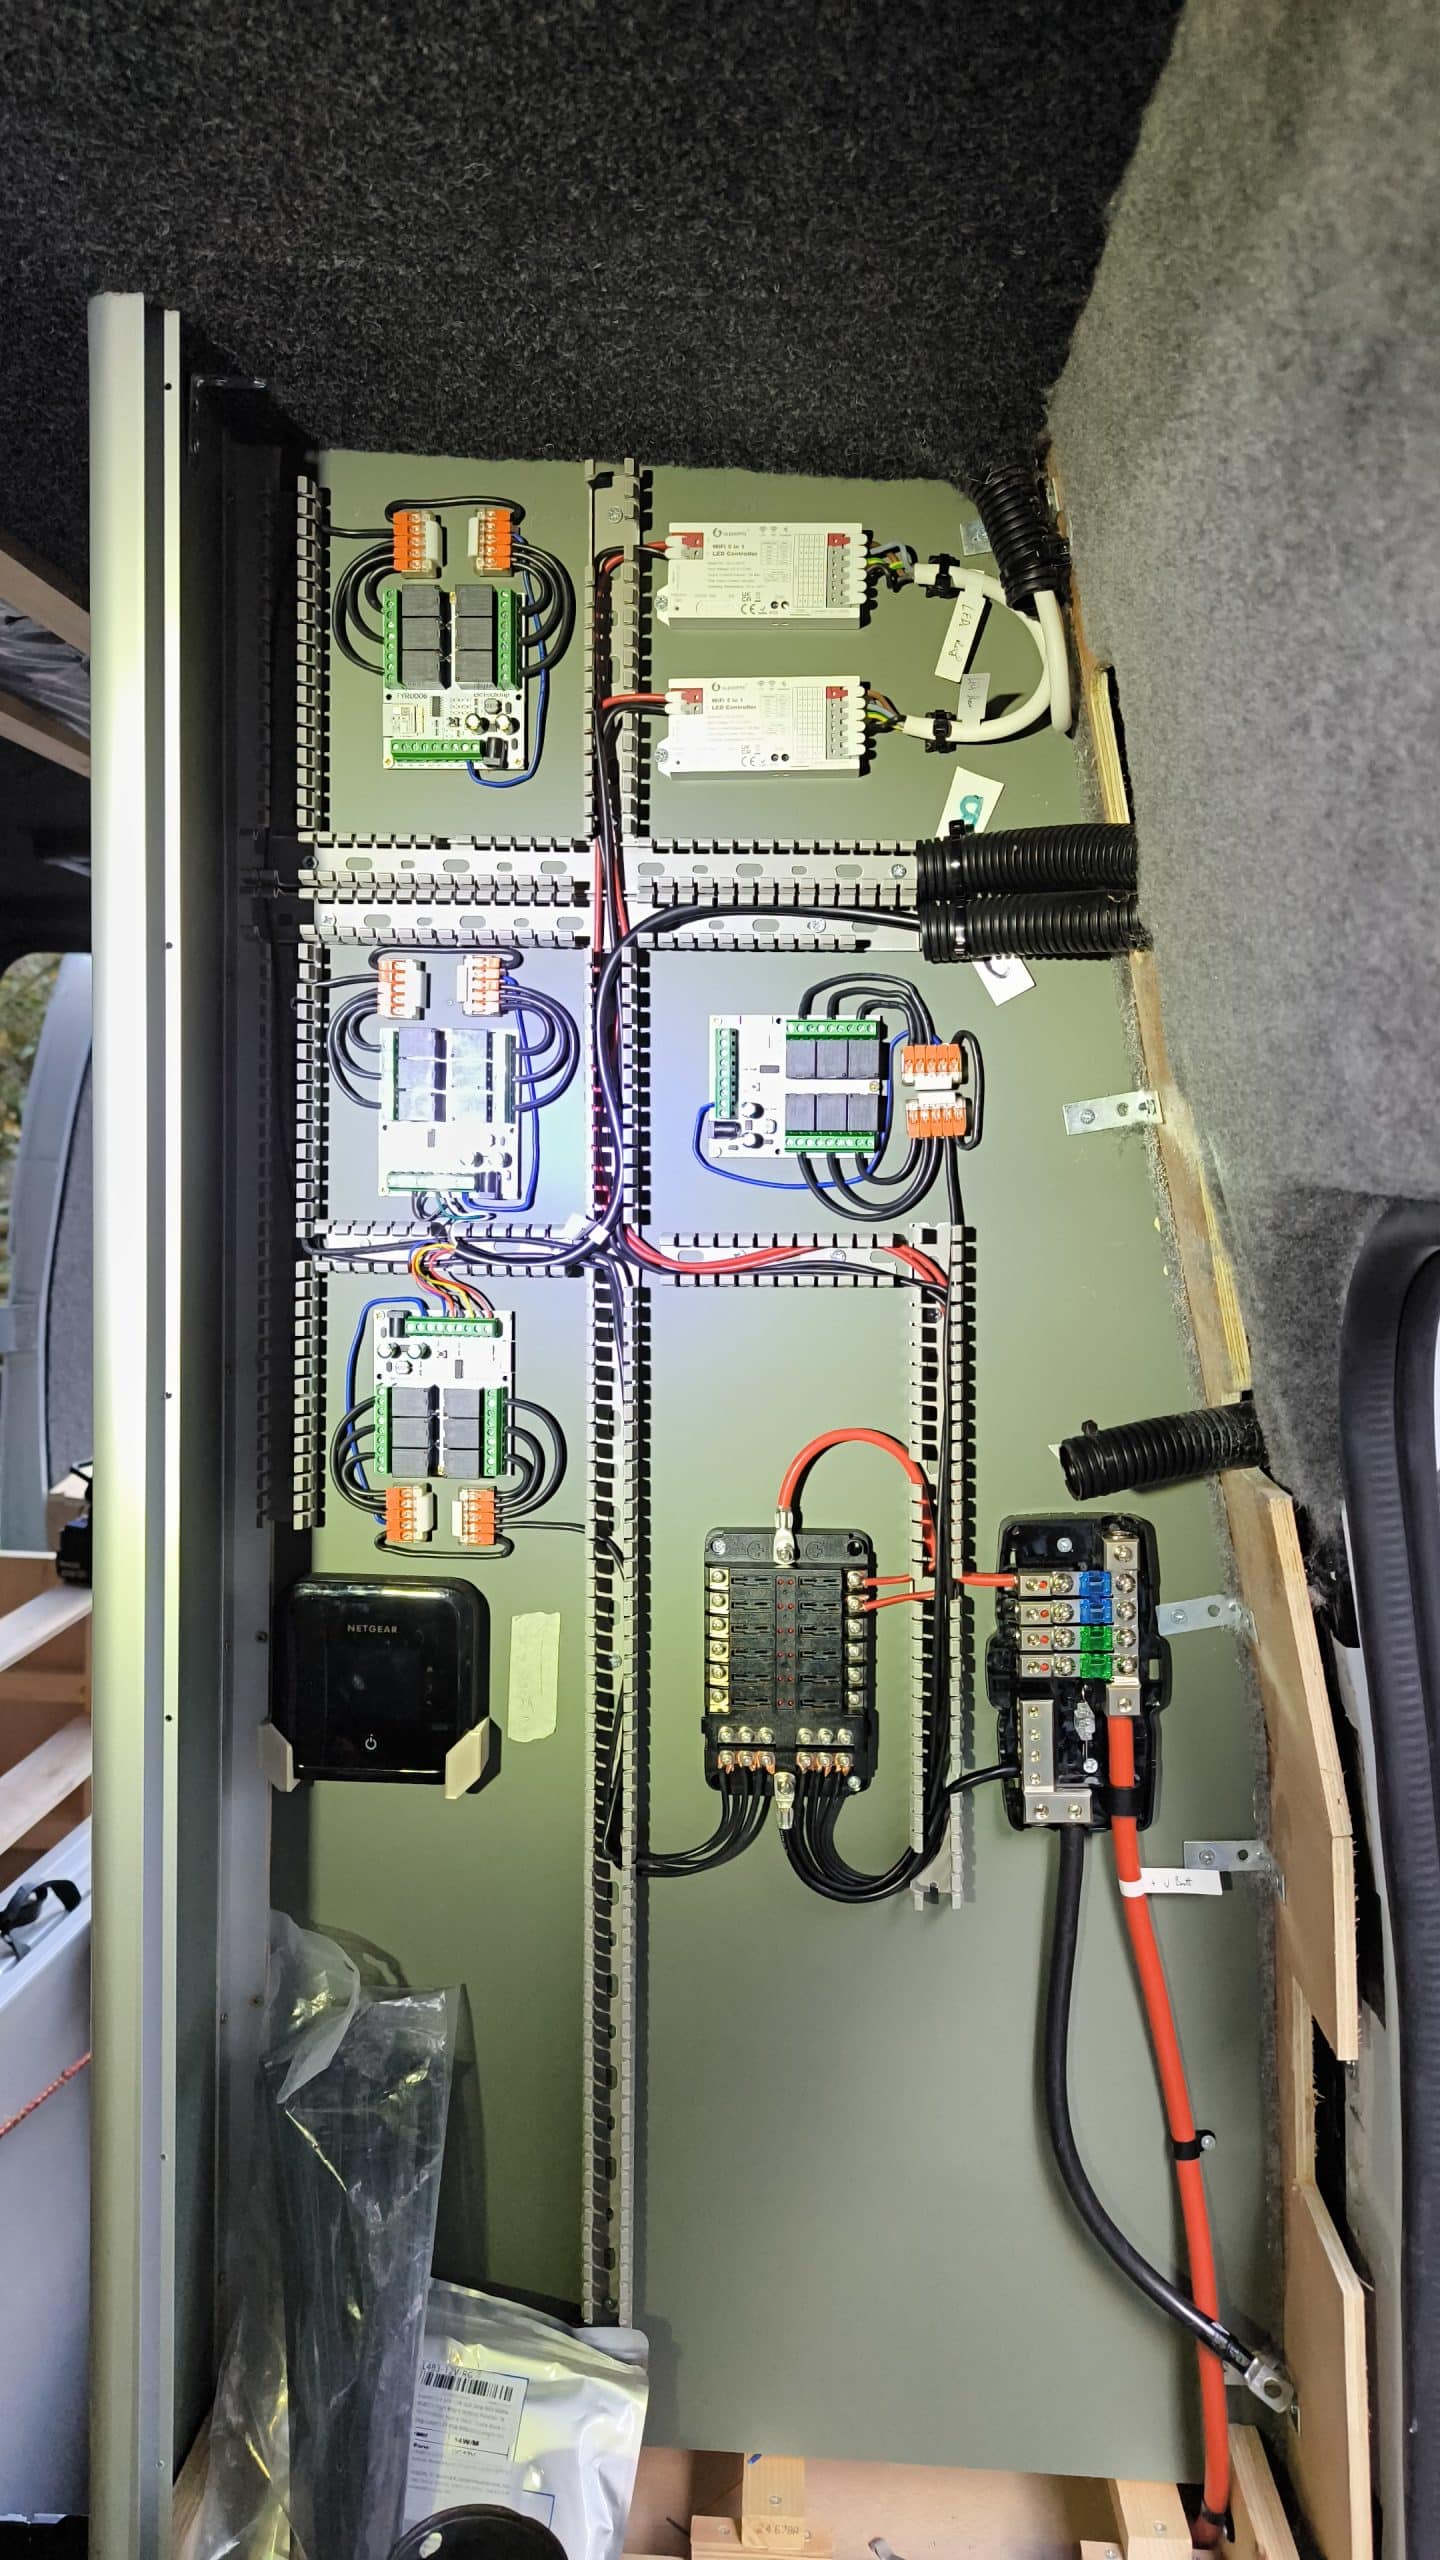
Once the ground cables were all done (for now) I moved on to running more circuit cables. The easiest ones are for the charging and lighting circuits at the head of the bed. It took a bit of wiggling, pushing, pulling and yanking but eventually the cables are in place. Of course cables get so far down the conduit and then get stuck. I remembered someone saying to use a bent ziptie taped over the end of the cable so there is a smooth rounded thing there. It worked brilliantly!
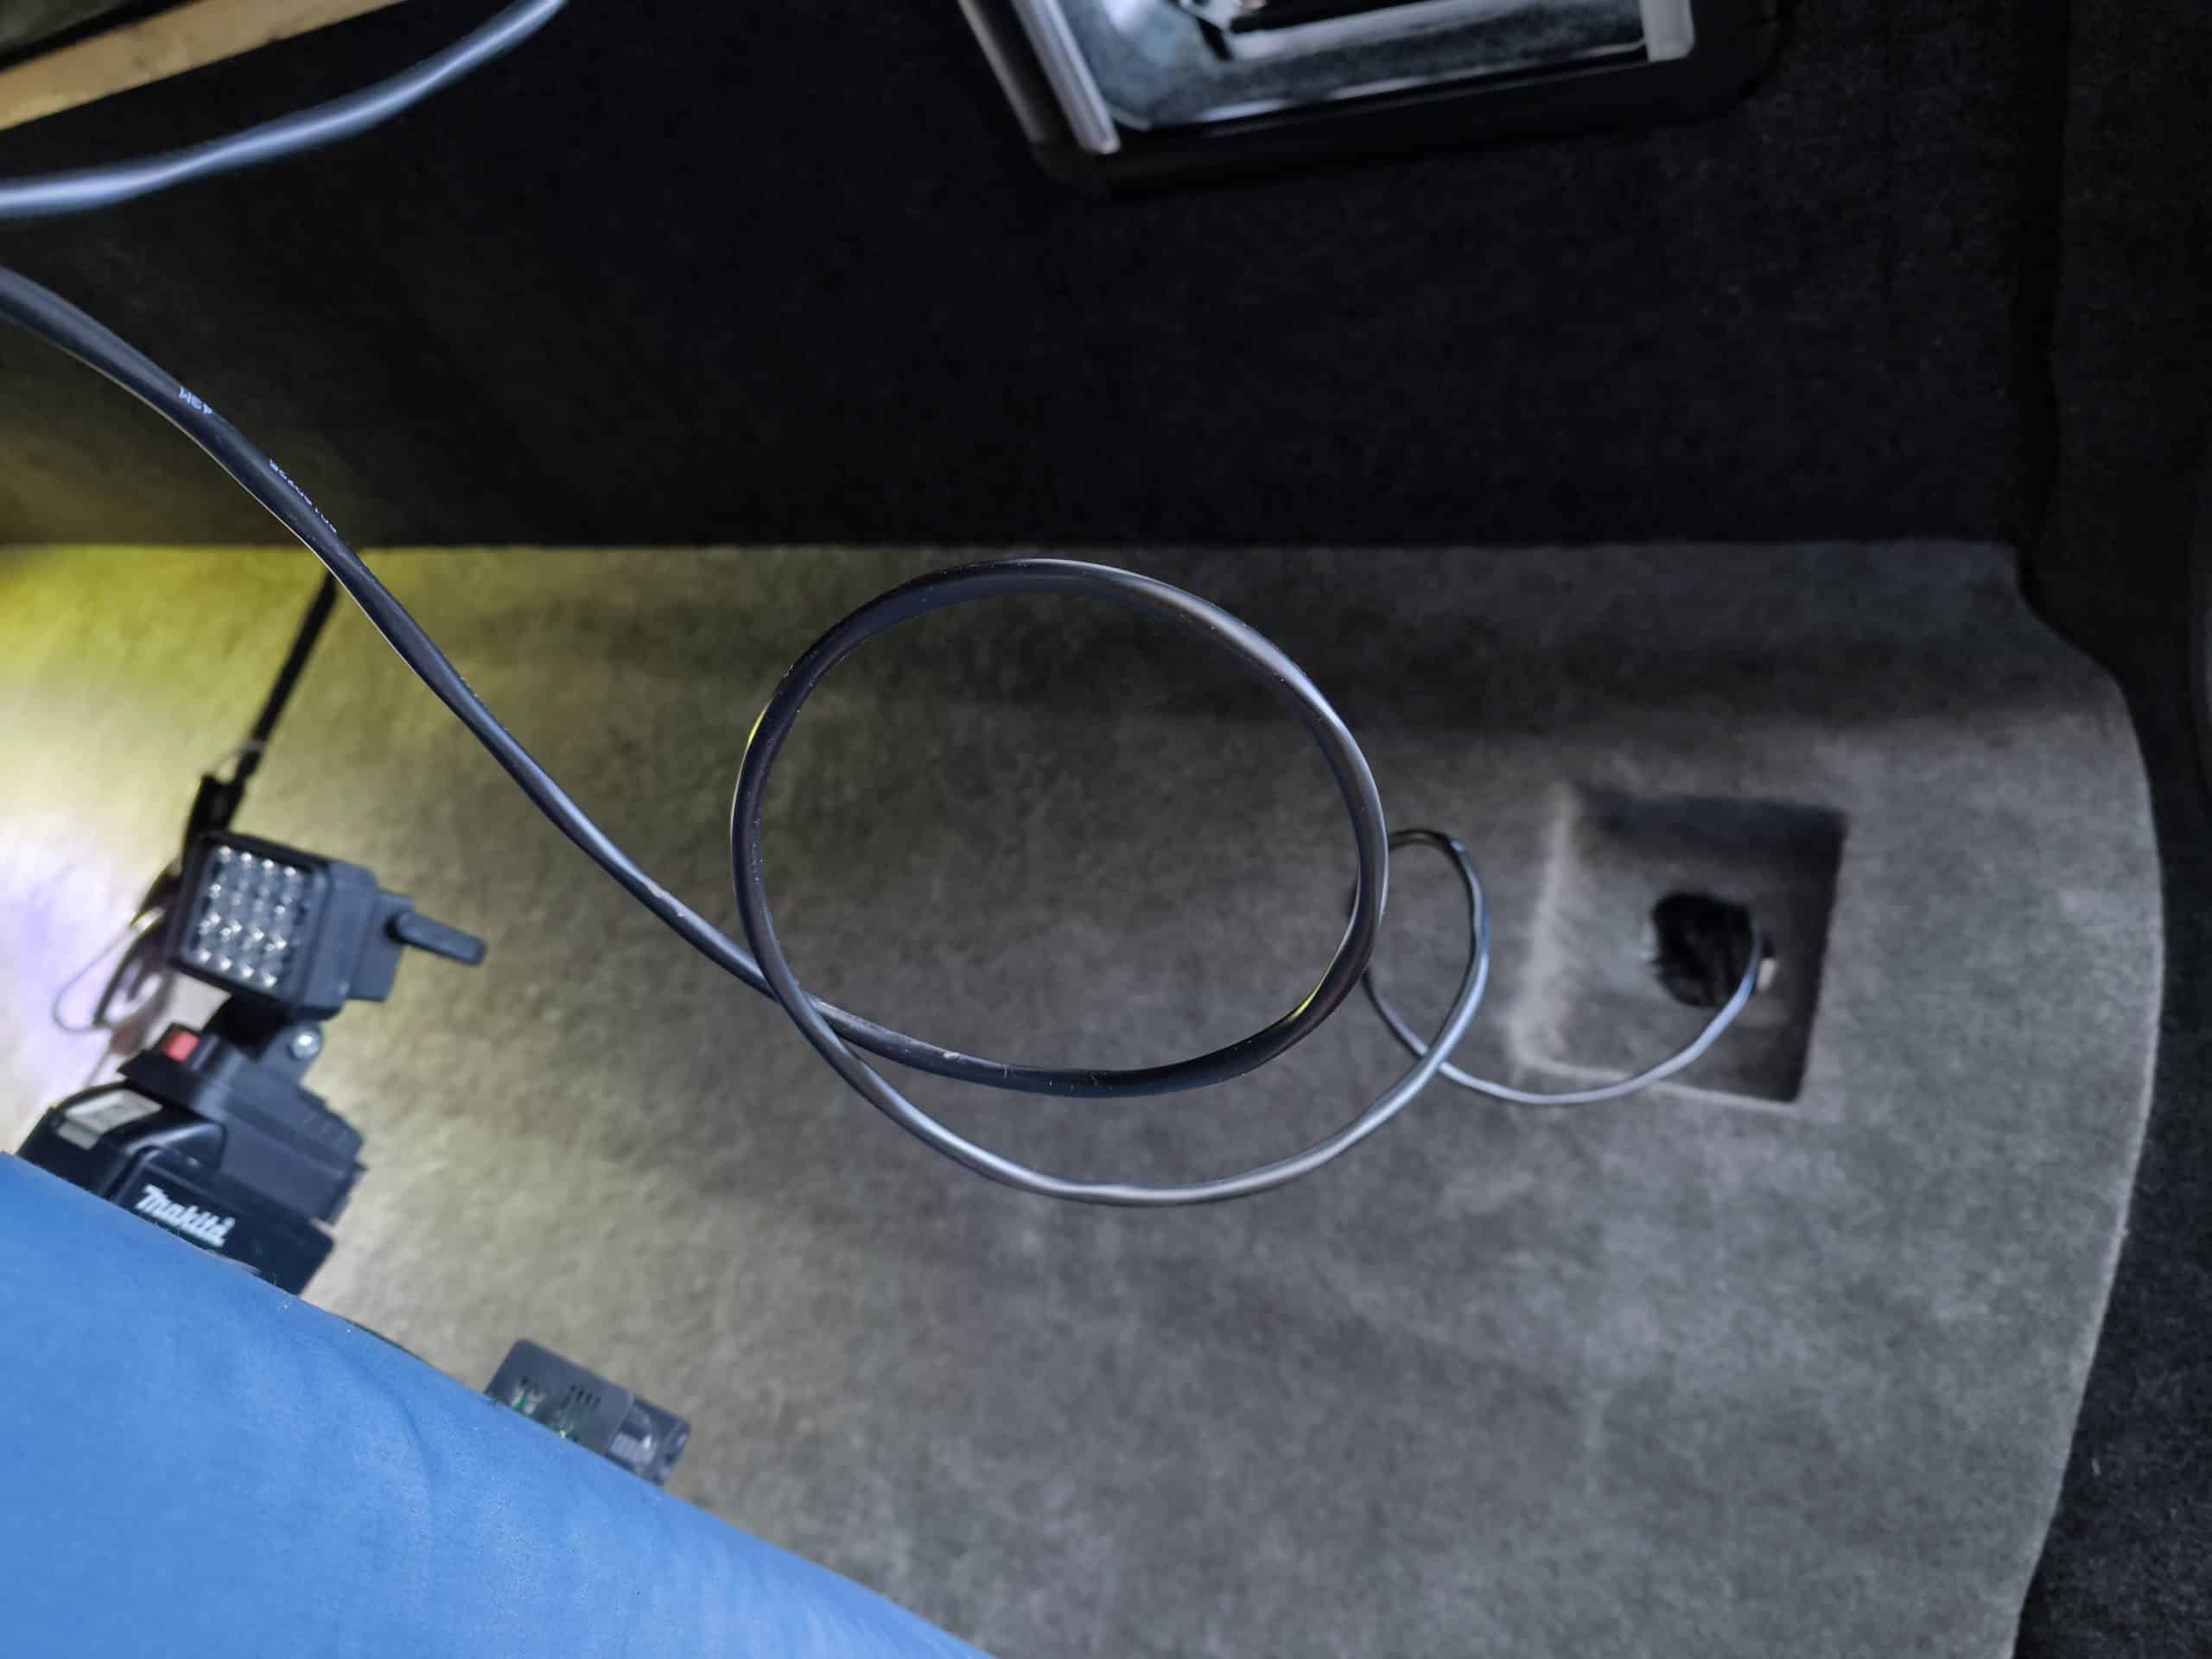
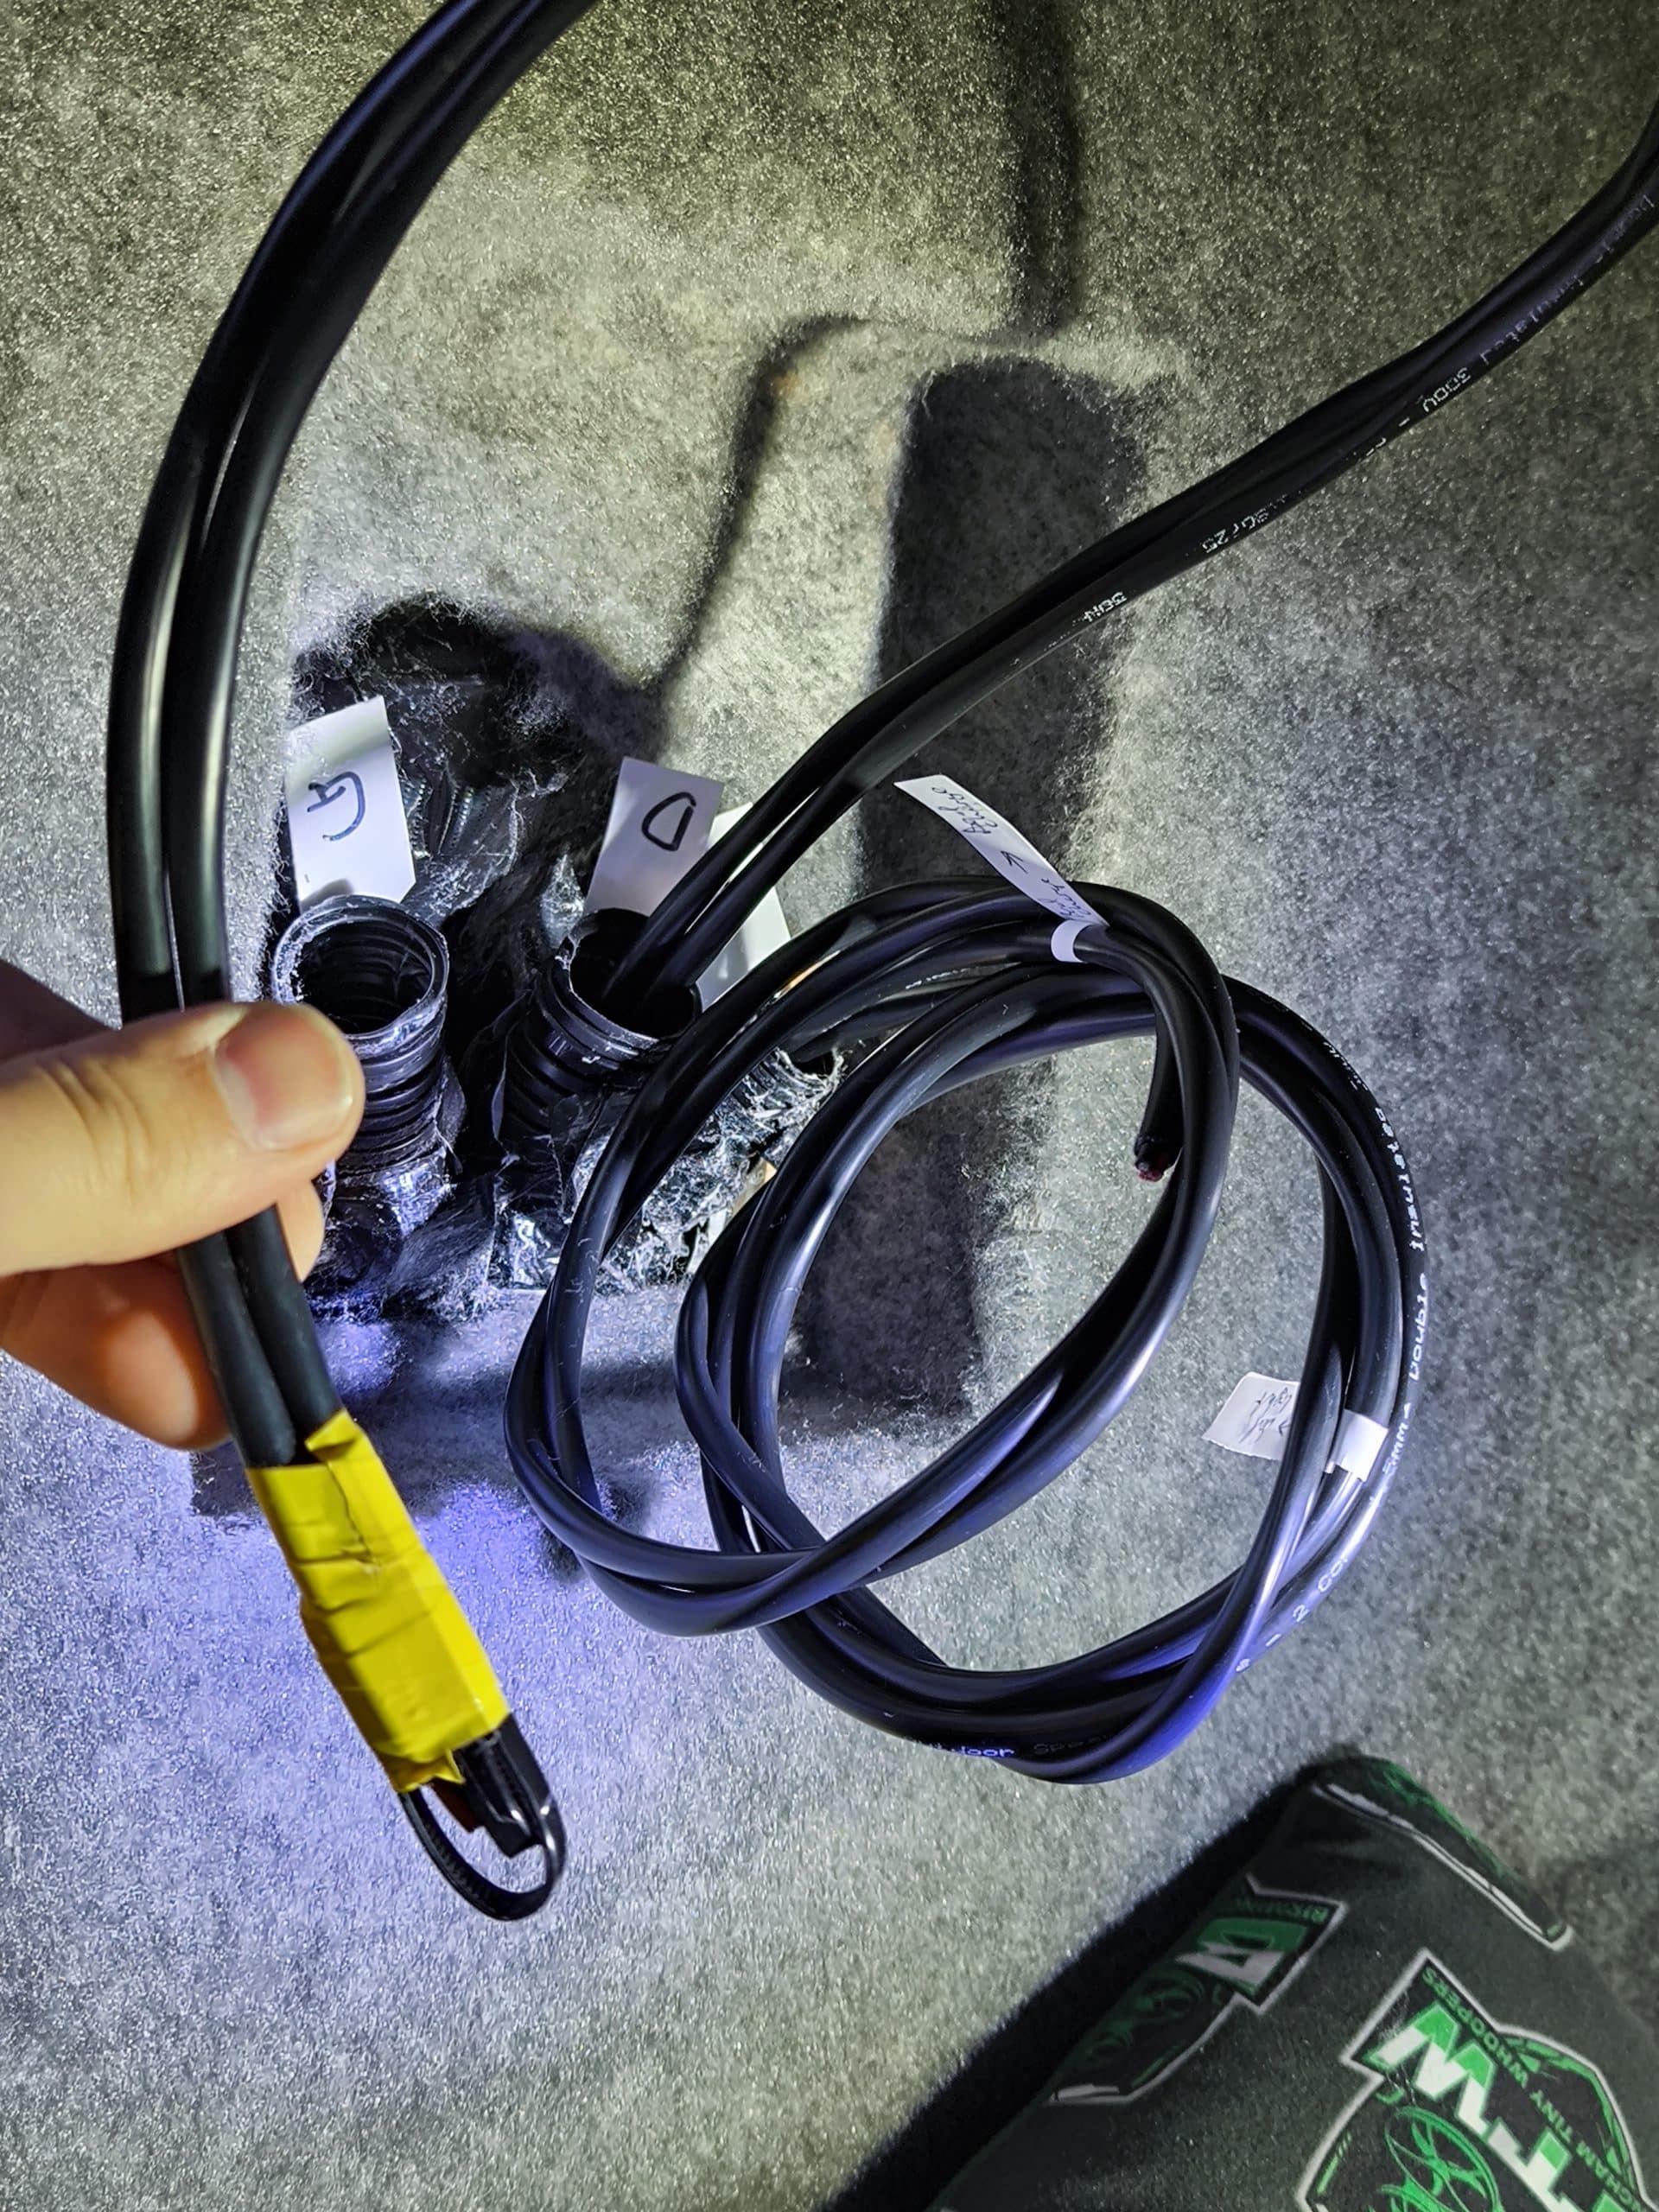
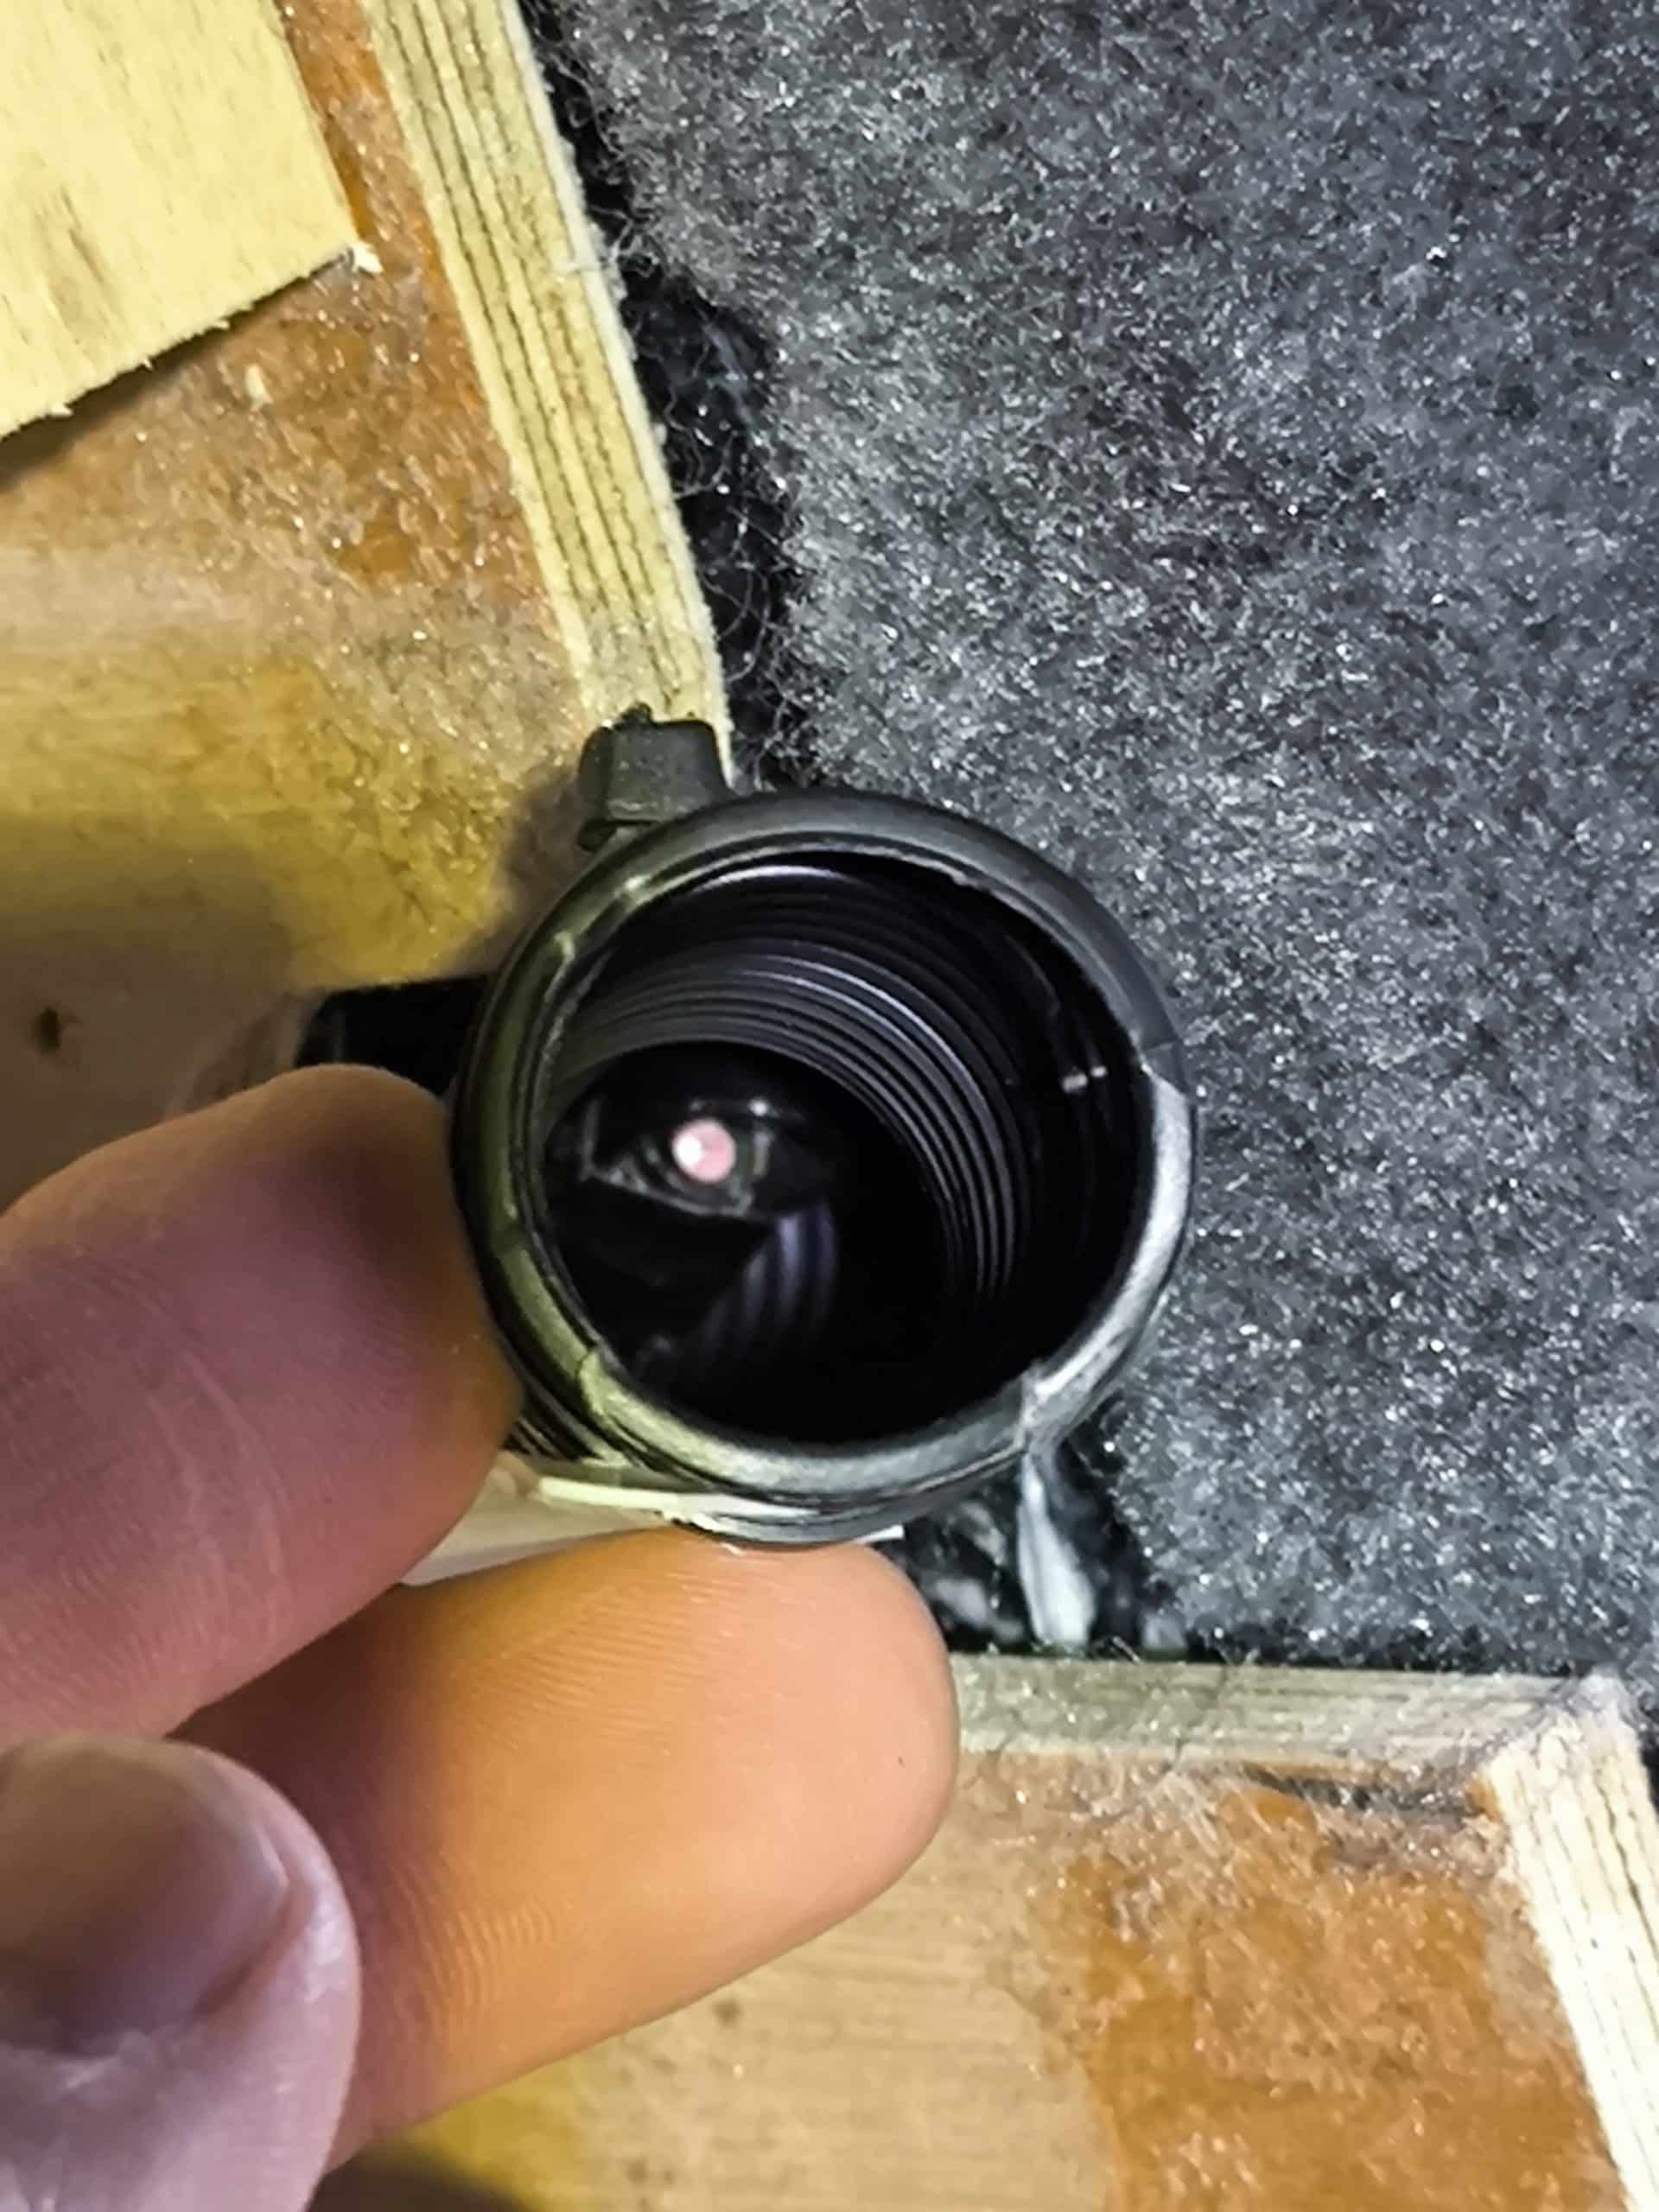
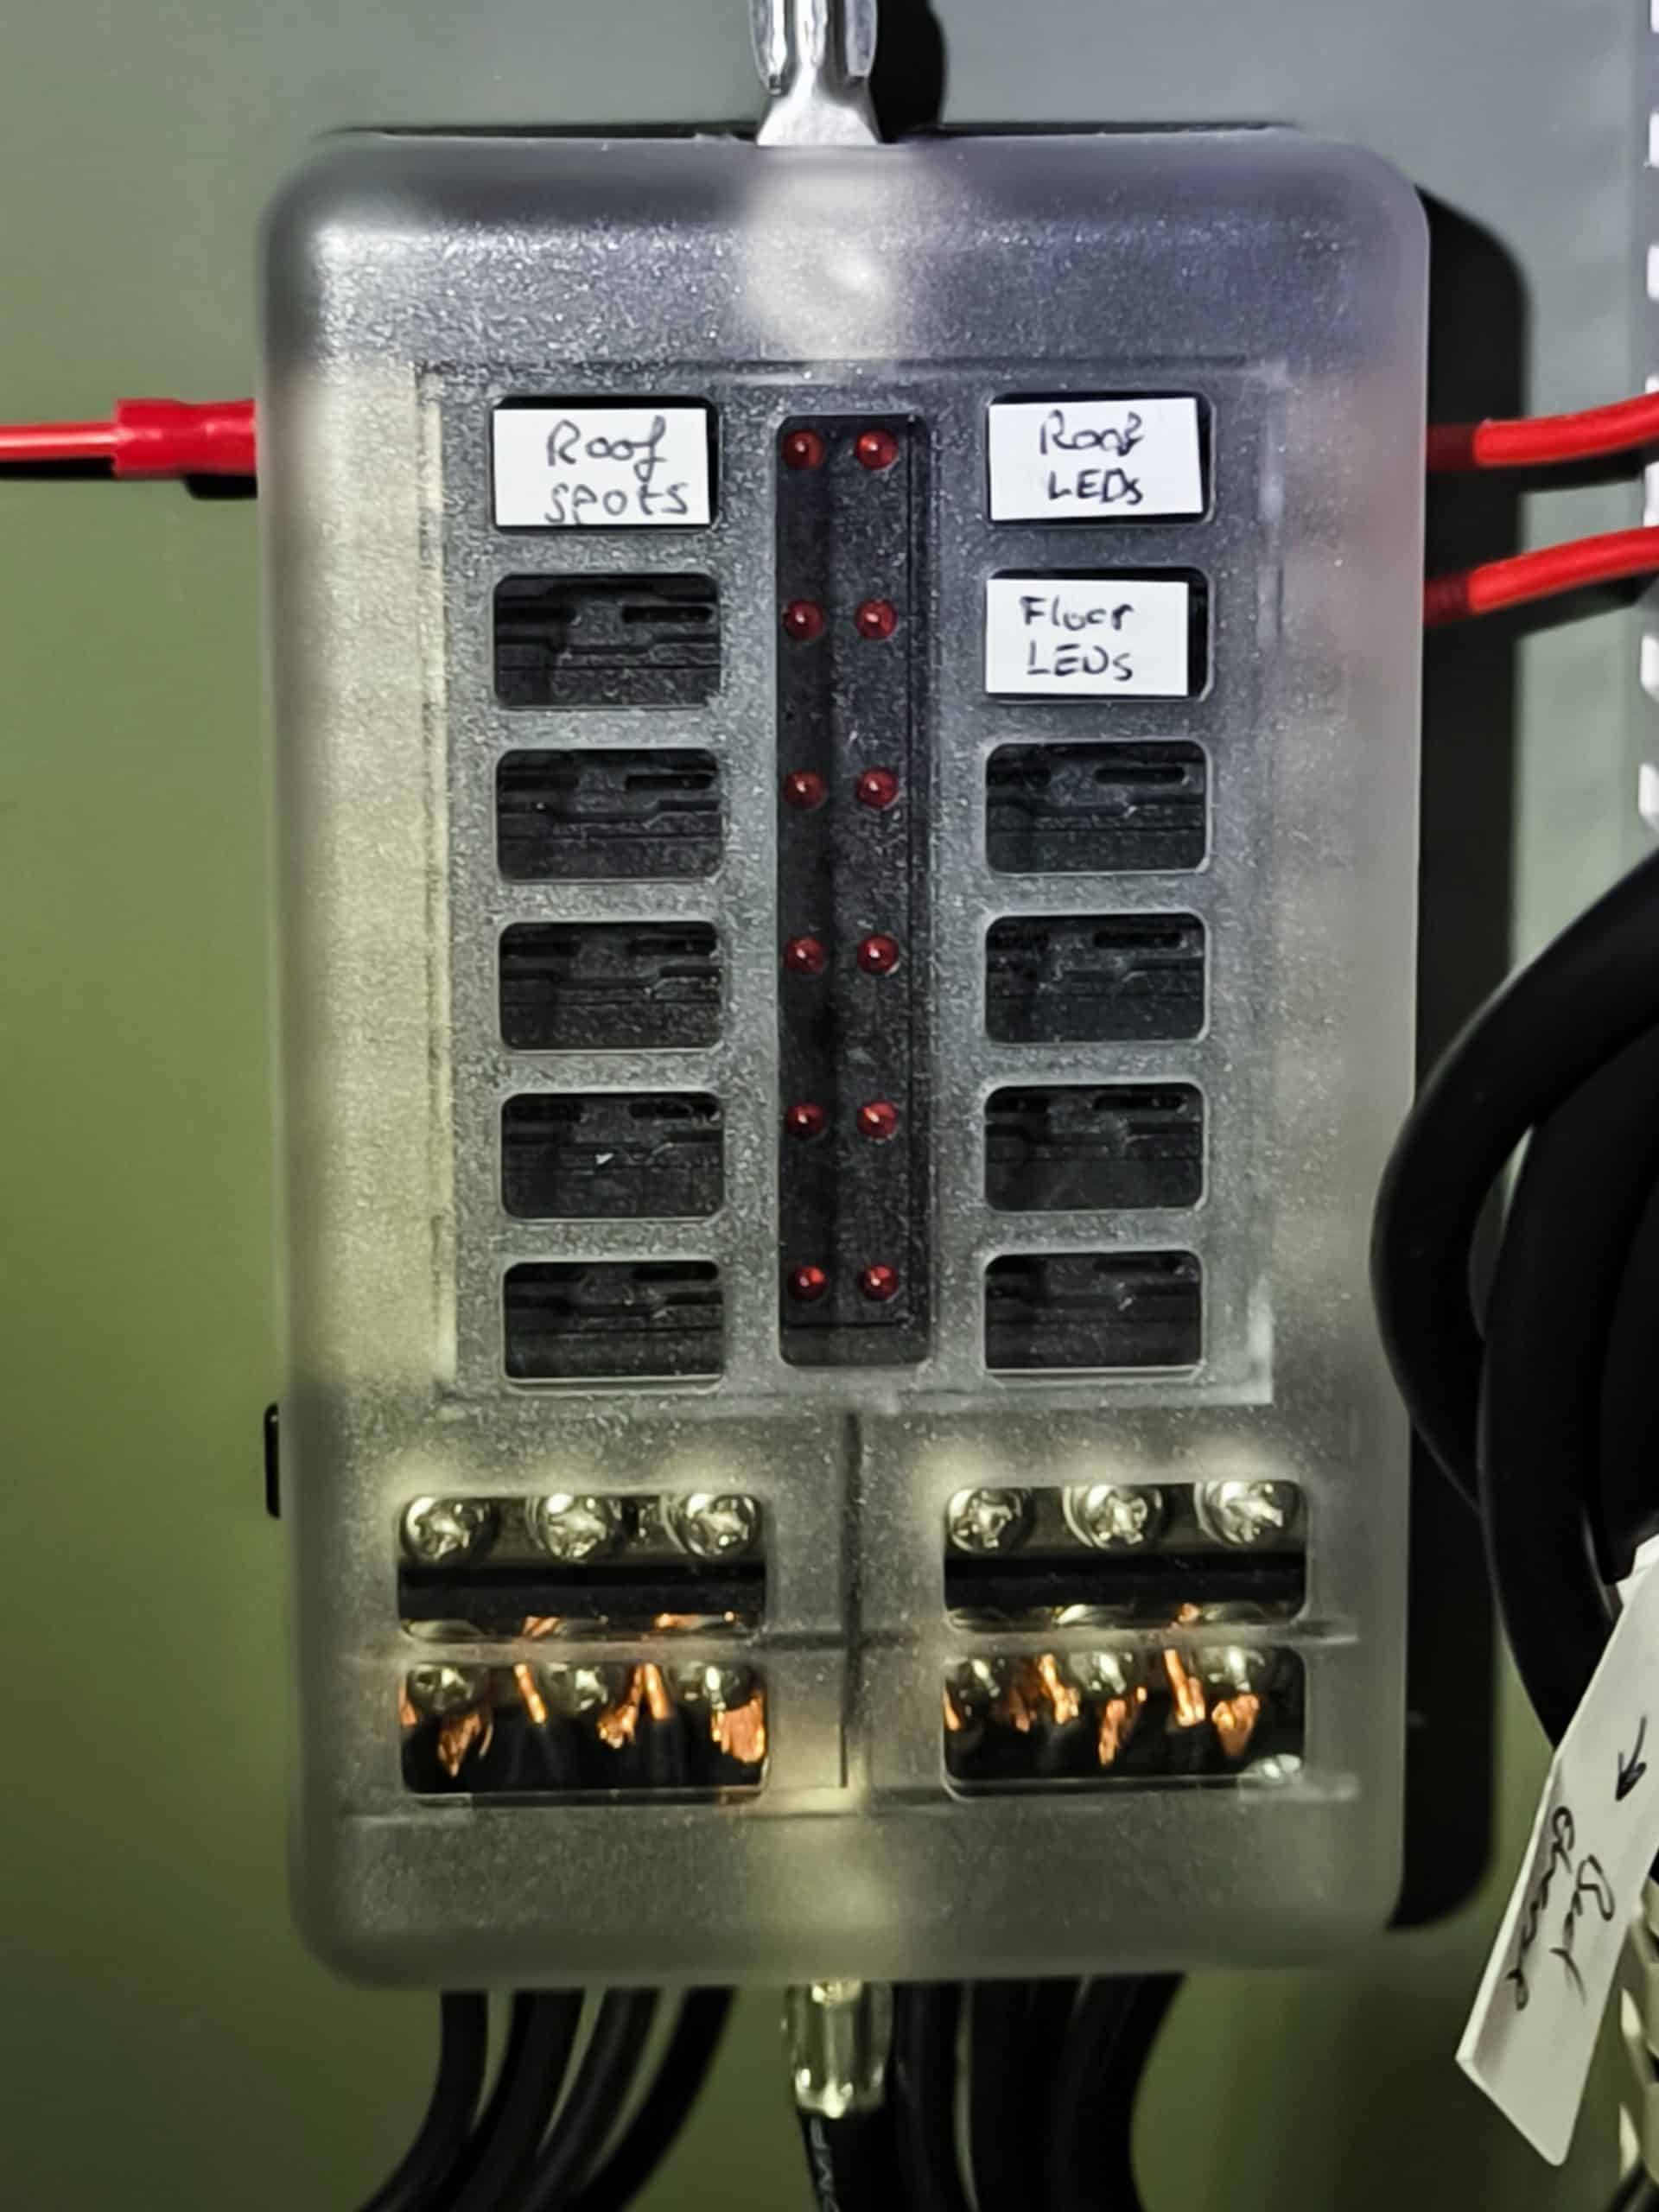
I’m going way overboard with the labelling too, but I’m paranoid about knowing where the cables are going and what’s going where. Now it’s the time to save myself headaches in future so I’m labelling everything.
Running to the head of the bed are just power supply cables so all they need to do is run back to the fuseboard and relay banks.
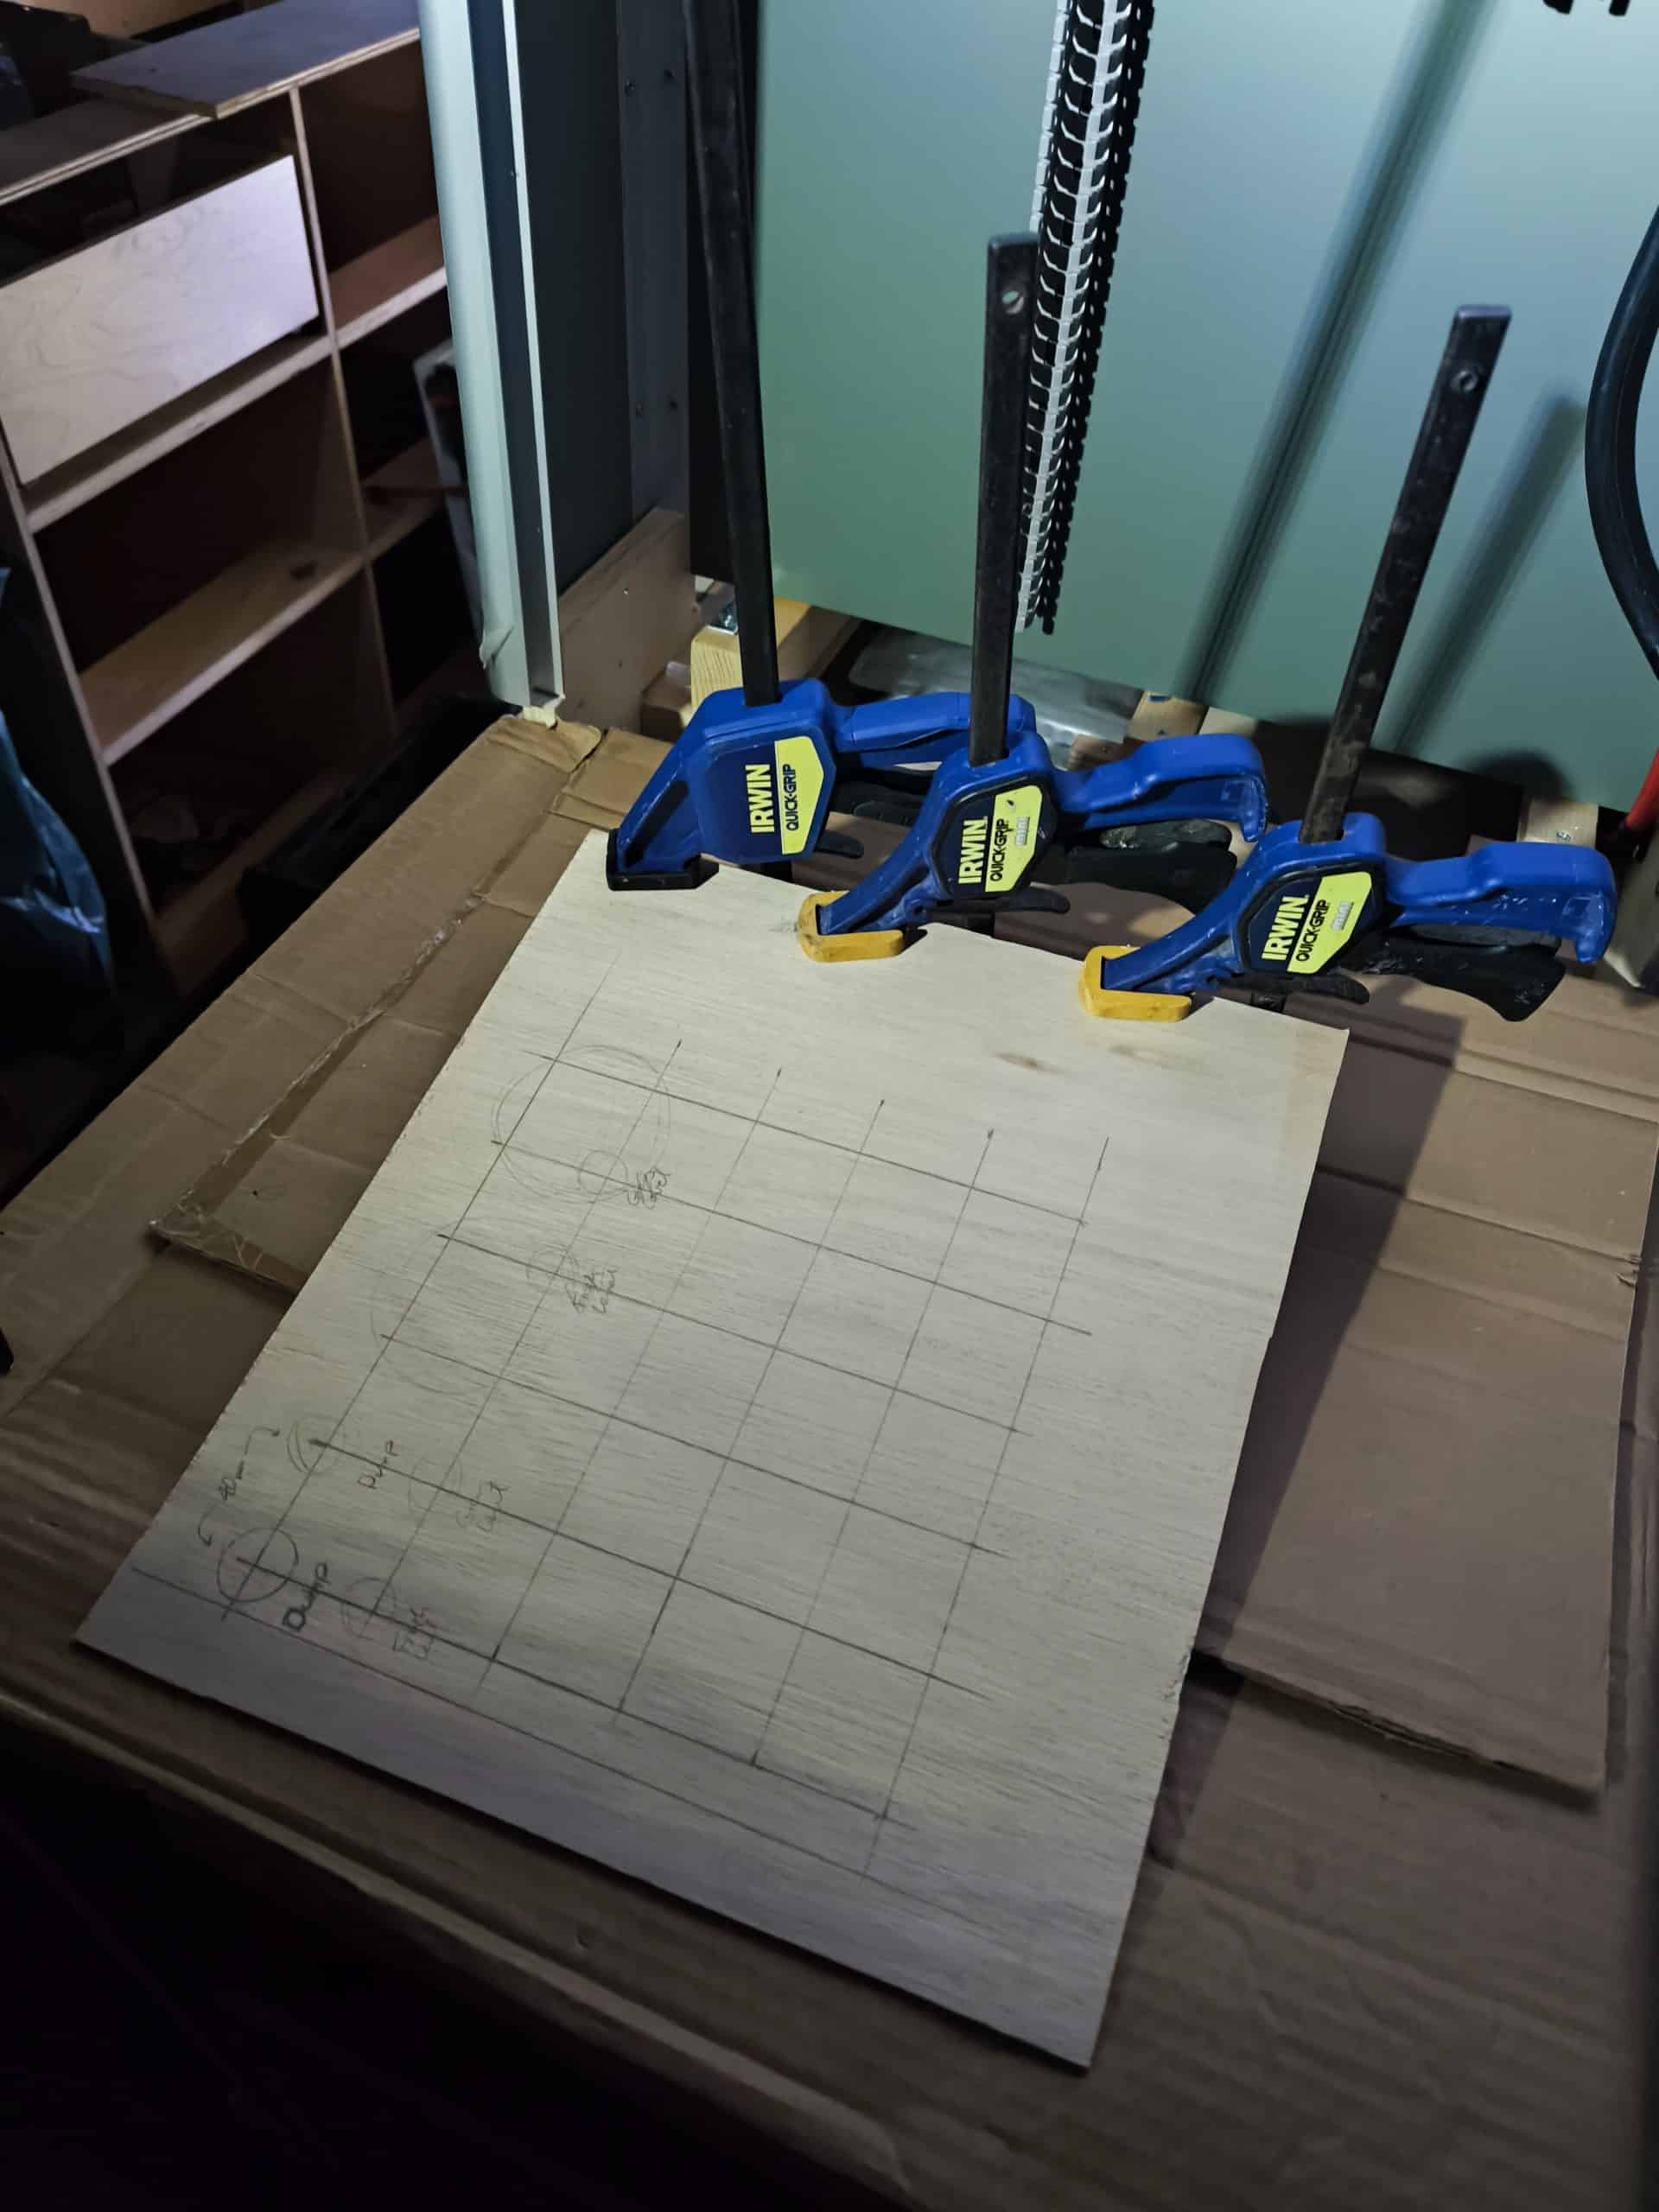
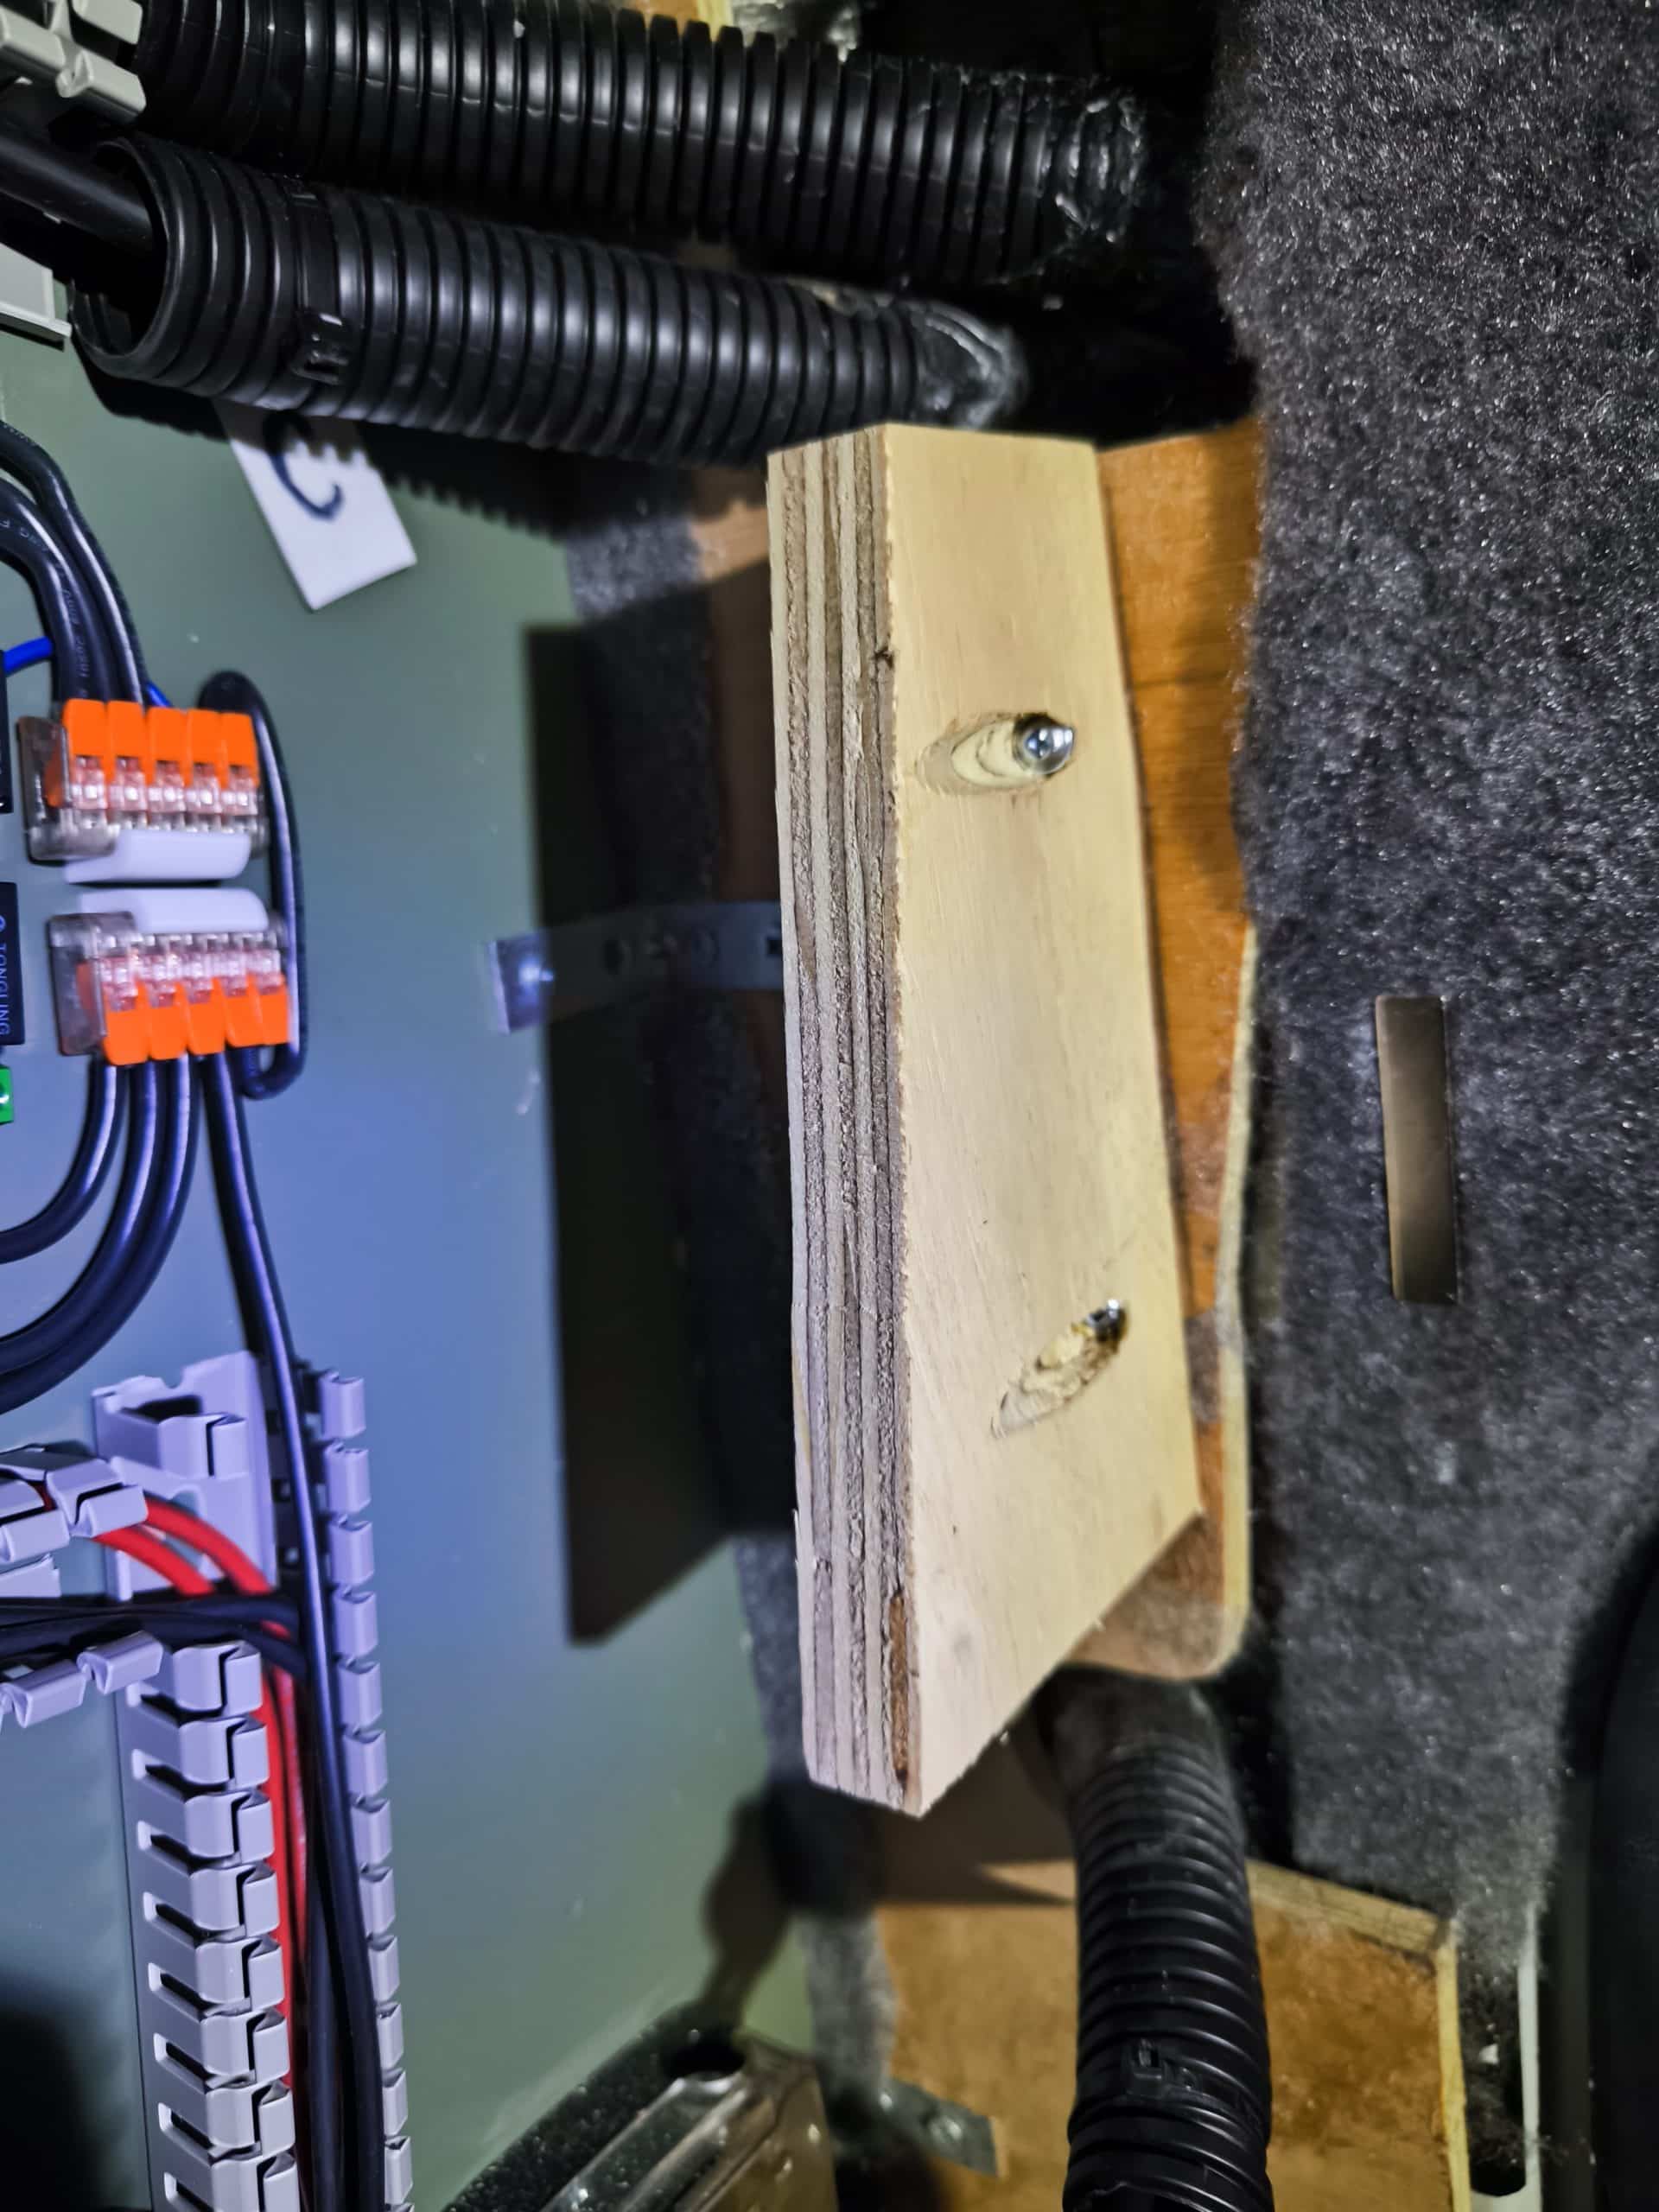
Lastly, I realised that I’m not going to get any more green ply and so will not be able to finish off the switch panel yet. So I took a scrap bit of thin ply and glued a thicker bit to the edge. This is where I can attach hinges to an 18mm bit of ply and create a temporary surface onto which I can fit the switches. This means I can test out a layout without having to commit to it in green ply yet.