Diary Of A Camper Conversion
Today was a fiddly day. I’ve got to get the last couple of wall panels on so that I can start carpeting.
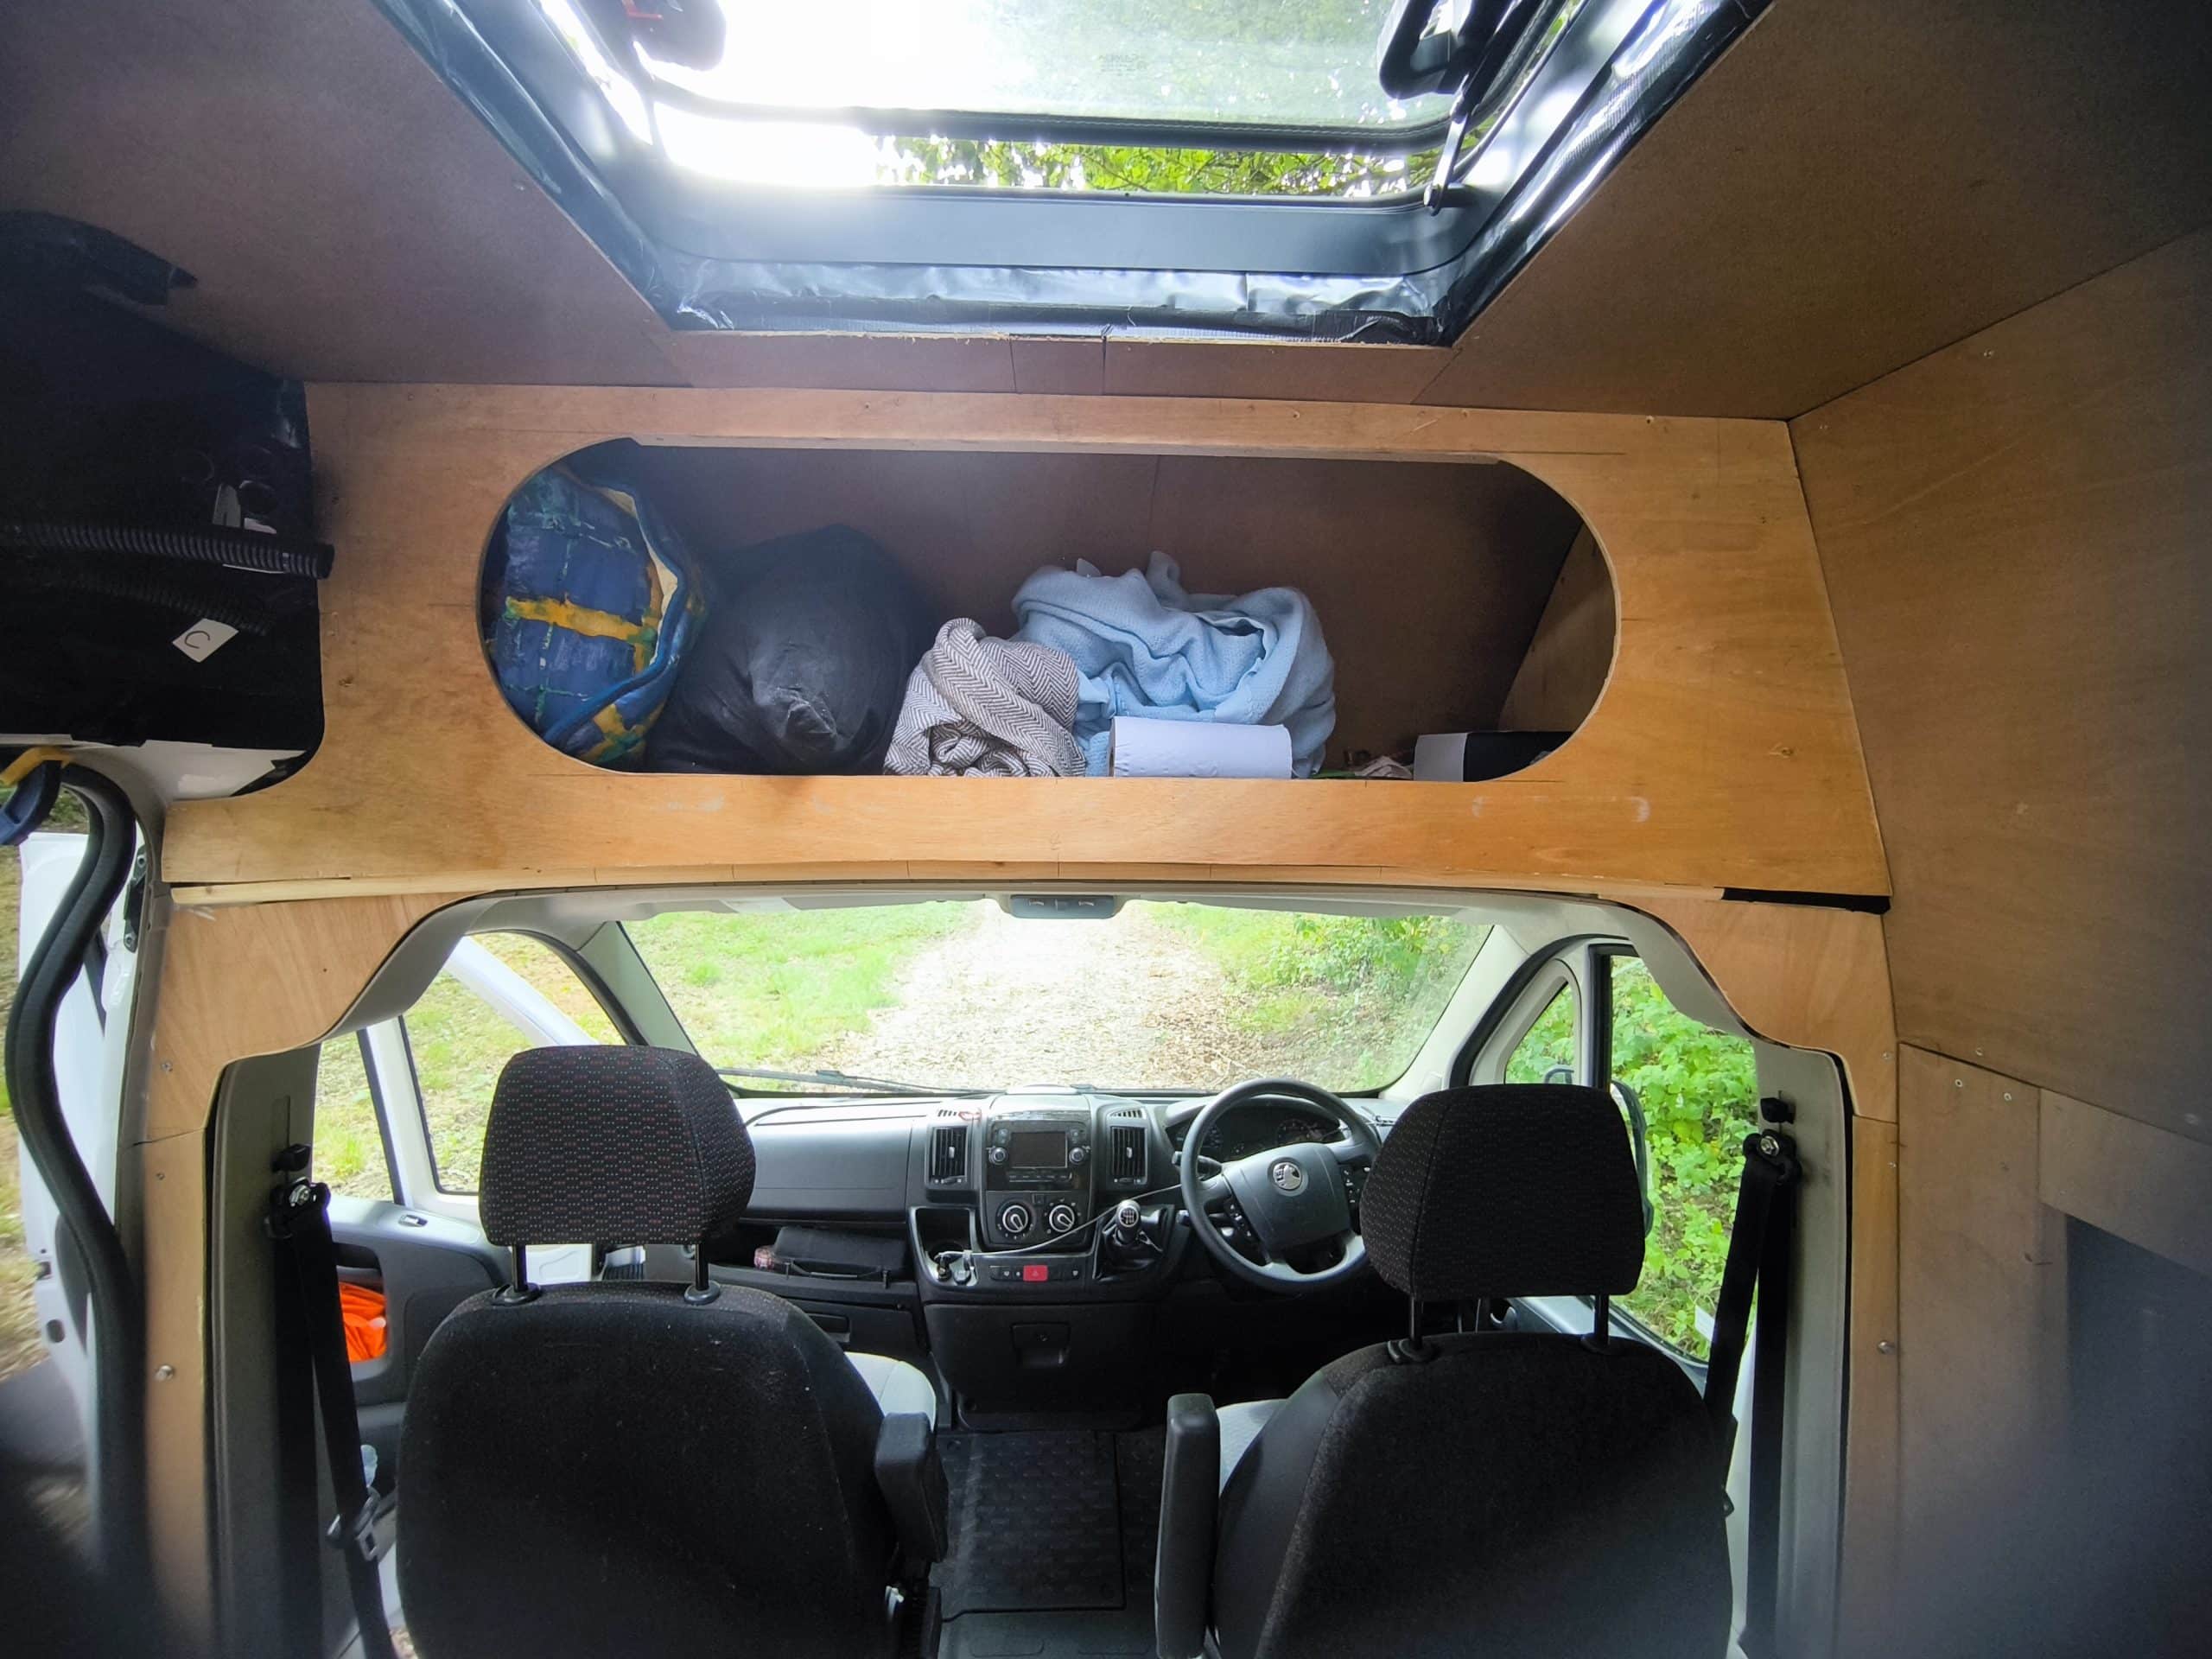
I had previously cut the over cablocker panel to fit and so now it was time to turn it into a usable cabinet. However I had since finished paneling the adjacent wall and so now it needed to be adjusted further to fit. Then I had the joy of making an artistic decision rather than a practical one as I cut out the hatch. I chose to cut an oval rather than a boring rectangle. This might make lining up the hinges a little more difficult but at least that will have an interesting shape to look at.
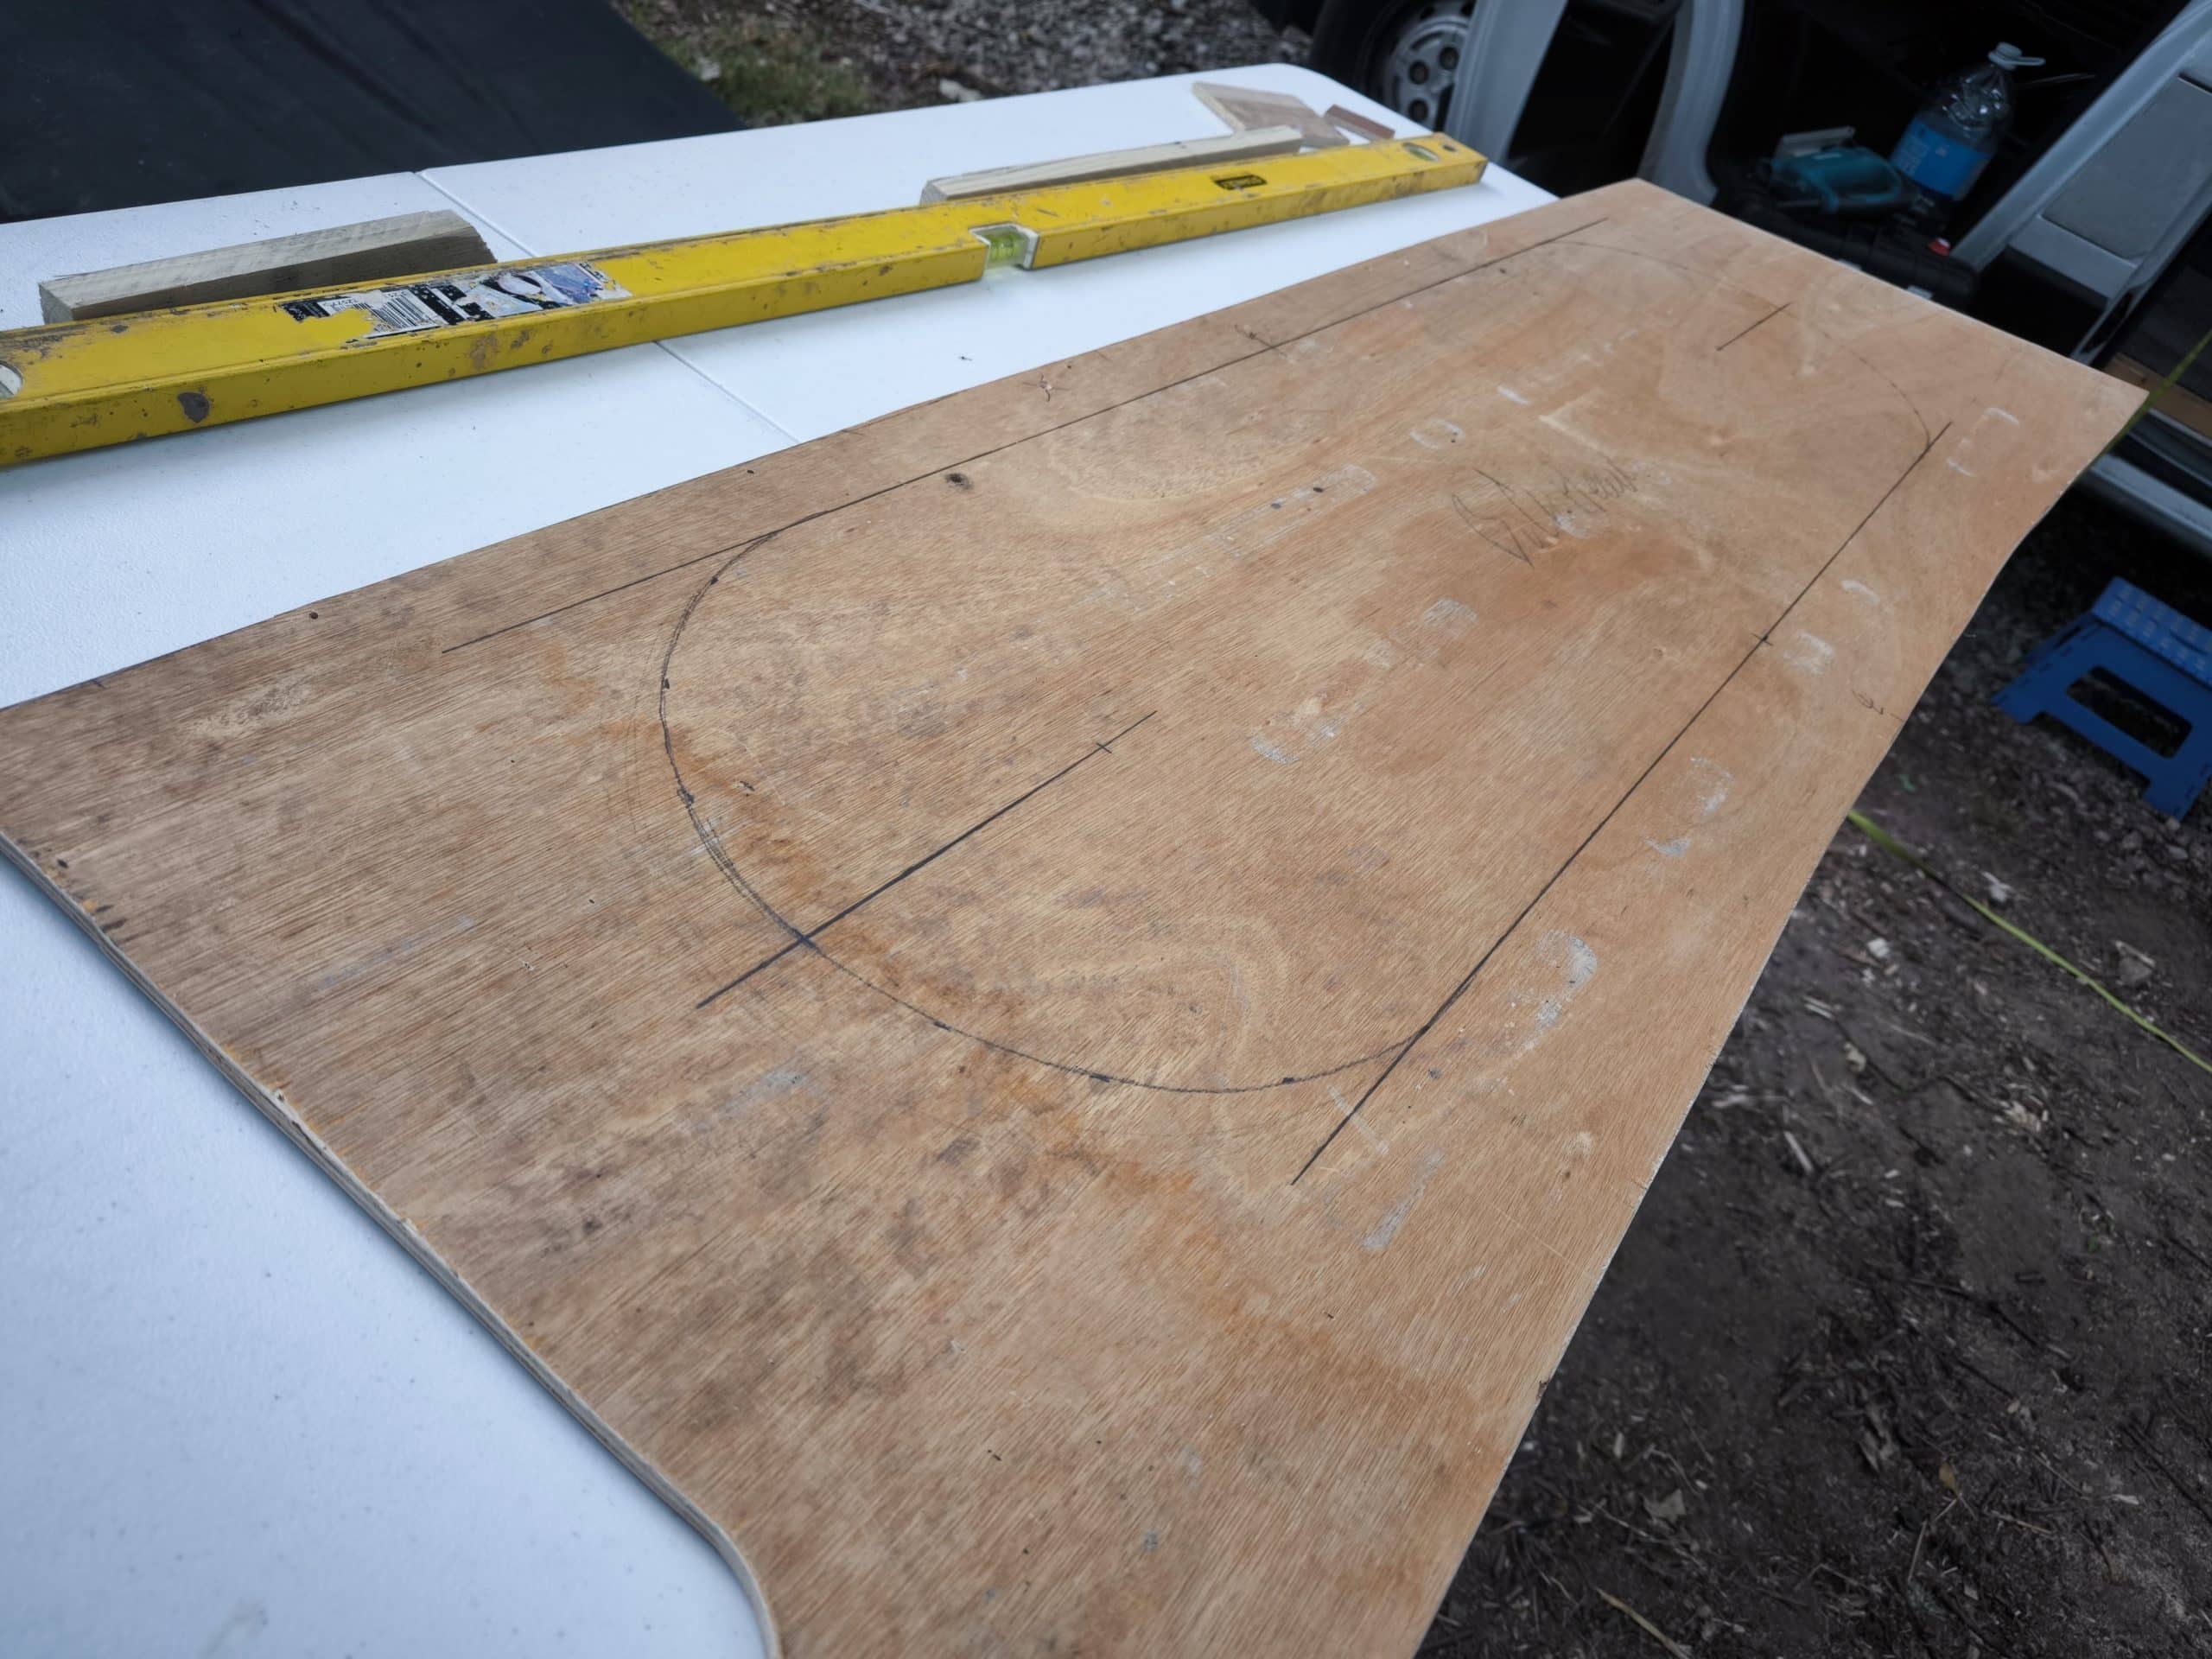
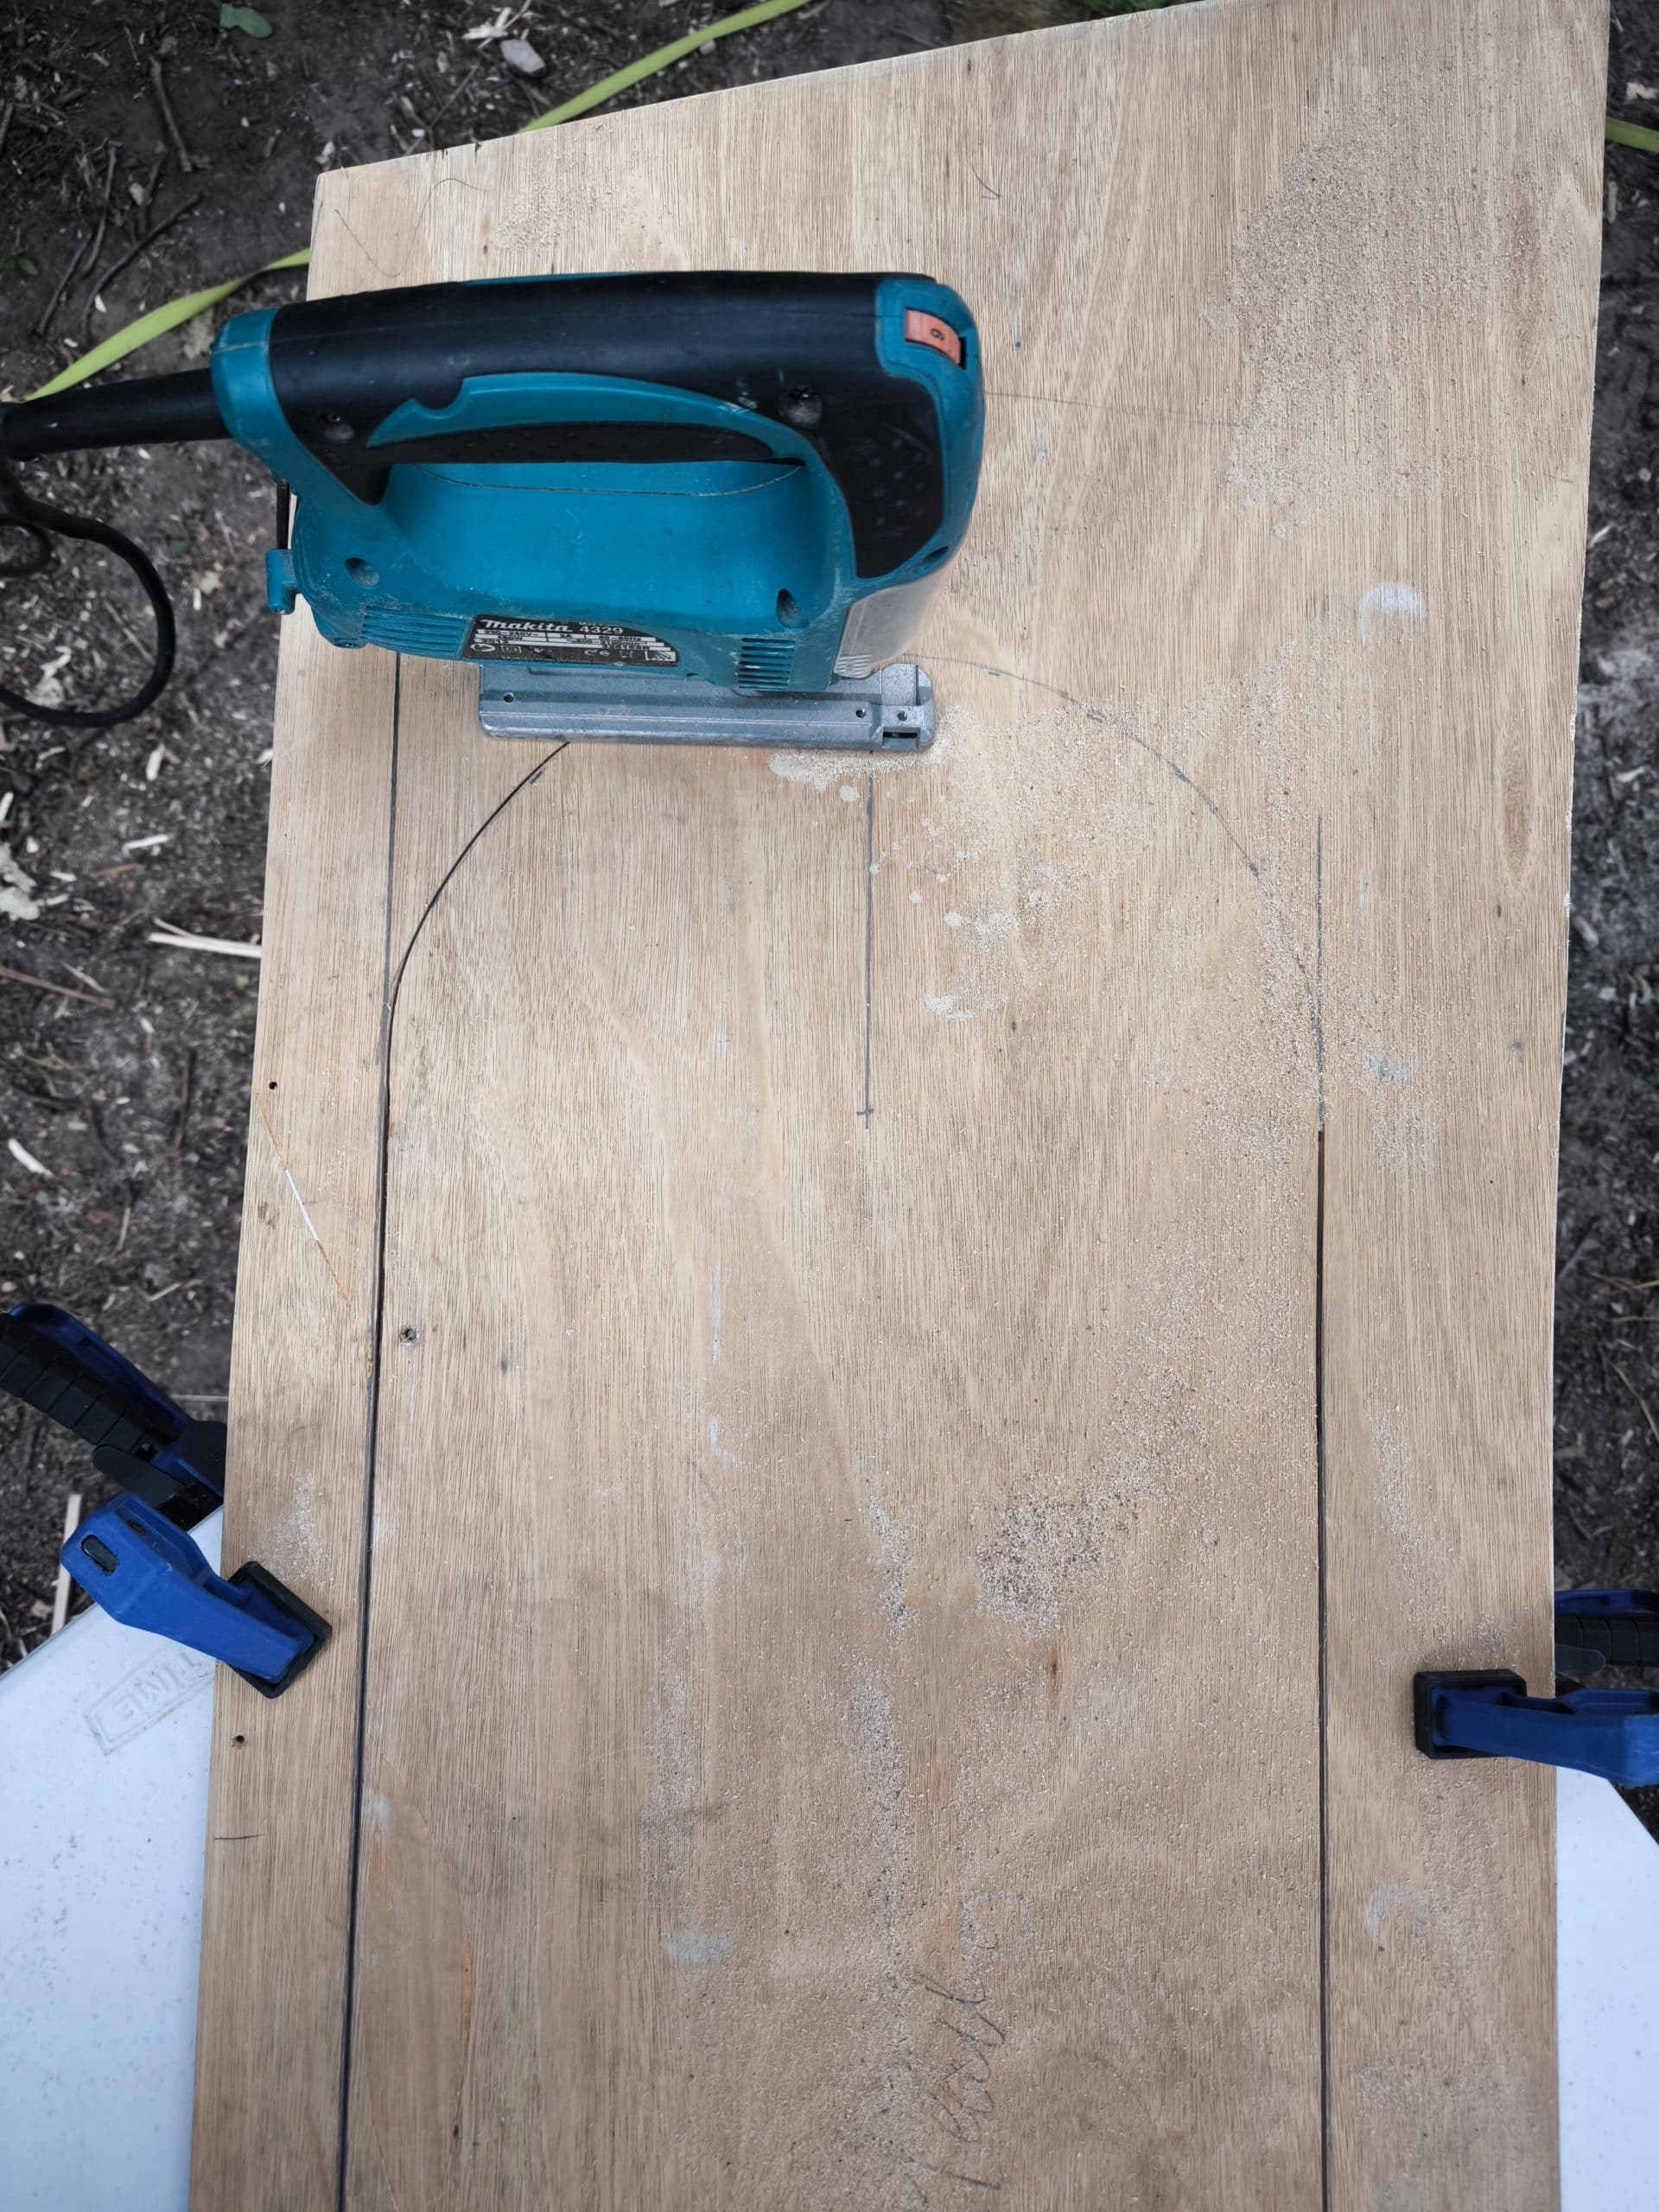
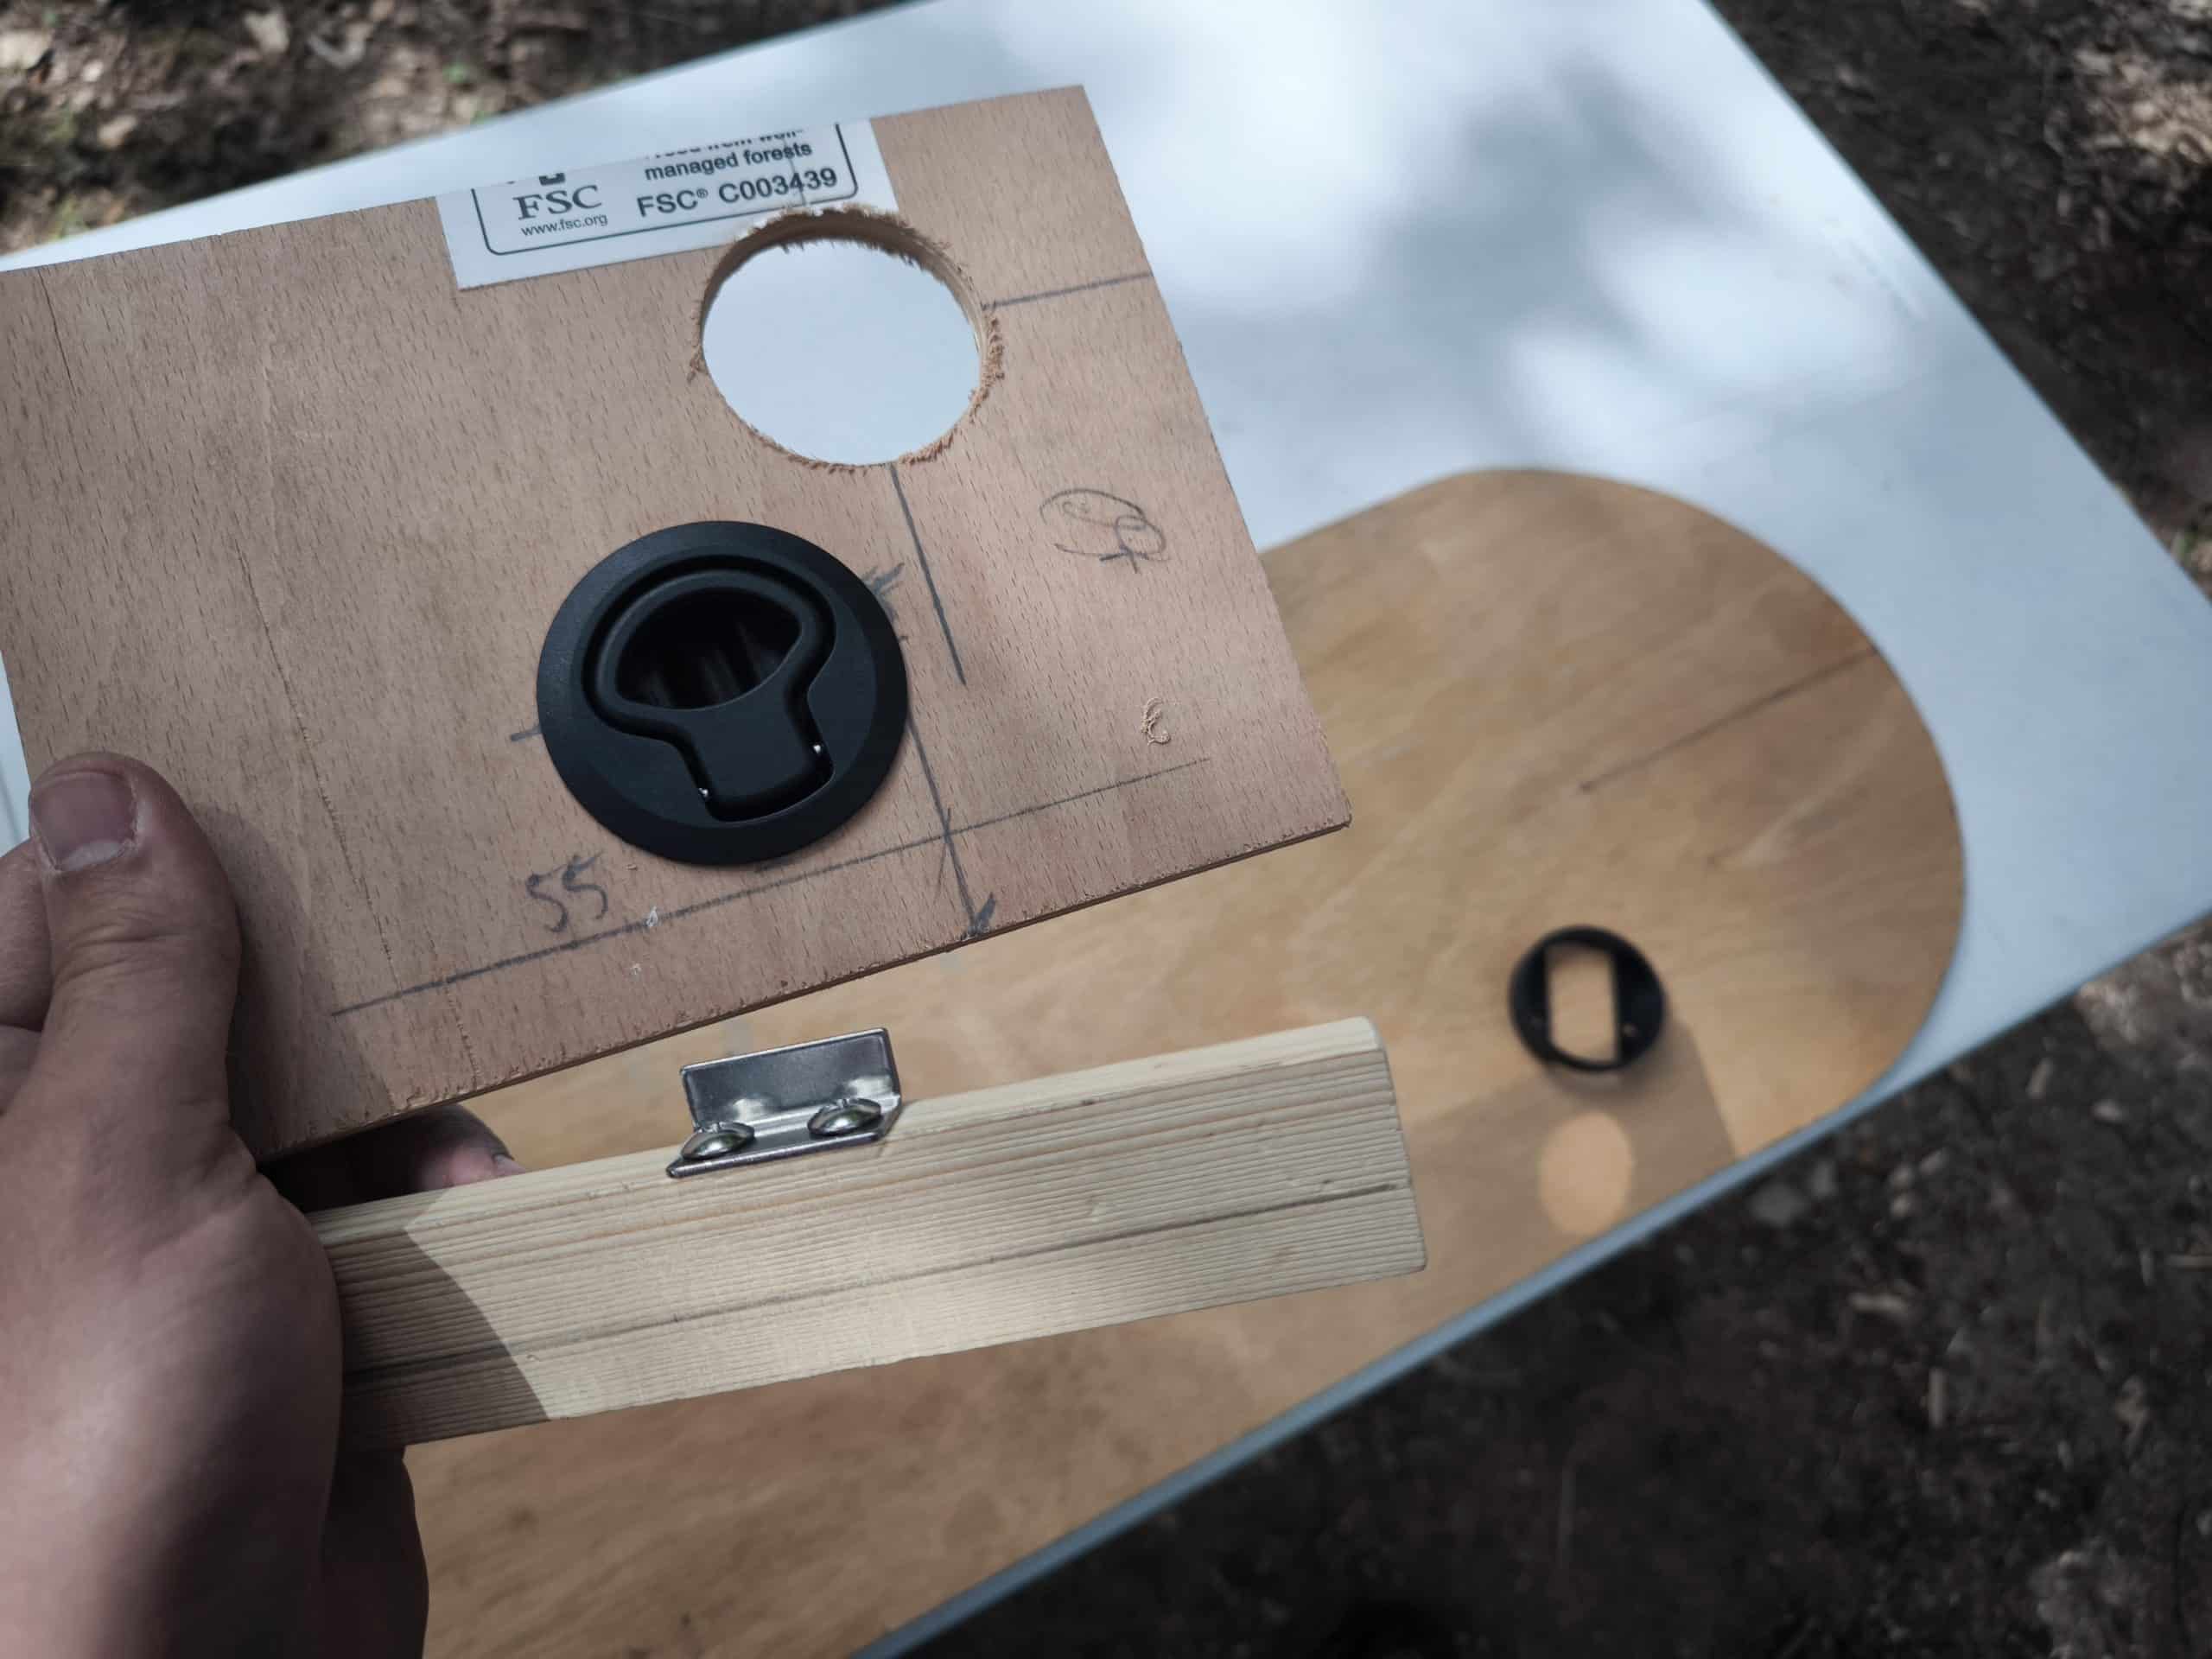
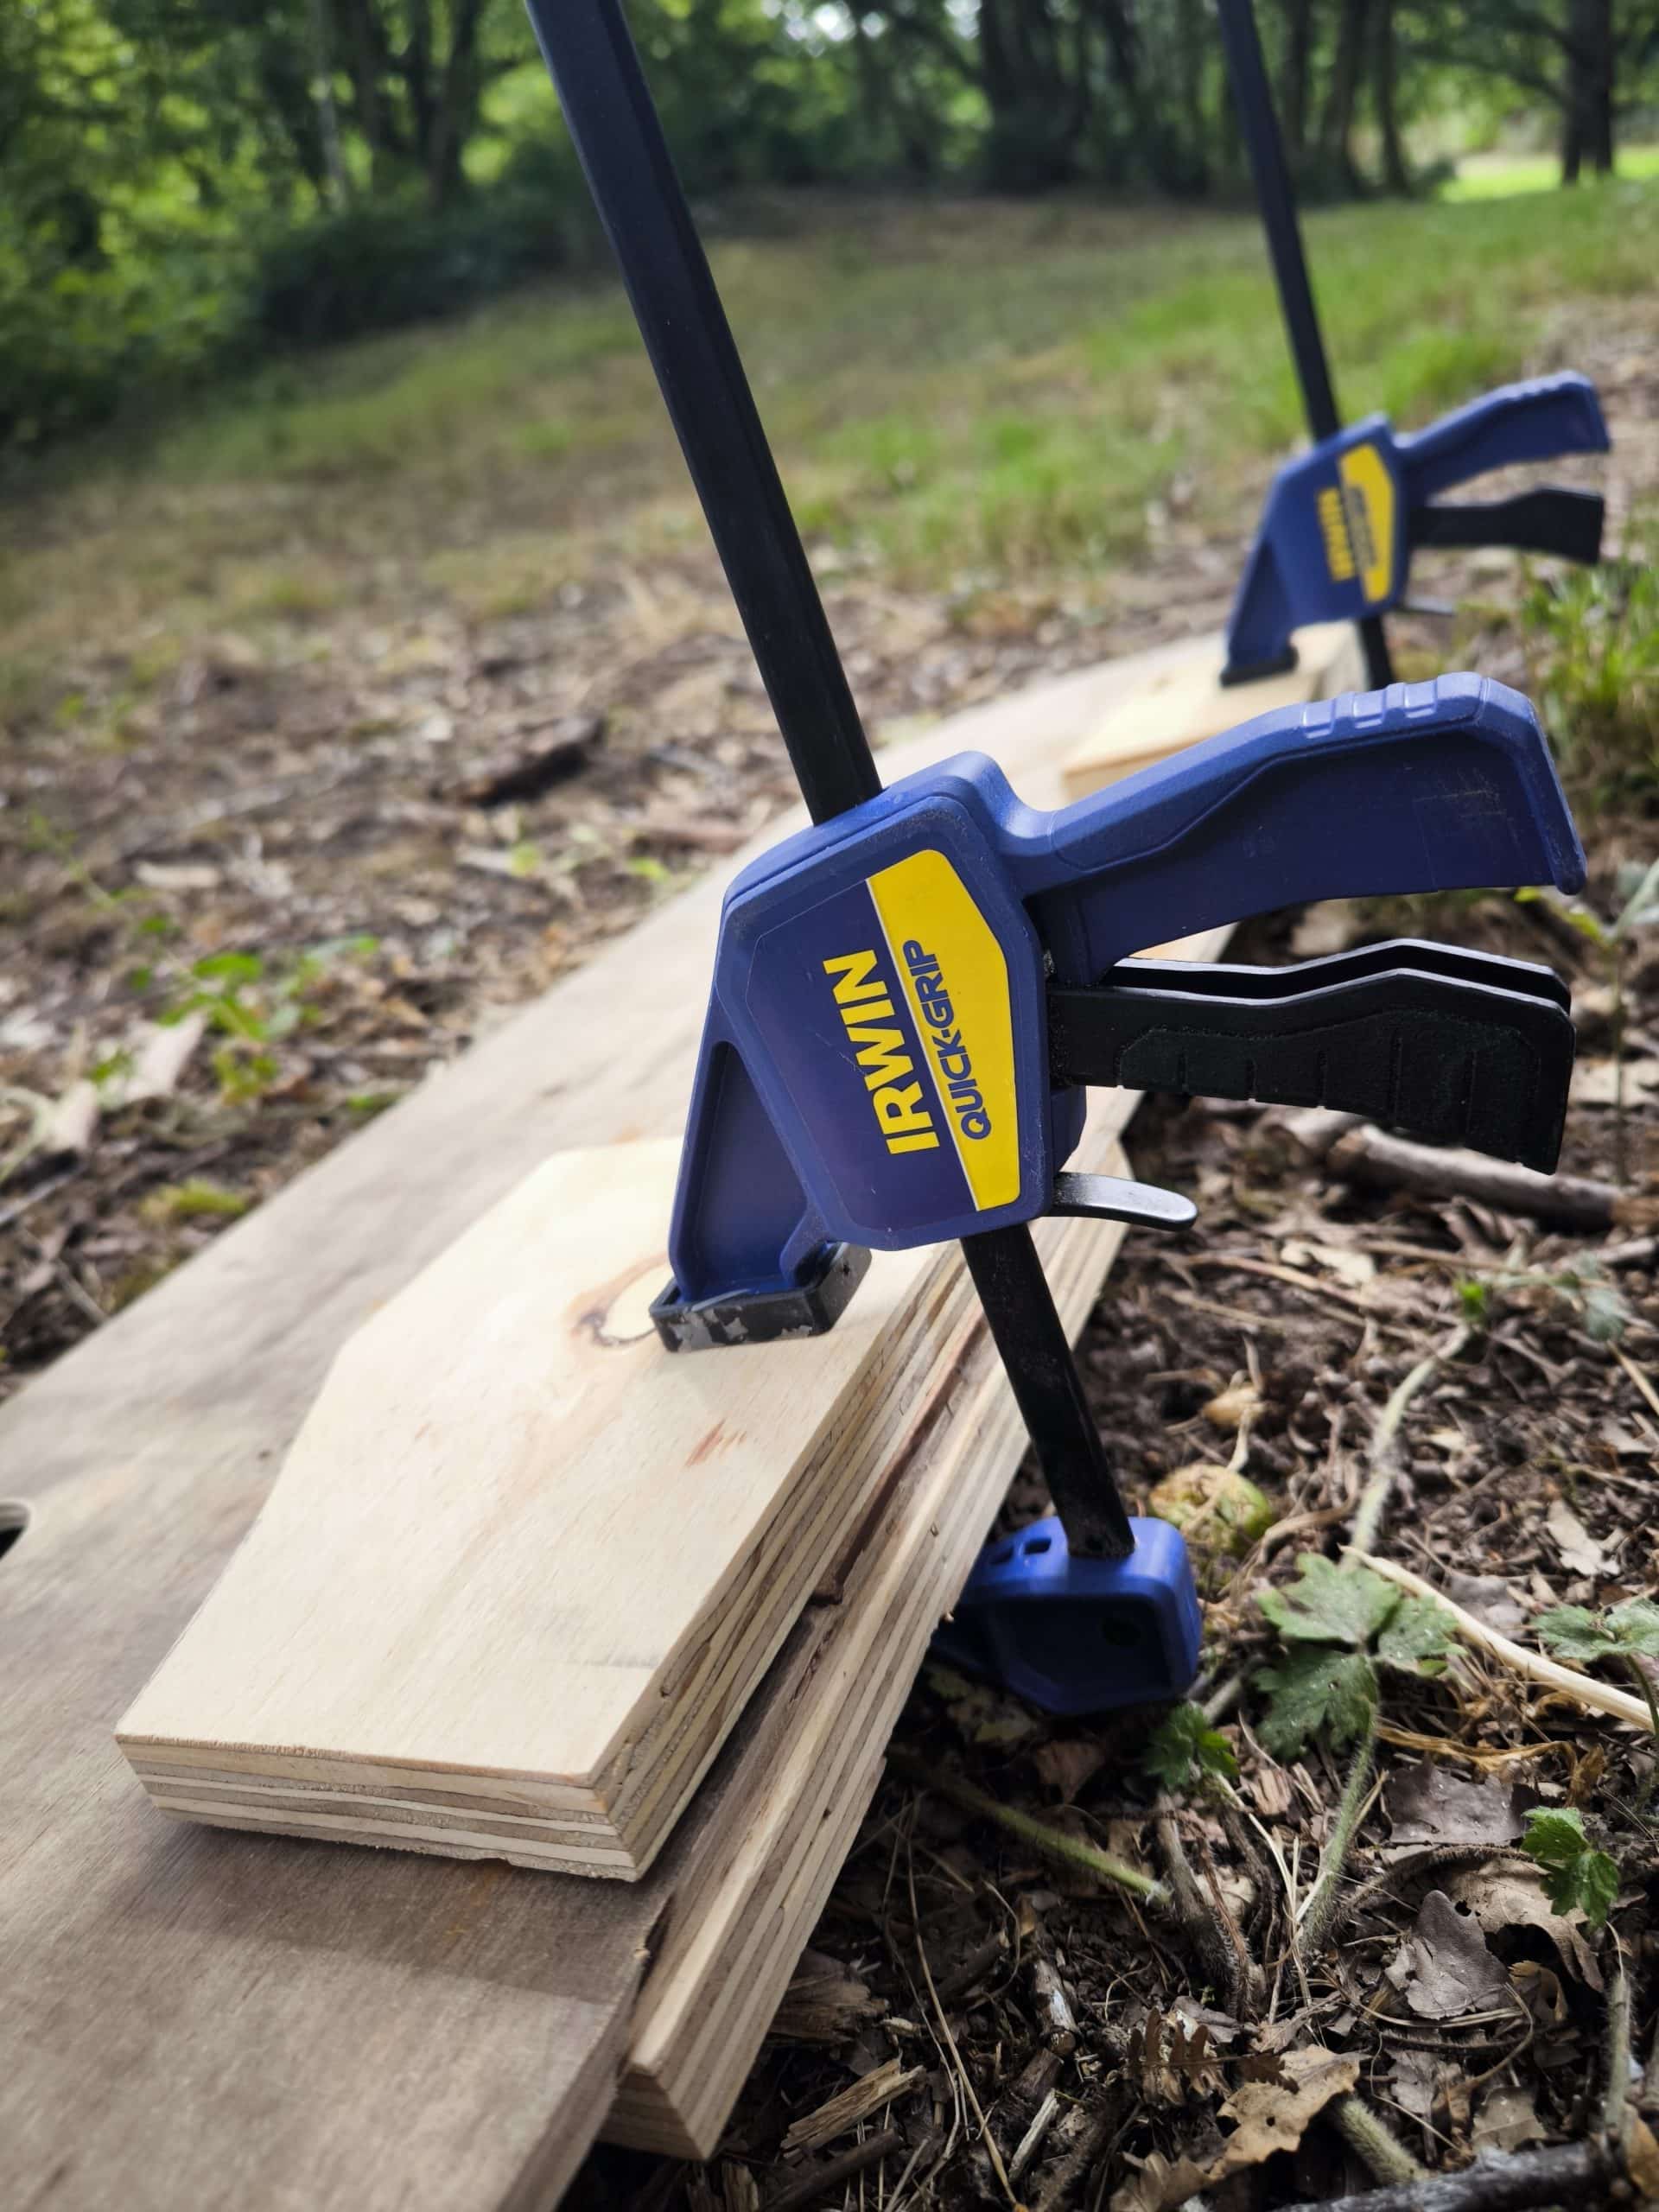
Speaking of the hinges I’m using as thin quite a wood as I can get away with. This means any decent fixing screw is too long and will poke through the front face when the hinges are attached. So I cut some small squares of hardboard and glued and clamped them where the hinges shall be attached.
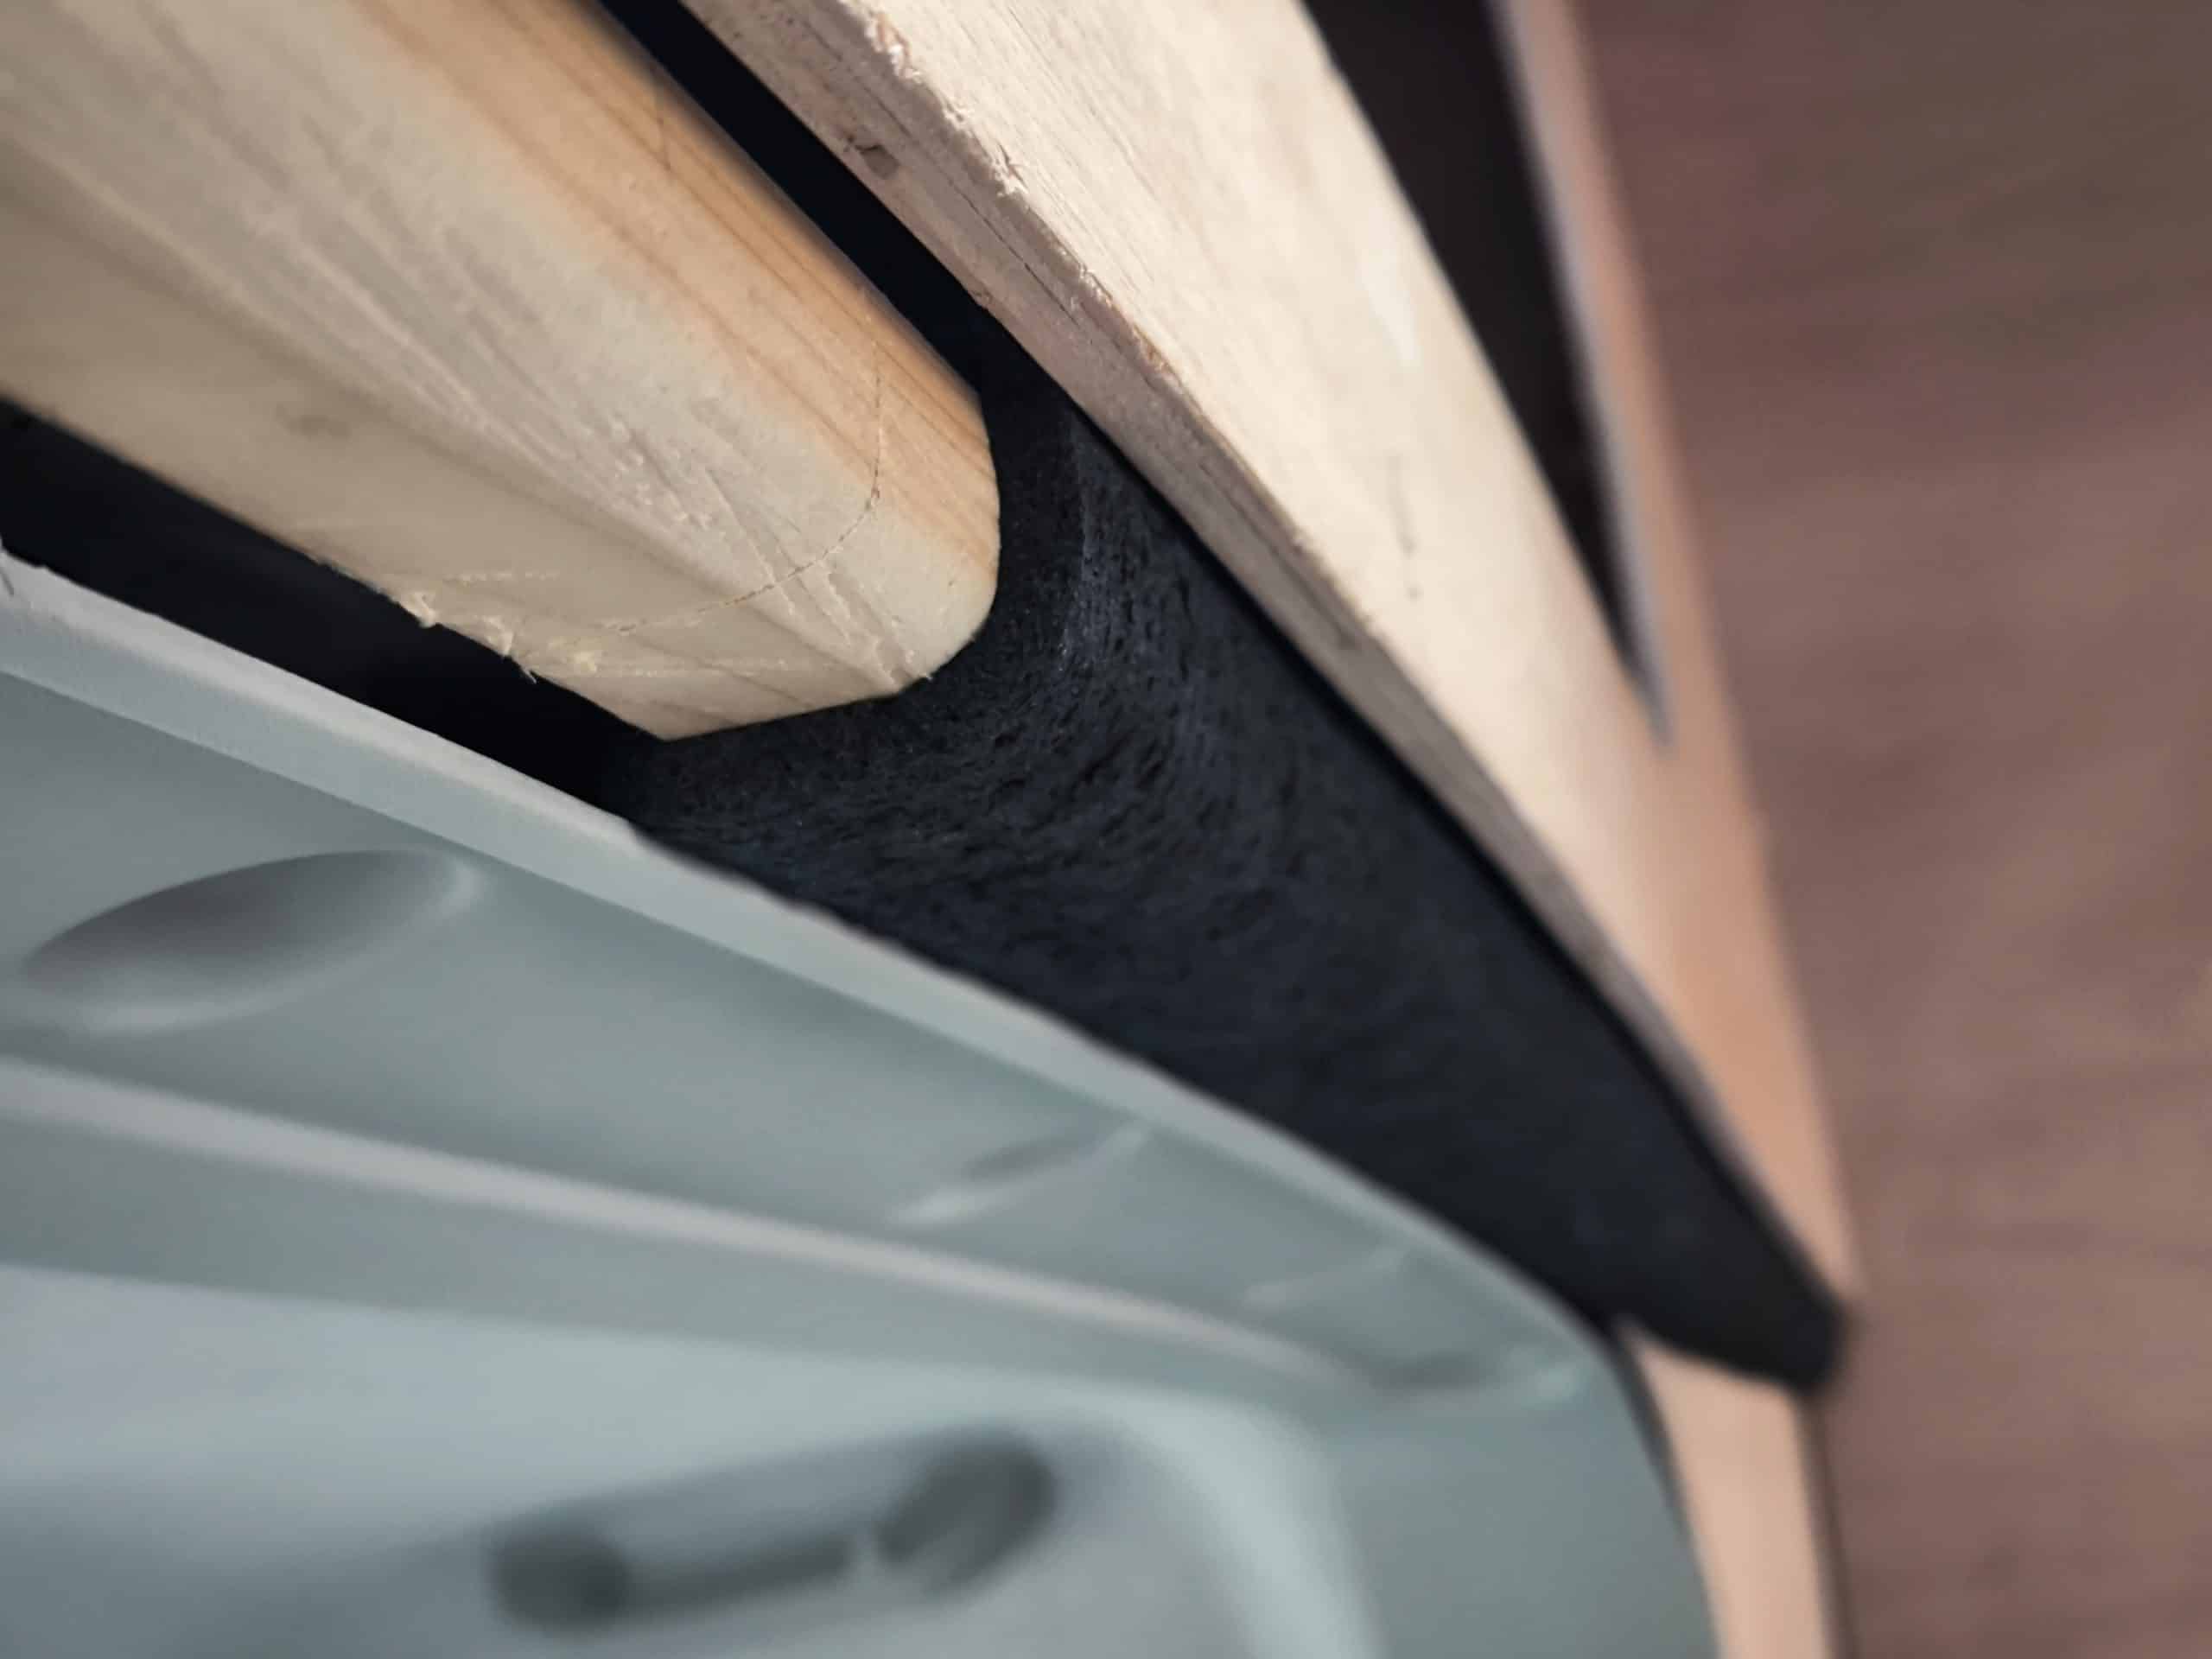
While these were drying I finished off installing the locker panel with some extra battens to which I can mount the hinges later. I also got to finish off my plan with the edge of the locker. This was a sharp corner that Aimi kept banging her head on in the previous van. So I have designed in space for some foam strips that will blend into the shape of the cabinet. When carpeted you won’t even know they are there until you hit your head and it doesn’t hurt as much as you expect.
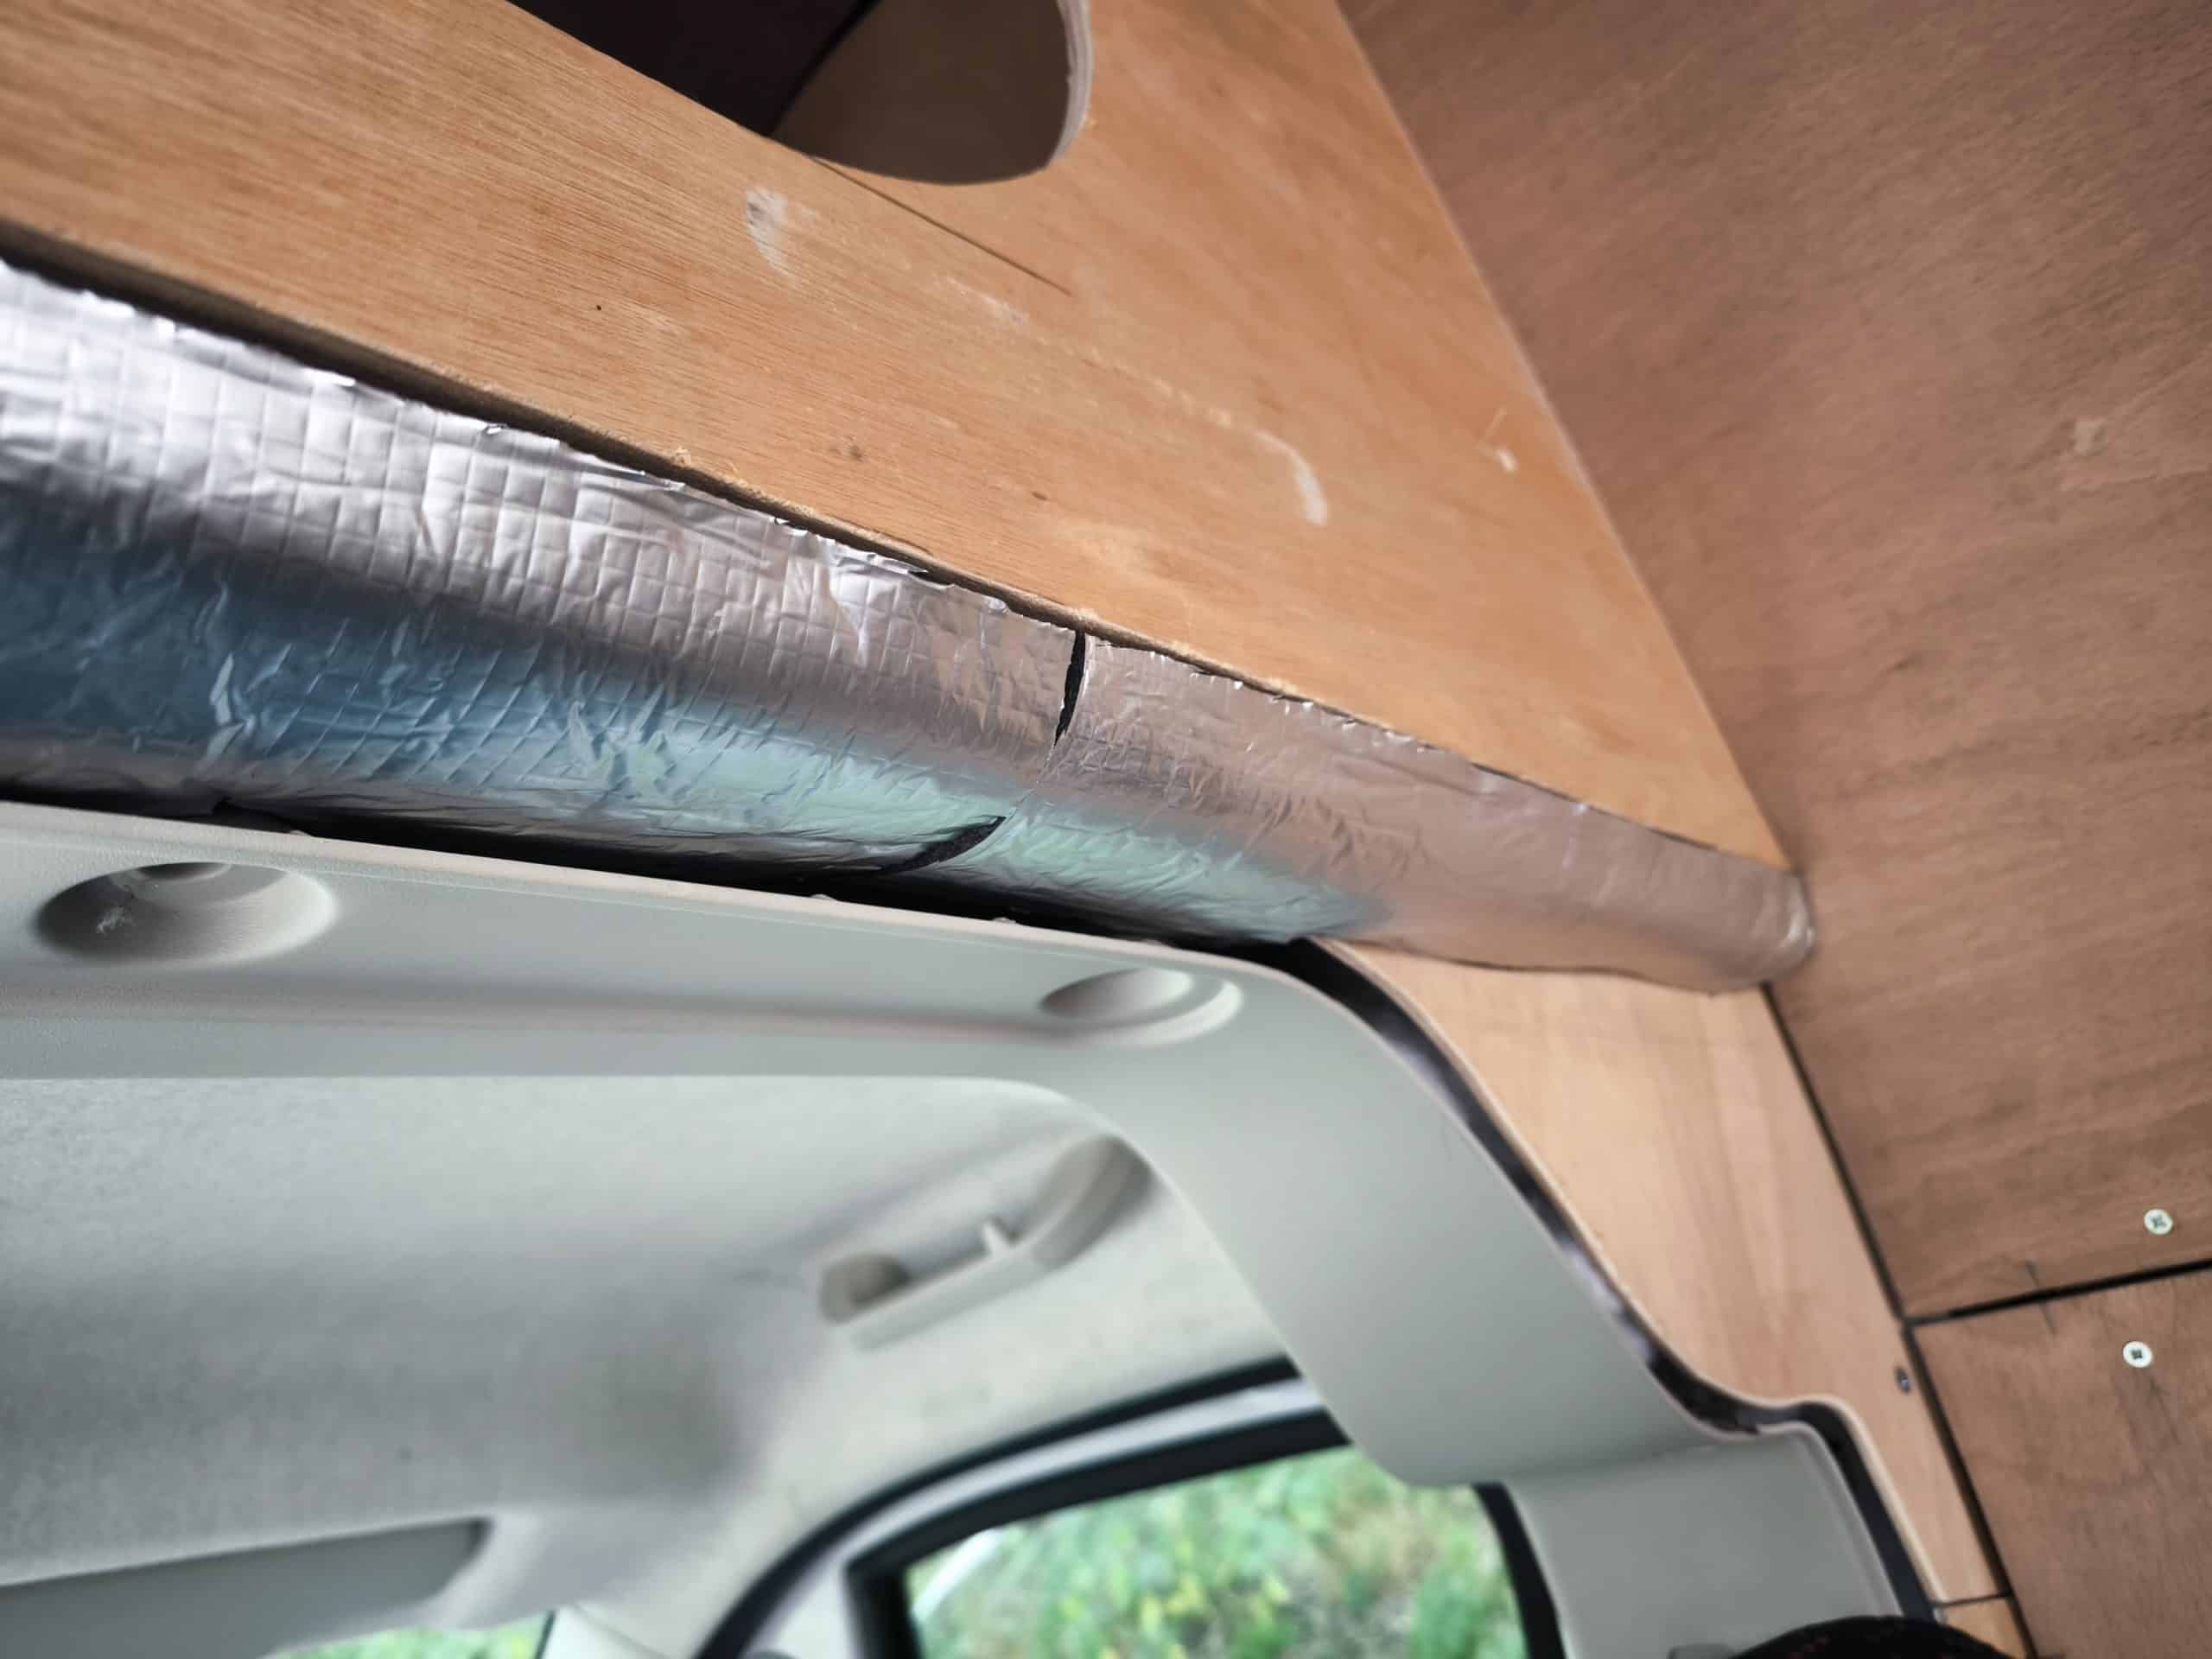
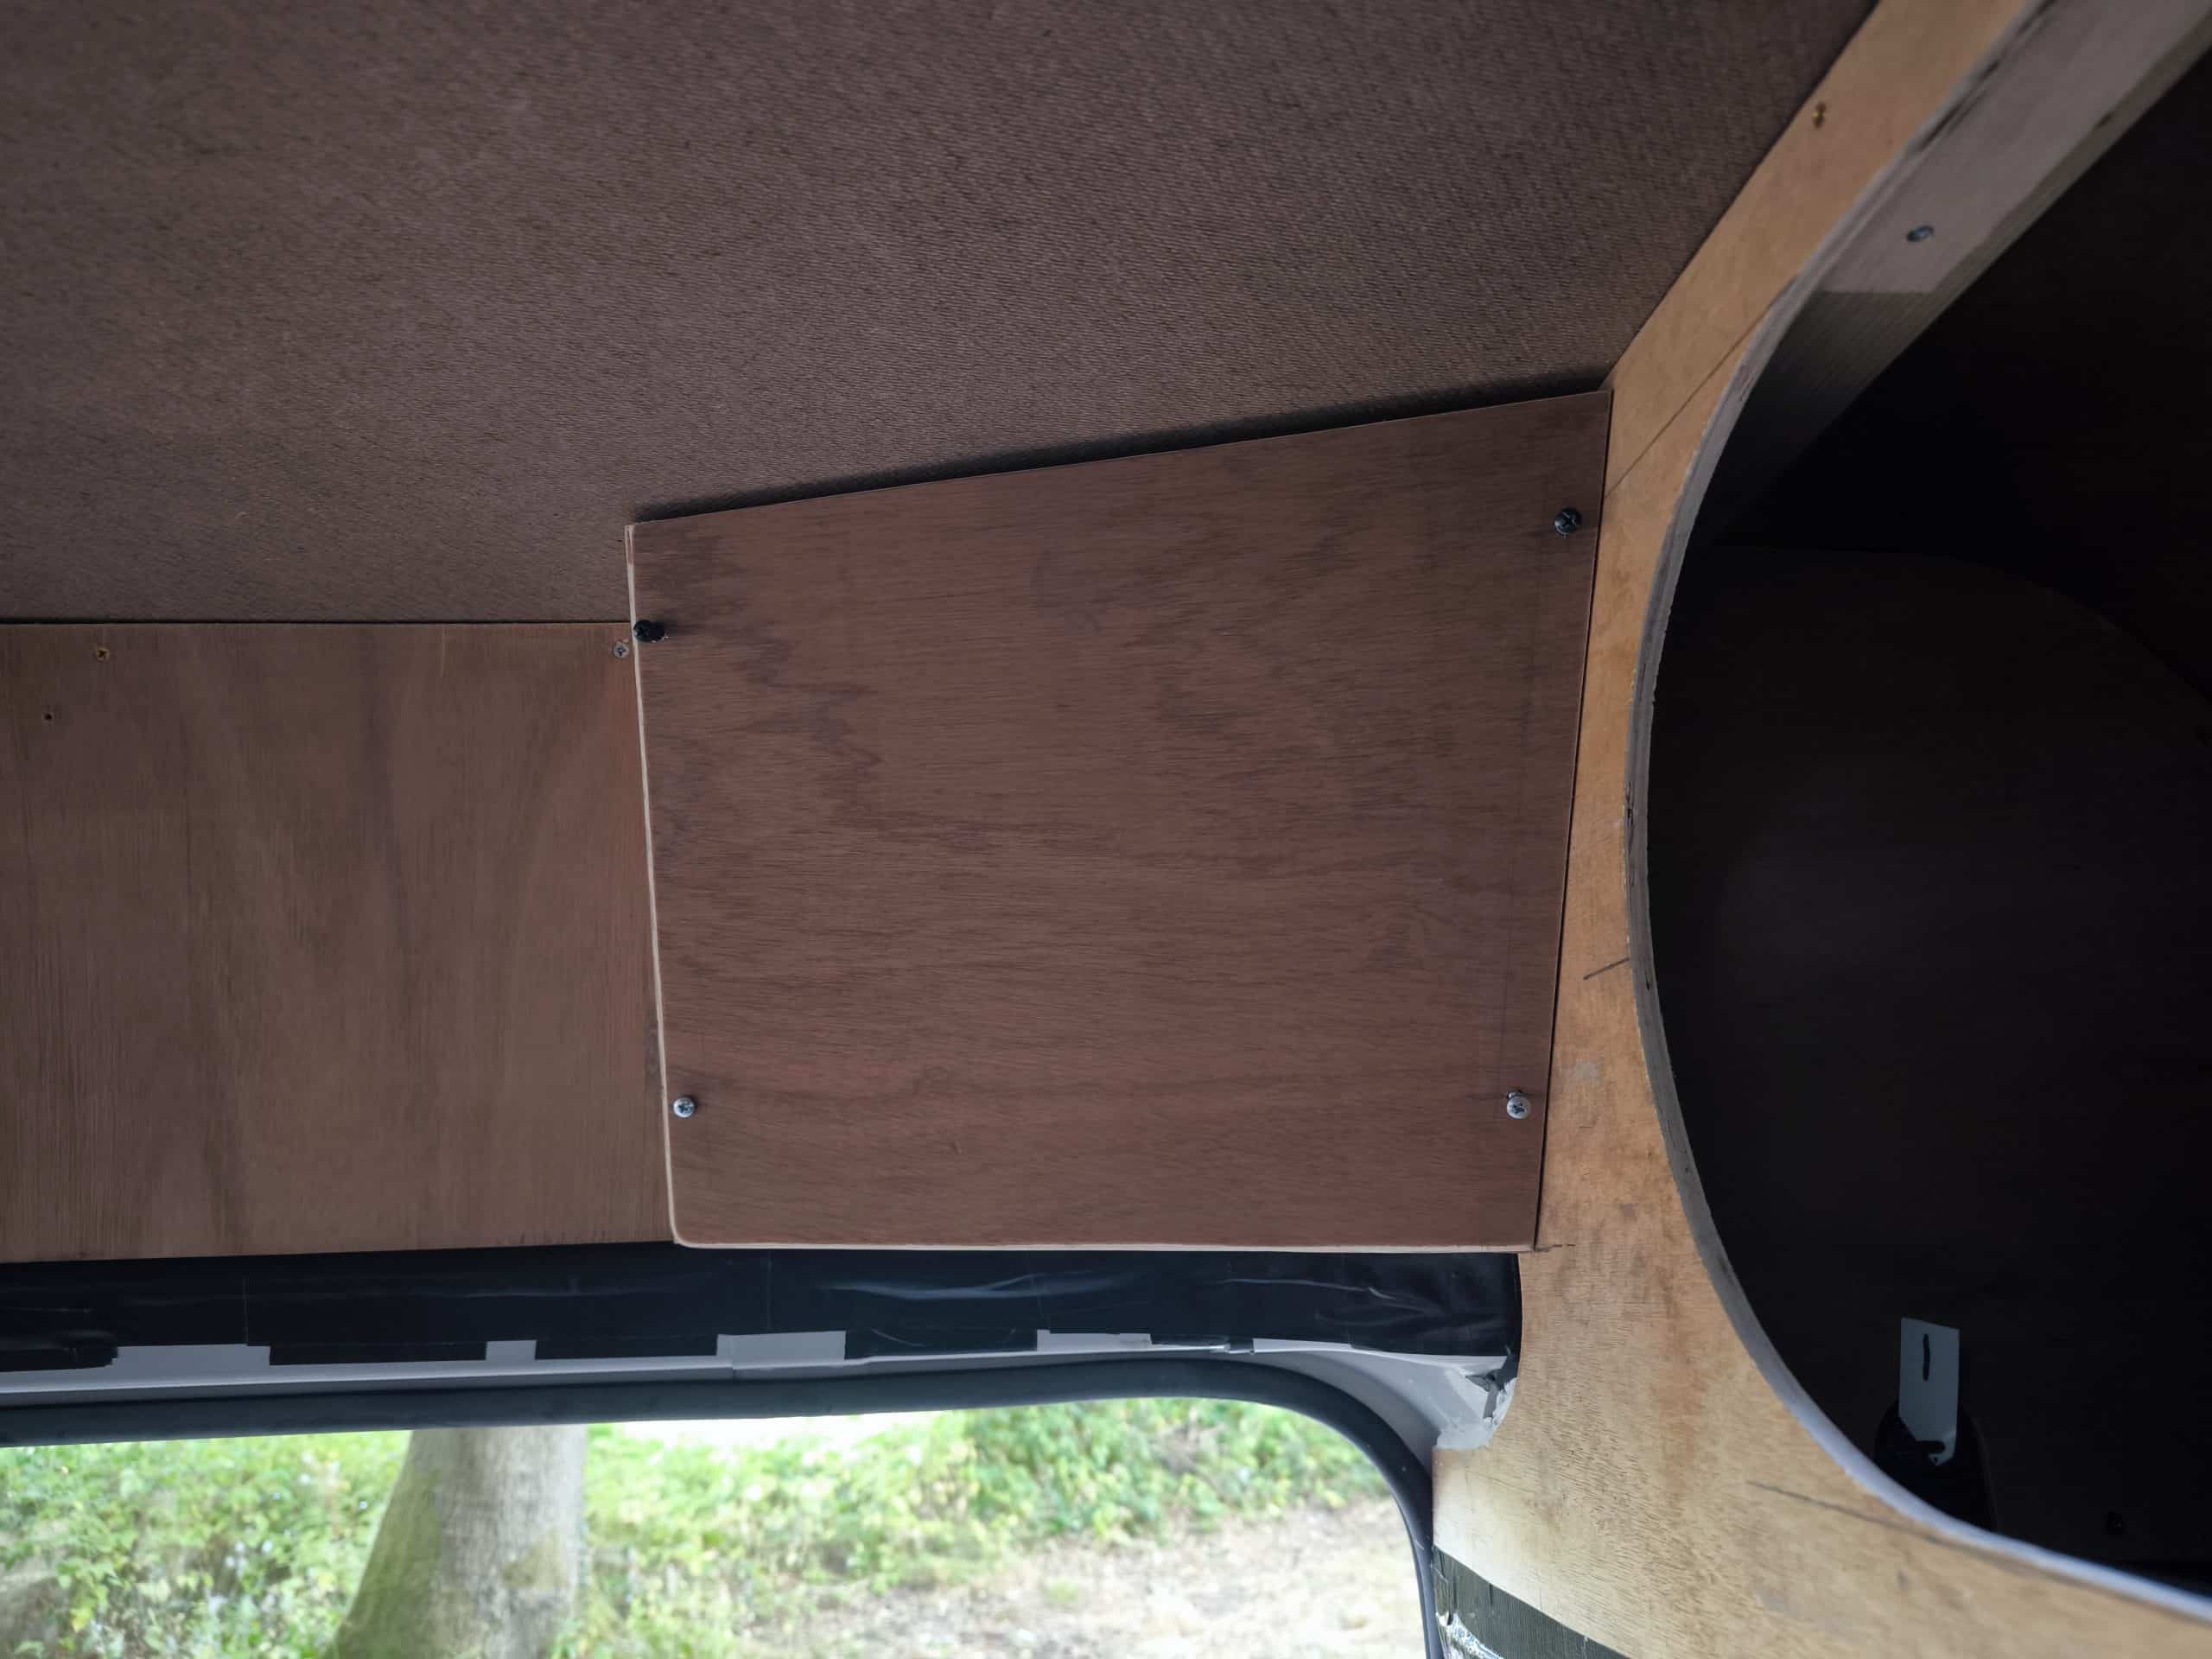
Next I set about closing the last hole in the wall paneling; the electrical access to the roof. This was going to be a tricky one because it is right above the sliding door entrance. I wanted to make a panel that was removable but that wasn’t so big you would bang your head on it when stepping up into the van. This meant I had to get very creative with the angles of jig saw cuts. It took a few attempts but eventually I got the angles correct and cut thick ply to the right shape. I mounted this to the wall paneling with pocket screws so the ply didn’t split.
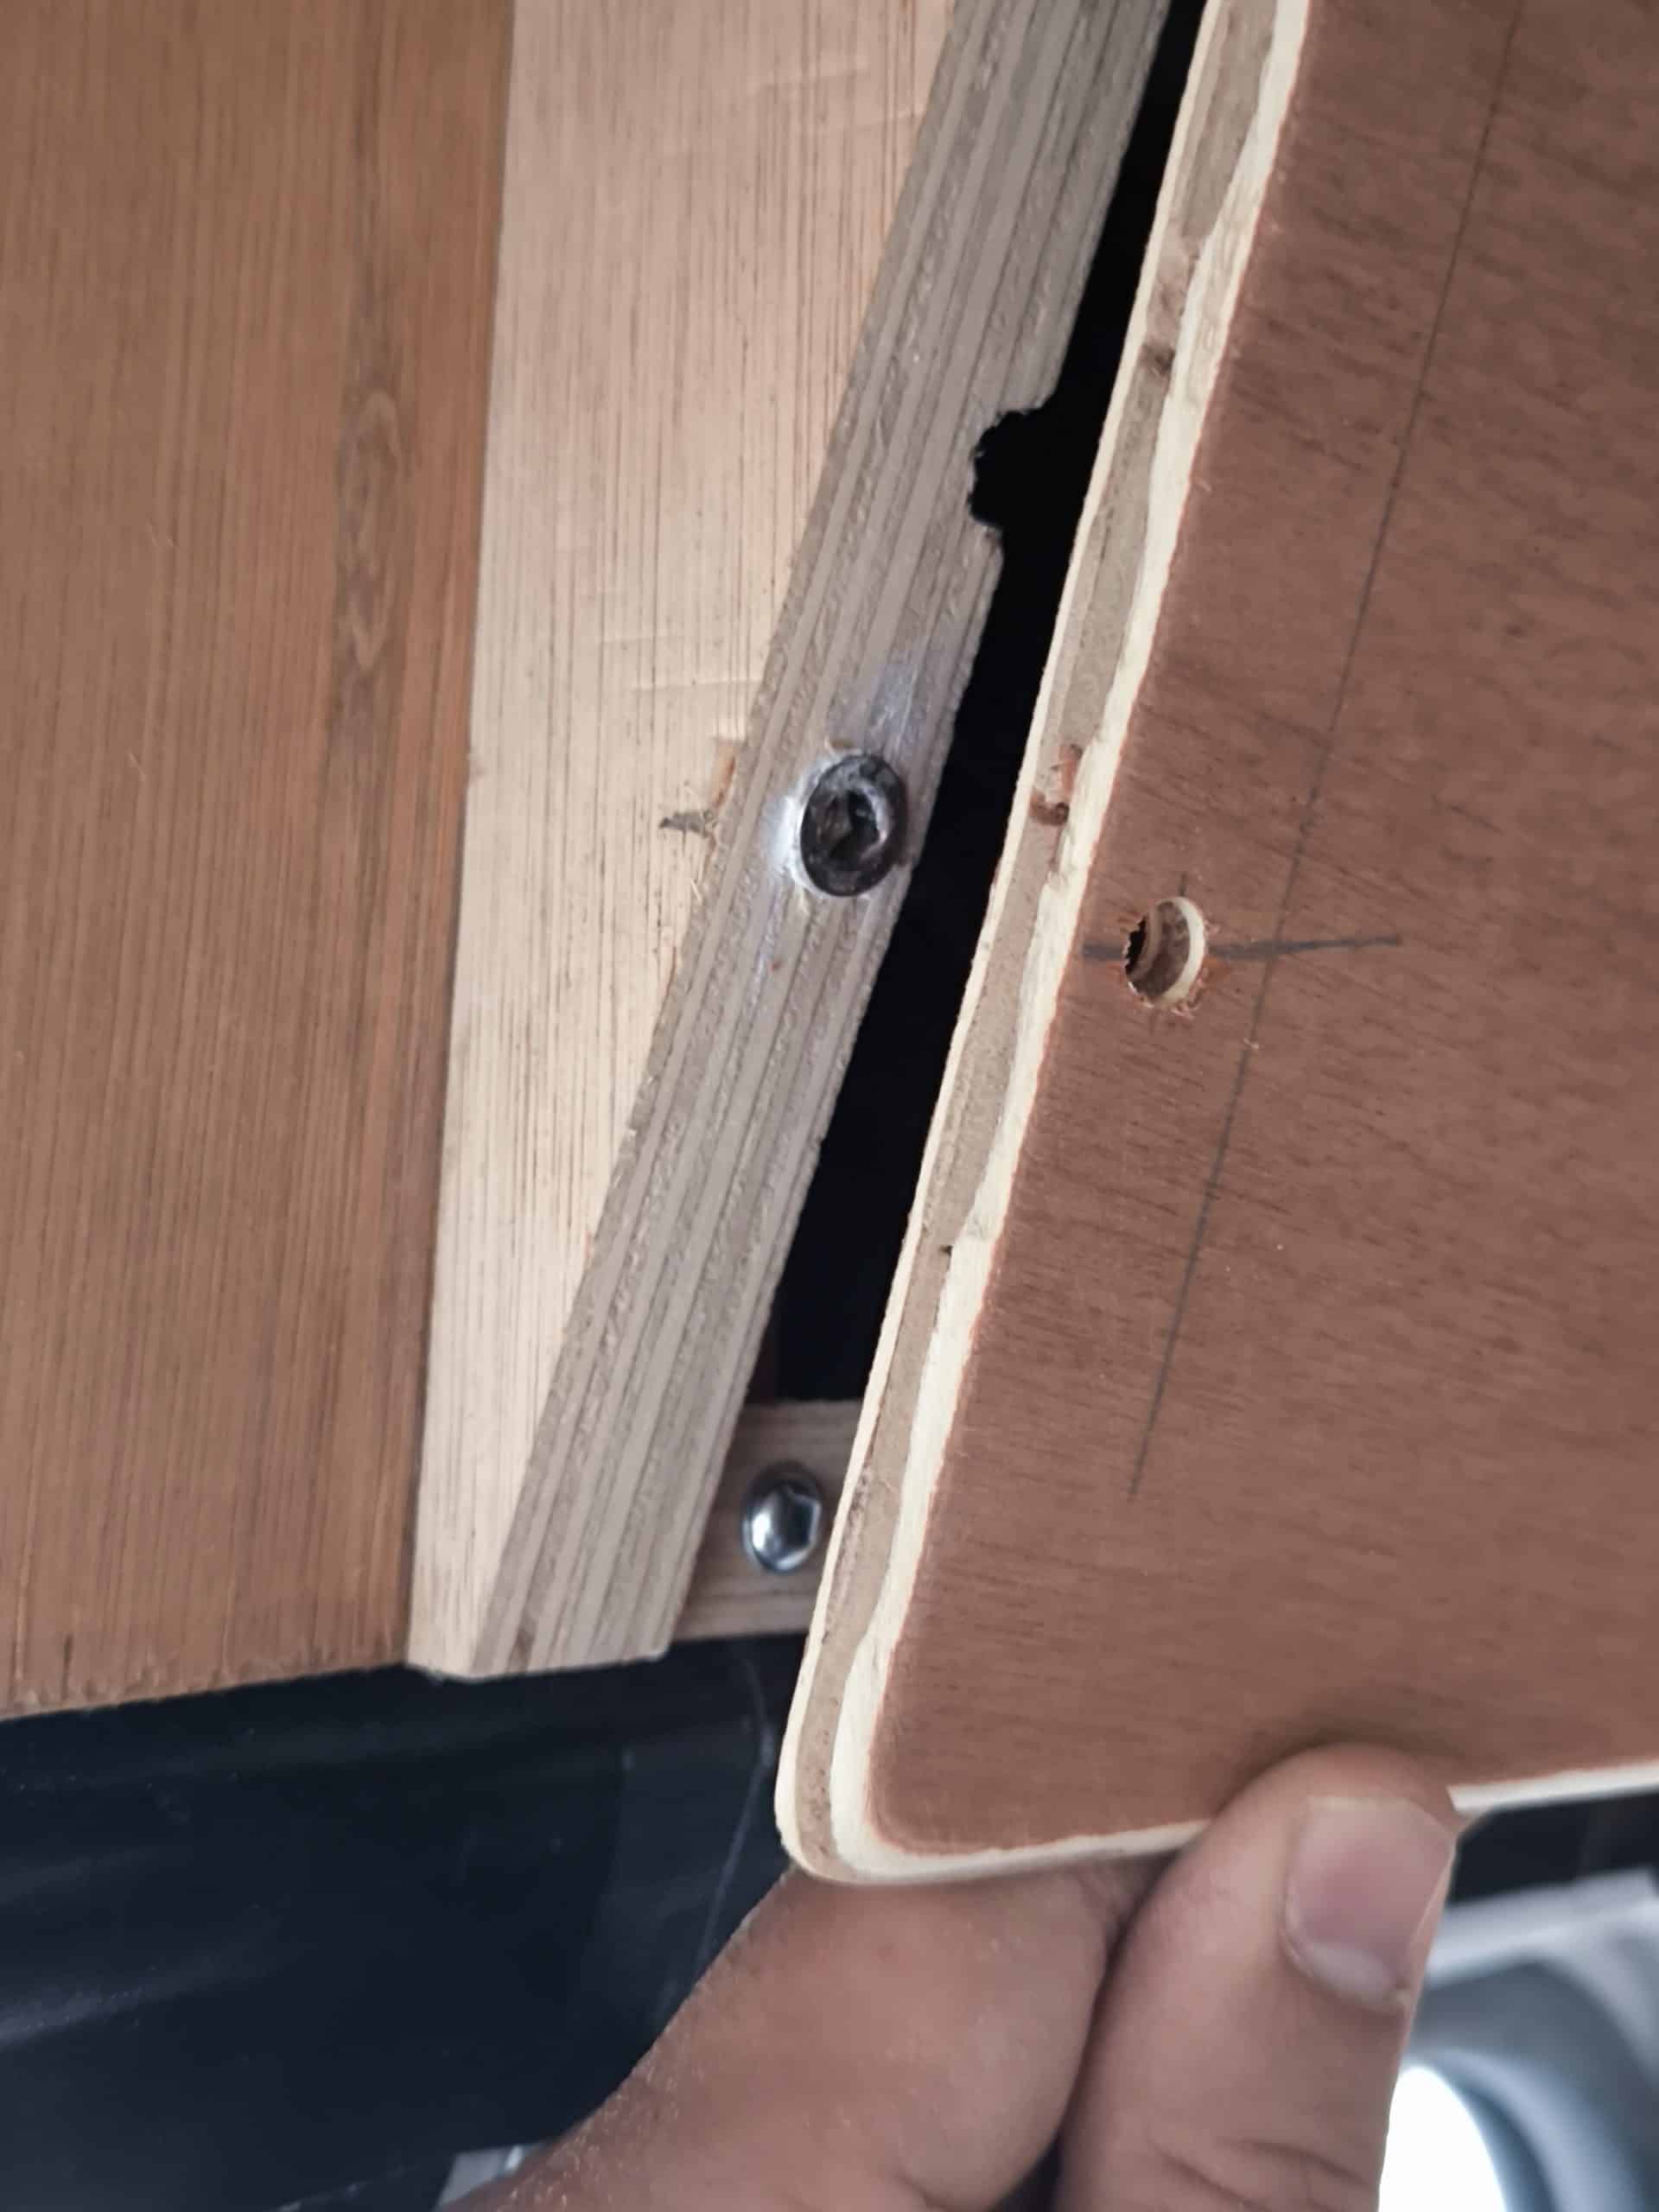
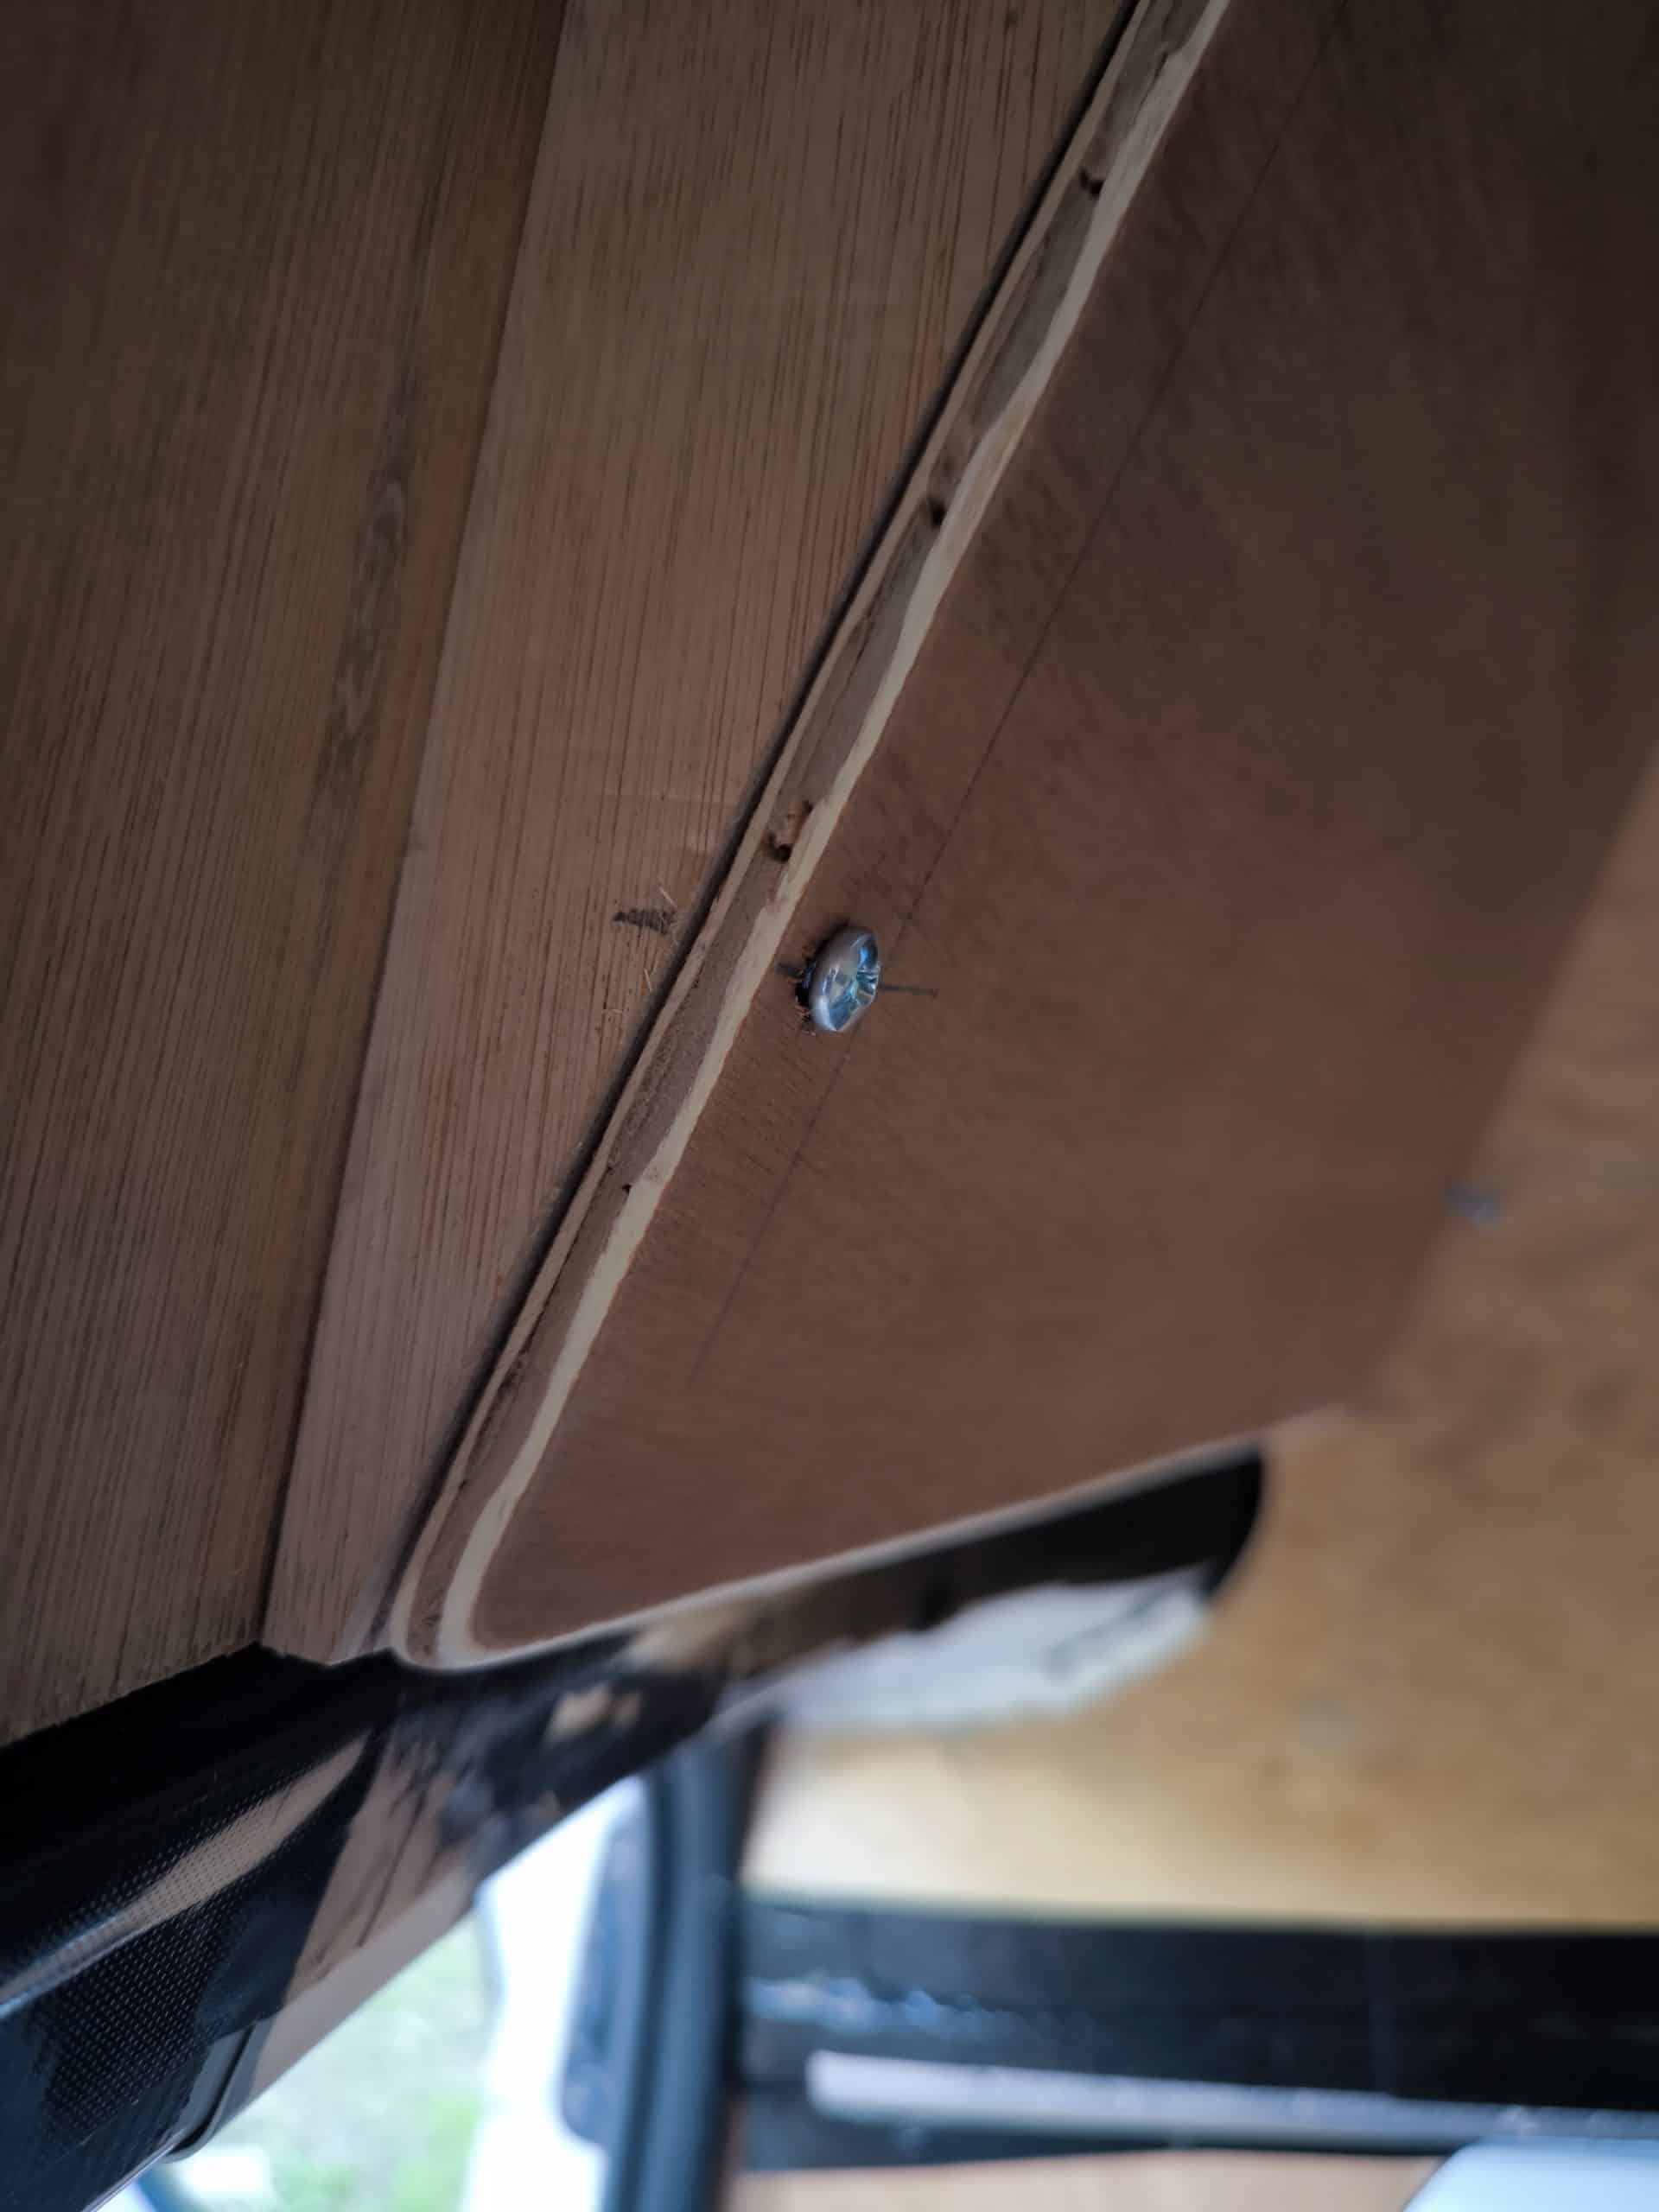
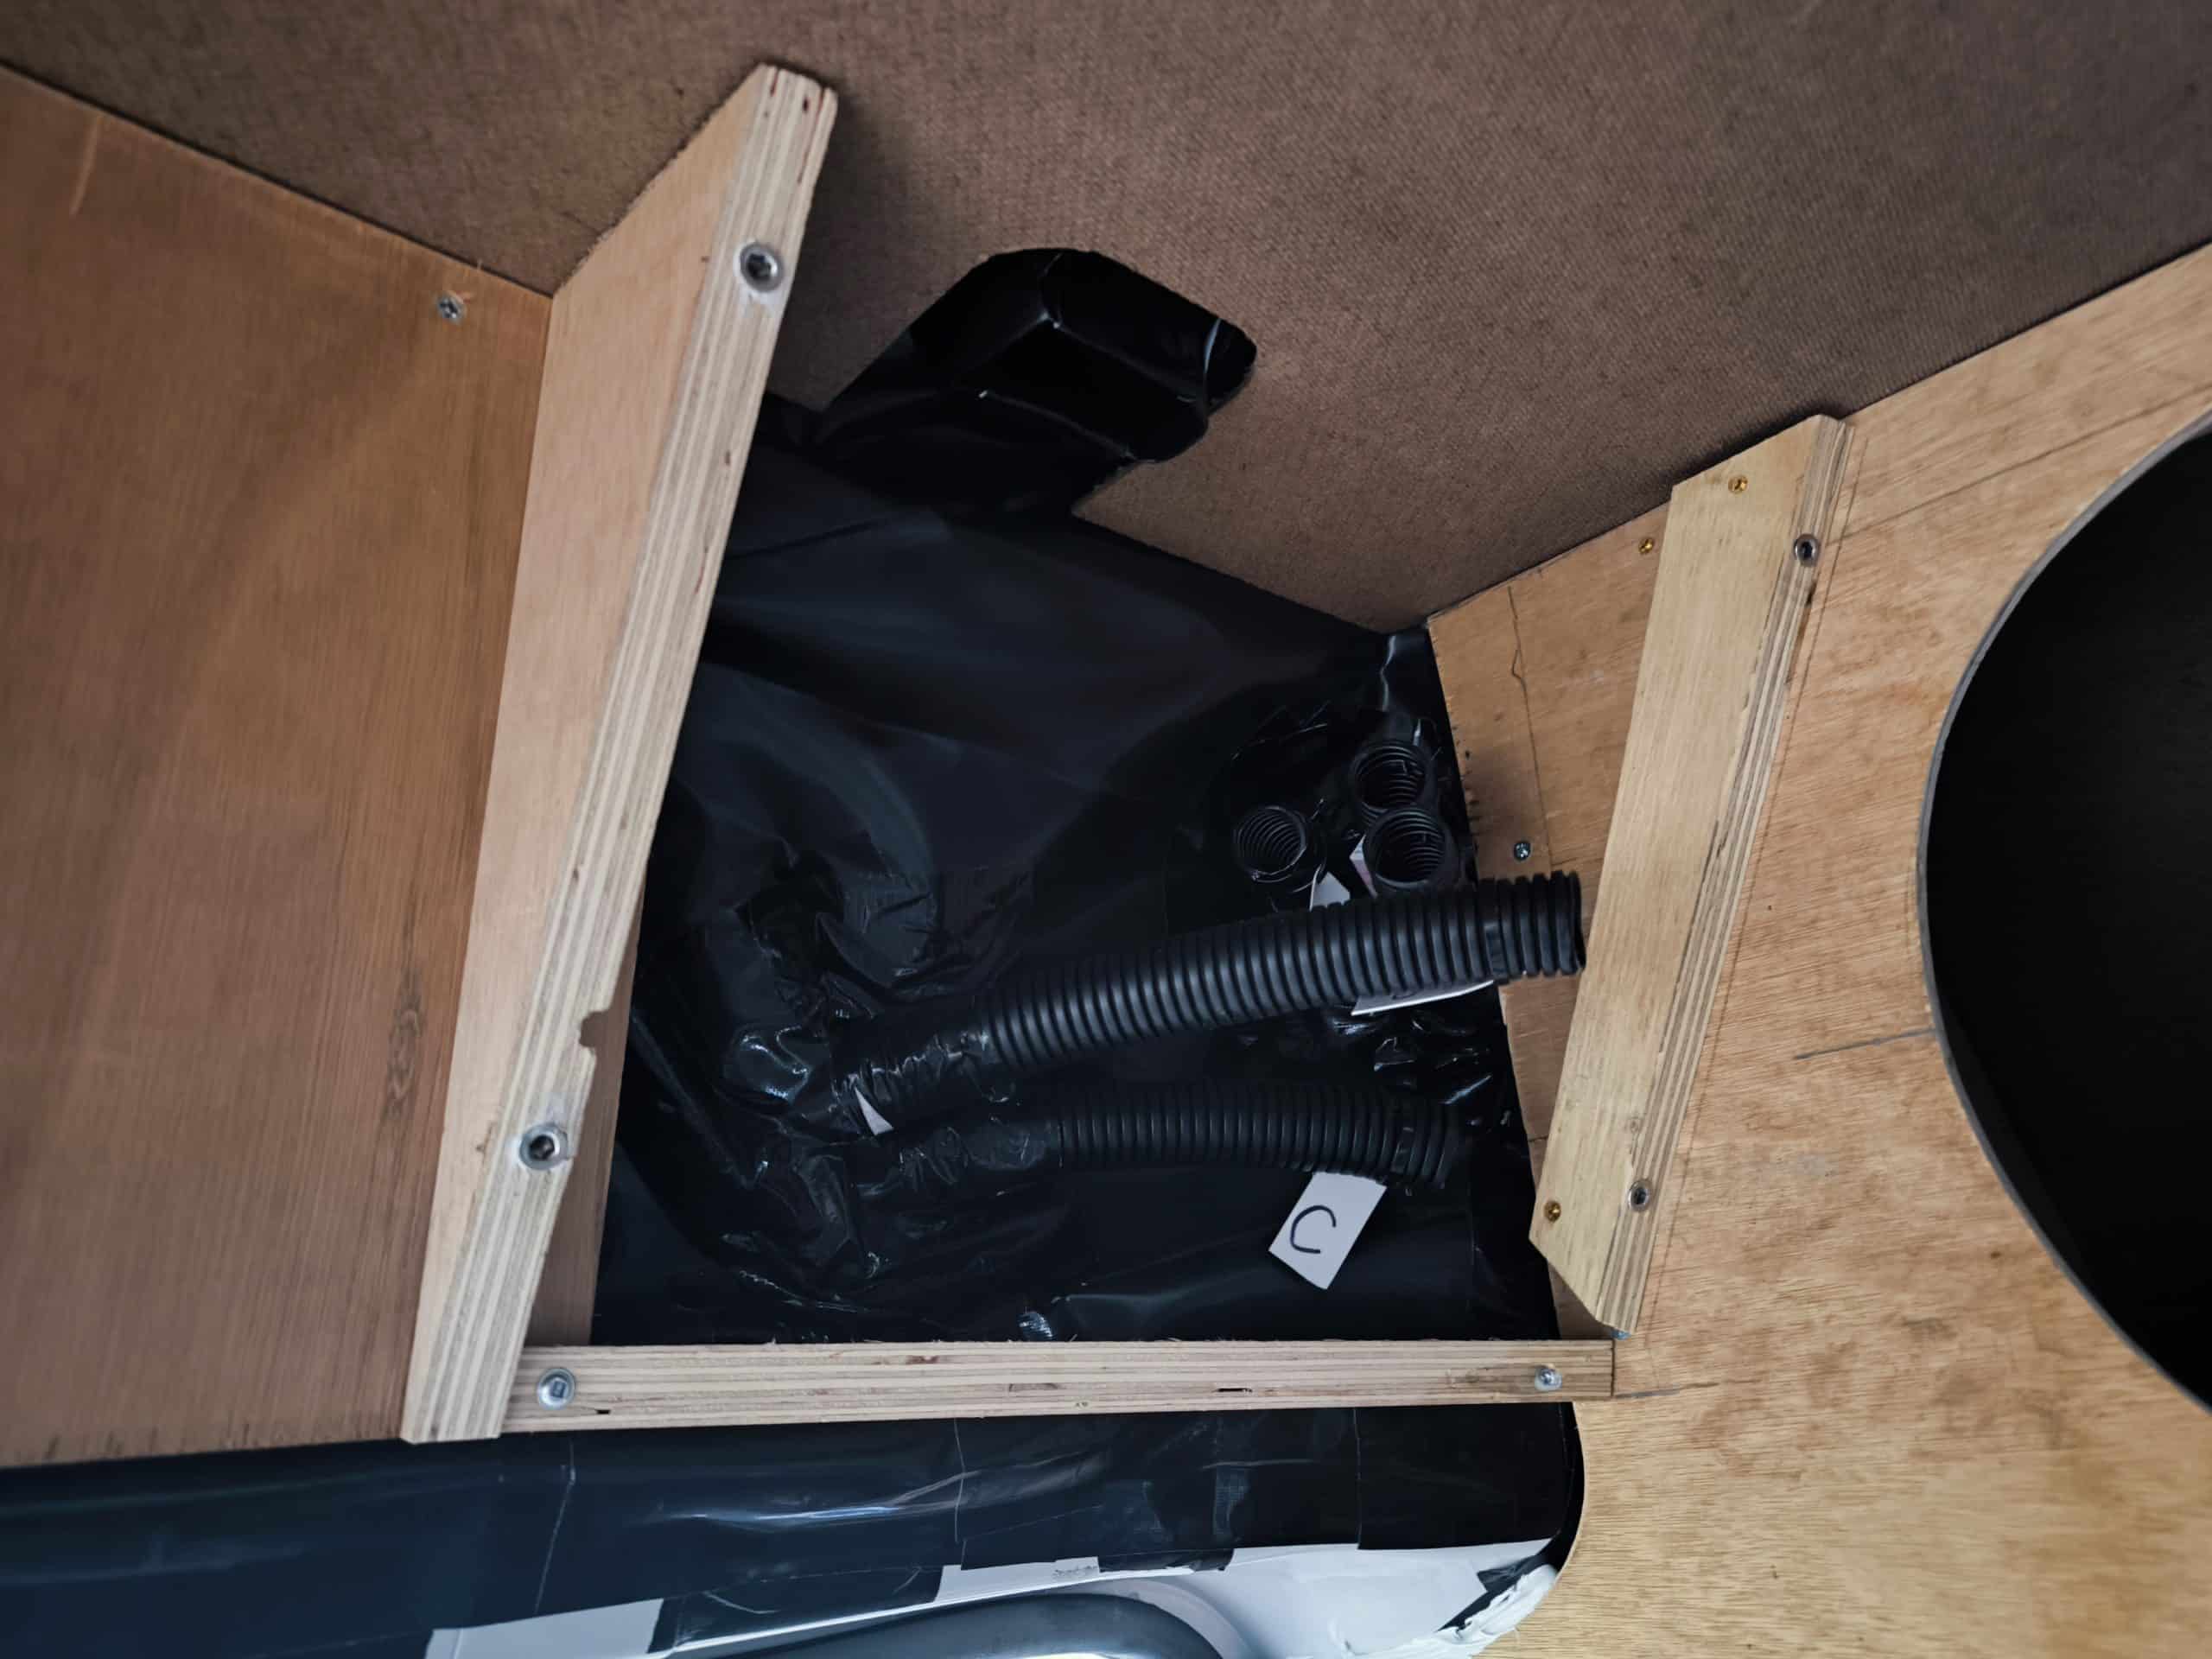
To make the panel easily accessible I embedded threaded inserts in the edges of the ply. This will allow me to use thumbturn screws on the surface to easily access the box when needed. The surface of the box is a very strange shape. Because it is angled into axes it is a non-regular rhombus shape that took a lot of trial and error to find what fitted.
At the end of the day I can now truly say all the wall paneling is done and tomorrow I can start carpeting.