Diary Of A Camper Conversion
Well I would have taken it all out again, had it not been teeming it down with rain all day. So its all piled at the back and I’m working up front, in about 2 sqm, tackling the over-cab locker.
This bit is very useful storage, presuming its all boarded out and doors put on etc. But its a really strange shape being in the forehead of the van and so its taken me all day. But, I think we have a skeleton now.
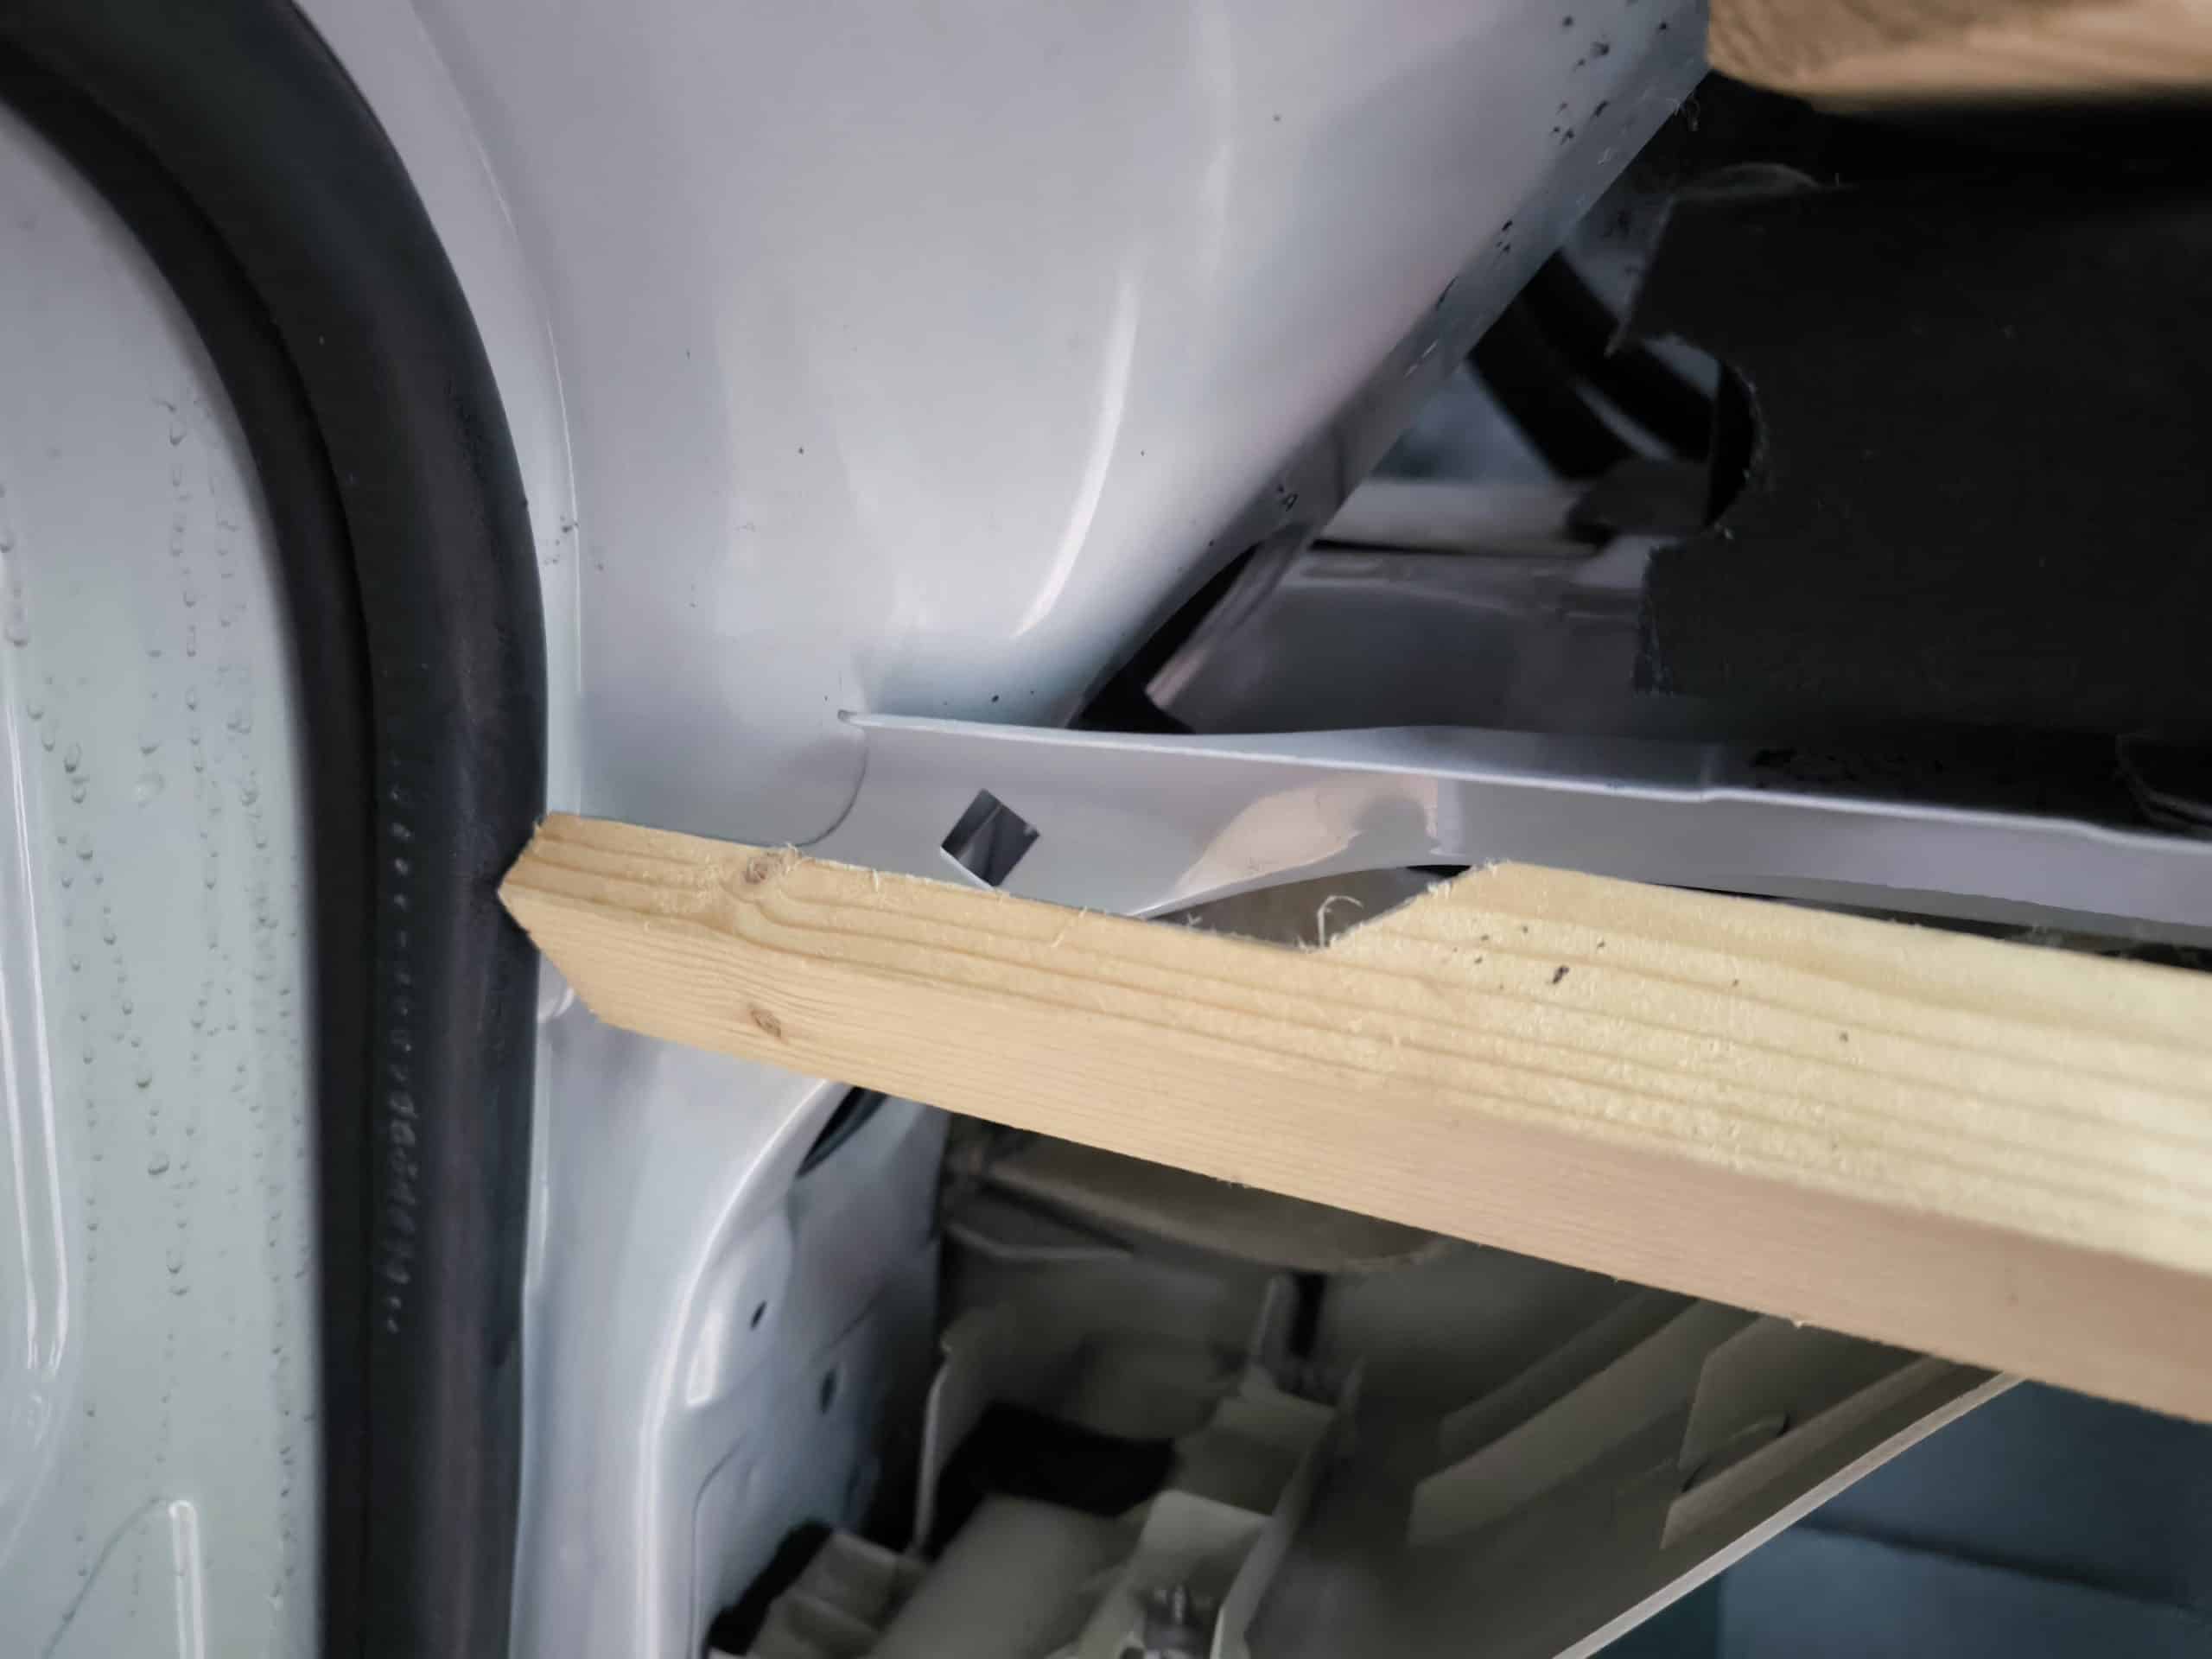
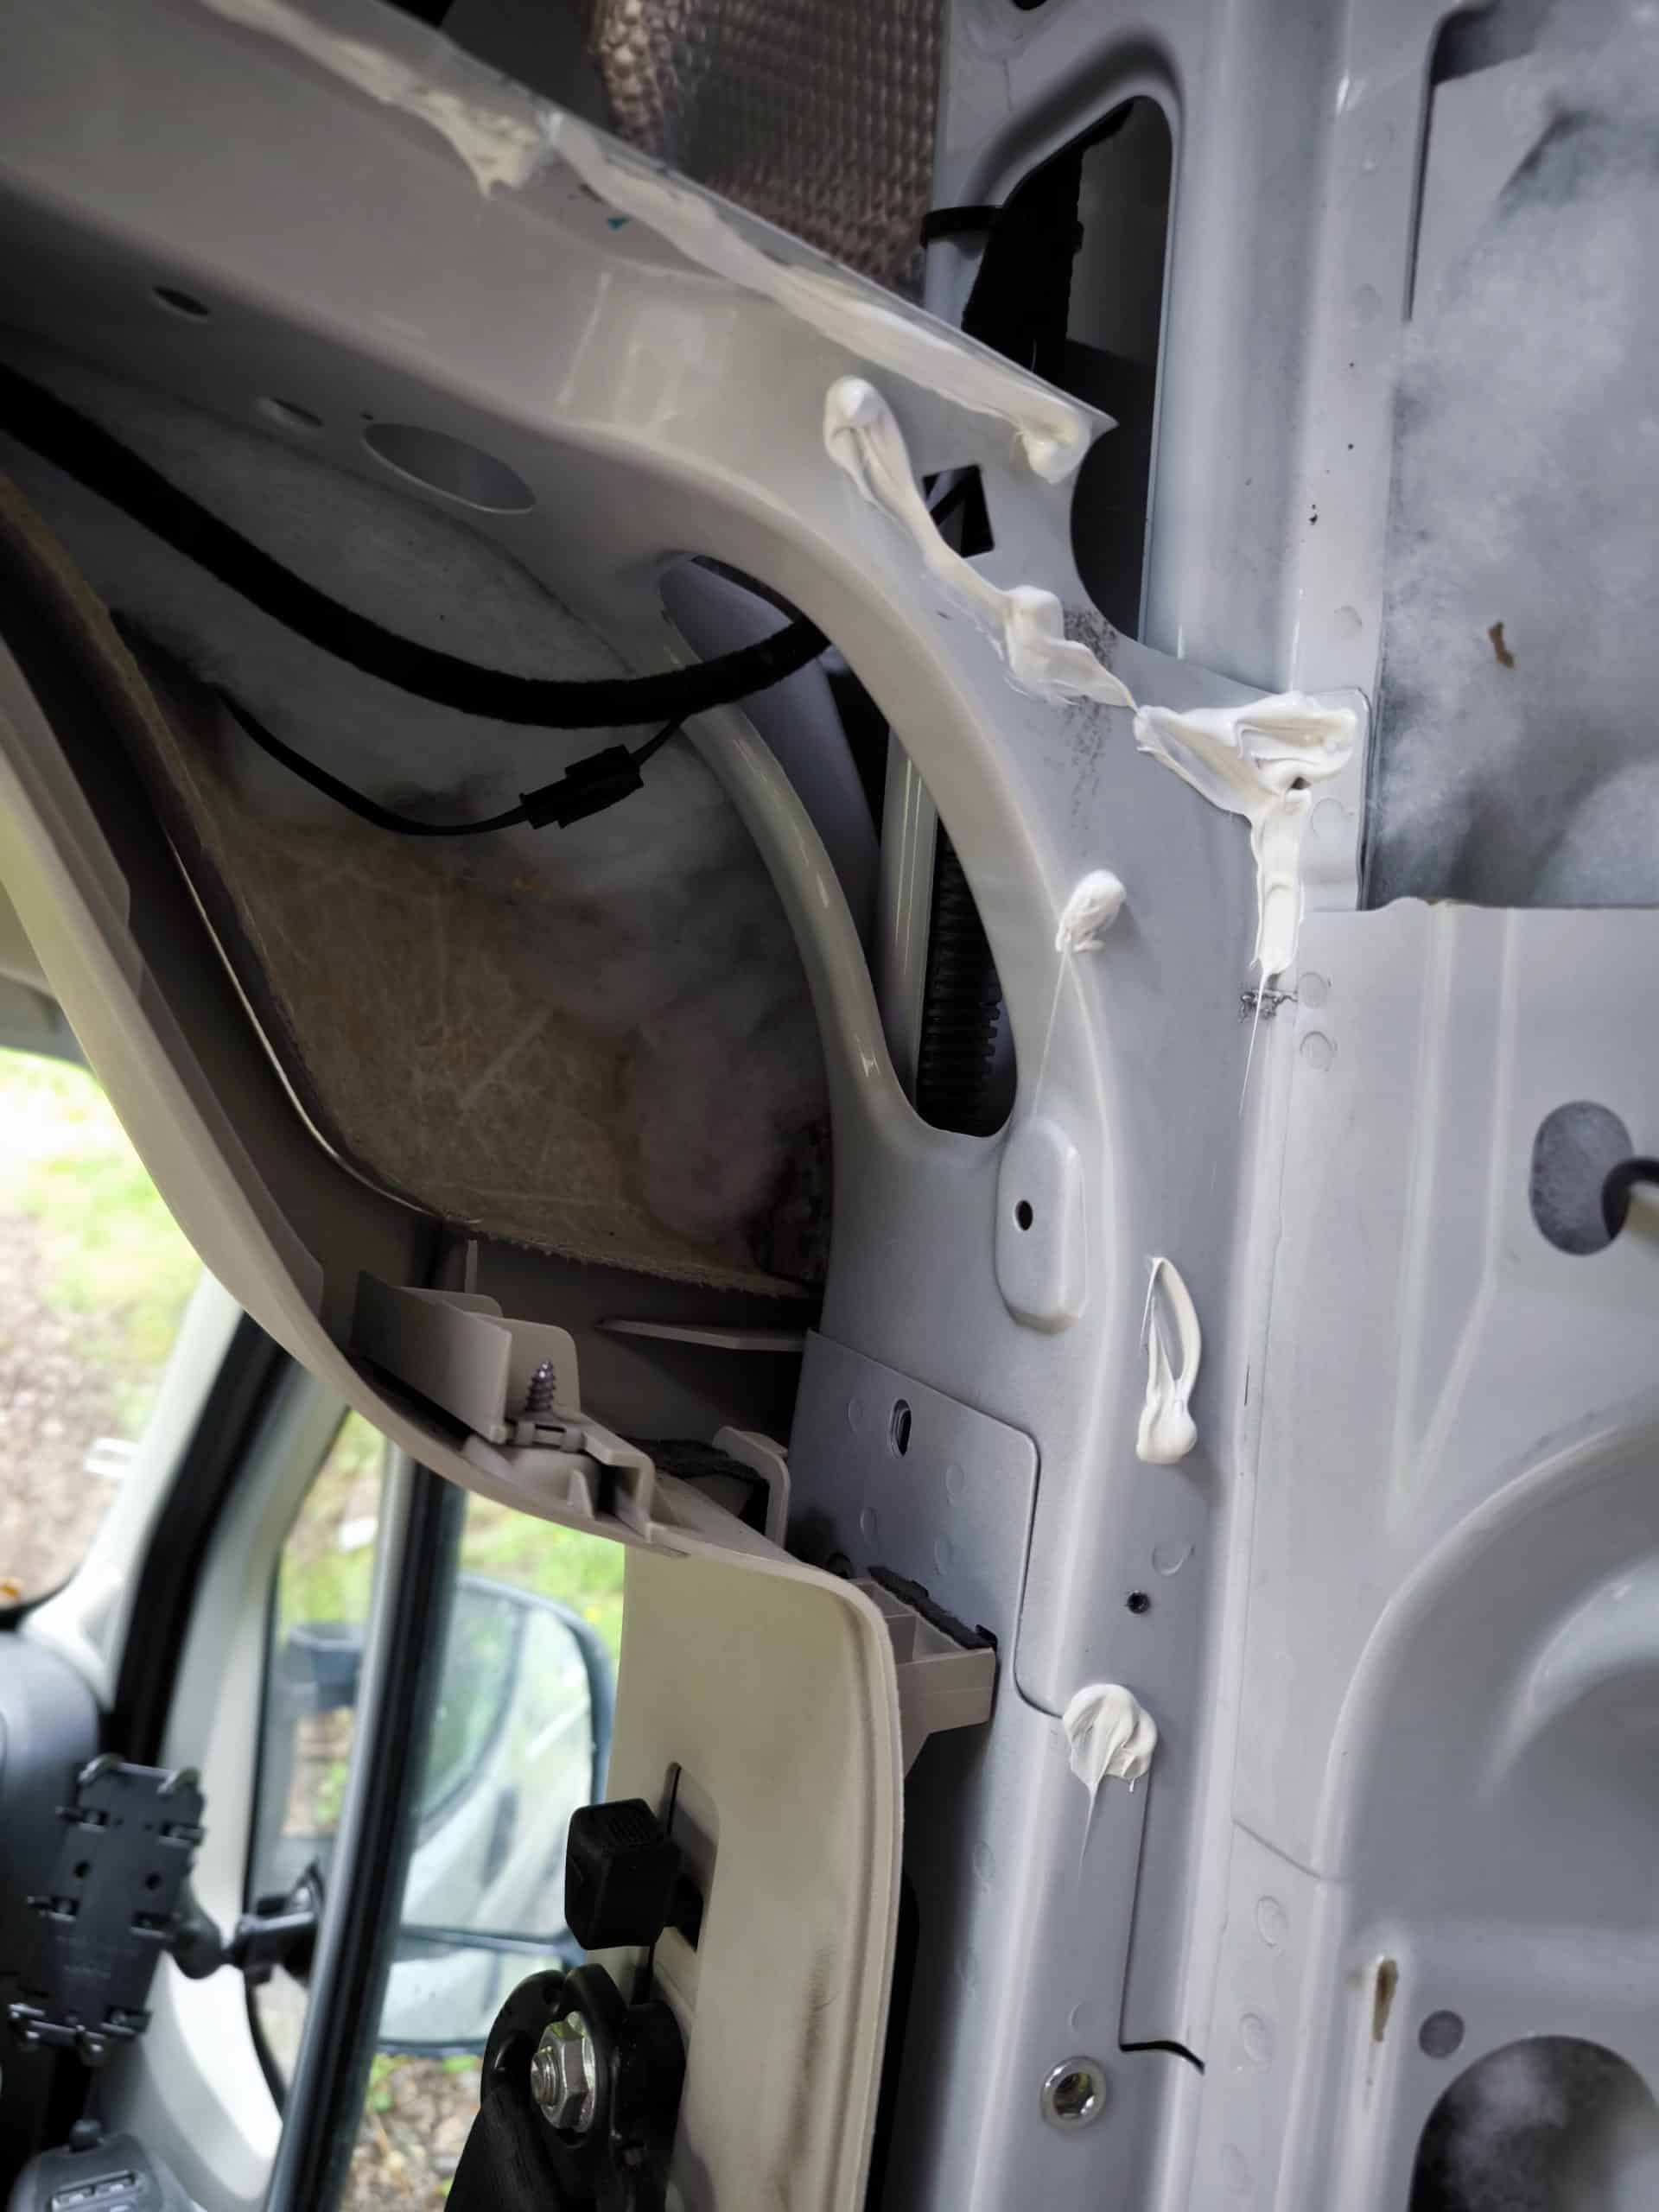
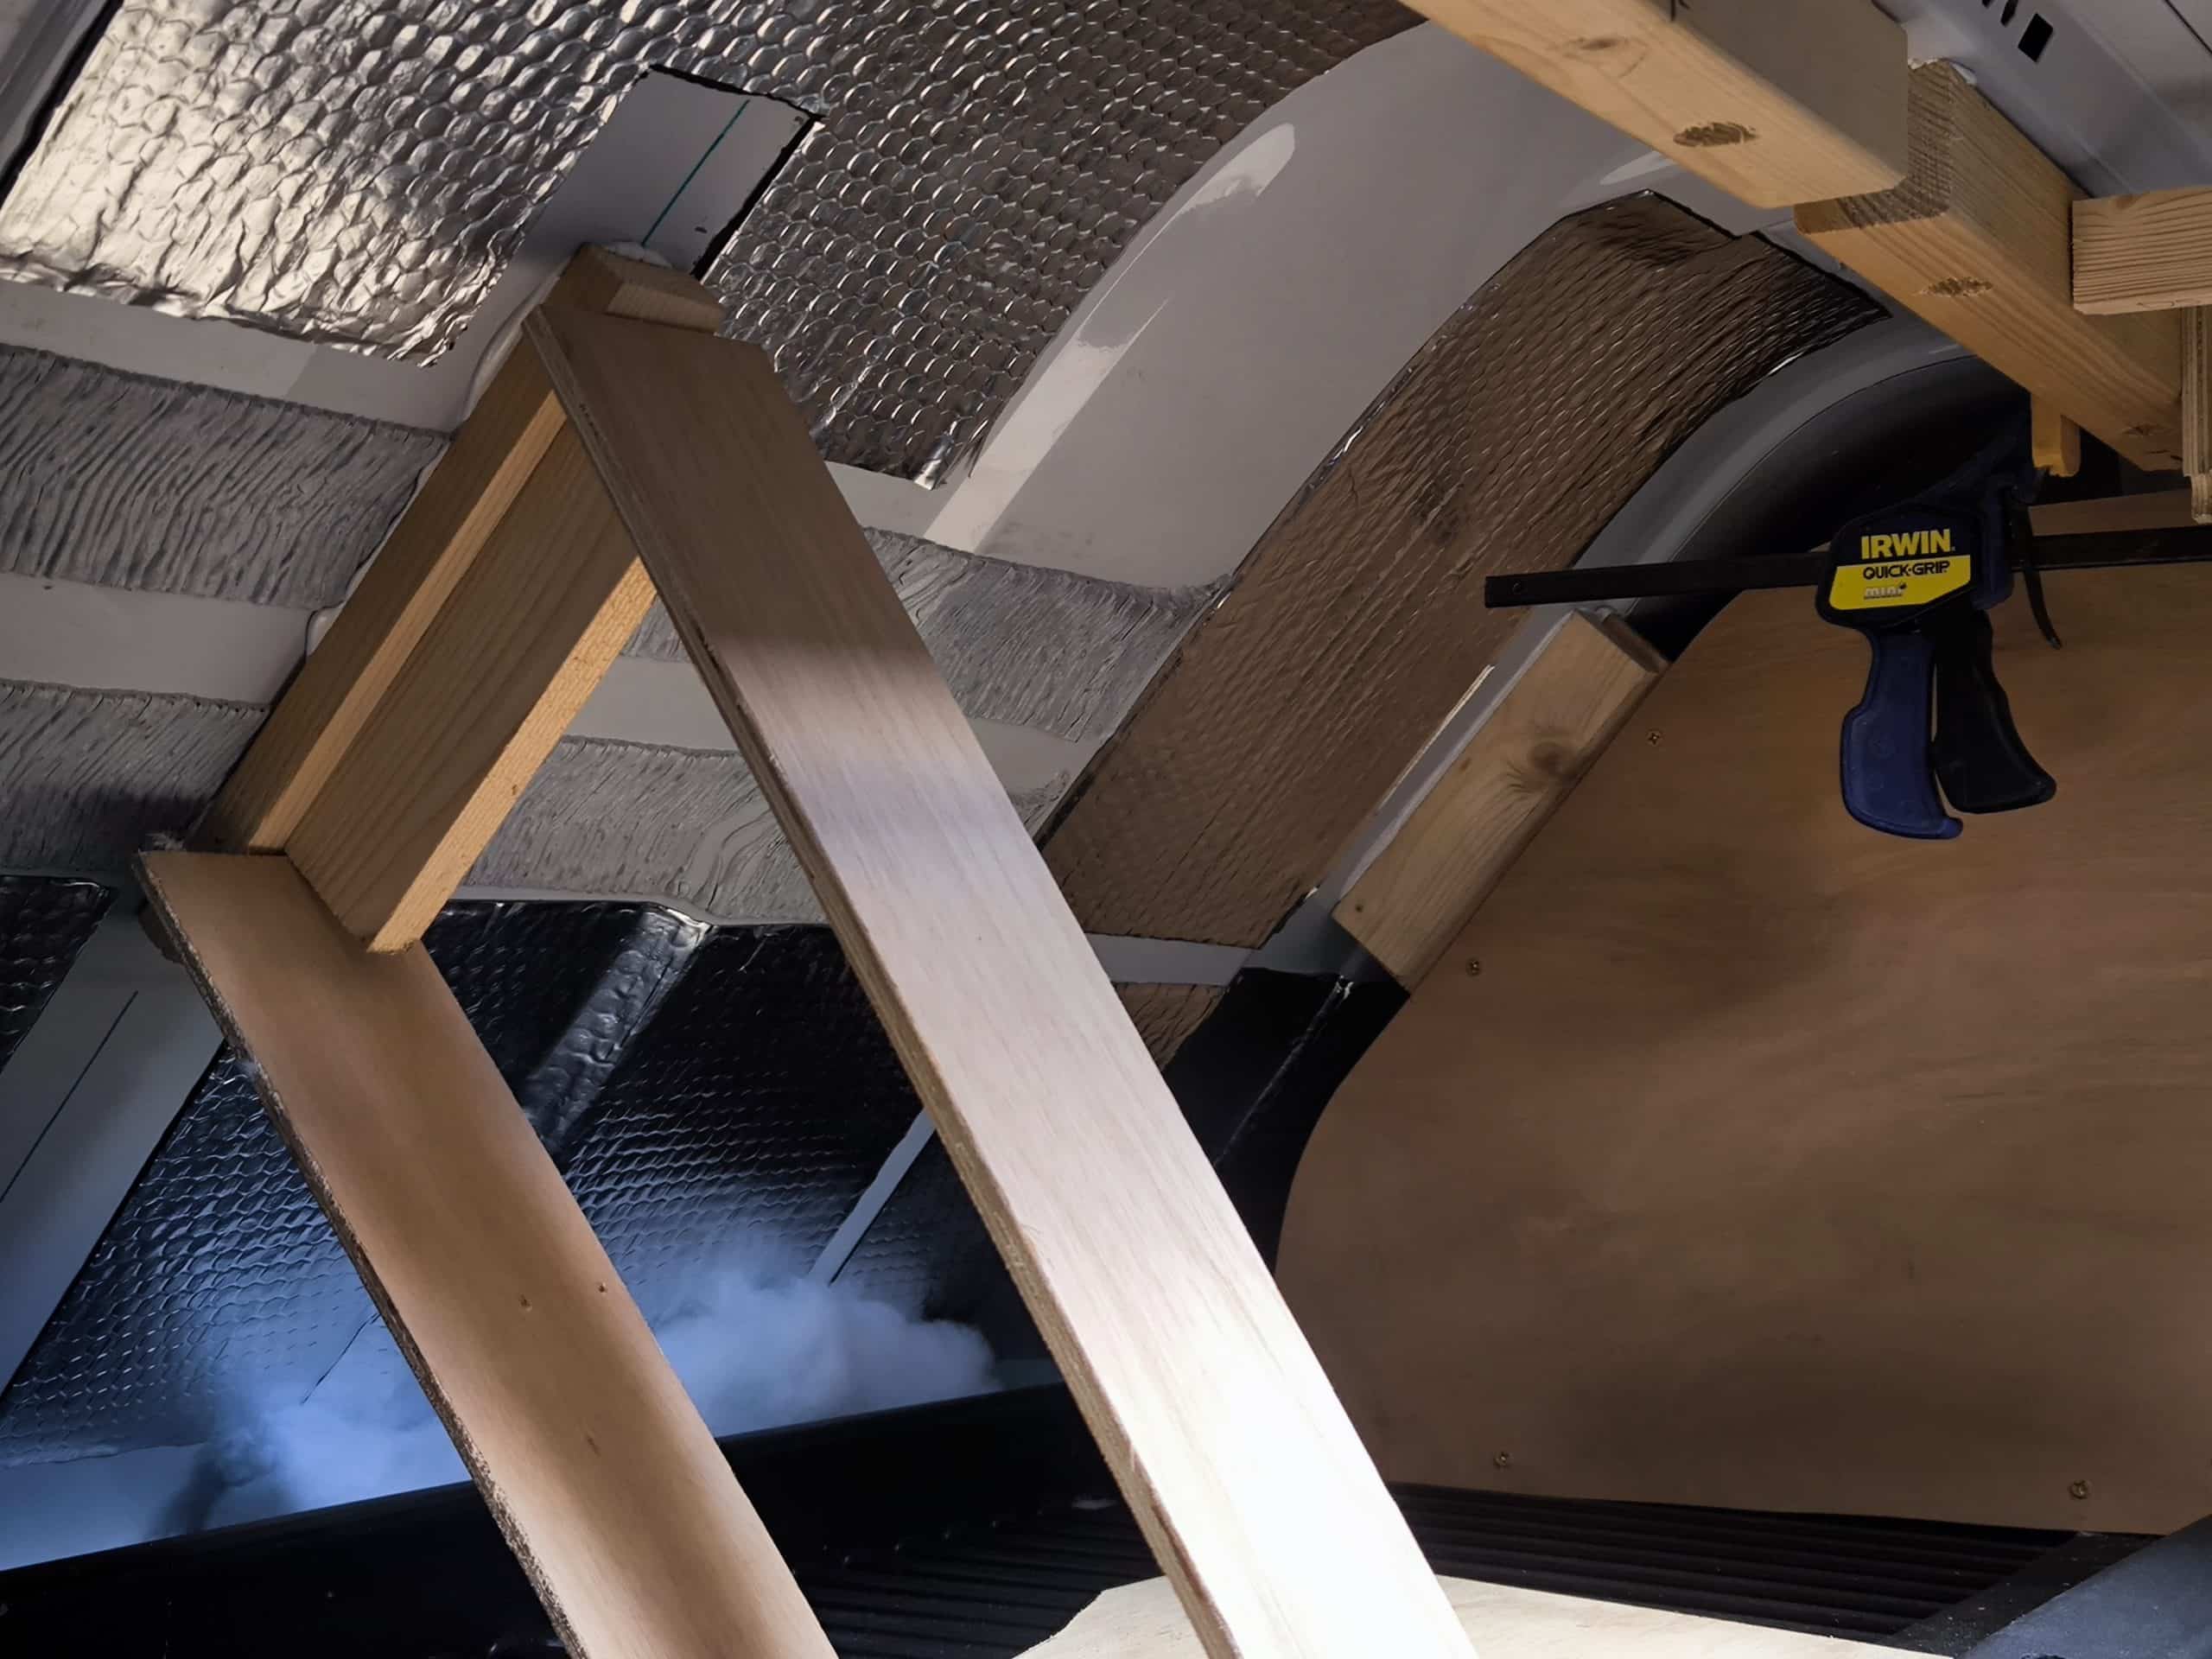
To work out where the front of the lockers will be, I need to fix into something. So I put in a 30×30 baton, cut intermittently and bent up against the curve of the cab. I used some CAD (cardboard aided design) to get the curvy corner bits done and screwed in place. The I immediately took it back out again, coated it in glue and screwed it finally into place. I’m not having squeaky wood right behind my head!
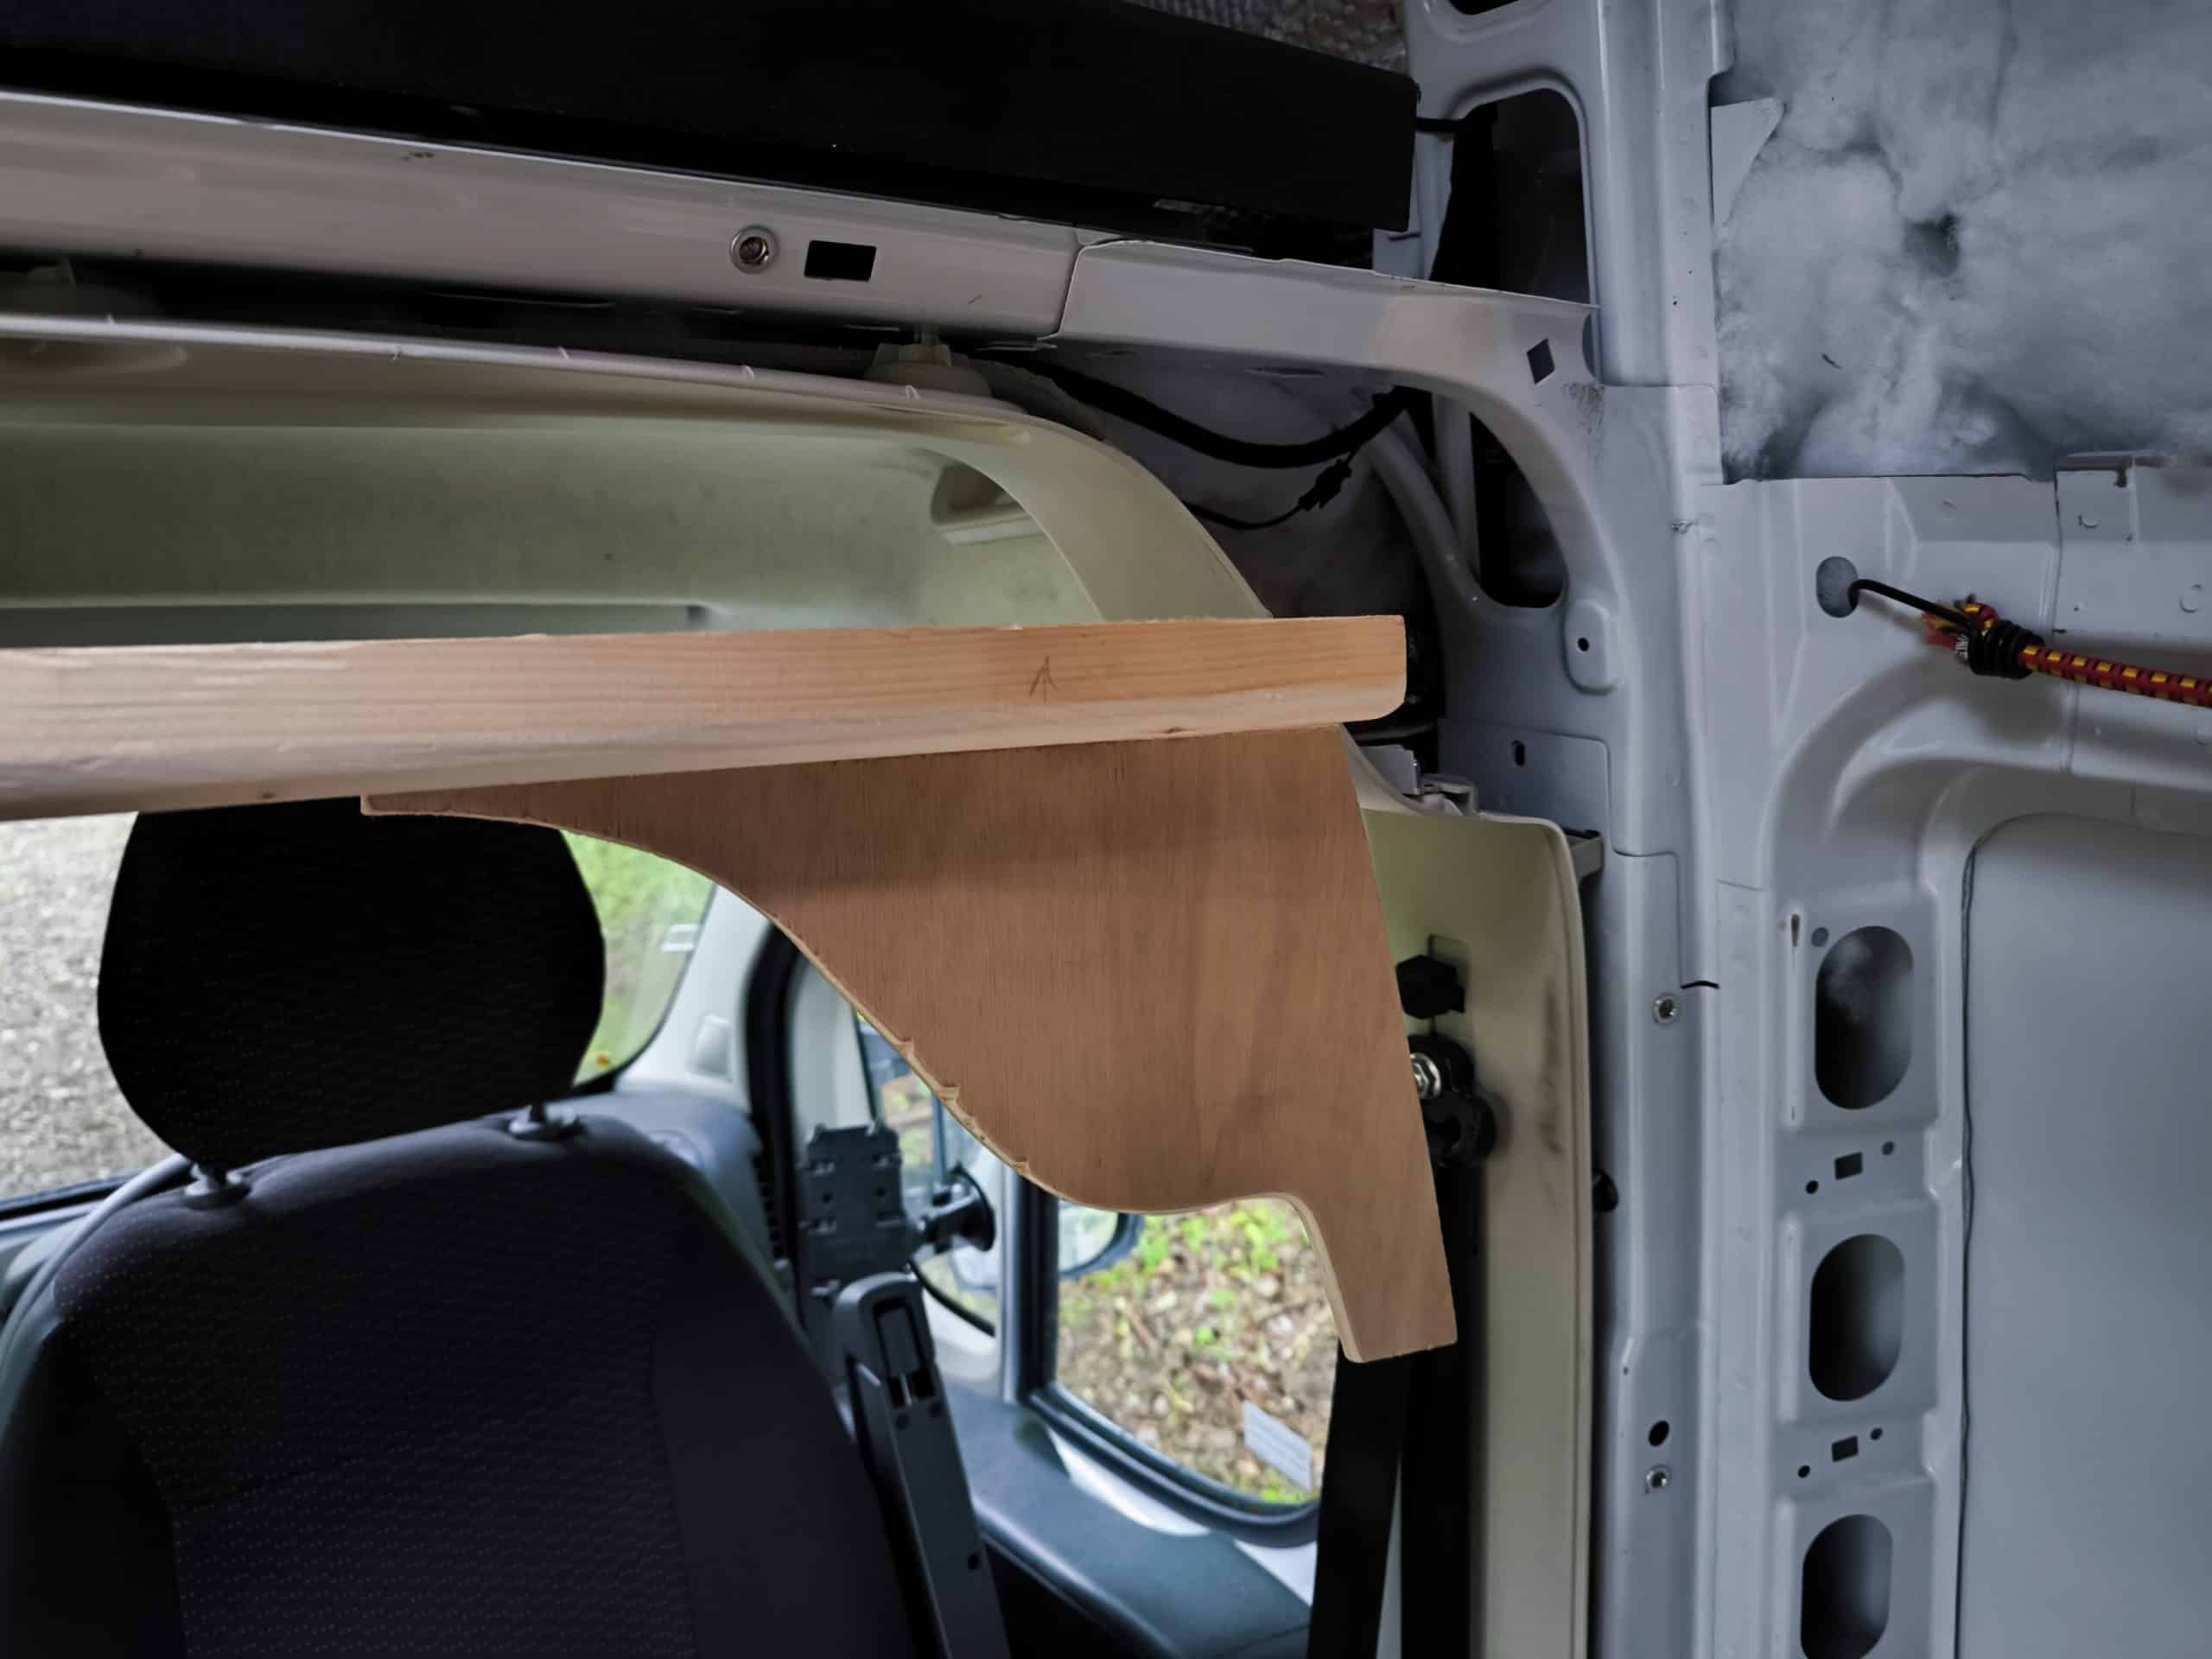
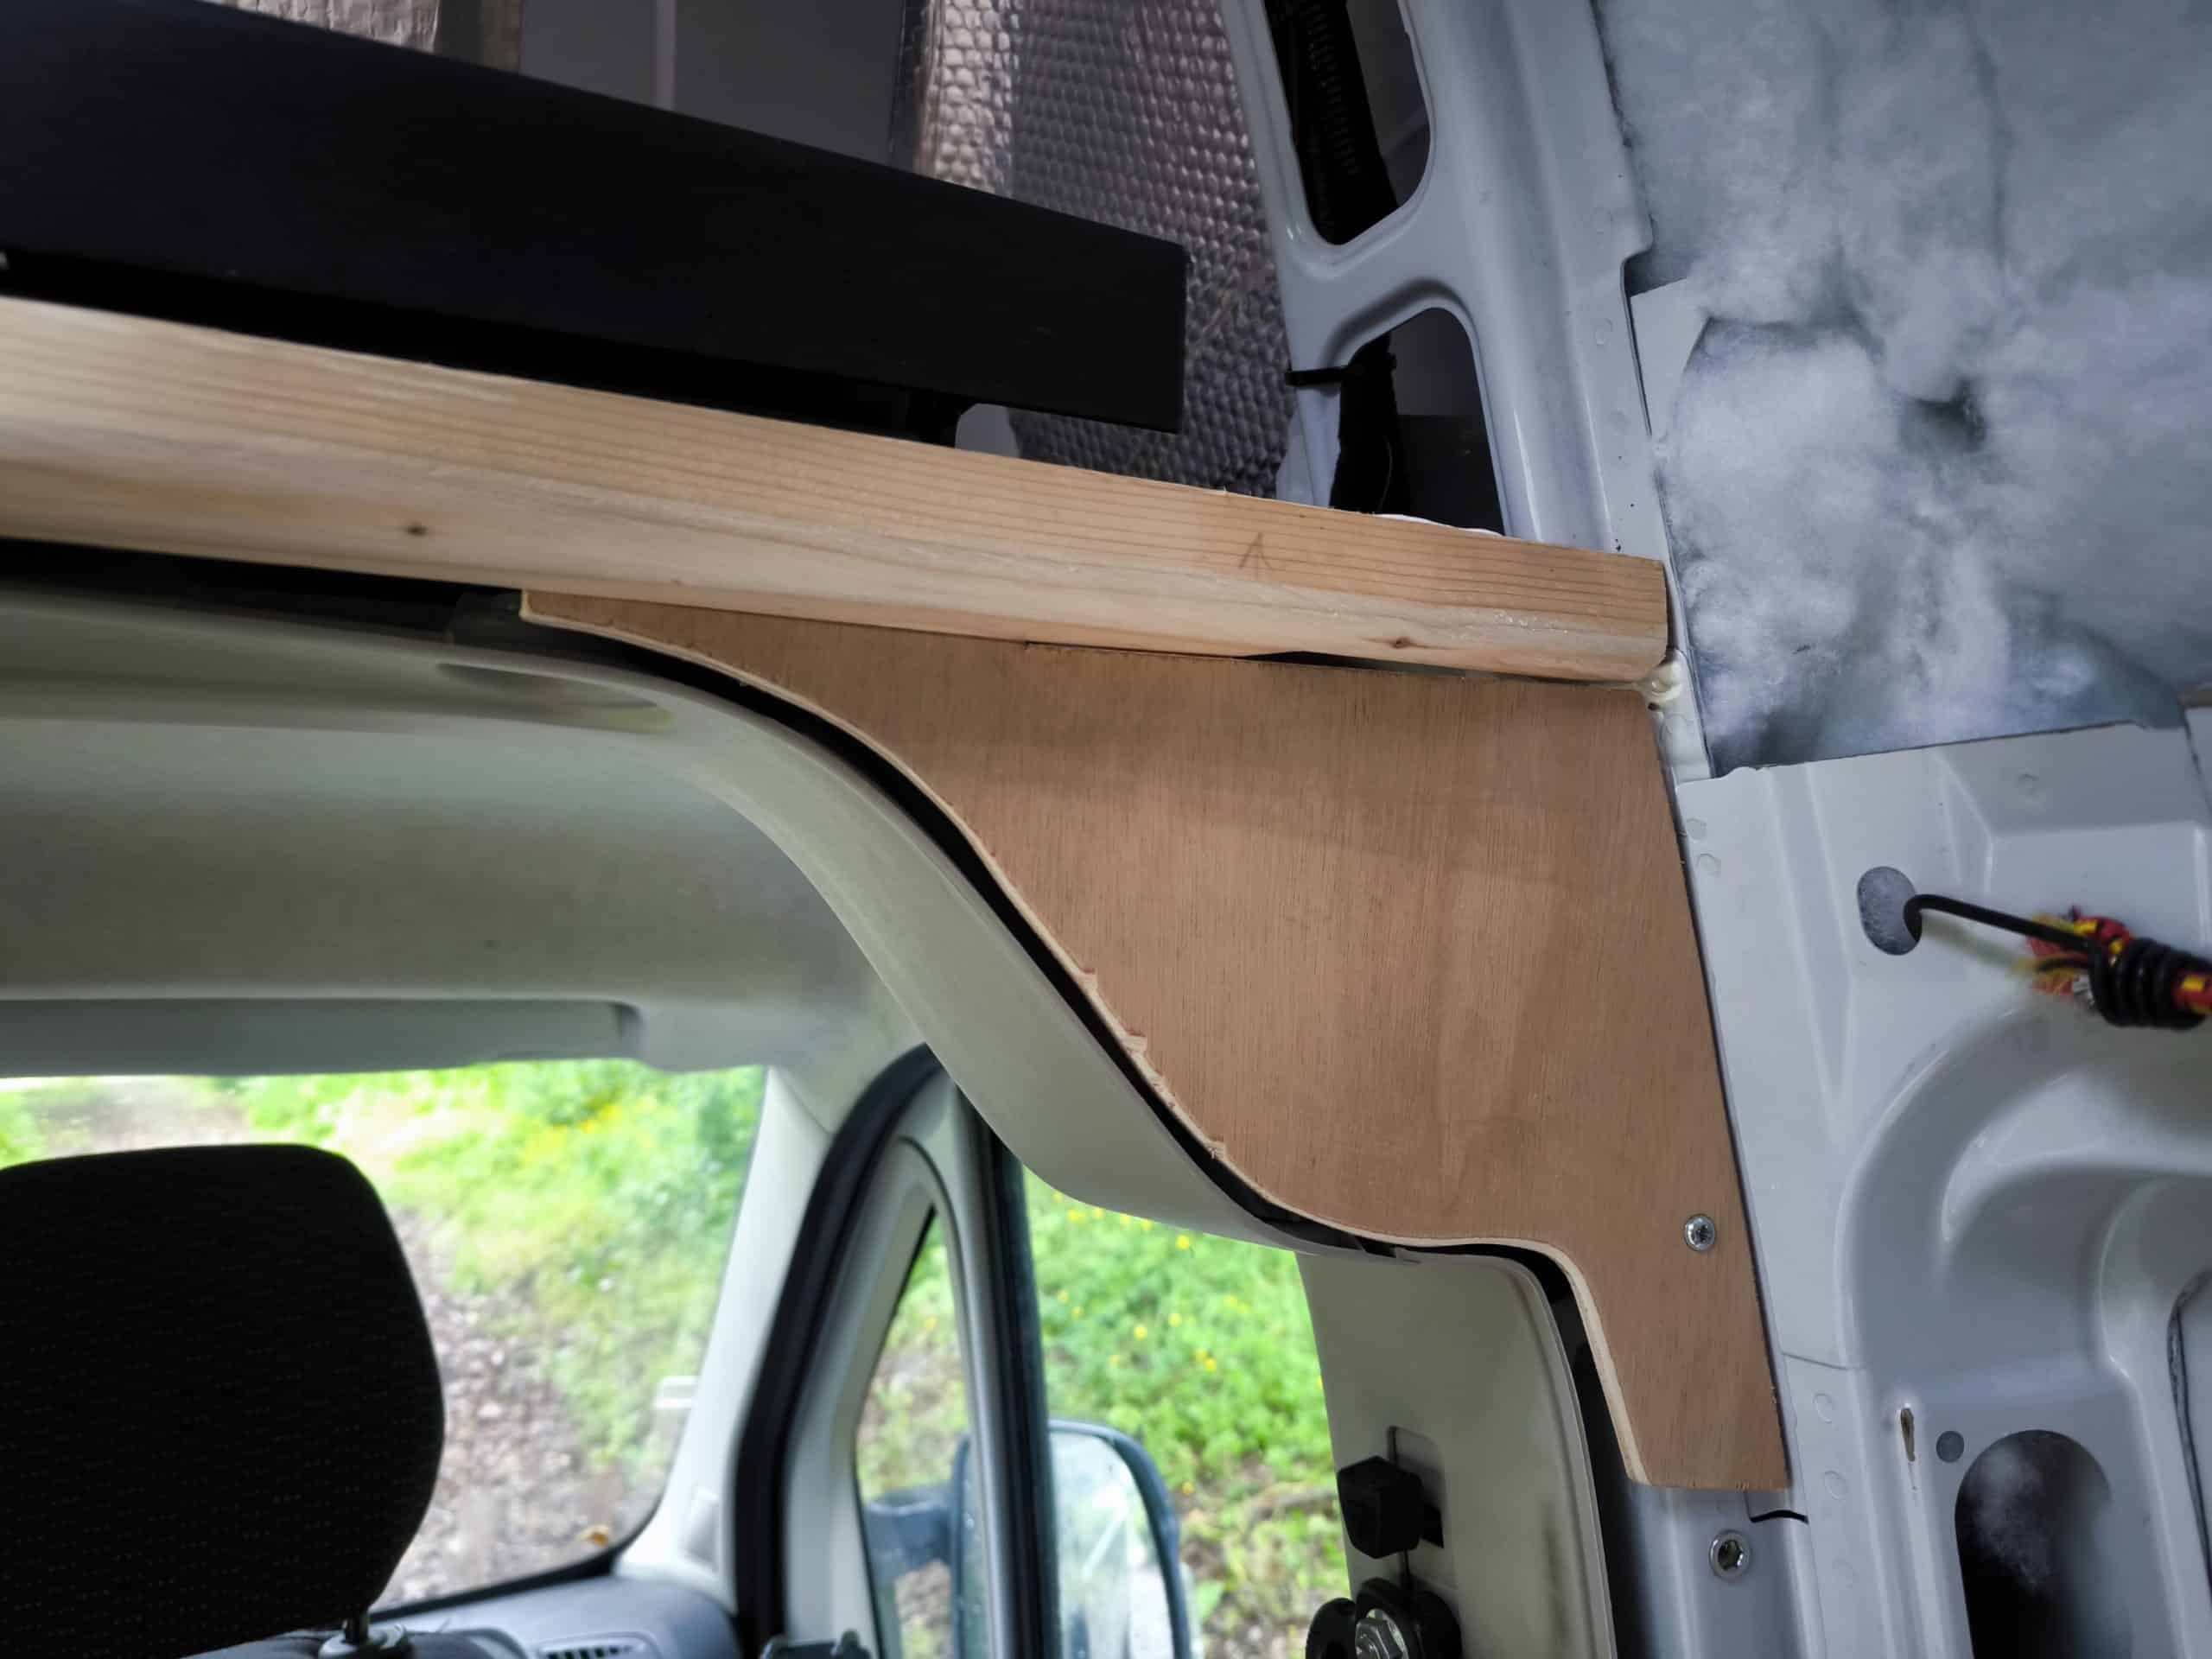
A couple batons either side of the van and a triangular pit of chonky ply to fix into means I could work on the ends of the locker. These need to be fixed in place last, but I need them now because….
My plan is fix hardboard at the top and bottom edges, and then the ends force it into the curve shape needed. I know my last bendy hardboard plan didnt work, but I’m willing to give it another go. To do this I’m using the ends now to glue in place some wooden batons and plywood flats. These will be in compression and screwed to the hardboard, so I’m not worried about them moving over time, and they will ensure a gap for the insulation in maintained.
Oh yeah, and a bit more insulation went in, but only because I was fanny-ing around while the glue dries.
The original plan for today and tomorrow, was to meet my brother to help me put my side windows in. But the rain has pushed pause on that for now. Maybe next week.