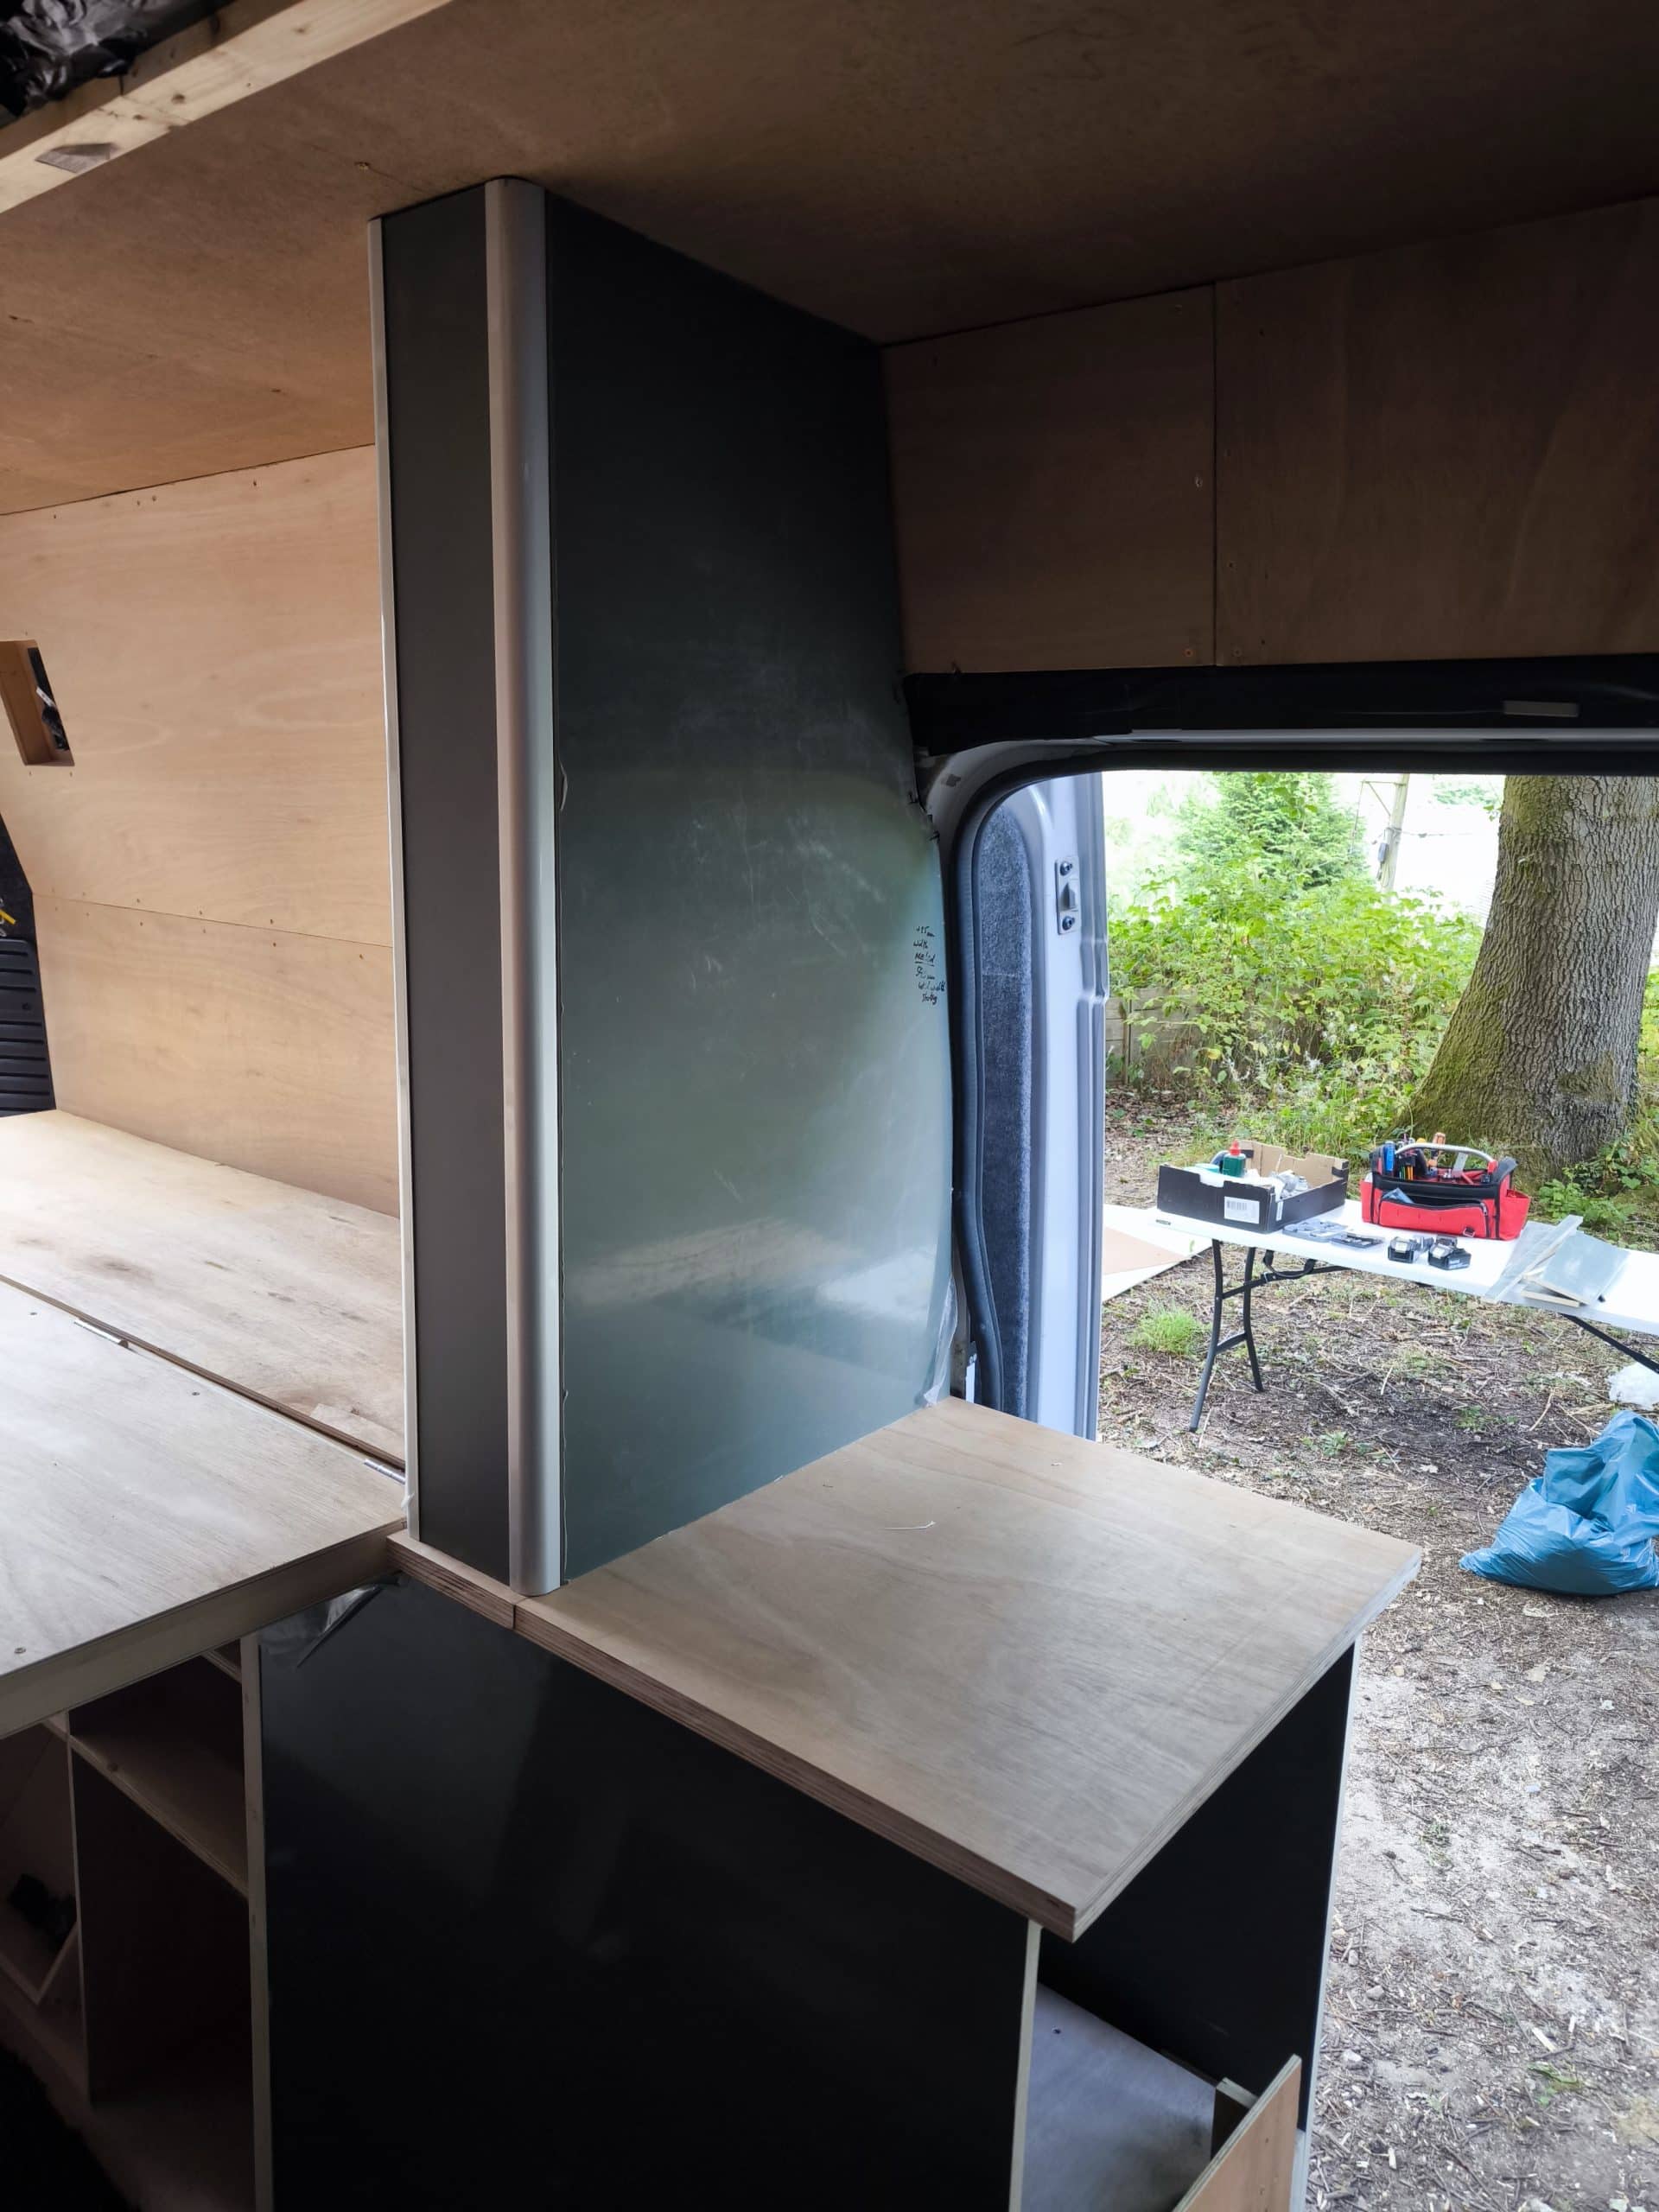
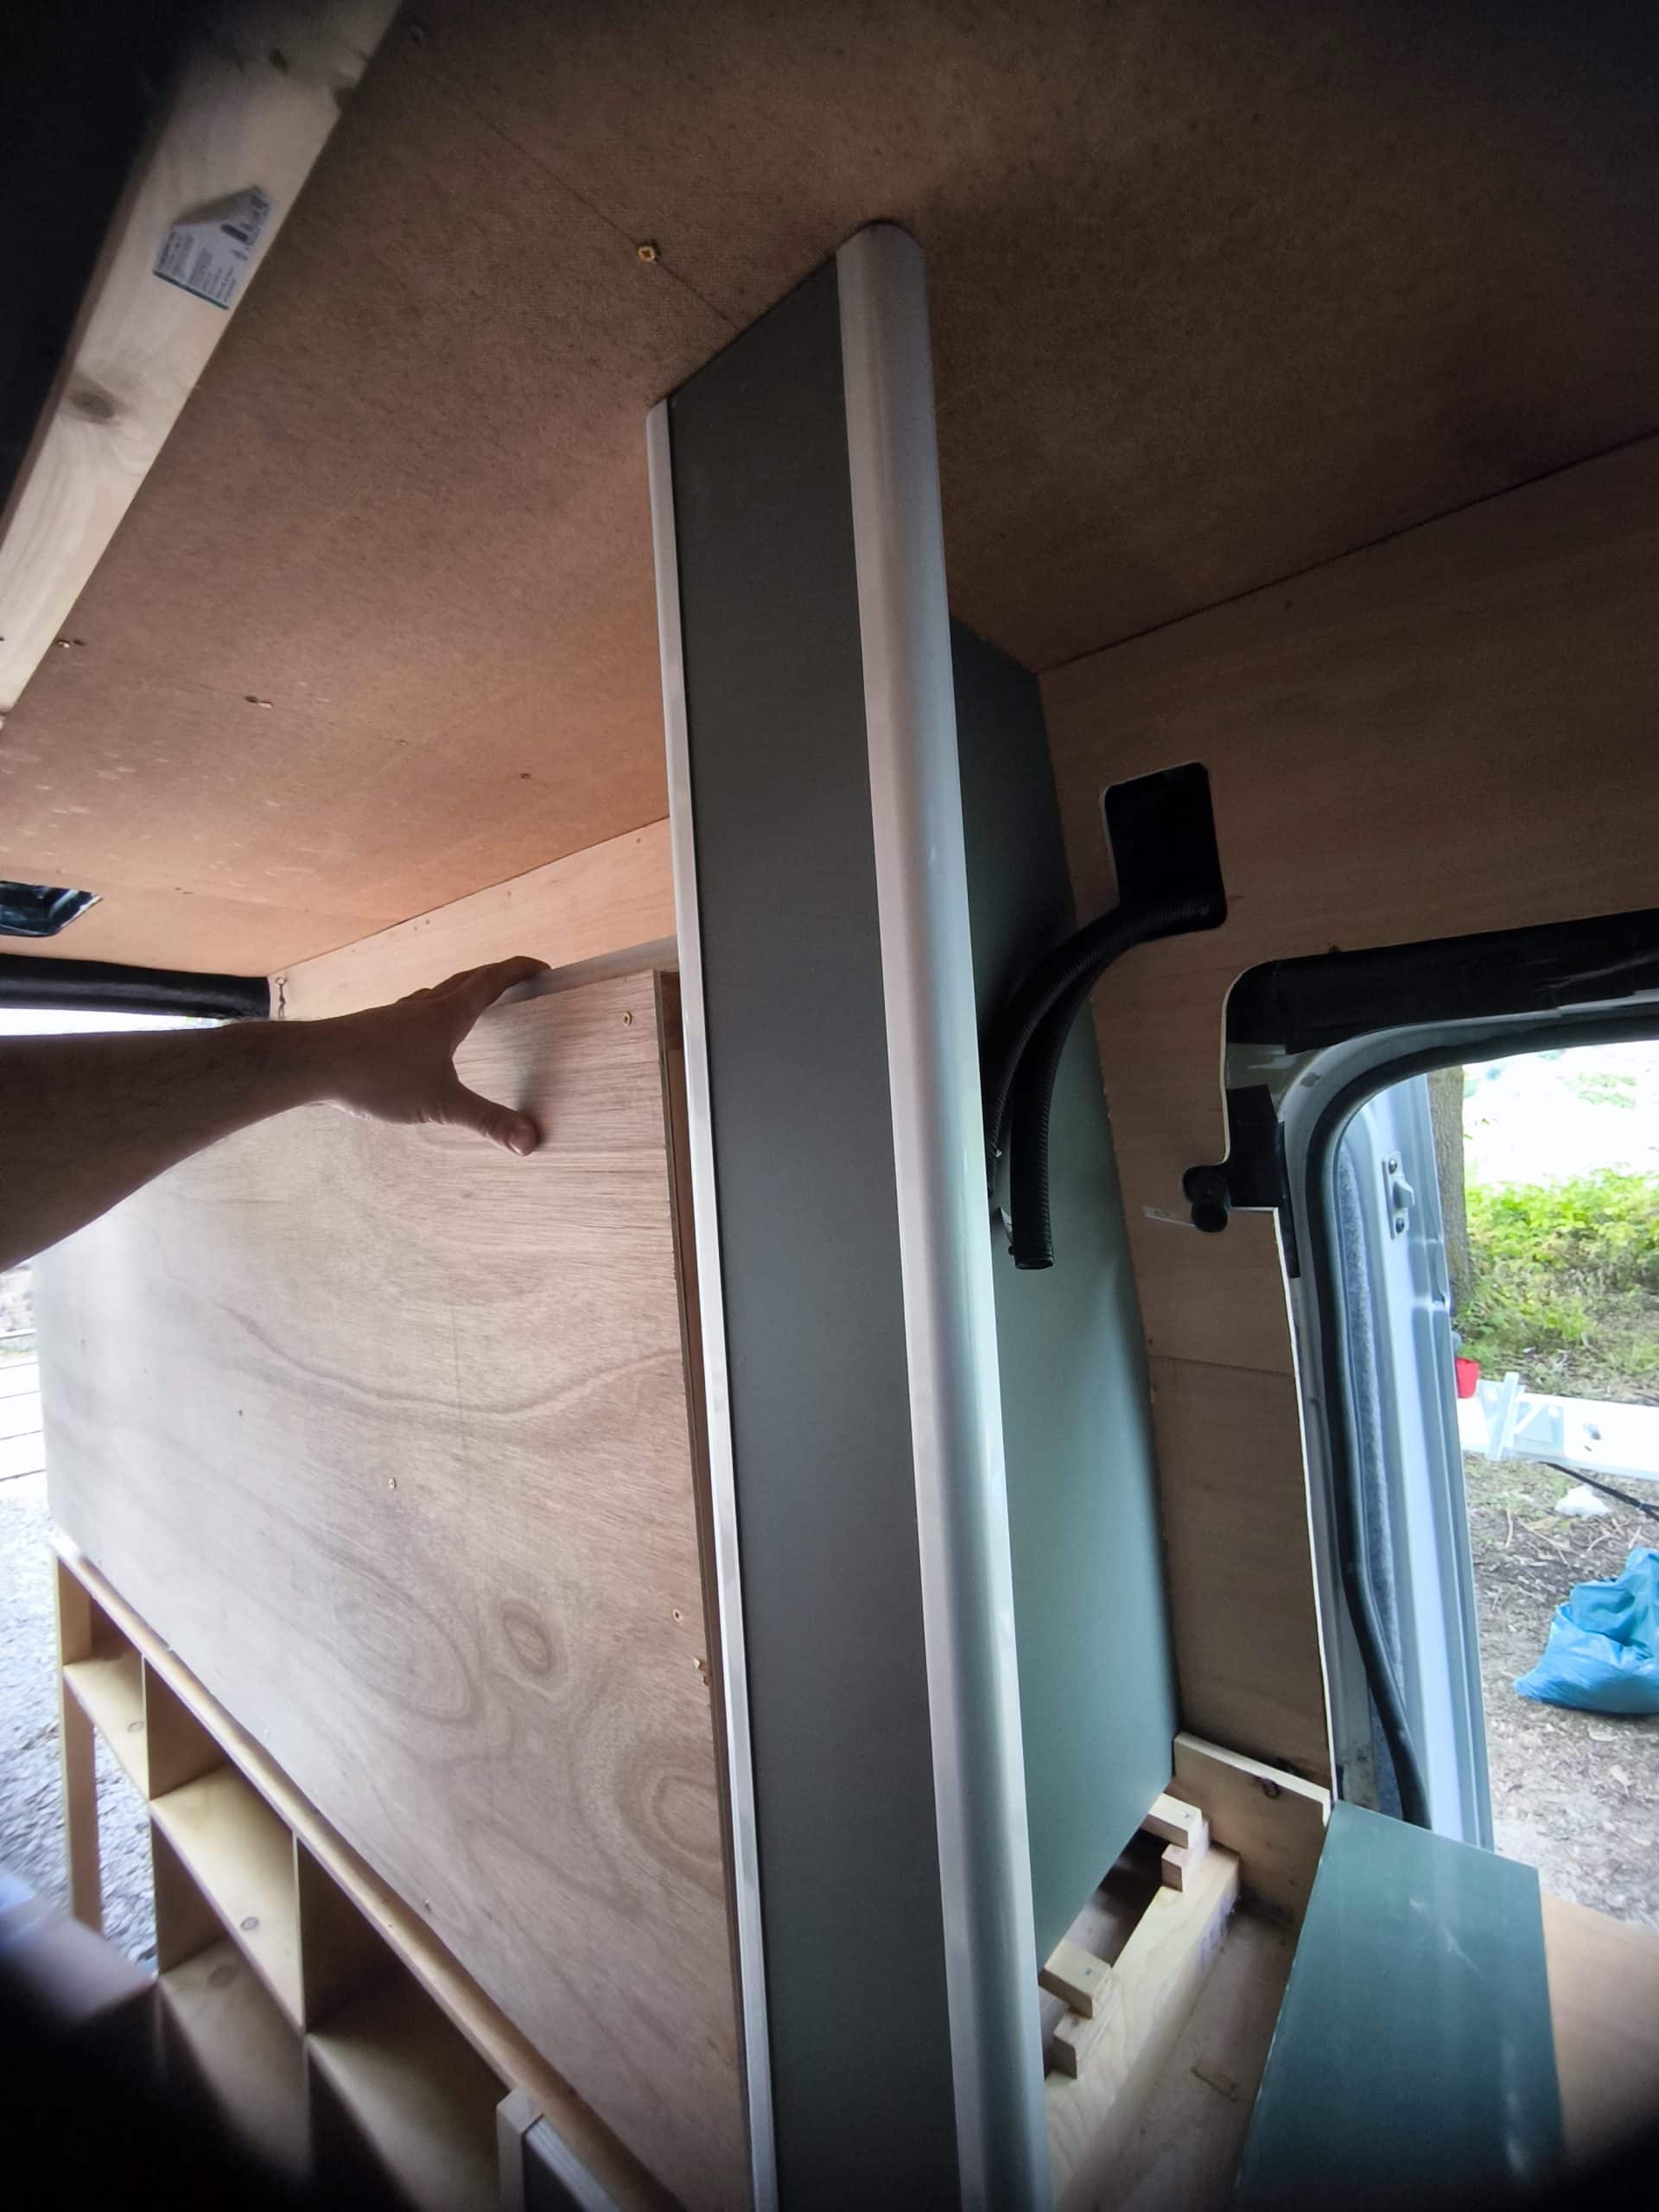
With all the panelling done I can now start carpeting…
Except I don’t have any glue left. I’m waiting on an eBay delivery so we will have to get on with something else till it arrives.
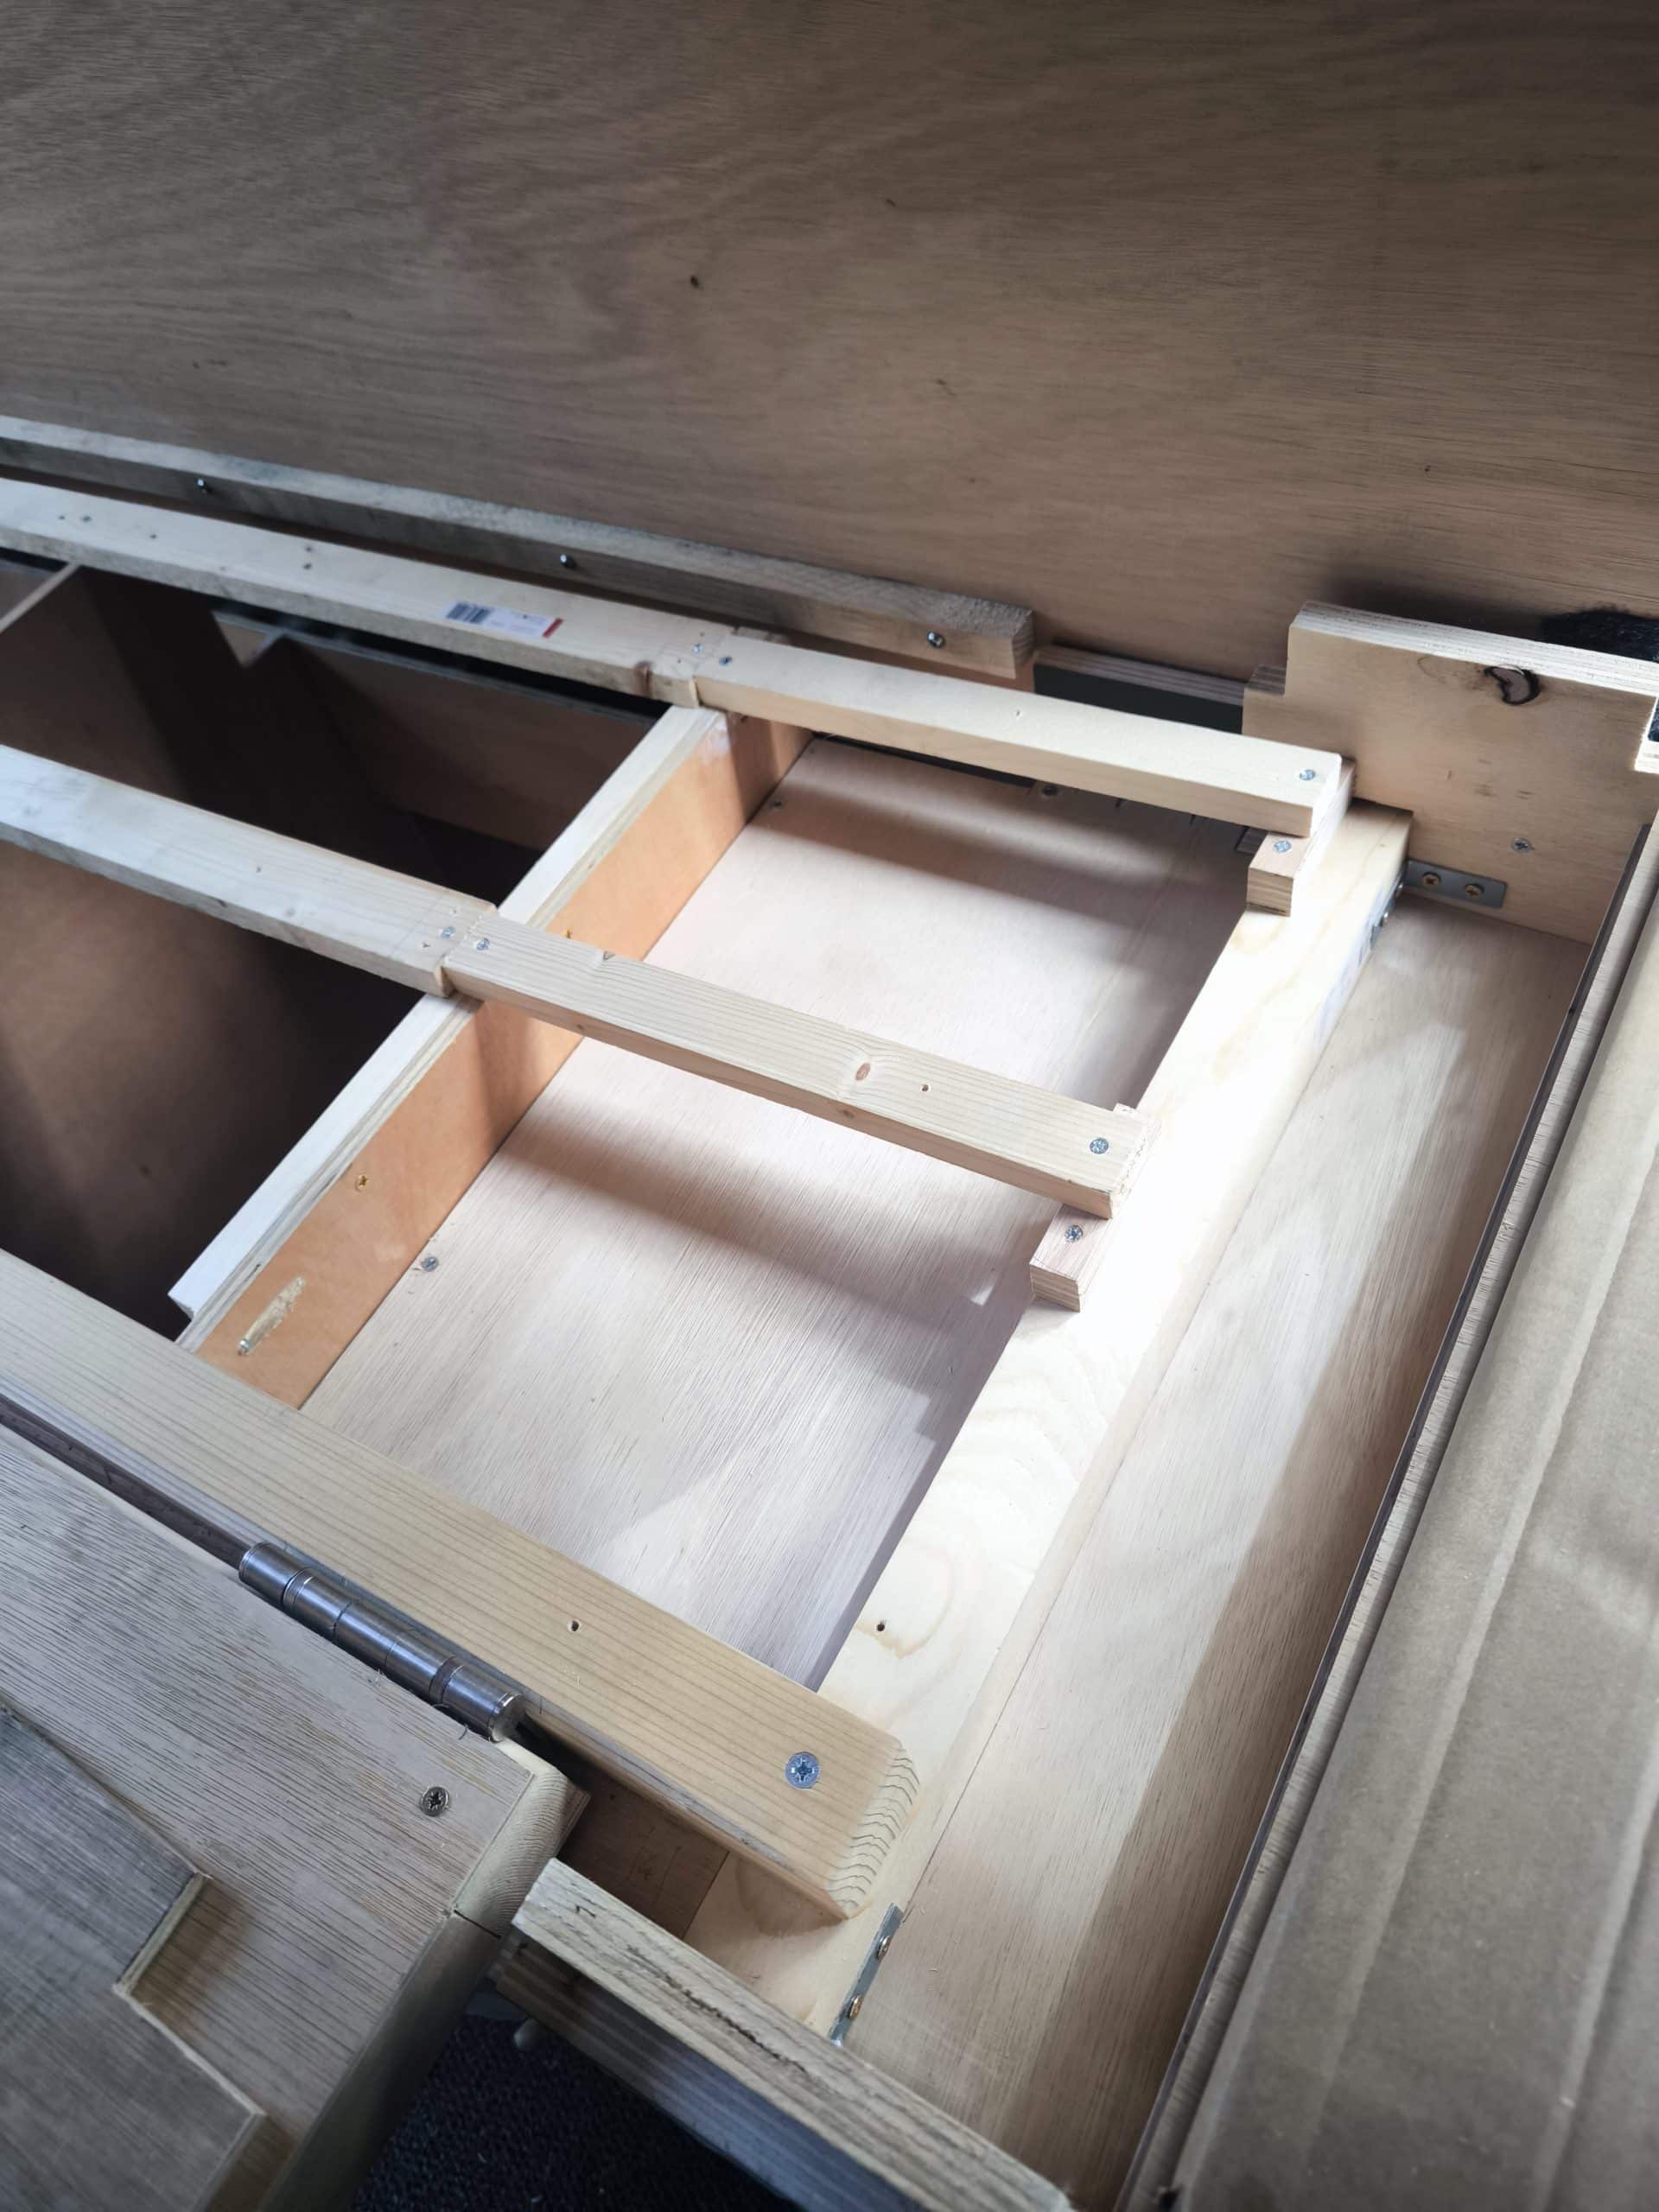
In the course of marking and measuring stuff up I dropped my pencil and it trickled it’s way down into the fridge cabinet and between 2 bits of ply, all the way down to the floor. There is no way for me to get in there to get it, so to stop this happening again I’m building a tray to close it off. It’s another fiddly bit of wood work, but I think it will save a lot of swearing in future.
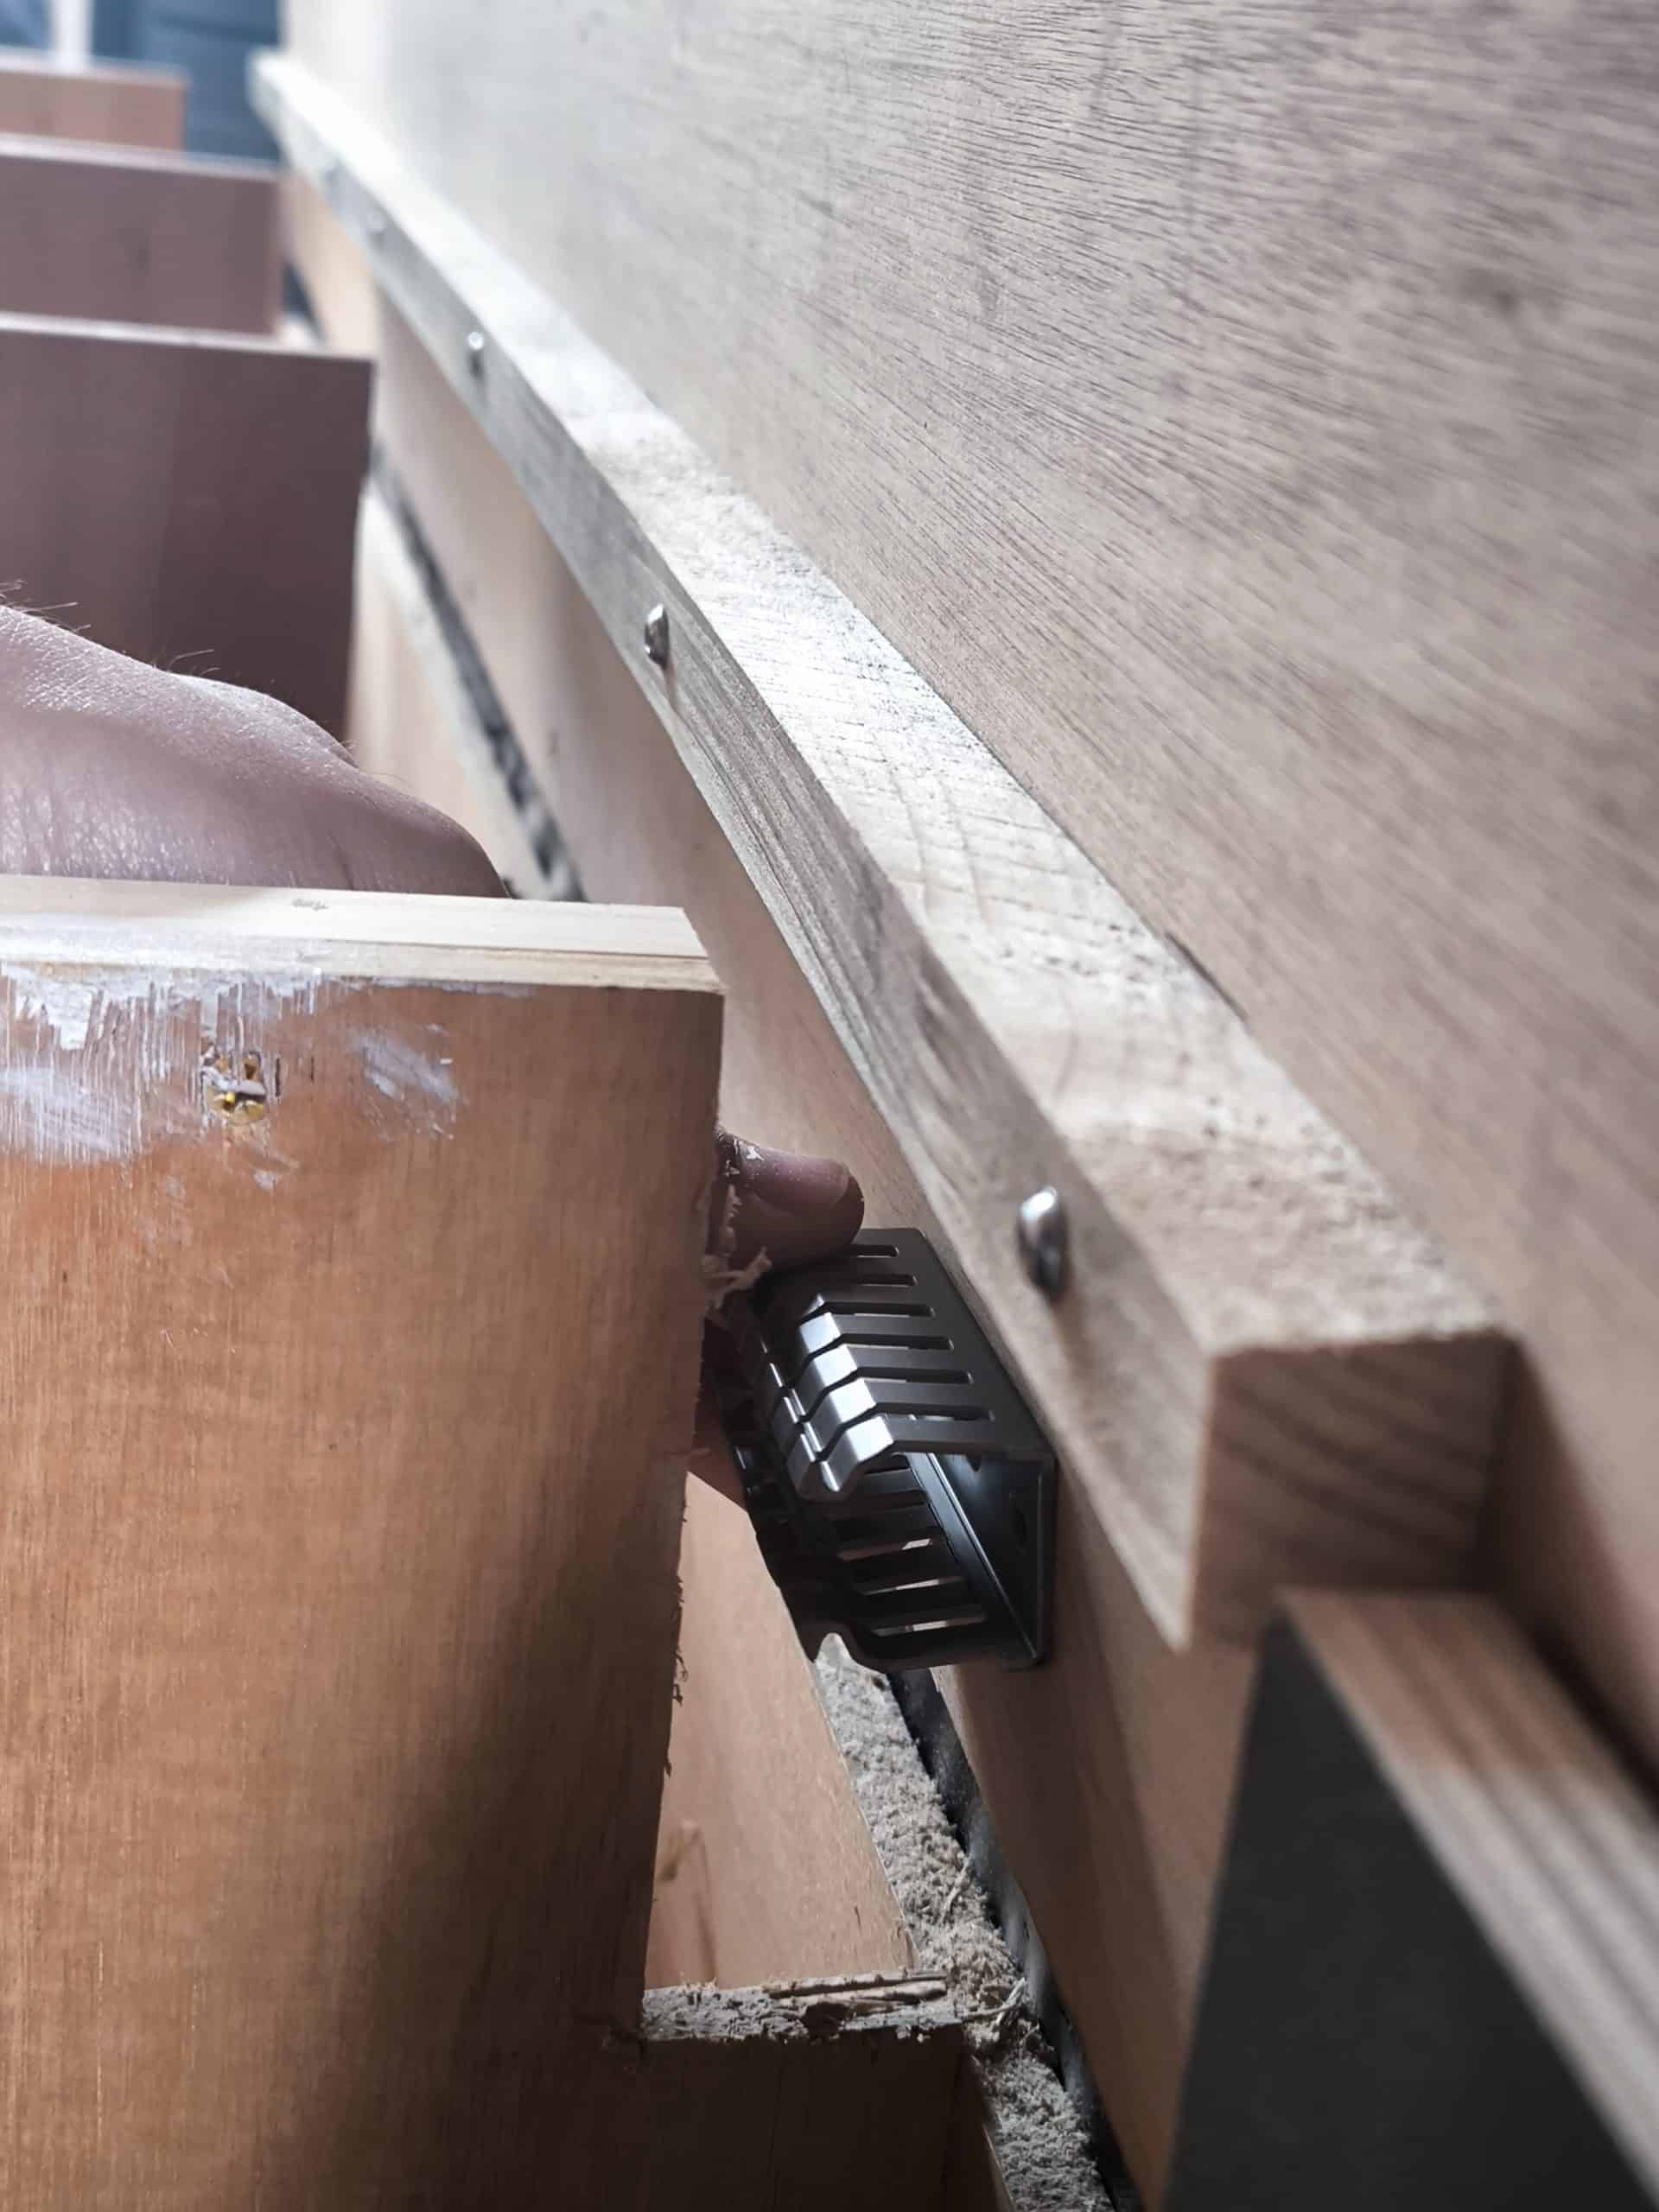
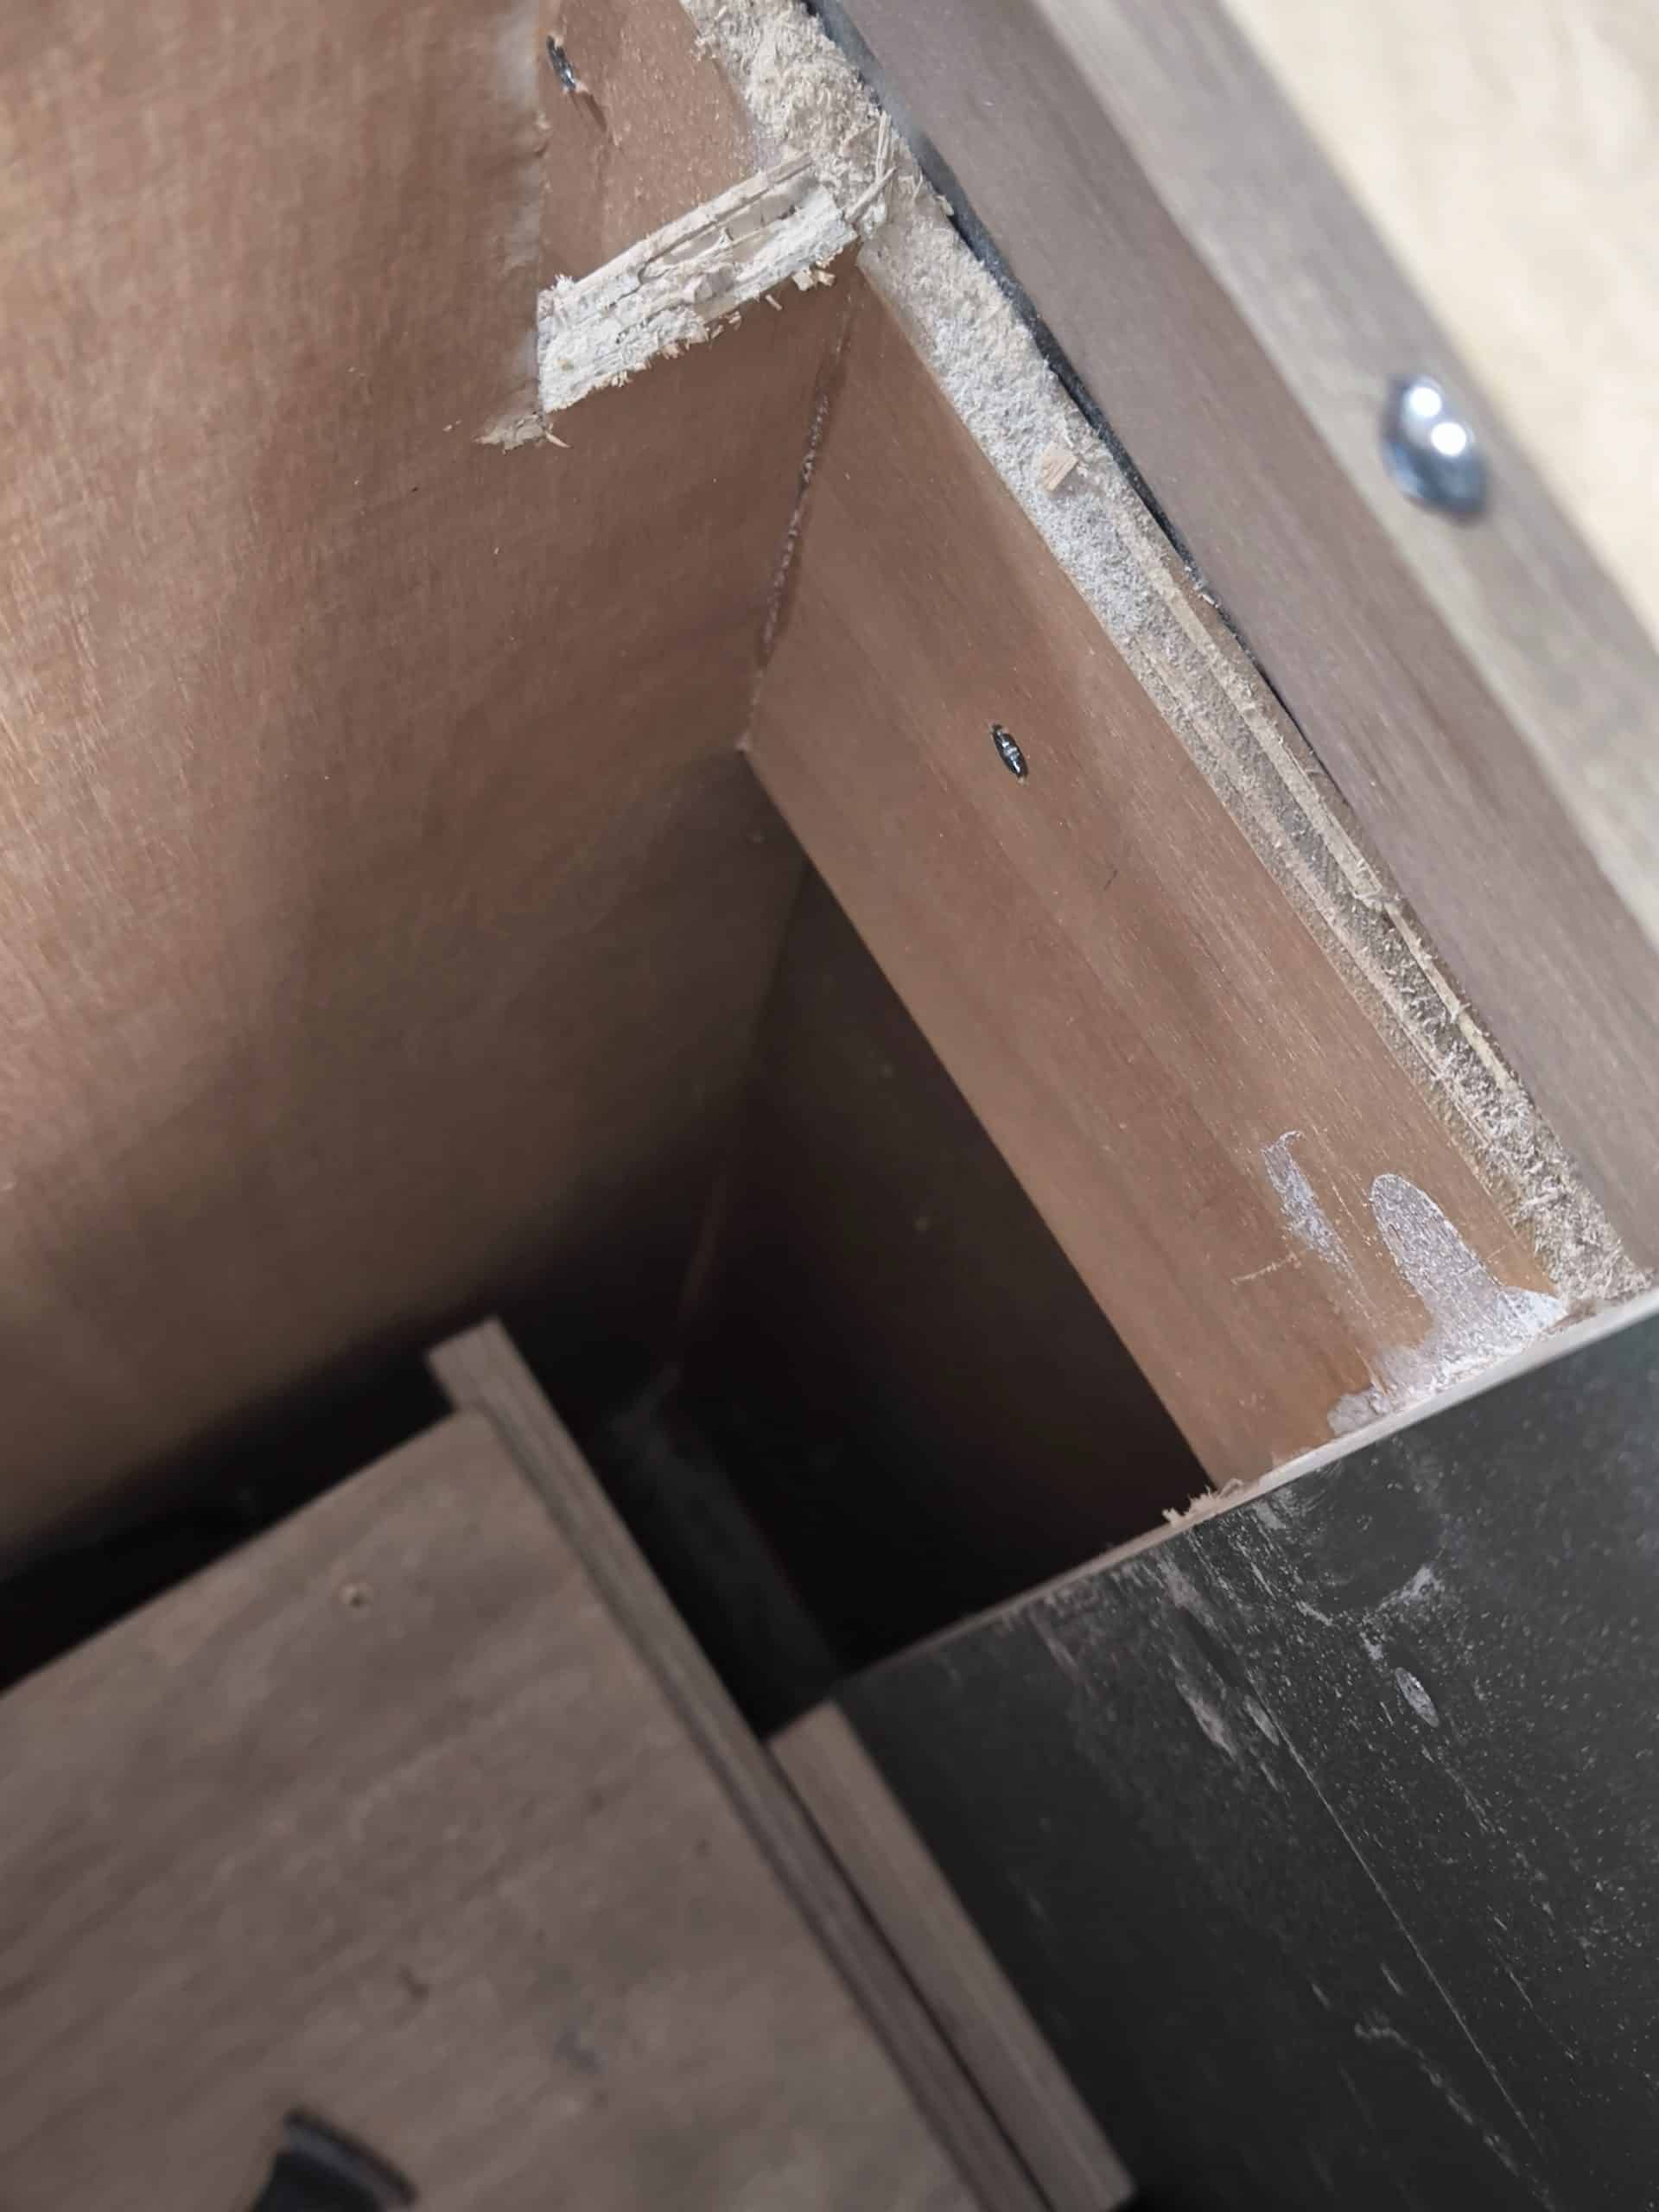
I also cut some of the cabinet panels away to give me space for cable runs along the back wall. The fridge is really tight in its cabinet so there will only be a small opening to get up into the electrical tower.
With a few small bits of wood and some pocket hole screws I made a little box in the corner and then cut a thin sheet of ply and screwed it in place. This runs under the whole electrical tower and then under the bed a little way which gives loads of space for cables. It was annoying to have to almost climb inside the cabinet to built it, but will be worth a little hassle now to avoid it in future.
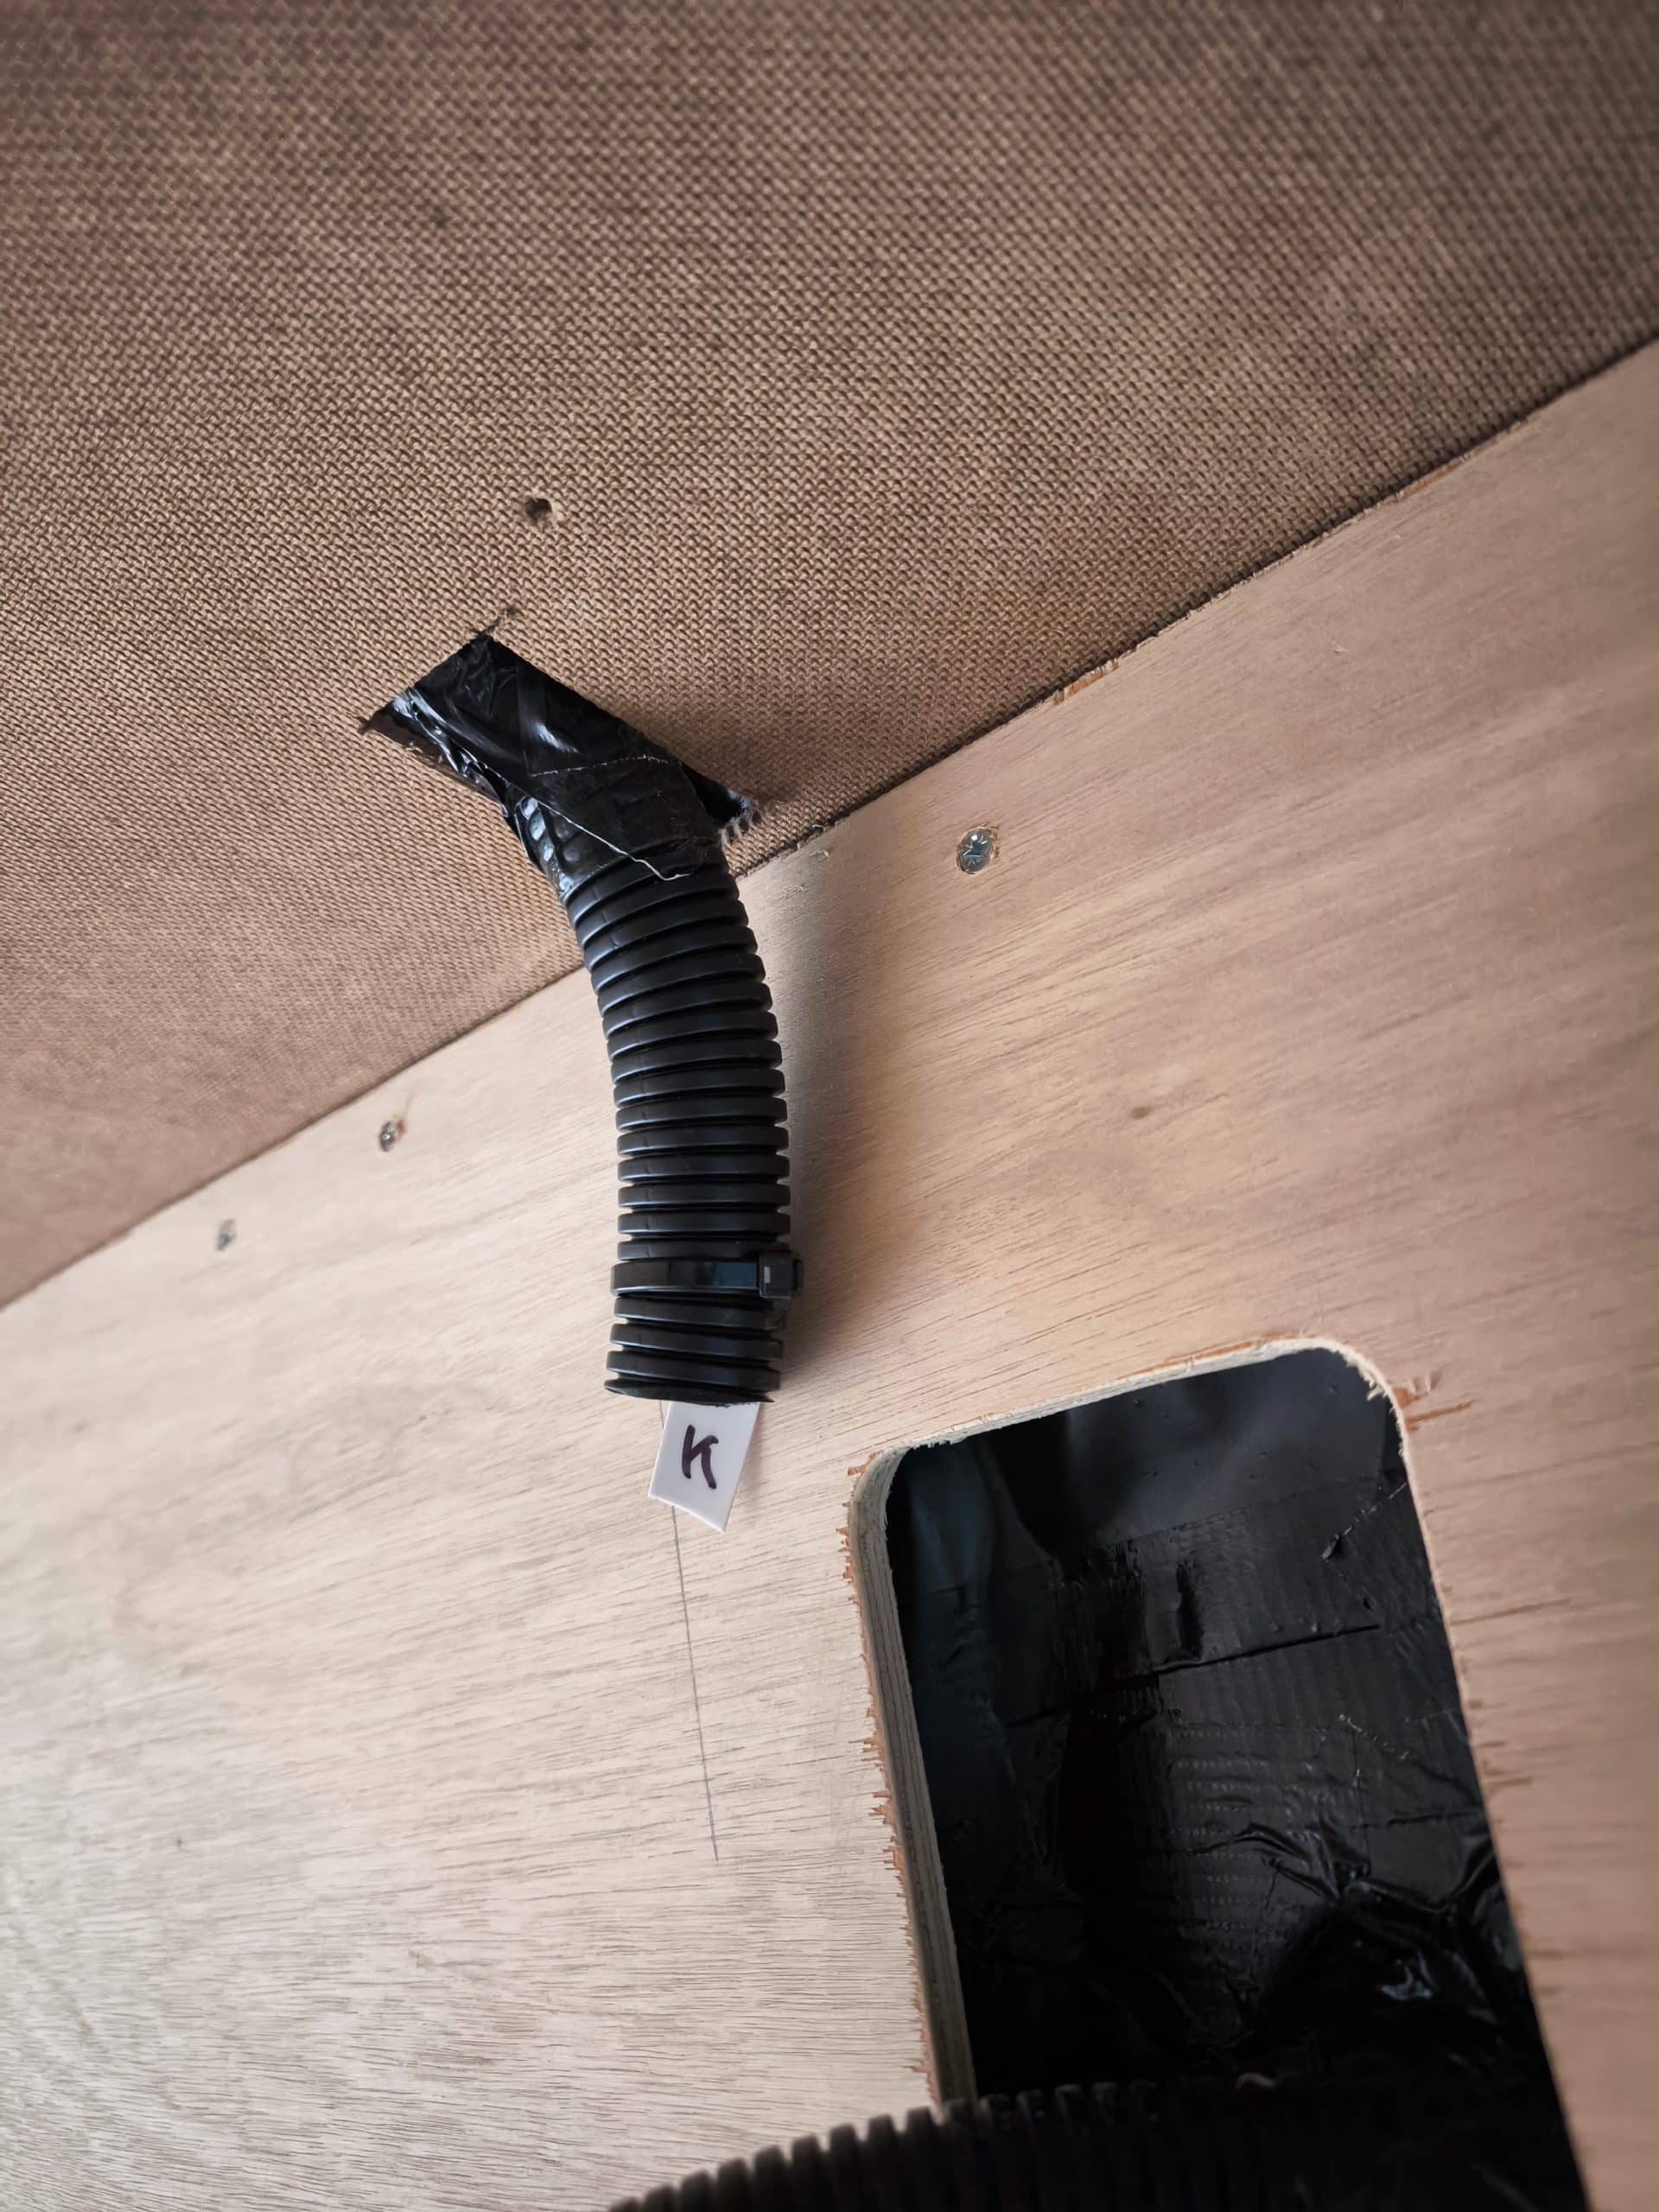
I was about to start the next bit and then i realised that I was missing a bit of electrical conduit! Somewhere in the walls or ceiling was one labelled “k” that would connect from the electrical tower to the central lighting strip. It’s quite an important one! After a bit of photo searching I realised I left it in the ceiling over the electrical tower because I was not 100% sure where the panels would end up. Now they are going in, it was a simple process to jigger a small hole and retrieve this conduit.
Next I moved onto some exciting green panels!
…And immediately fucked one up
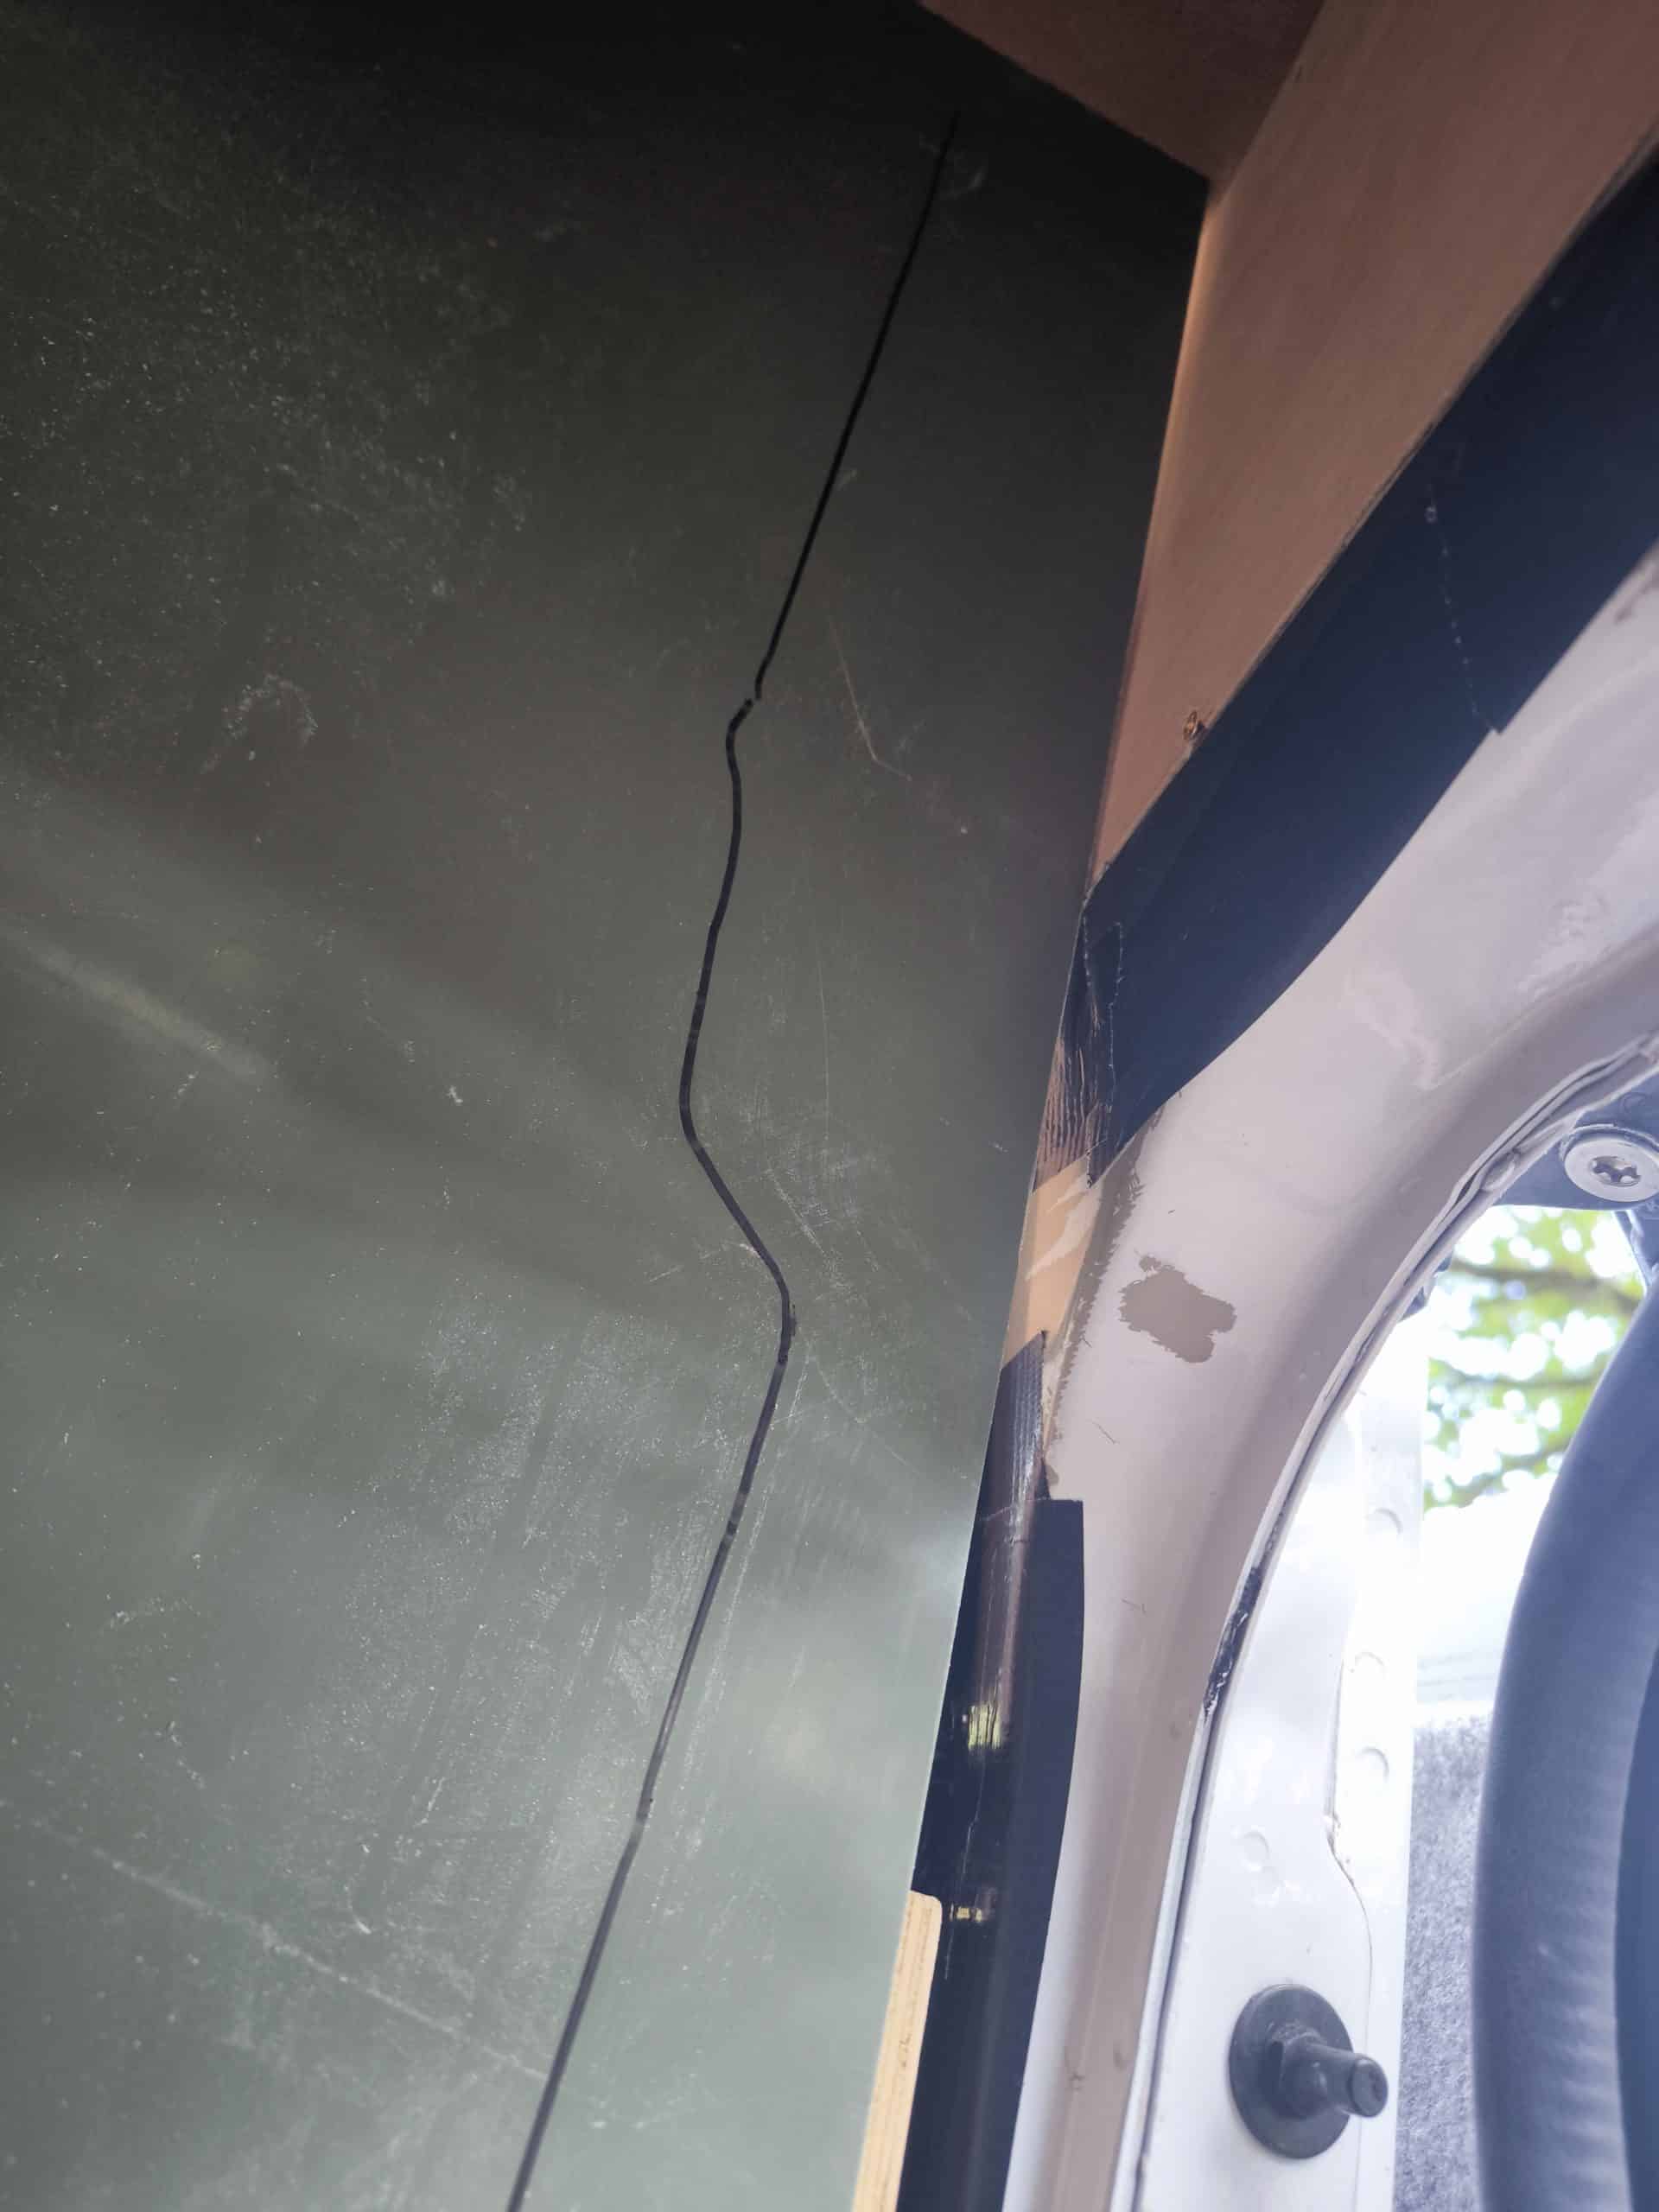
I cut them all to rough size with Jord a while ago and they have been sitting in my car port for about a month waiting to go in. Finally it’s time and with the very first one I took ages to scribe it to fit the contours of the van. I was really careful to get the shape exactly right that I forgot about the overall width that was needed. I took off too much from the scribed edge and so even though it fit nicely, the panel was not wide enough to fill the space.
Rookie error, and quite expensive. I cannot afford to make many of these mistakes at £180 a sheet!
Moving on, I got the next green panel for the electrical tower cut to shape and propped up in place. This one went to plan and fits beautifully. I found that the circular saw can snap off the green veneer and give a terrible edge but by running a Stanley blade along the cut line first, it gives a really neat edge
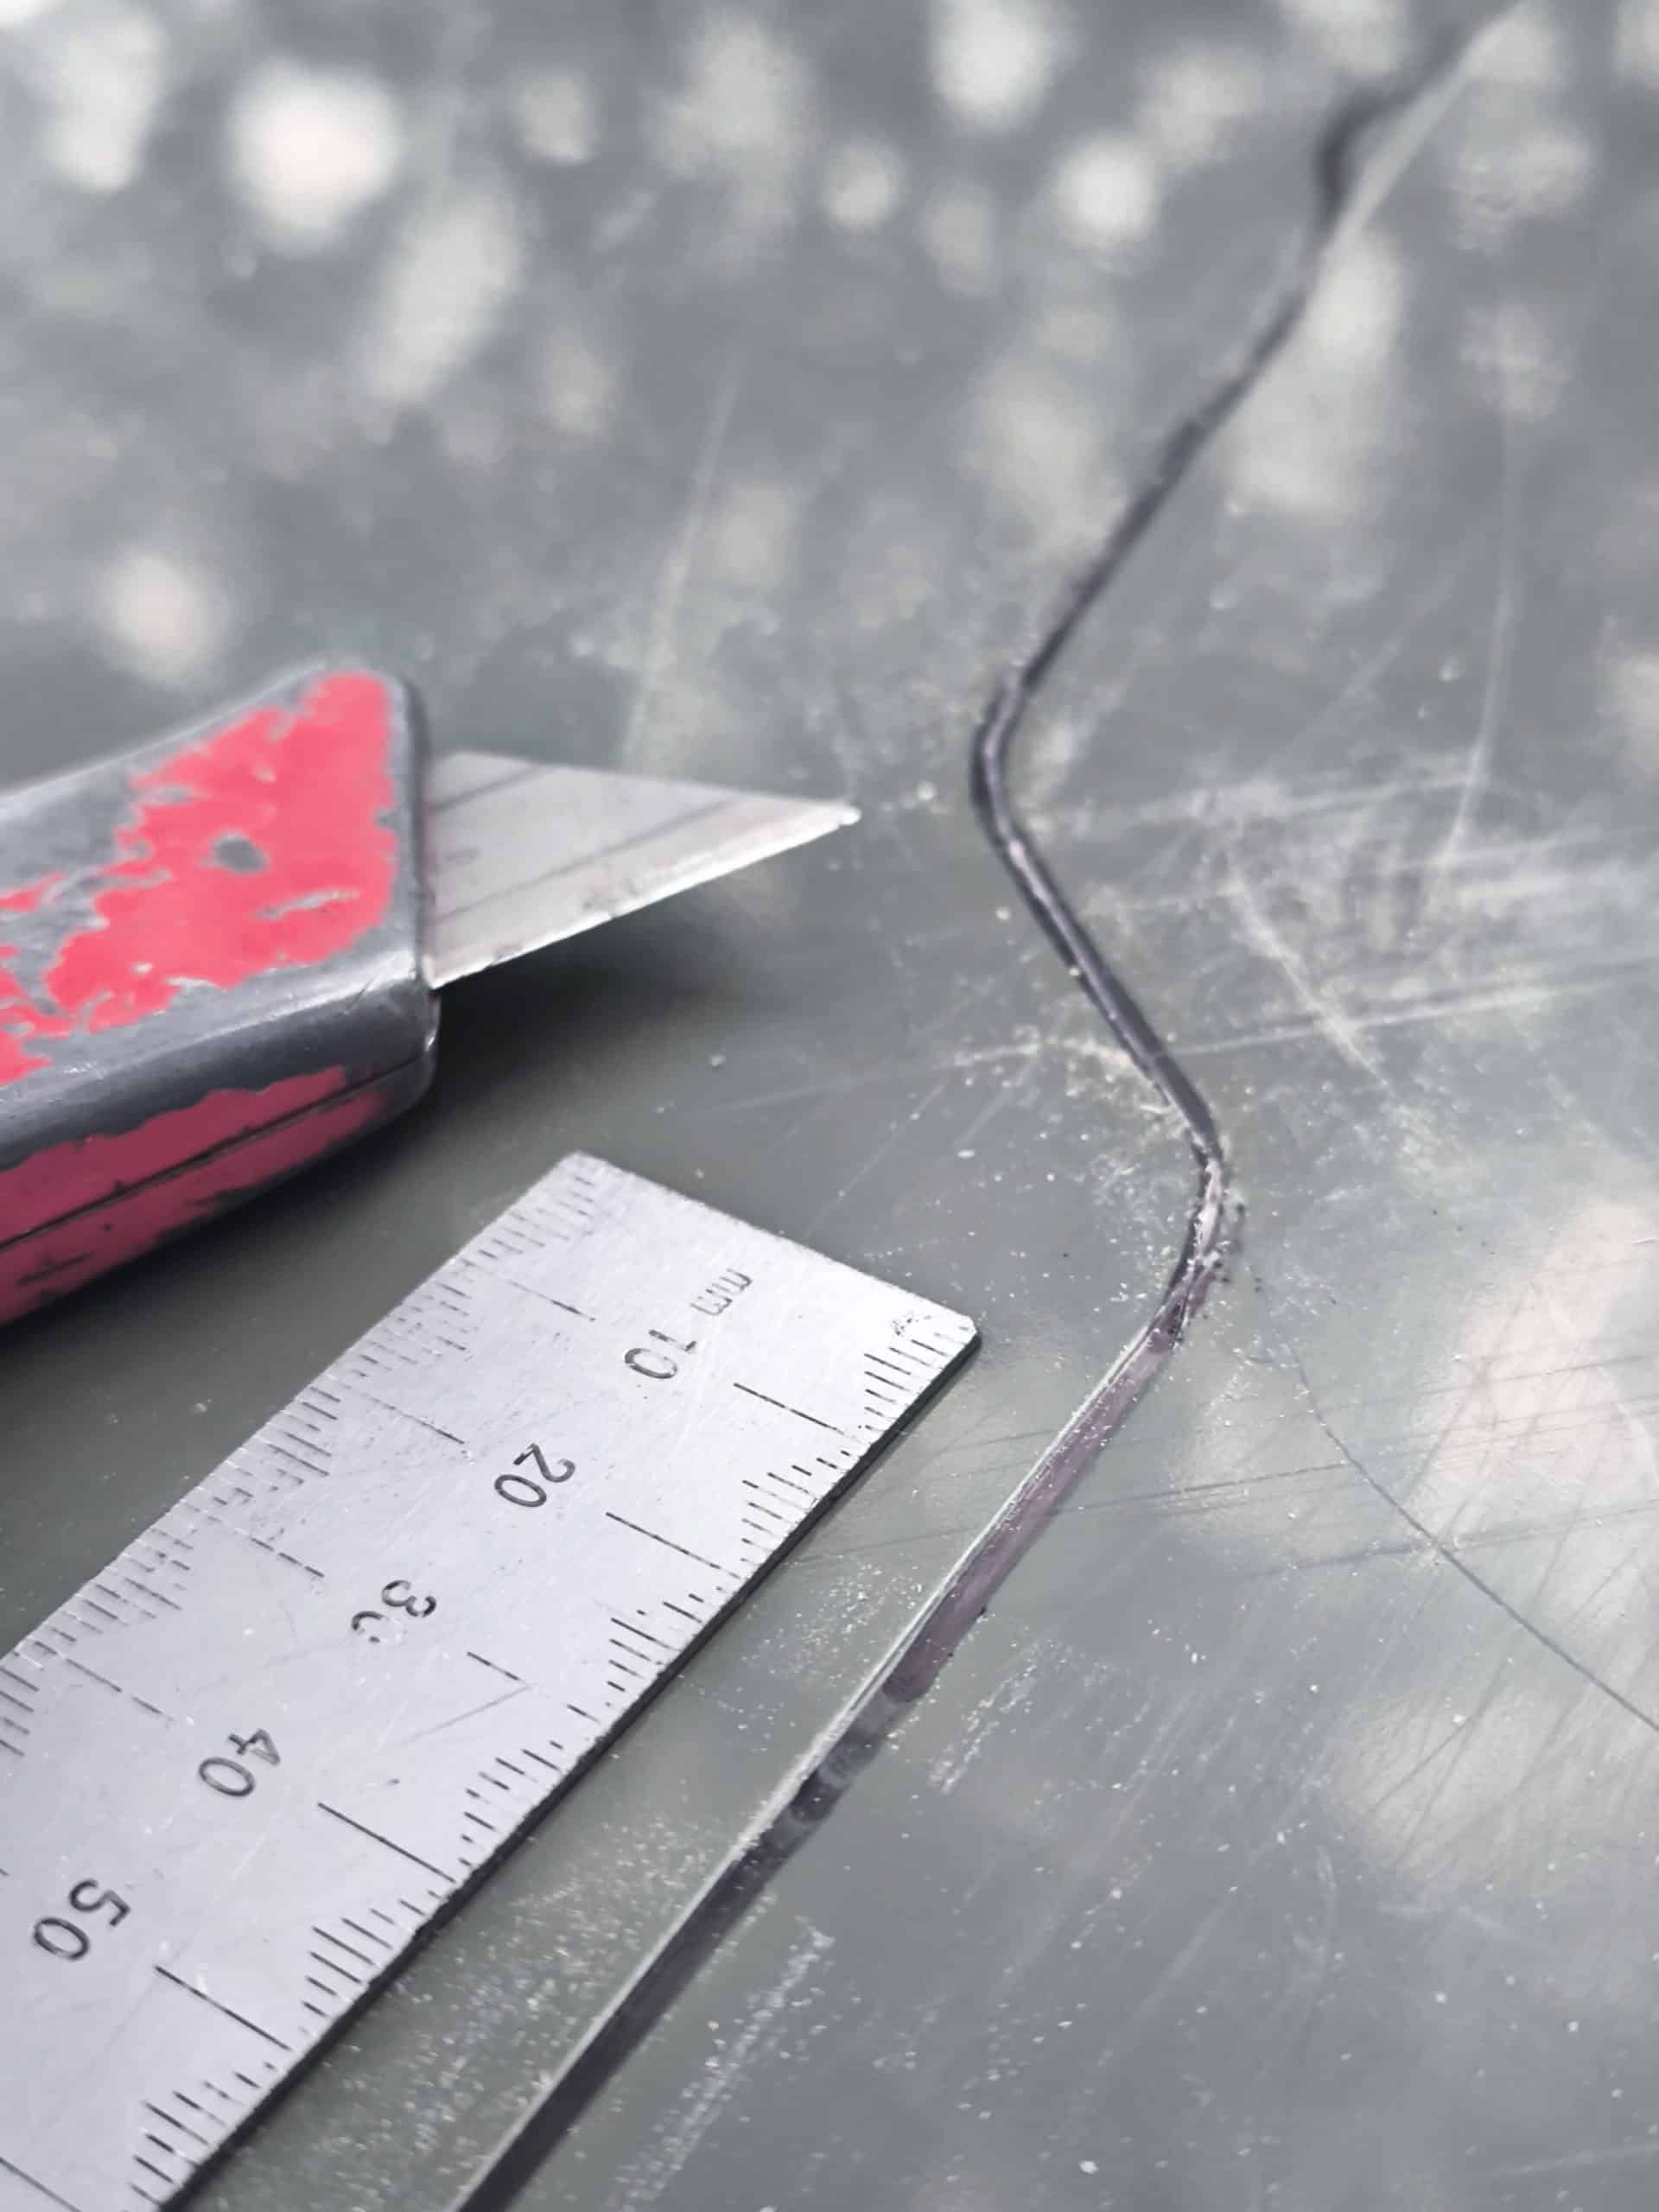
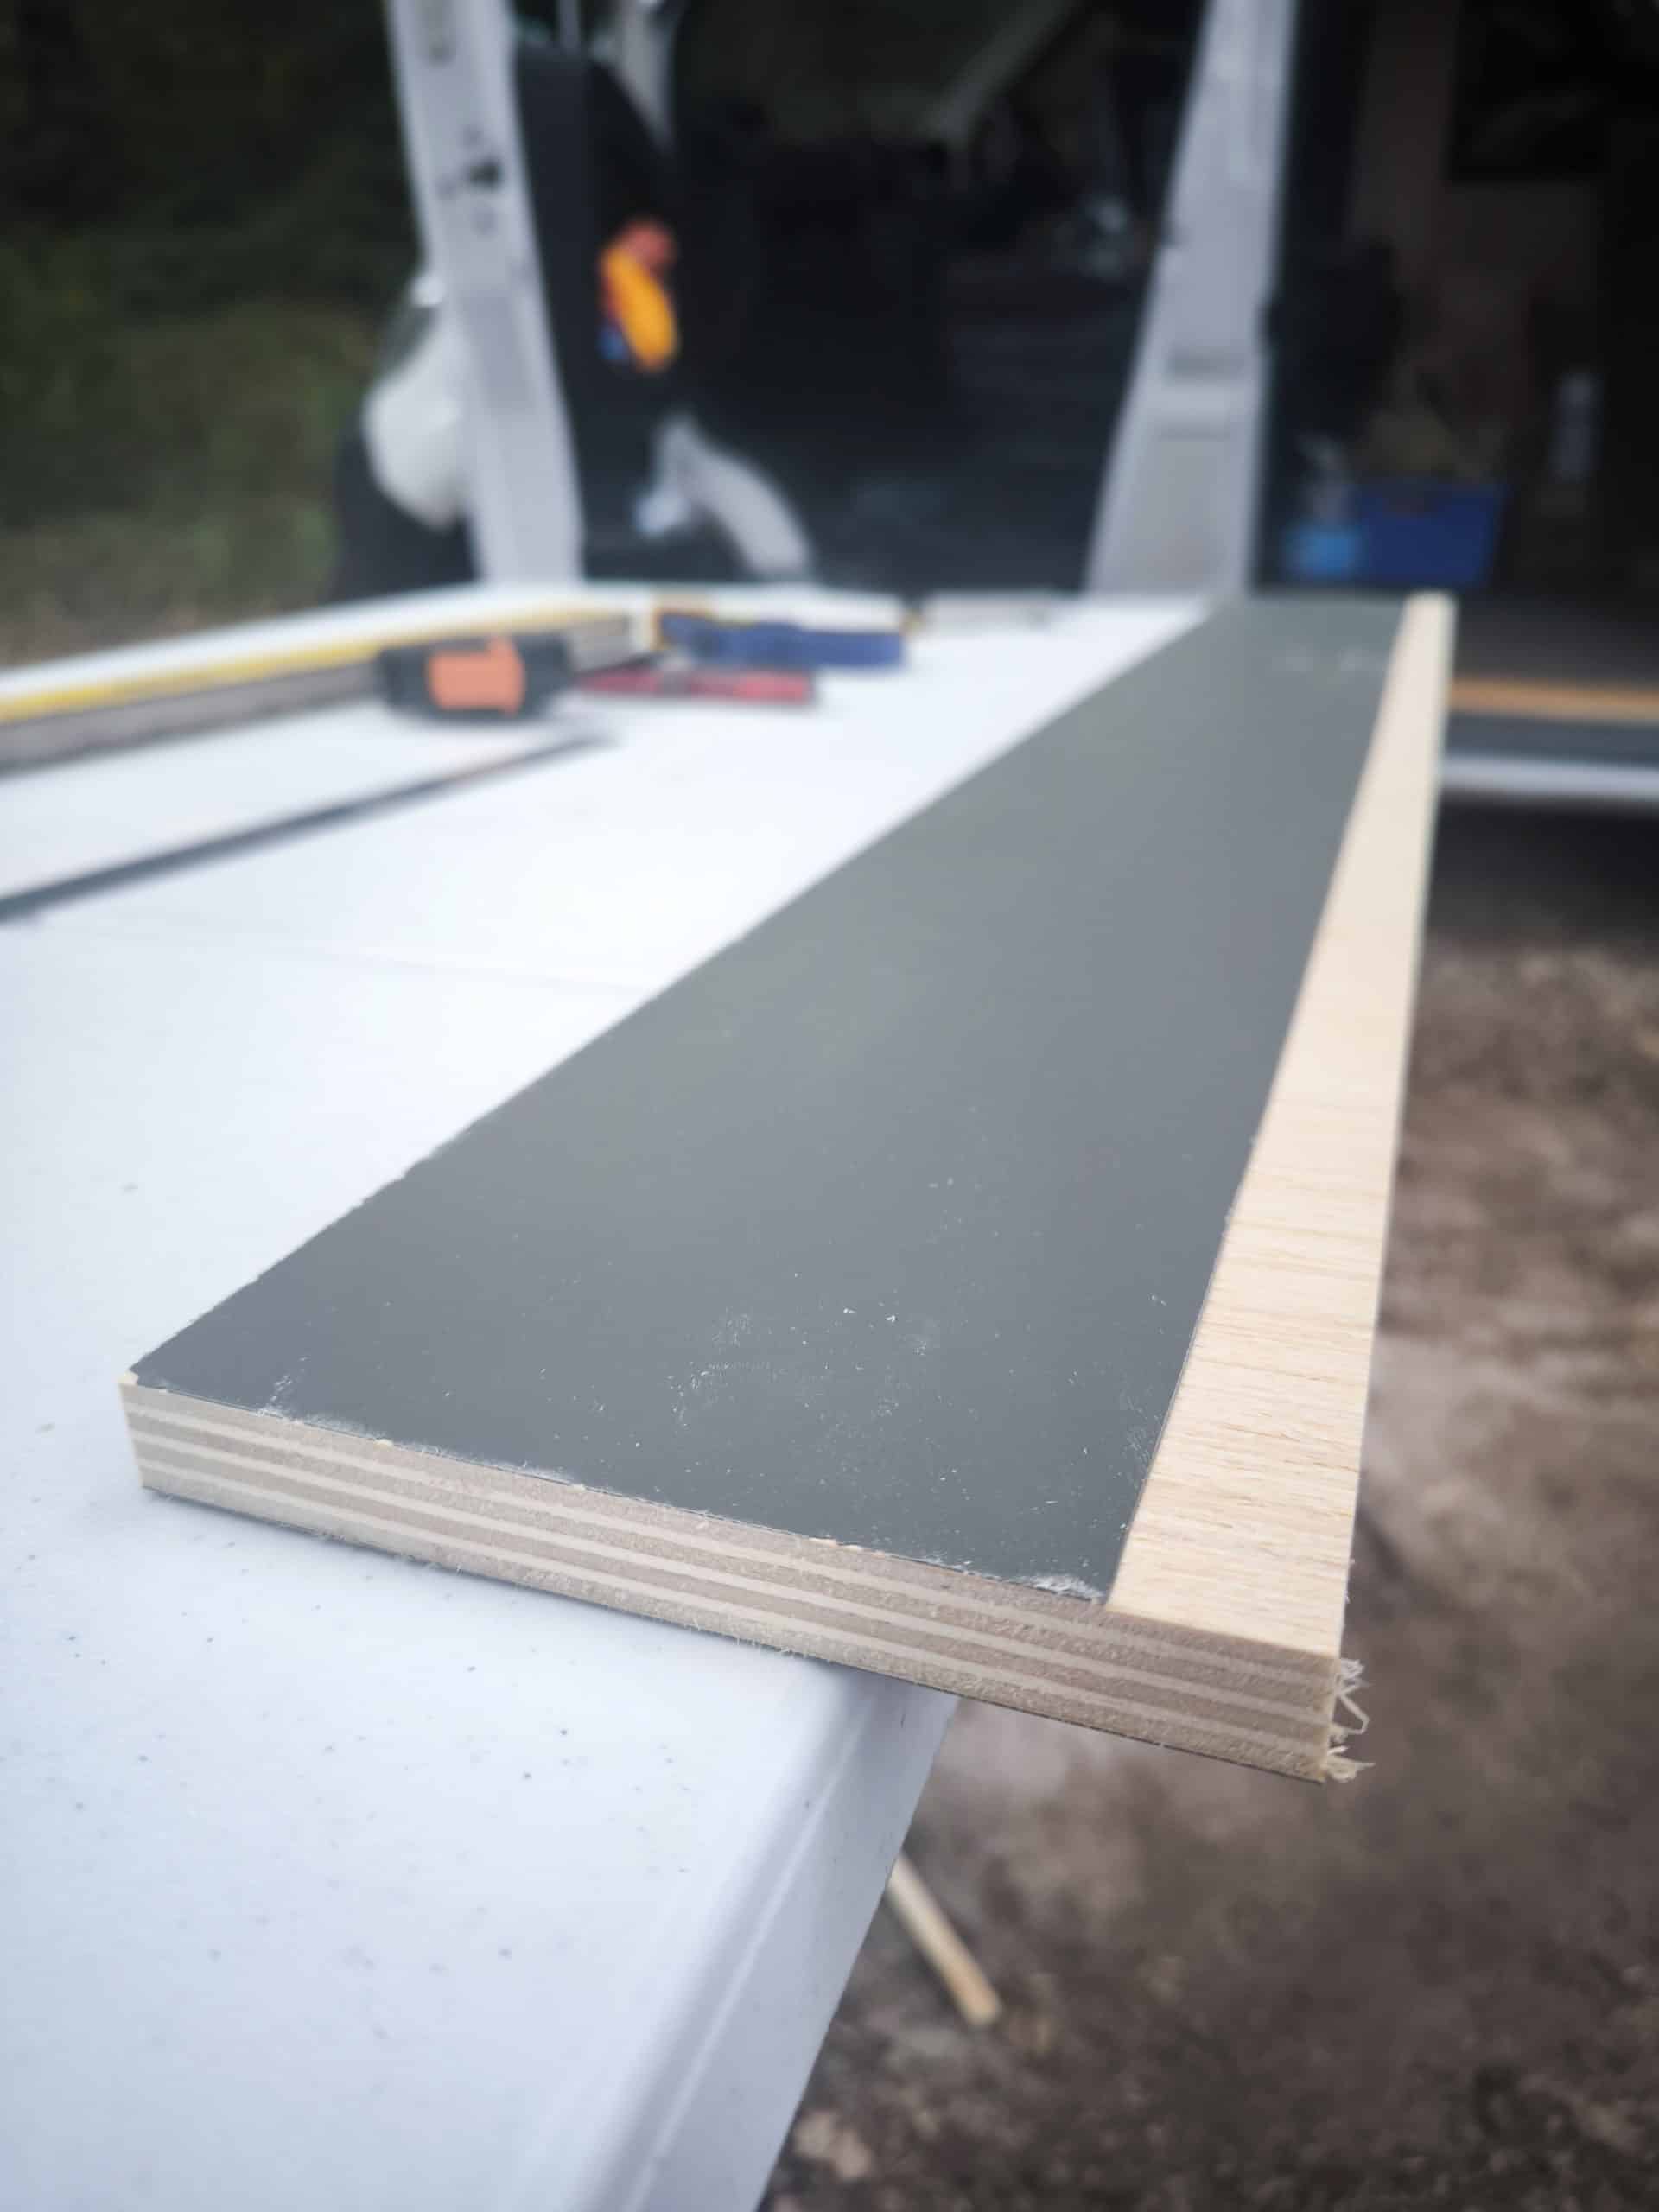
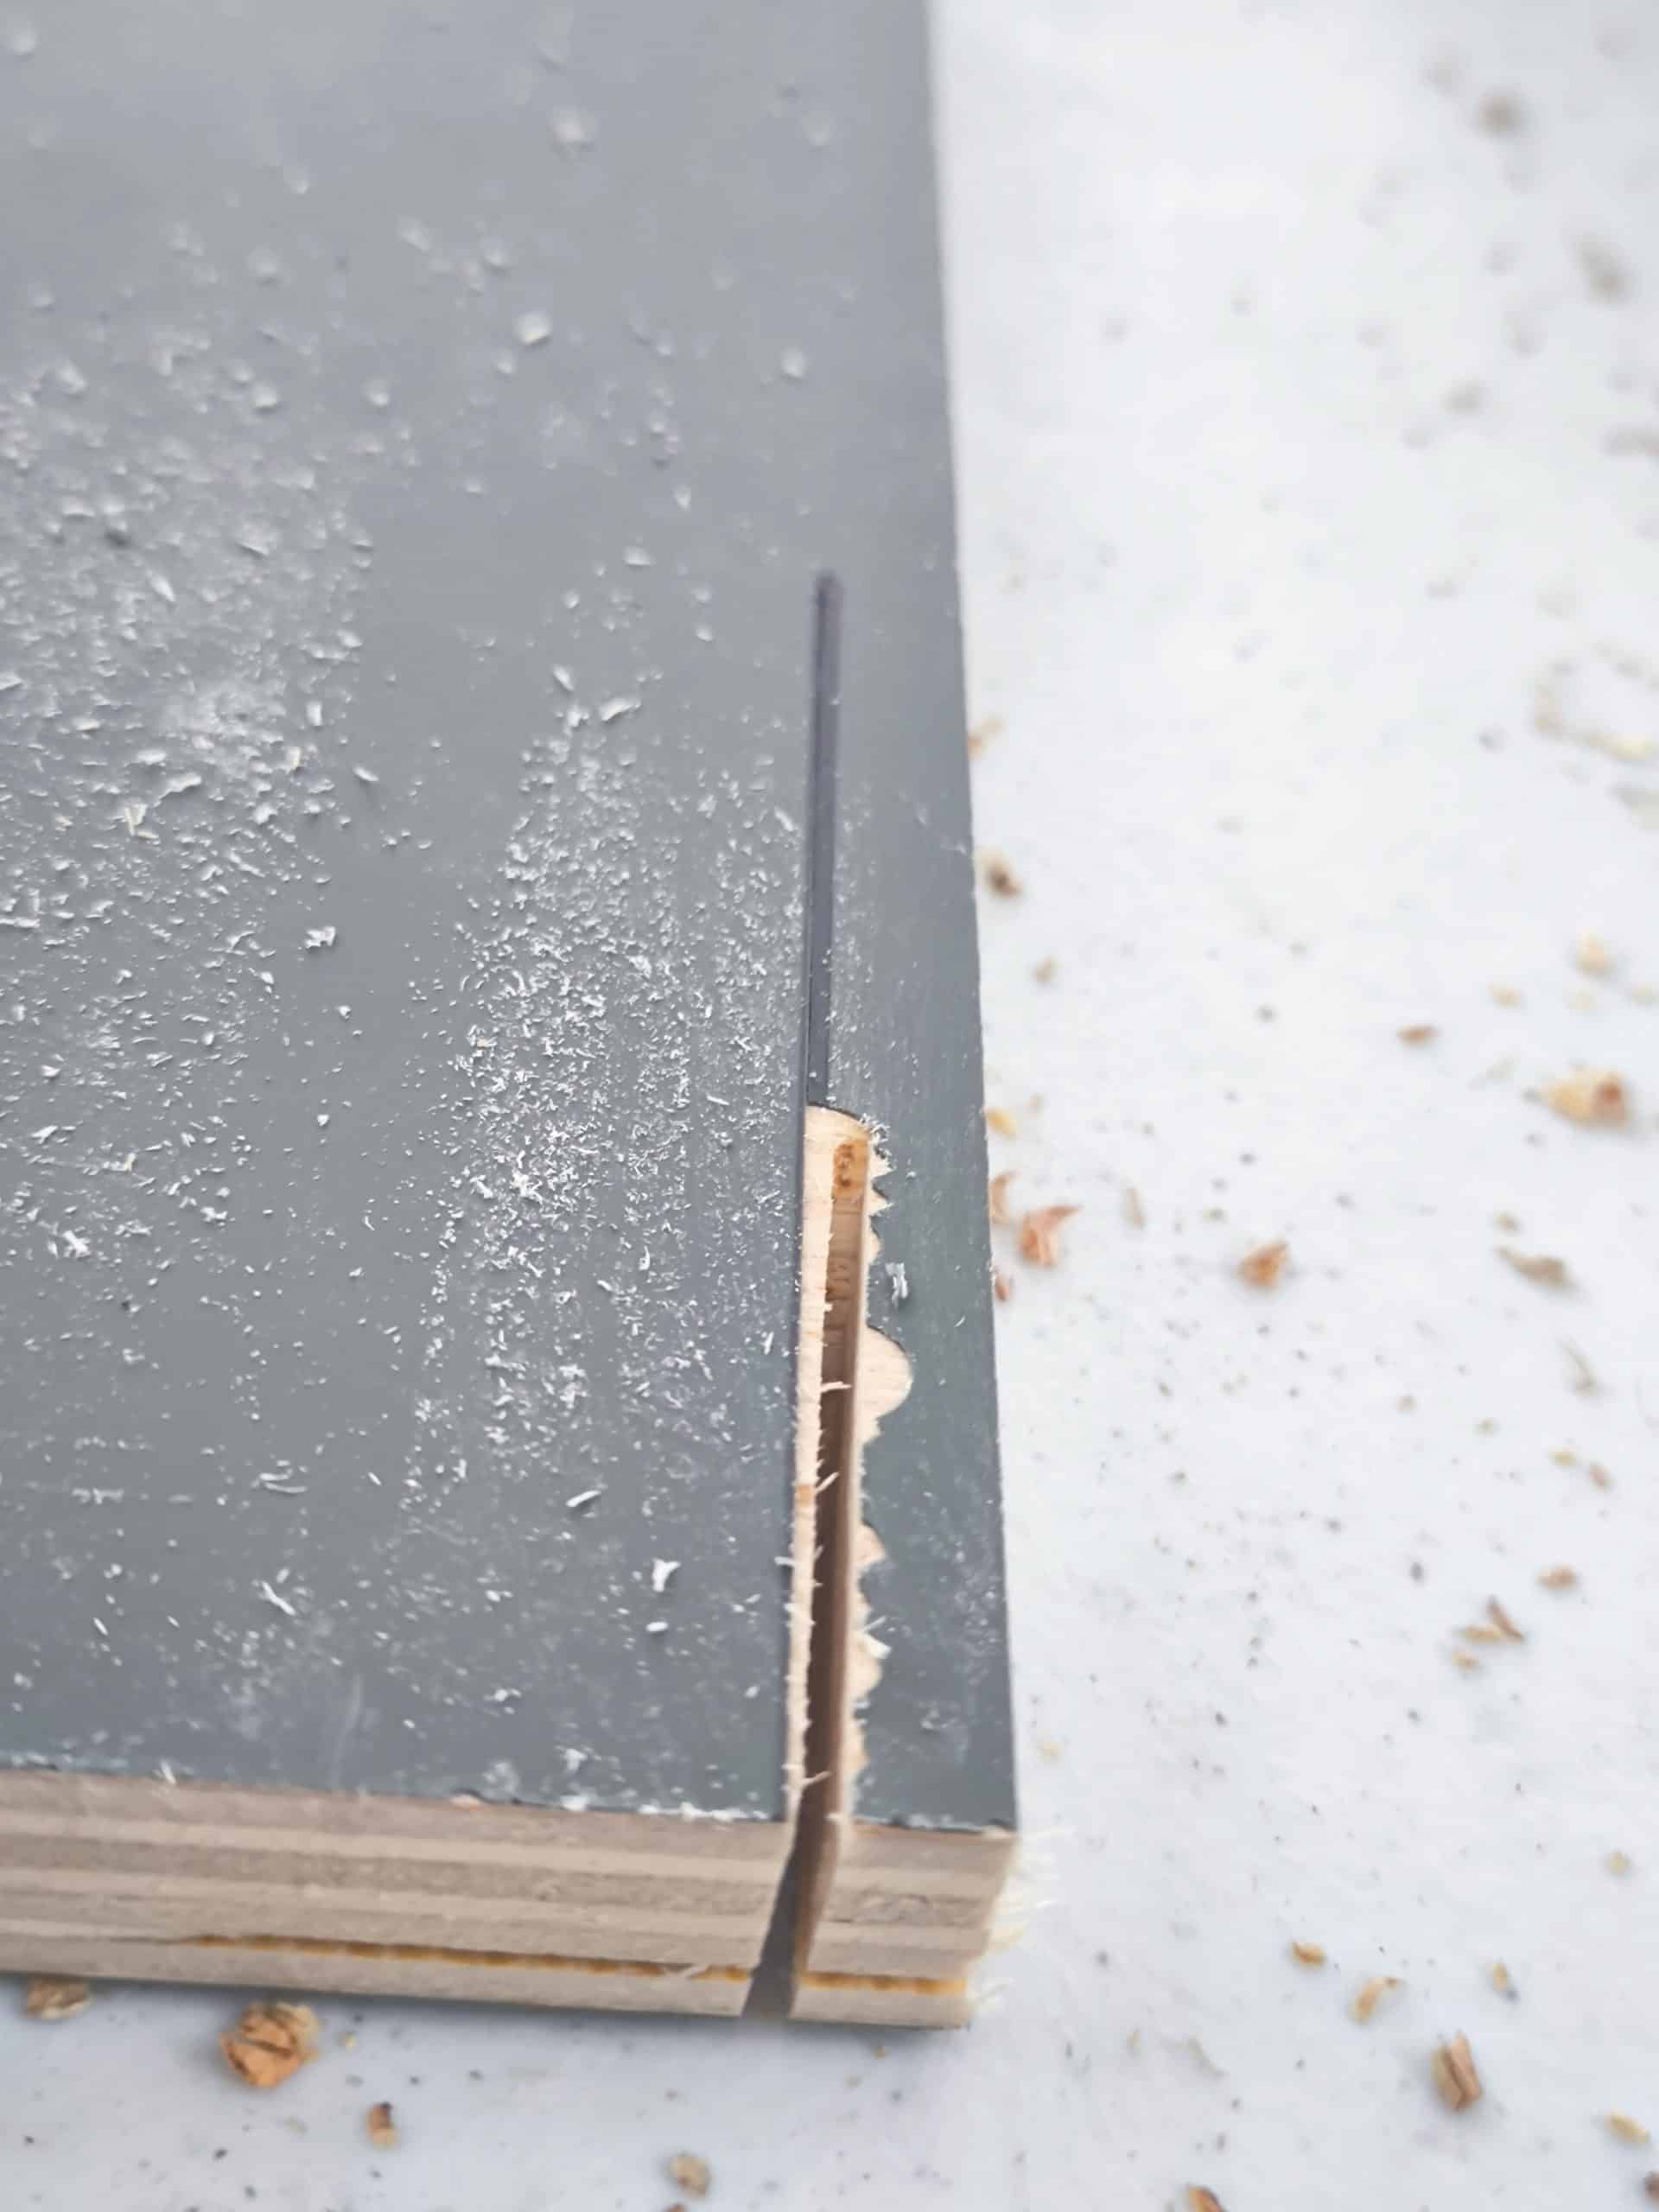
I then cut the aluminium corner pieces to length and tried to slide them onto the panels but found that they didn’t fit!
They are made for this 15mm ply, but they need one of the plastic veneers cutting back along the edge to slide on neatly. This was easily done, again with a Stanley blade and then I could assemble the electrical tower and really get an idea what the space will look like when finished!
I’m very excited to see this element go in! It’s going to be the hub of the van with all the controls coming back to this place and it looks amazing lined up with the drawbridge bed!