Diary Of A Camper Conversion
“they’ll let any old riff raff in here these days…” someone overly casually called across the carpark. Jord rounded the corner of a pallet of wood at the merchants. What are the chances!
I’d just dropped a few bits off at a powder coaters in Stoke and then popped across to Newcastle to pick up (hopefully) the last few sheets of ply. I only come to Howarths Timber because Jord recommended it. We had a bit of a catch up and I showed him progress on the van. He only saw it as an insulated shell and now it’s got cabinets and a bed!
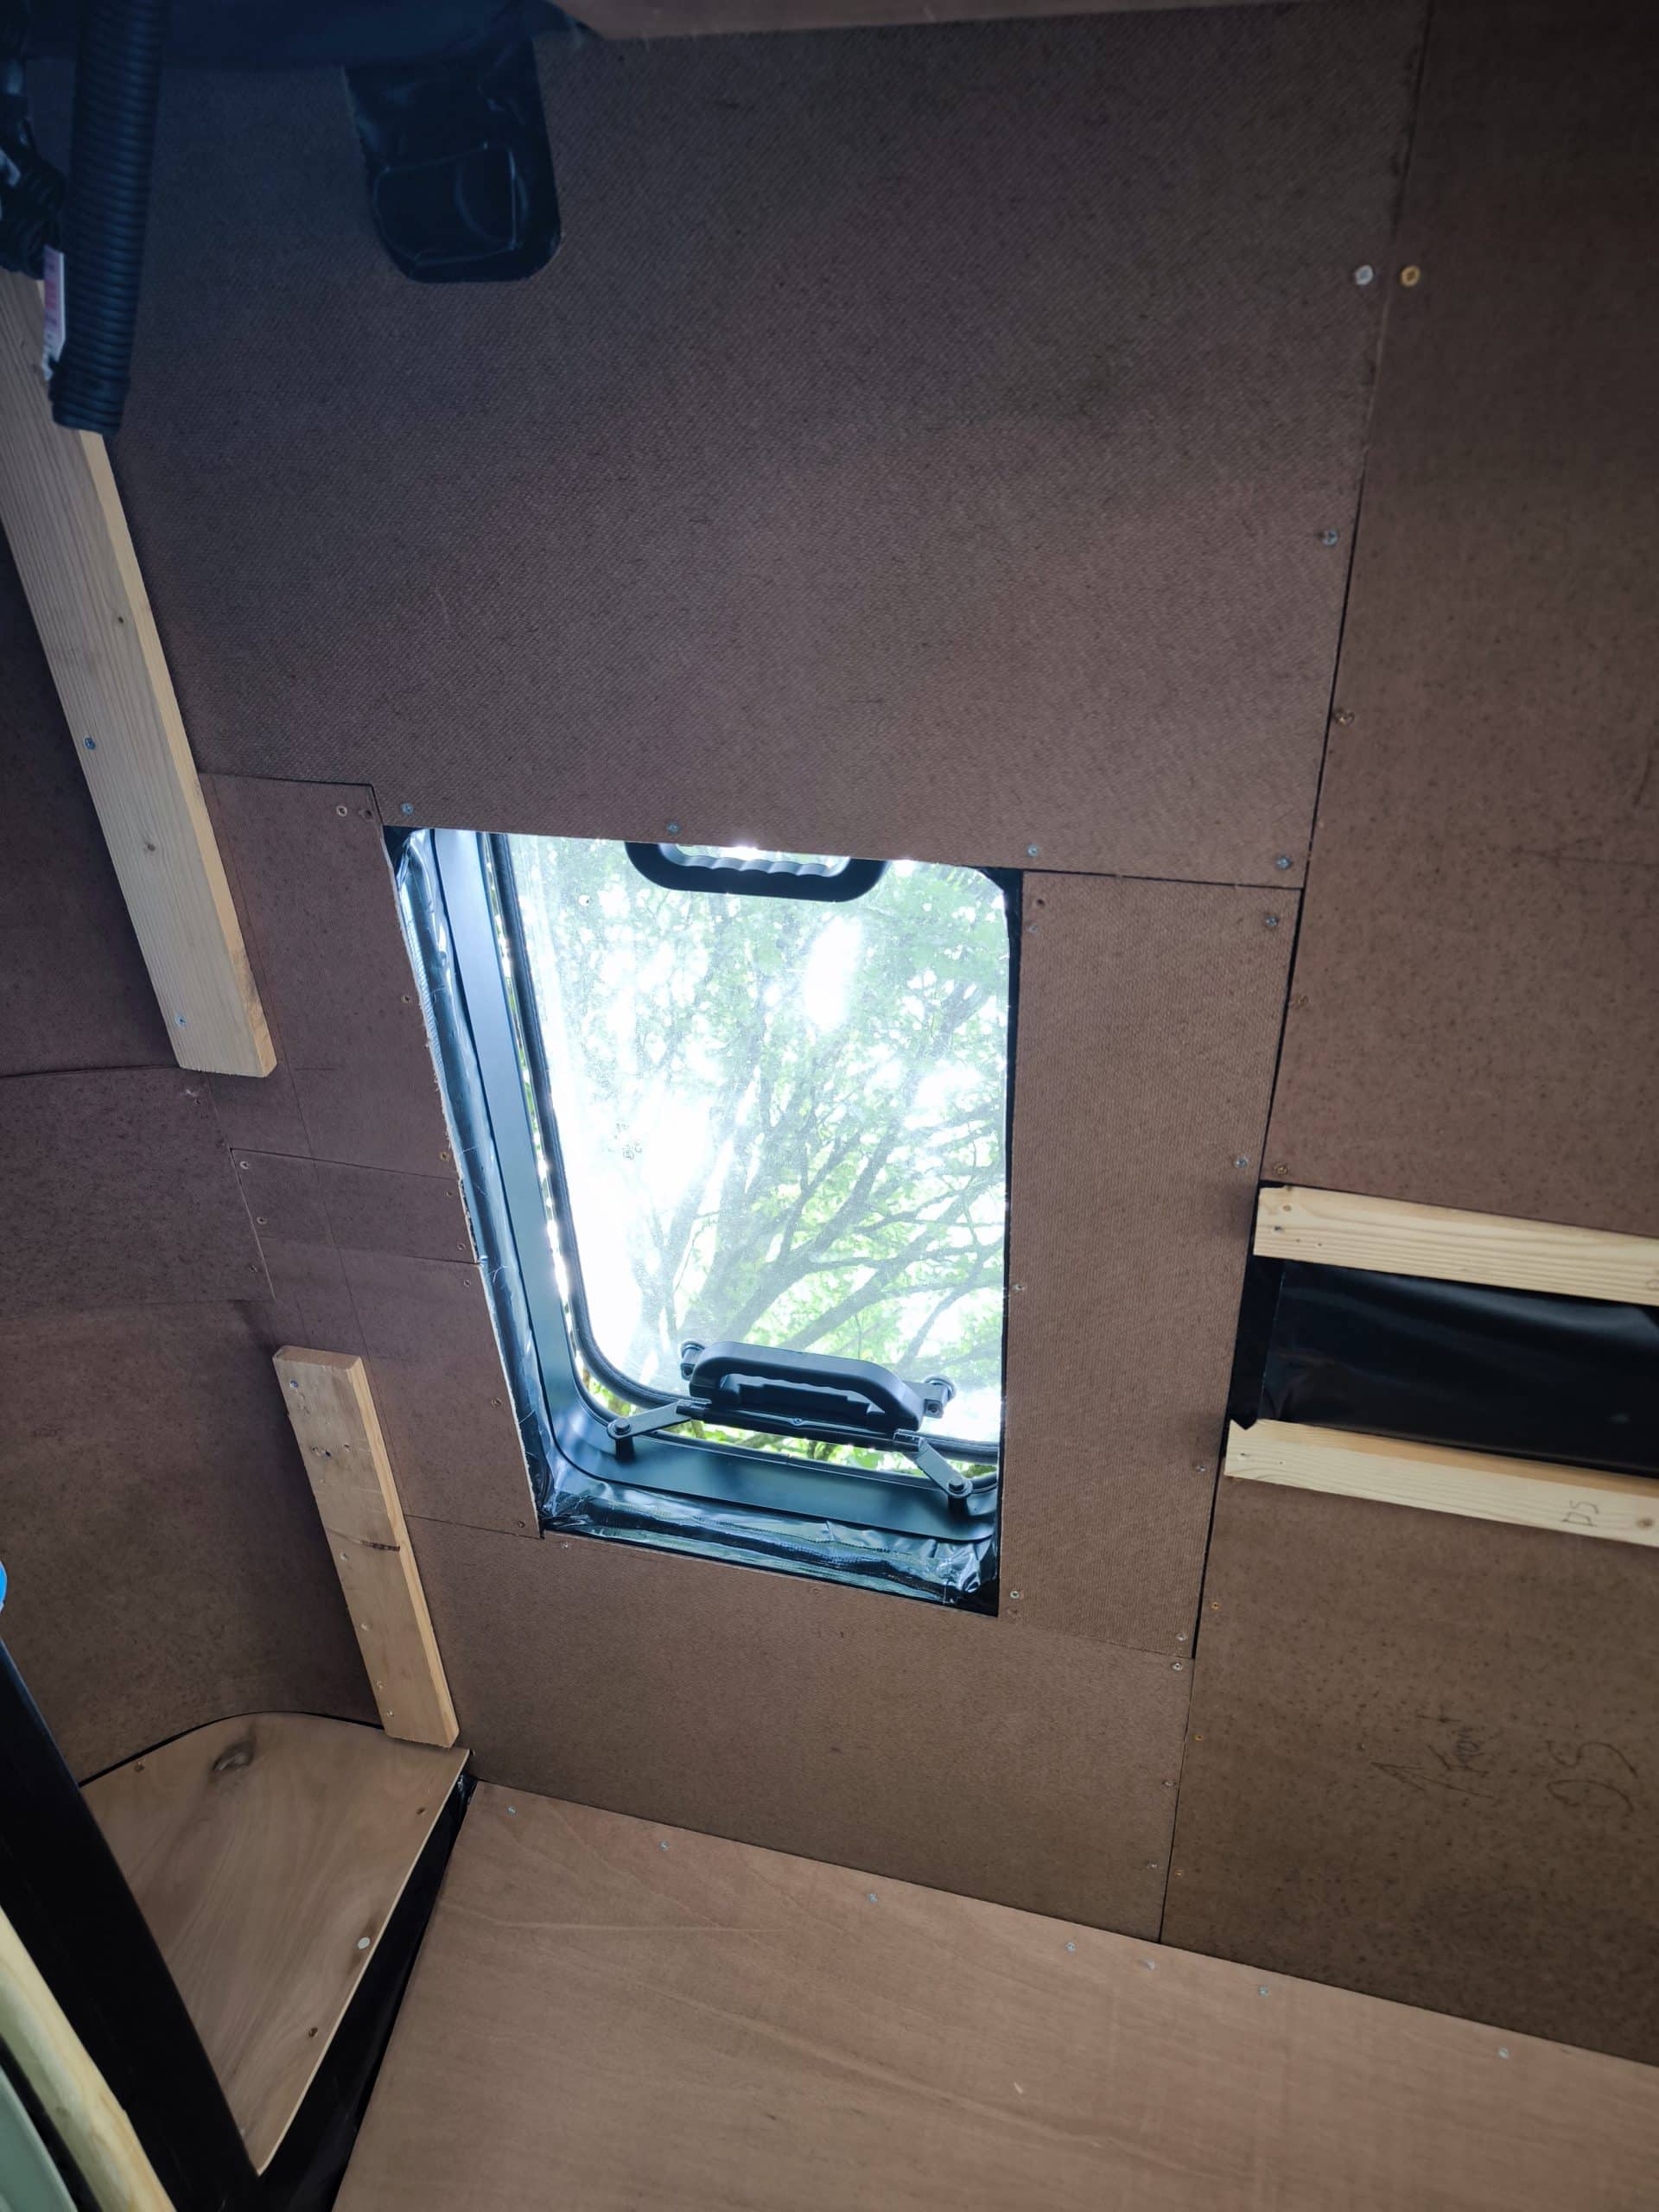
I loaded up my ply and head back to my leafy hillside to carry on the conversion. It was so frustrating to have to buy a whole sheet of hard board for 3 small sections, but I just didn’t quite have enough before. These went in really quickly and so the ceiling is now fully boarded.
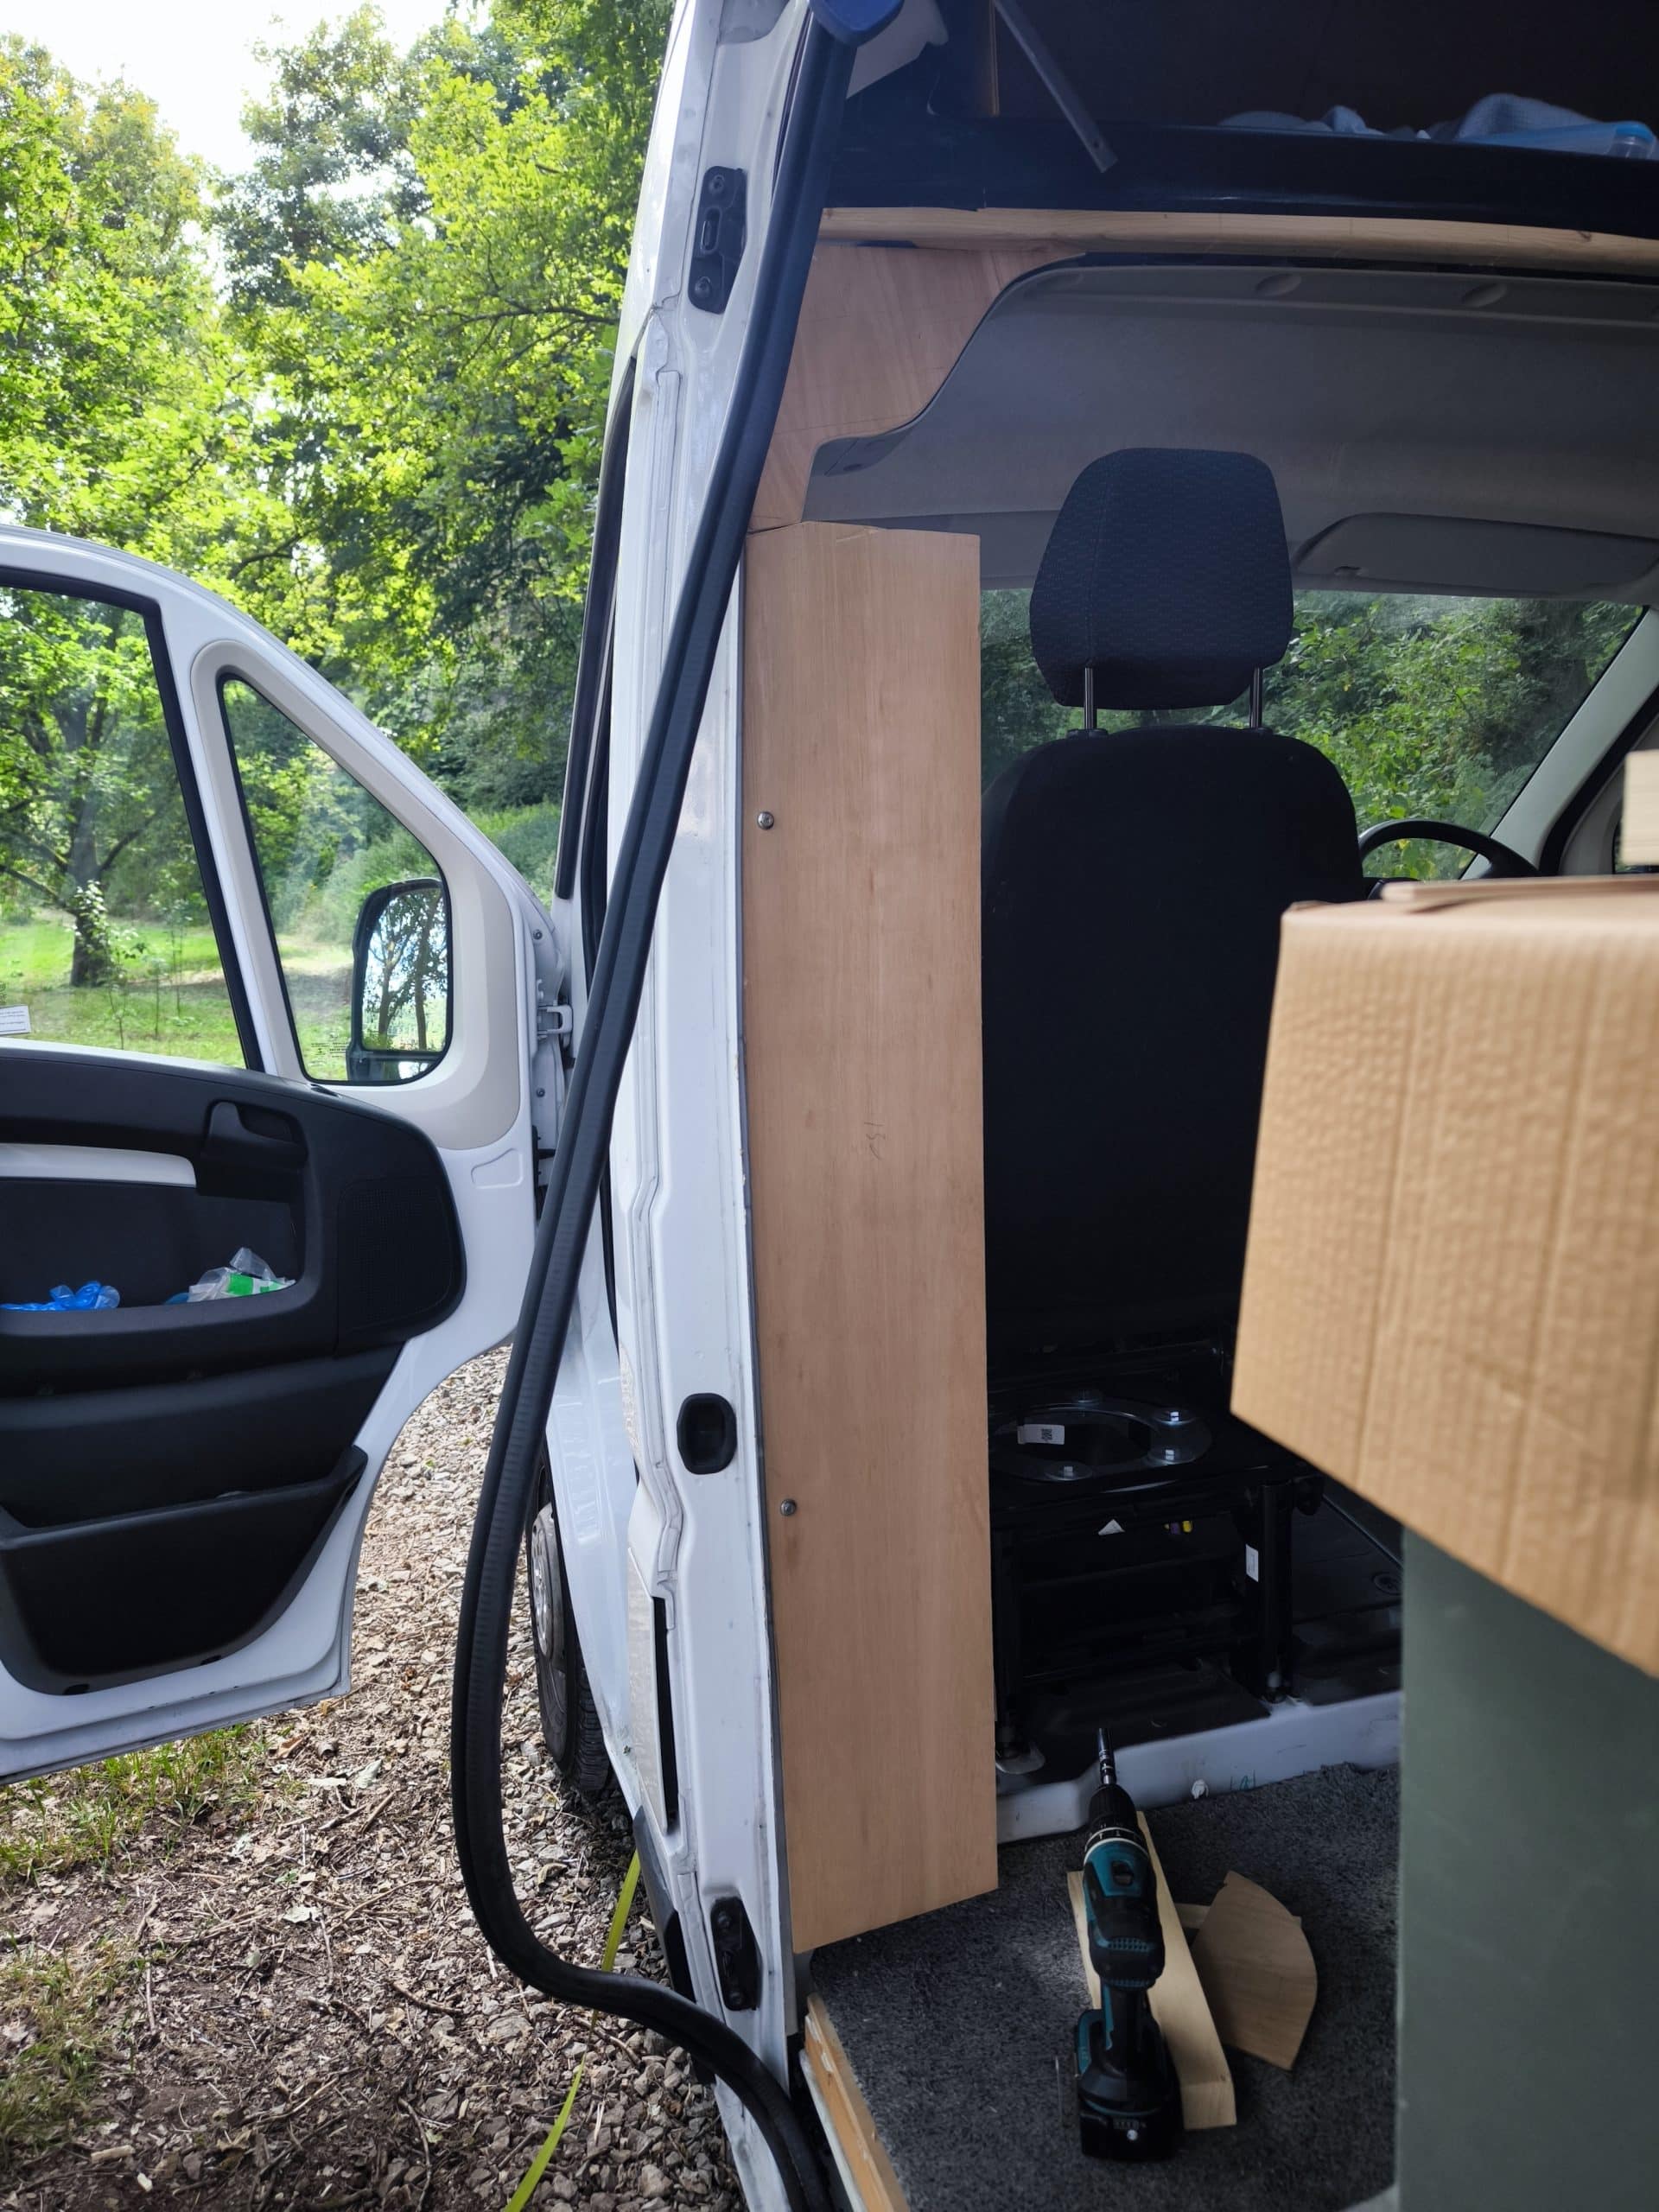
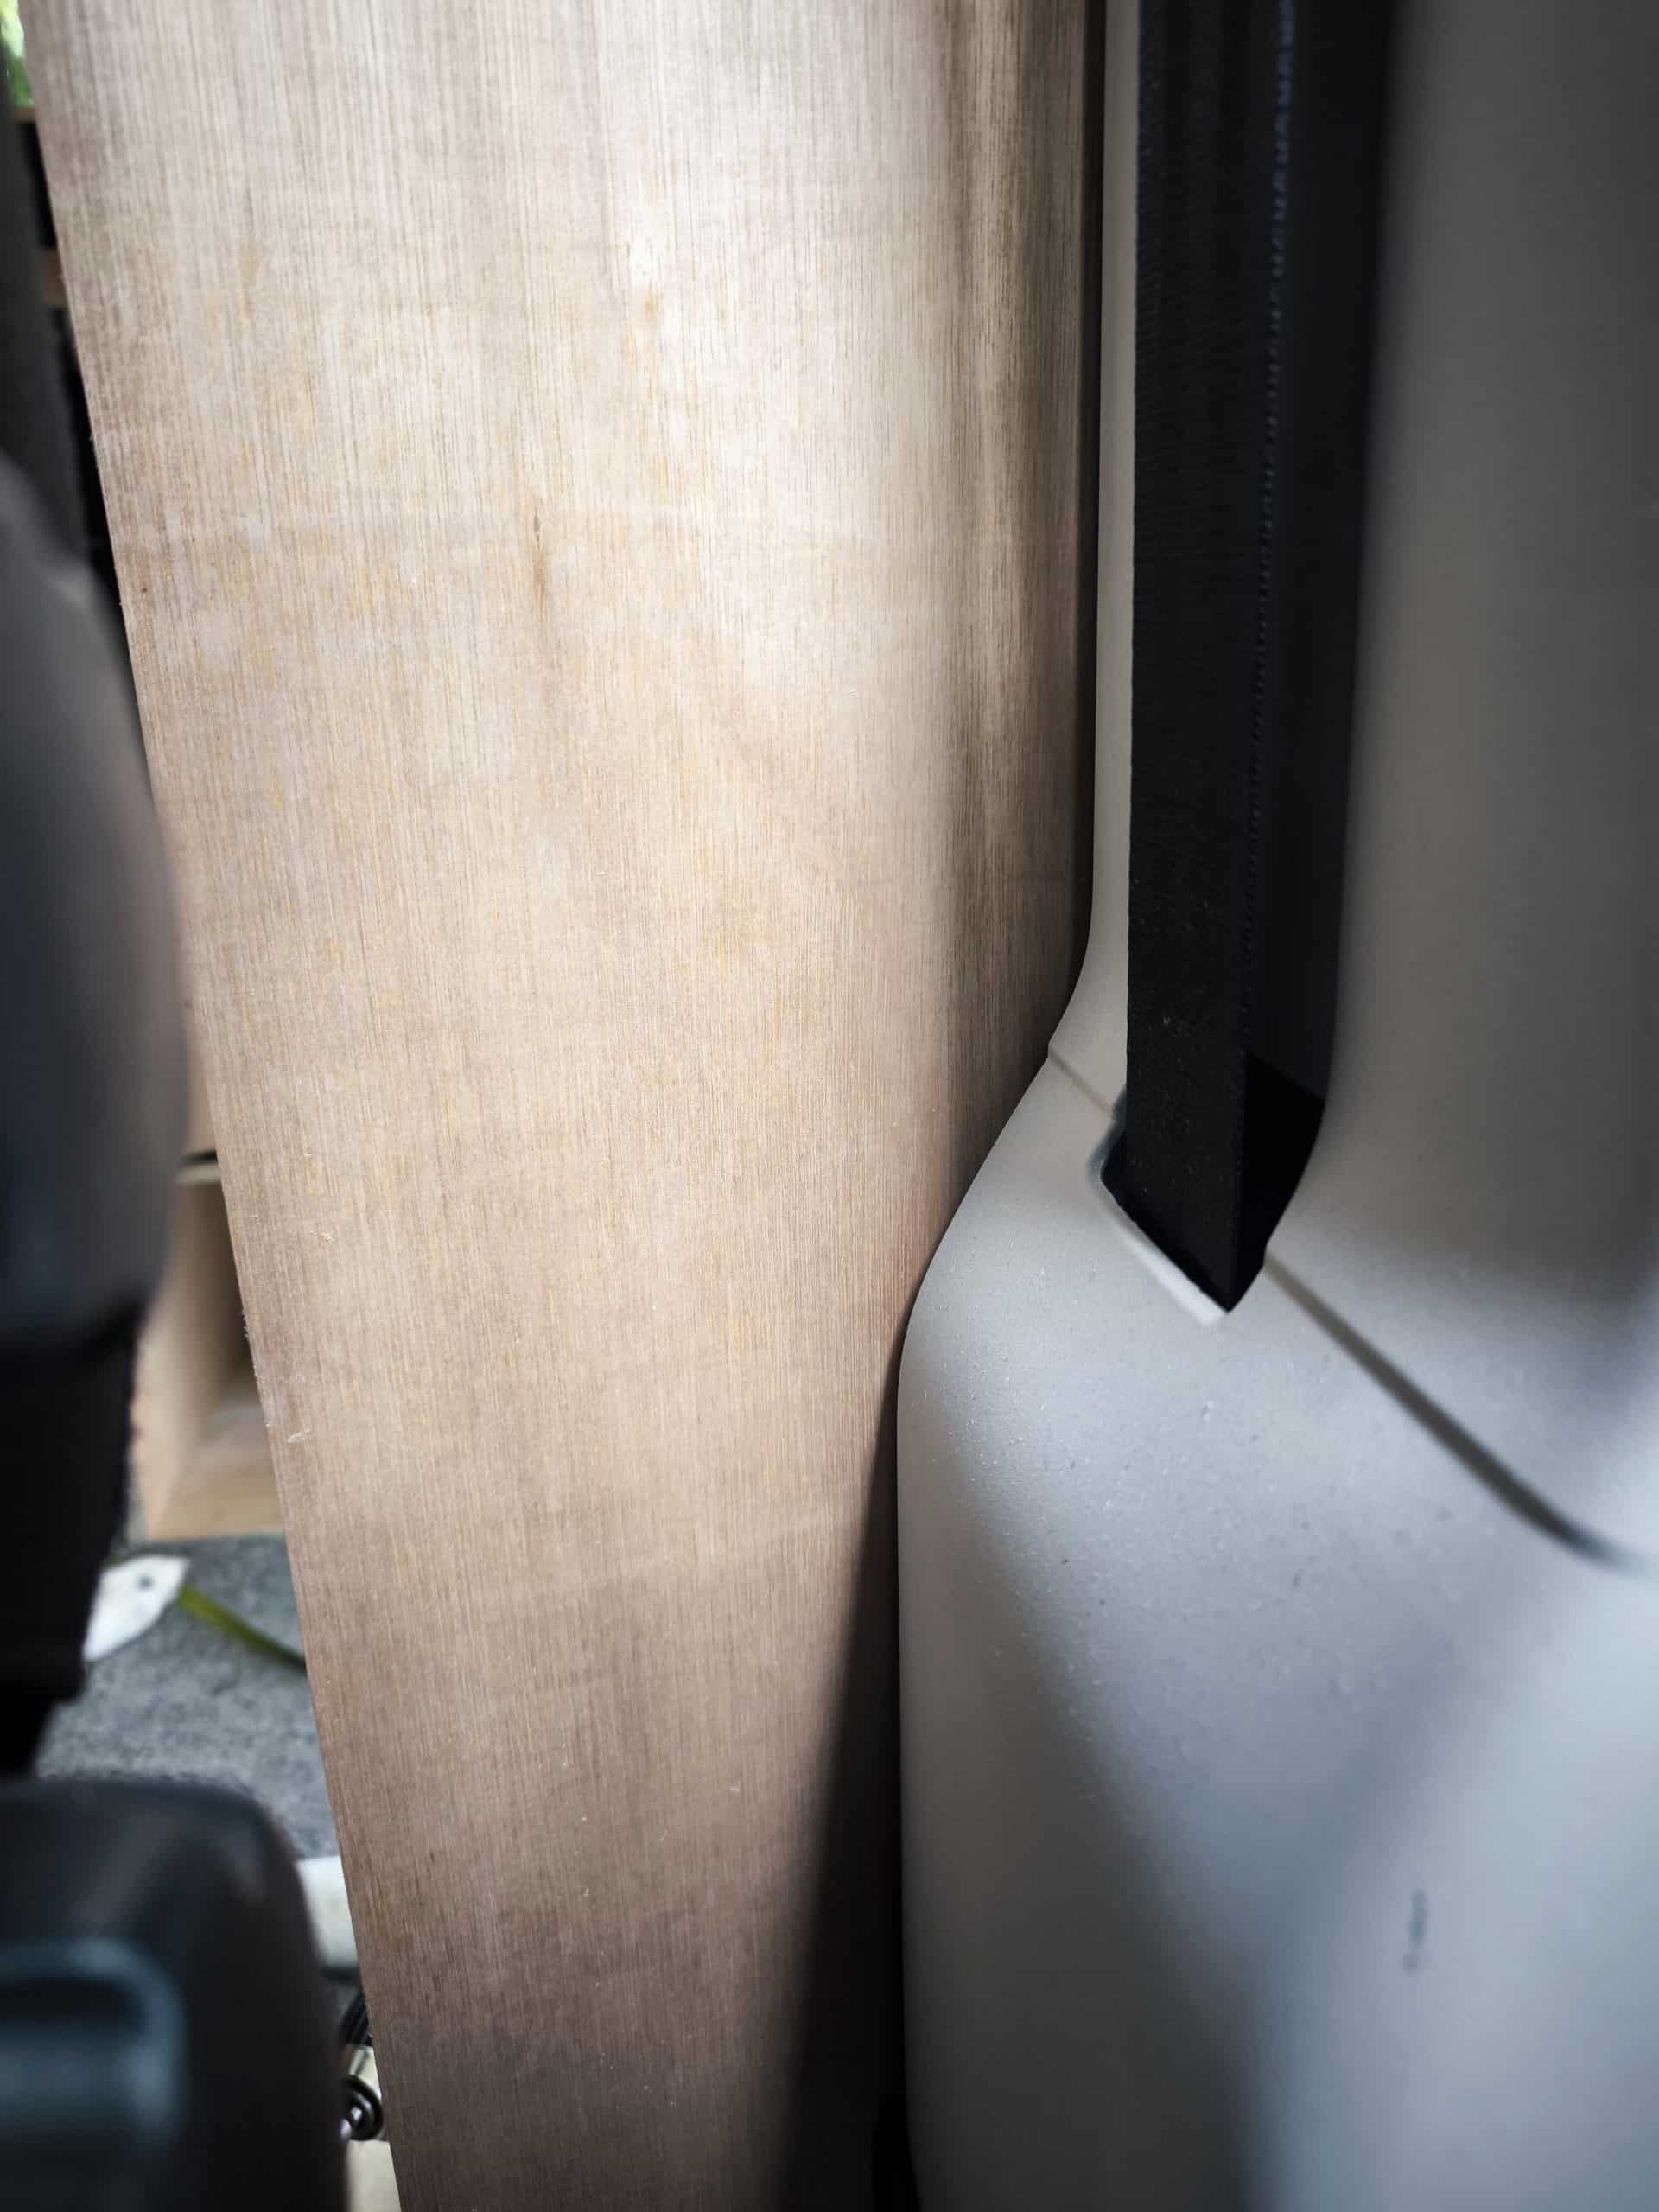
I then set about finishing boarding the walls, but, to do this I needed to know where the edge of the door pillar trim finished. So to finish the walls I had to get on with making these long thin and really complex shaped bits of trim. They are curved to fit the edge of the van on one side and then all sorts of curves on the other to follow the contour of the plastic trim. I ended up scribing the first bit and then using the bulkhead bolt holes to hold it in place while. This let me trace the plastic outline and get a pretty close fit. There is still a gap right now, but that will get filled with carpet later.
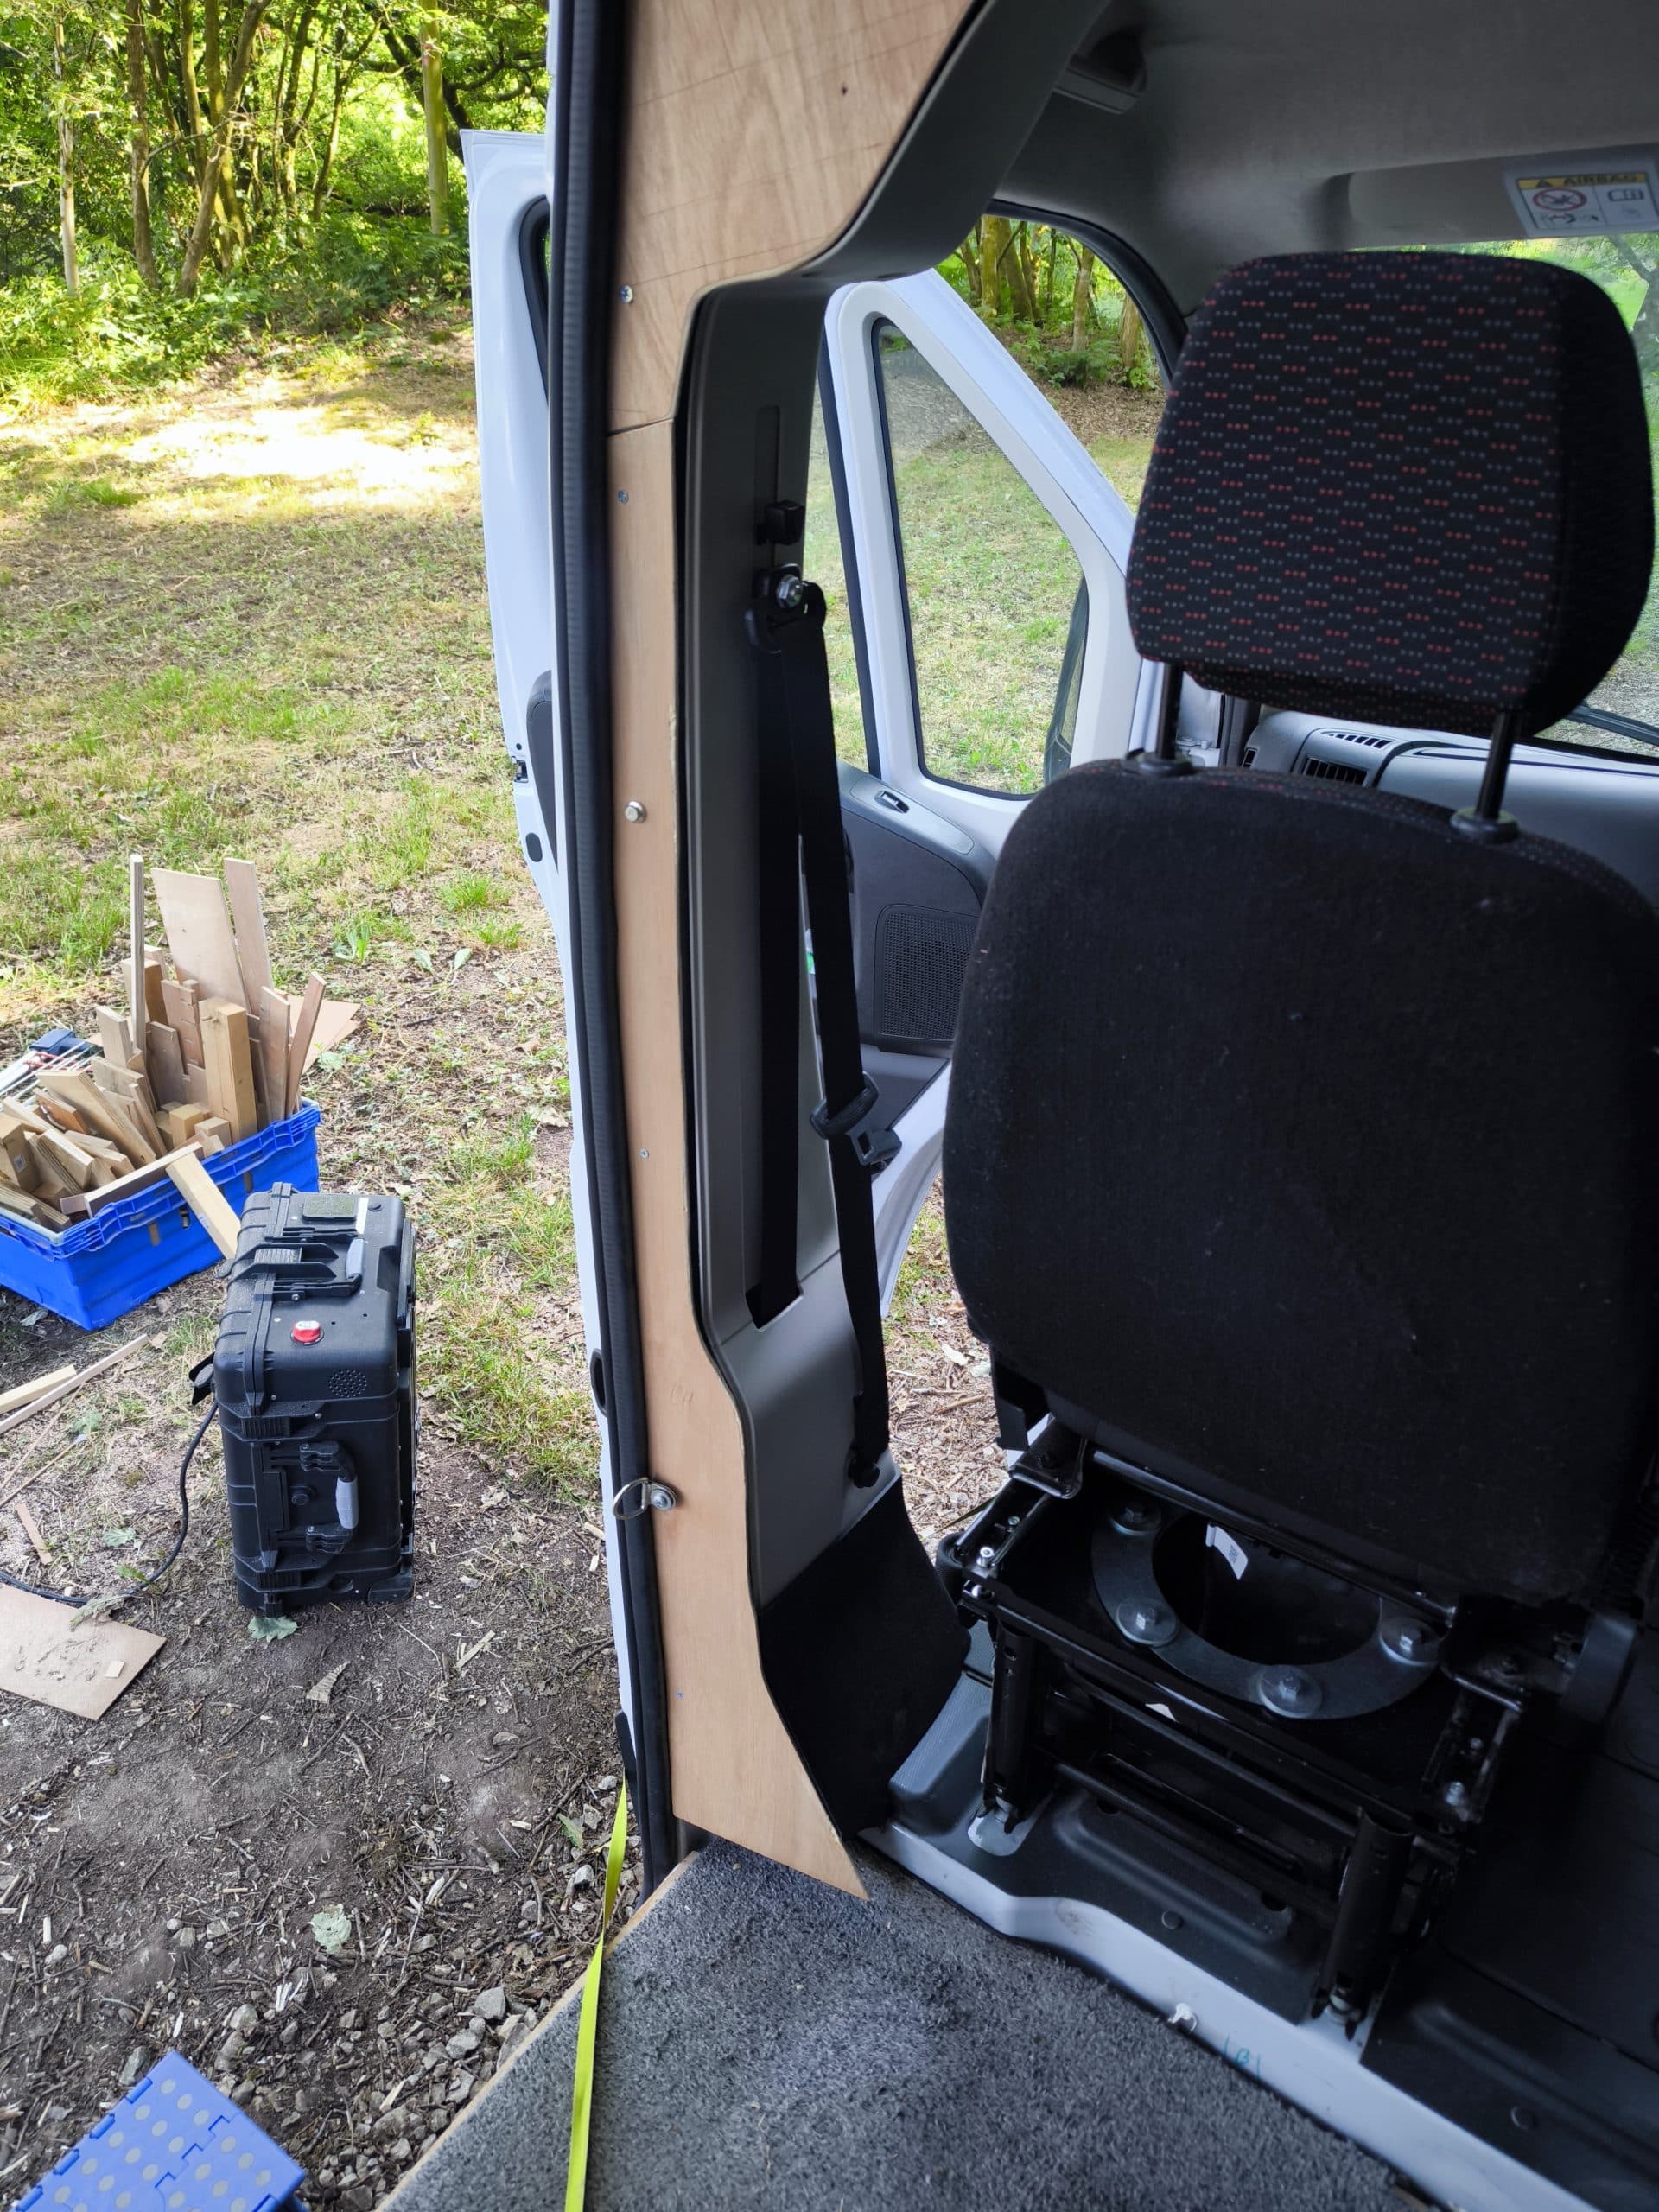
That took a long time to get right, but finally I could start work on the walls. This is basically just a big rectangular sheet but it holds up the edge of the ceiling so it has to be done in this order.
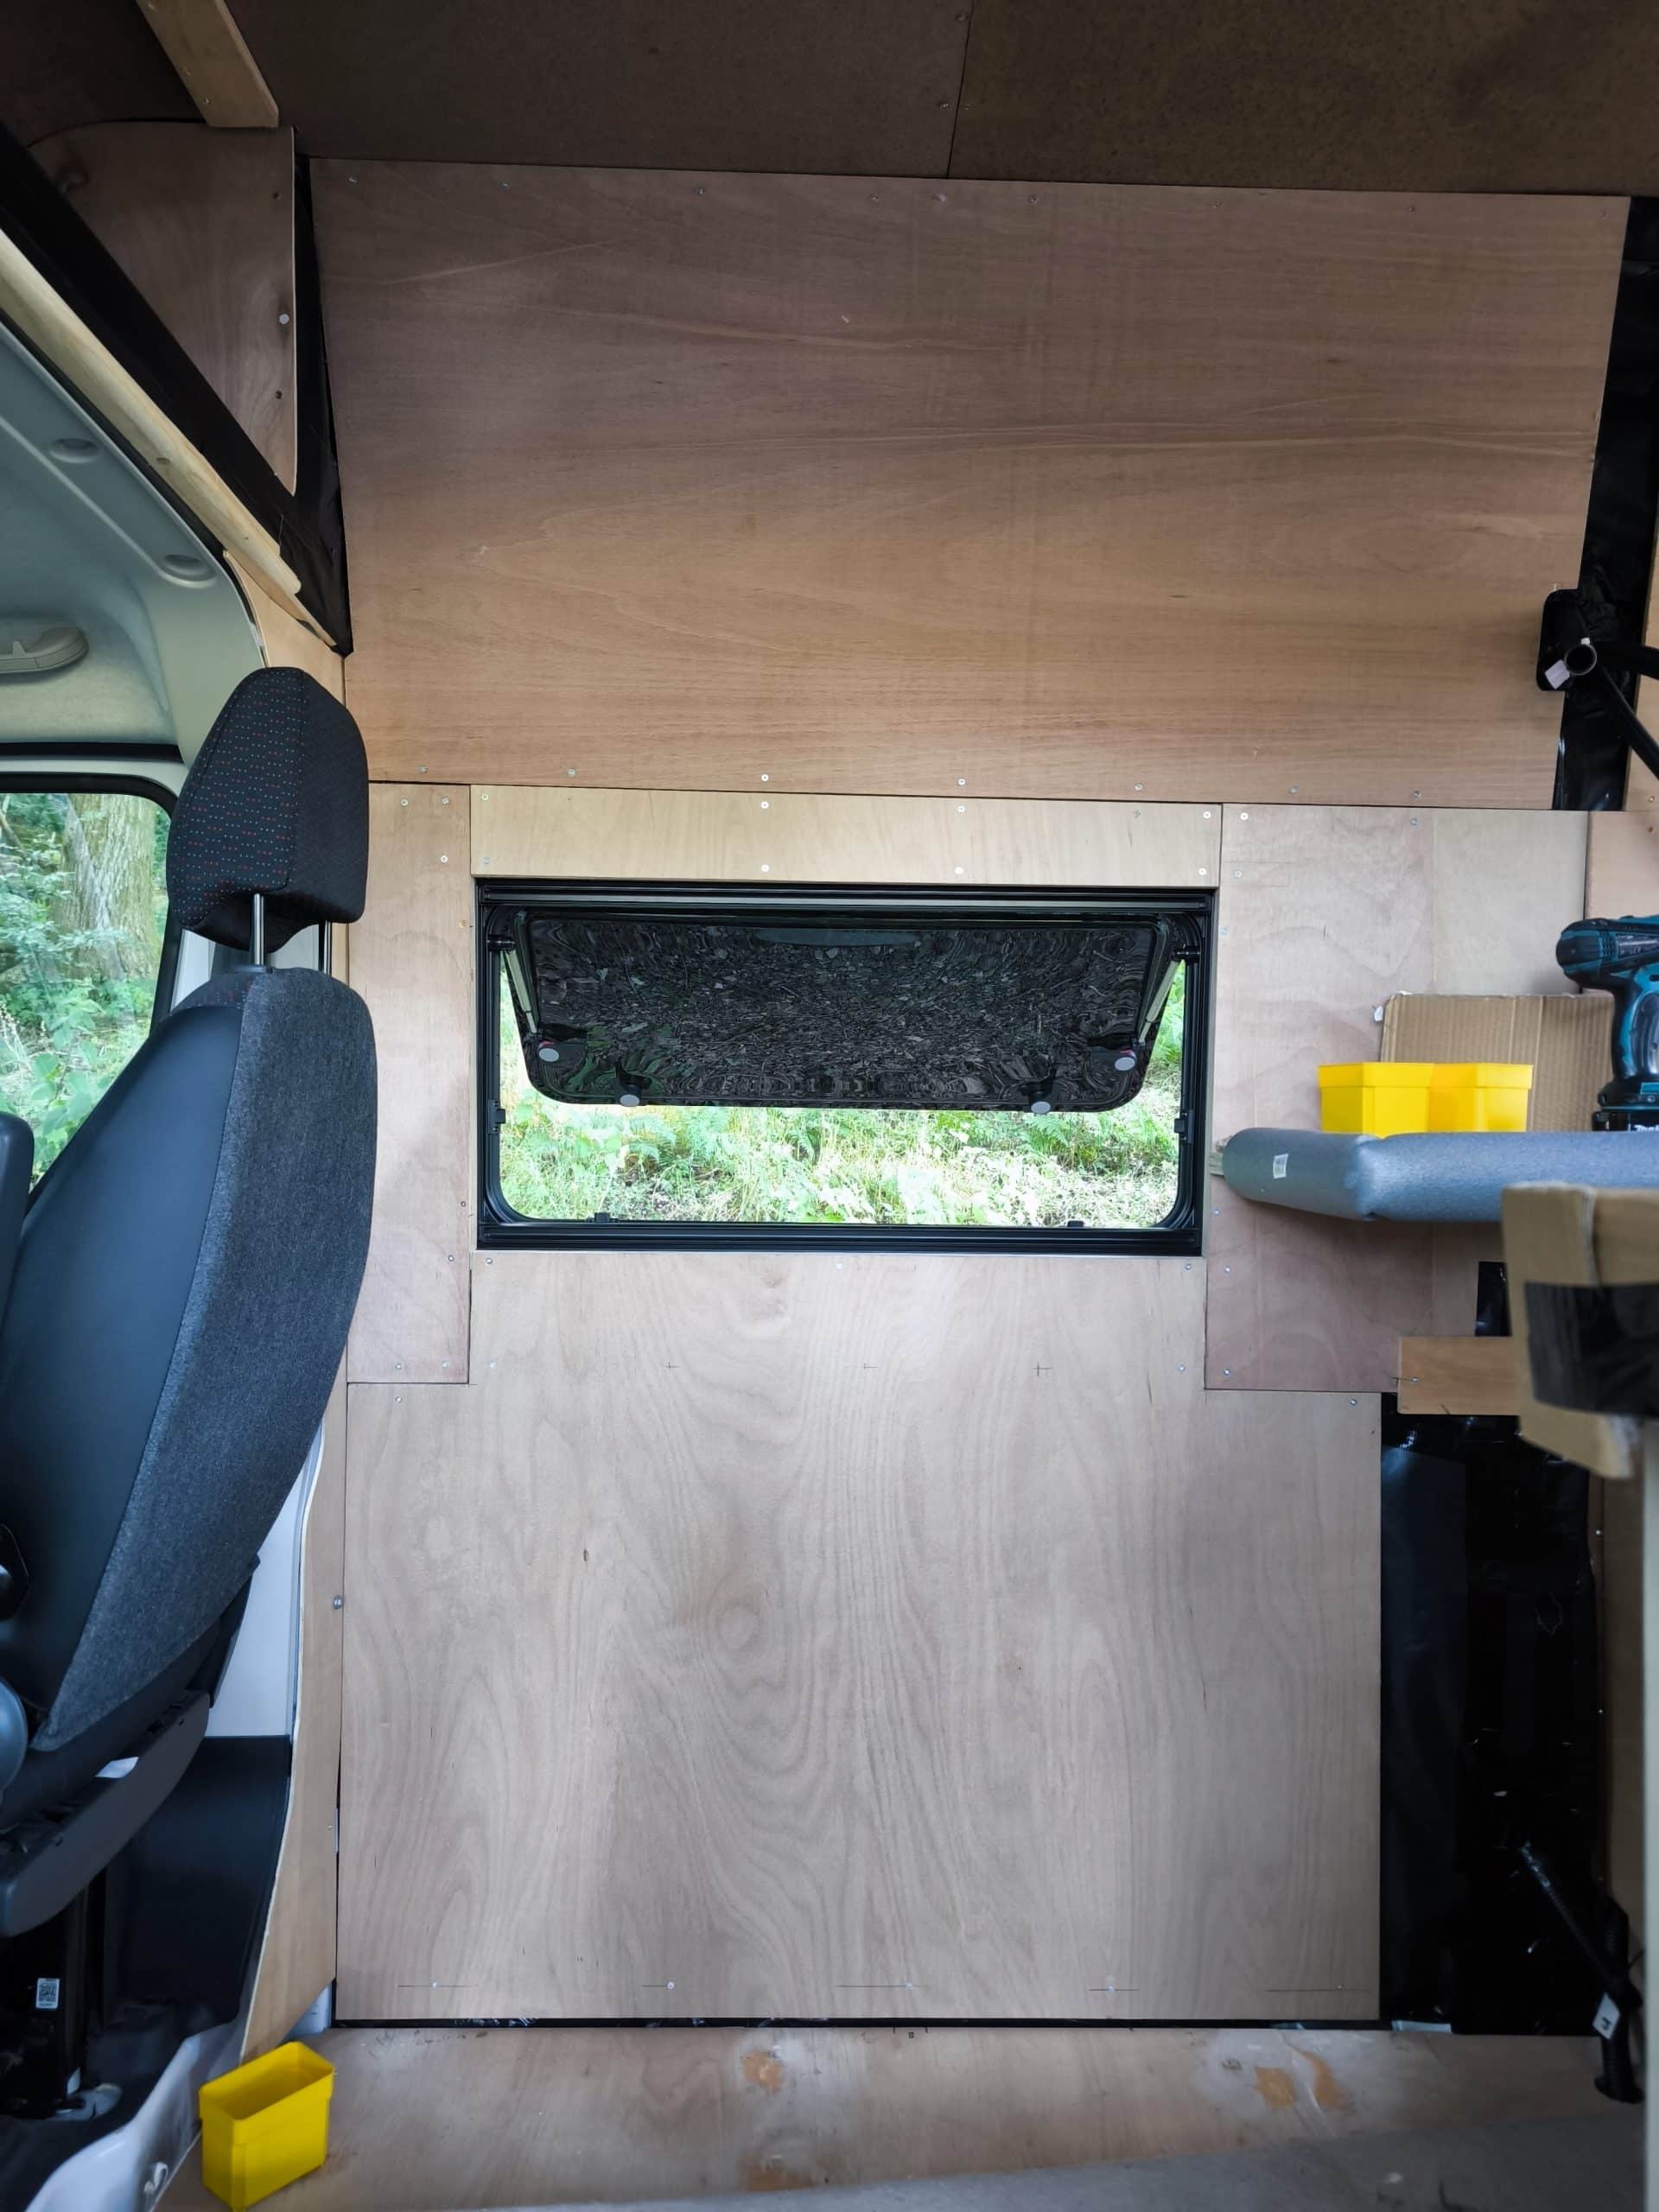
I had thought to do the frame of the window in one piece but working out how to find the edges of the widow neatly would have been an incredible pain so i opted to to it in sections.
This also allowed me to cut some thicker ply into an odd shape and fit it between the window frame and the ply wall. It closes the awkward gap that would otherwise be left. And, fortuitously, also strengthens the connection between the smaller panels keeping everything flush.
You might notice I’m leaving deliberate 2mm gaps between the ply panels. This is to allow the van to flex as it goes up and down our ridiculously steep and oddly cambered driveway. With the small gaps, hopefully, this means we won’t get that annoyingly high pitched wood on wood squeaking… But only time will tell. The carpet will cover it anyway so you won’t see the gaps.
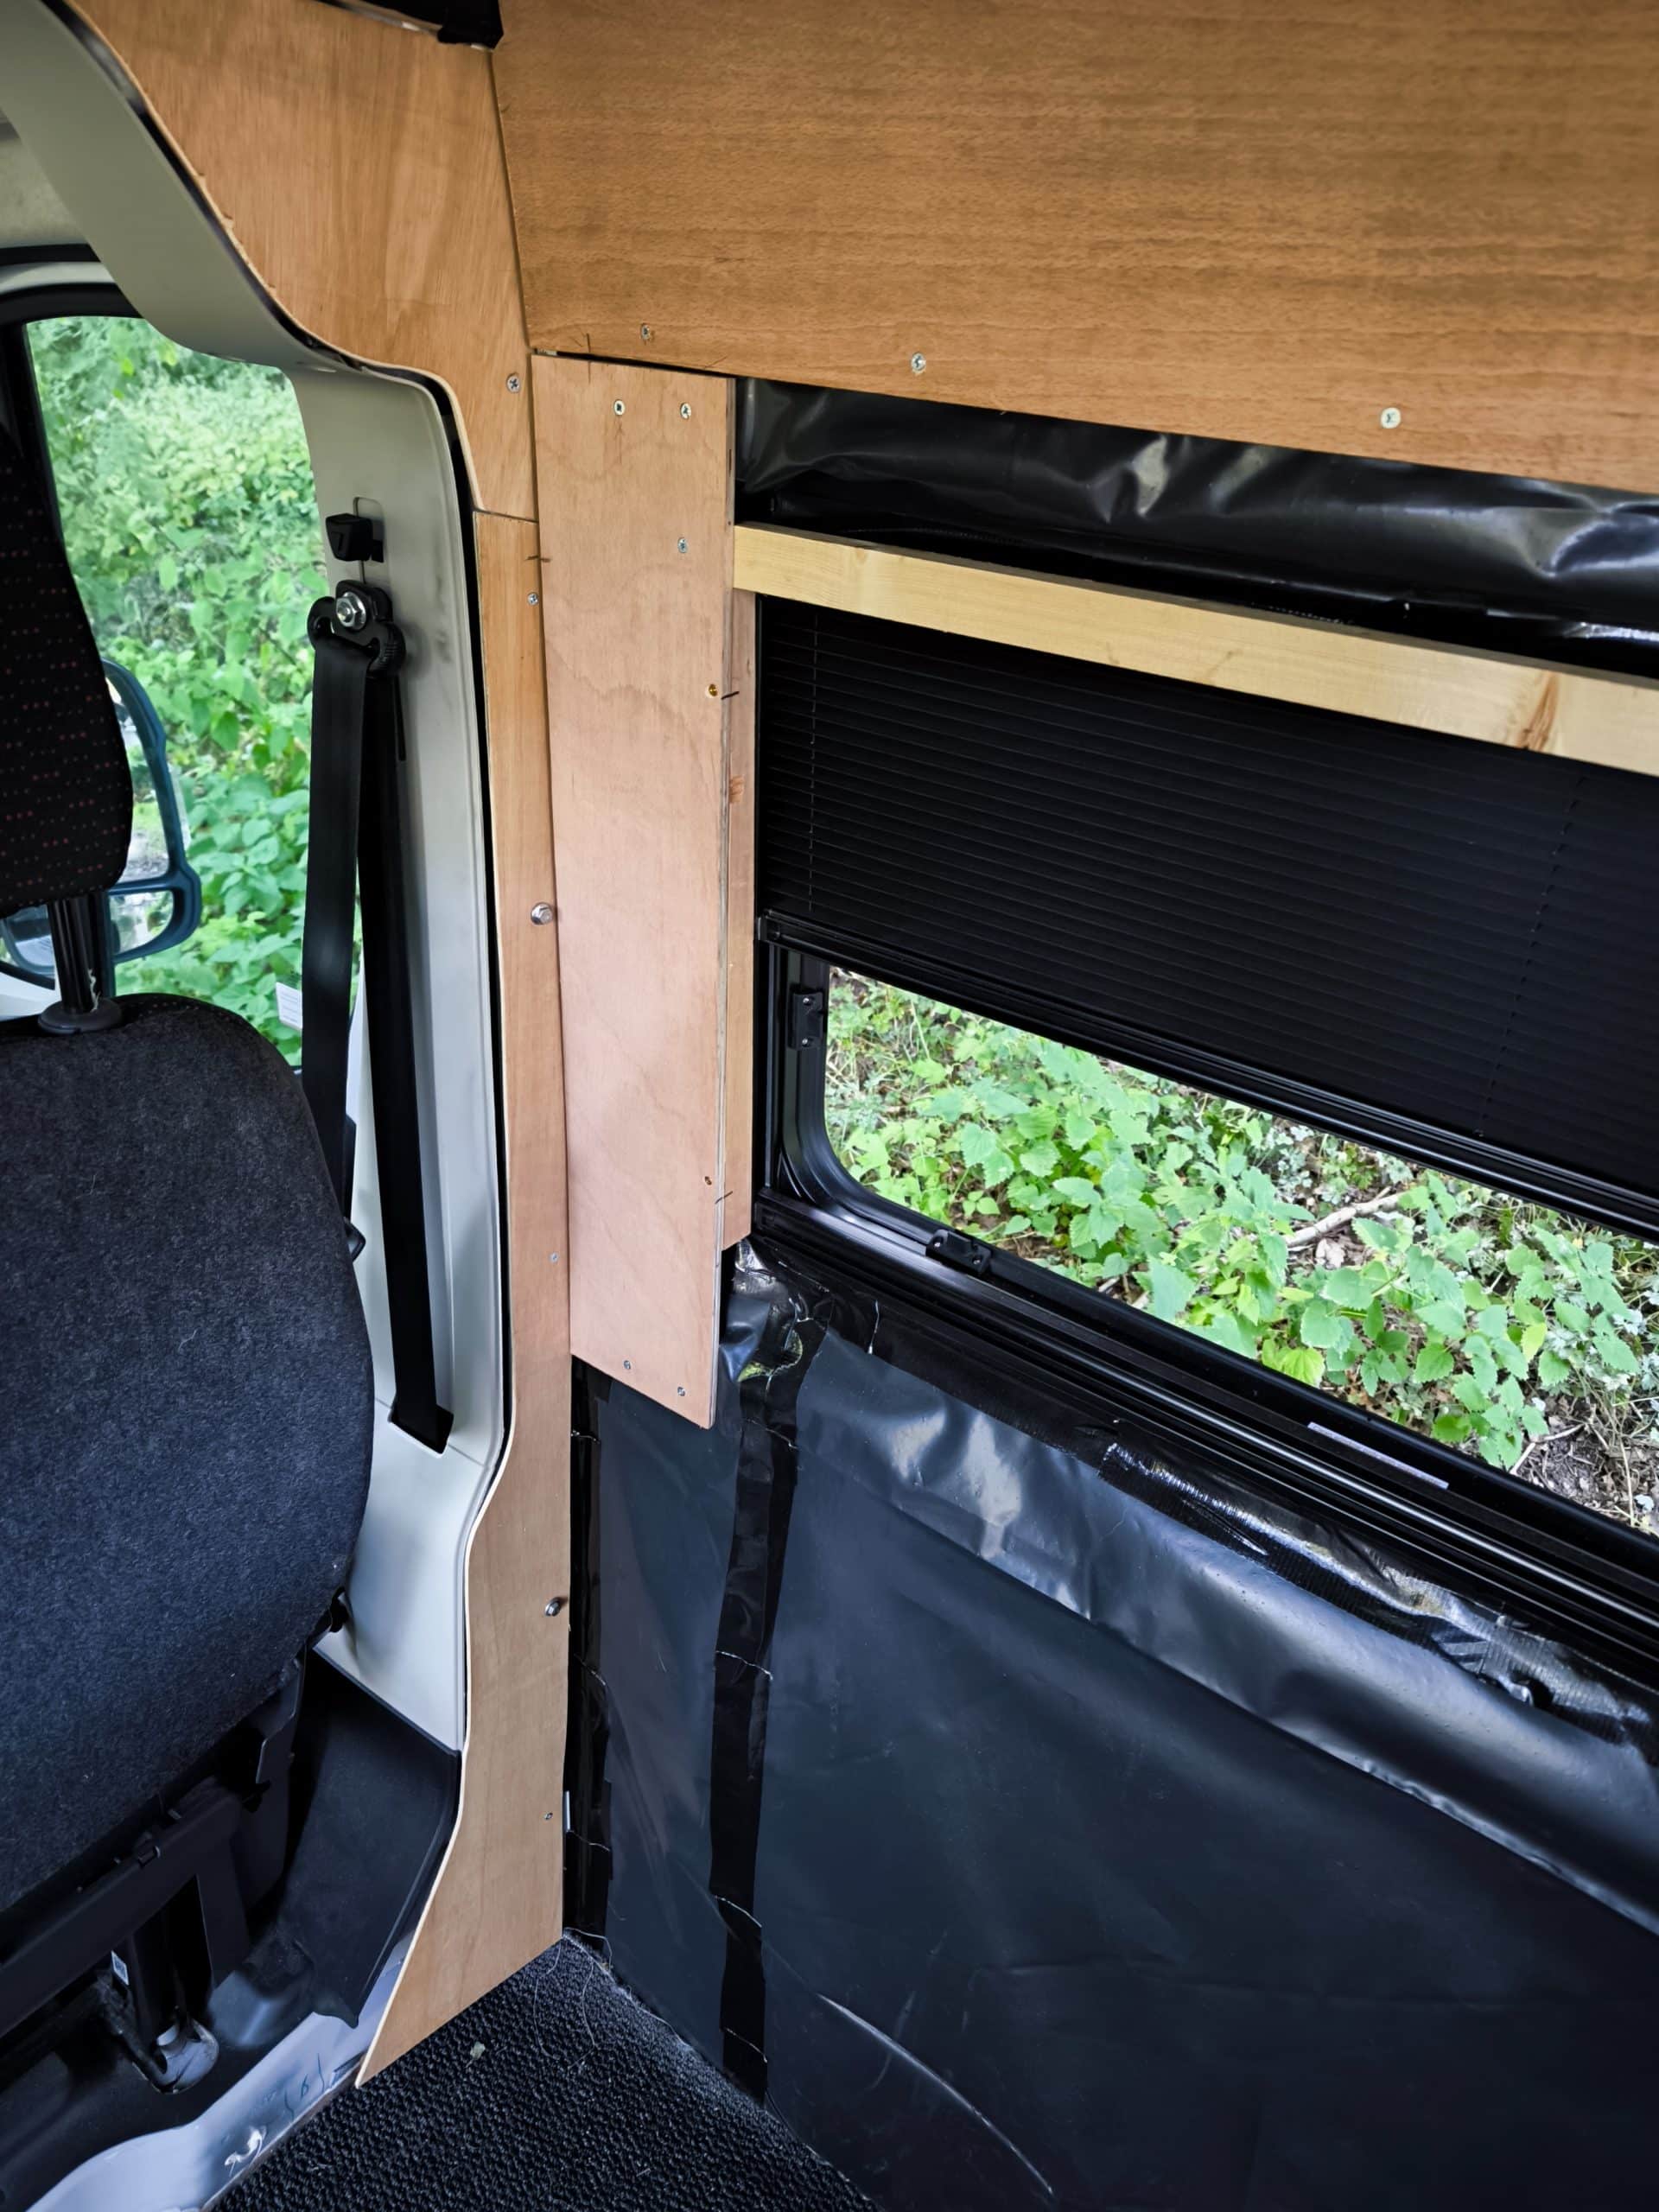
By the end of today I had the ceiling fully panelled, the bulkhead door pillars both trimmed out and the driver’s side wall panelled and framed around the window.
But annoyingly, nothing is square or parallel in this van and so try as I might, there is a 5mm deviation in the framing from one side of the widow to the other. It’s barely noticeable, but the human eye is very good a spotting when something isn’t parallel or square. I hope this tiny difference won’t be noticeable when carpetted.