Diary Of A Camper Conversion
Left is done and now it’s time to do the same on the right.
All the framing is done so on with the vapour barrier using – you guessed it – oodles and oodles of tape. I think I’m 3 rolls deep into this van now…
With the van looking like a murderers kill room, the first specially shaped but of plywood goes up at the top. This was actually cut out and planned about 2 months ago now. But in a van, everything has to go in a certain order. For example, this ply sheet goes up against the ceiling hardboard and holds it up at the edge because there are no fixings there. This is deliberate because when I come to carpet the ceiling and the ply, I’ll use a spatula to shove the edges into this flexibly closed gap and it will give a nice neat edge…
Or at least that’s the plan!
The next sheet of ply goes on in a big rectangle. This gets more screws in it because it will likely be holding some of the weight of the bed, those that frequent it, and the activities they indulge in.
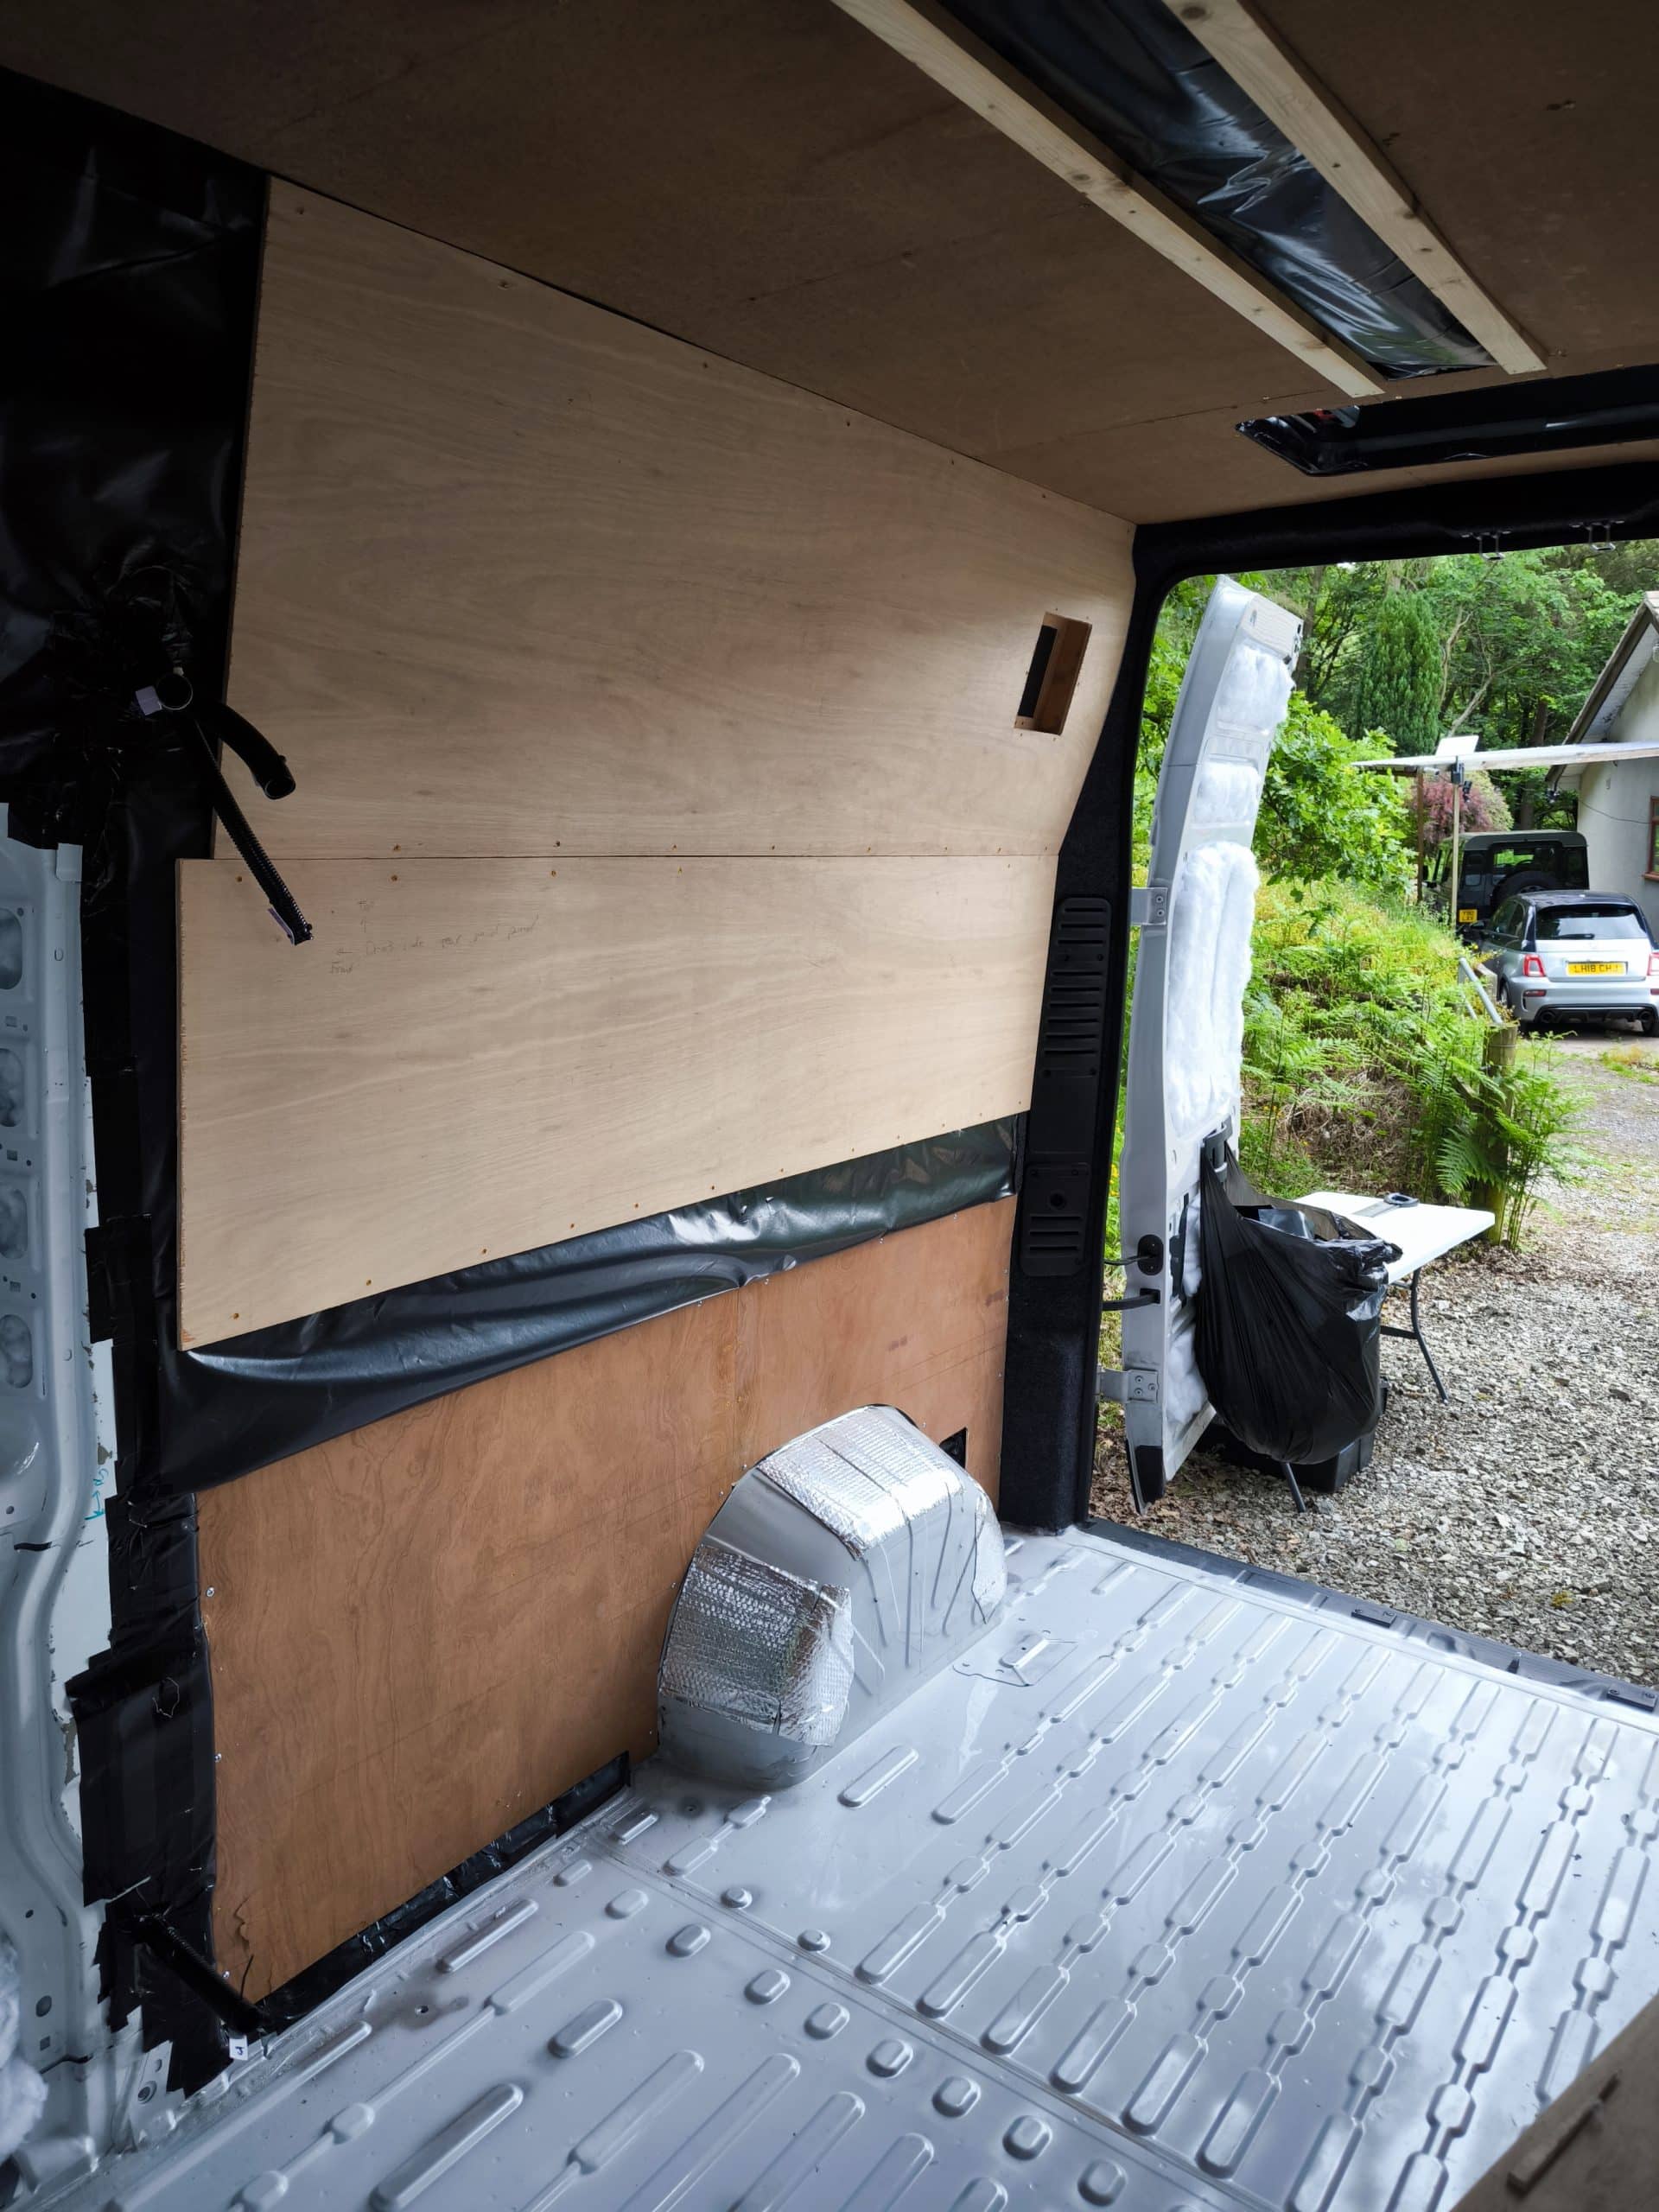
Next, the boards from when the van was picked up are cut down and reused. These don’t look so pretty but they are literally there just to hide the vapour barrier and hold the insulation in. They will be covered by the full length cabinets before too long.
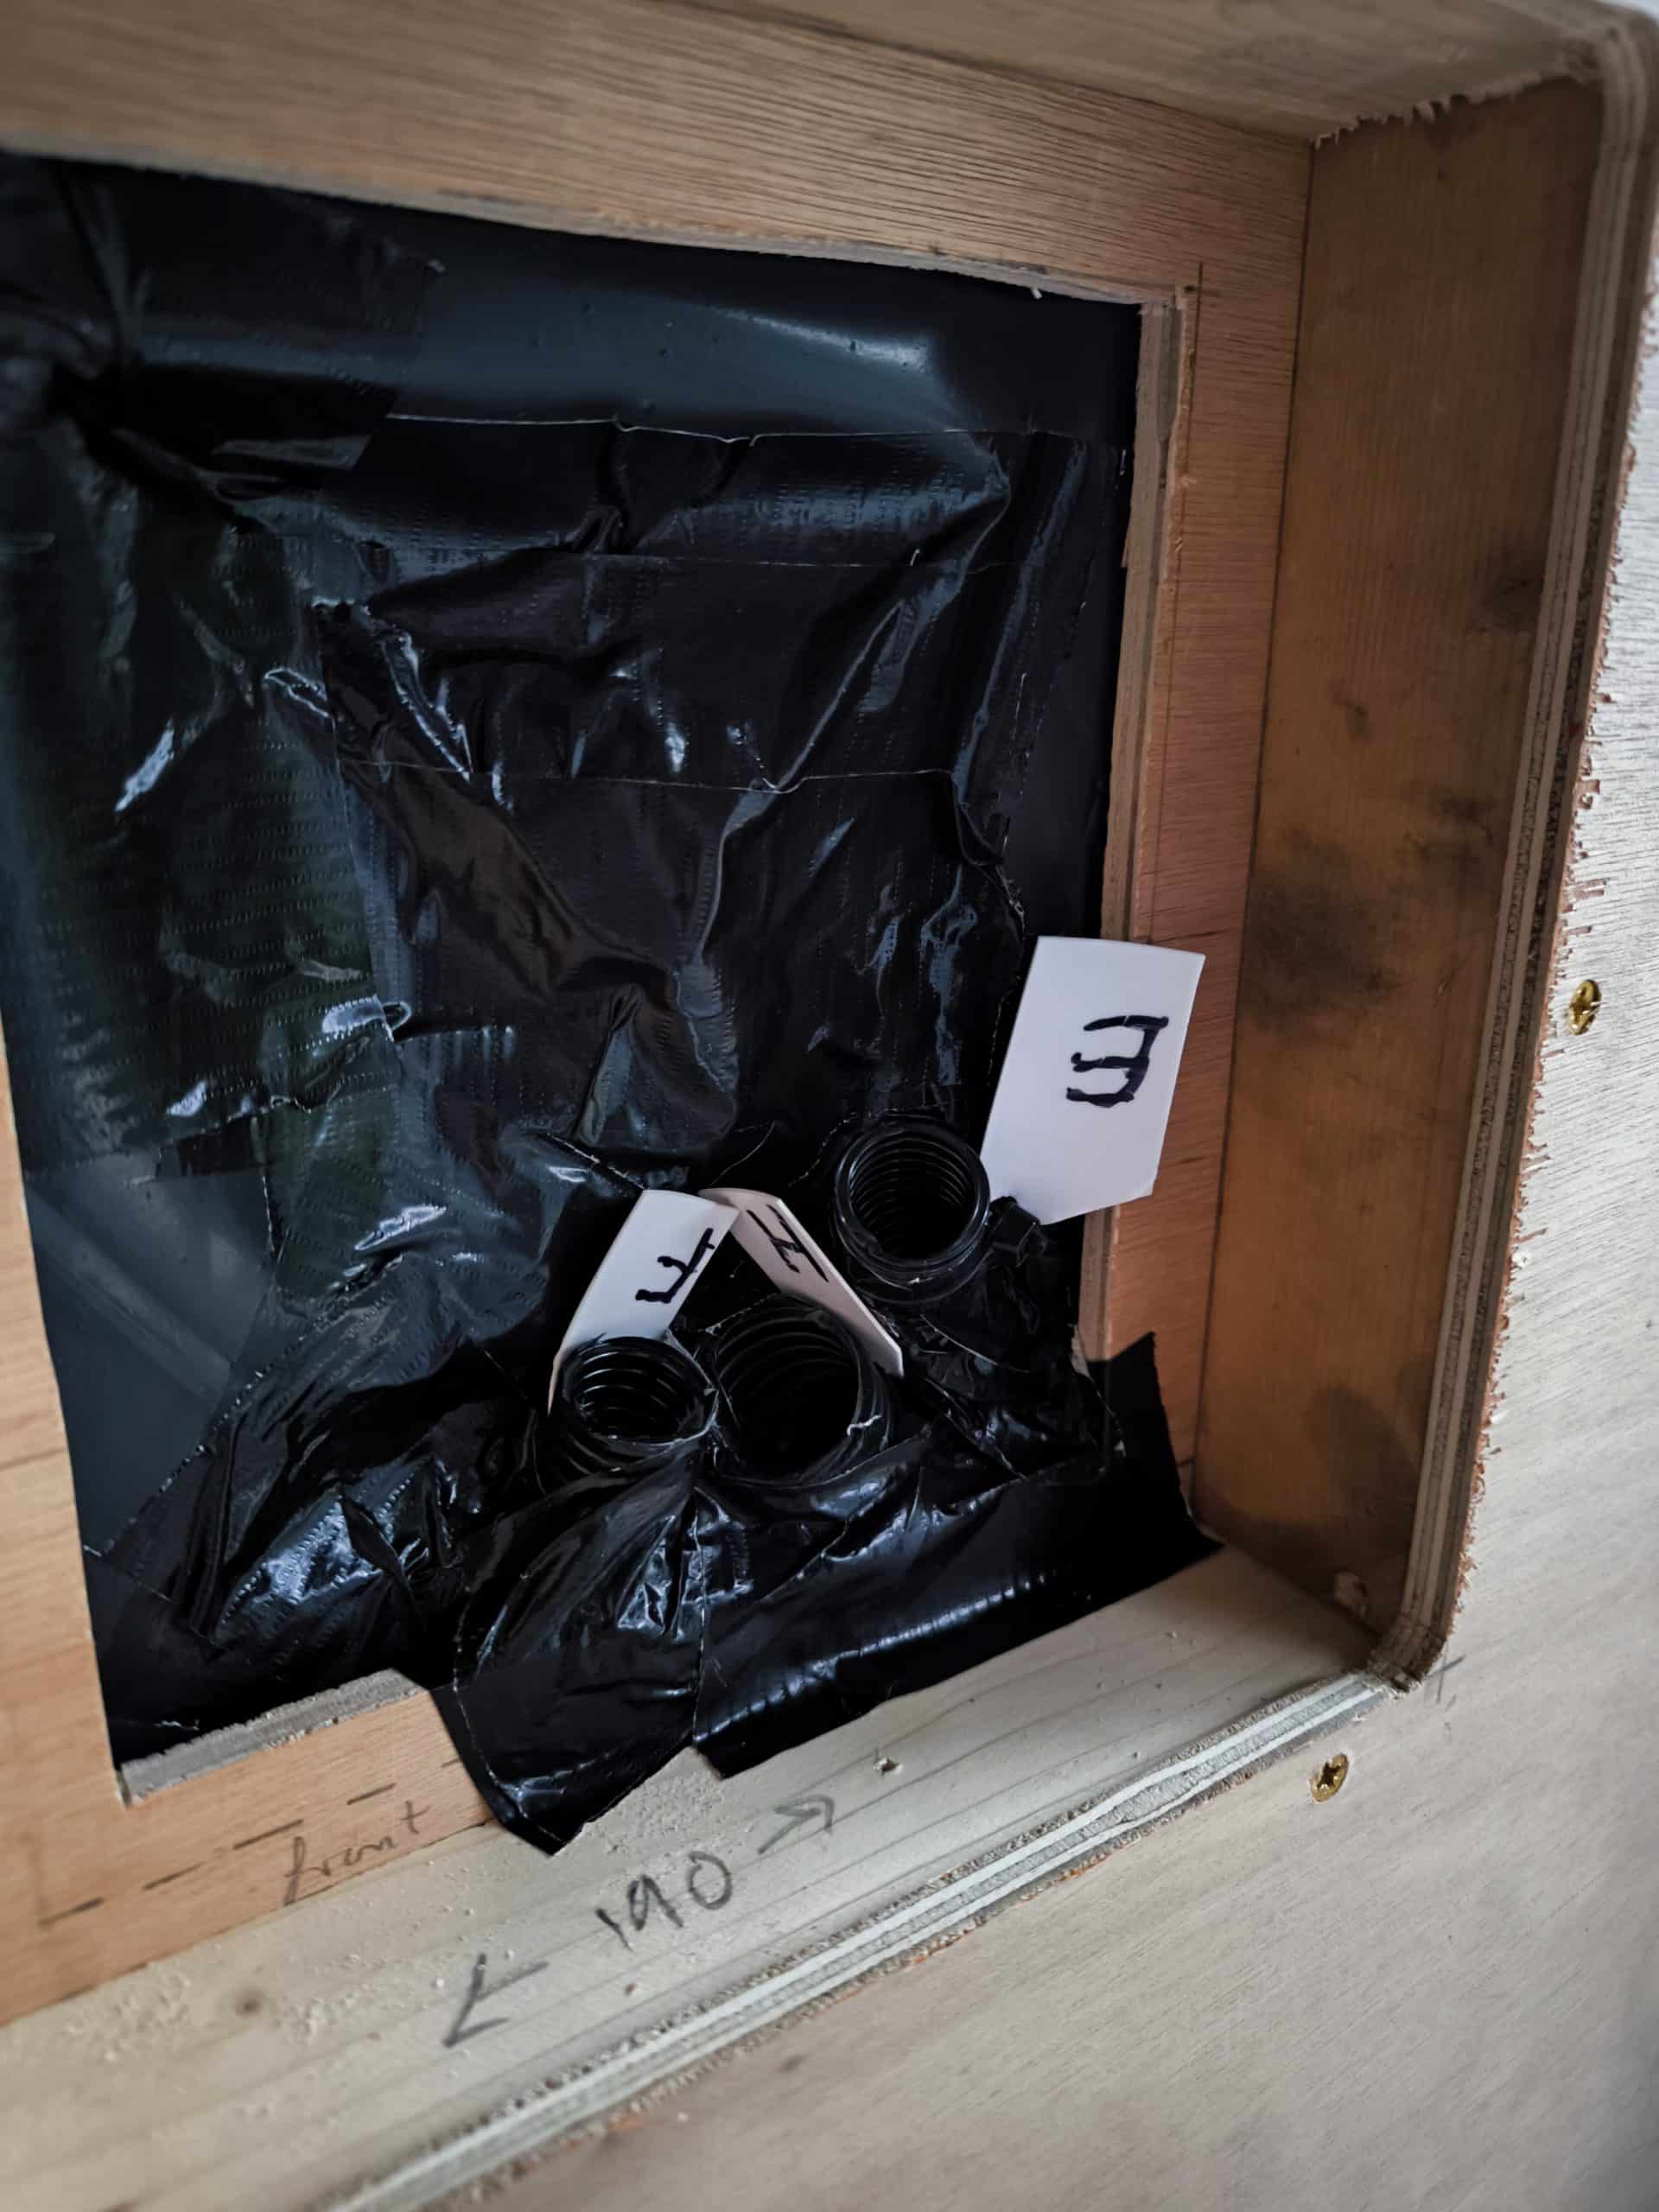
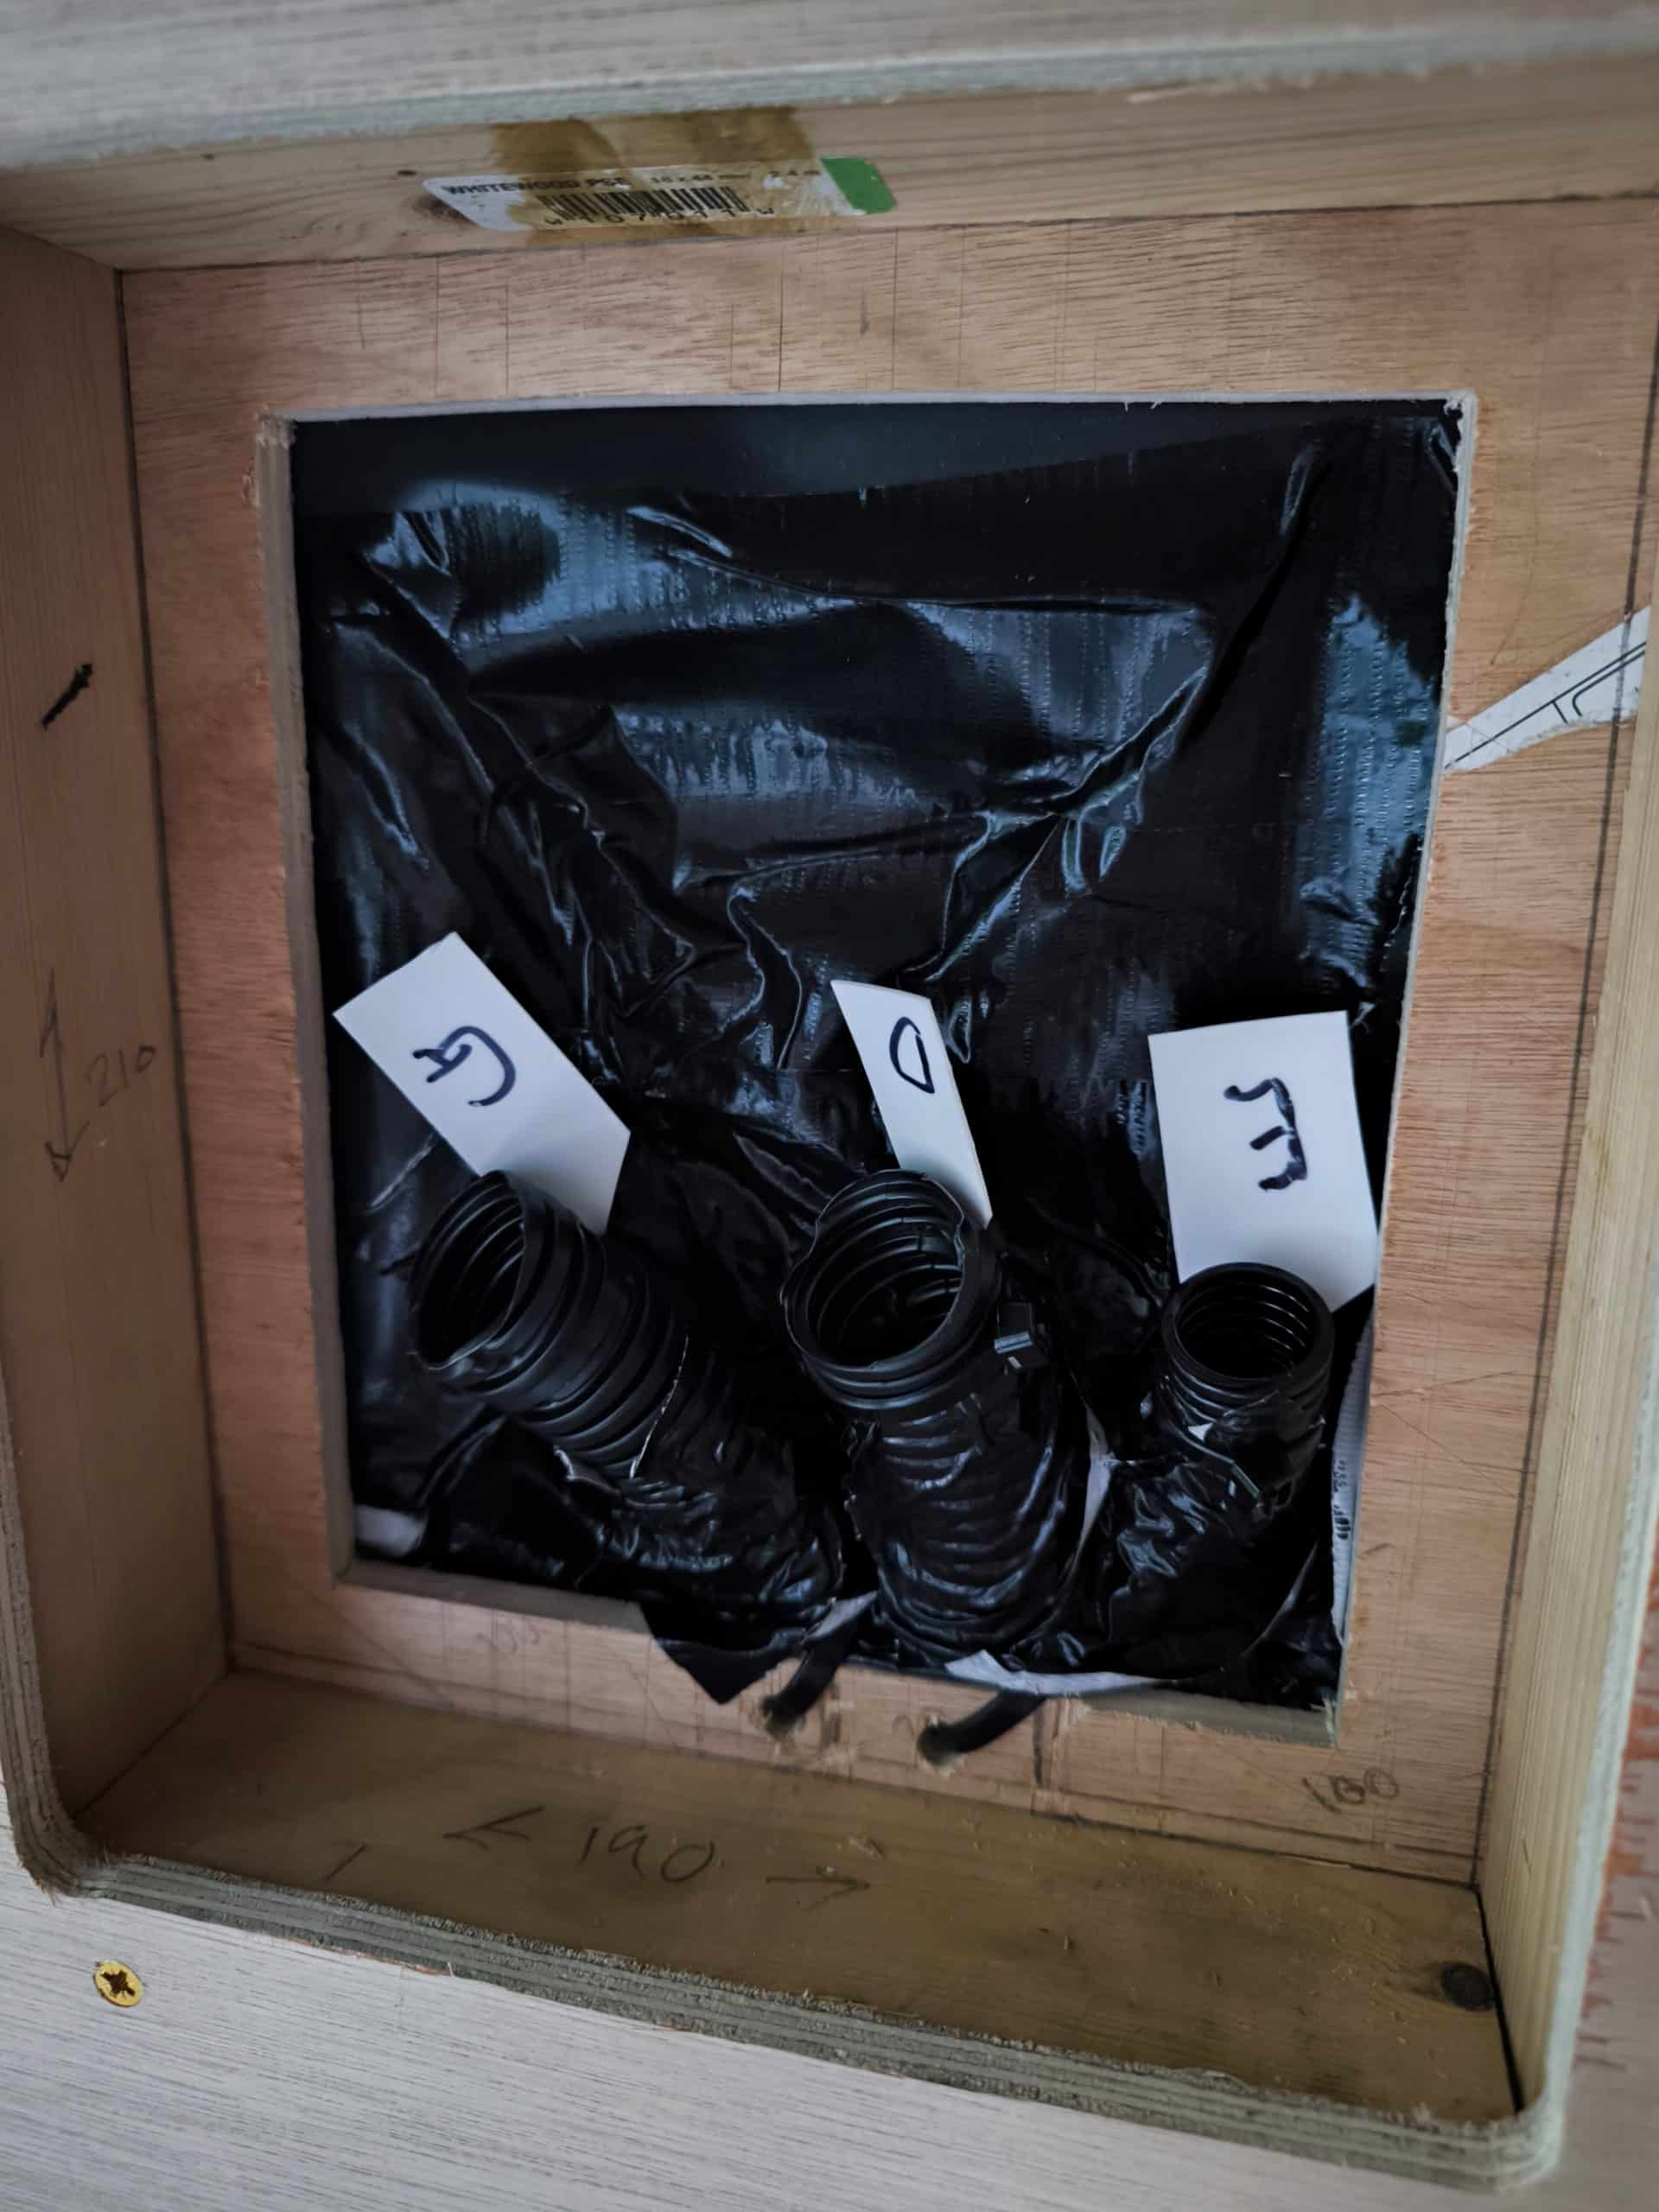
Now these boards are up, the phone nooks needed sorting out. I’ve run a load of conduit but it’s behind the vapour barrier, so I cut it open, fished them out and then went to town with the tape sealing it up again. I made sure to shorten the tubes and keep the labels. These tell me from where to where they run.
Last thing I did today was stick a test bit of wood to the inside of the cab roof. I’m going to make a frame, insulate, vapour barrier and box it out. But it’s going to be so much easier if I can glue some bits of timber to the inside of the roof and then screw into those. There aren’t any ribs up there so I am just testing a small bit of wood to see how strong and whether gorilla really is a useful glue…