Diary Of A Camper Conversion
I had hoped to use some some angle brackets for the lip of the bed where it rests on the opposite counter, but after testing them they were not strong enough. So I gave a steel stock holder a call and they had six meters of 30x30x3mm RSA for £17 which is a bargain. They even cut it to 1.9 meters for me. Not sure what I’m going to do with the remaining 4.1 meters.
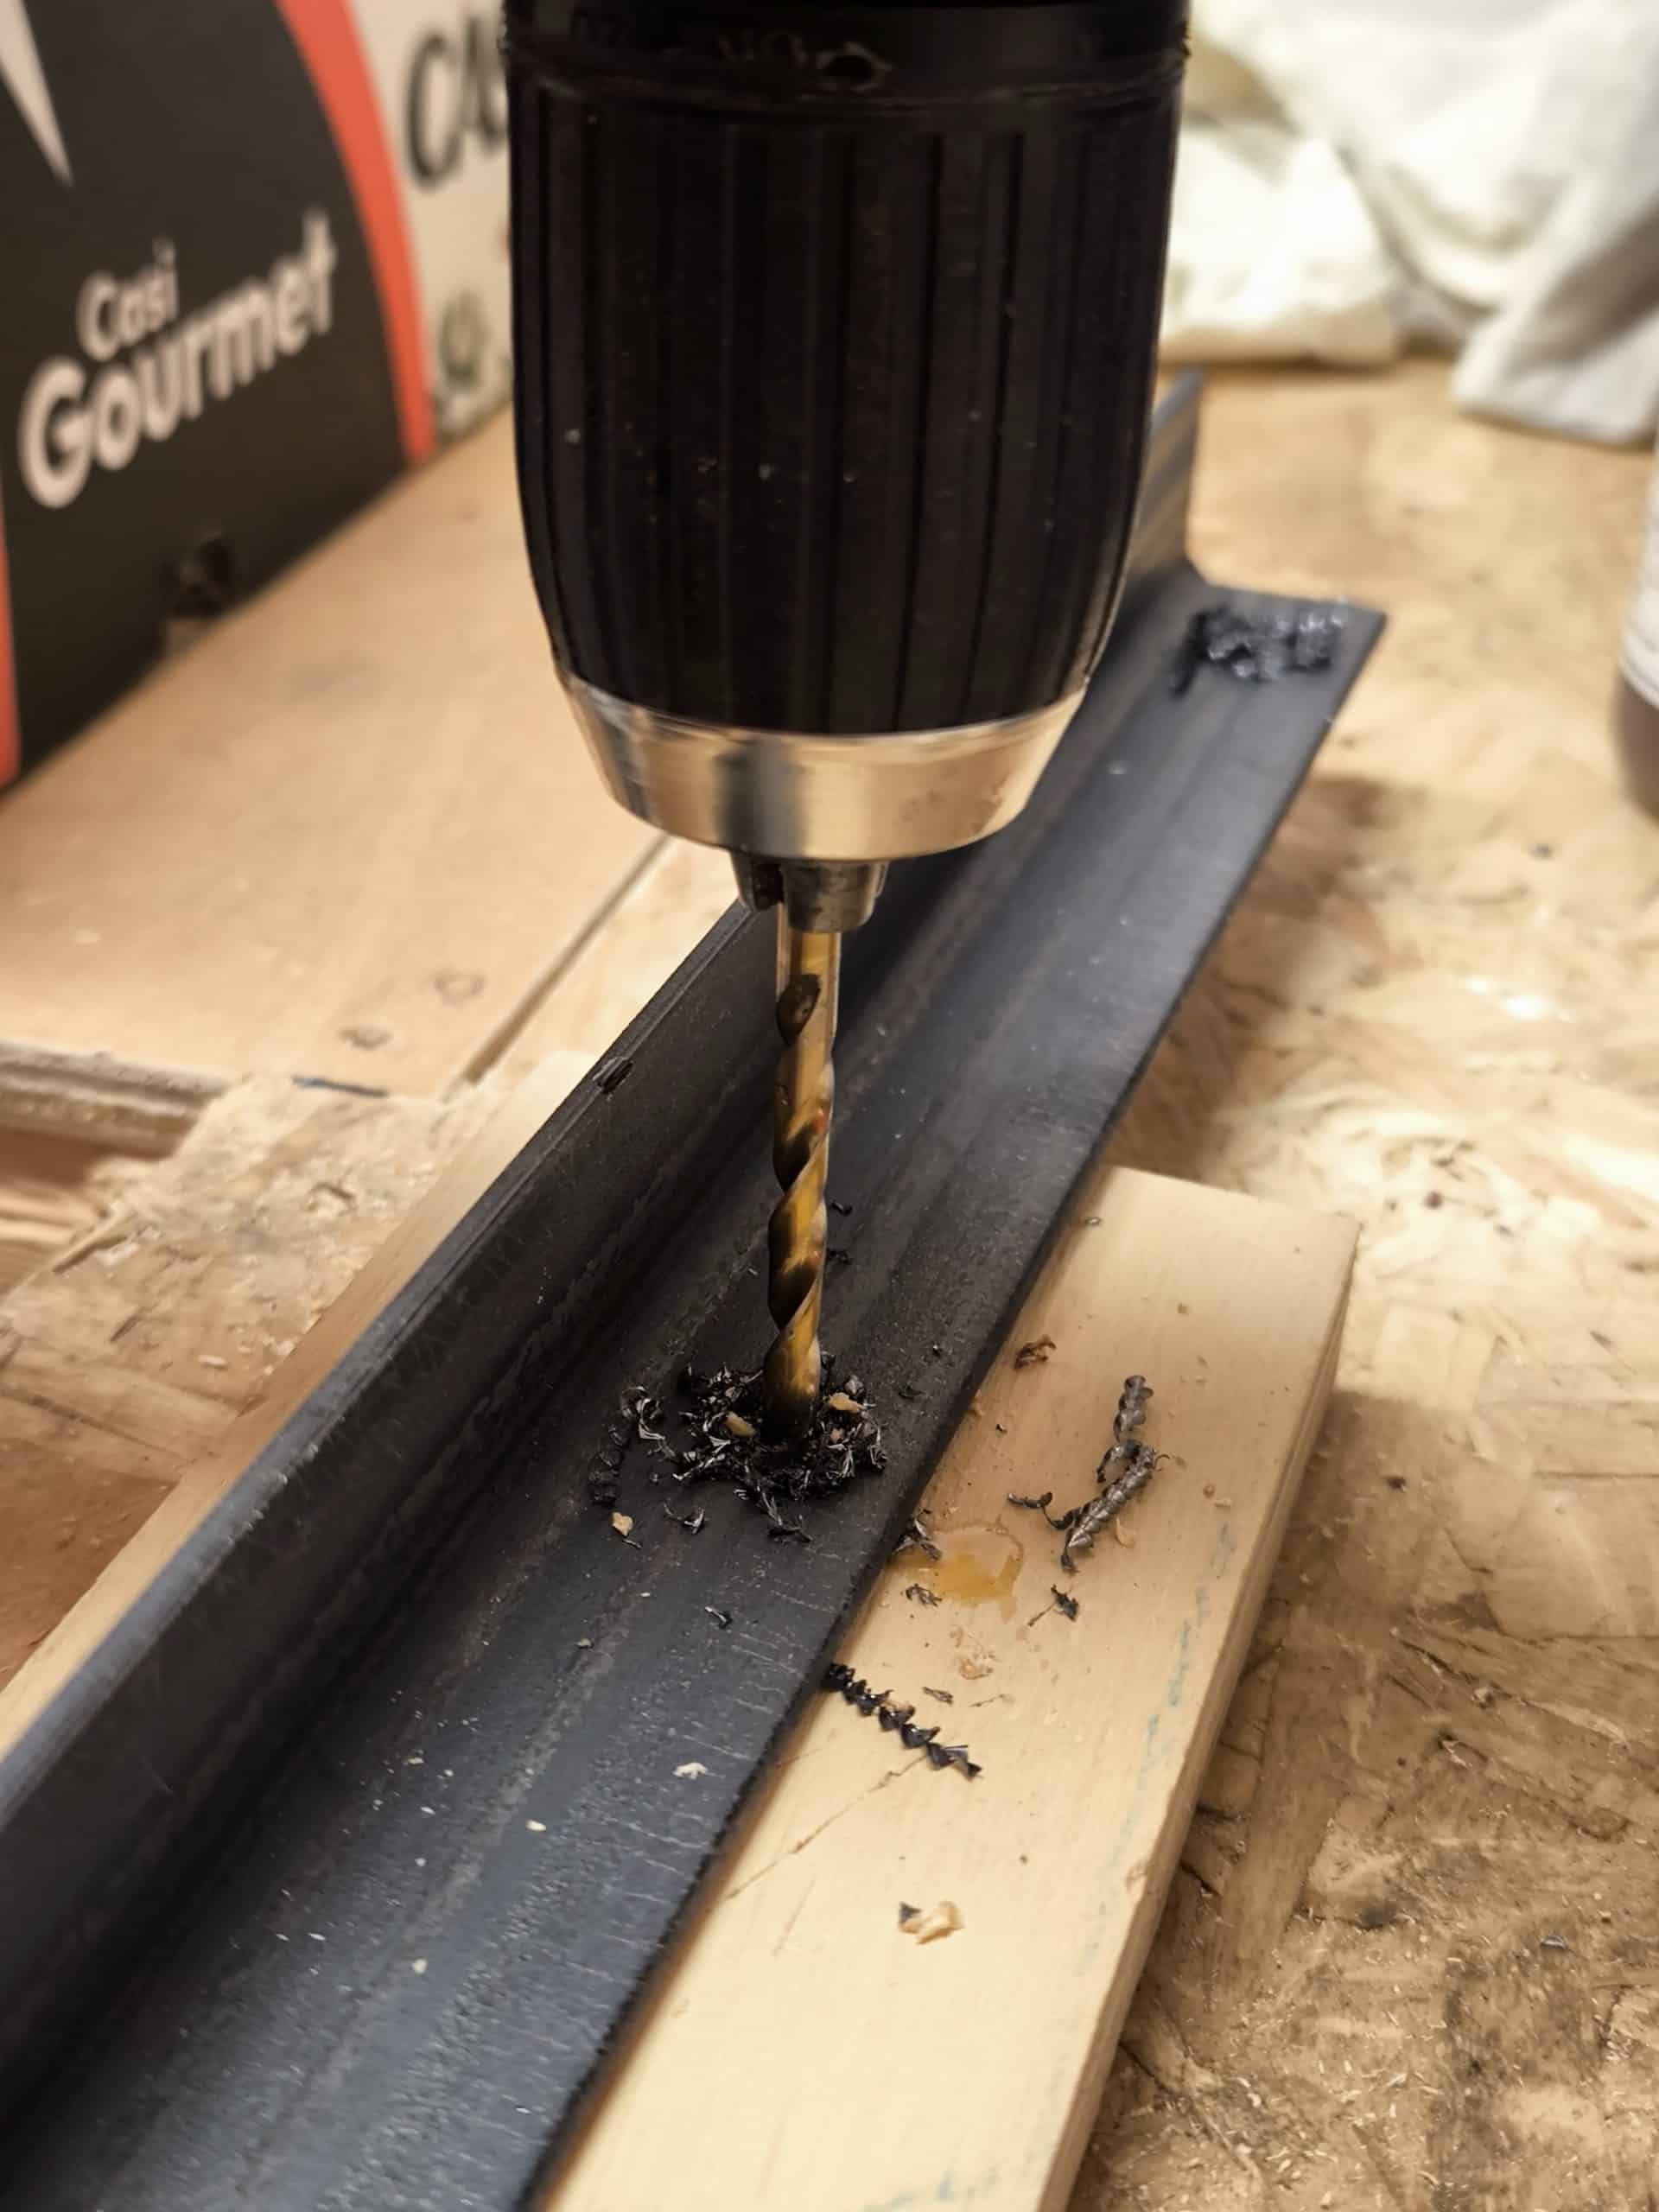
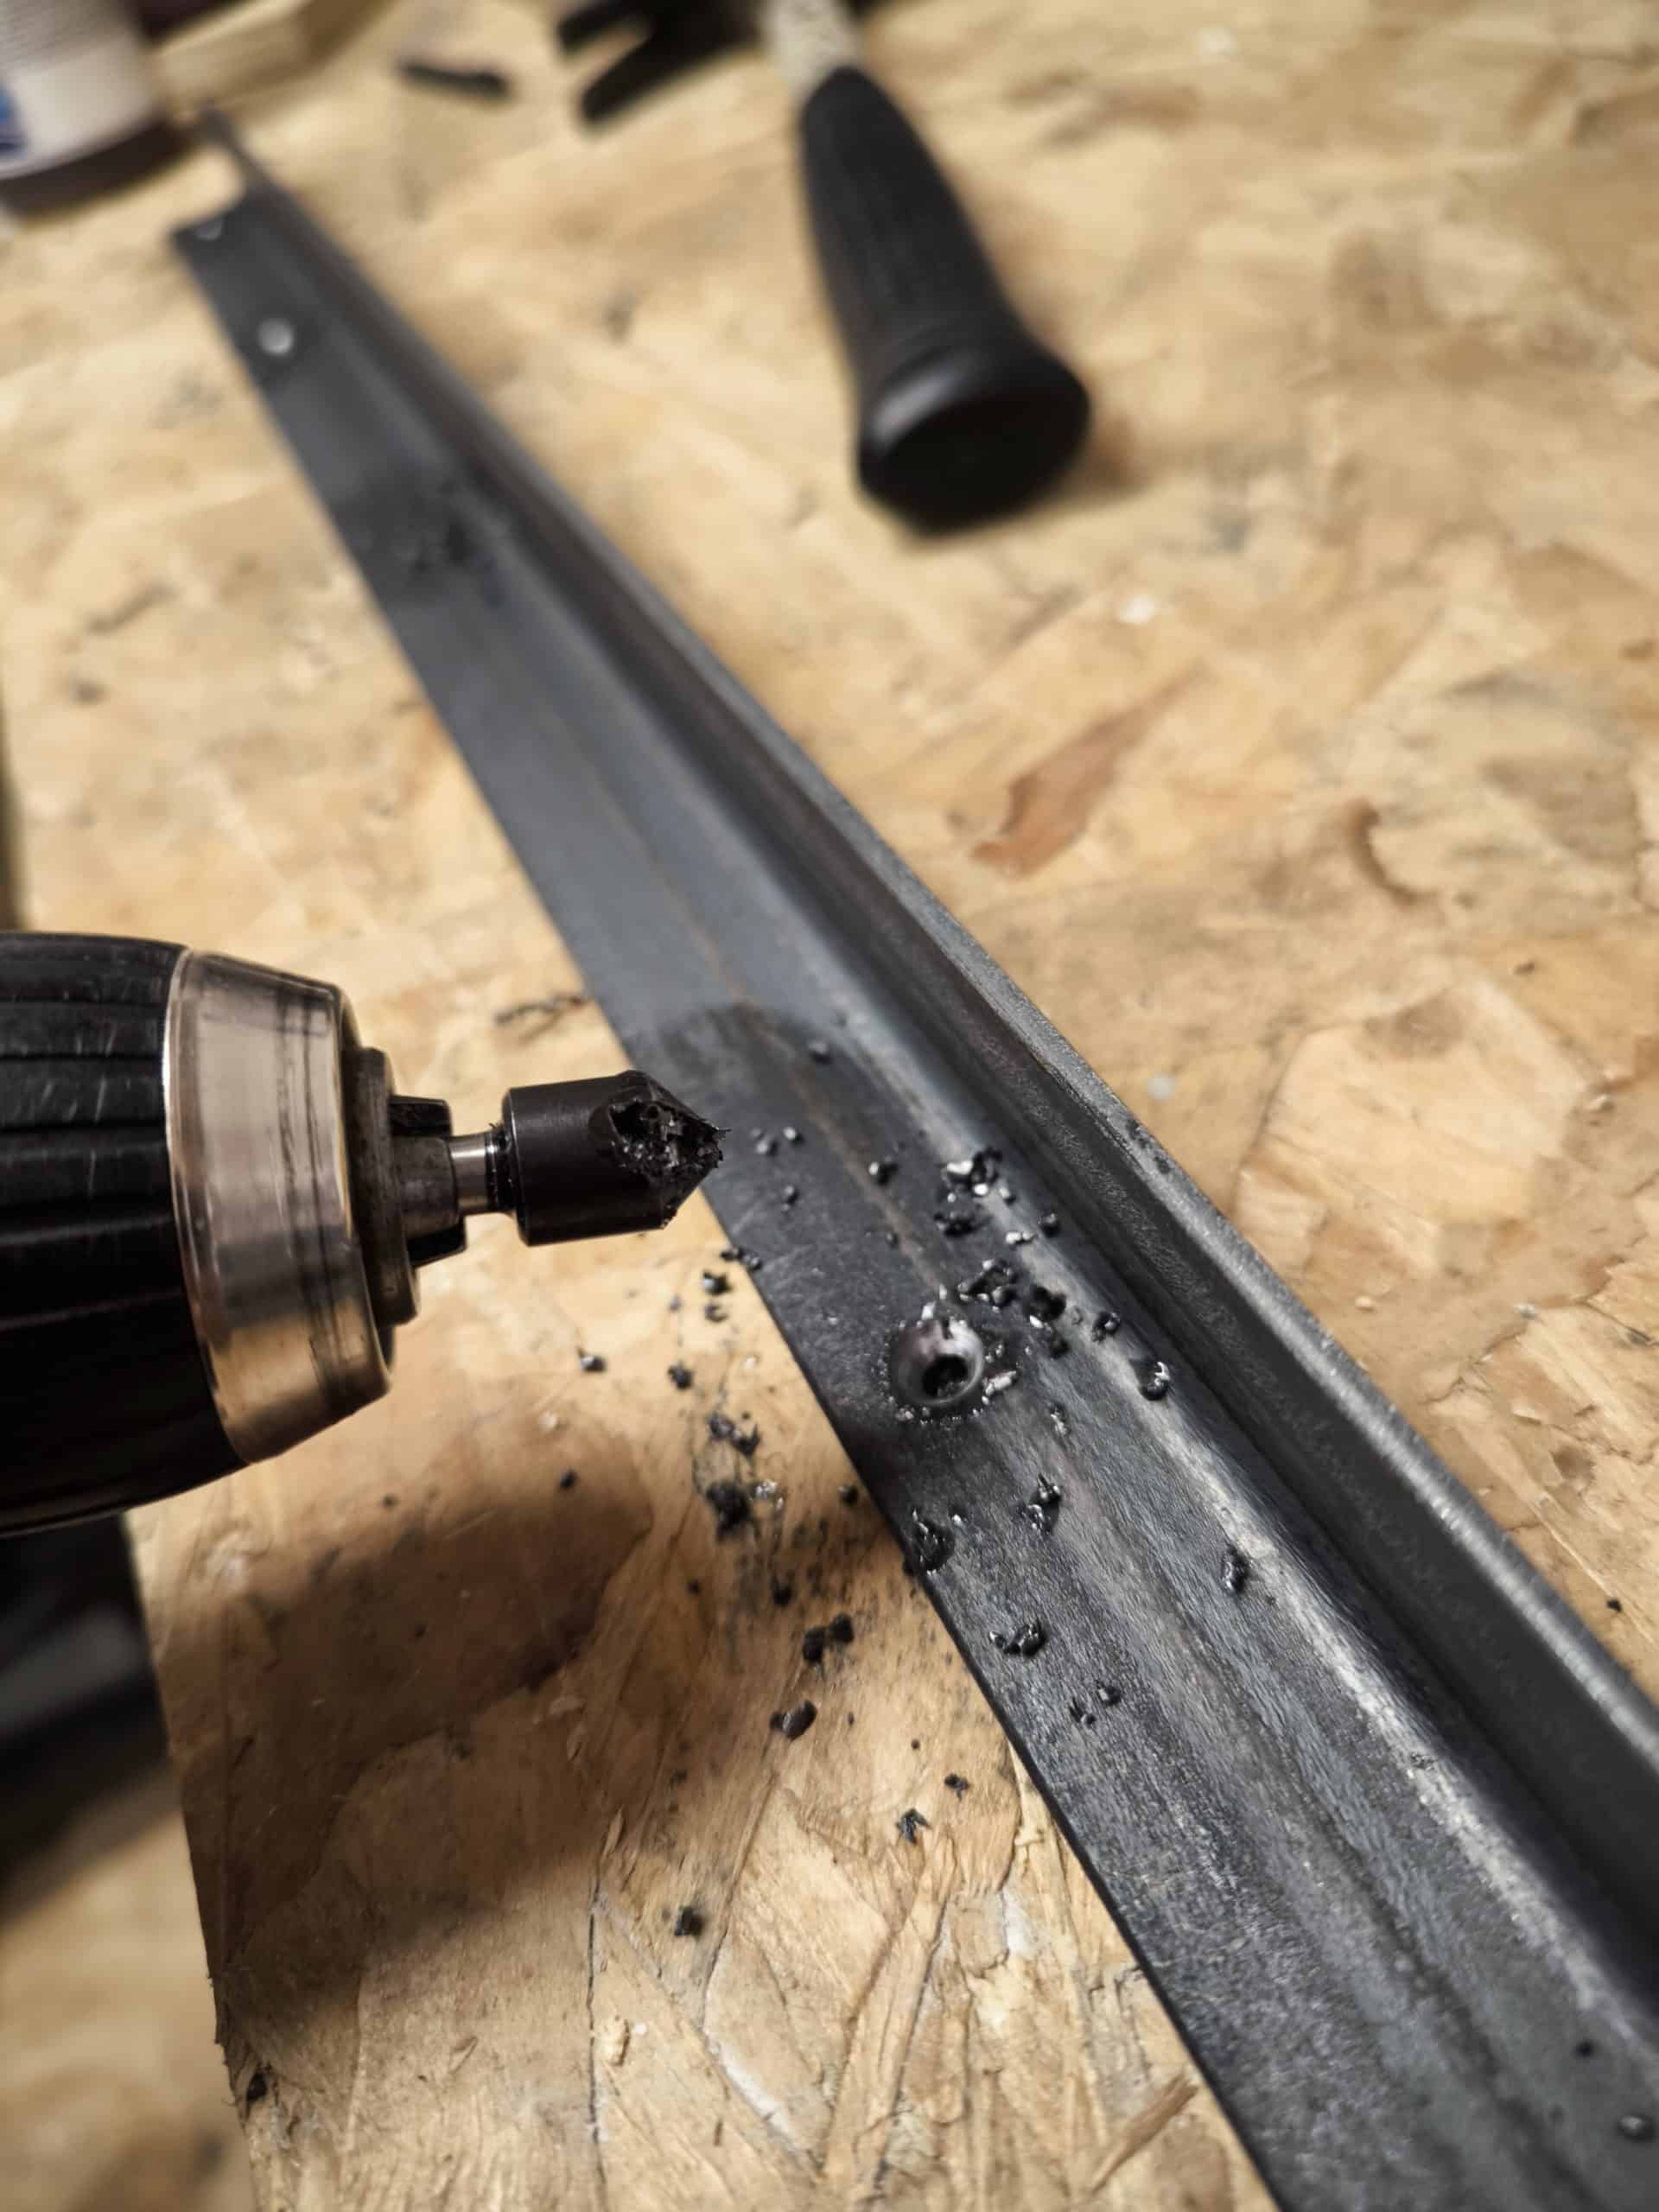
I think it is going to look neat having an angle run the full length of the bed. It also gives me a lot of reassurance that there is no chance it will bend letting us catastrophically fall to the van floor in the middle of the night. This is simply screwed to the end of the bed drawbridge. So I drilled and counter sunk some holes. I cleaned up using some isopropyl alcohol and then gave it three coats of white spray paint. This is not quite enough for a good finish but will do for now.
Now on to the slightly scary bit. With my specially sawn (not planed) lengths of timber, I only have one chance to cut them correctly. Que some more measuring and remeasuring until I knew the dimensions off by heart.
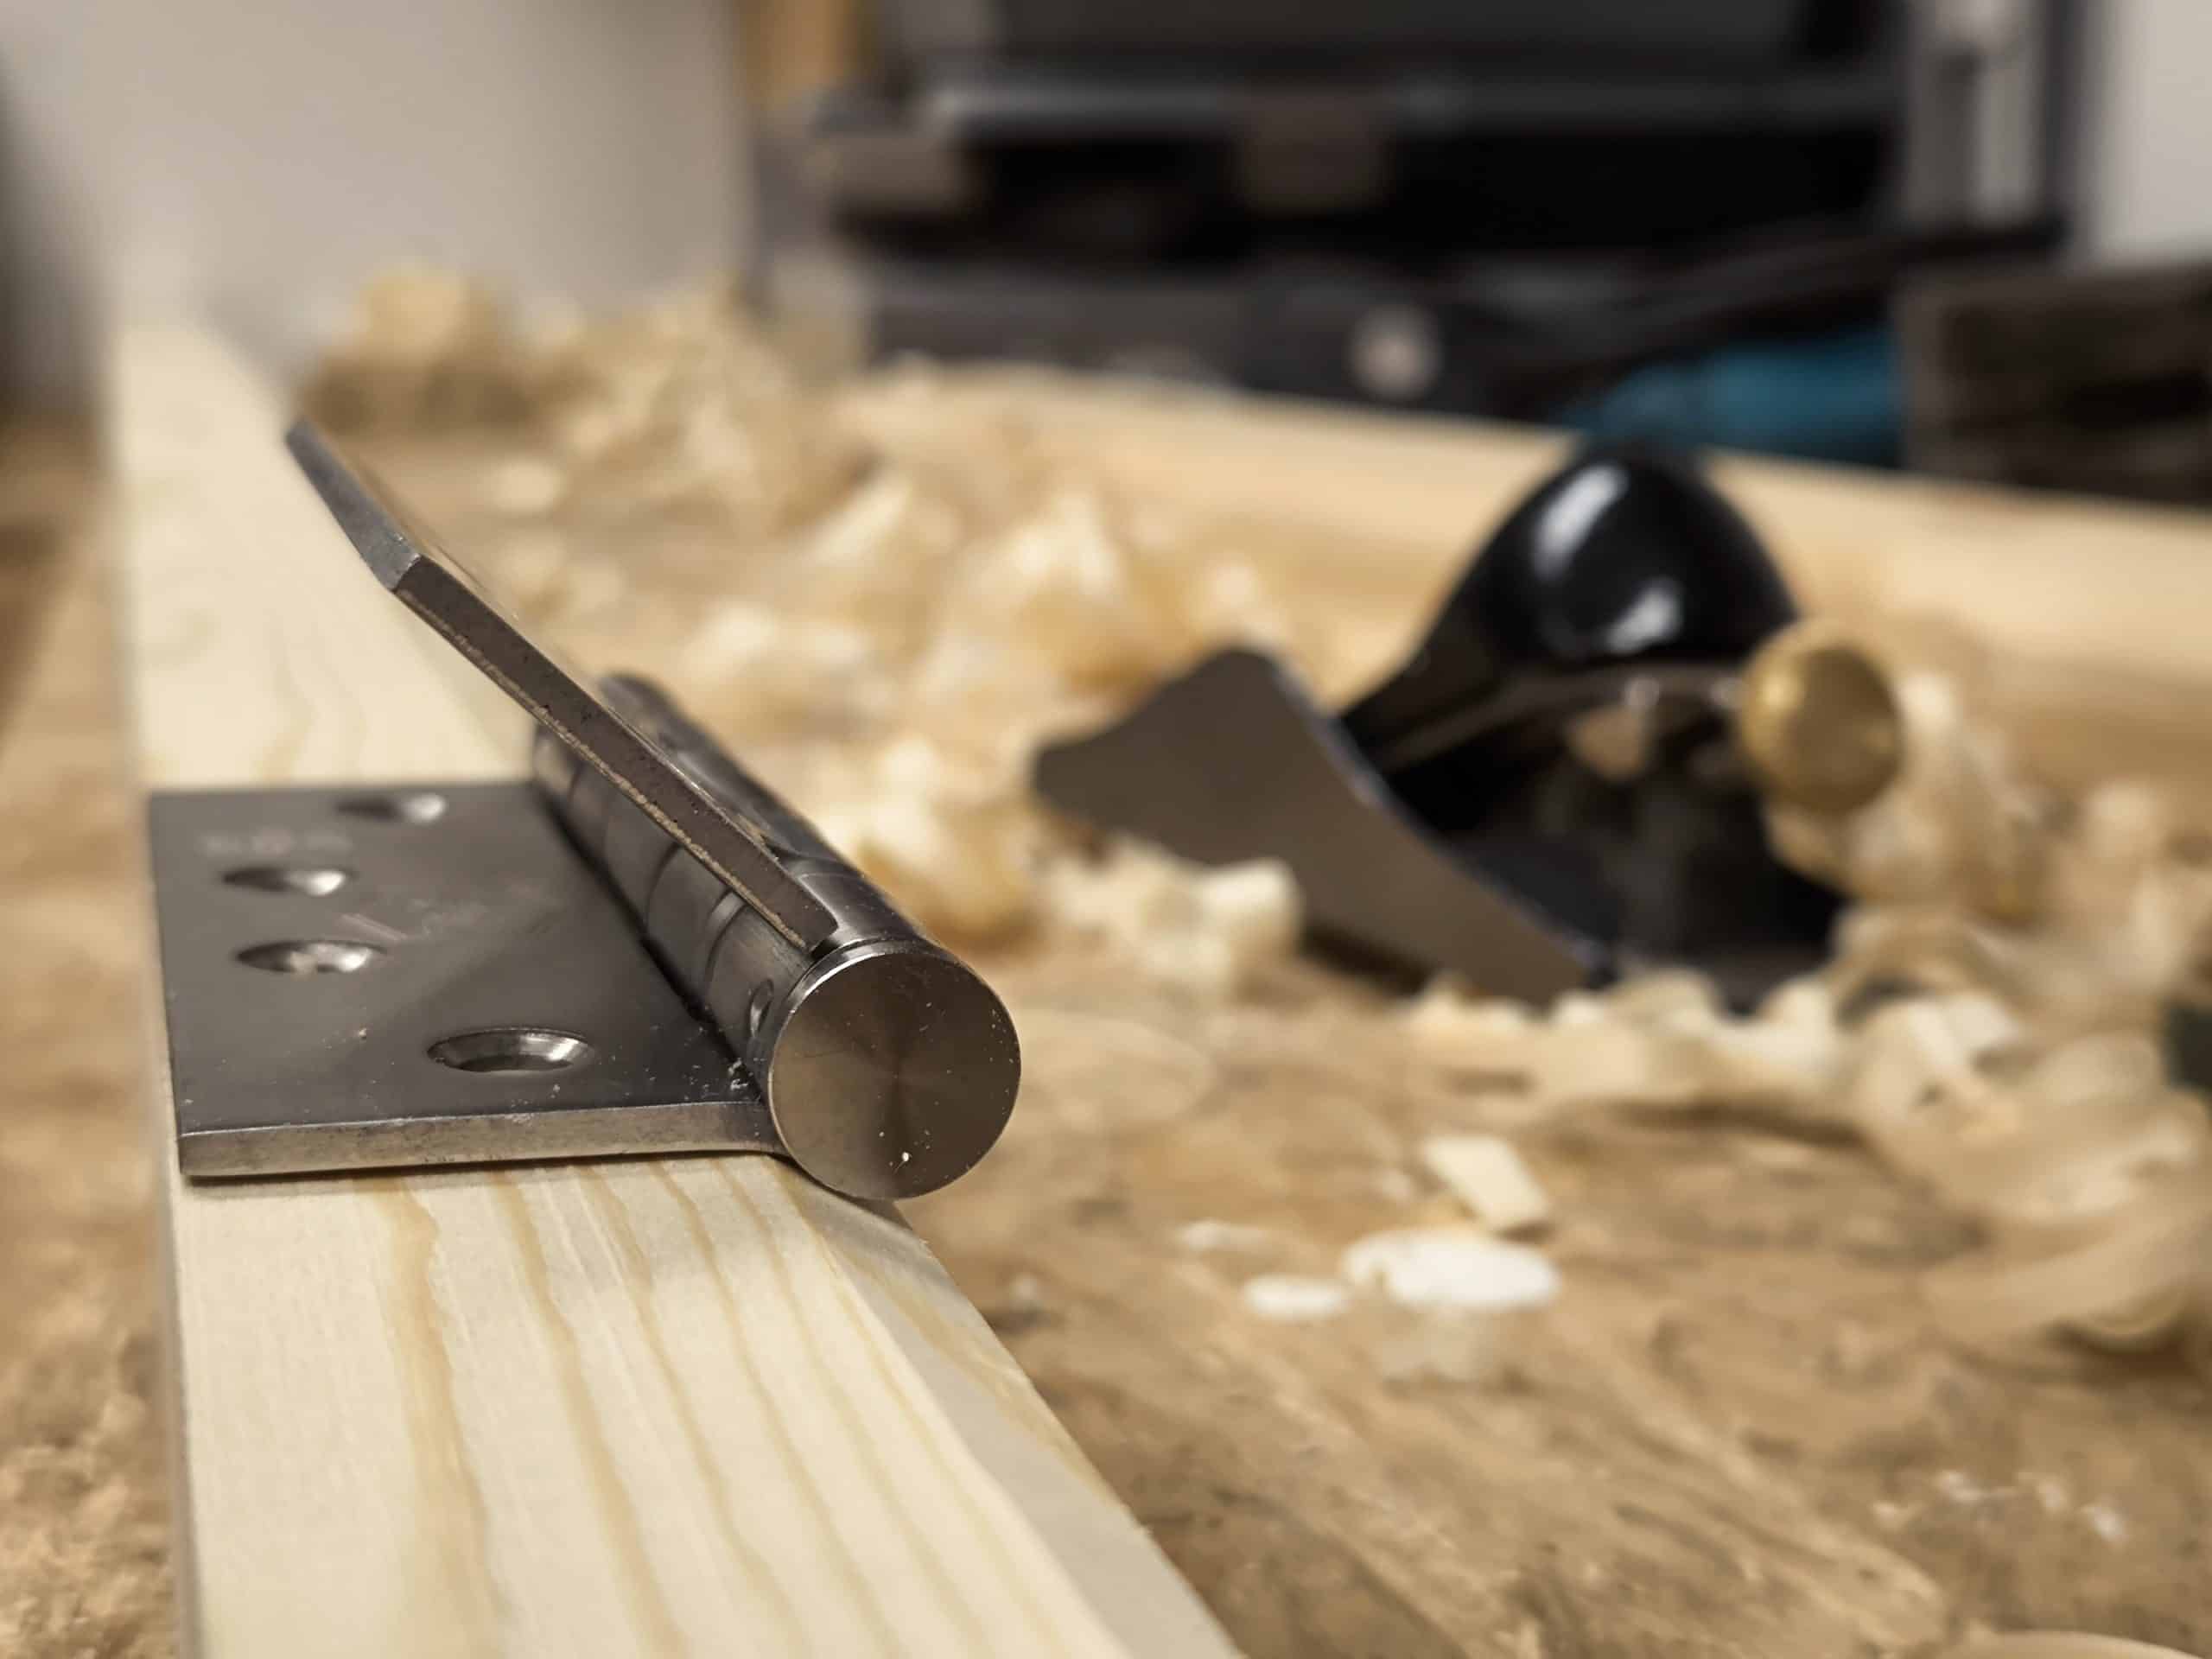
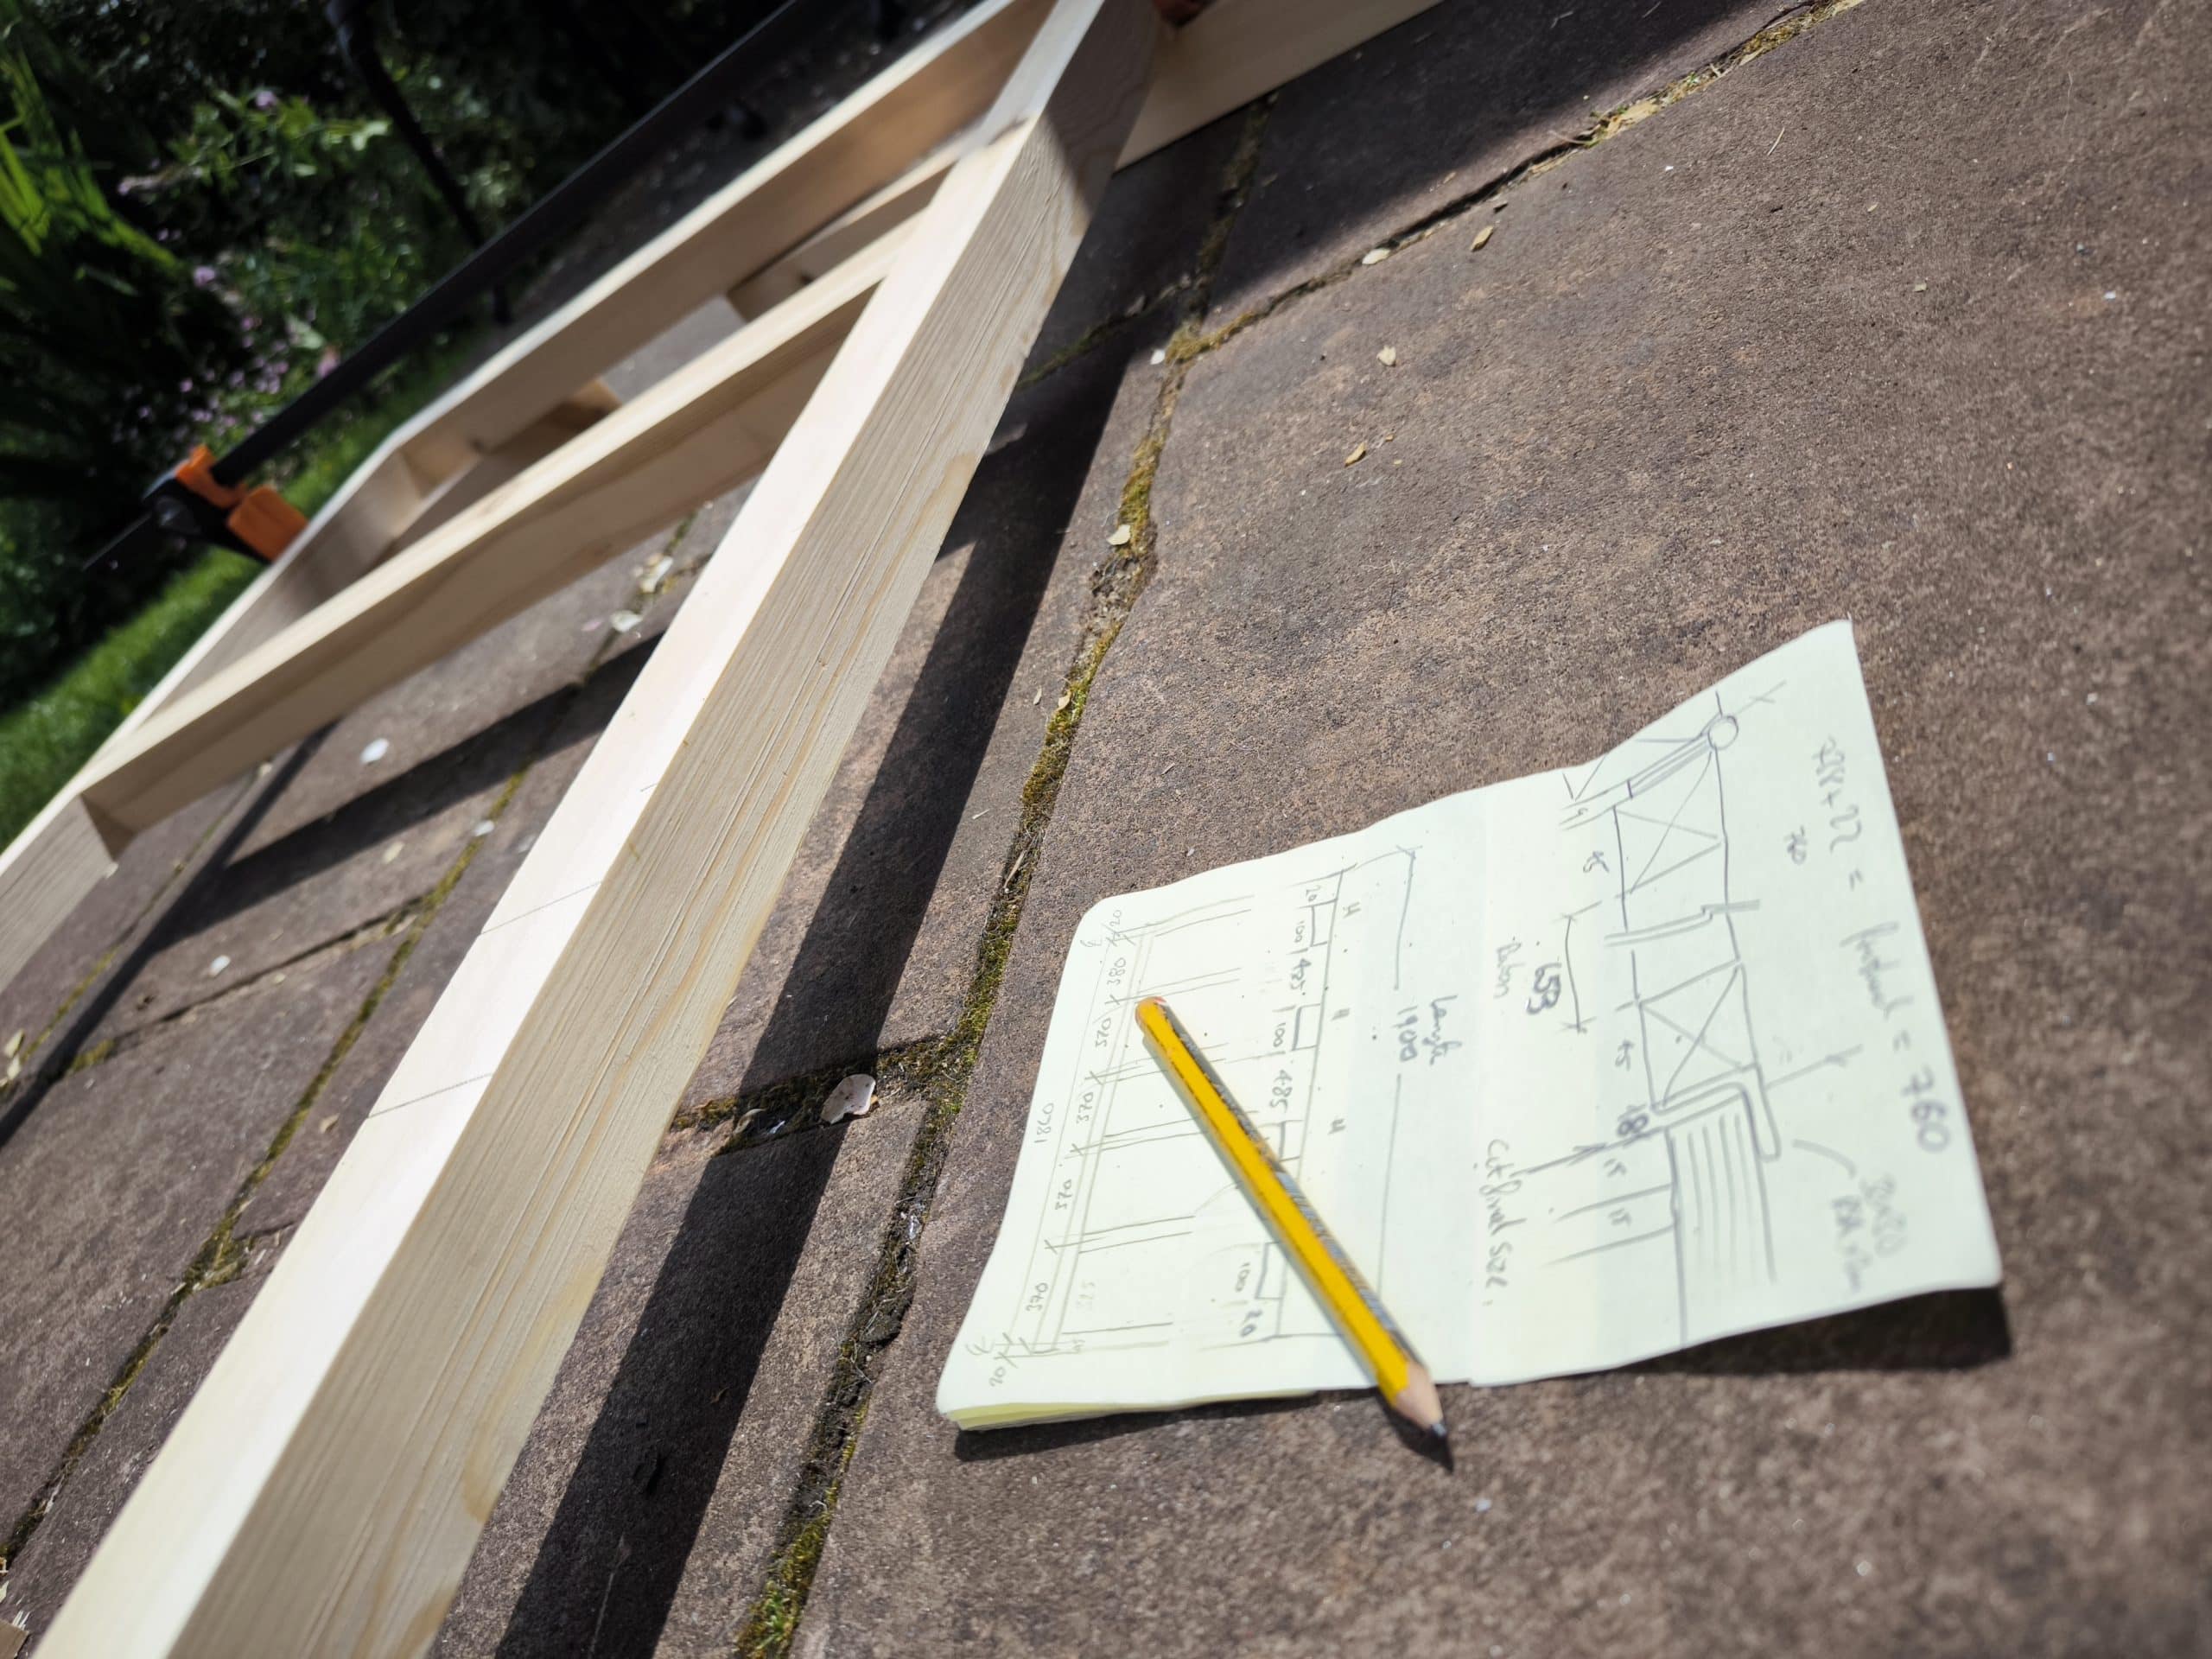
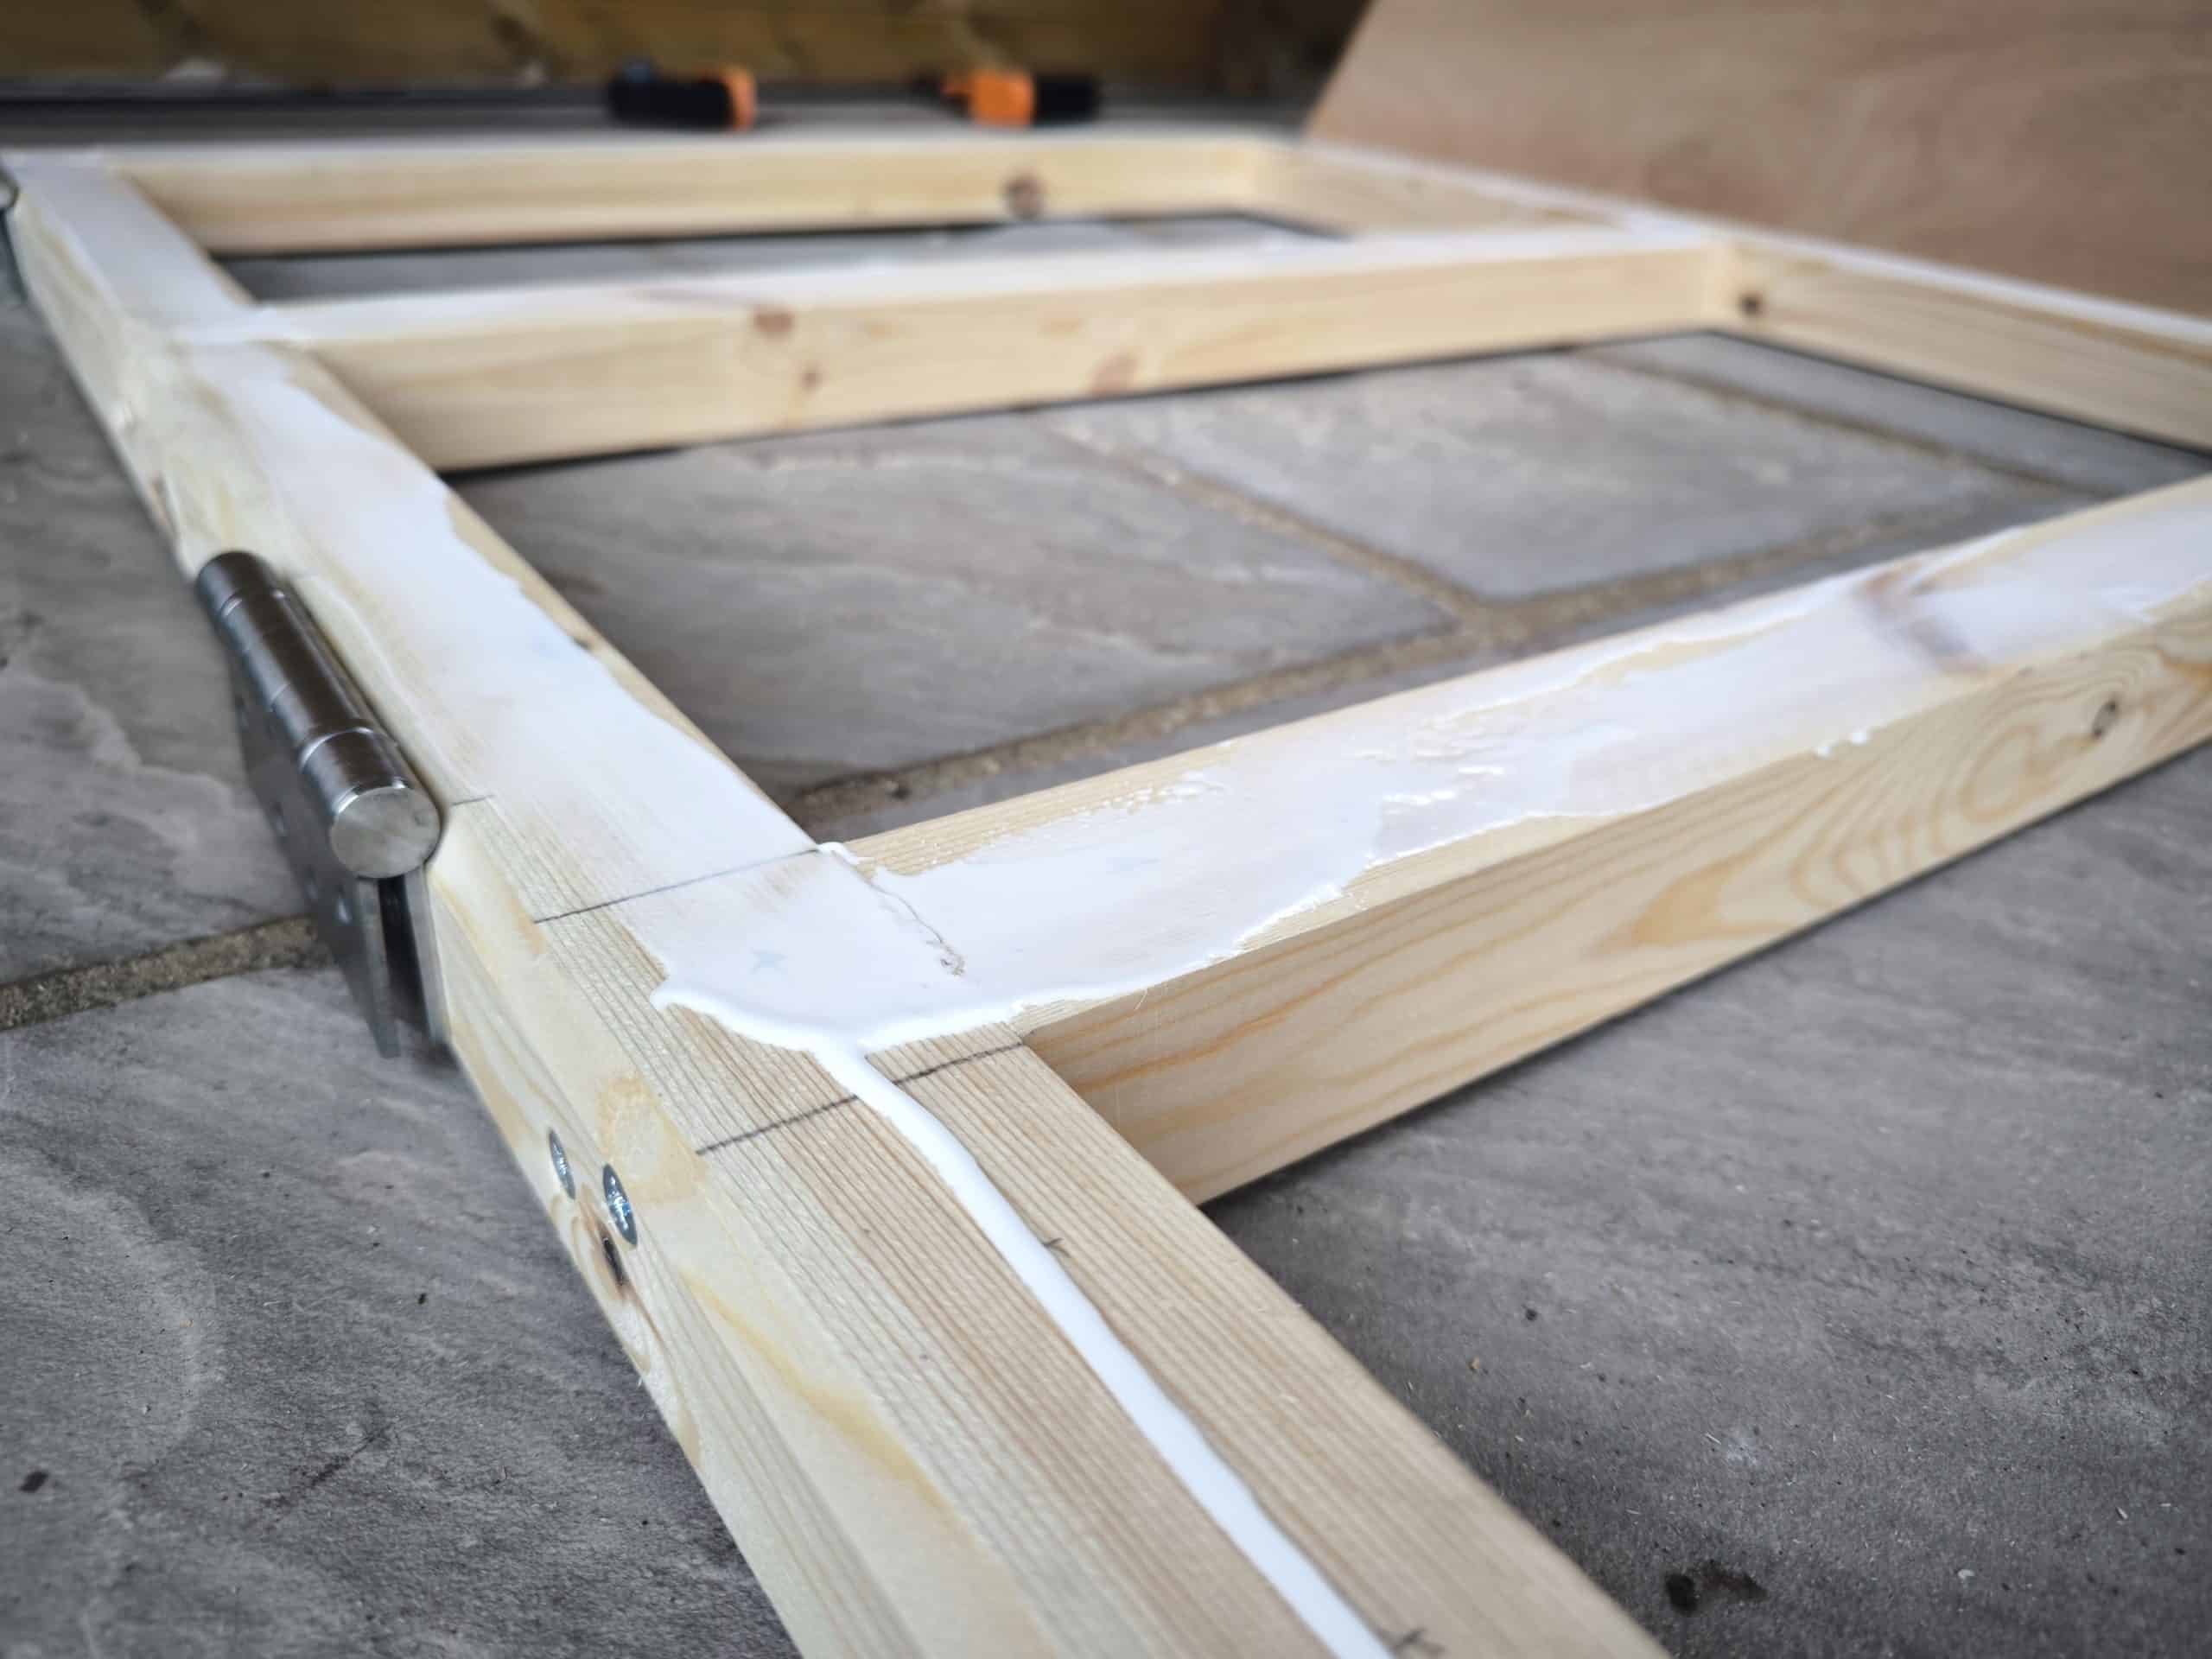
It will be a simple ladder frame with two long bits down each side and cross members between. One of these long bits will have the hinges attached. To make them as flush as possible I’m planing an angle into the edge so that the hinges can sit below the surface.
With all the bits cut and prepared I dry fit the frame together using the long clamp. I only bought this tool for this project and it has been incredibly useful. Two would be even better.
I pre drilled all the screw holes, glued the surfaces, clamp it all back together and then screwed them home. Thanks to the permanent loan of Edd’s chop saw, all the cuts were perfectly 90 degrees and so the frame was very square without needing to true anything up.
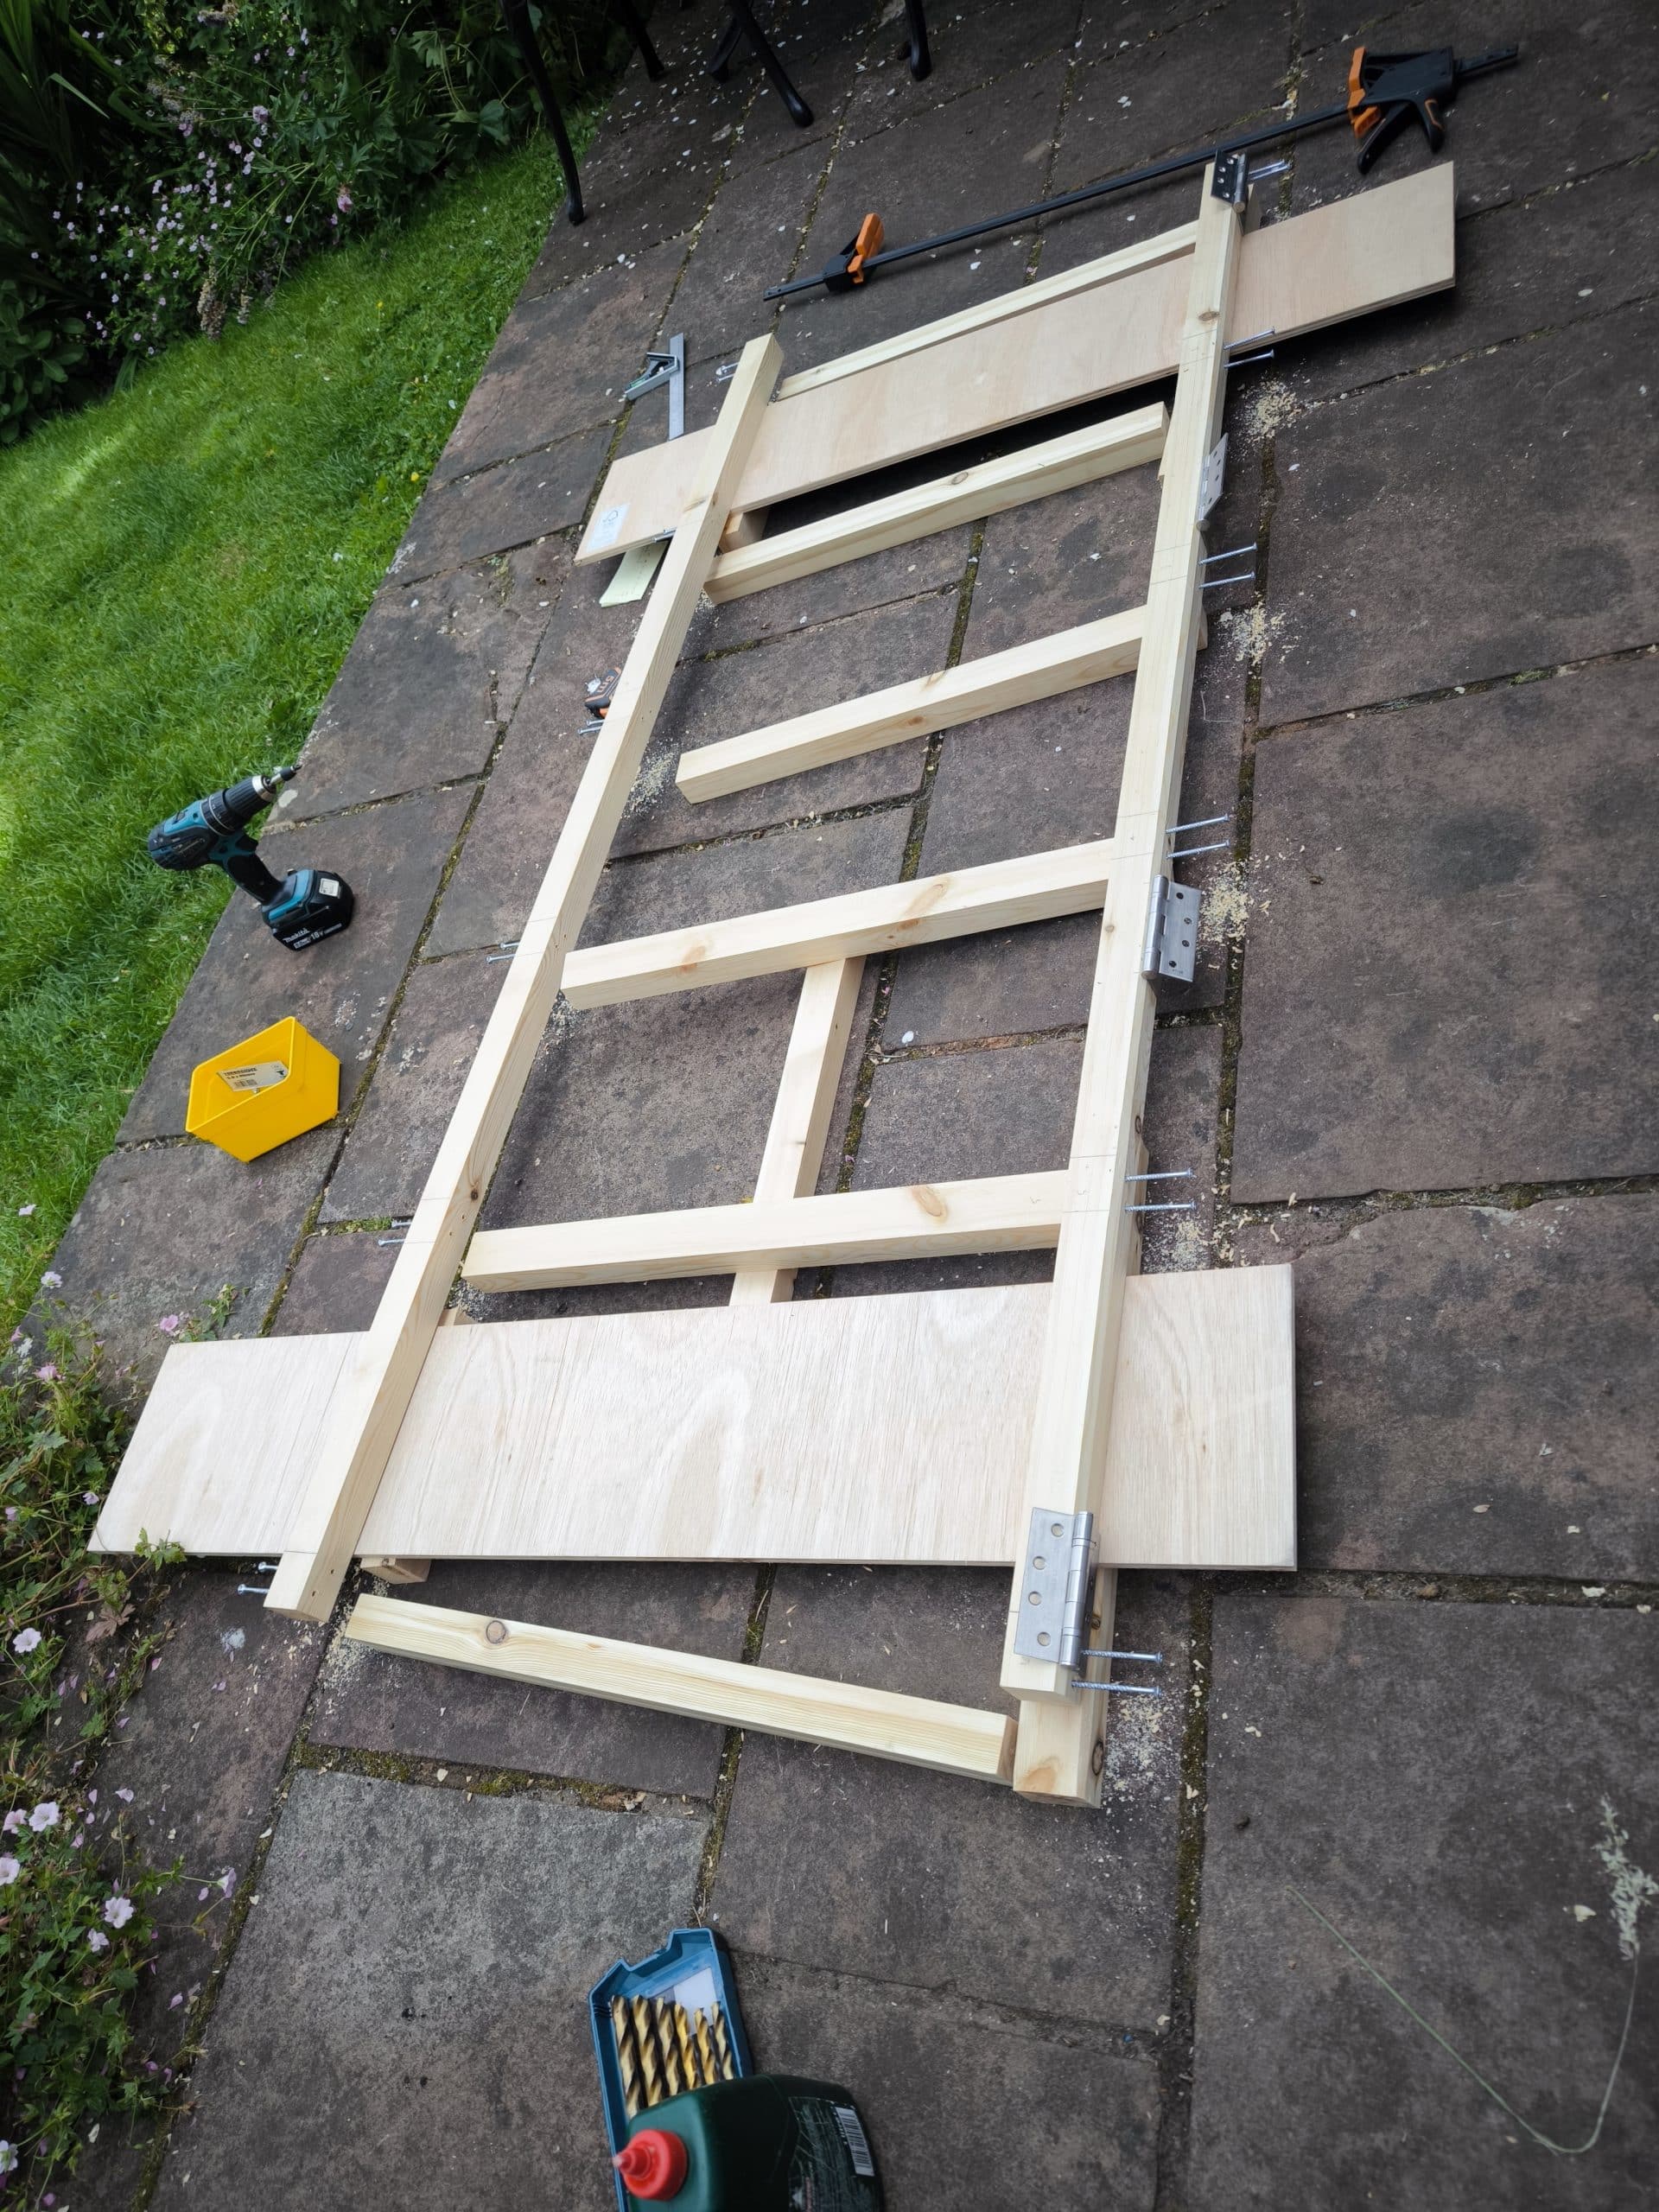
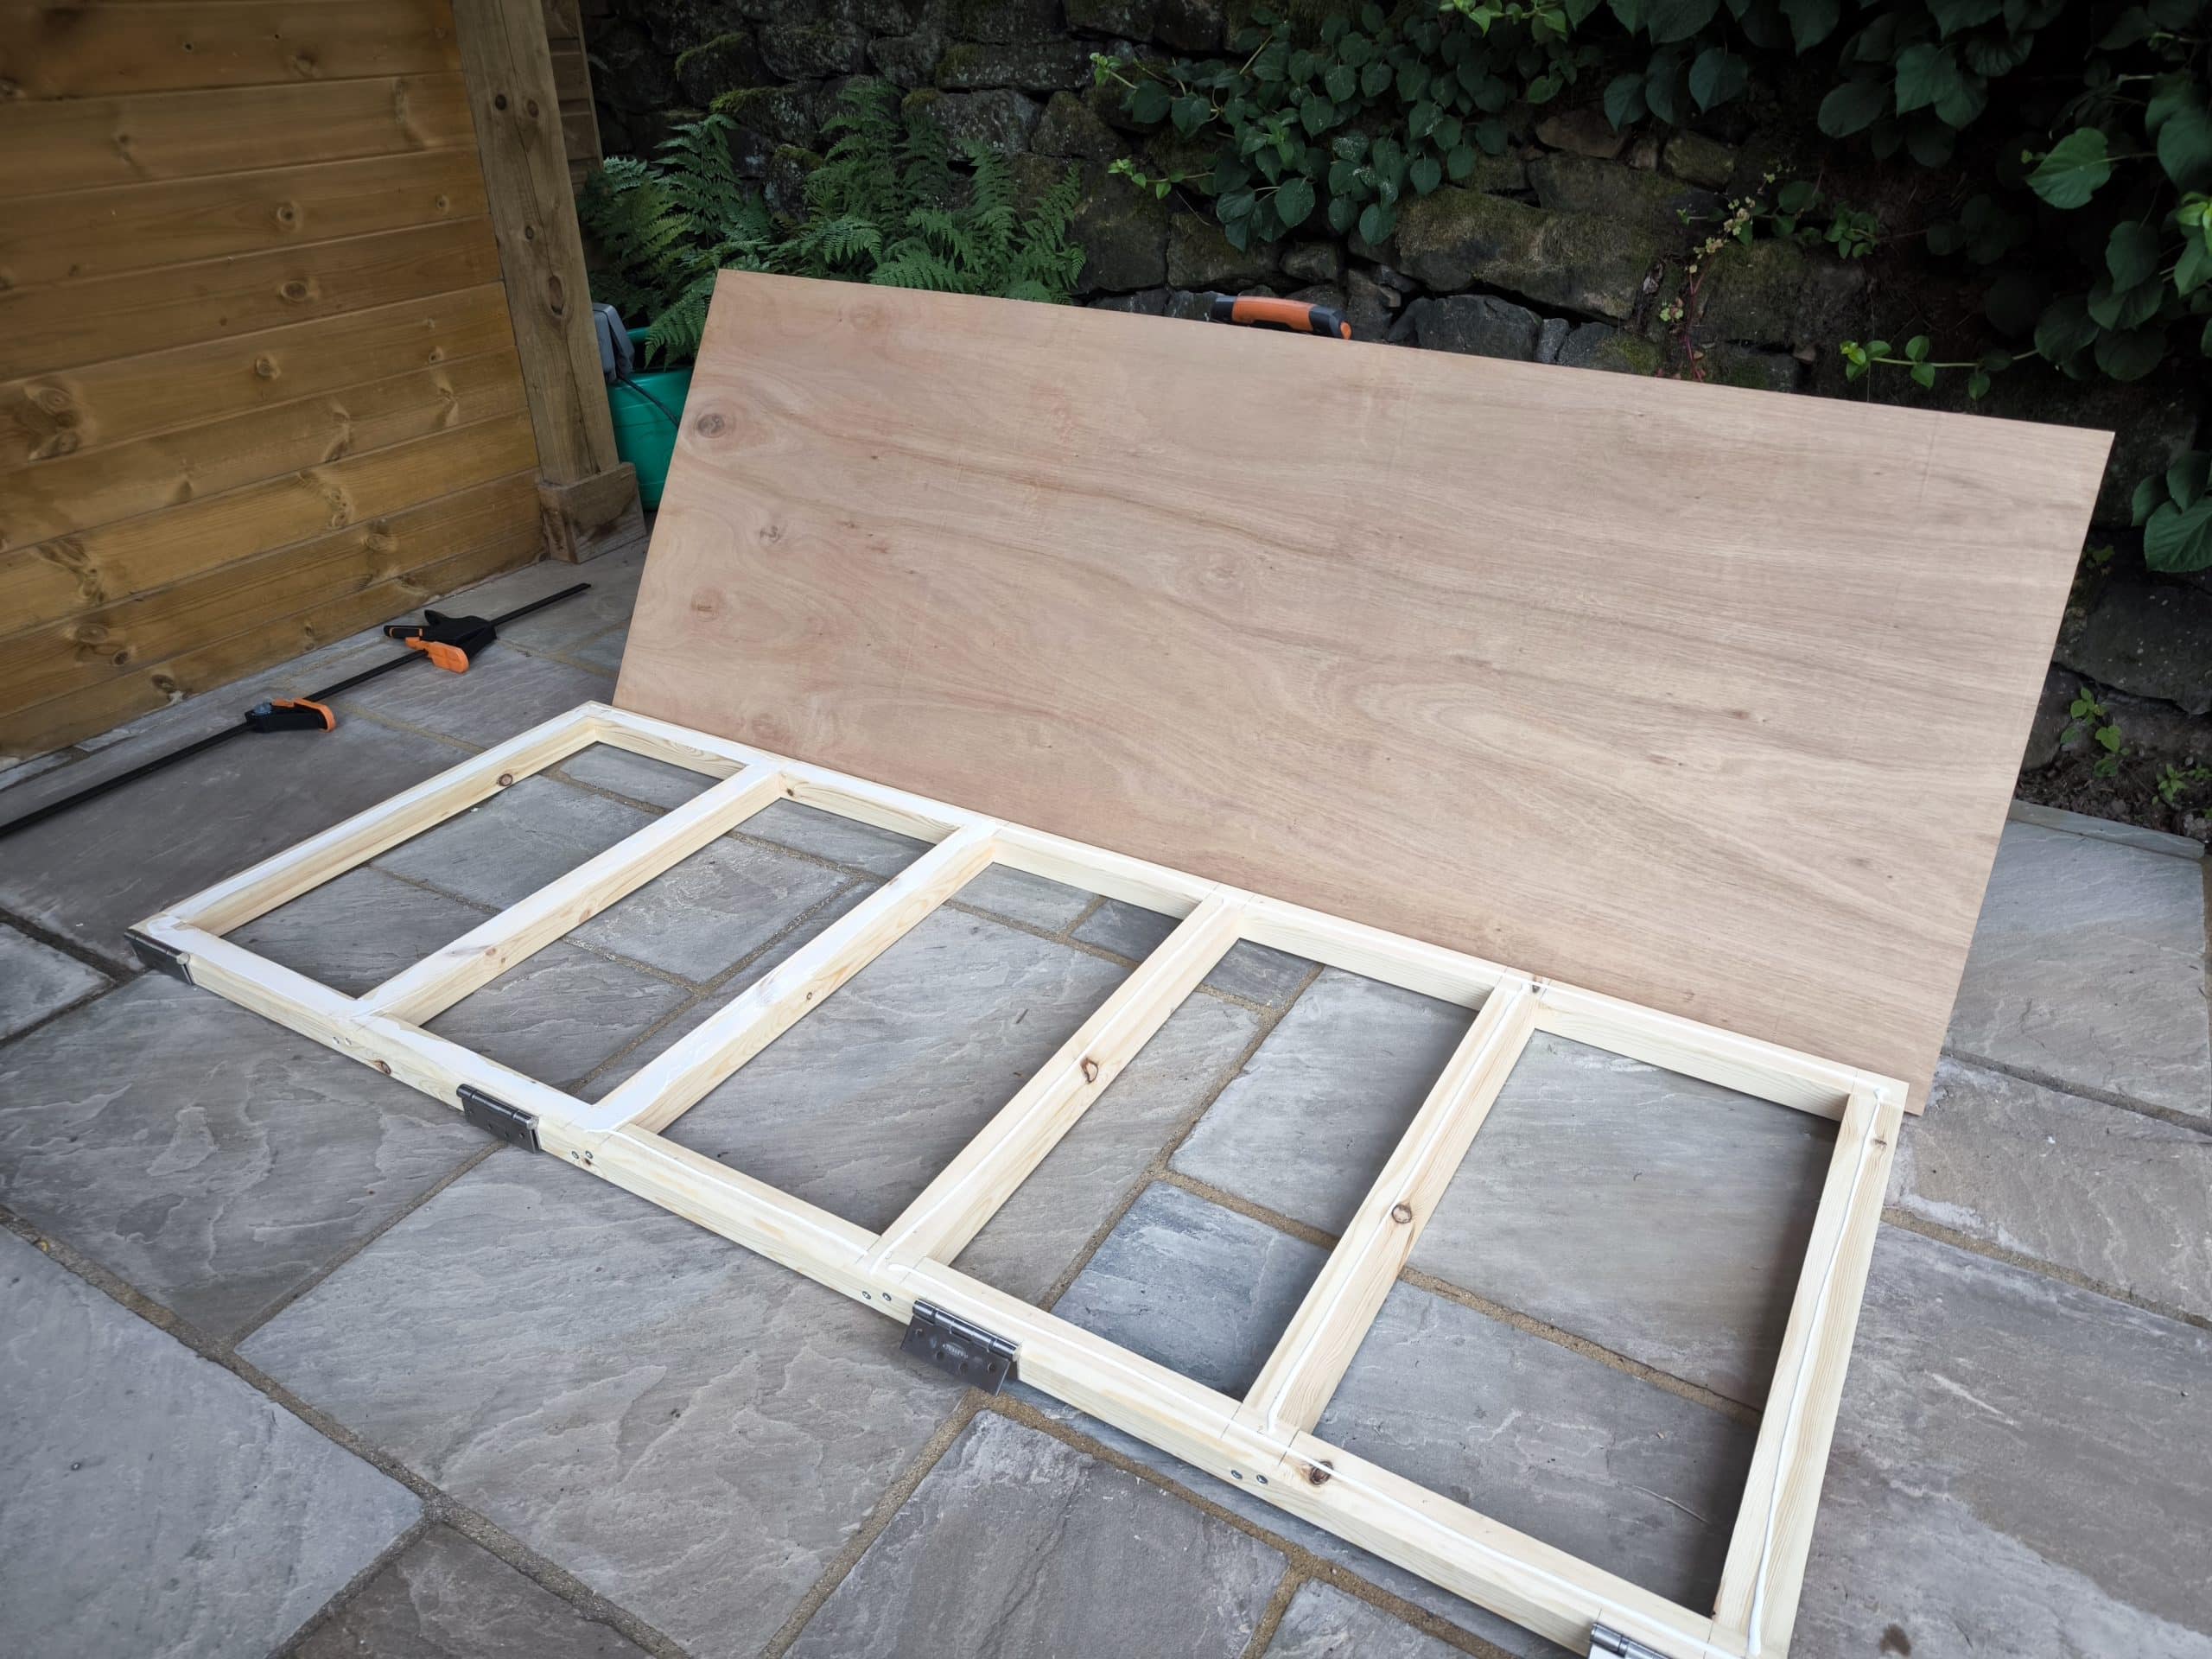
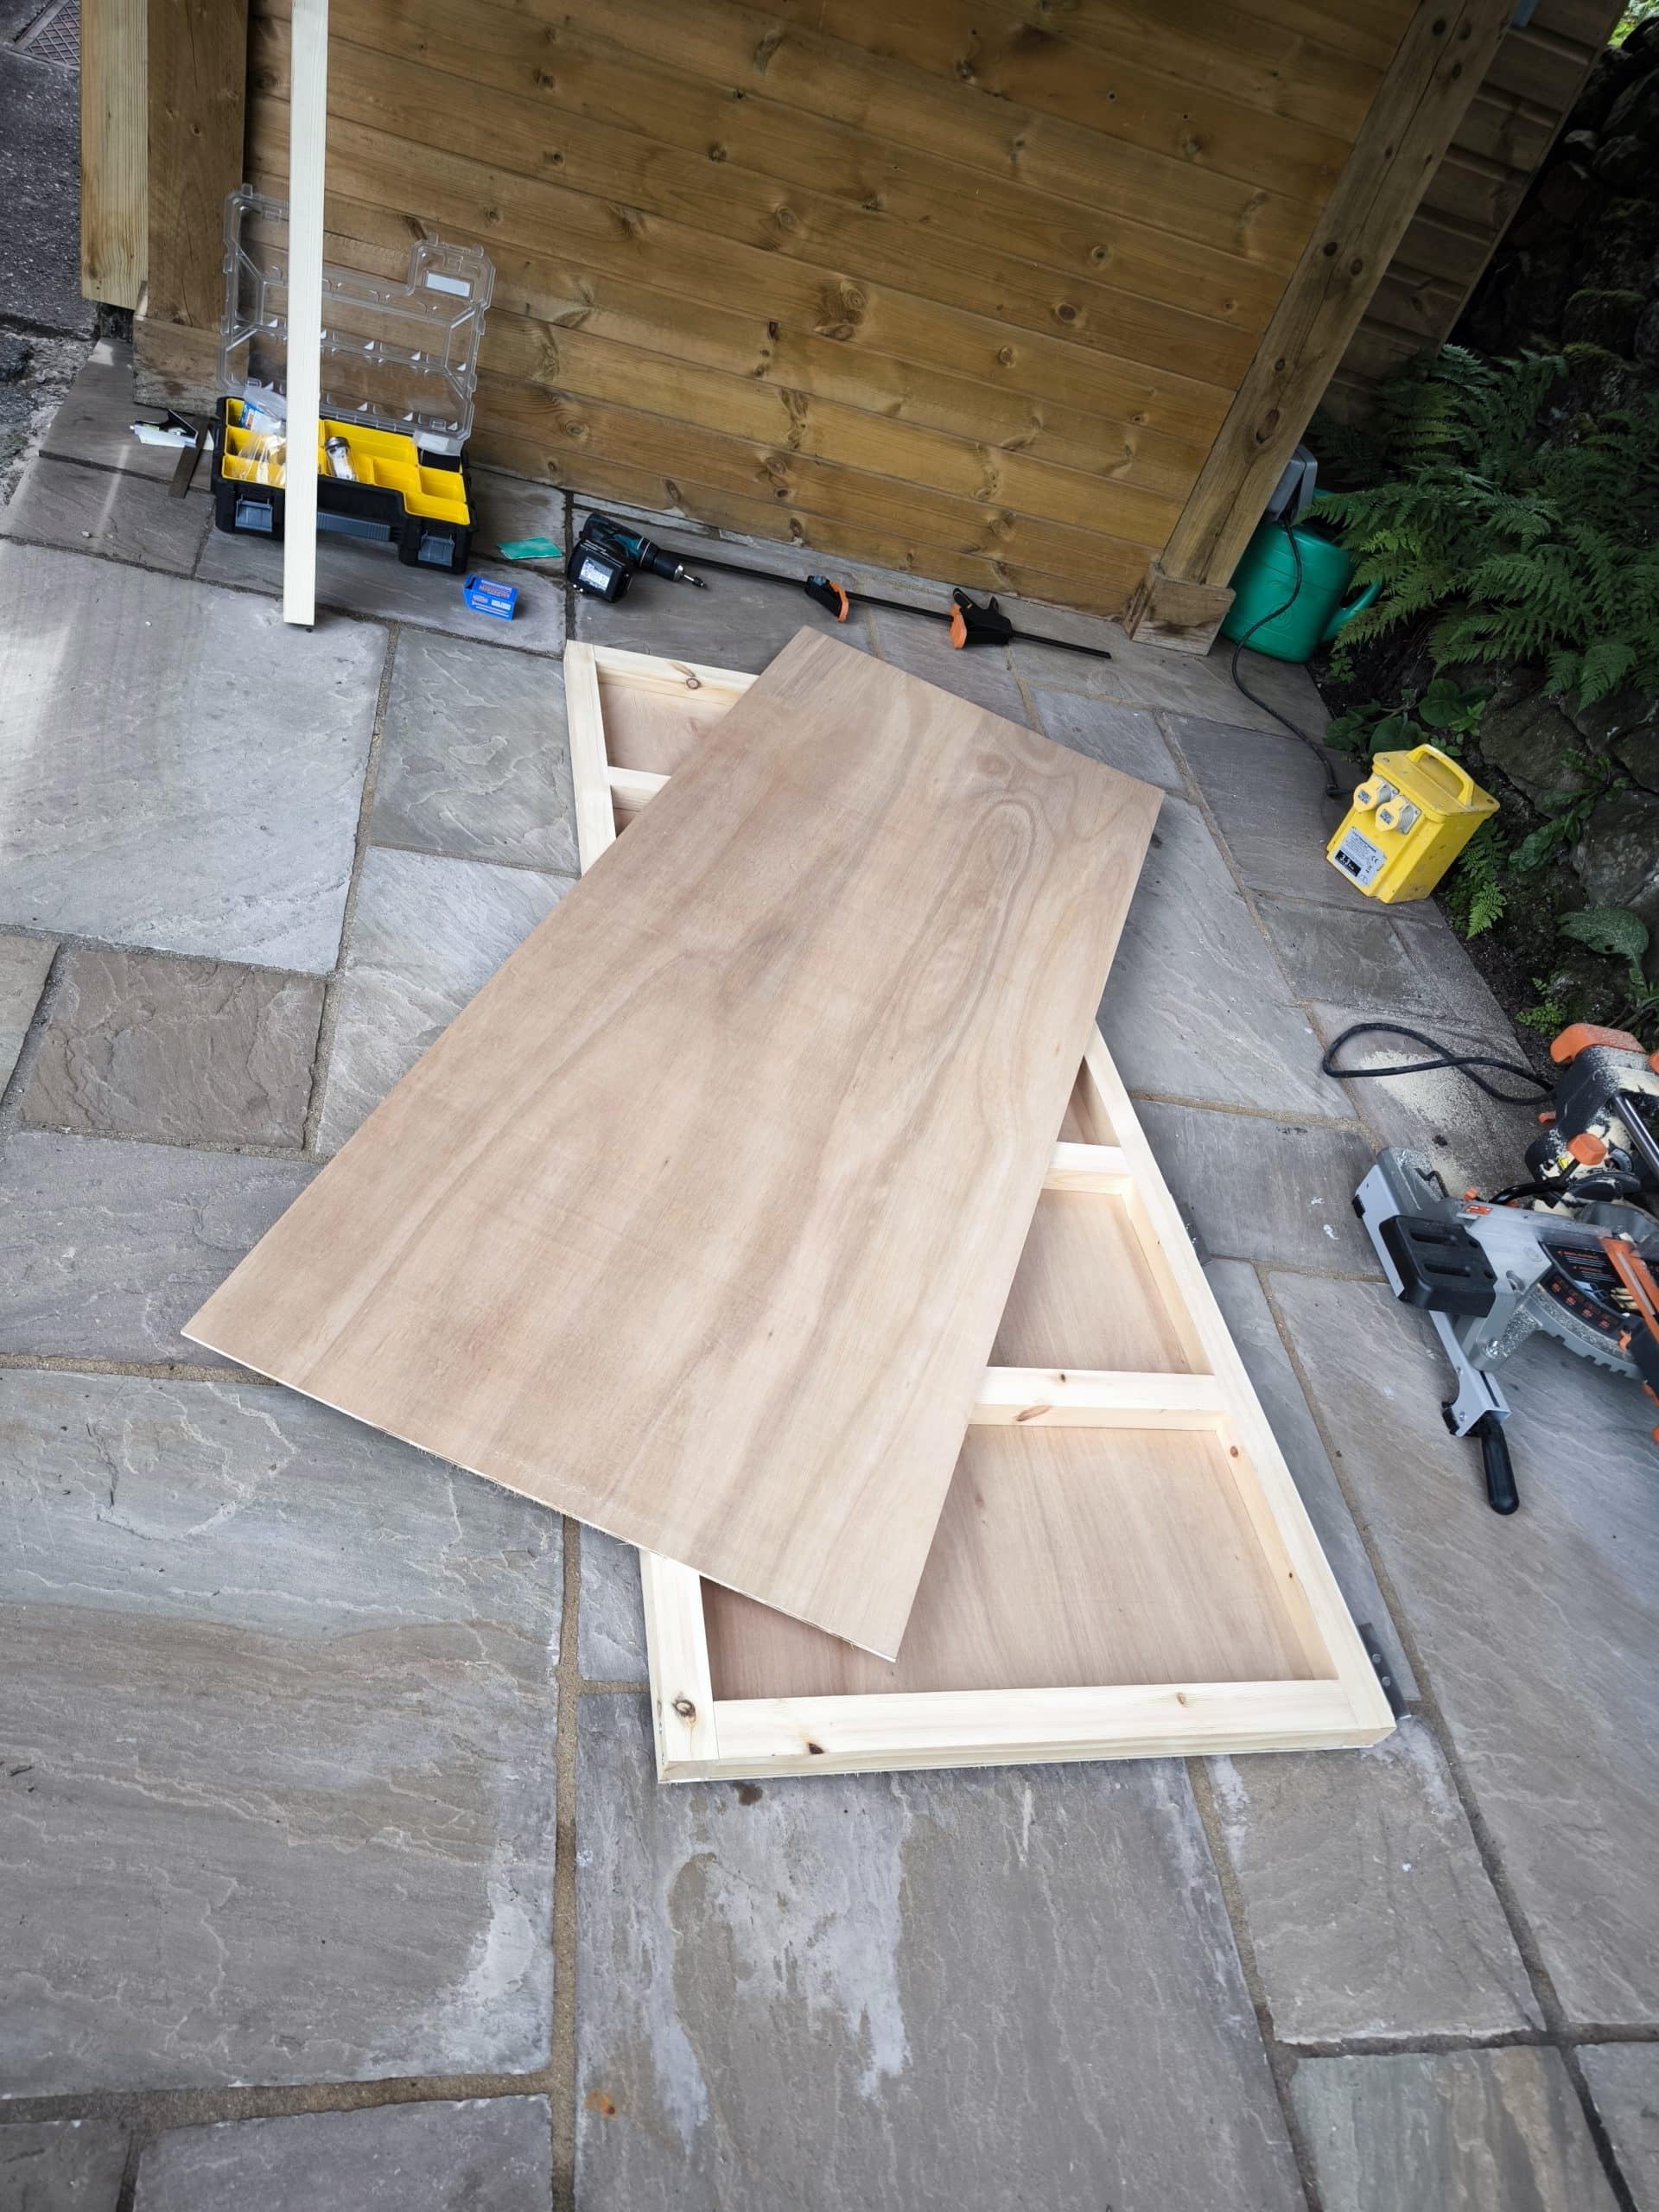
The last things to be added were 2 sheets of 5 mm ply to each side. This will be the sleeping surface and tidy up the backside of the bed so when it’s raised you don’t see the frame. For now it will just remain plywood but later it will be taken out and painted white. The bottom surface might even get some wallpaper to add some color to the van.
Aimi then reluctantly helped lift and install the drawbridge bed. I wanted to use some removable pin hinges as this would make working on the drawbridge bed easier in future, but they did not look strong enough for what we wanted to do. So this means I’m using stainless steel fire door hinges. They look great and are very strong but it means the holes need to be marked up in situ. I used some ply to pack the drawbridge up to the correct height and Aimi held it in place whilst I marked the holes. Once they were pre-drilled she then just had to balance it in place long enough to get a few screws in and then I could do the rest.
The last little jobs of the day was to install the stumpy screws in the draw slides for the fridge. Run a strip of door sealing foam along the metal angle to prevent scratches and rattles, and then tidy everything up. It turns out a large van collect a large amount of crap when you let it build up. But with this all cleared away I used some spare carpet to cover the floor so that the dogs have more grip while we are traveling this weekend.