Diary Of A Camper Conversion
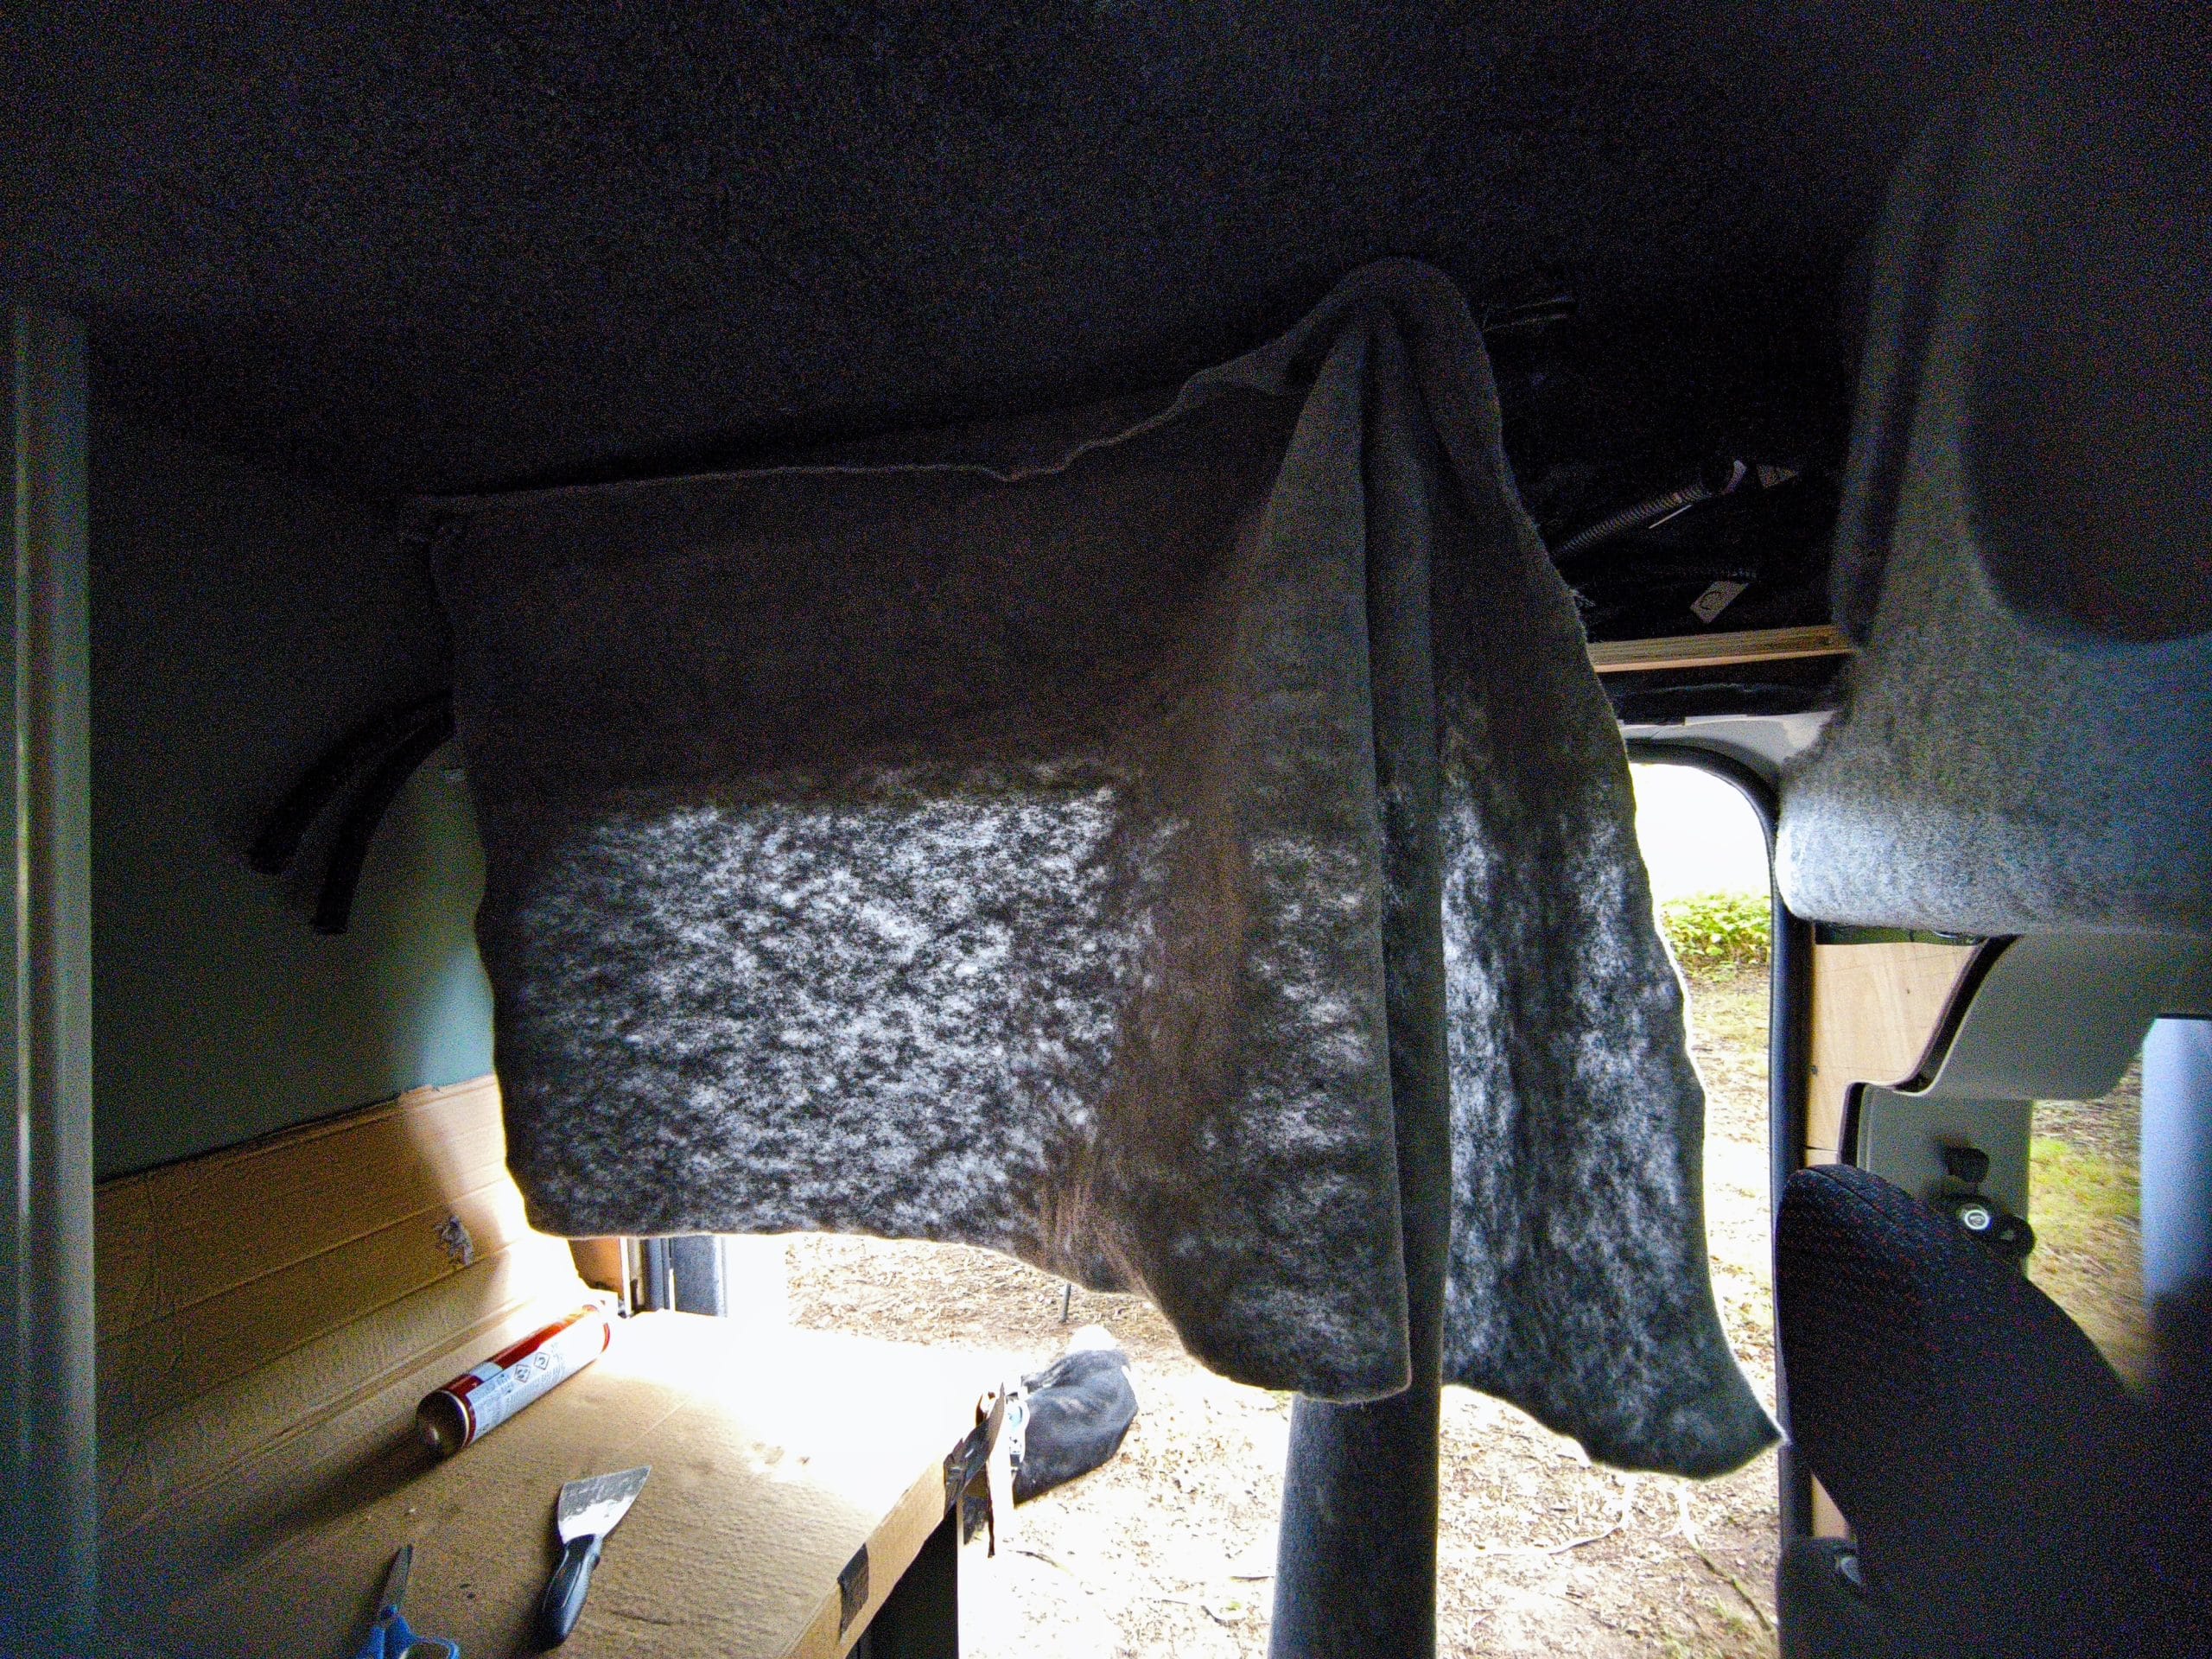
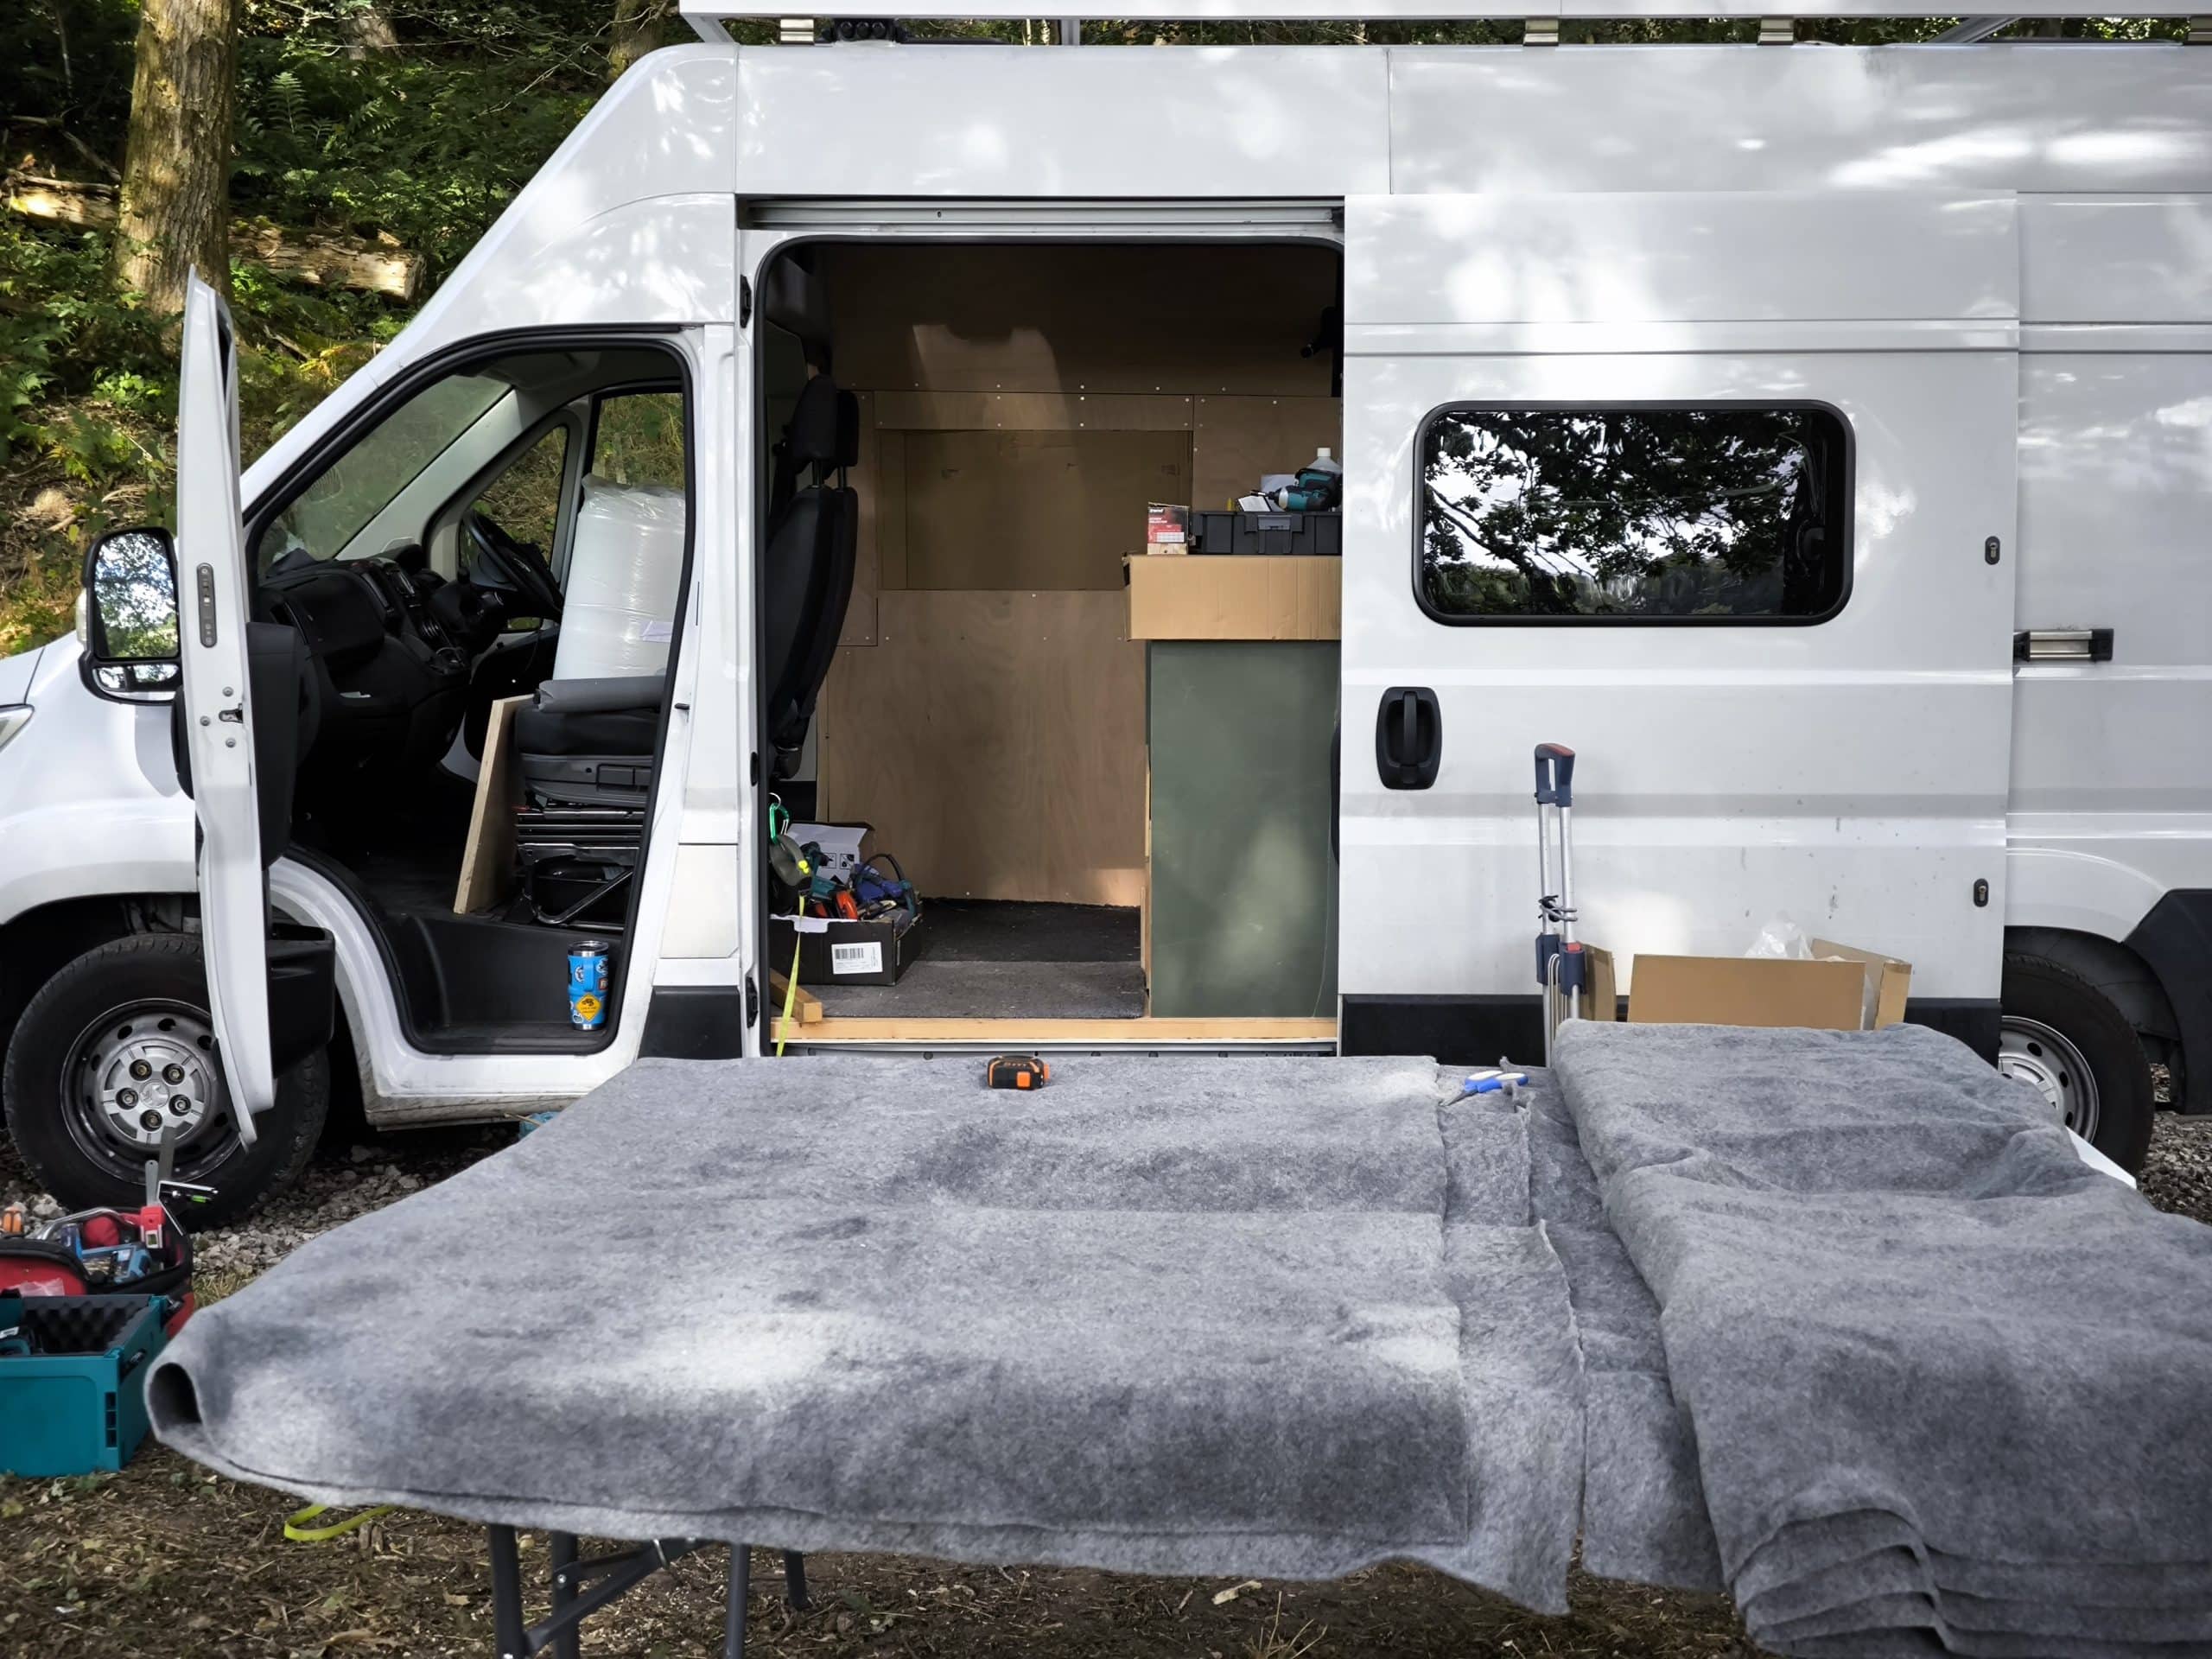
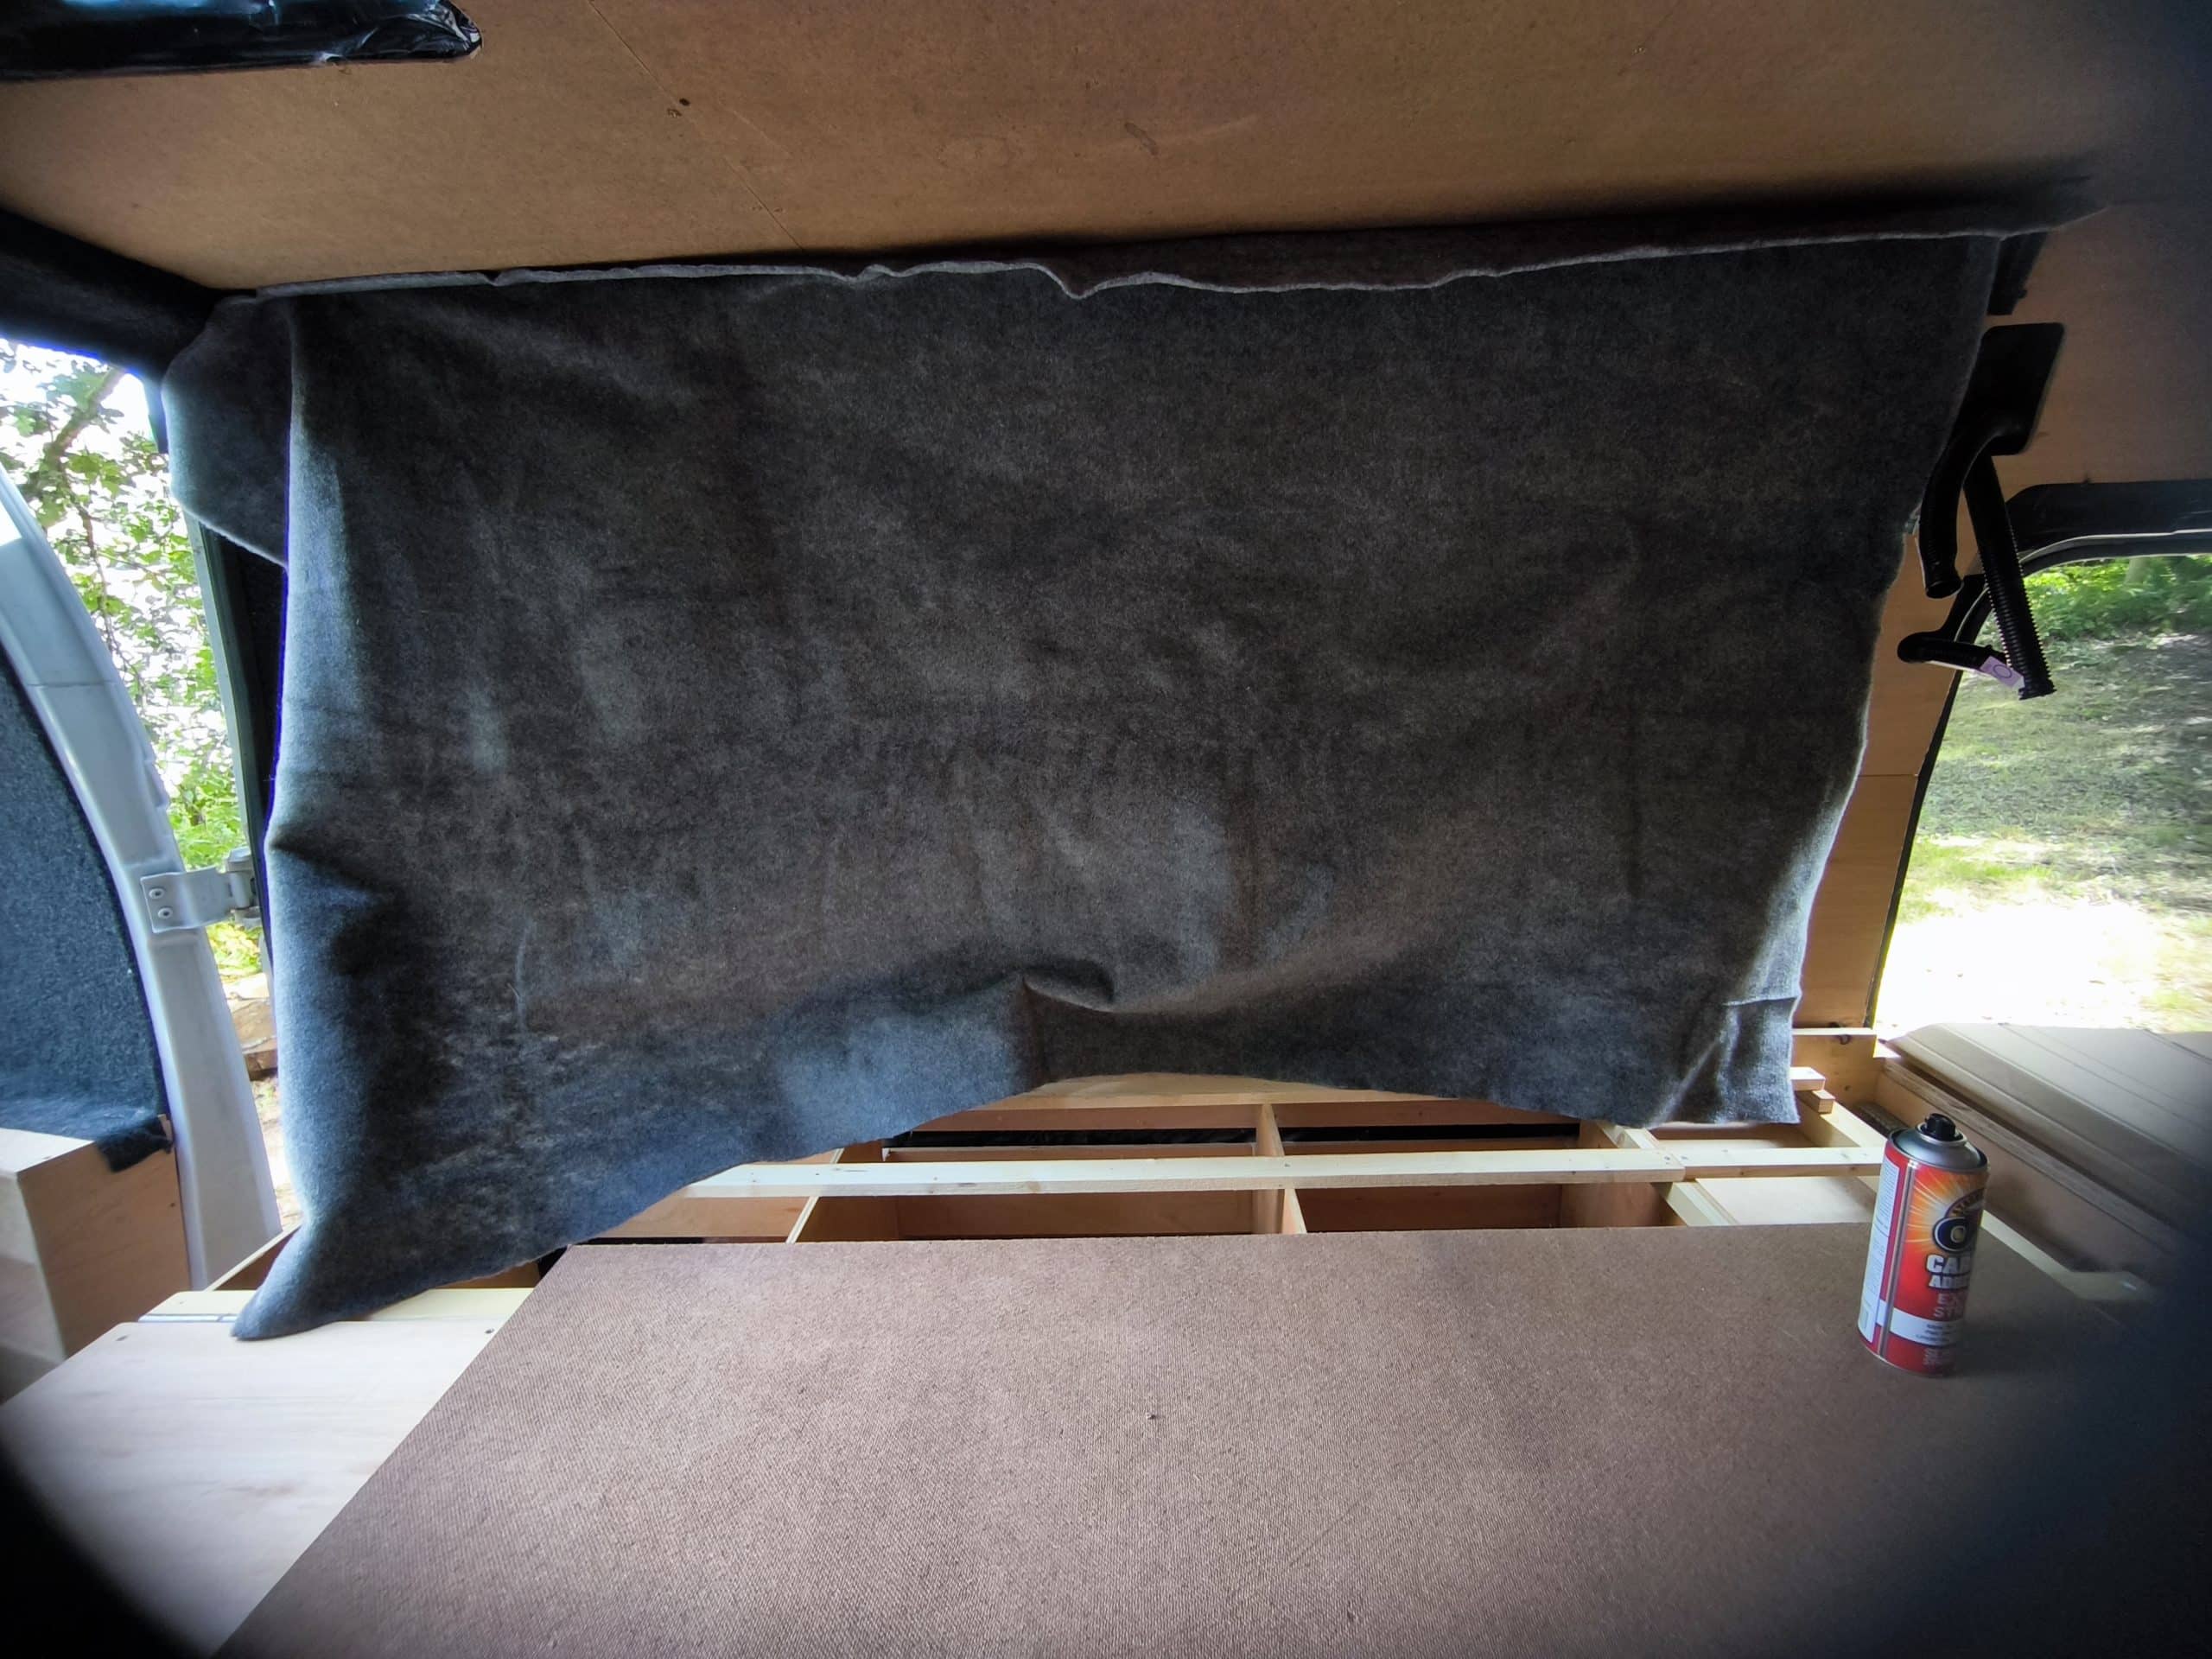
This update covers a couple of afternoon’s of carpeting. Not too much to say about it other than spray glue stinks. I can see how easy it is to get an accidental high working with this stuff.
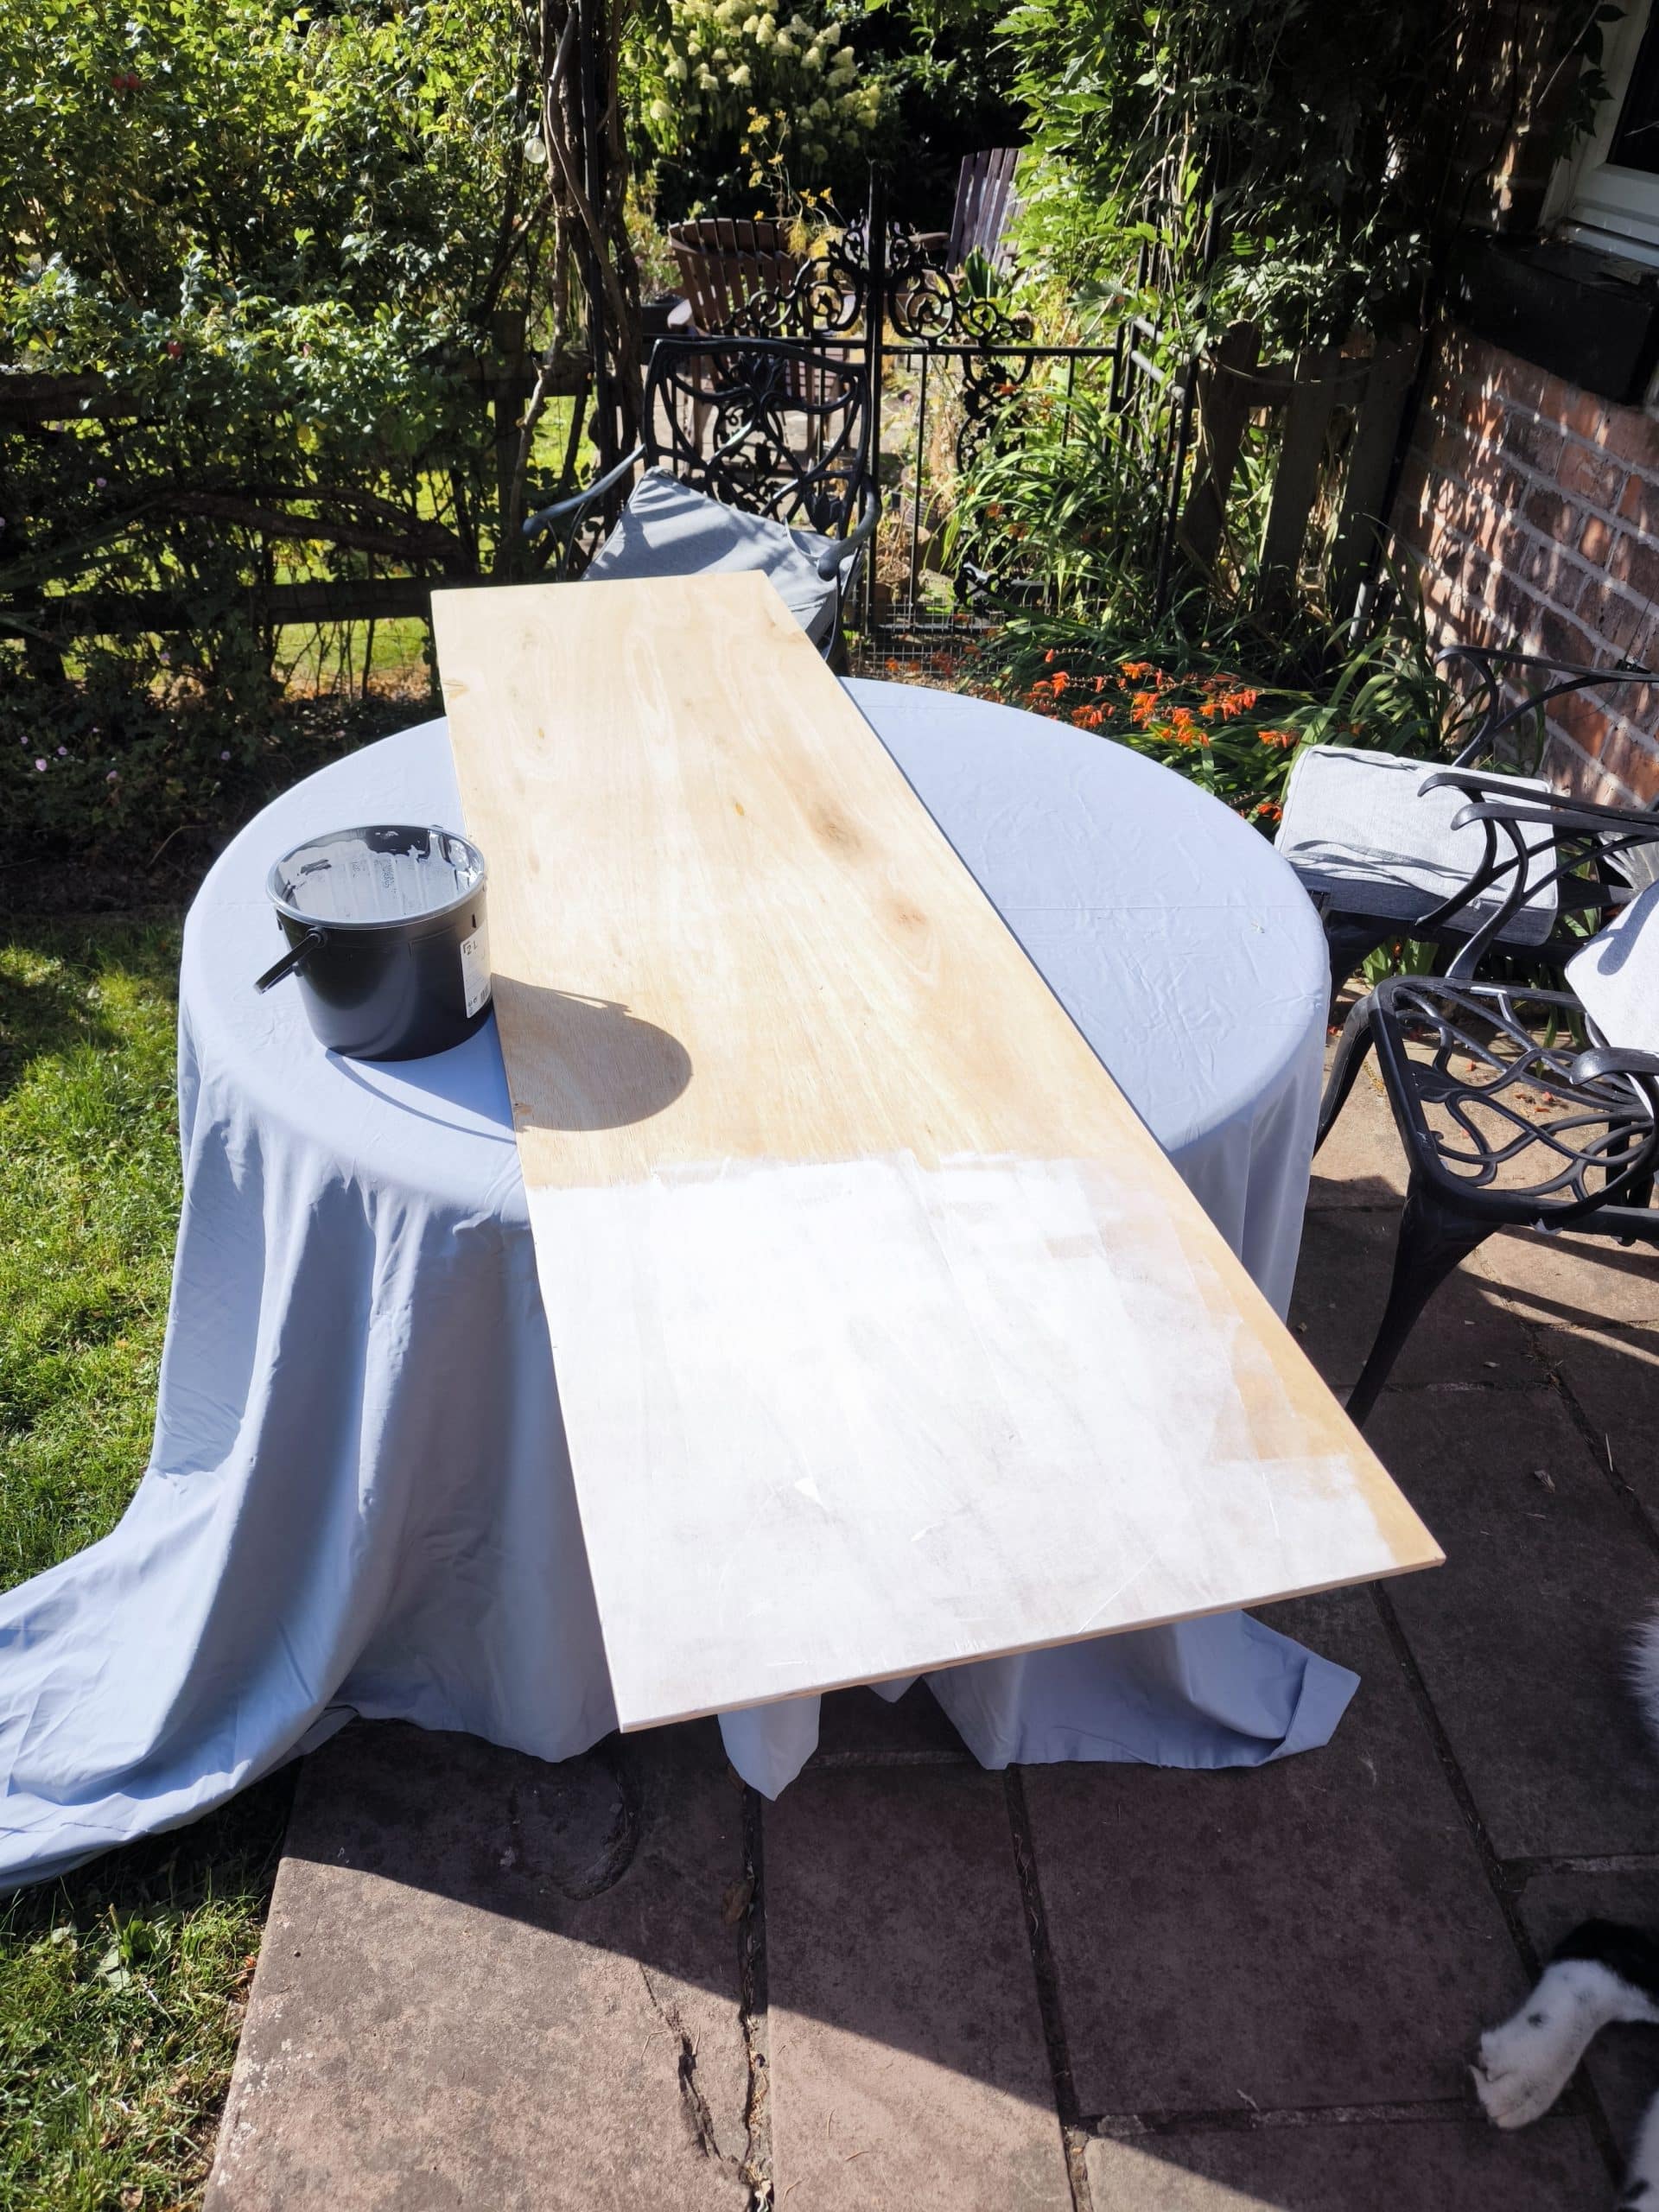
One other little job I finished off, was painting the bed base. This just tidied it up a bit and looks better than grubby plywood. I’m still undecided how to finish the bare wood. The linseed oil tester bits look quite good, but they take ages to dry. I might try to find some sort of wax.
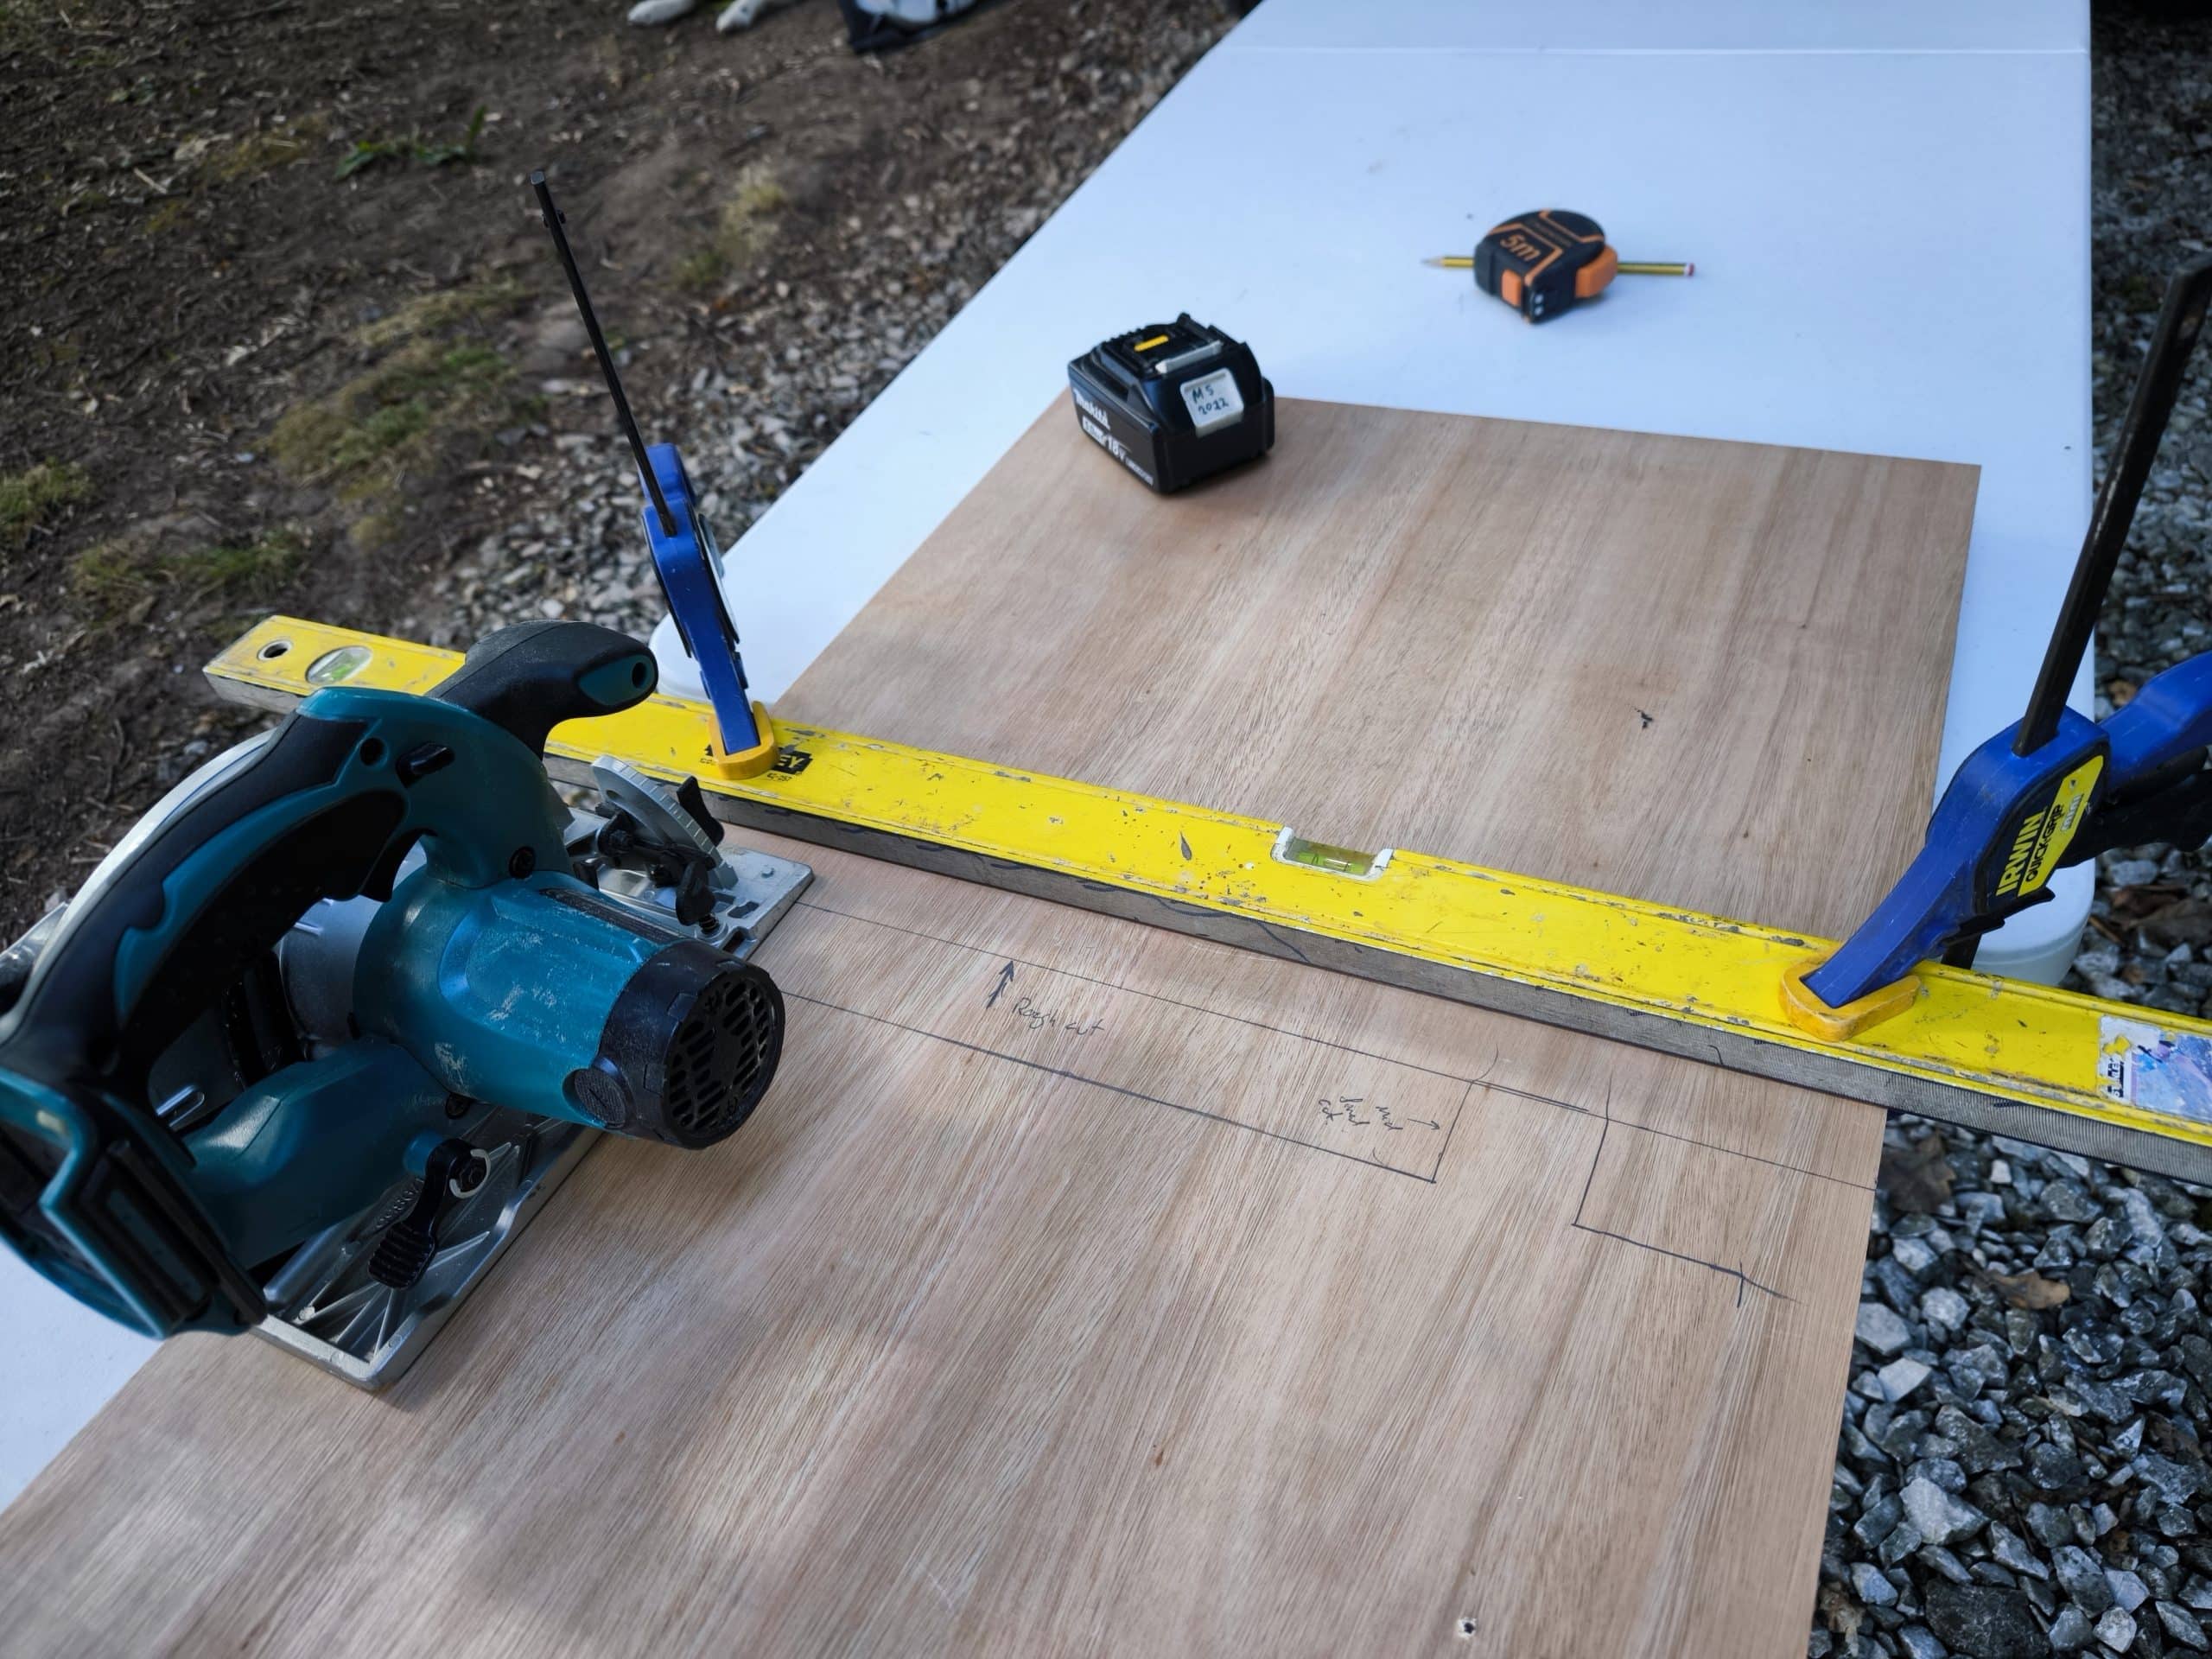
To get a neat edge along the counter, I took it off so I could glue carpet down the wall behind it. This meant I could also rough cut the counter to length. The excess counter top was useful camping recently but there needs to be a join and i want to move it to where I can support the connection.
But back to carpeting…
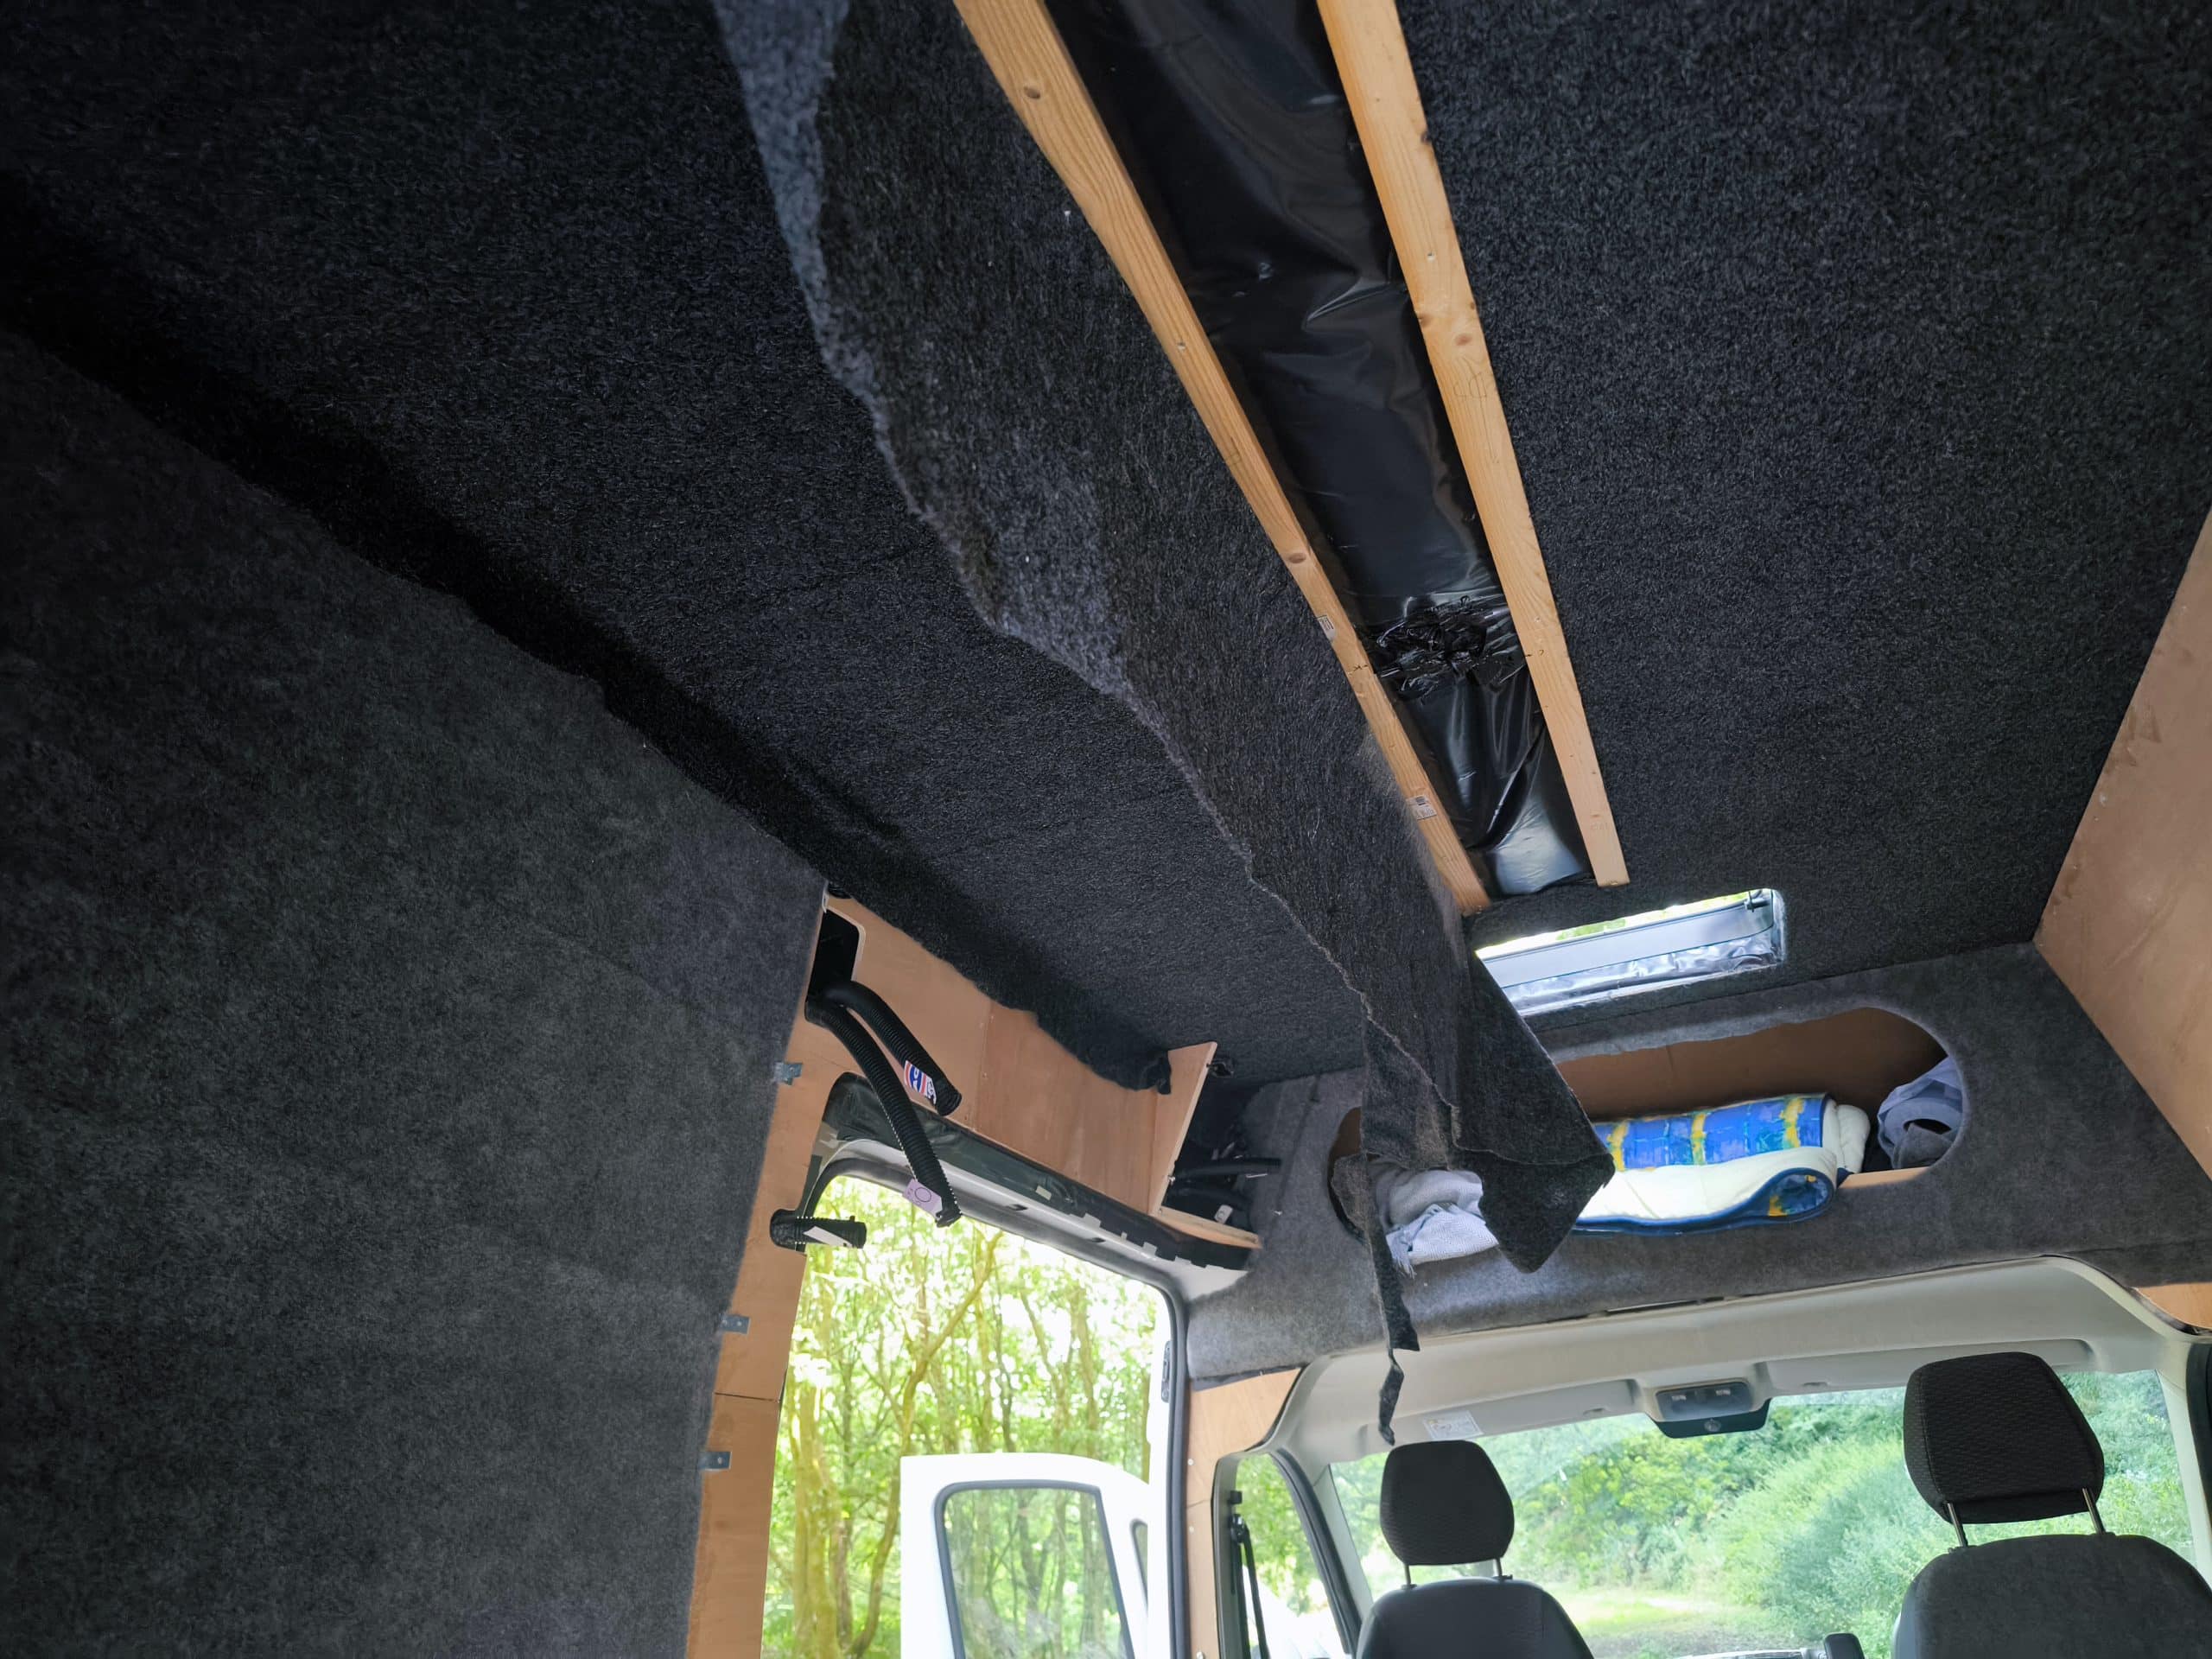
Areas carpeted:
- ceiling left
- ceiling right
- left wall in the bed area
- right wall in the bed area
- small section of wall over sliding door
- roof access connection box & face plate
- over cab storage locker front
- whole wall opposite sliding door
But now I have run out of spray glue – again – so these will have to be done later.
Areas remaining to carpet:
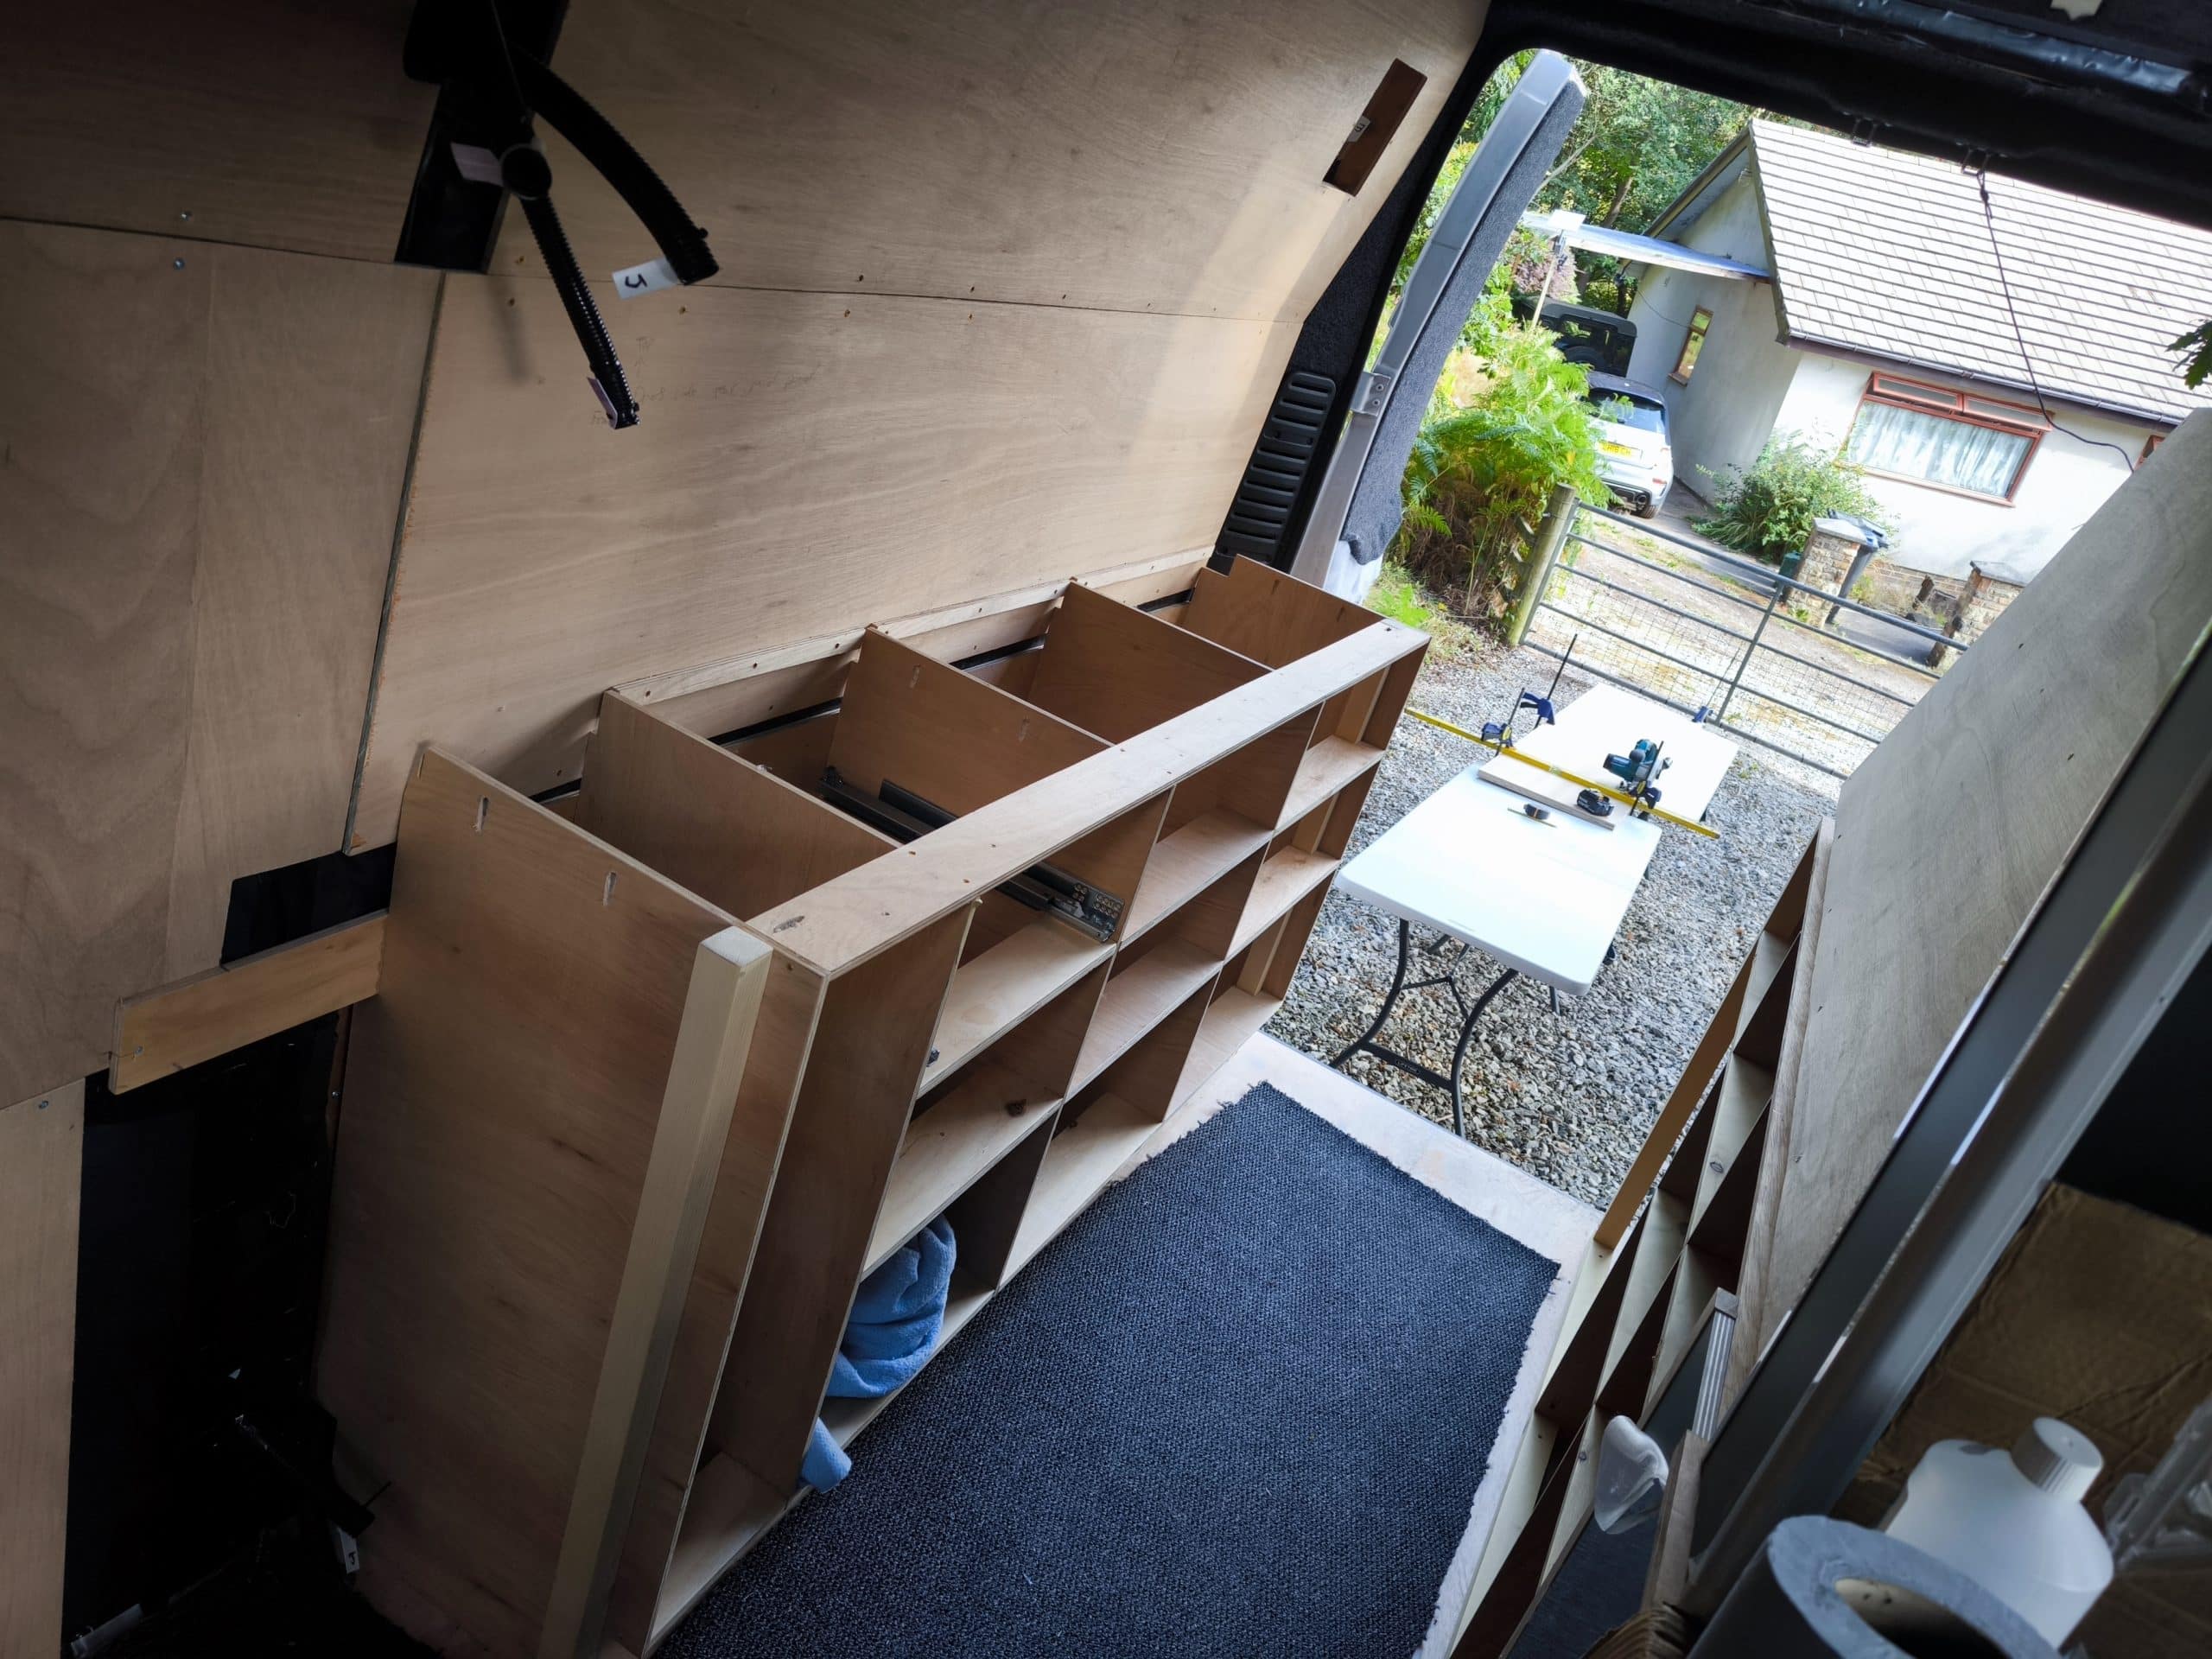
- inside main cabinets
- inside over cab locker
- over cab locker door
- door pillars left and right
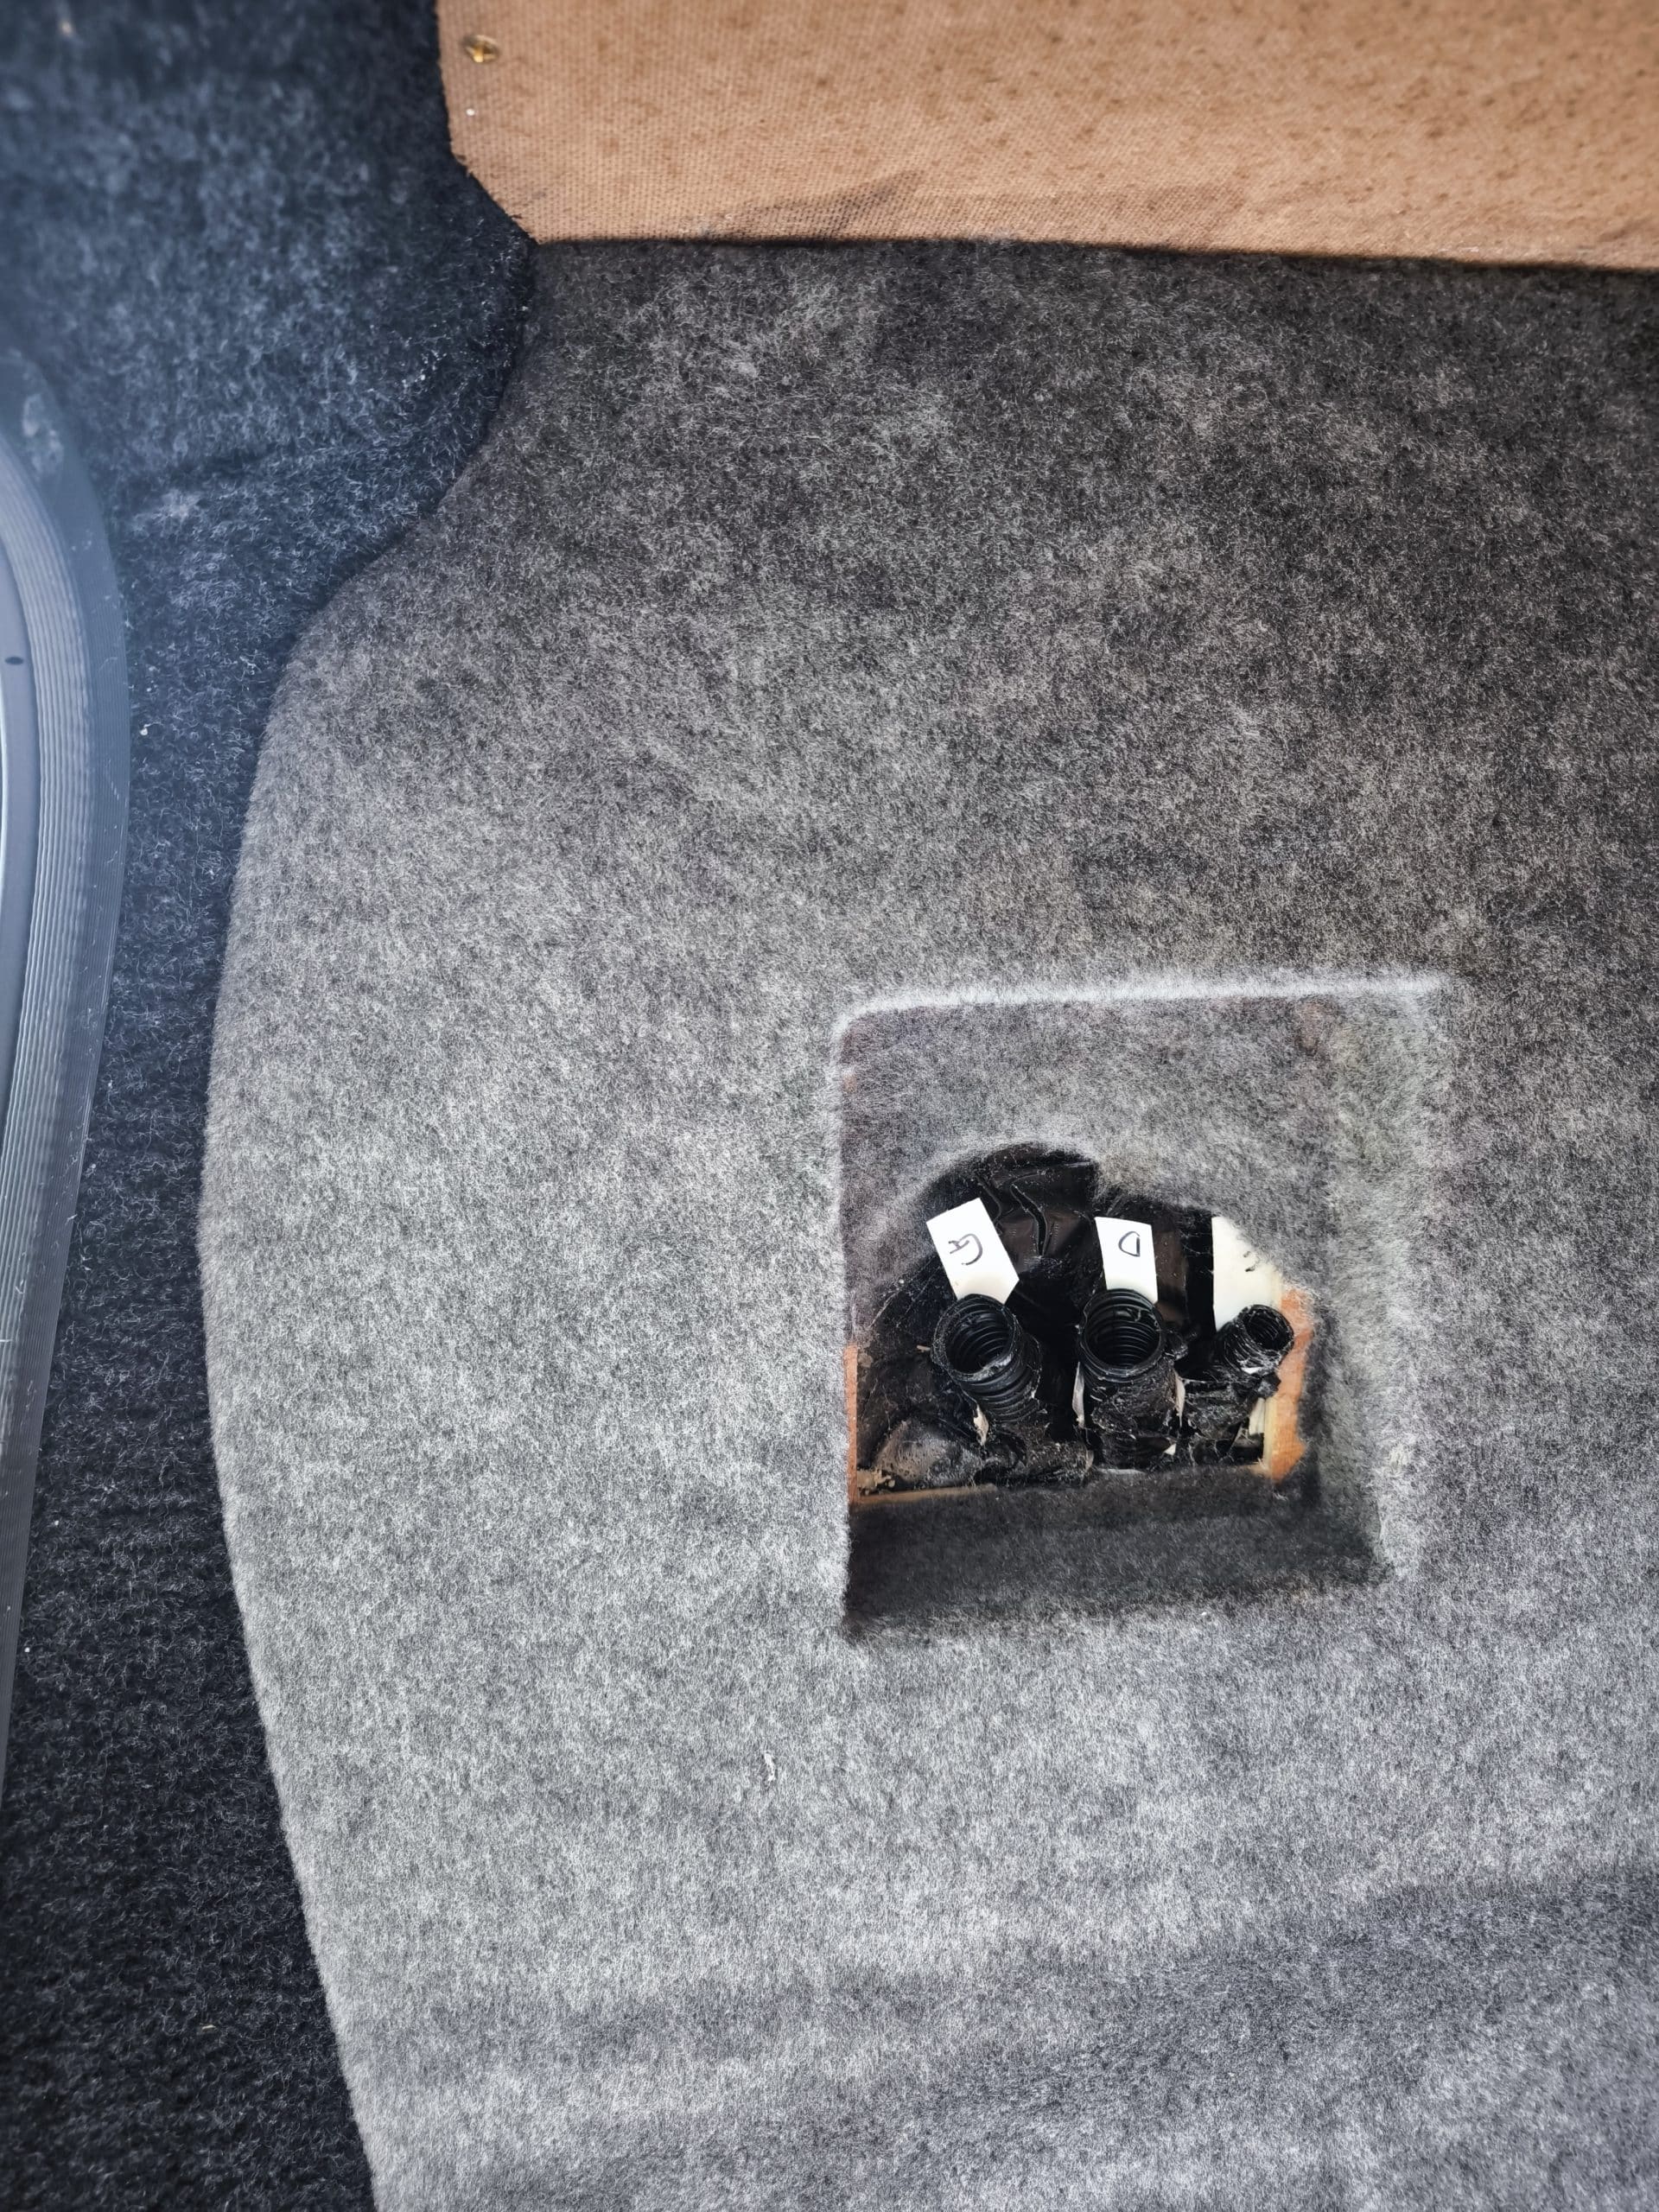
The trickiest areas were the mobile phone charging pods in the bed area. These are shallow shelves that step into the wall. I want to create a seamless carpet run across the entire wall and so it took a long time to stretch this area into position. Of course one of them is better than the other but they are both good enough for me.
I was quite happy that my plan with the roof corner worked out perfectly. It took a lot of tucking in with a pallet knife but the edges of the carpet folded in to the gap nicely.
This was also the plan surrounding the window opposite the sliding door. It’s taken a lot of time to carefully spray glue into place and then tuck the carpet between the wall and the window. Some of the gaps were tighter than others but the overall finish is seamless and fixing free which is very satisfying.
I can’t do the door pillars until I work out how to do the threshold step up to the cab. This and the area directly behind the driver’s seat is yet to be fully designed. And the space available is dependent on what I have left when the last cabinet containing the kitchen set of drawers is installed. So that is my next job.