Diary Of A Camper Conversion
This cabinet is going to together a little quicker now I’ve sort of get my eye in with the pocket hole jig and what I can get away with this plywood.
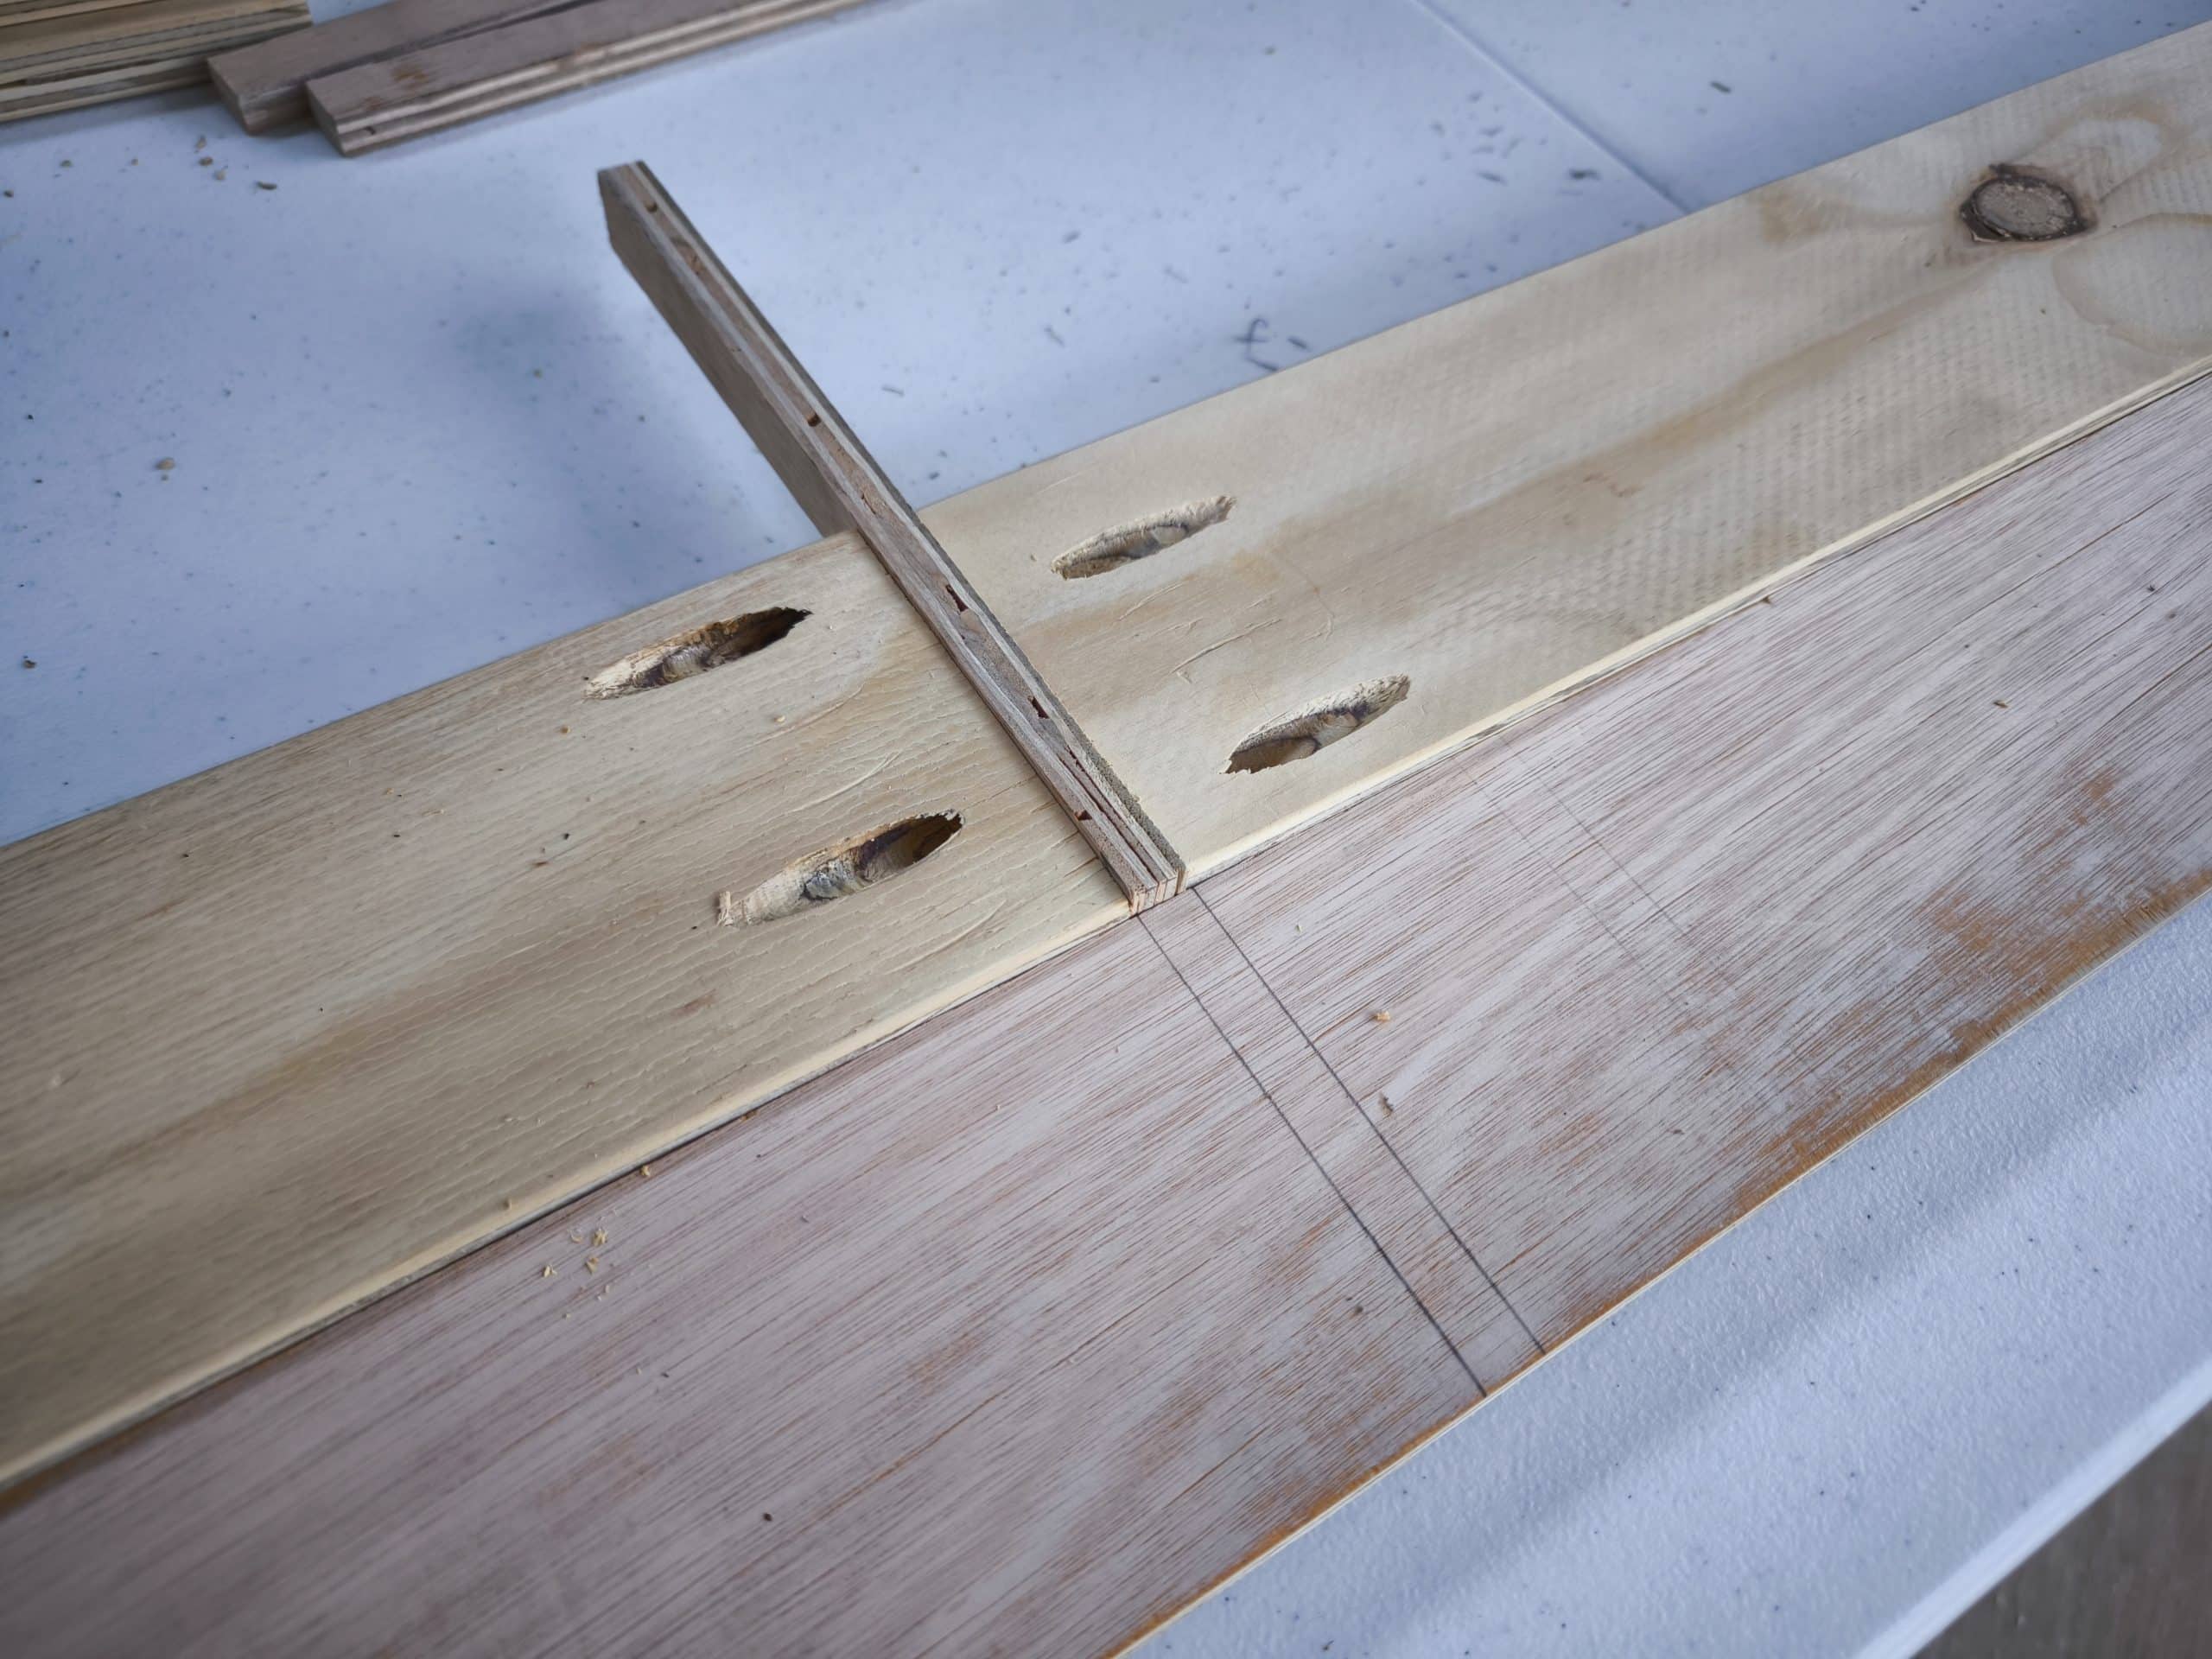
First job was to use the carcass spacers and some usefully useless offcuts to mark out the board positions on the long backing strip. This is essential because it helps me get all the right distances between boards when they are standing up on their own. I’m sure there is an age old woodworkers nugget of wisdom sadly how to do this properly, but this is how I’m making it work.
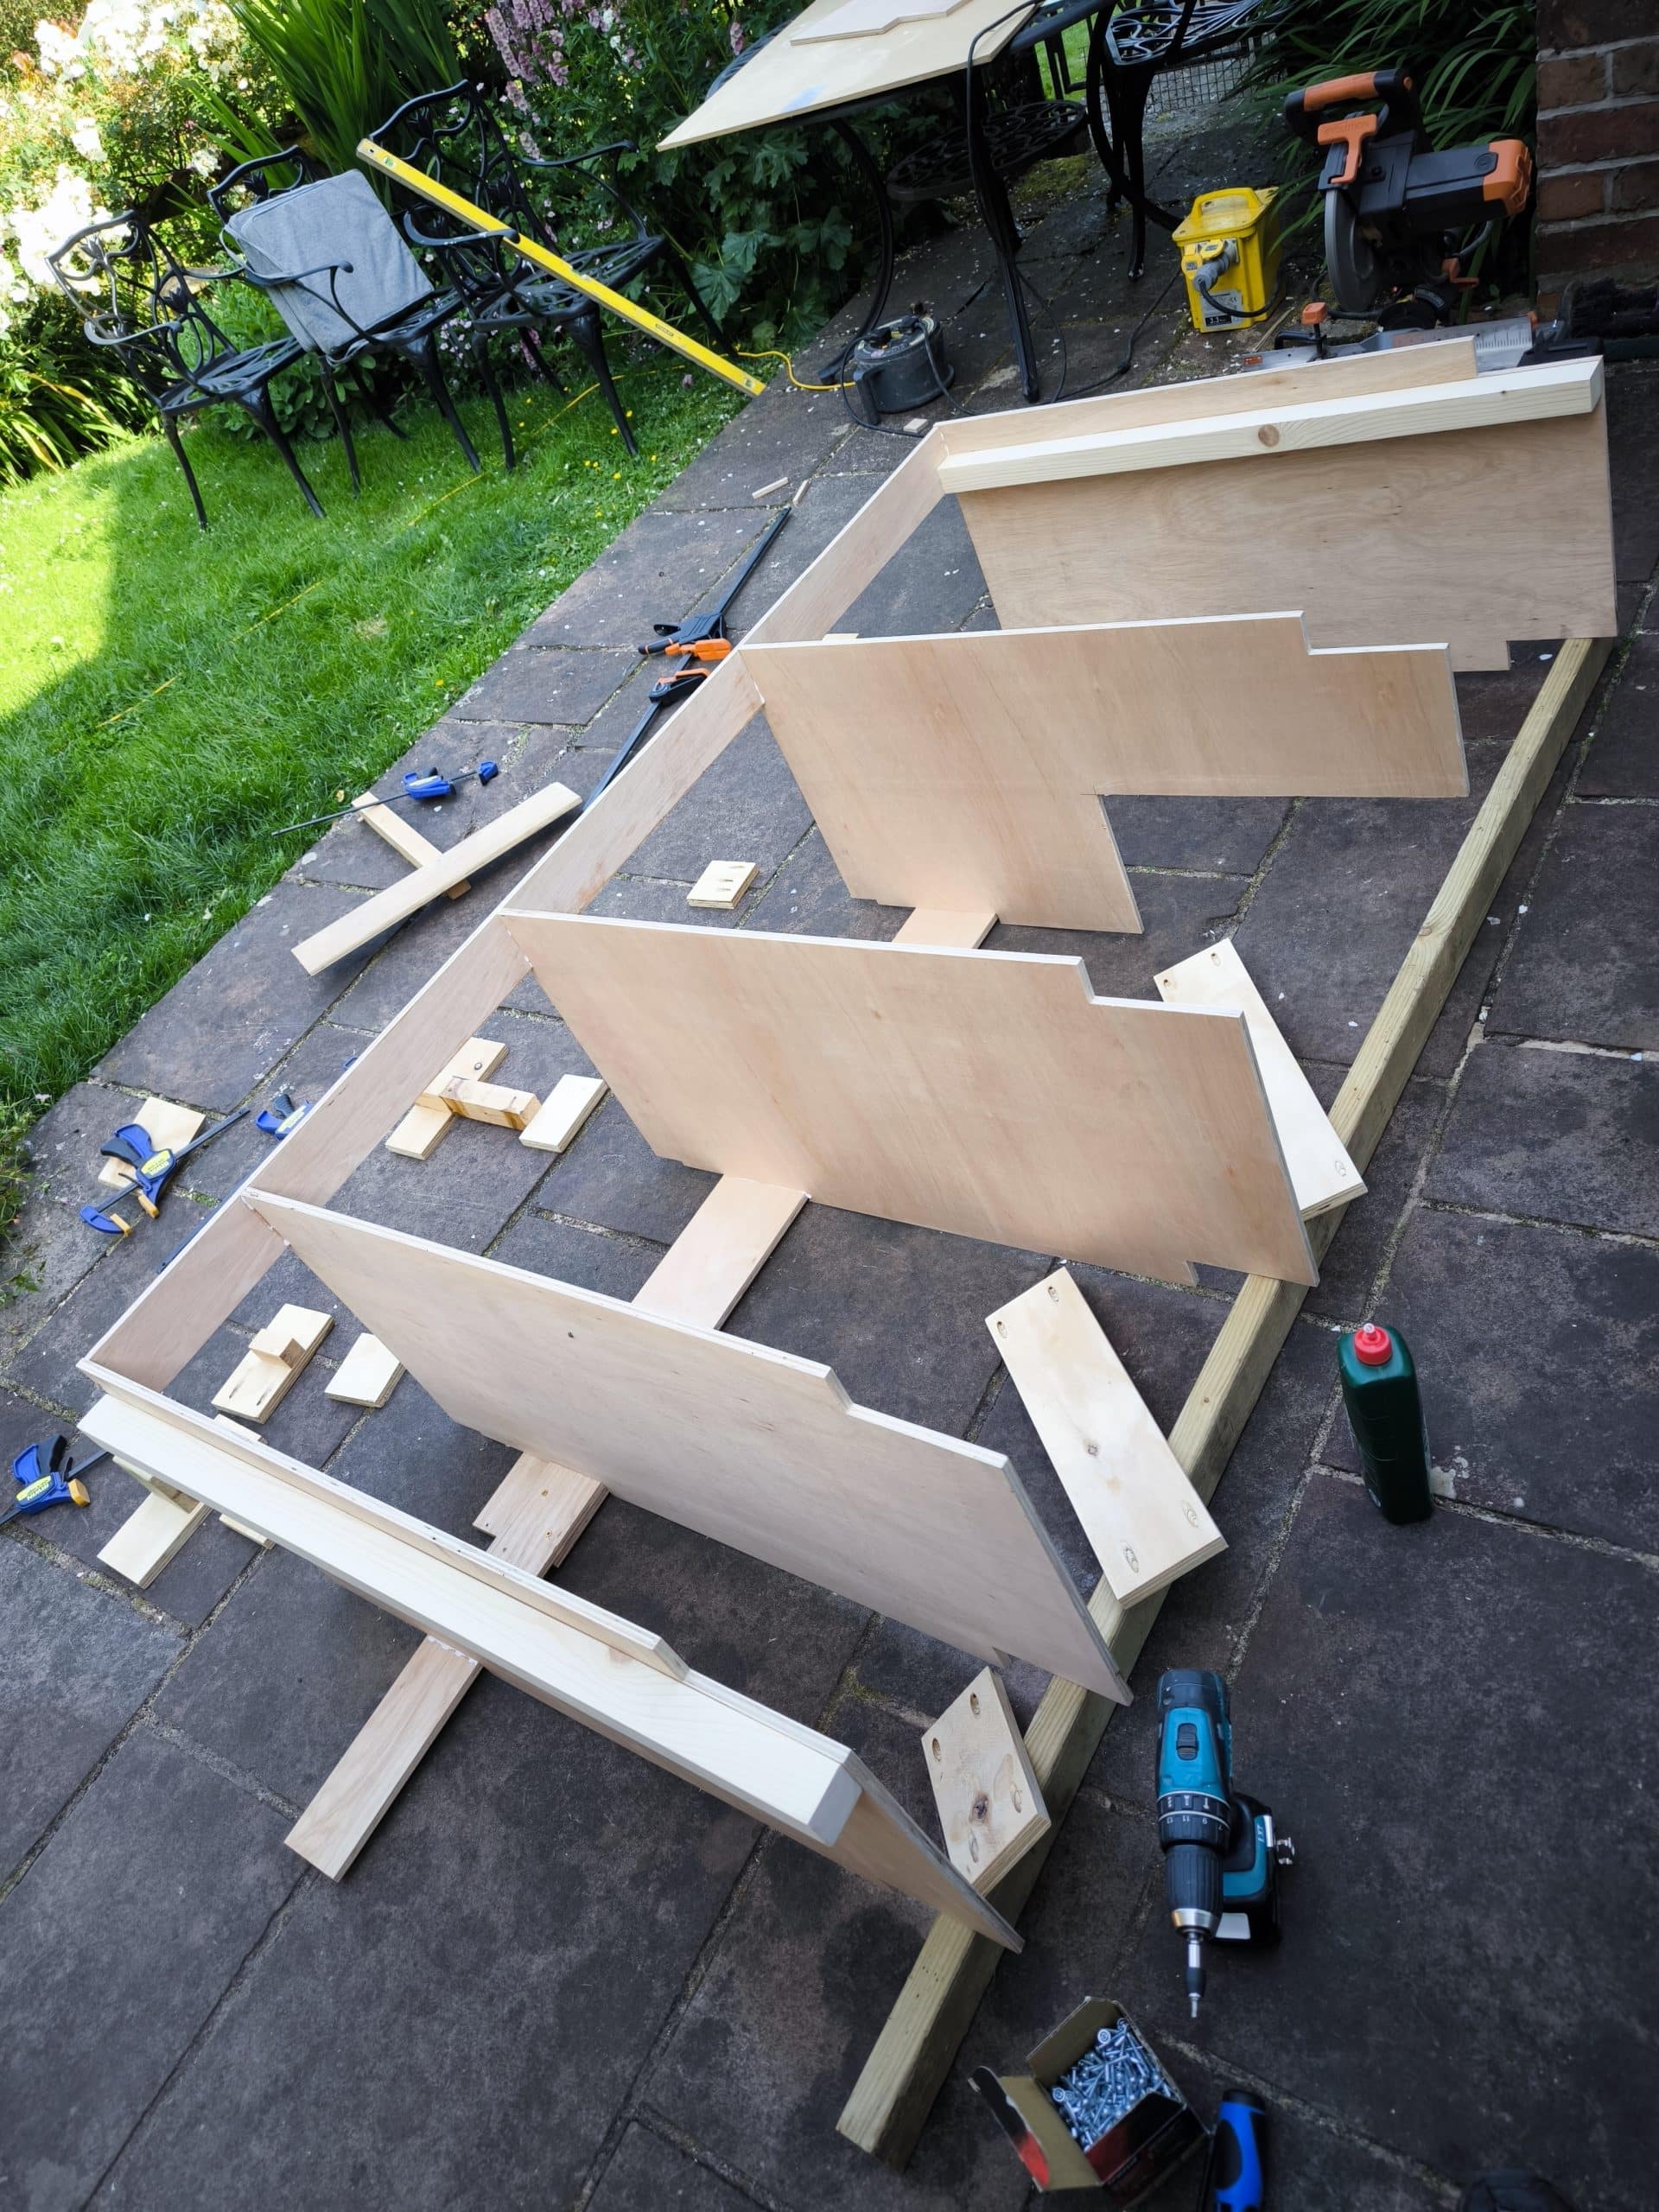
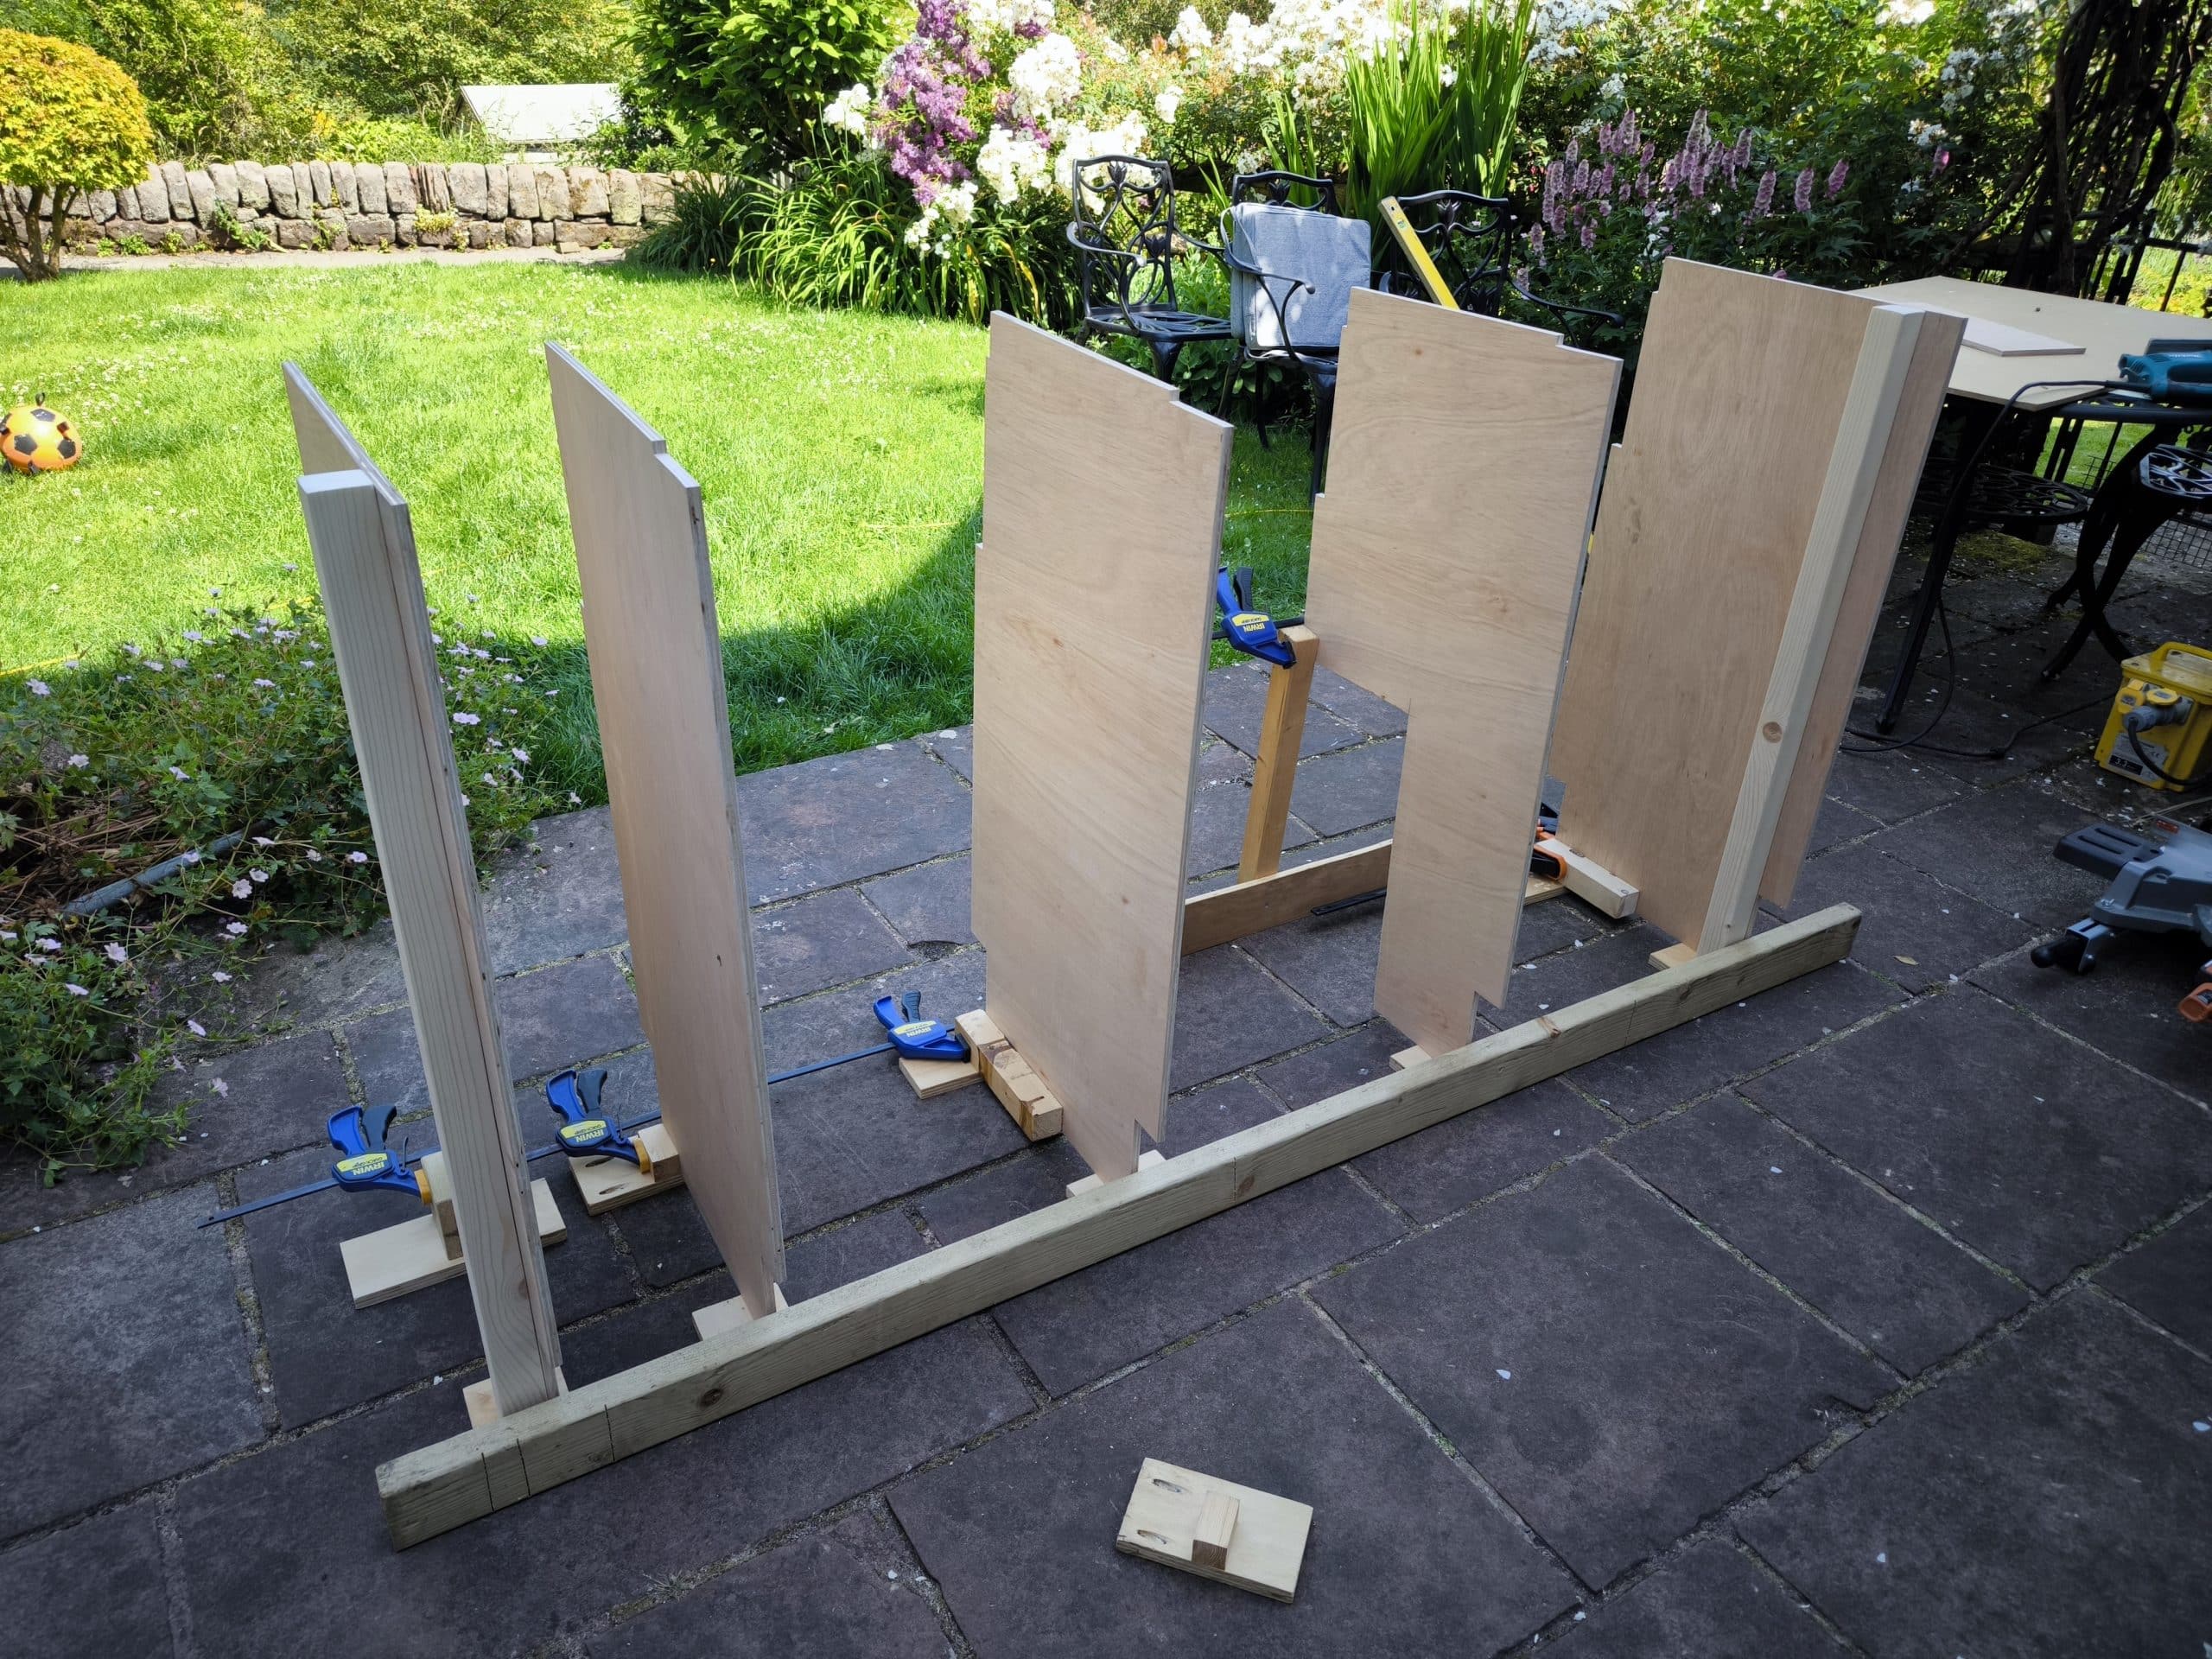
With that glued and screwed the cabinet mostly stood up on its own but to keep it square a used a long 2×4 pushed up against the front edge. I’d run out of 18mm ply for my carcass spaces, I’ve only got enough to go along most of the bottom. So I changed my design slightly to accept another long 12mm board running along the top front edge. This will be covered by the drawer fronts so you’ll barely see it. A side bonus is that it’s another long connecting board so marked up and installed it too keeps good board spacing helping keep this cabinet square. By the end of the day, it was free standing but I forgot to take a photo.
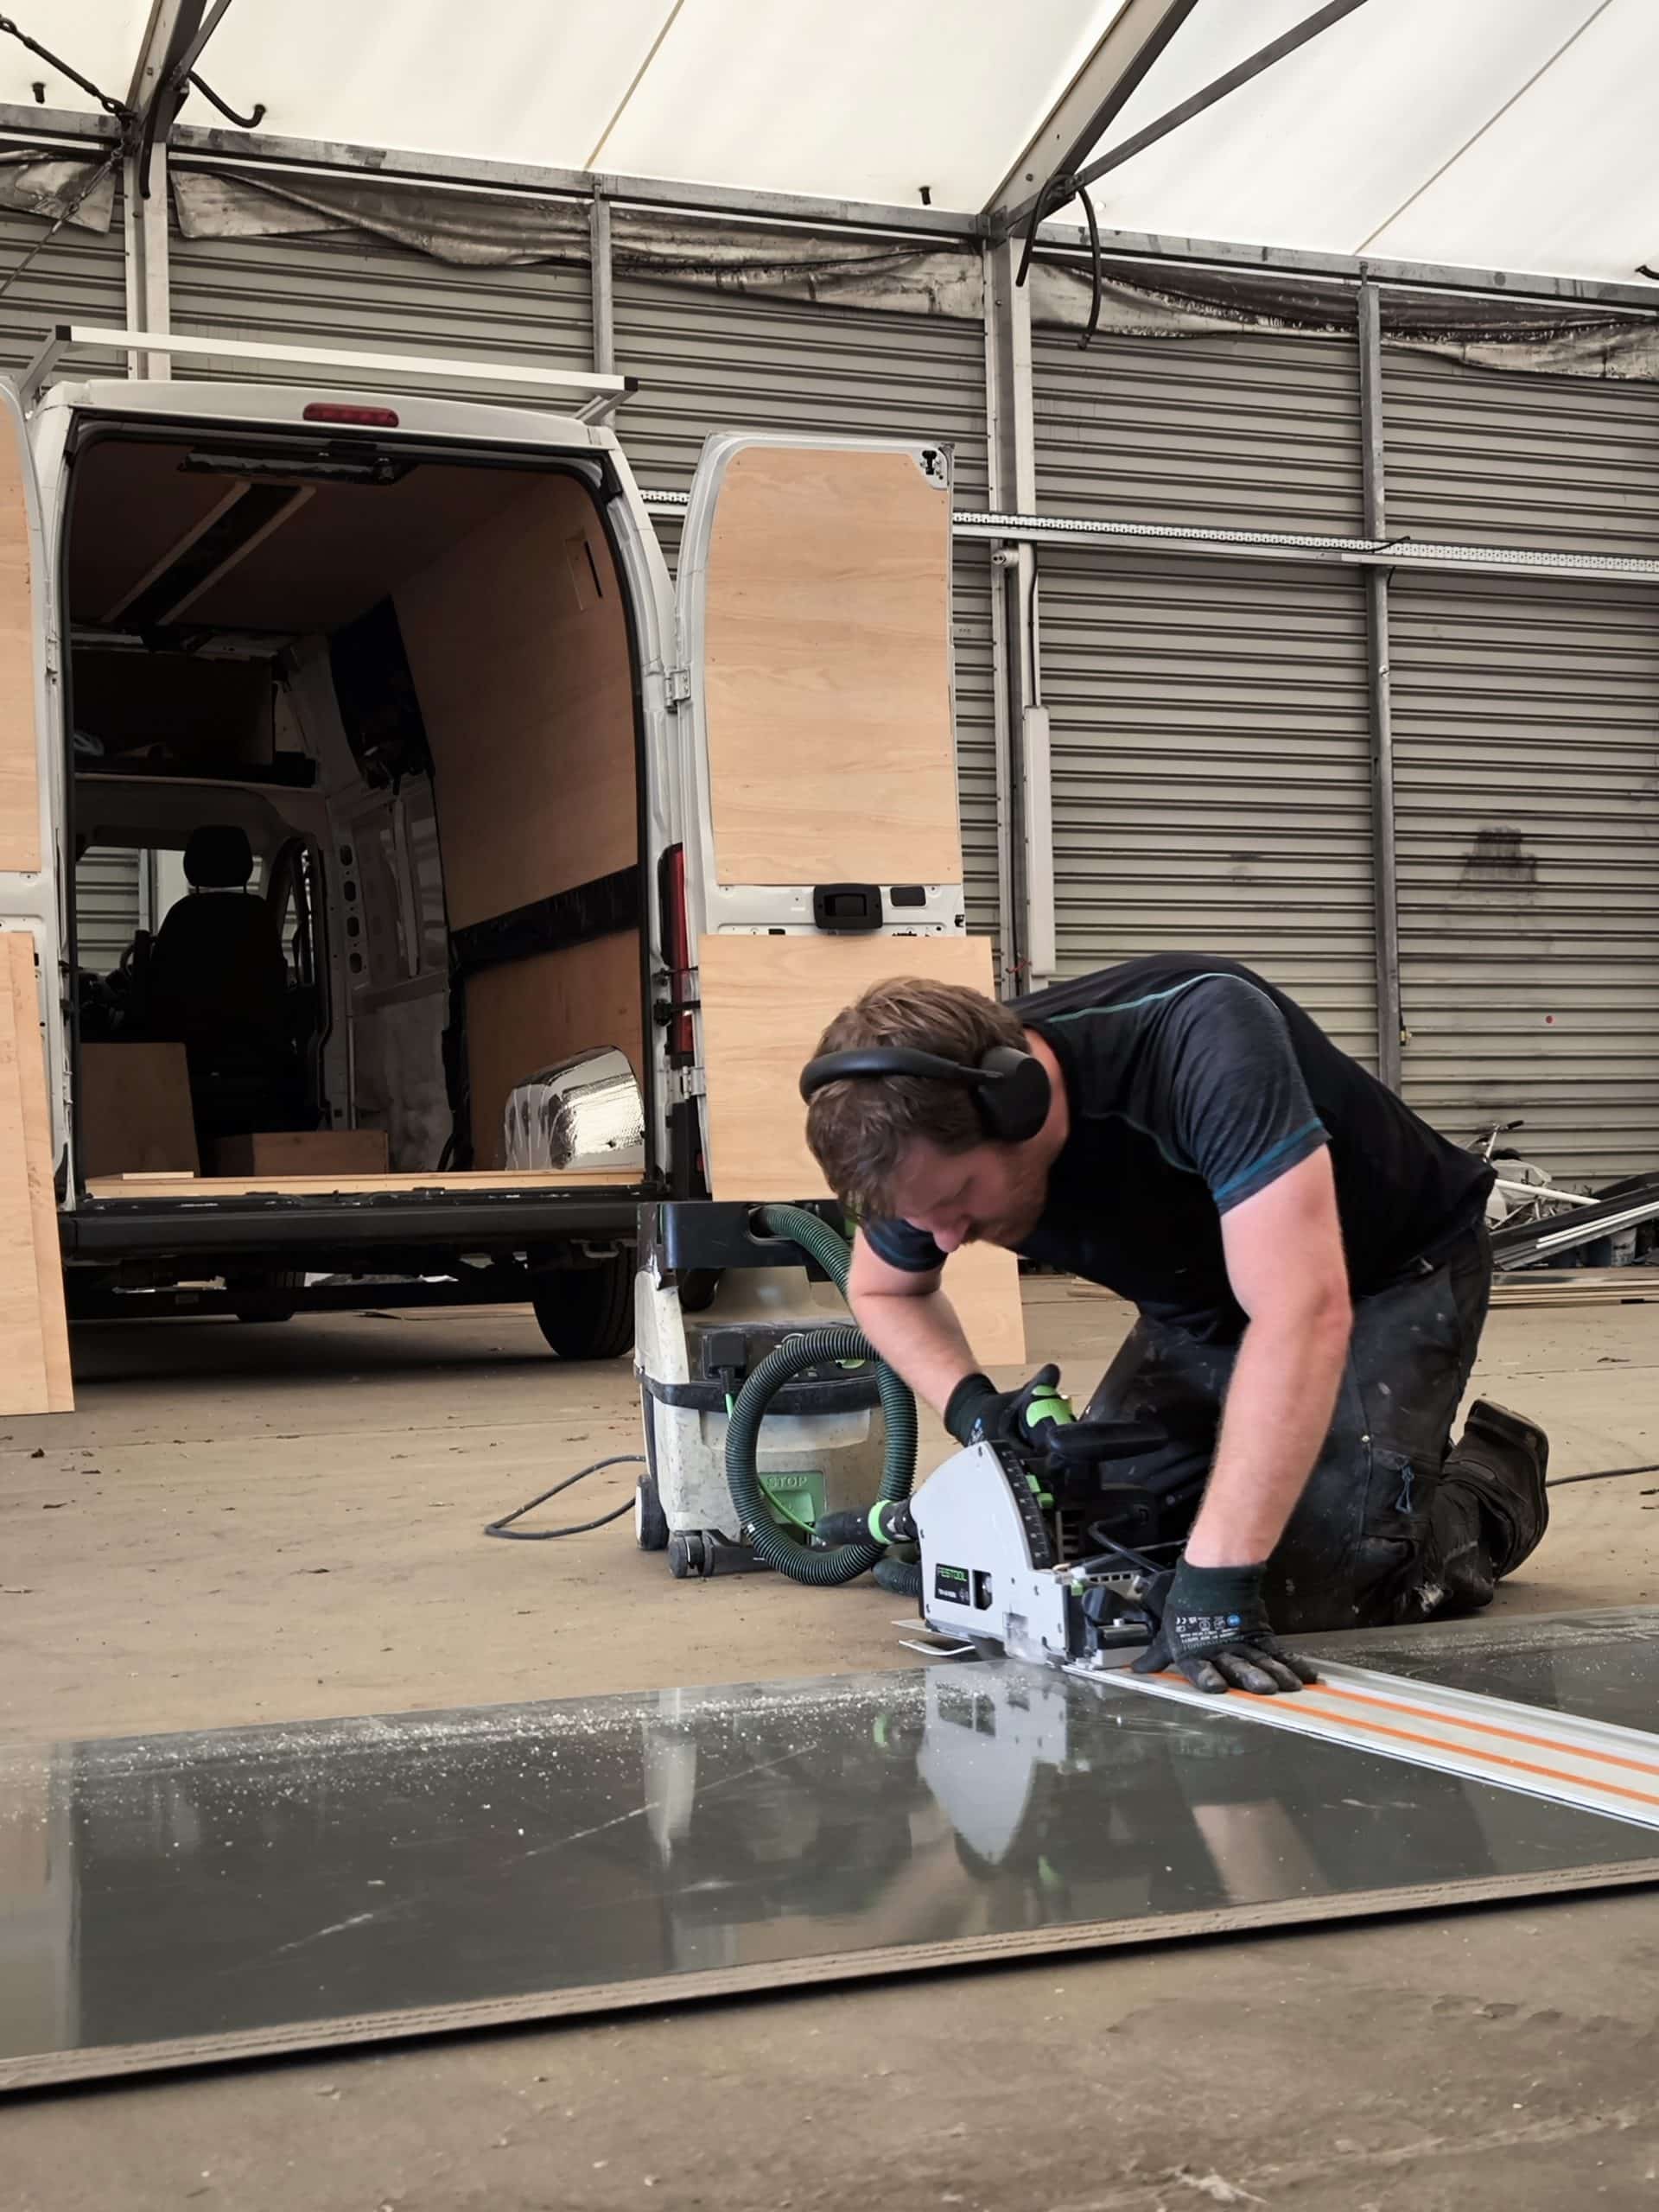
After a quick dinner I was back out and heading to my mate Jord’s compound. Here, he kindly cut my ludicrously expensive plywood with his professional track saw. This tool is a beast, with 2 blades it simultaneously cuts down into the top surface a couple mm with a small blade, and then there is the big blade to complete the cut up from the bottom. This gives 2 very clean edged cuts, perfect for the crisp and symmetrical look I’m going for. I tried to help but mostly stood around like a useless apprentice, fetching the tape measure when needed while the pro wizzed thru the cutting