Diary of a camper conversion
Ive been putting off working out the design of the cabinets for a while and so I still haven’t ordered the faced ply I need yet. But what has turned up is the roof rack components.
The ceiling has had to stop until the roof rack is done. Why? Because until the roof rack is on, I dont know exactly where my electrical pass through box will be located. And until I know that, I cant finish the ceiling. Funny how so many things are inter-related and prevent others from progressing.
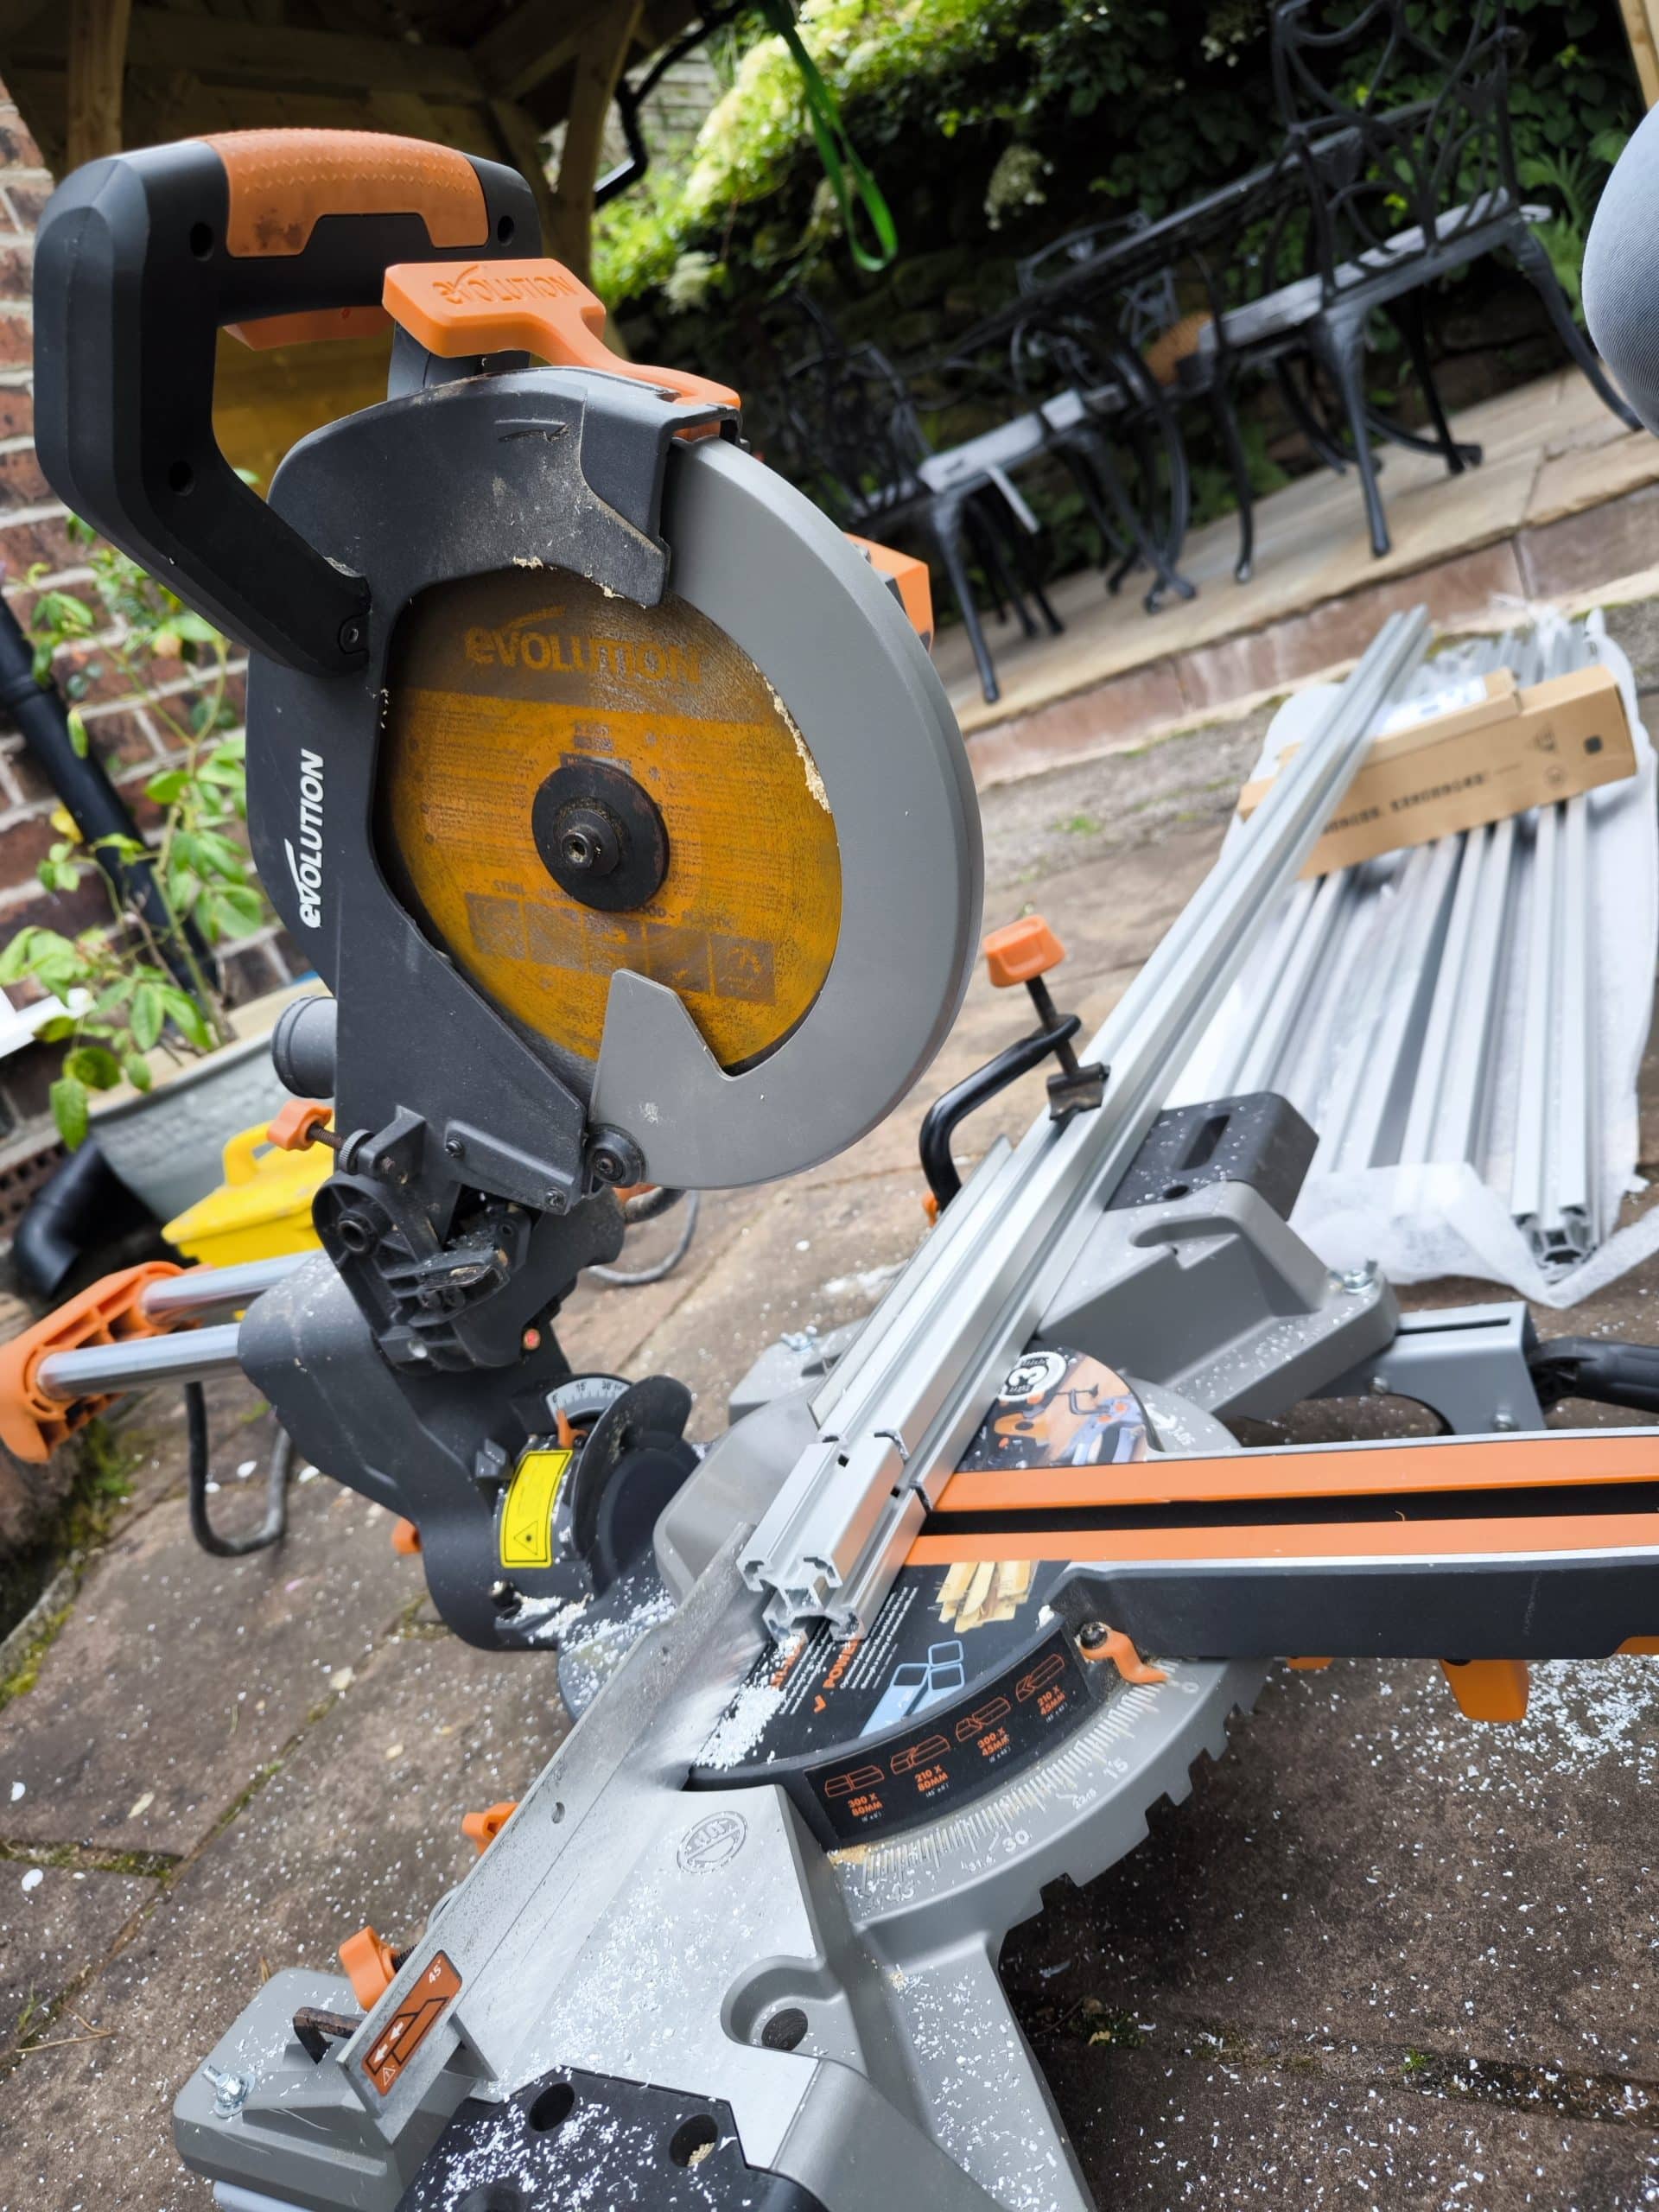
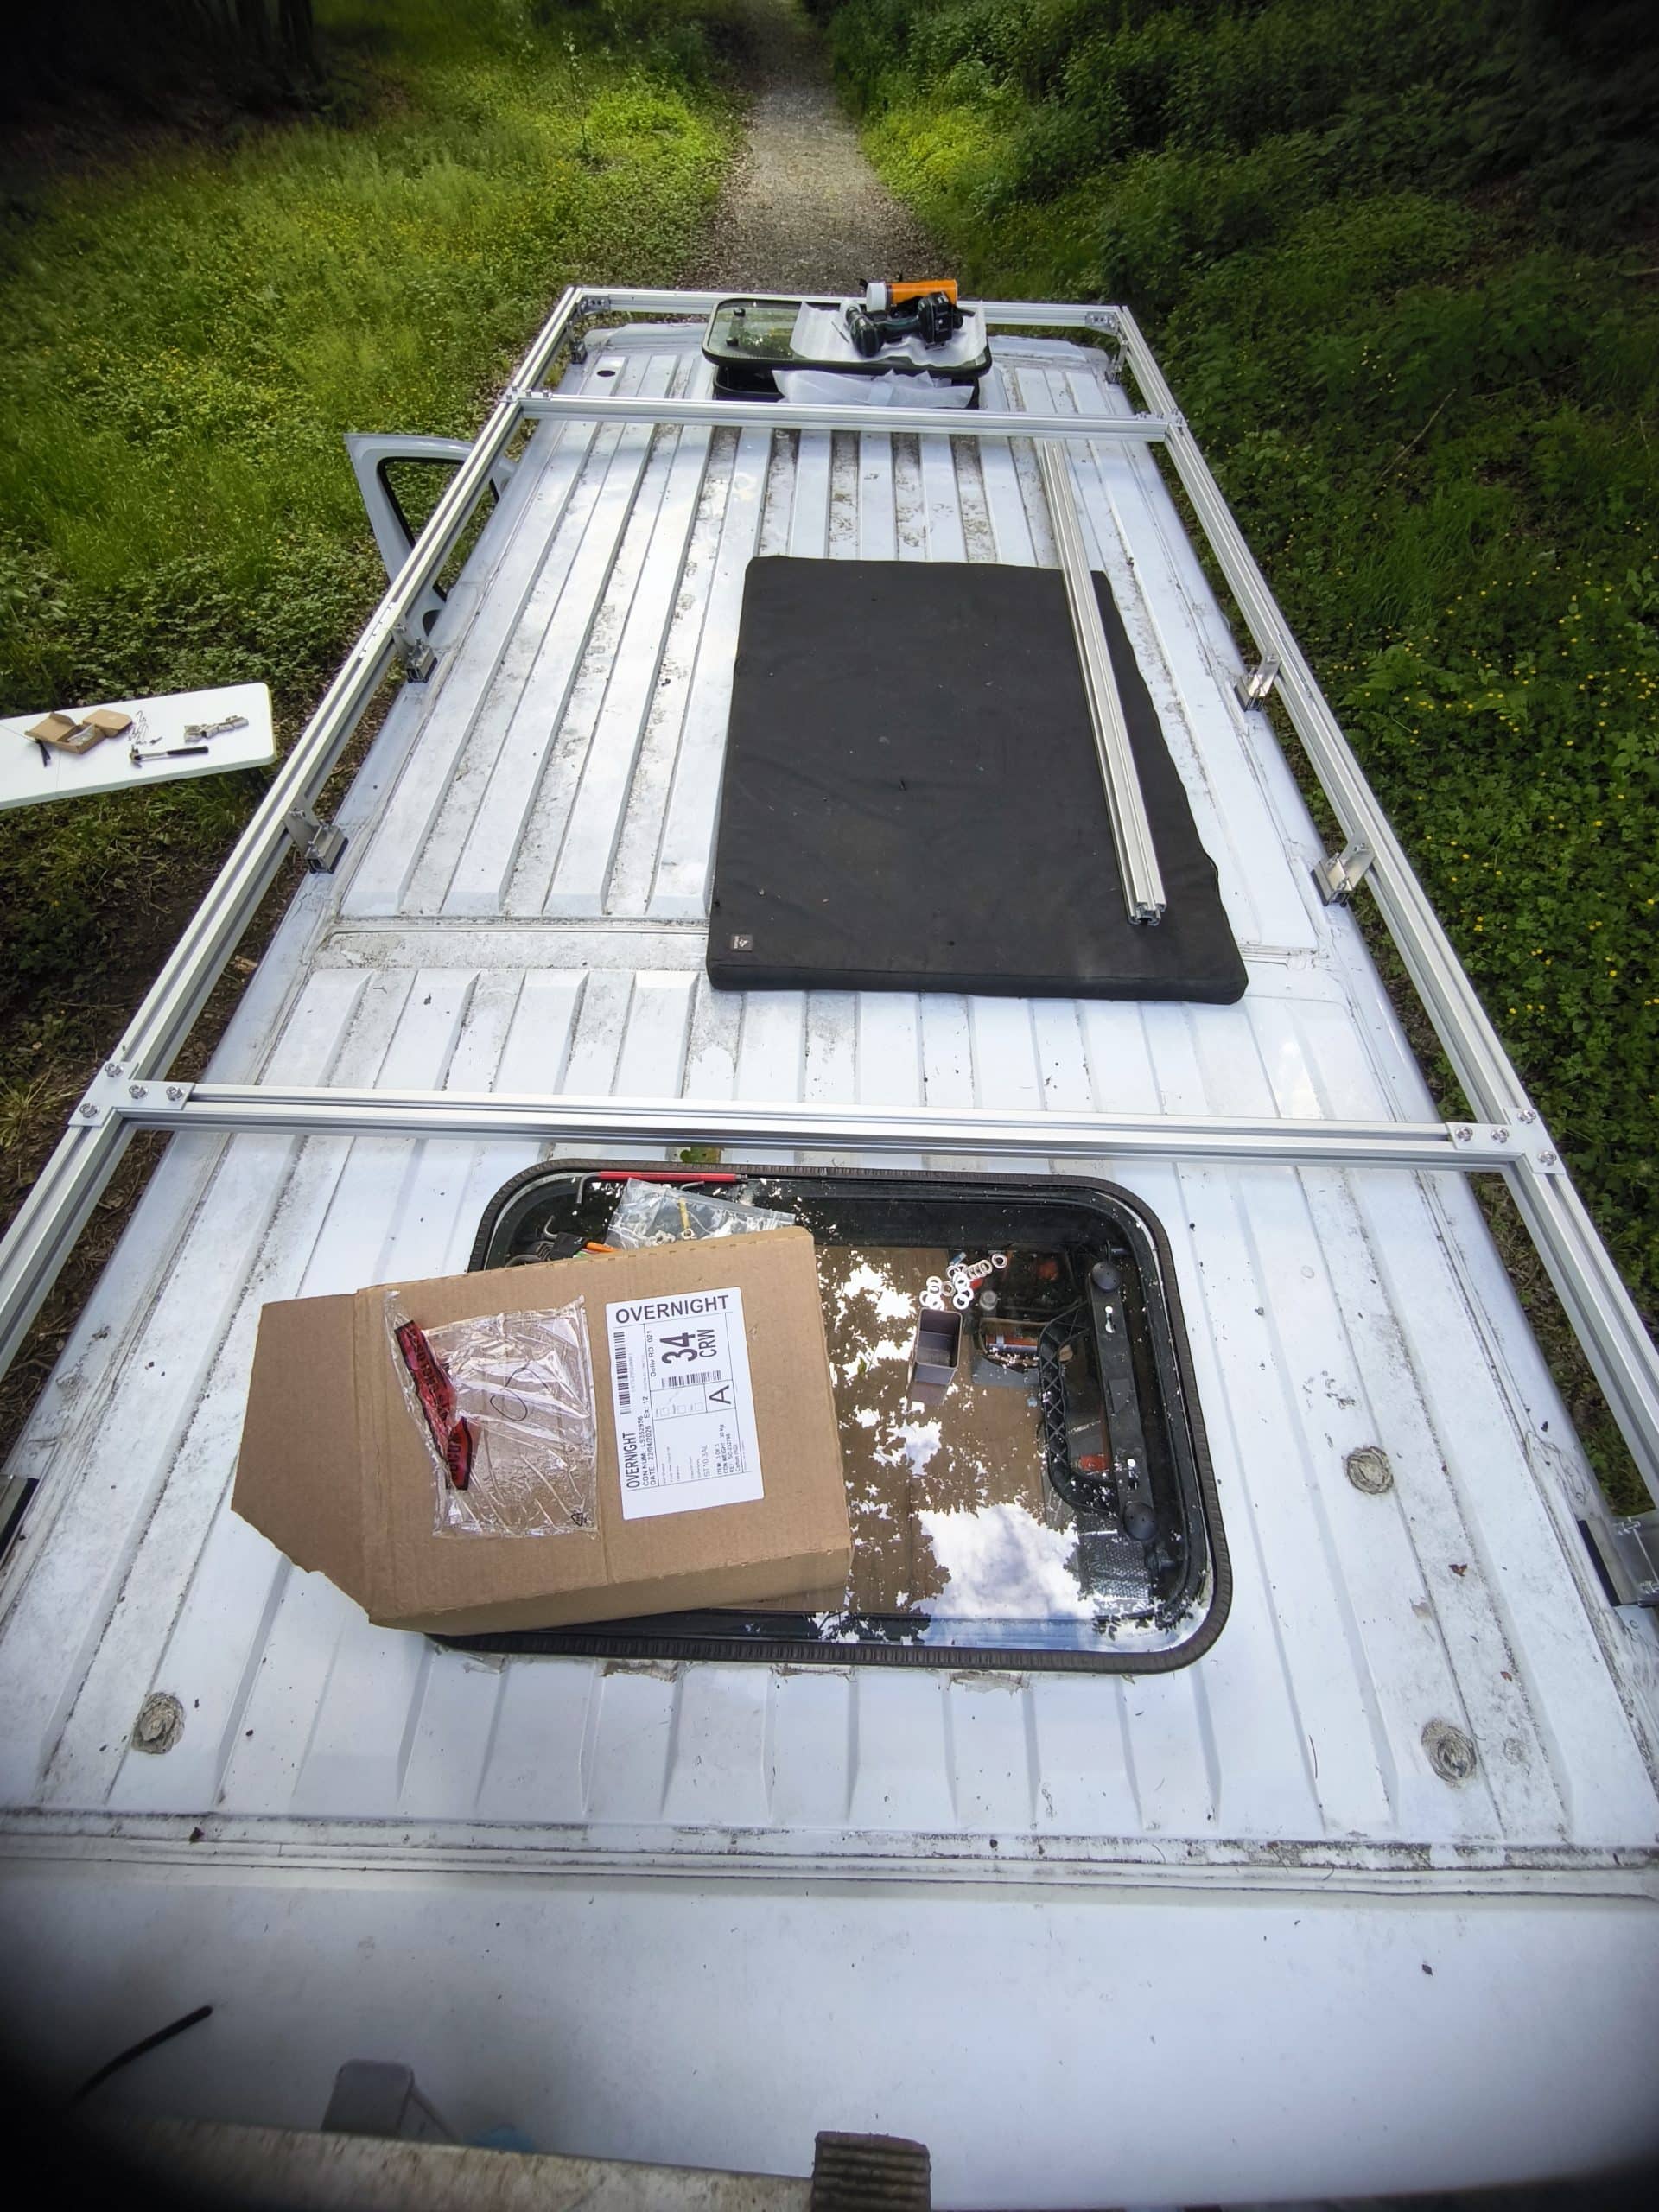
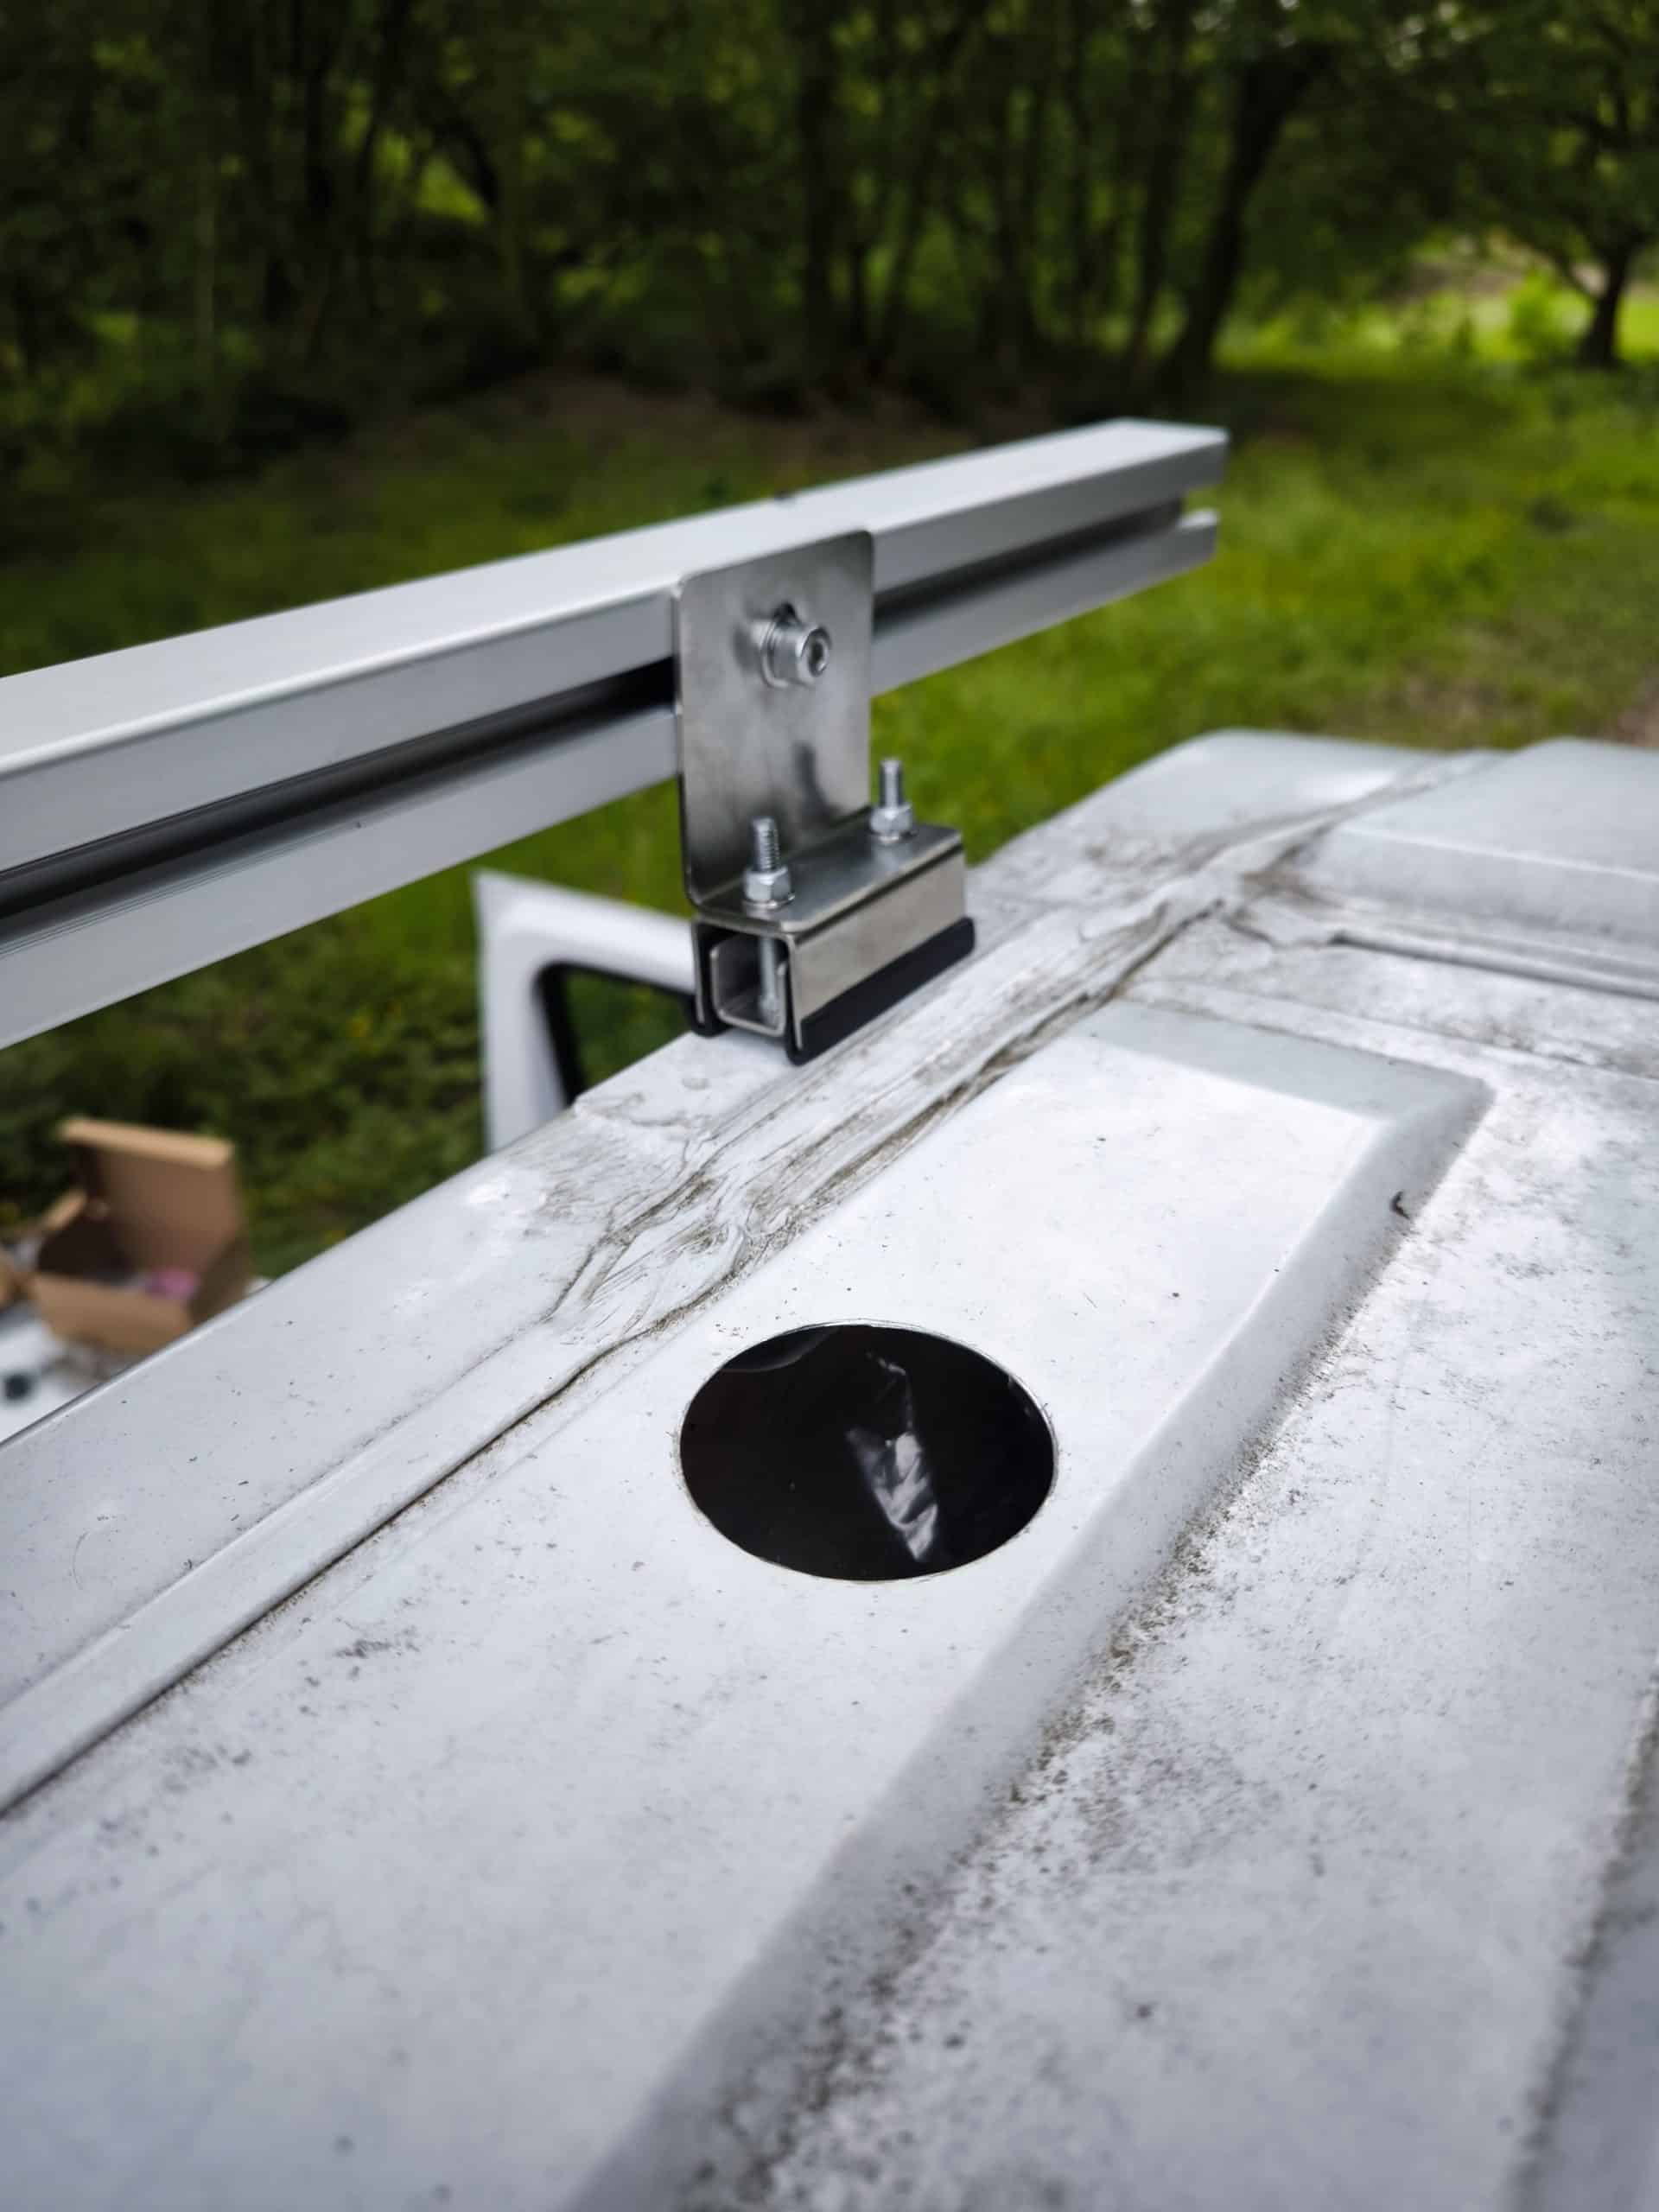
Anyway, the roof rack was pretty straight forward. Lengths of 40×40 aluminium extrusion were cut to length and then bolted to the roof using stainless clamps. These clamps came with U shape brackets that would have positioned the 40×40 directly over the clamping points. This is probably important for heavy loads, but since I’m just going to have a solar panel and some cameras up here I prefer the roof rack to hang over the edge of the van a bit.
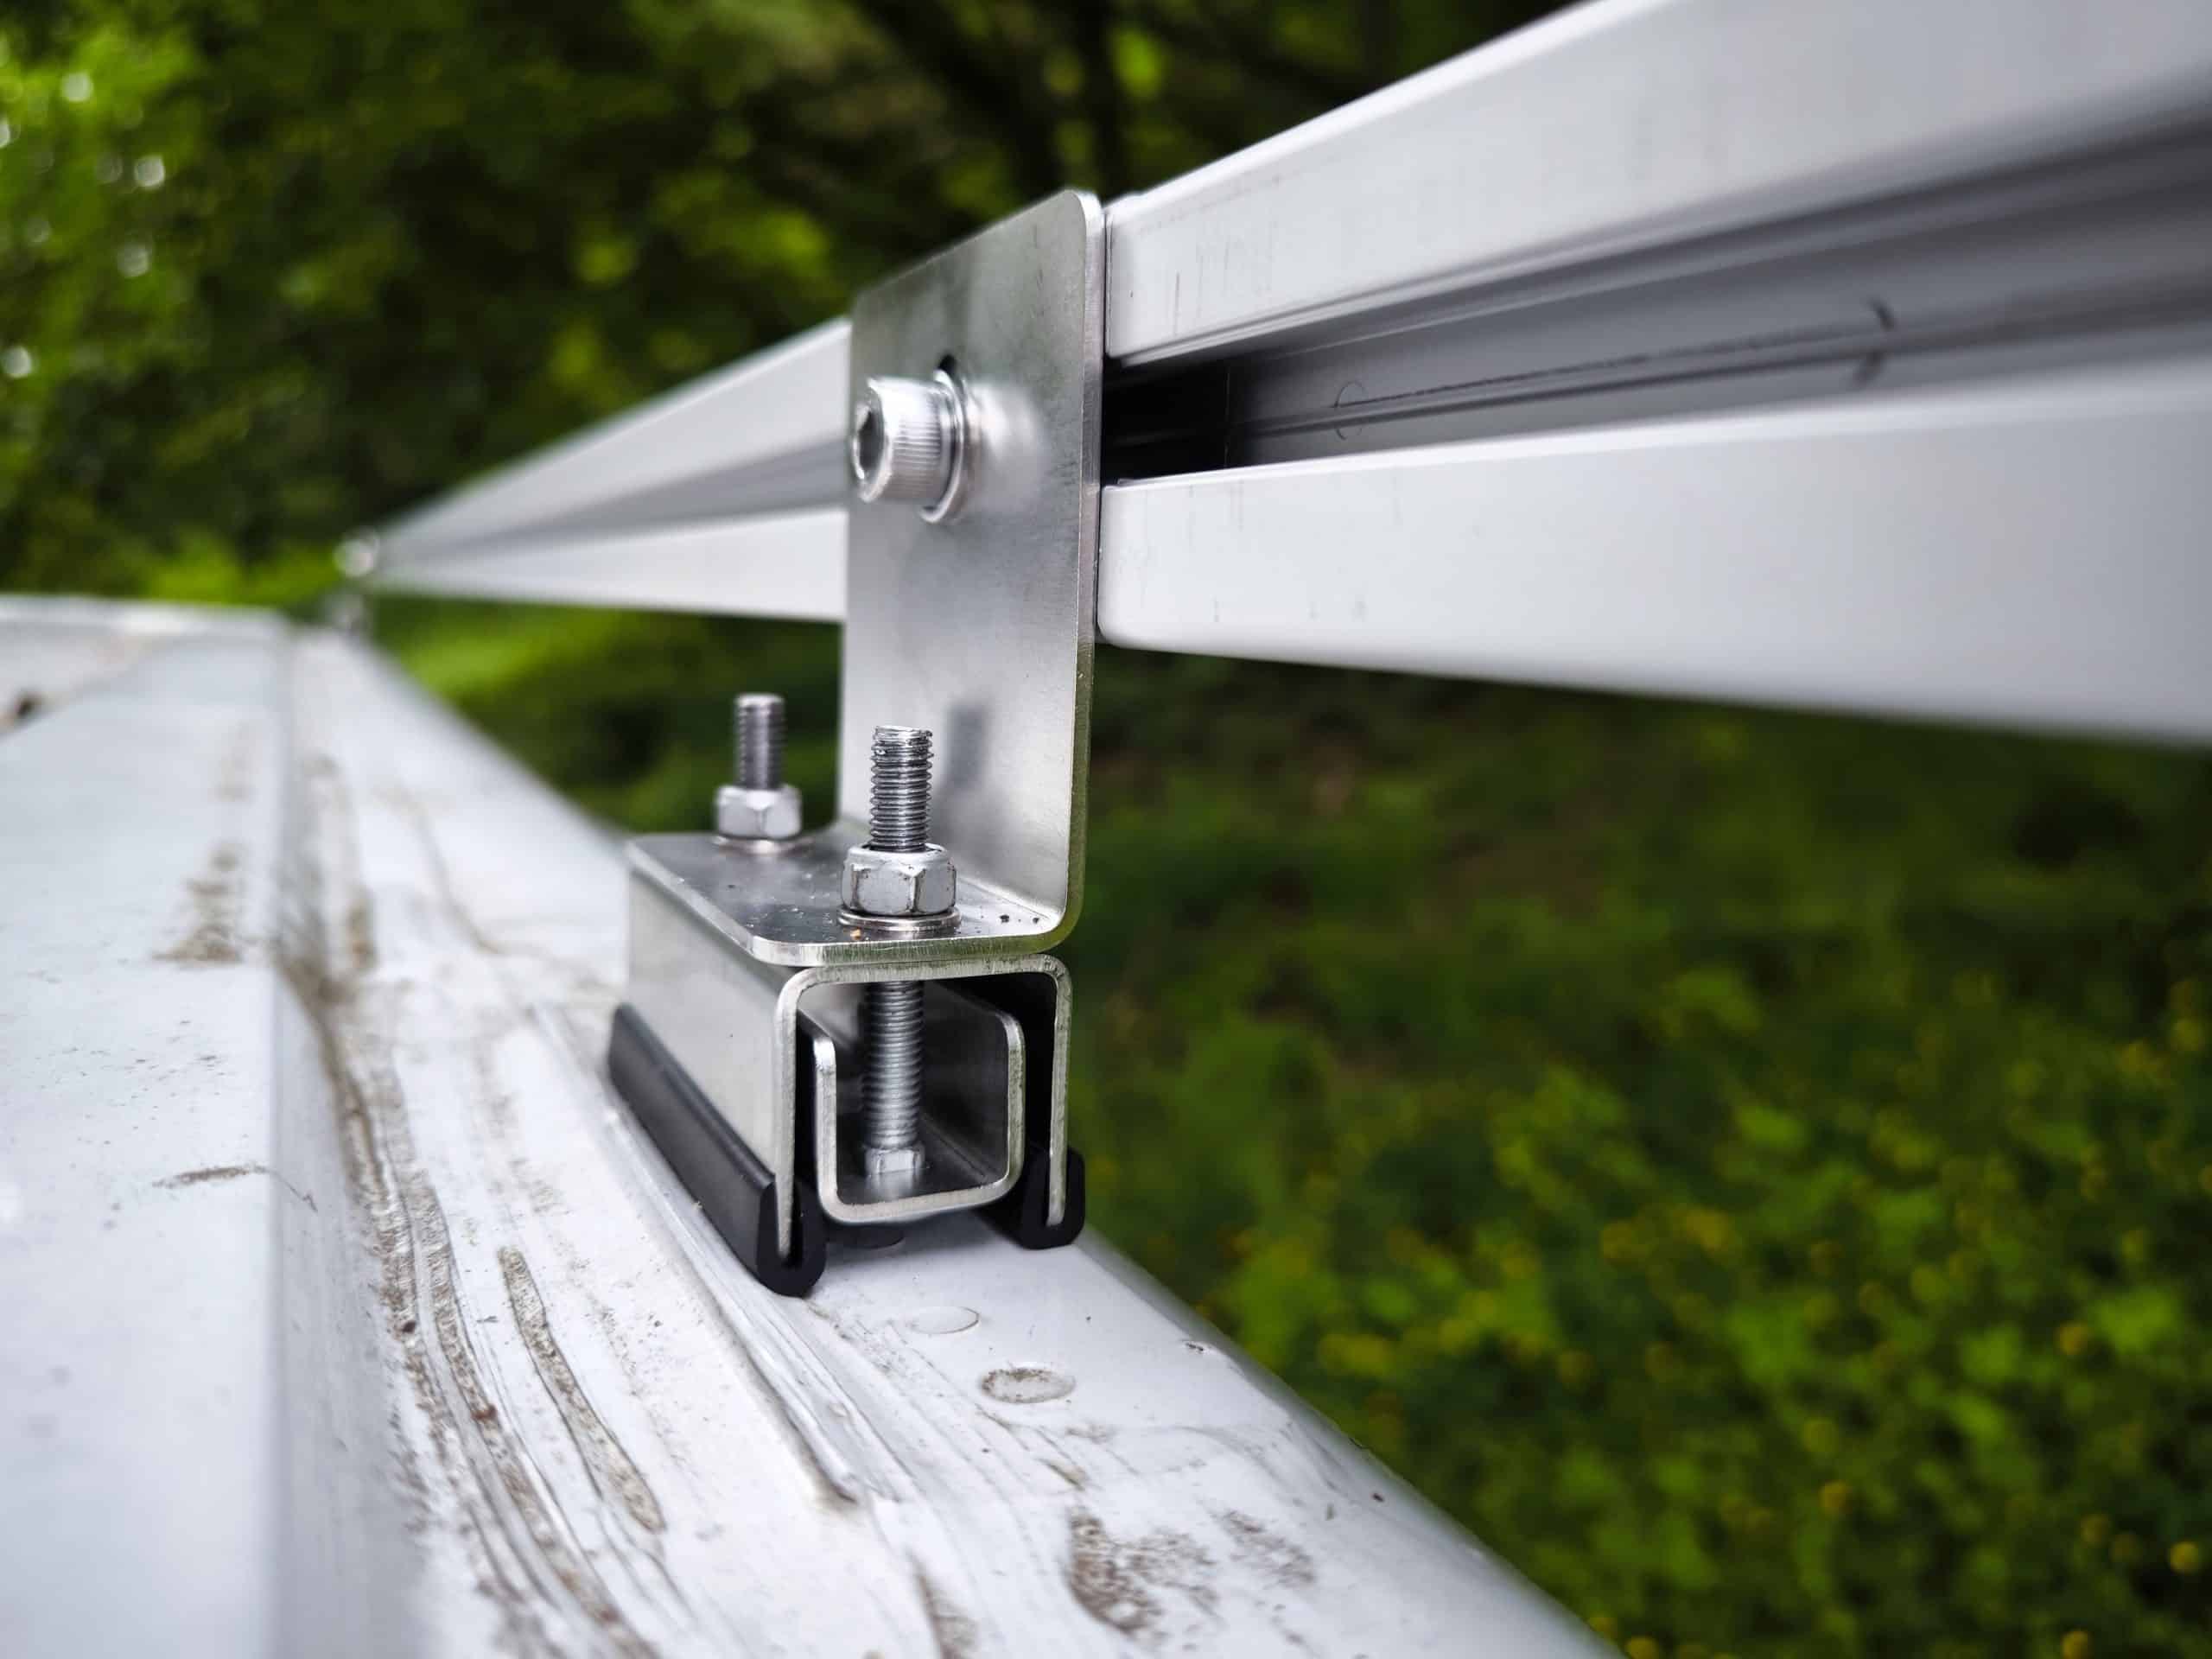
To do this, I got some custom made stainless brackets cut and bent to my design. They came out really nice and once I took a rotary wire brush to them, they look identical to the clamps. Very happy with the finish.
These brackets mean the rail sits slightly outboard of the roof. This should give the cameras a better view down the side, to help me negotiate close fence posts etc in this huge van.
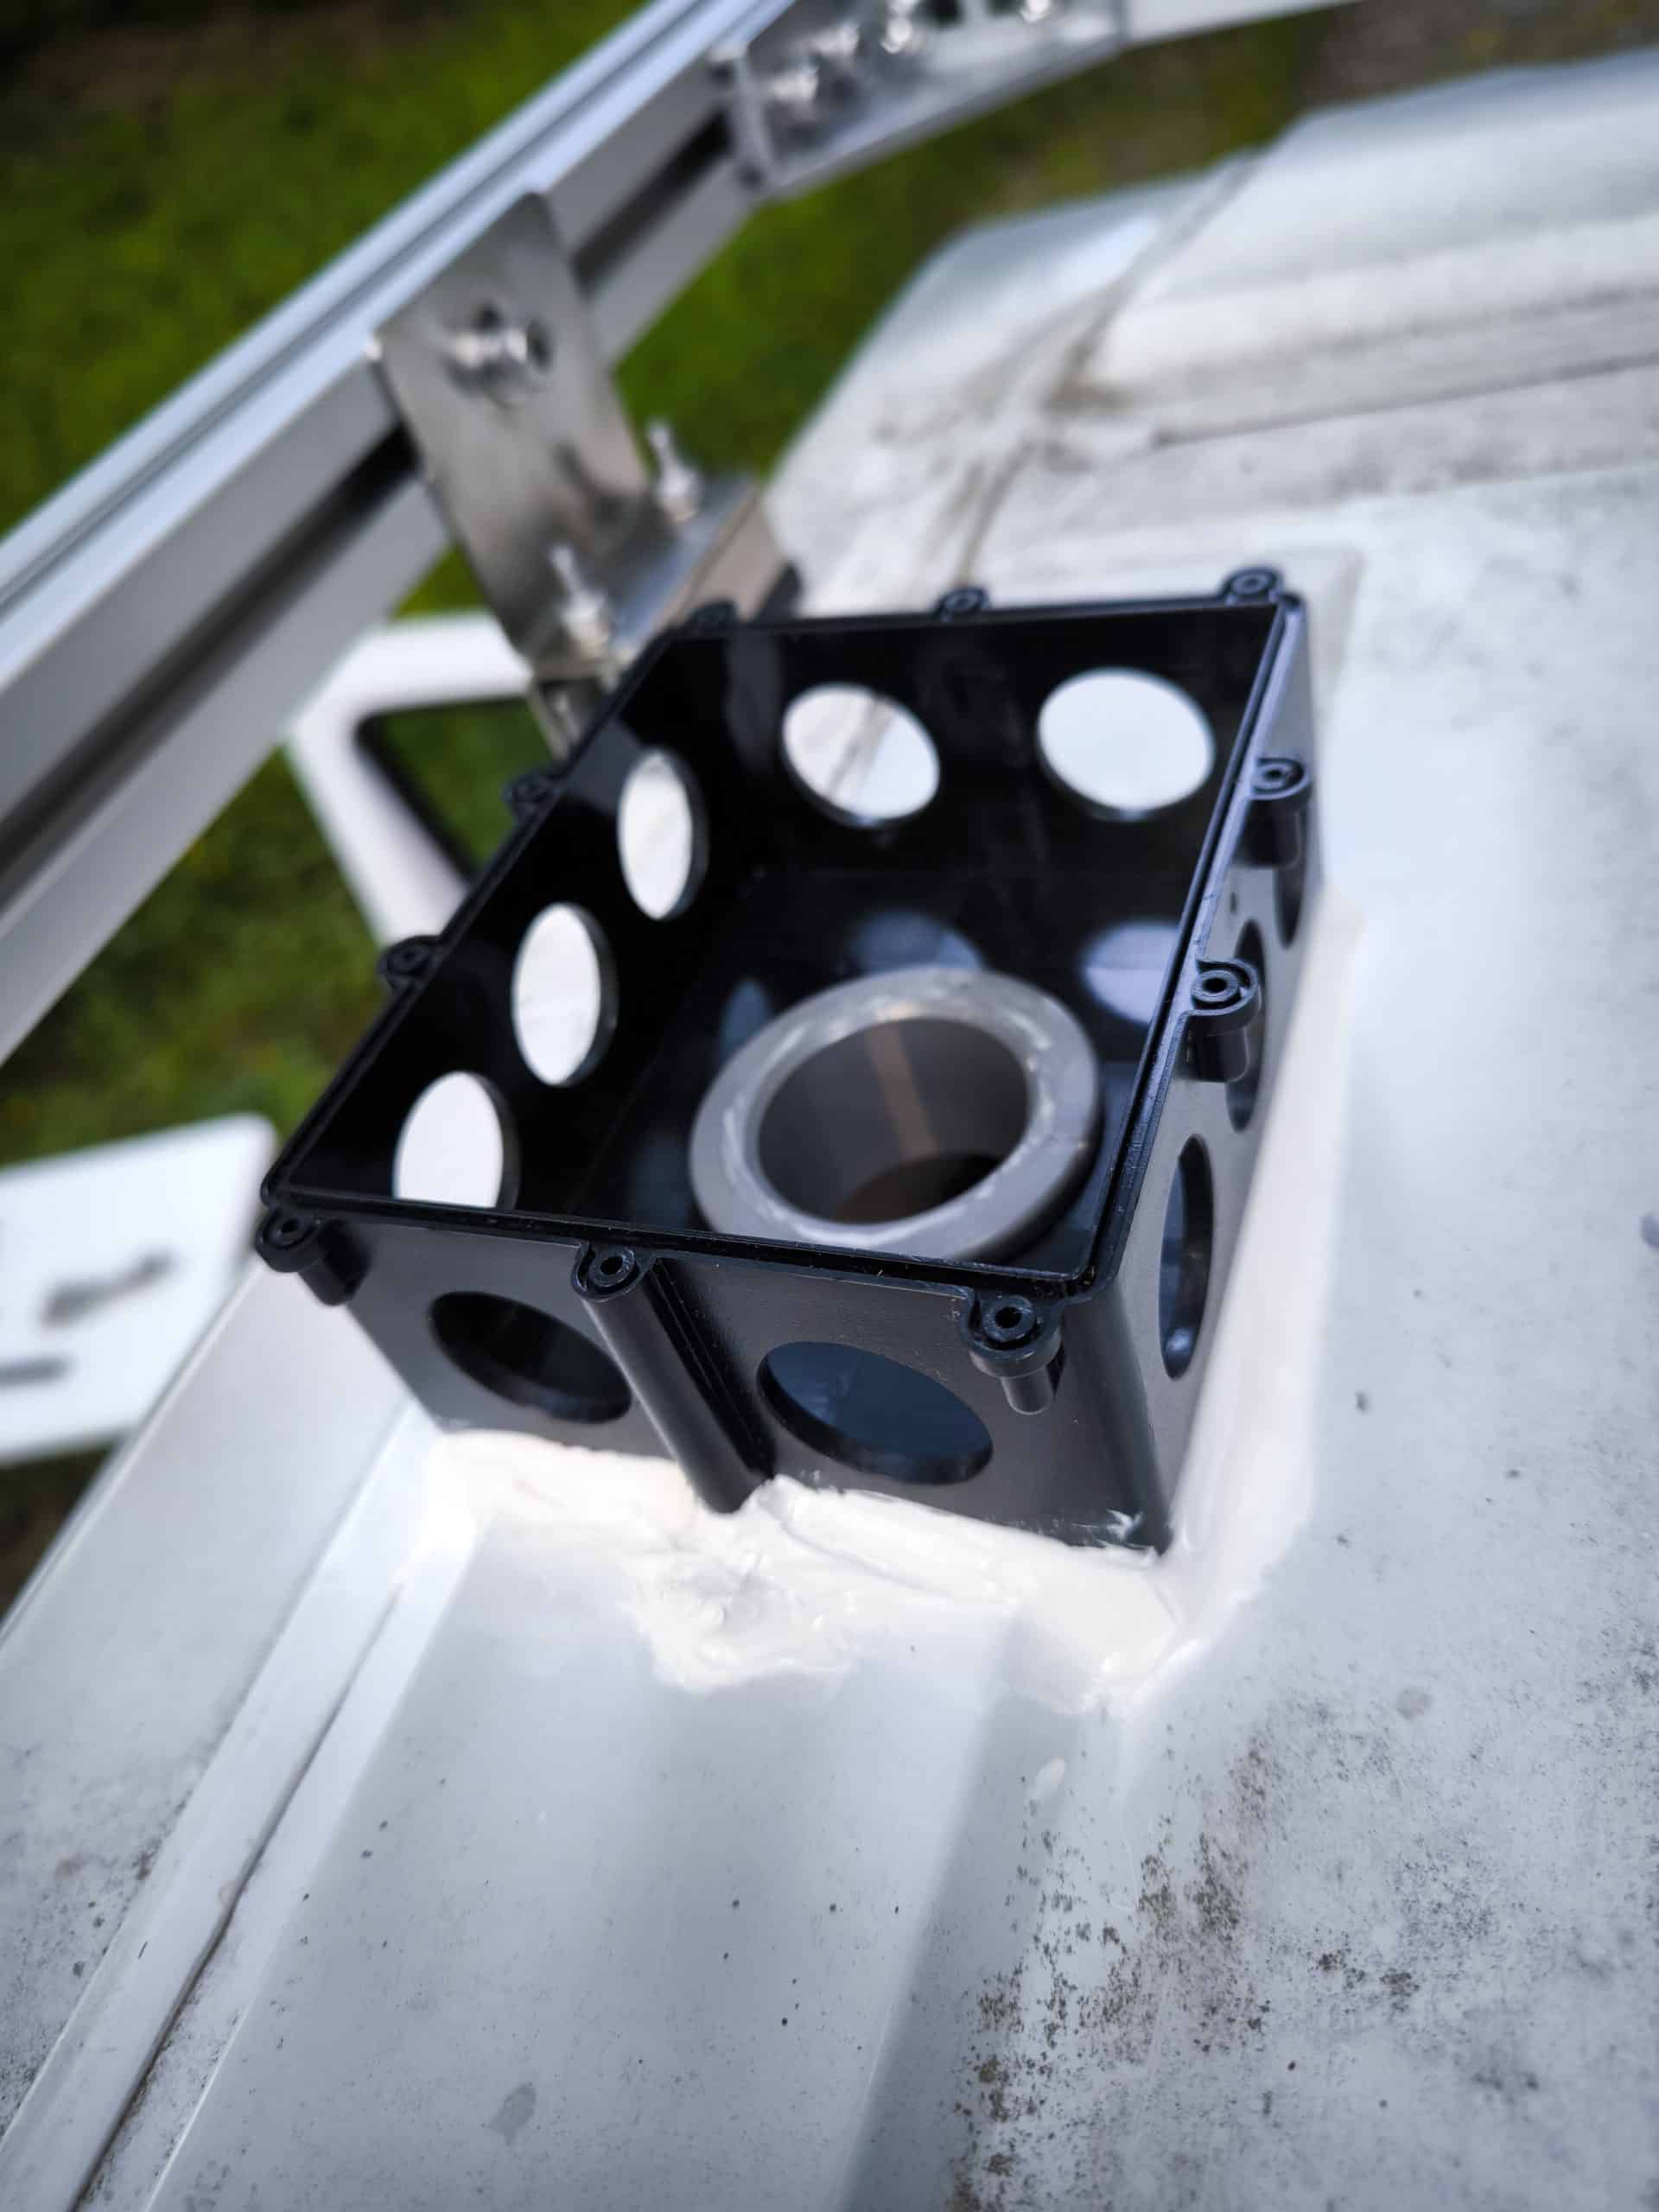
Once the rack was on, I now knew where the electrical box could go. I followed Mispronounced Adventures method for a roof electrical box so its easily accessible in the future. This did mean another hole in my roof, which was scary, but once sealed up with sikaflex, it was fine.
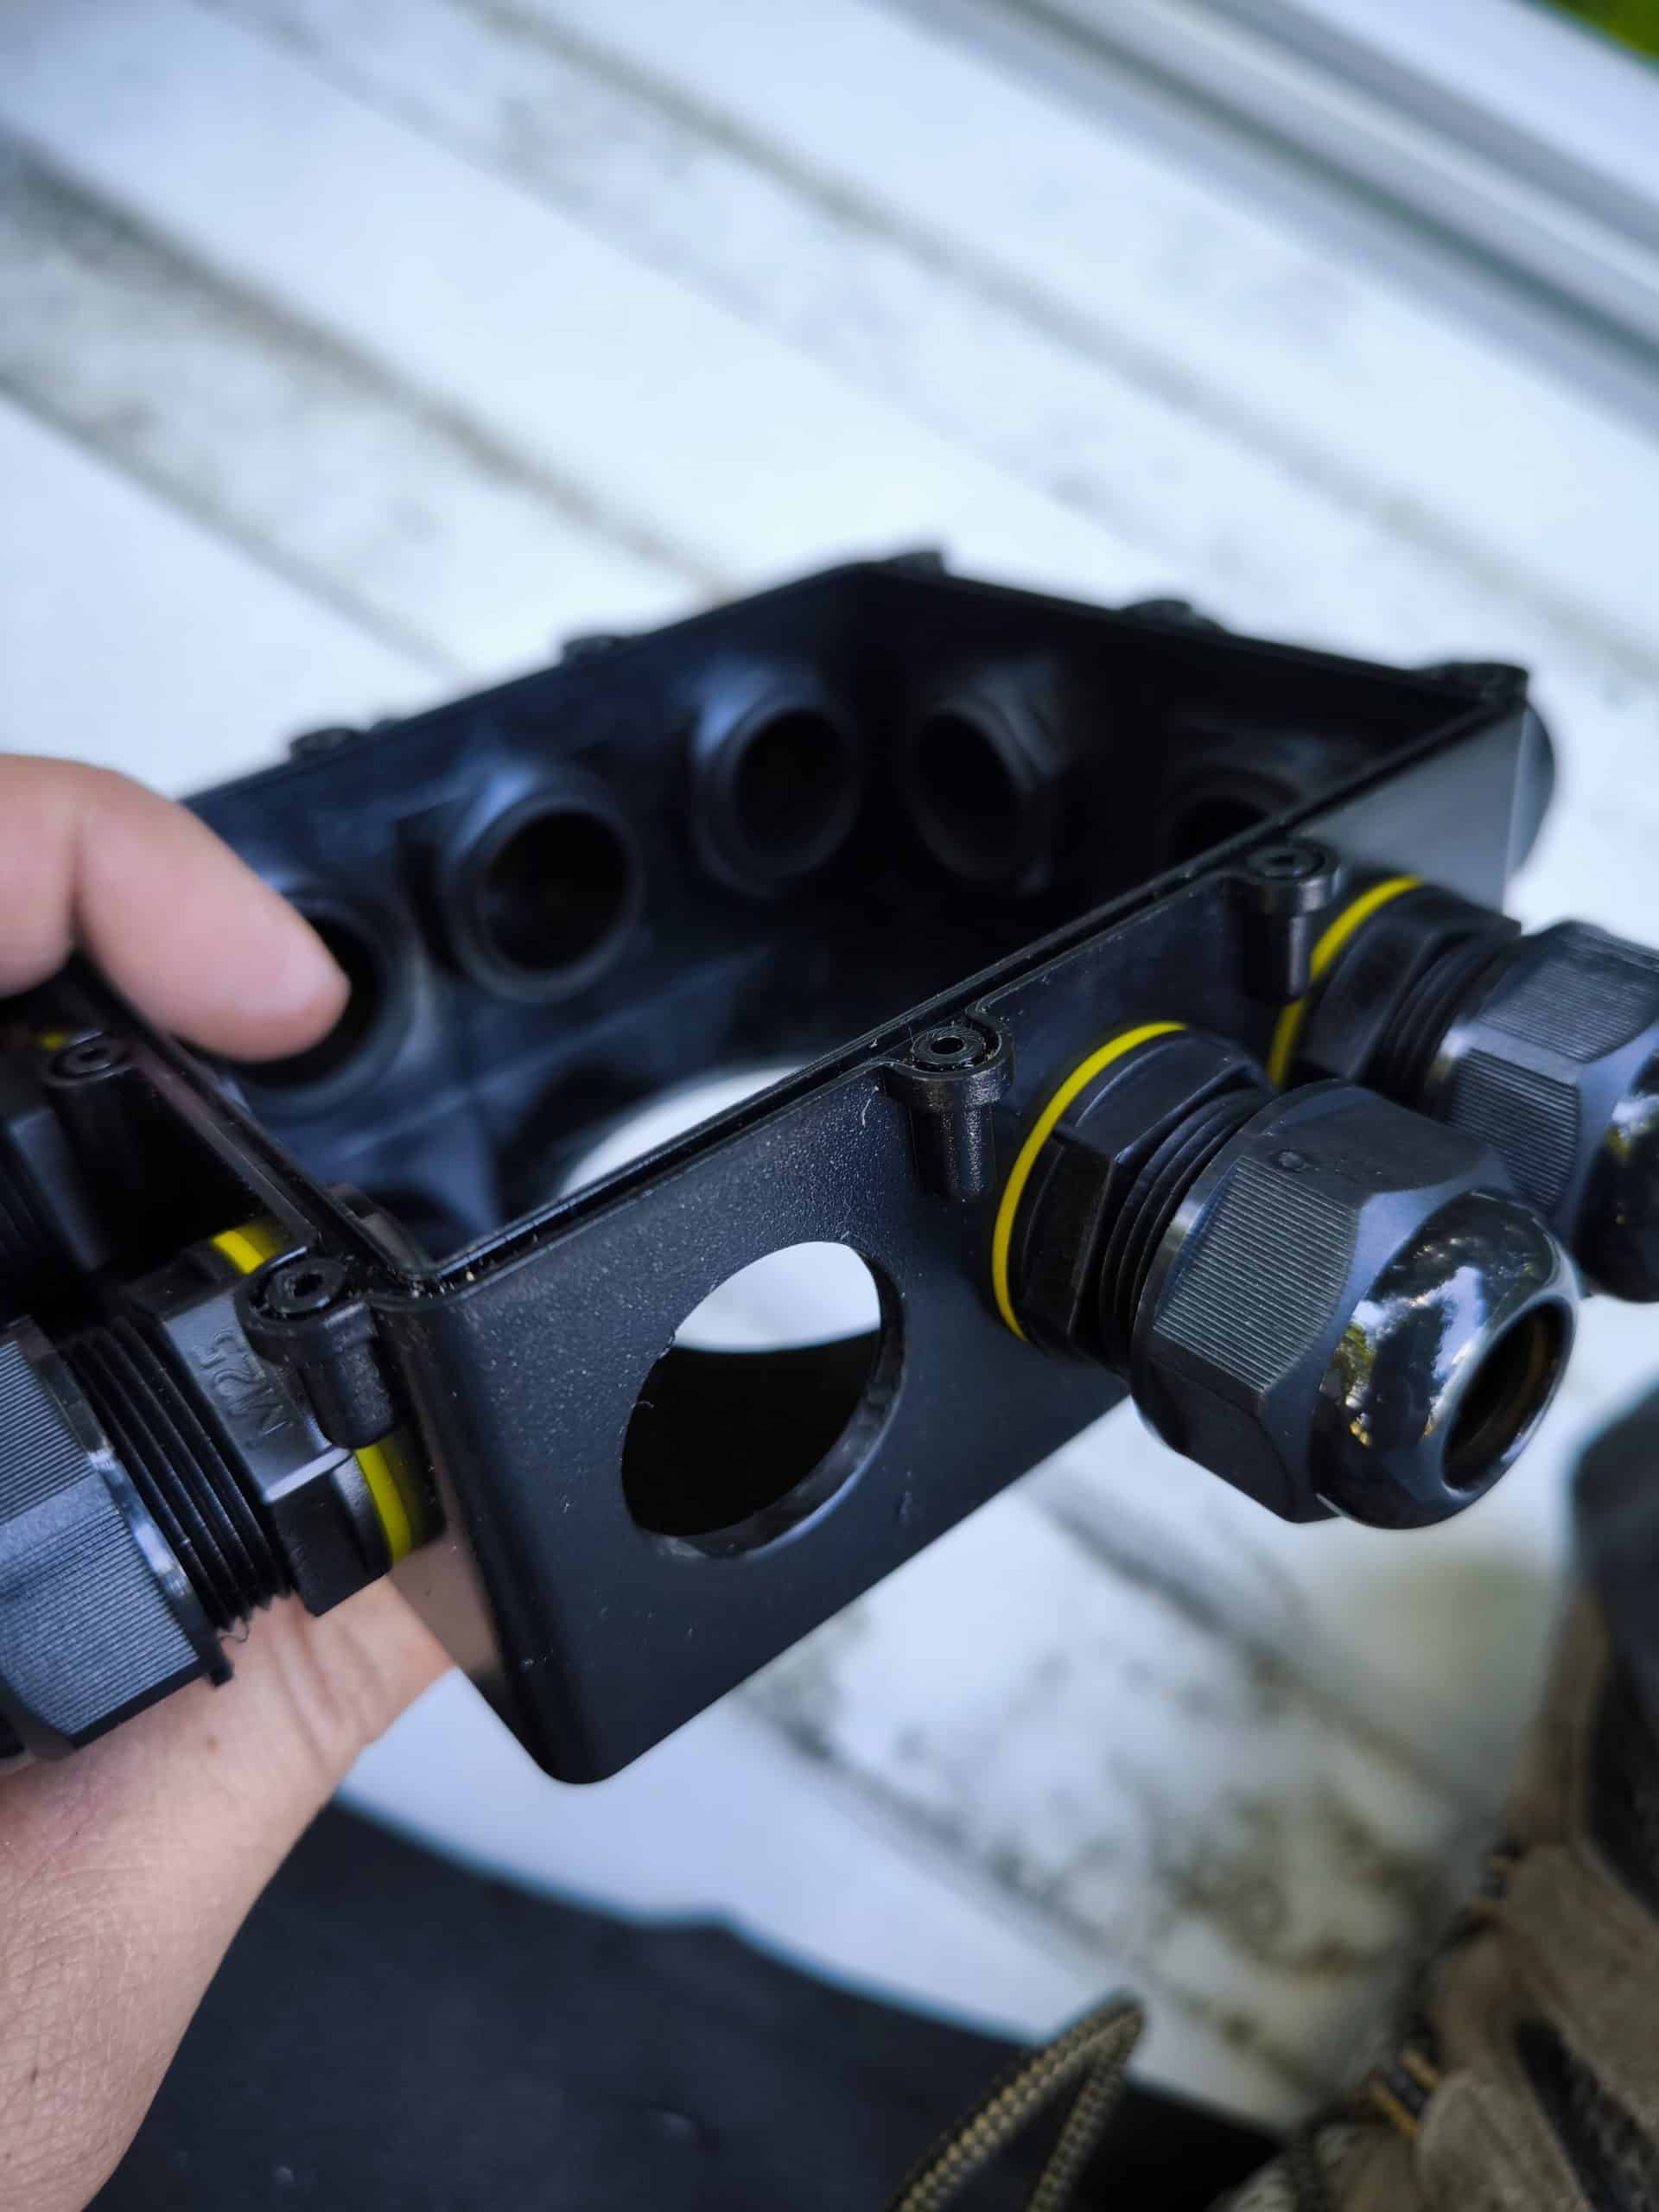
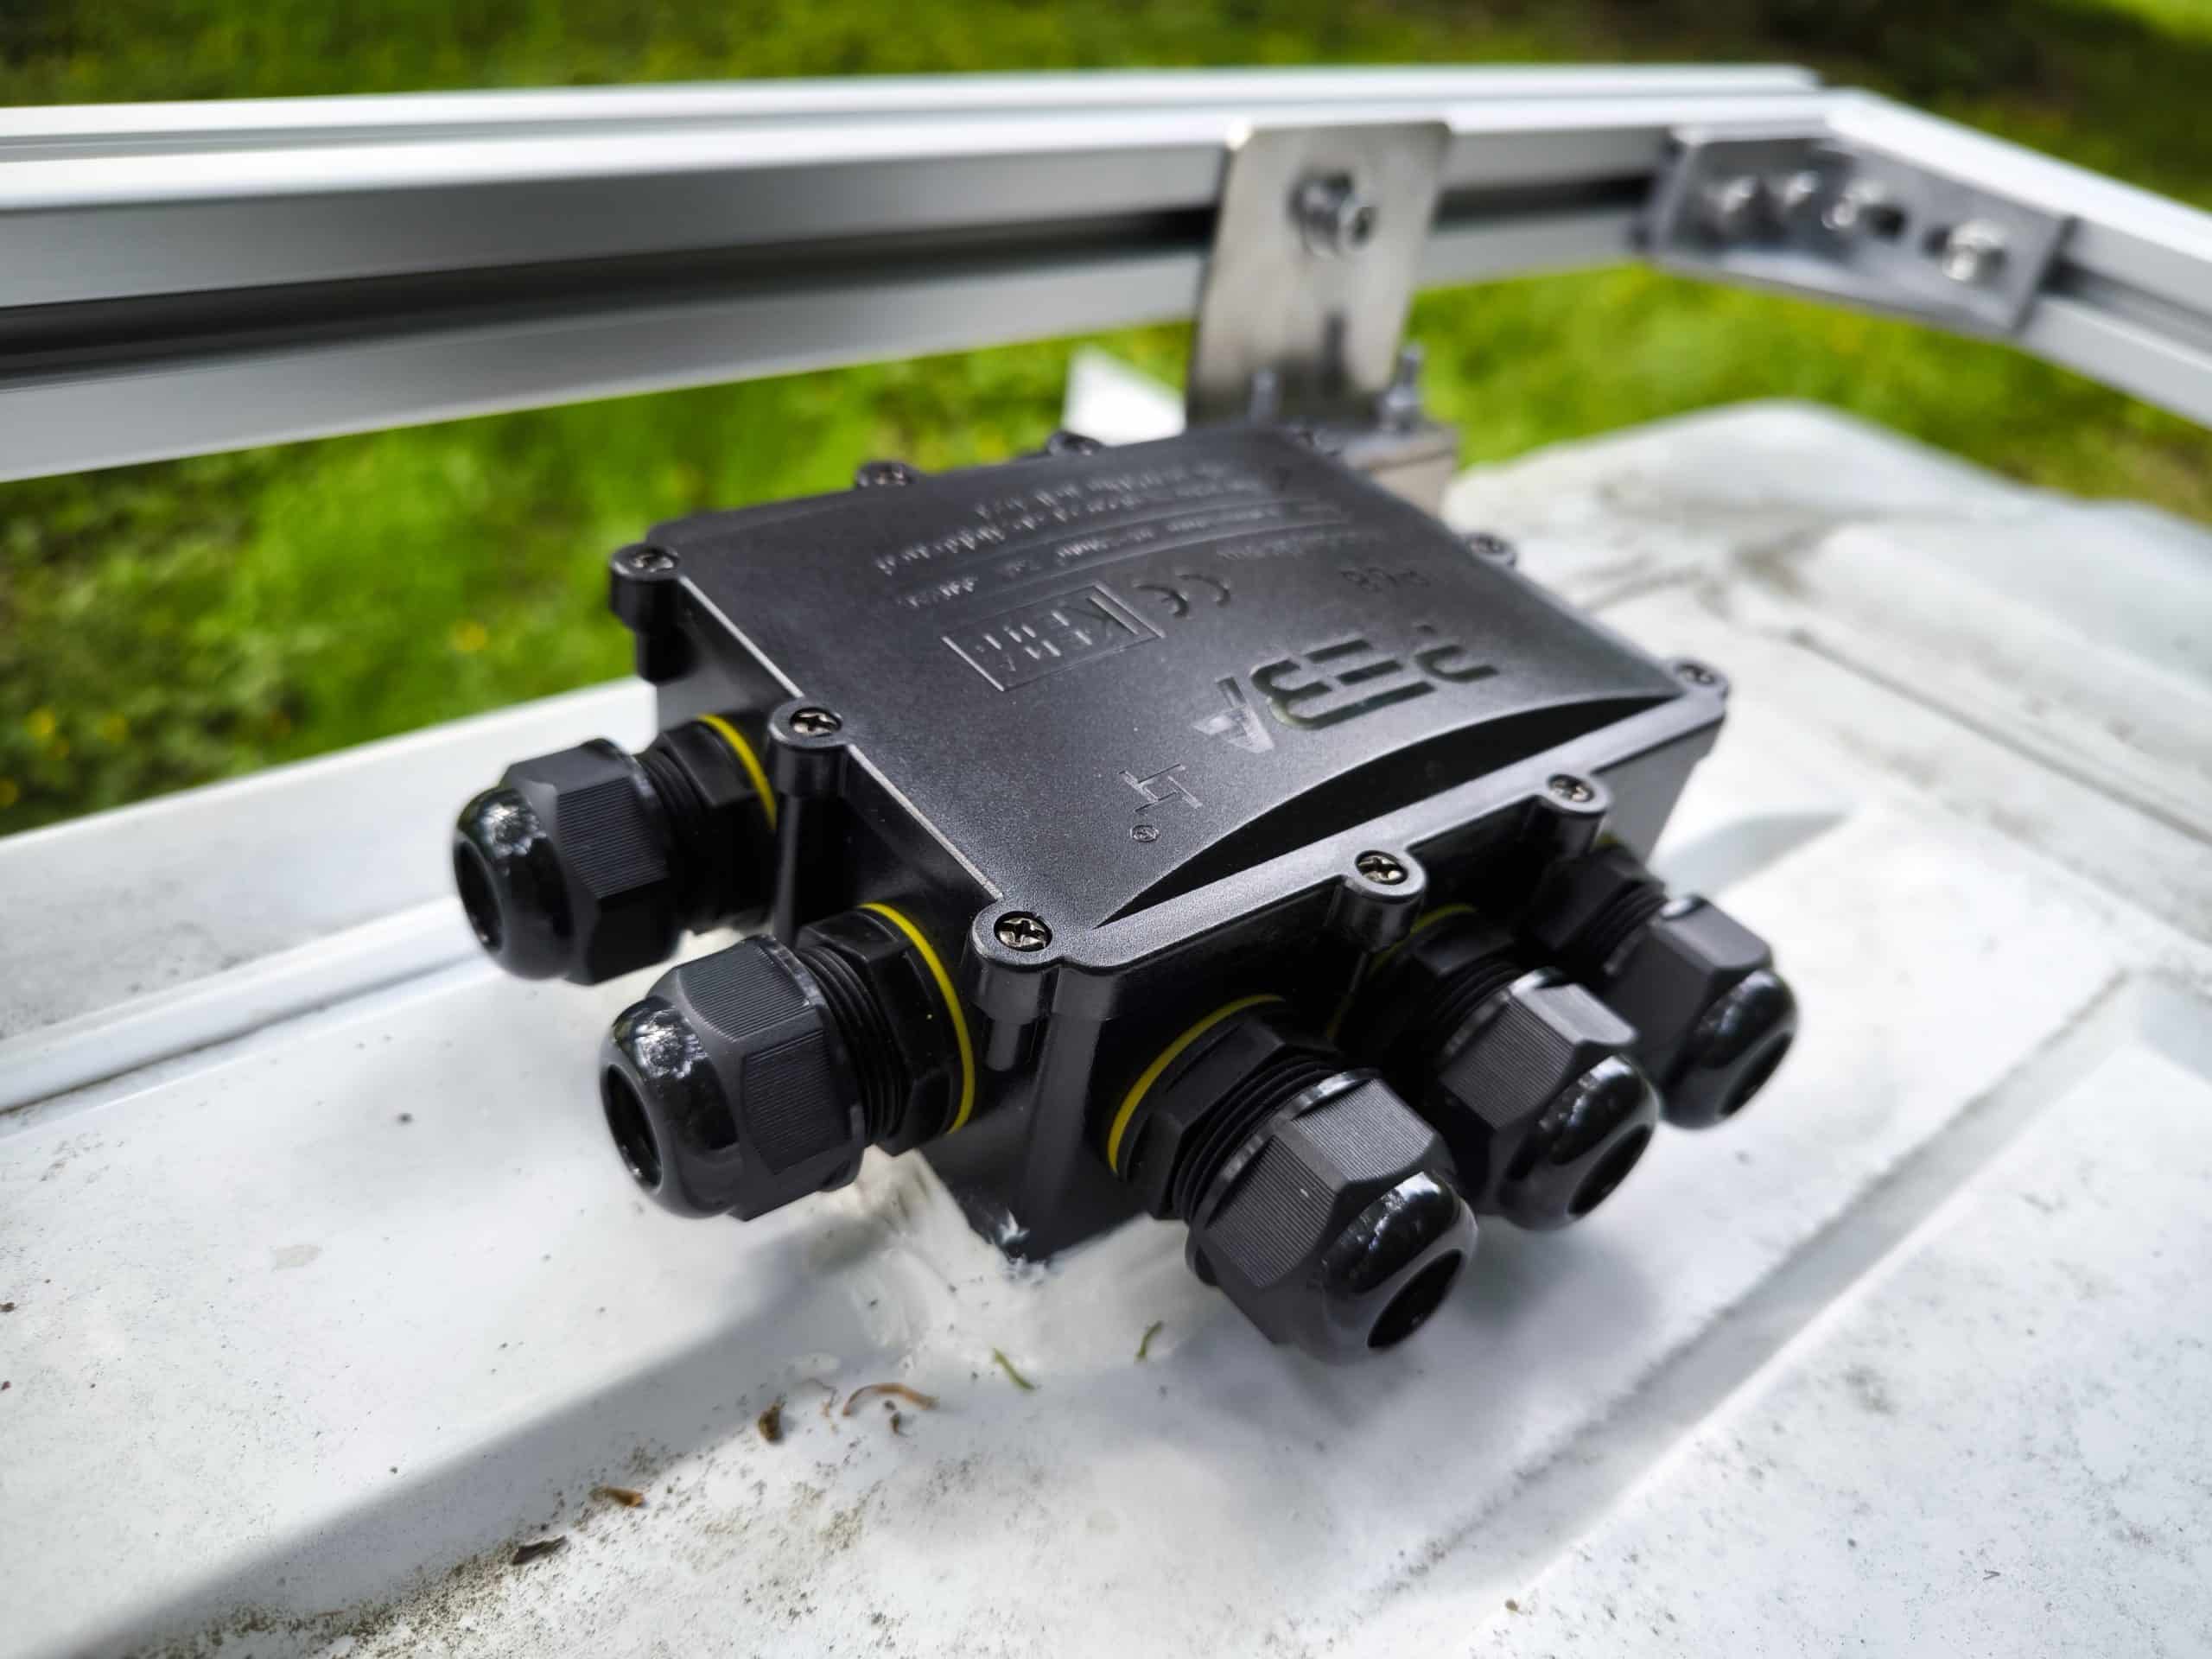
That is, until I noticed that I didn’t have any way to close the glands till I actually wanted to install cables. In the end I chopped some old cable, poked them thru and tightened the glands. This should stop water getting in for now.