Diary Of A Camper Conversion
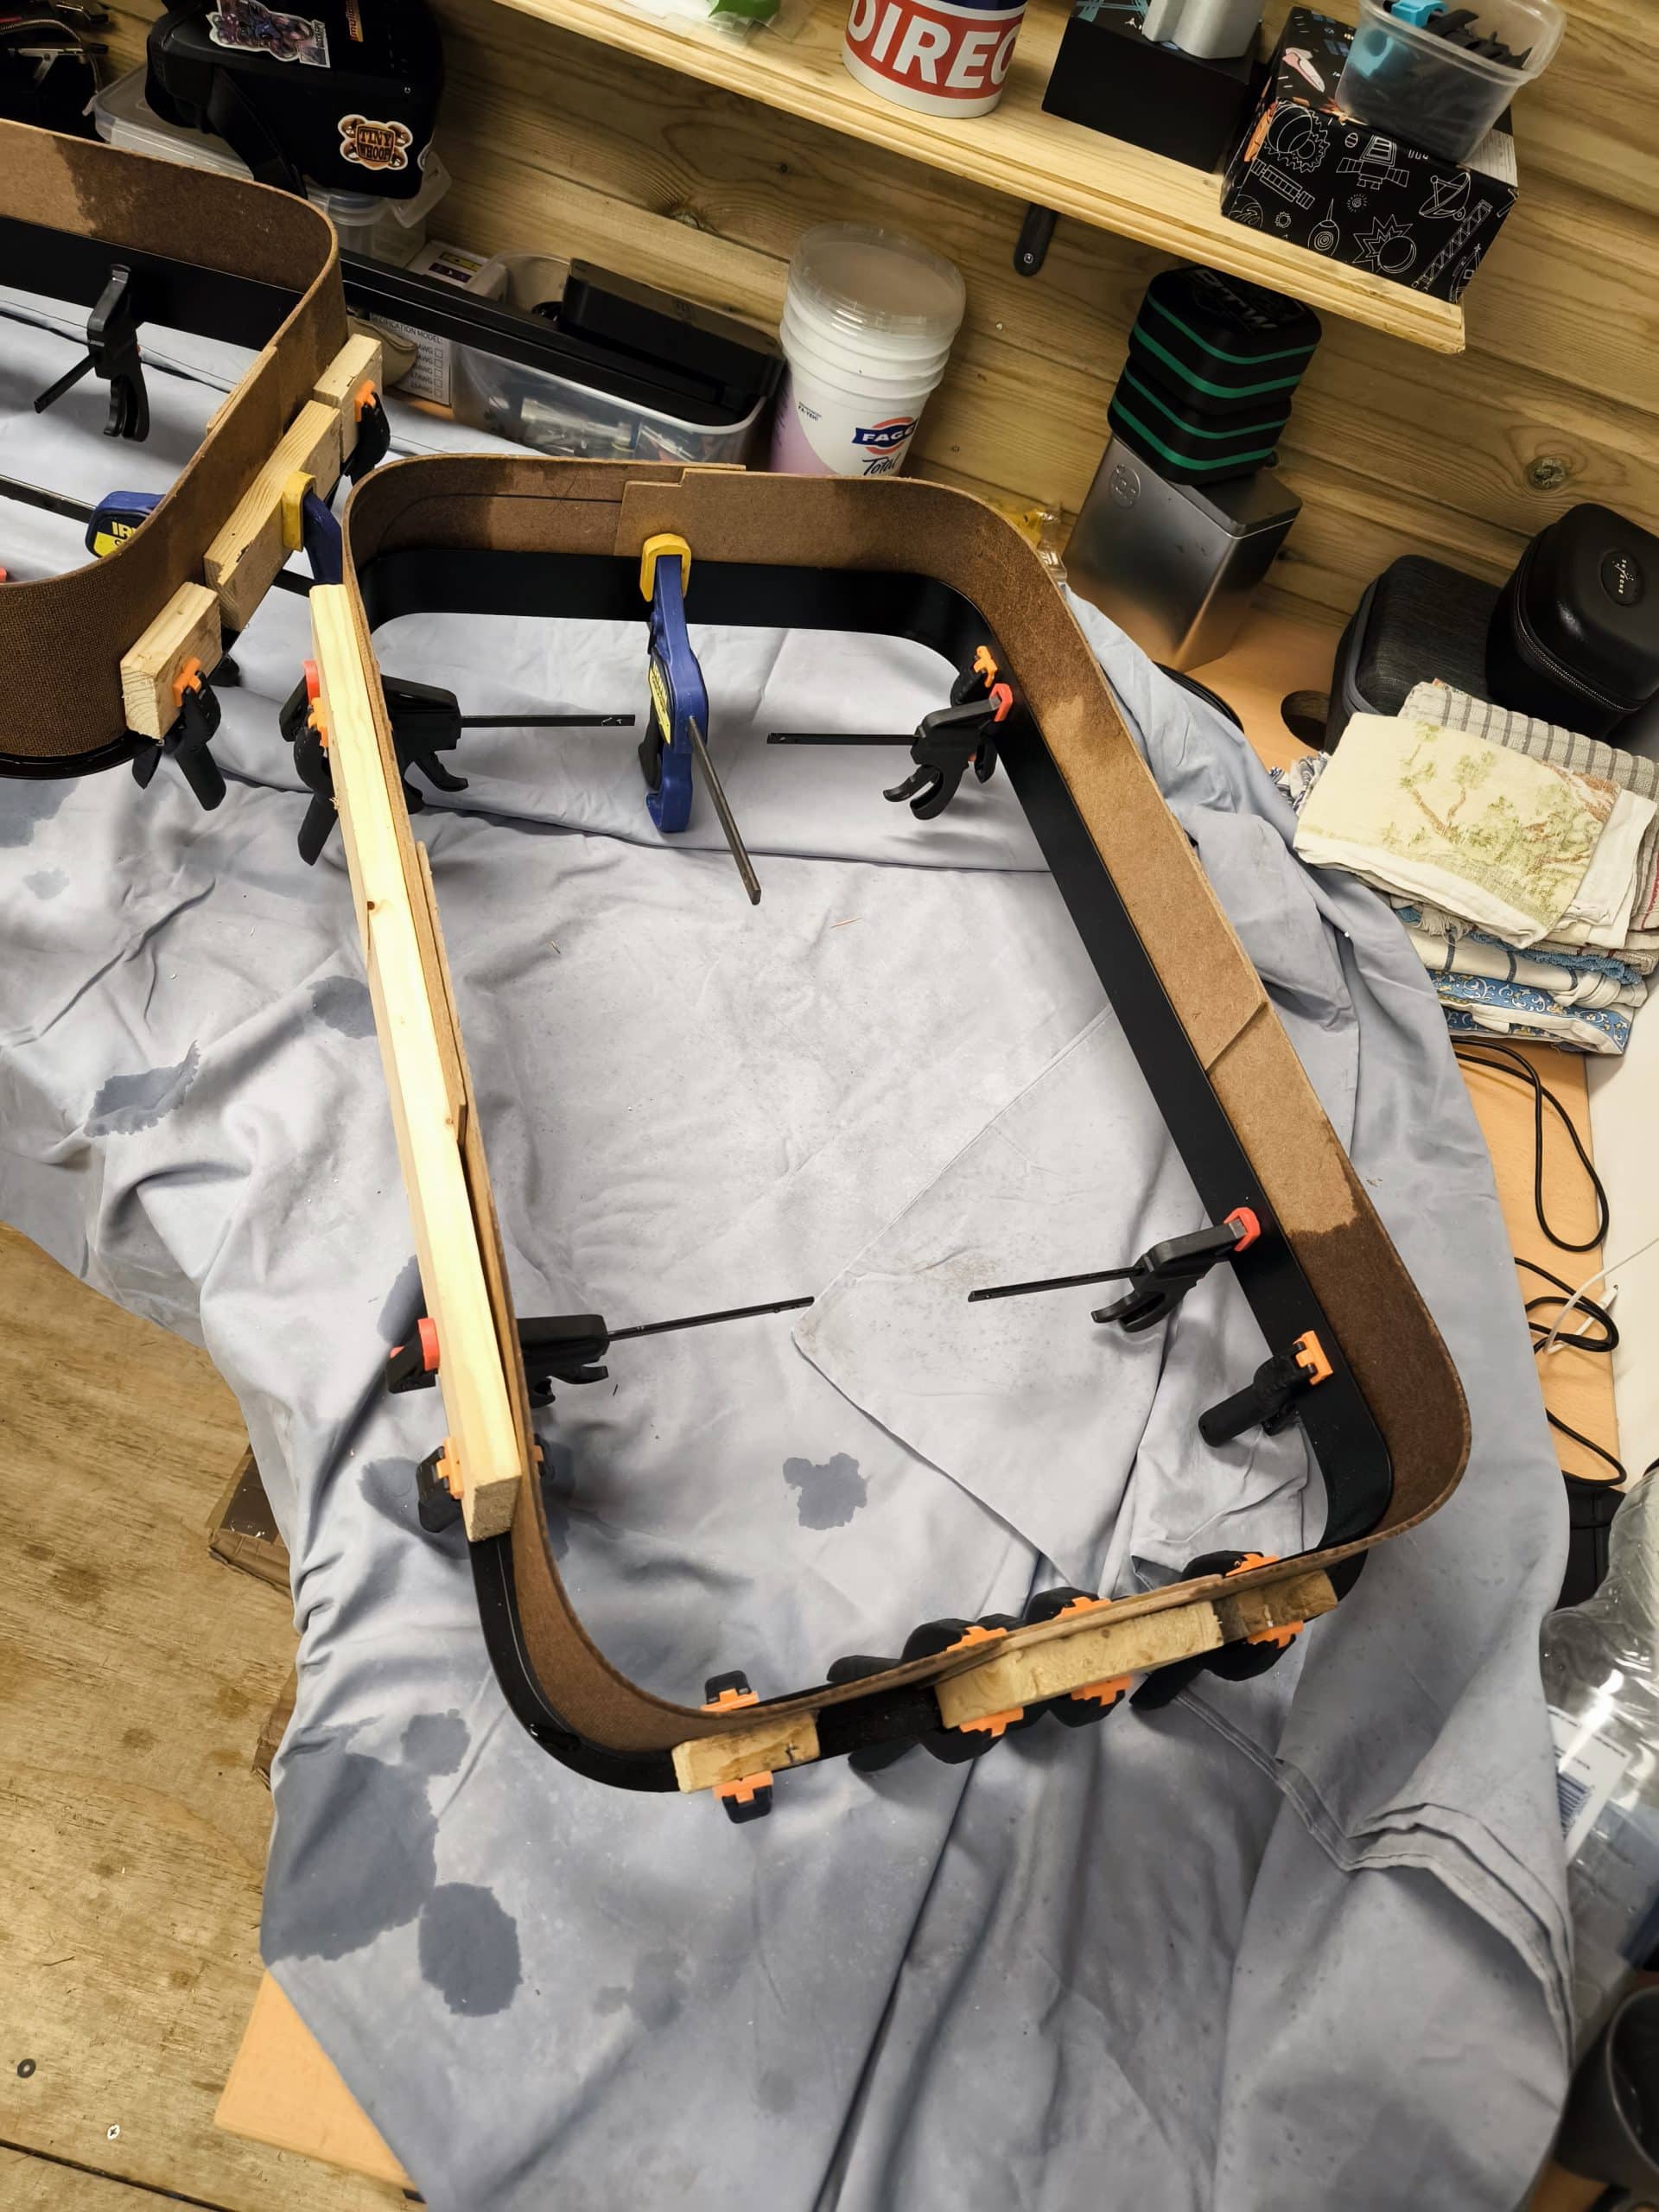
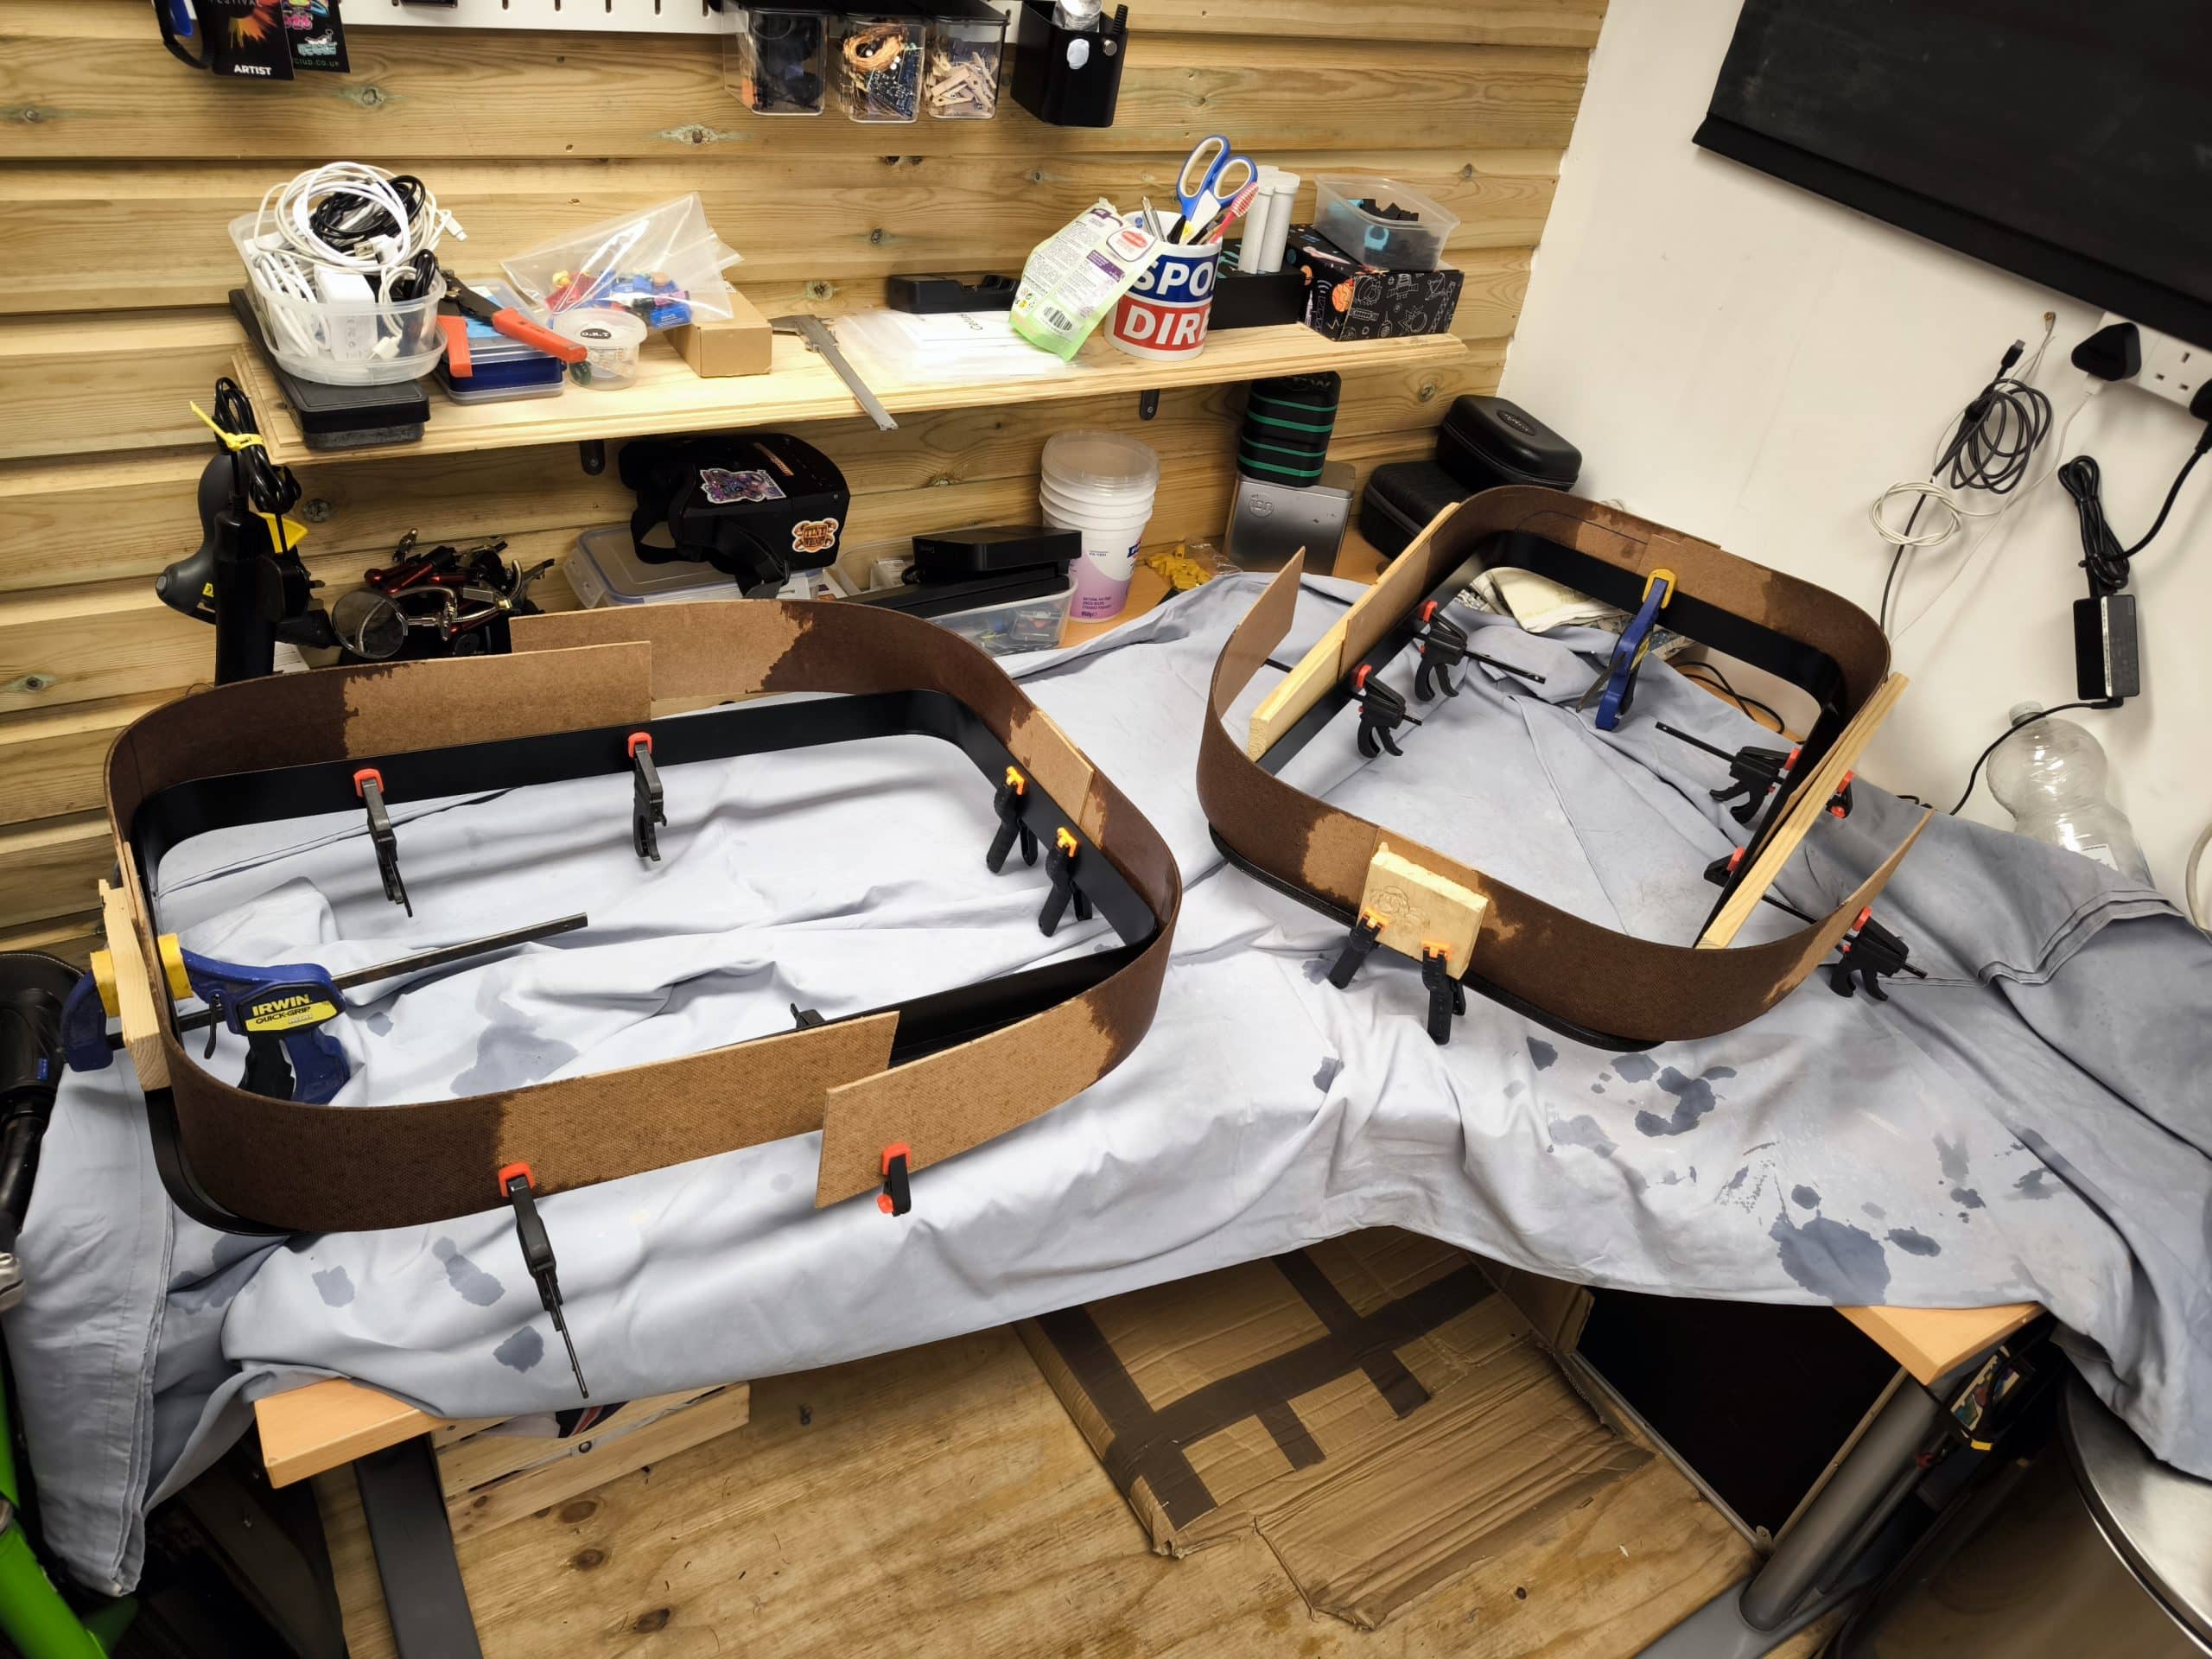
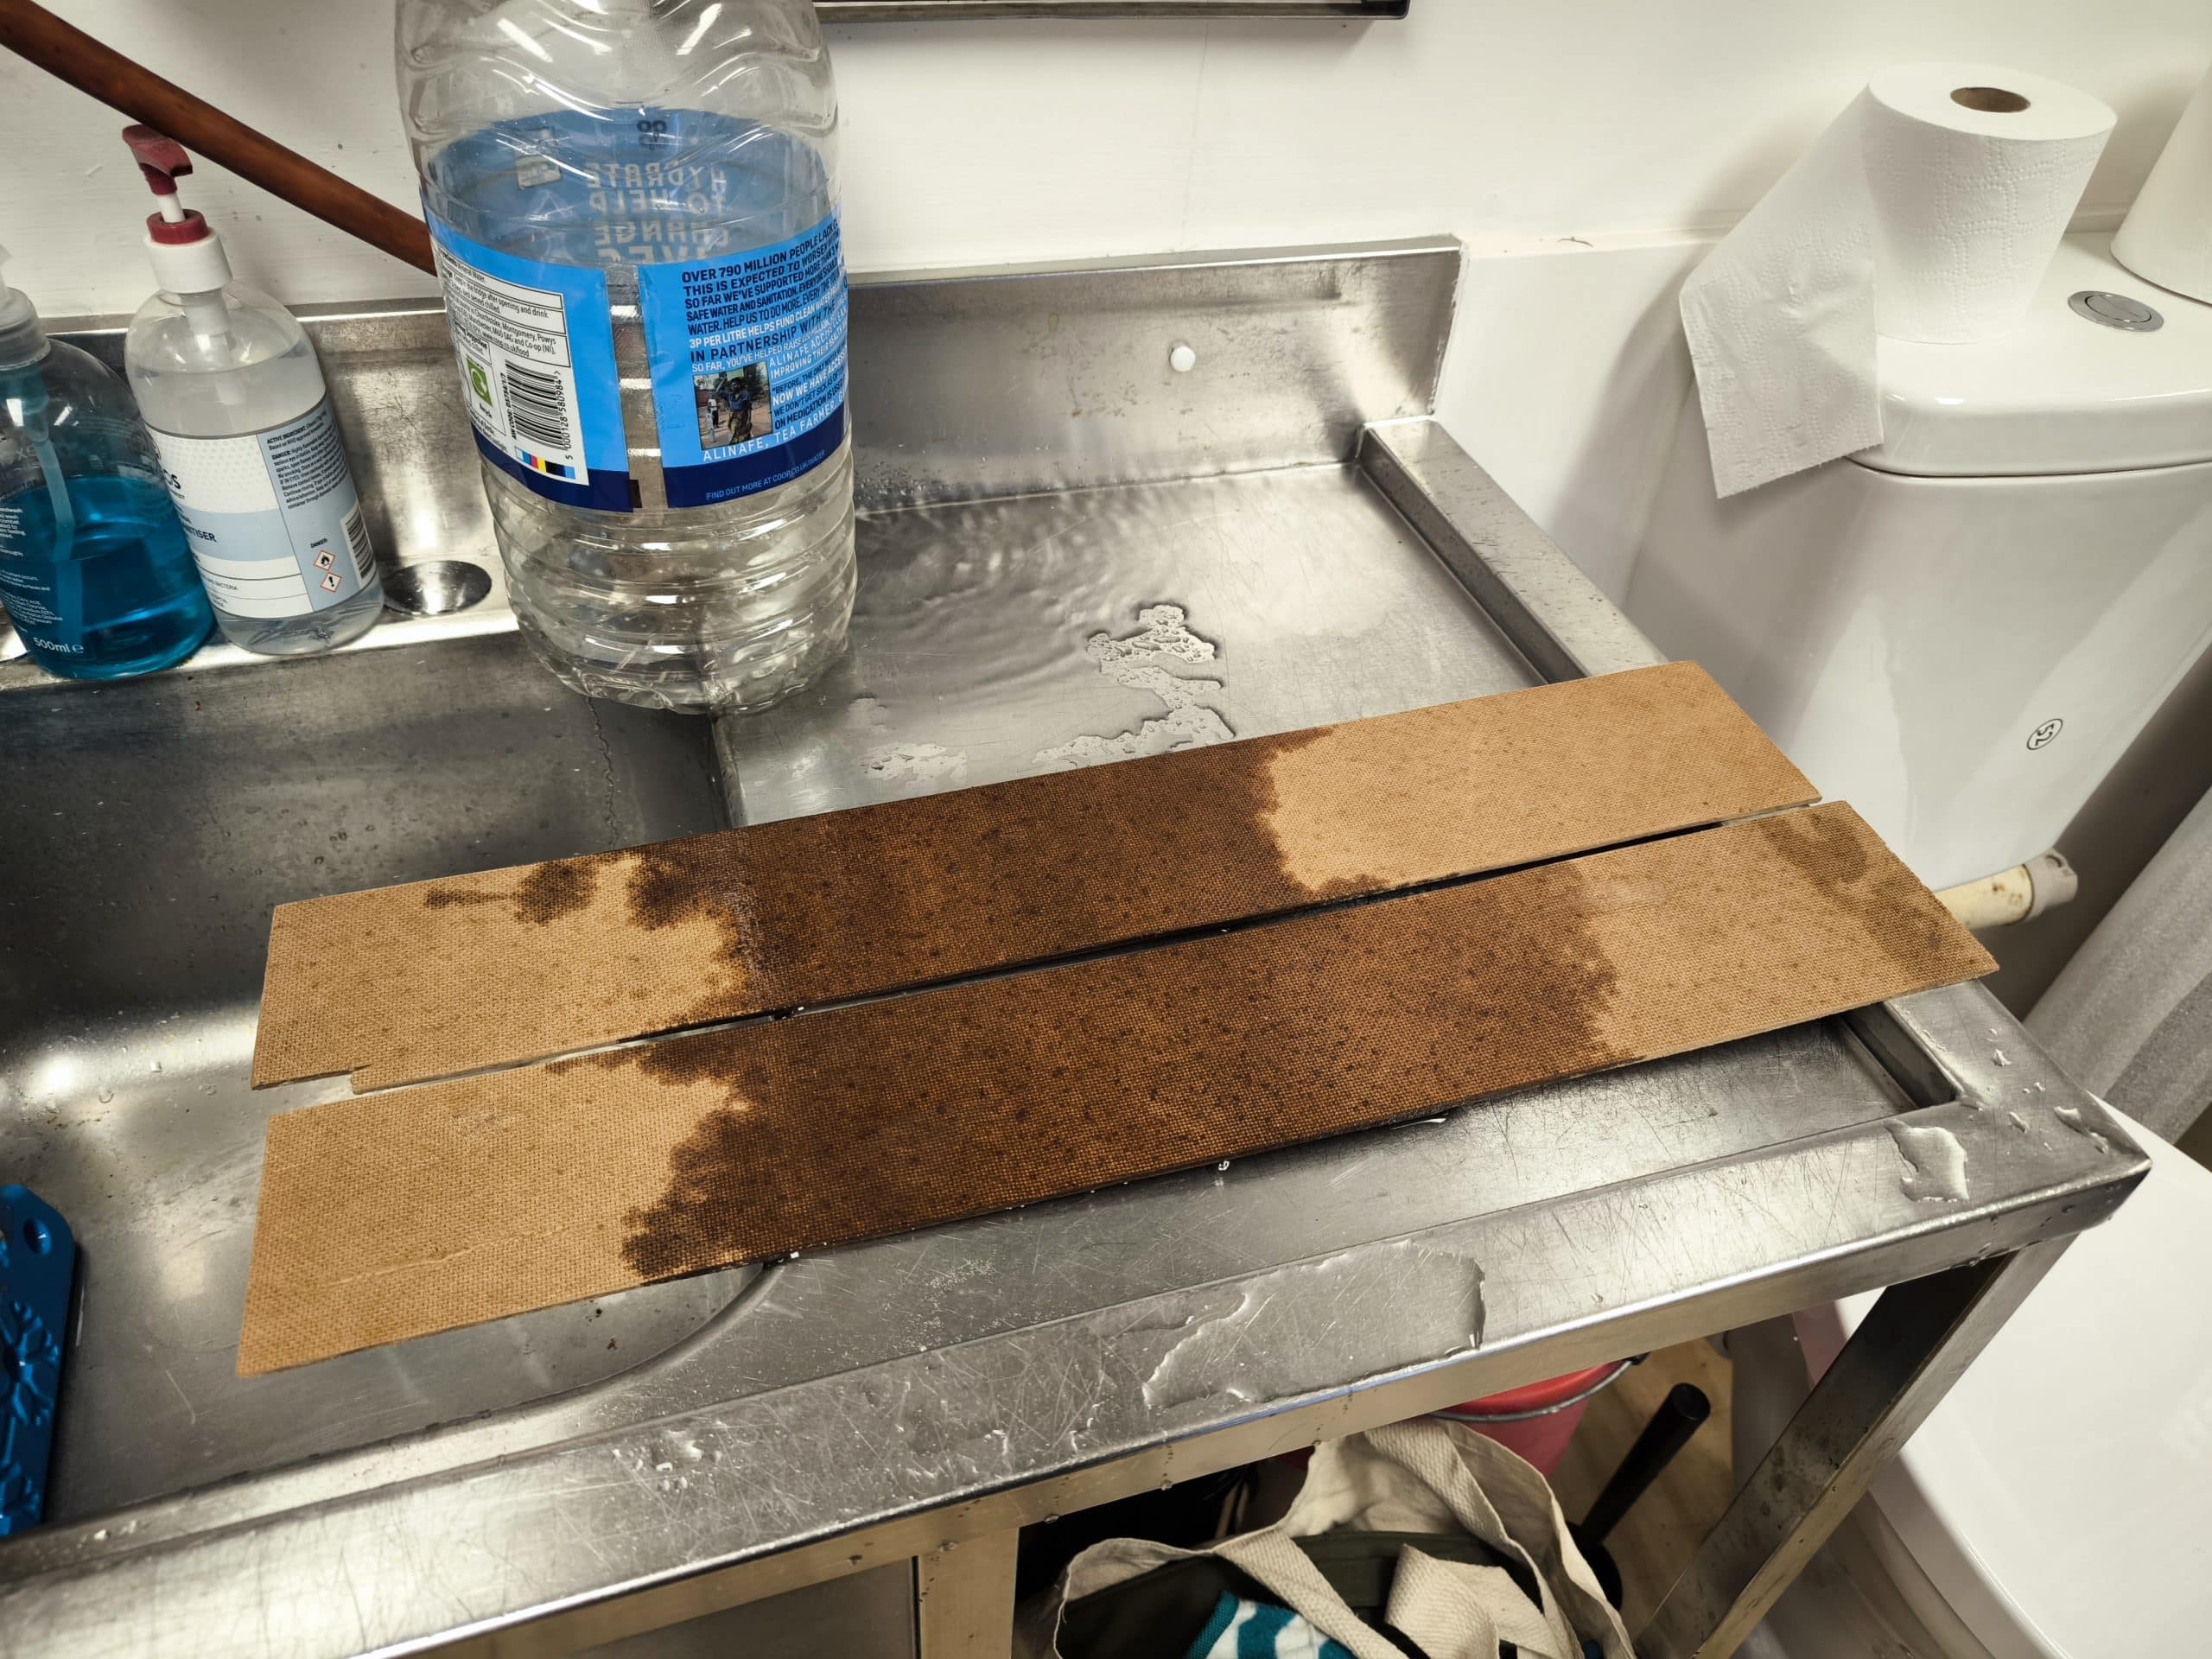
My hunch has paid off and the result is surprisingly neatly bent hardboard. So I set about cutting strips, soaking them and then slowly bending them to shape around the skylight trims. They are made from aluminium and strong enough to act as forms. Once all clamped up and bent, they just had to dry, so I left them in the shed while I went to work on the van.
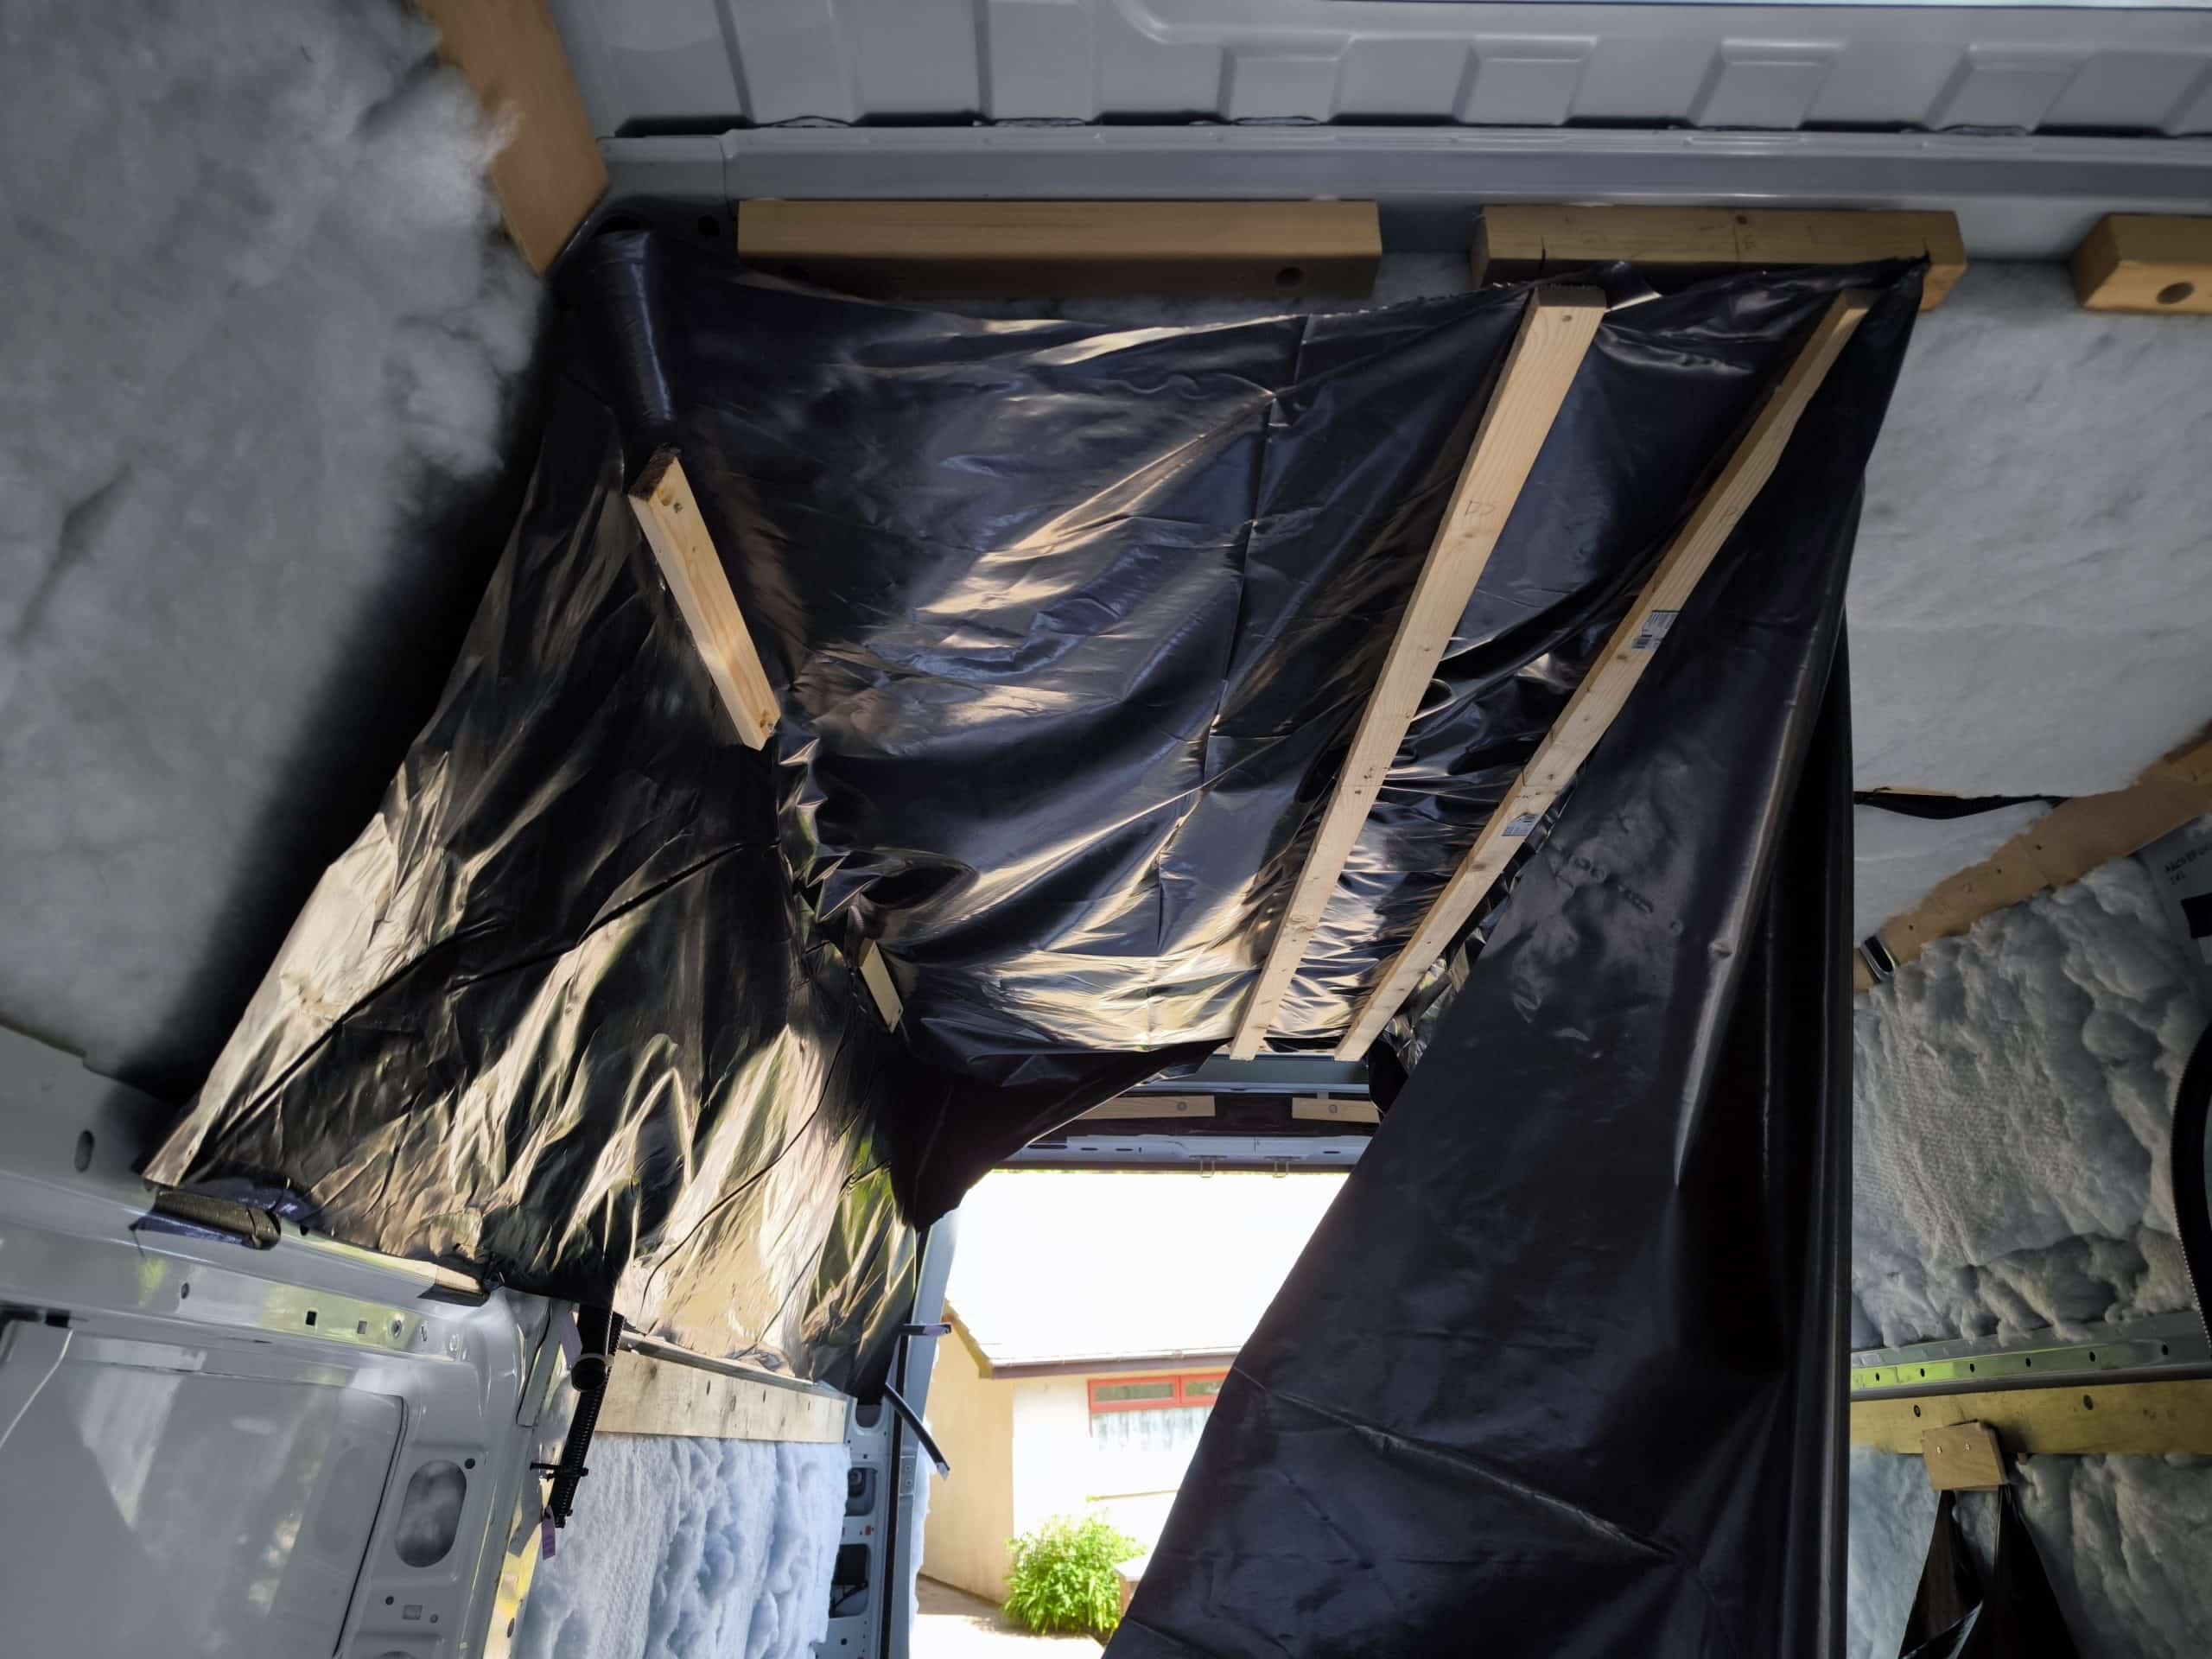
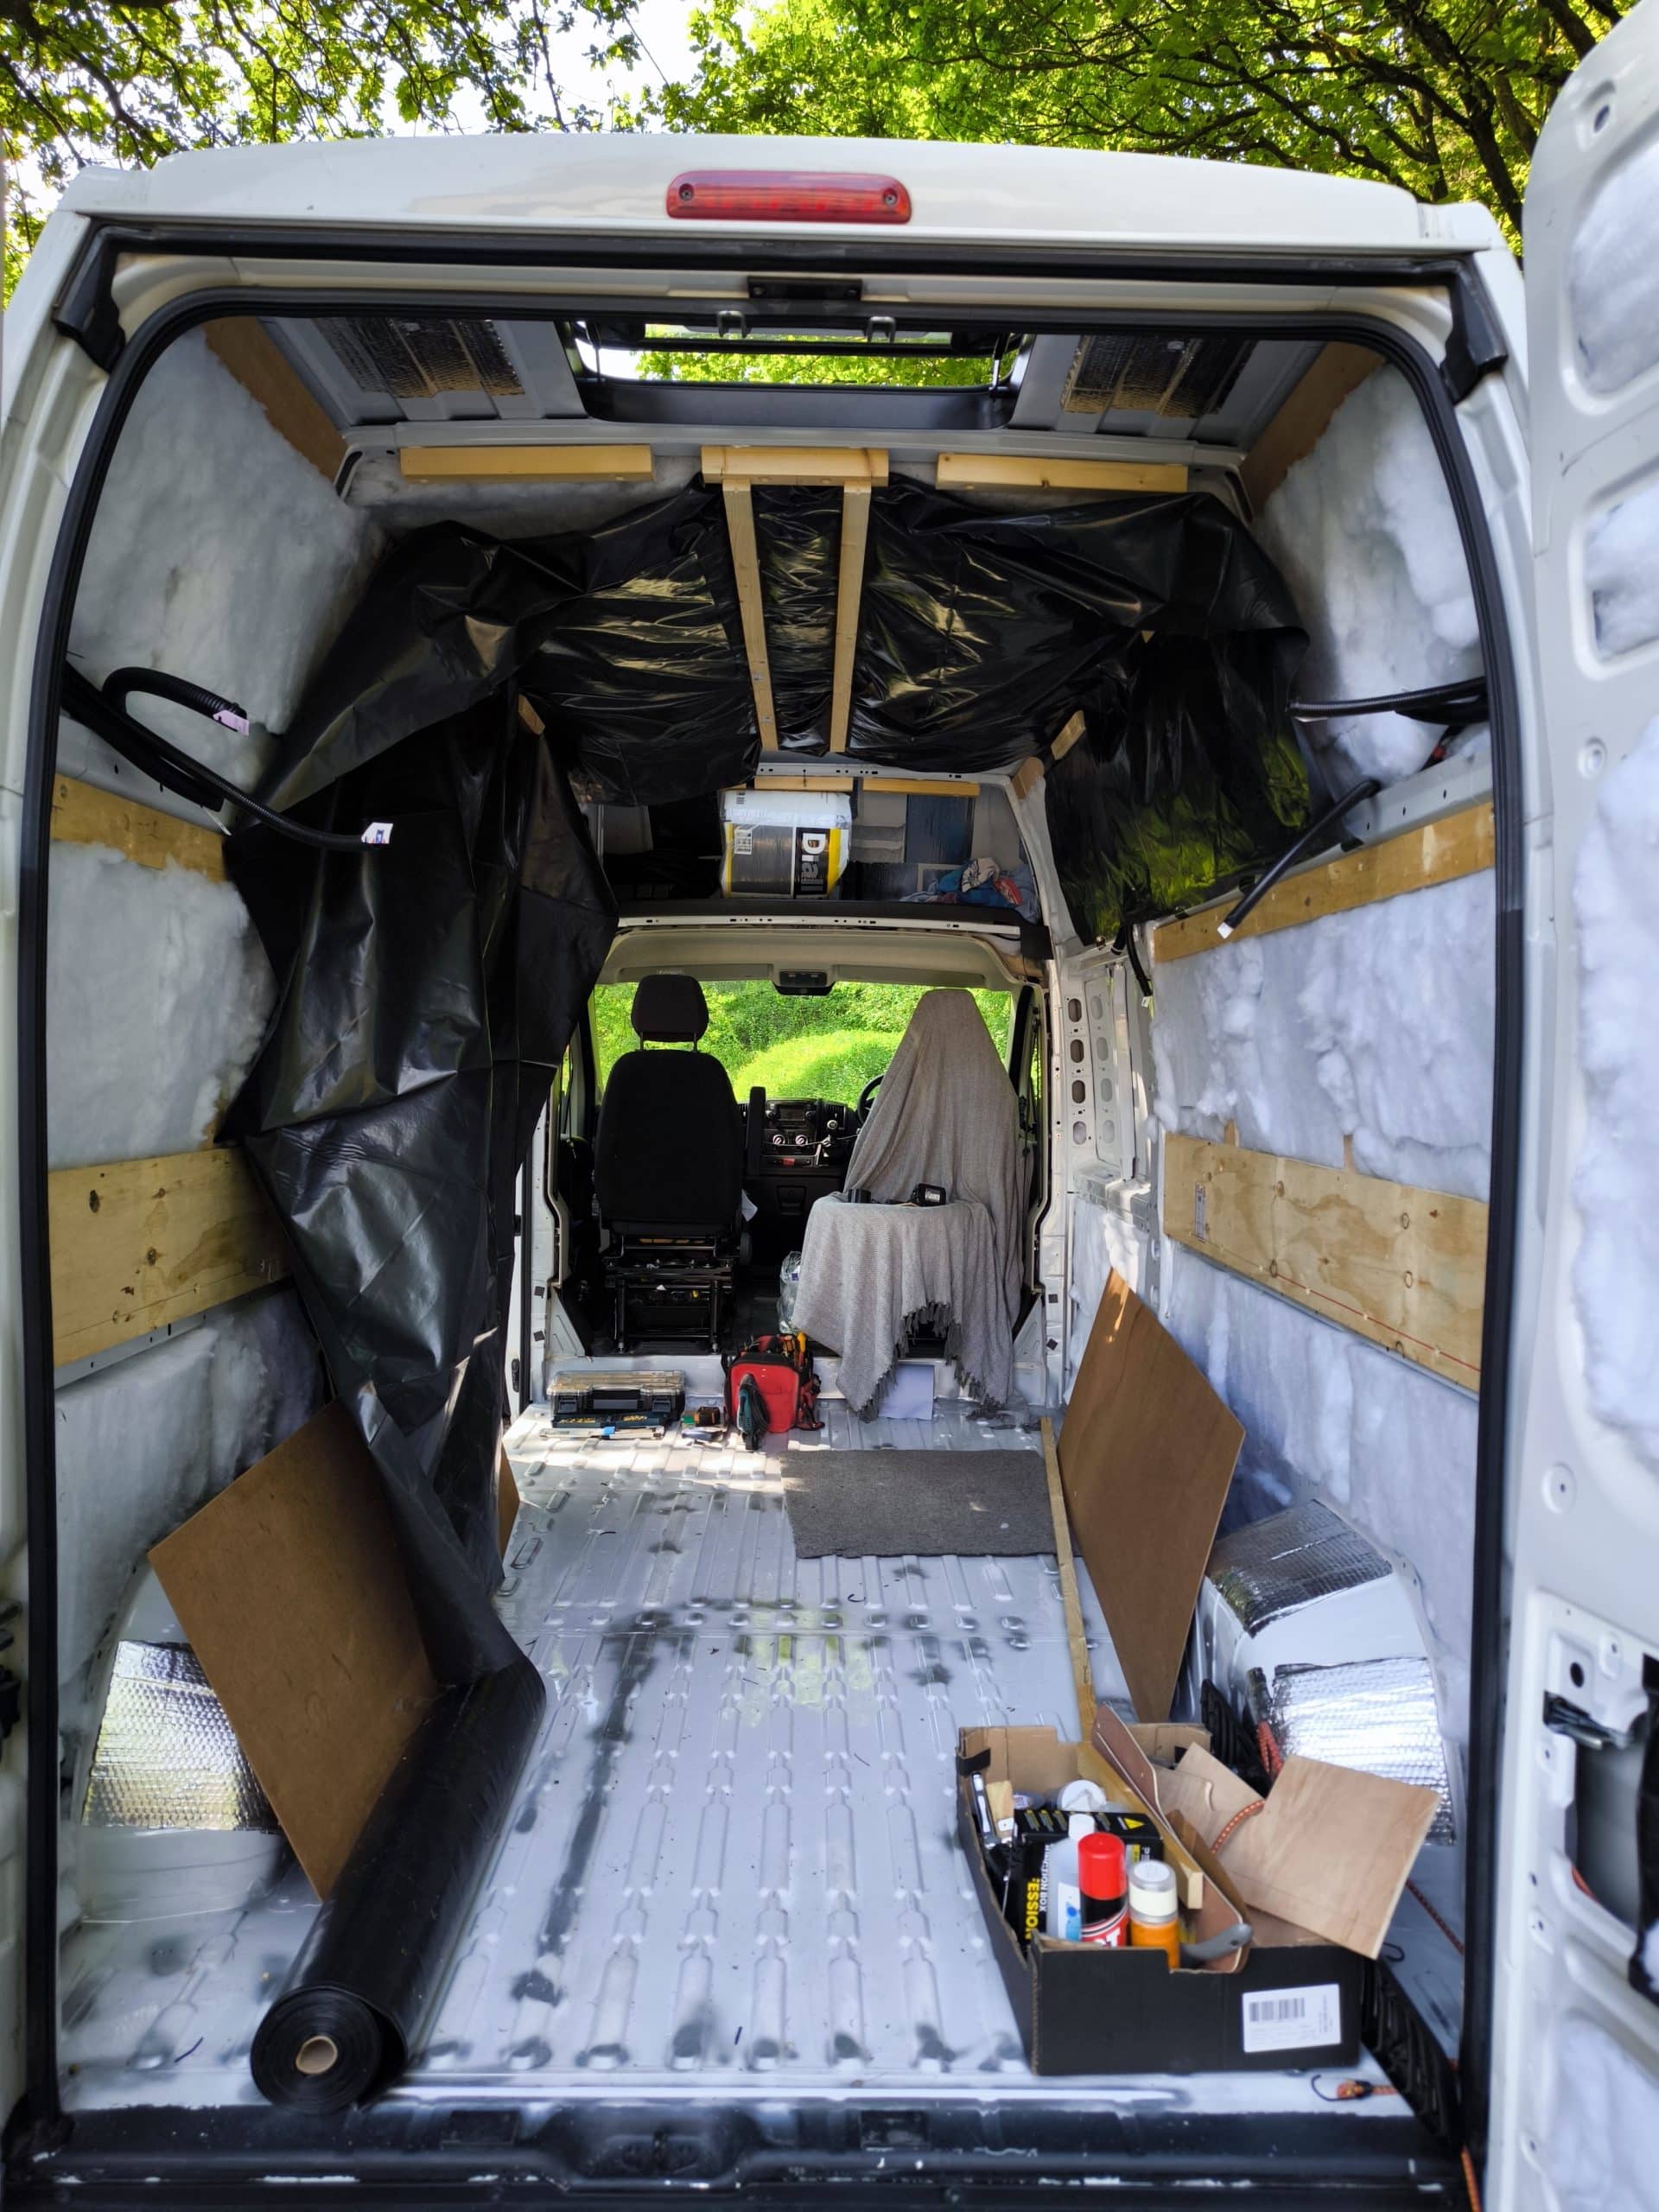
Today is a bigger job – installing the vapour barrier. This is the stop the warm moist air in the living part of the van, reaching the cold metal external skin of the van, condensing and then pooling water behind my cabinets where I cant reach it. Many vans succumb to this hidden rust damage and so I’m taking precautions now by putting up some thick plastic DPM. The plan is to do it in sections and tape it in place.
With the first hardboard ceiling panels cut to size, and a helpful length of timber. I draped a huge sheet of it over the timber and then screwed it to the ceiling. This held it up while I got it taped in place. Working from one side to the other it all got taped up, with only a few wrinkles.
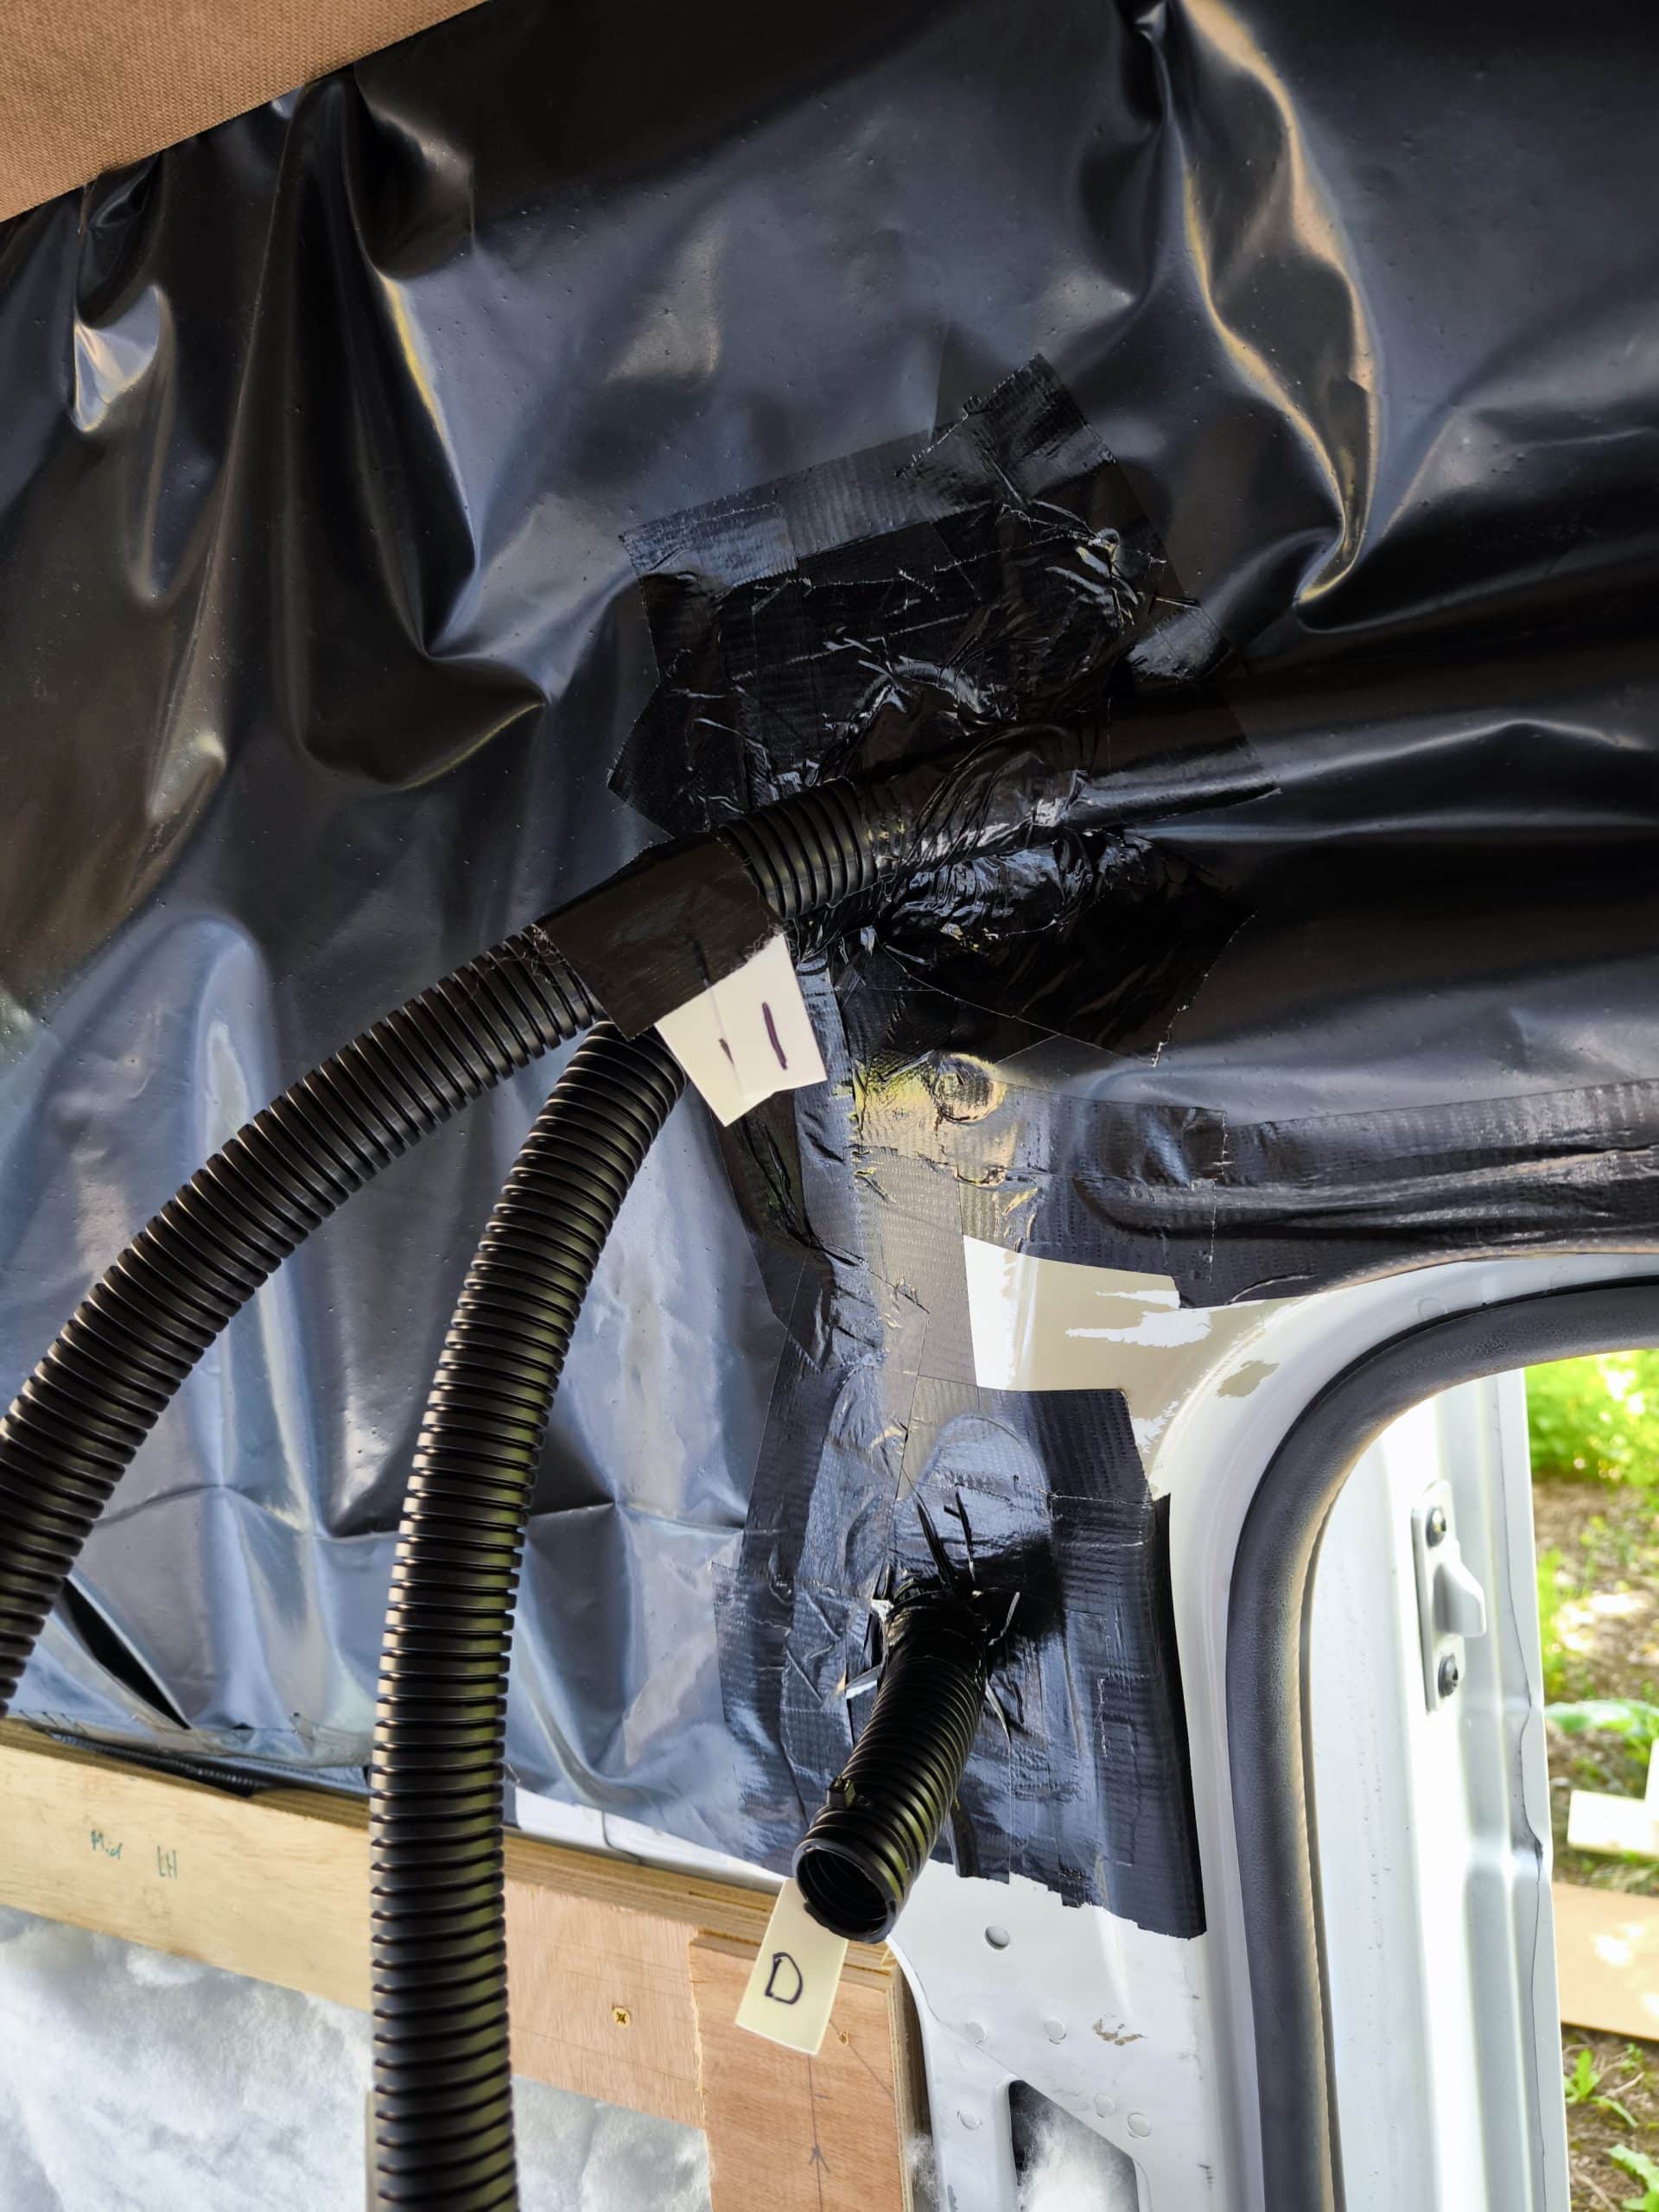
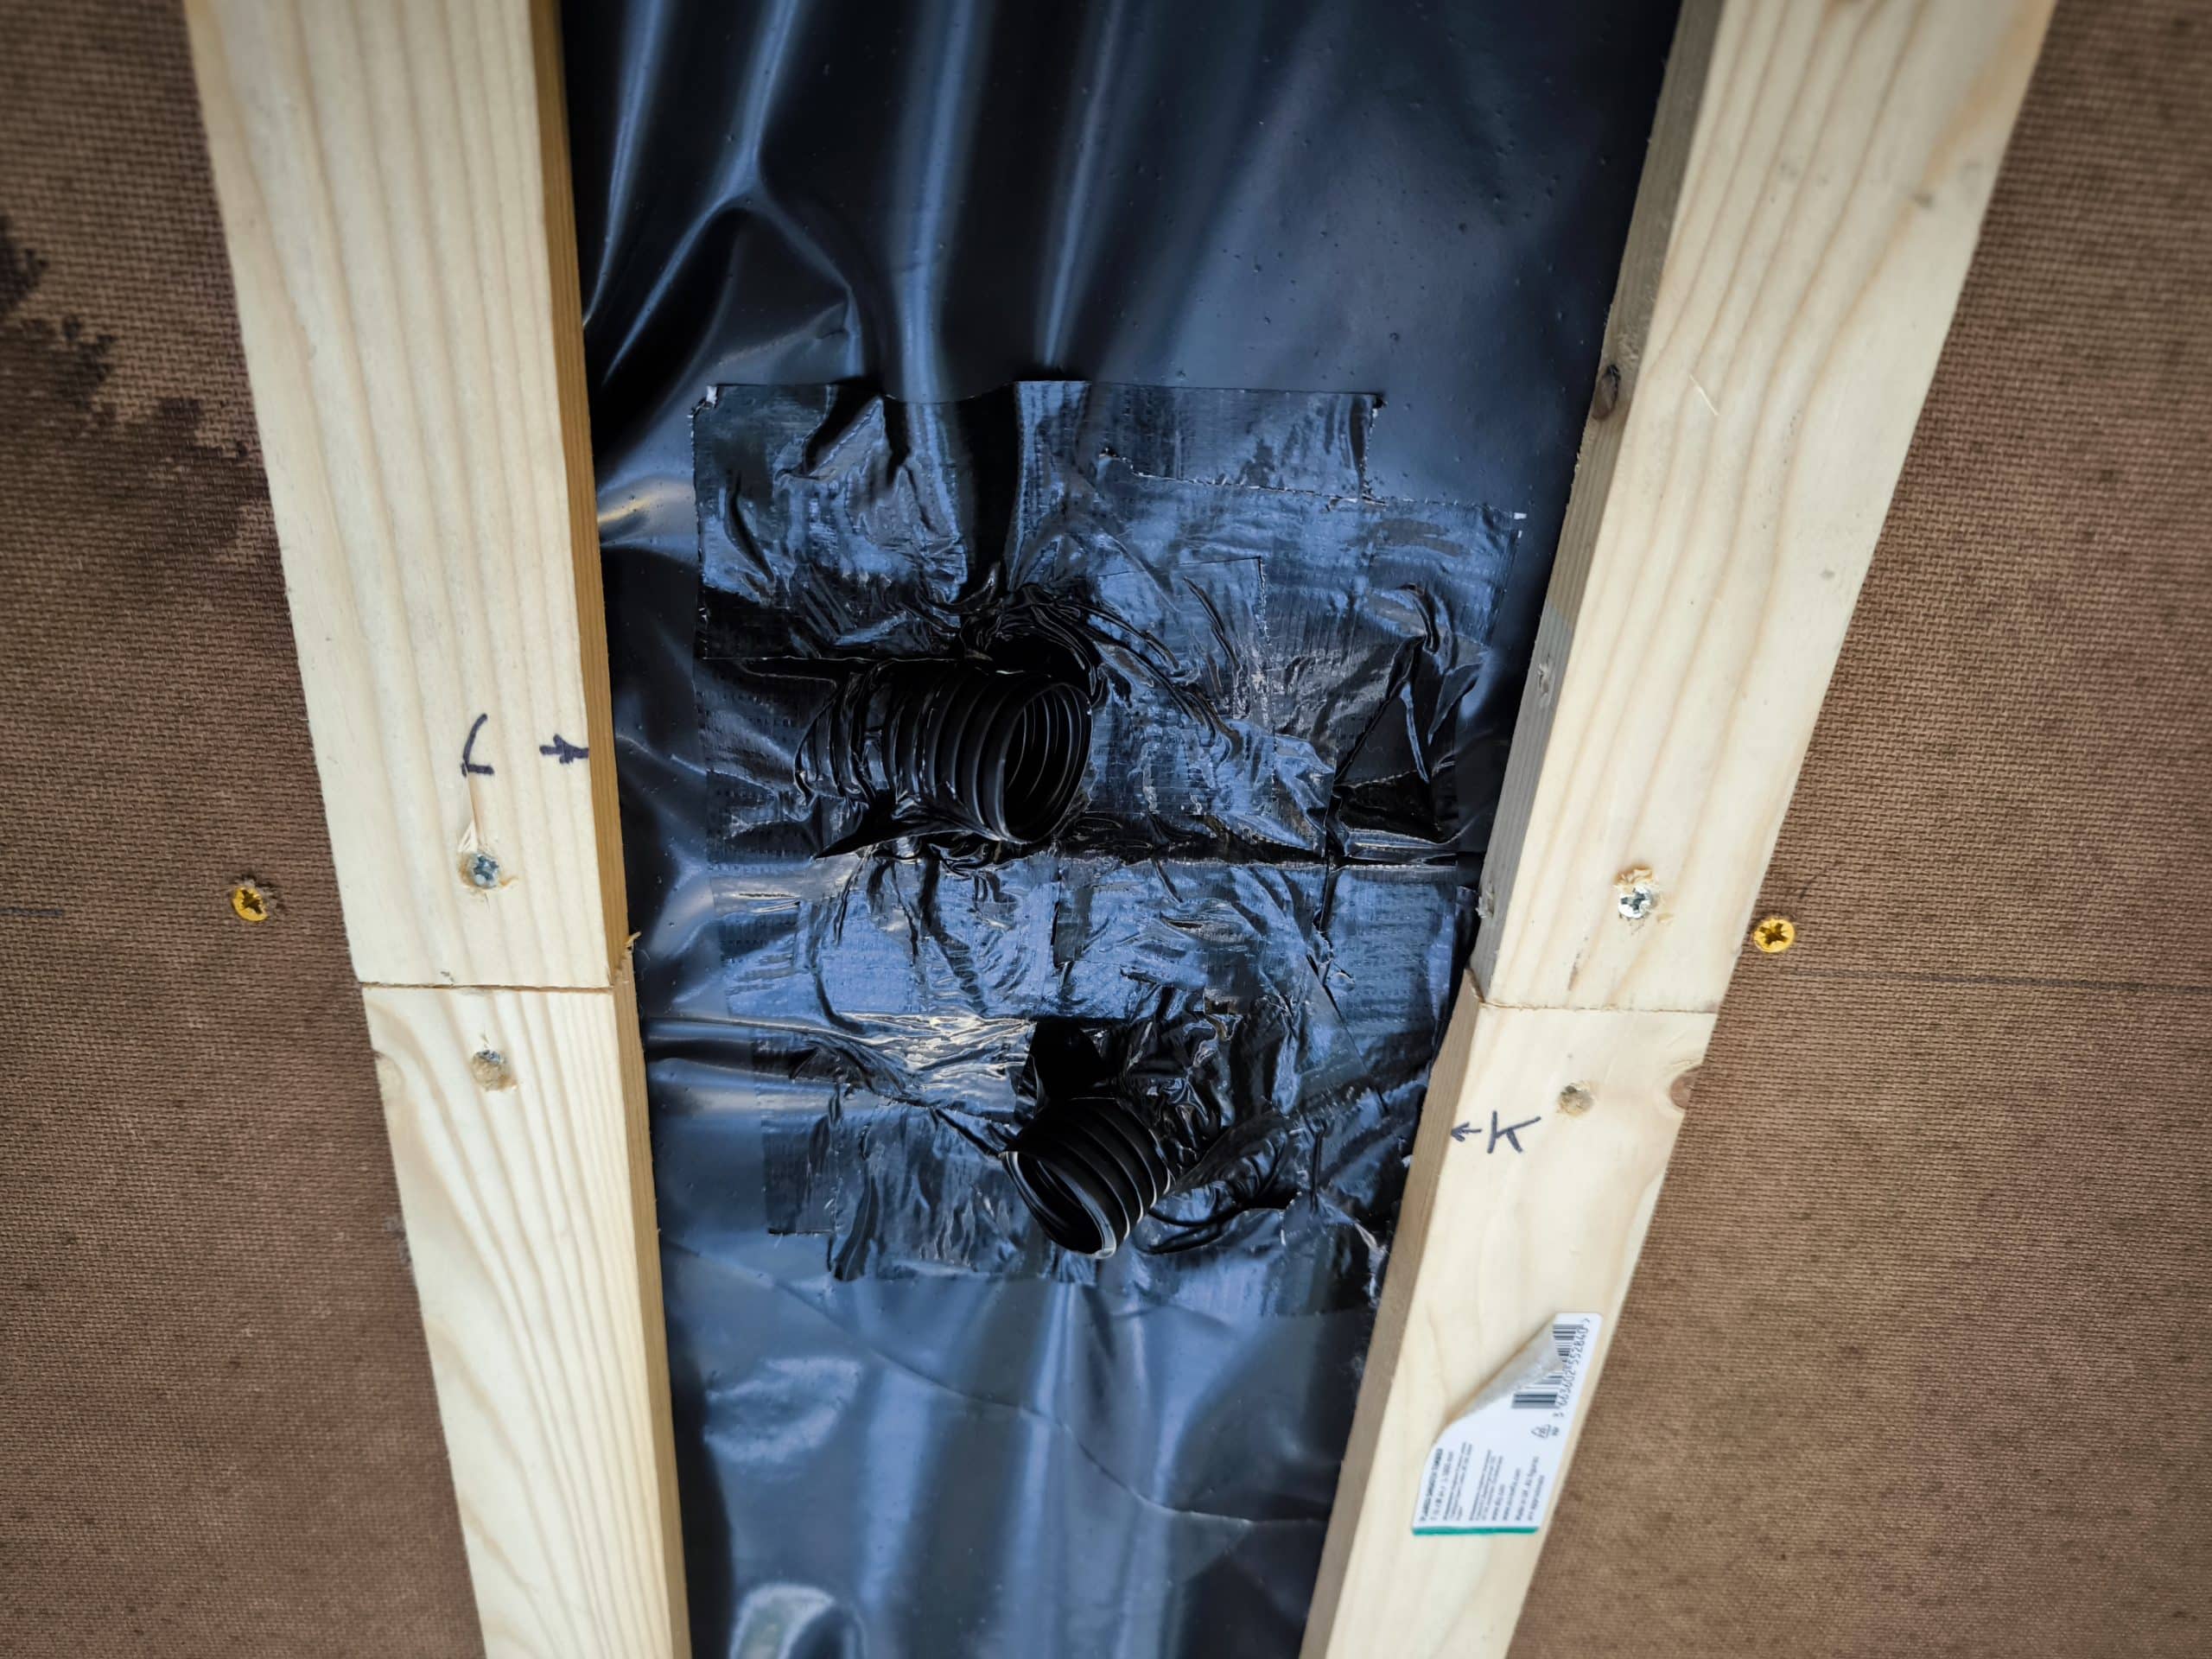
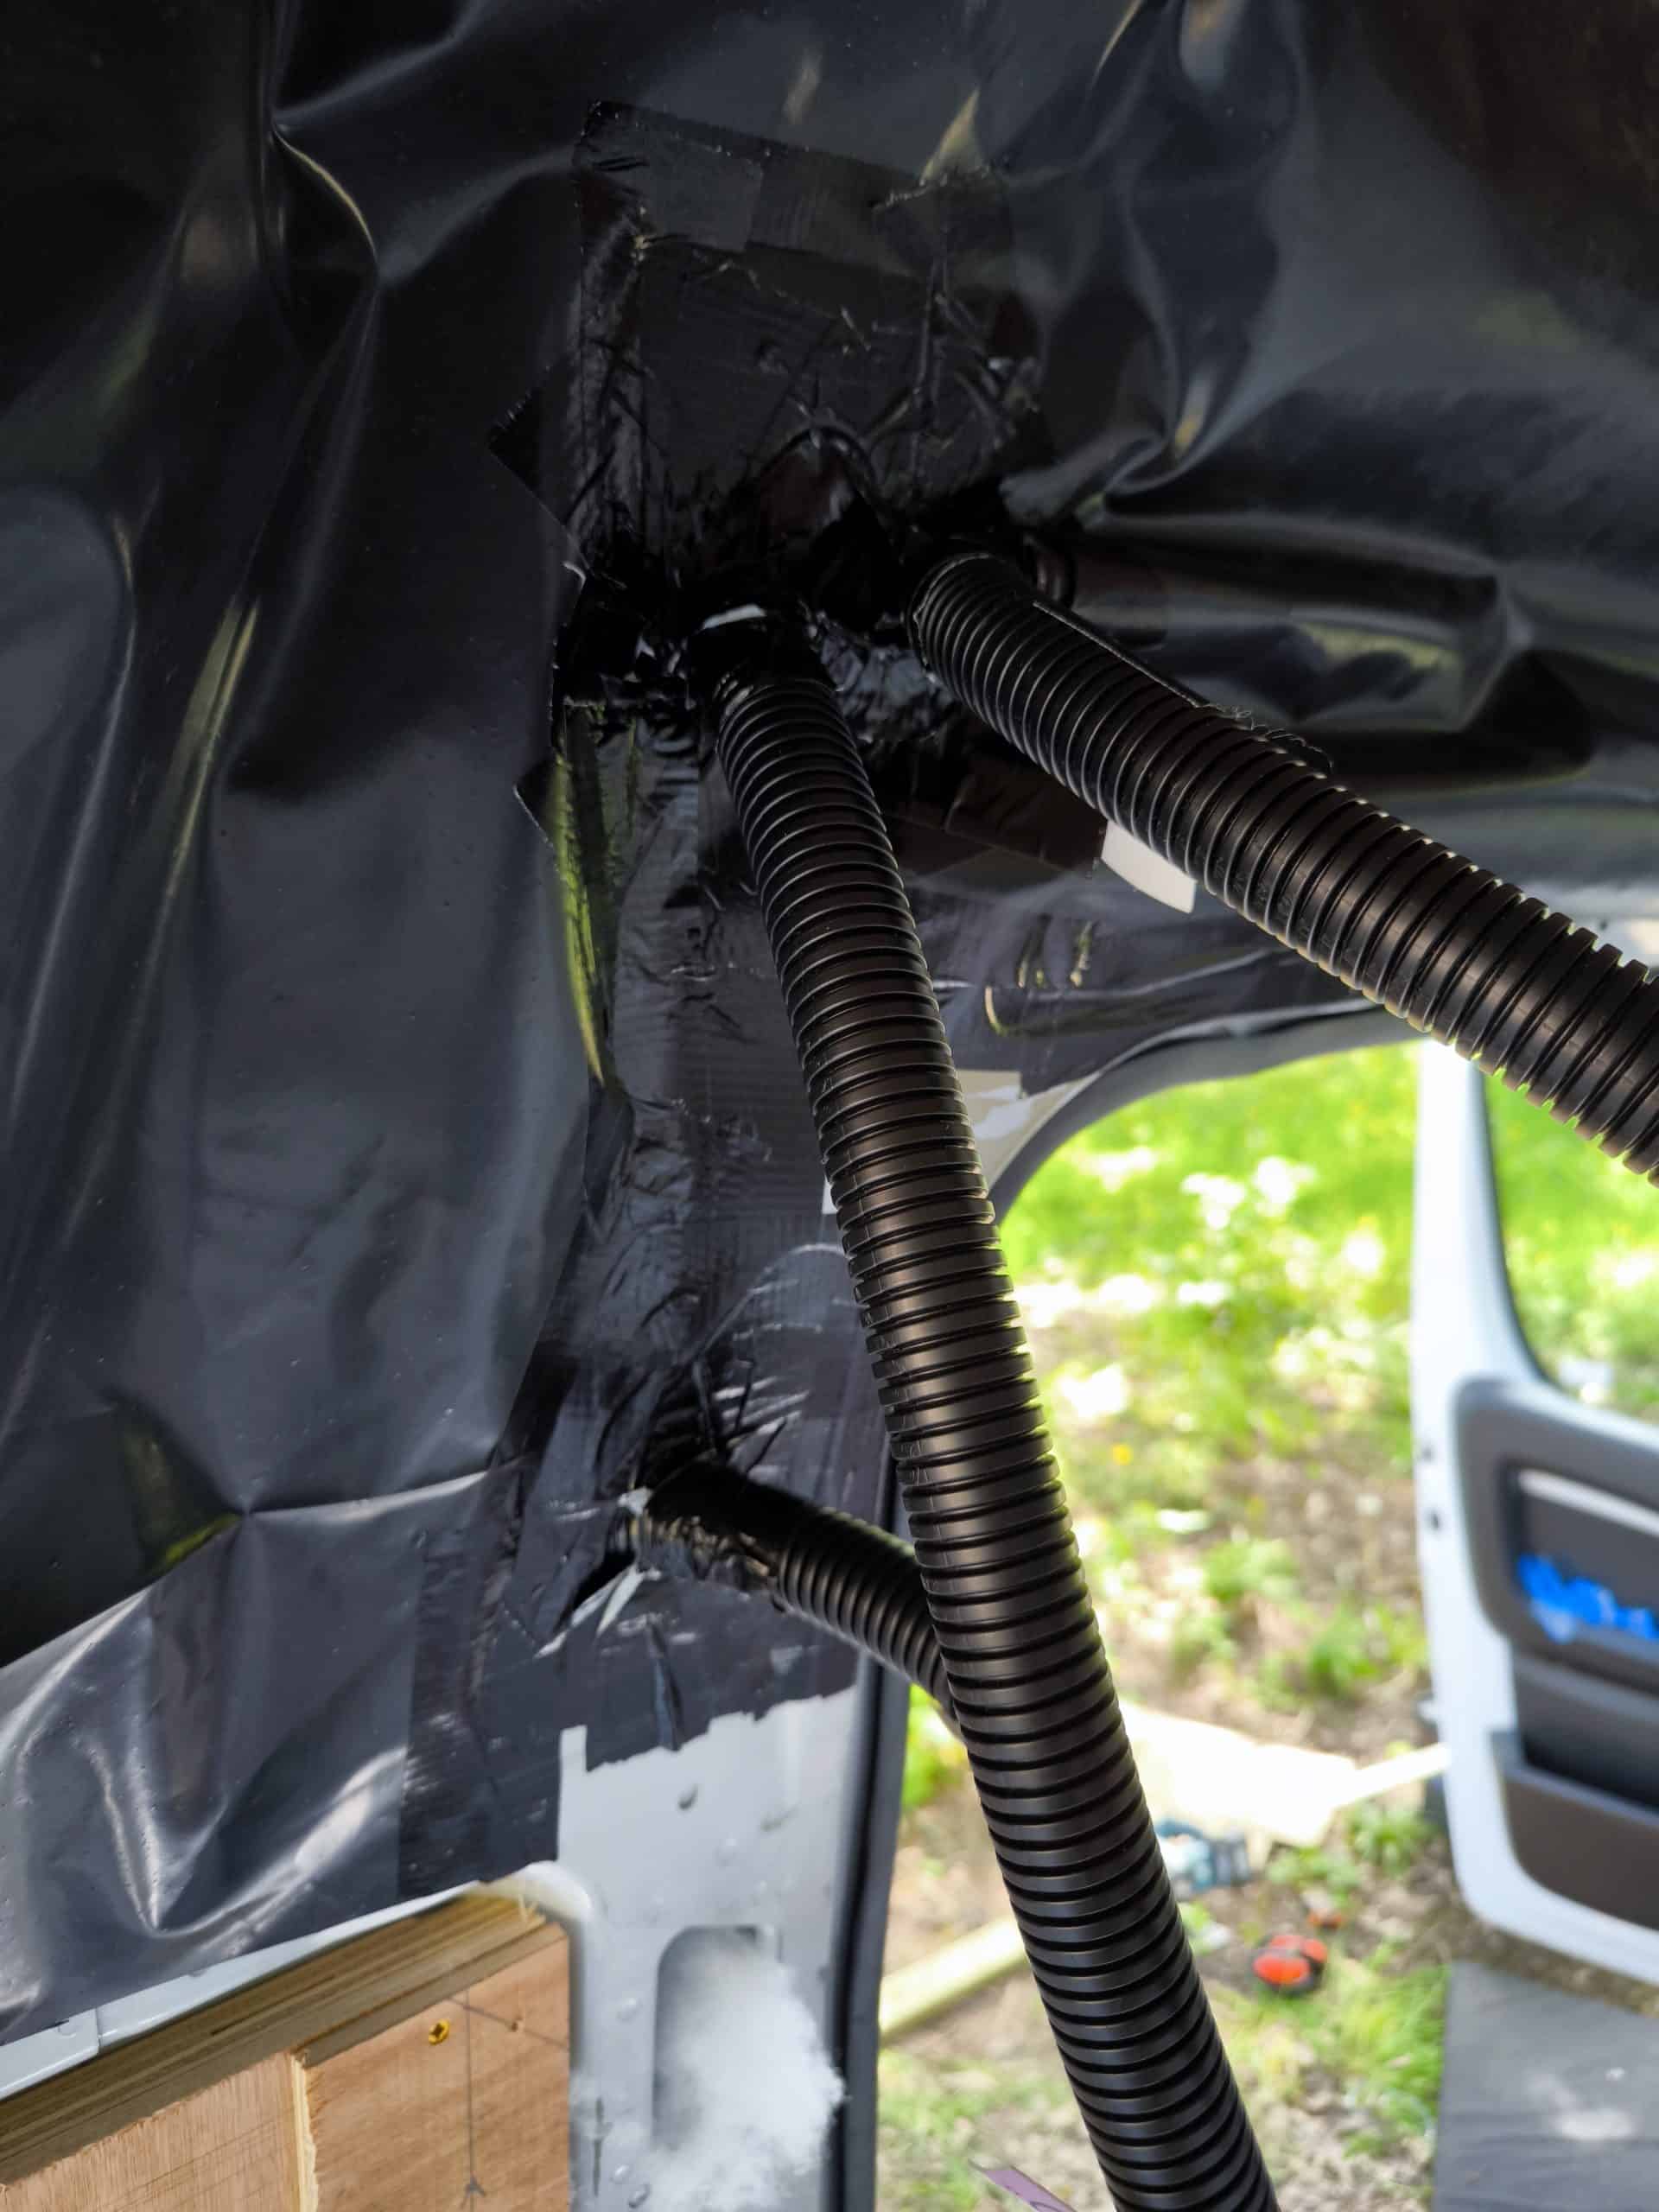
Ive run electrical conduit through the frame of the van, so where this pops through, I sealed it to the vapour barrier with tape.
I’m going to be using a lot of tape on this van!