I’ve been so wrapped up in work and travelling over the last few months that the weather has turned without noticing. It’s now getting colder and wetter and any time I have to spend in the van is becoming noticeably chillier. I’m spending more on hot chocolate and coffee in costa for the excuse to sit in the warmth while working. This was not the plan for the van, so I have bought myself a little diesel heater.
Stephen recommended it to me after he bought one. With a 3 week delivery time from China, I ordered one that evening too hoping that it wouldn’t be too late. Now it’s finally arrived and looks to be a really good, neat little package. I’m hoping it works as well as some of the reviews have said!
What it is?
I’ve bought a little chinese made 2kw diesel heater from ebay for £137. It runs on diesel, burning in a little chamber with fins on it, a fan blows air past this and out into the cab. Its a copy of the Webasto or Planar heaters but costs literally 1/5th as much. From what I can tell from the reviews, it looks to be an exact carbon copy and work just as well.

What do you get?
- A heater the size of a loaf of bread
- A gasket and mounting plate
- Fuel line, filter and fuel pump
- 10L diesel tank
- Air intake ducting and filter/baffle
- Exhaust pipe and muffler
- Wiring harness, control panel and remote
- Hot air duct and vents
- Lots of clips, screws and clamps to mount and seal everything in place.
Where to put it?
As with anything in the van, it took a lot of sitting around on the floor, picking up parts and holding them next to other parts and bits of the van to figure out where it was going to go and how it was going to be mounted. I settled on mounting it underneath the passenger seat in the metal base box. This is becasue:
- The heater just fits really nicely
- Its close to the electrical control panel
- The air intake will draw from the cab area
- The hot air outlet will blow into the sleeping area
- Its right by the van diesel tank and filler
- Its easily accessible with powertools for the install
- There is clear floor area that can be cut away without structural modification
Finding the sweet spot on the floor of the van, through which I could poke the heater took some doing. I was inside and out side and under the van continuously for a couple hours just checking and moving and checking and moving it around. I found a datum hole from which I could measure inside the van and underneath the van. This was important to make sure I wasn’t going to accidentally drill into my fuel tank or cut part of the chassis of the van.
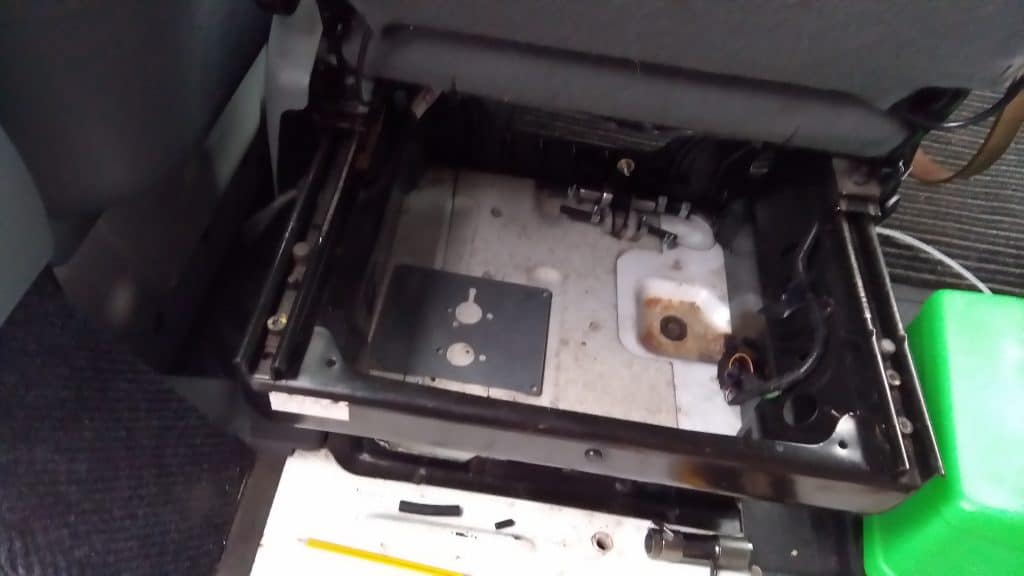
These are the bits of the heater that poke outside, through the hole in the floor:
- The combustion air intake with duct and air baffle/filter
- The combustion exhaust tube with flexible pipe and muffler
- The fuel supply line
There are lots of things to bare in mind when mounting one of these so I wanted to make sure I got the optimum position. I was going to be cutting a fair chunk of the floor of my van out, so I wanted to make sure it was done accurately, neatly and (most importantly) ONLY ONCE.

Be Brave
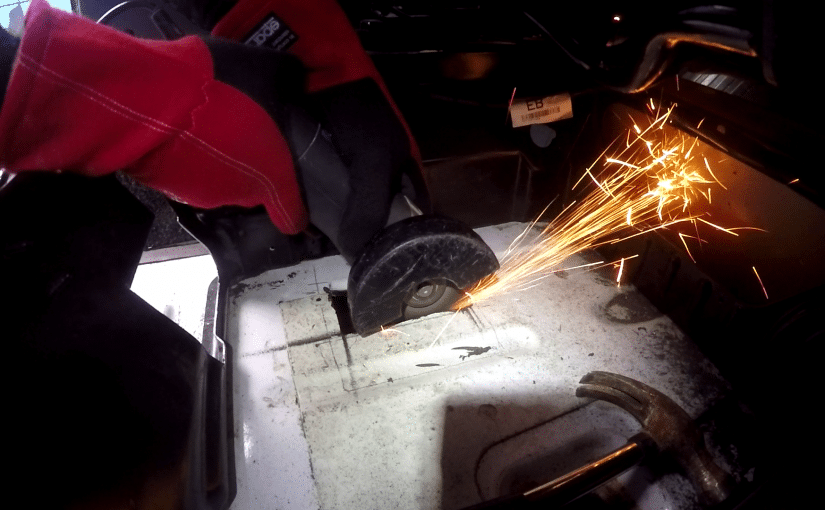
I’d marked everything up, triple checked the location and now came the moment of truth. Time to cut into the vans underbelly. I donned my ear defenders, eye goggles and leather work gloves to protect me from sparks. Protected as much of the rest of the interior of the van as I could and angle grinded a small rectangle of floor out.
There was some sort of tar stuck to the bodywork, presumably to cut down on road noise and vibration, that really didnt appreciate being heated up. It smoked and smelt quite bad but scraped off easily enough with a knife and some elbow grease. I used a wire wheel to clean this up exposing a load of bare metal. I used hammerite to protect it, and then made myself another cup of tea to warm up while it dried.

Sealing
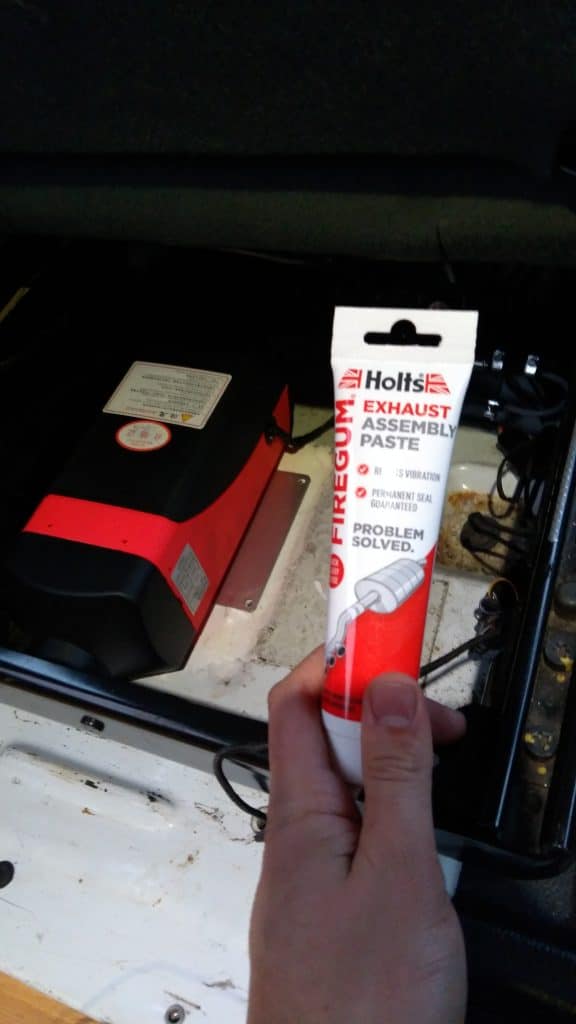
The mounting plate seals to the heater with a little rubber gasket that they supply. However, they do not supply anything to seal the mounting plate to the body of the vehicle. I had looked around for something that would resist heat. Various silicone sealants and glues didn’t give much help so in the end I opted for Holts Exhaust Assembly Paste It comes out really runny and hard to handle but after about 5 mins seems to get gloopy (technical term) and starts to stay where you put it.
Squeezing this stuff onto the metal of the mounting plate and my van was a bit like drawing with runny toothpaste. It moved around a bit and dribbled here and there but eventually I got it where I needed it. Sandwiched between the mounting plate and the van, I fixed it securely with the self tapping screws supplied.
Connections
It was then I realised I’d made a rookie error; I’d not not connected the exhaust and air intake pipes to the heater before mounting it…. I now had another hour to spend under the van on my back, in the cold, doing up fiddly little jubilee clips with depleting dexterity due to the rapidly penetrating cold… READER BEWARE
Well finally it was done and I have to admit I was very proud of myself. With only a couple youtube videos and some bravery I’d managed to assemble and fit a heater. Hopefully this would make my van continue its usefulness way into winter and out the other side.
