Diary Of A Camper Conversion
Not much happened on Wednesday, other than a trip to B&Q to get some bits and a large sheet of 18mm ply so that today I could keep going.
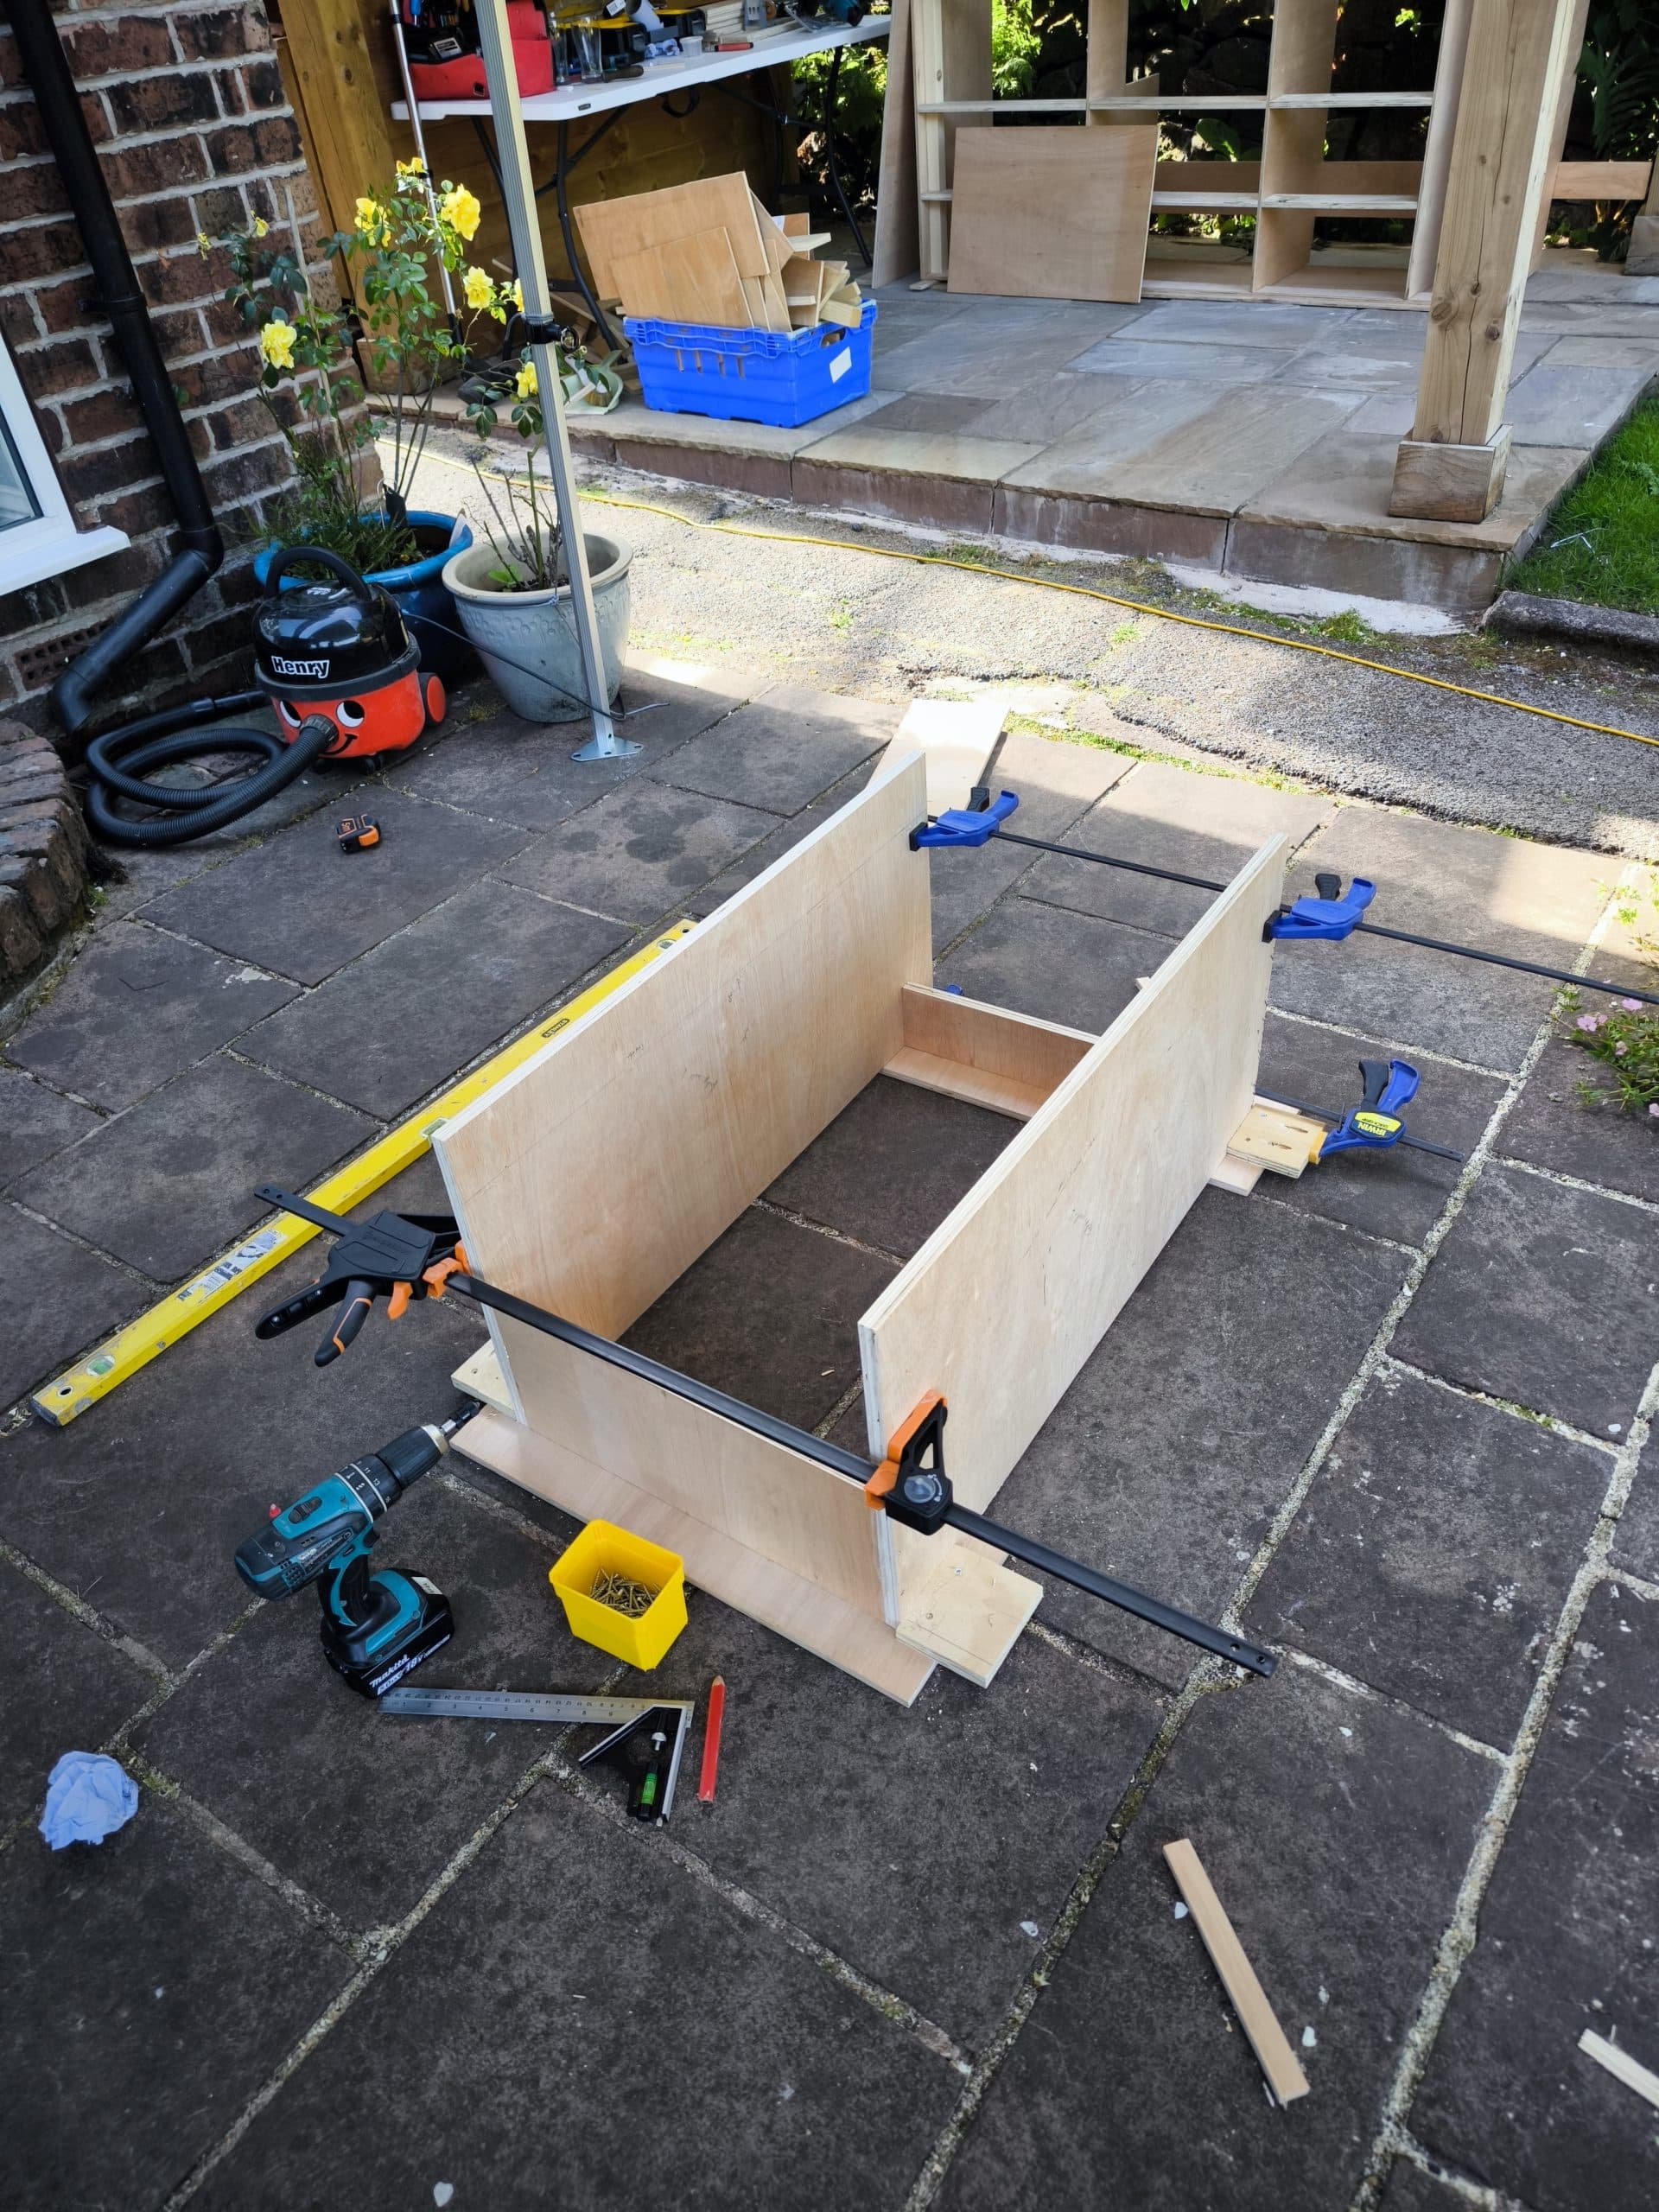
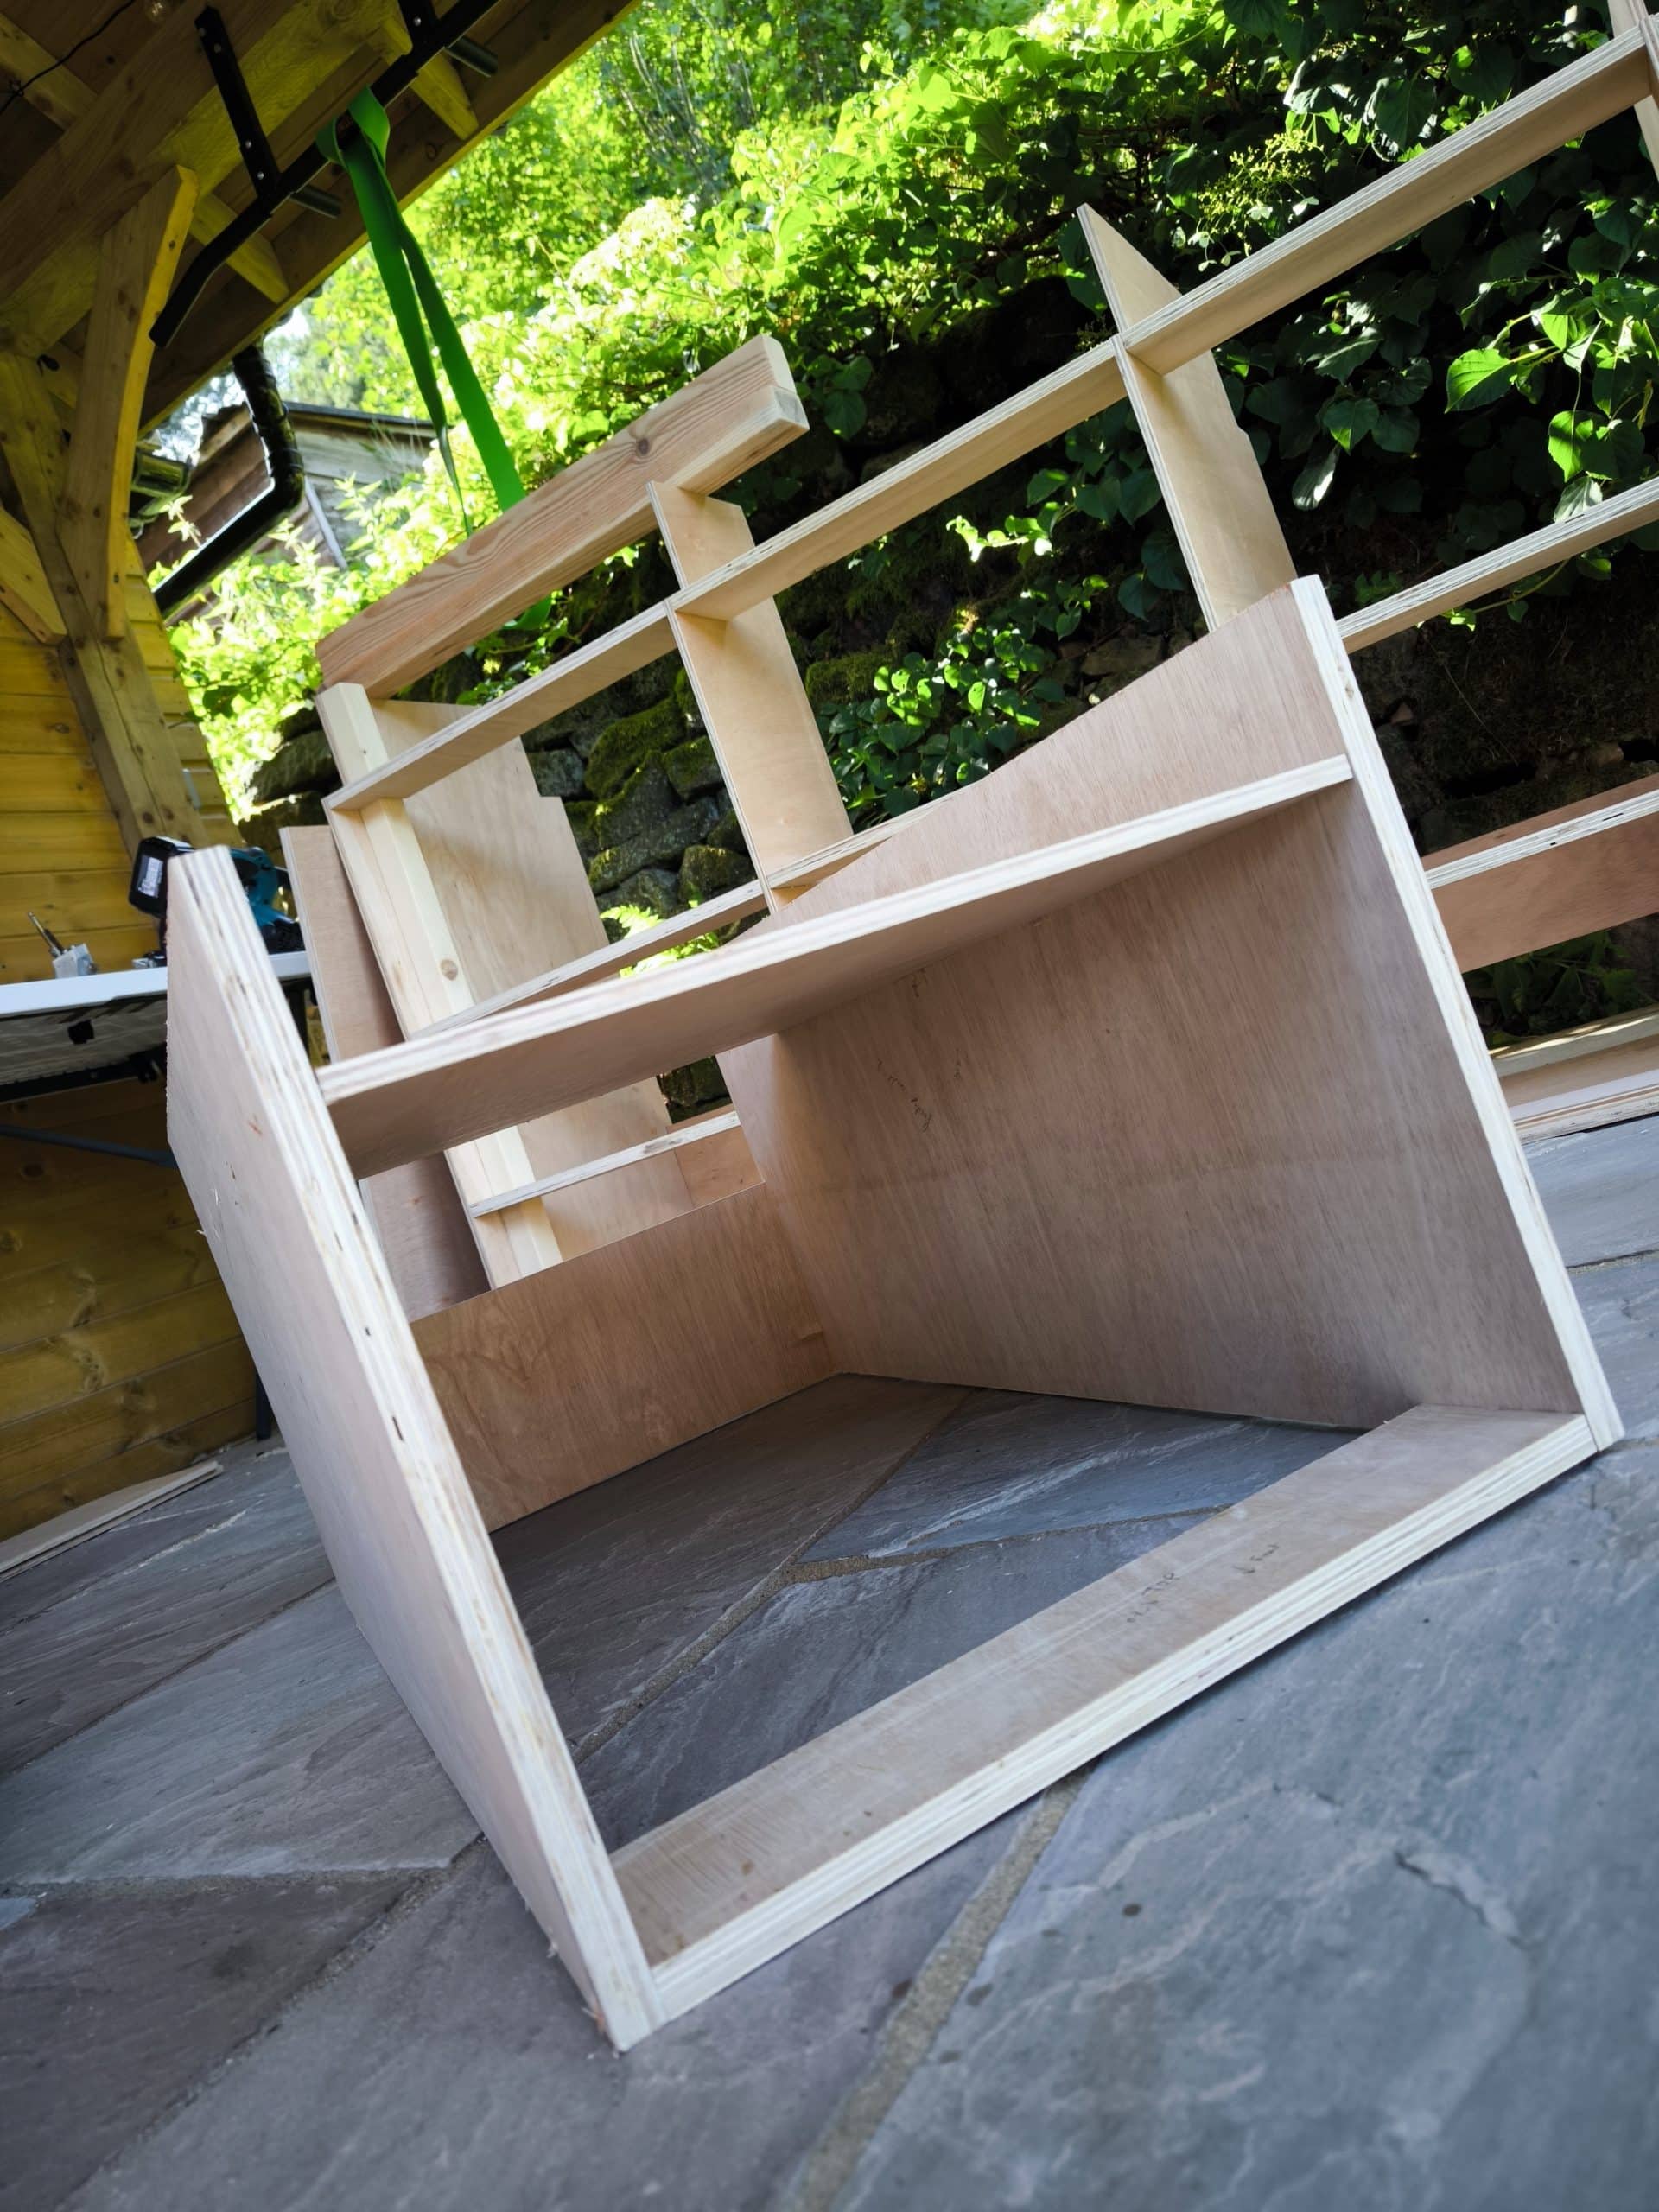
I had run out of carcass spaces the other day, so using my new favourite tool, Opticutter, I marked out and cut some more spacers and the panels I’ll need for the fridge structure.
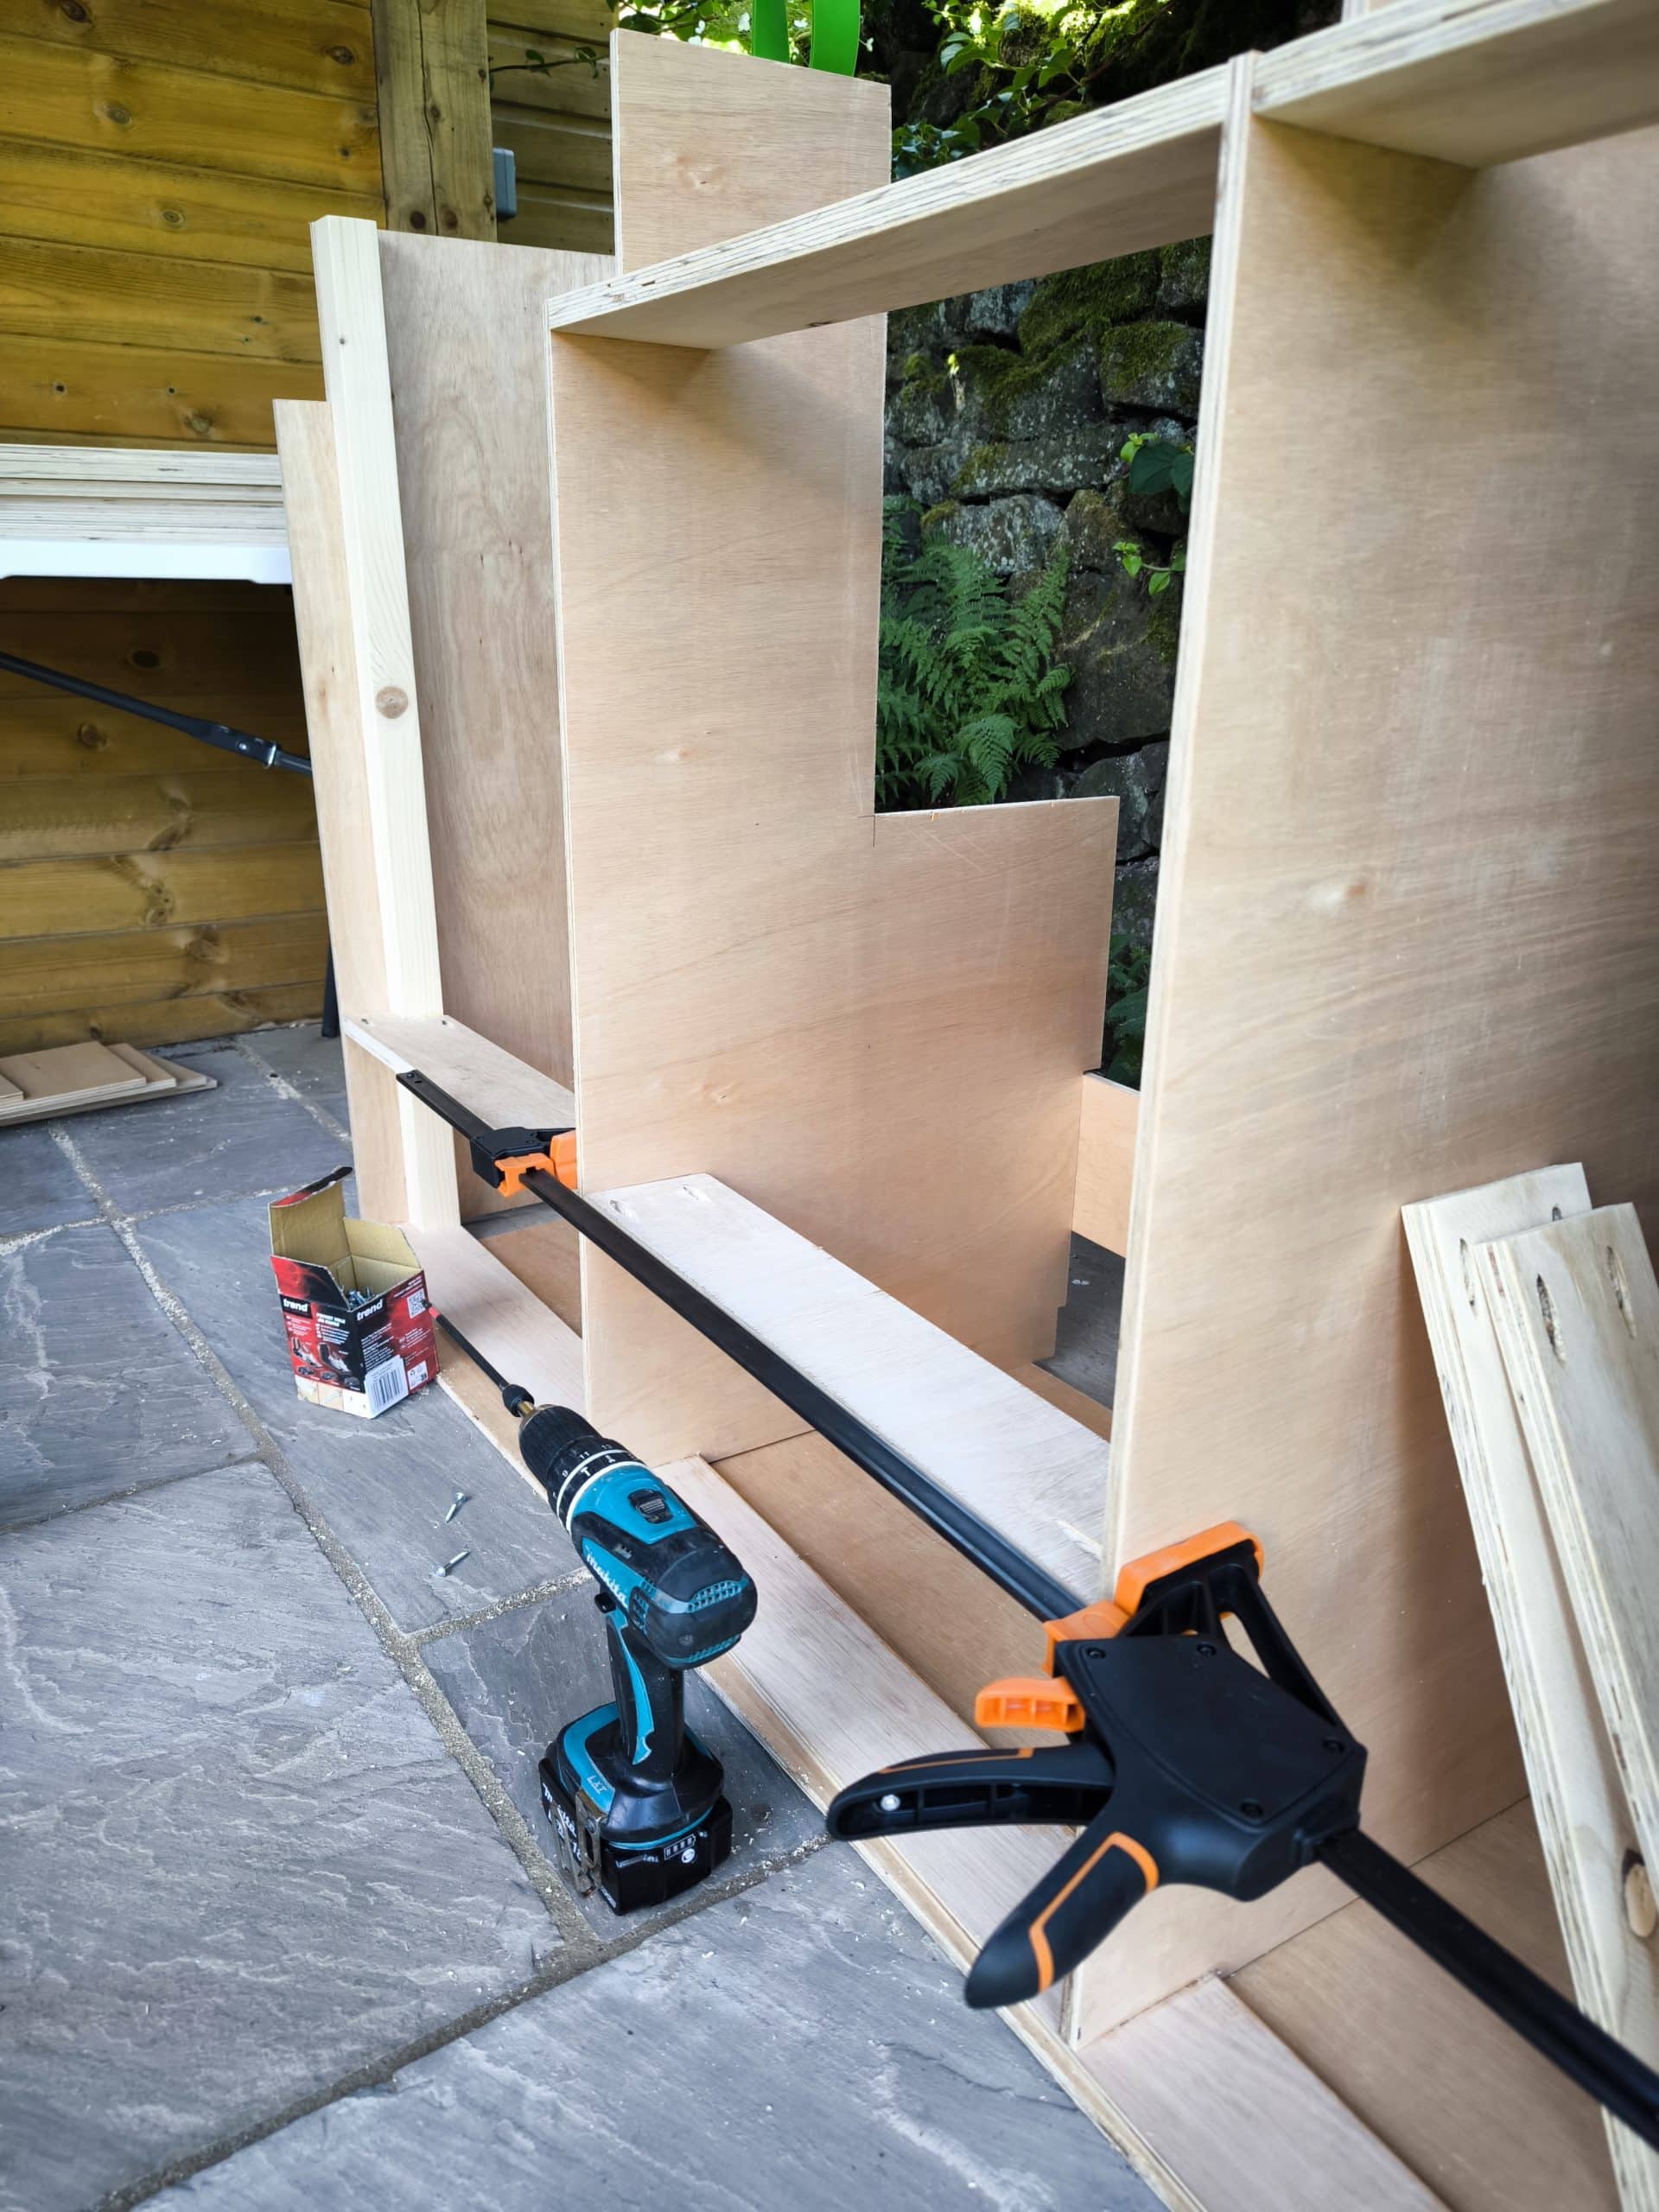

I then spent a long time working out where my spacers needed to be so that they landed on the gaps between the drawer fronts. Due to the unique way I’ve designed my bed, the left drawers will be slightly shorter than the right drawers, but the gaps will all line up symmetrically across the van. I just double and triple checked these measurements until they were right and then screwed them all together try and keep the carcuss a square as possible.
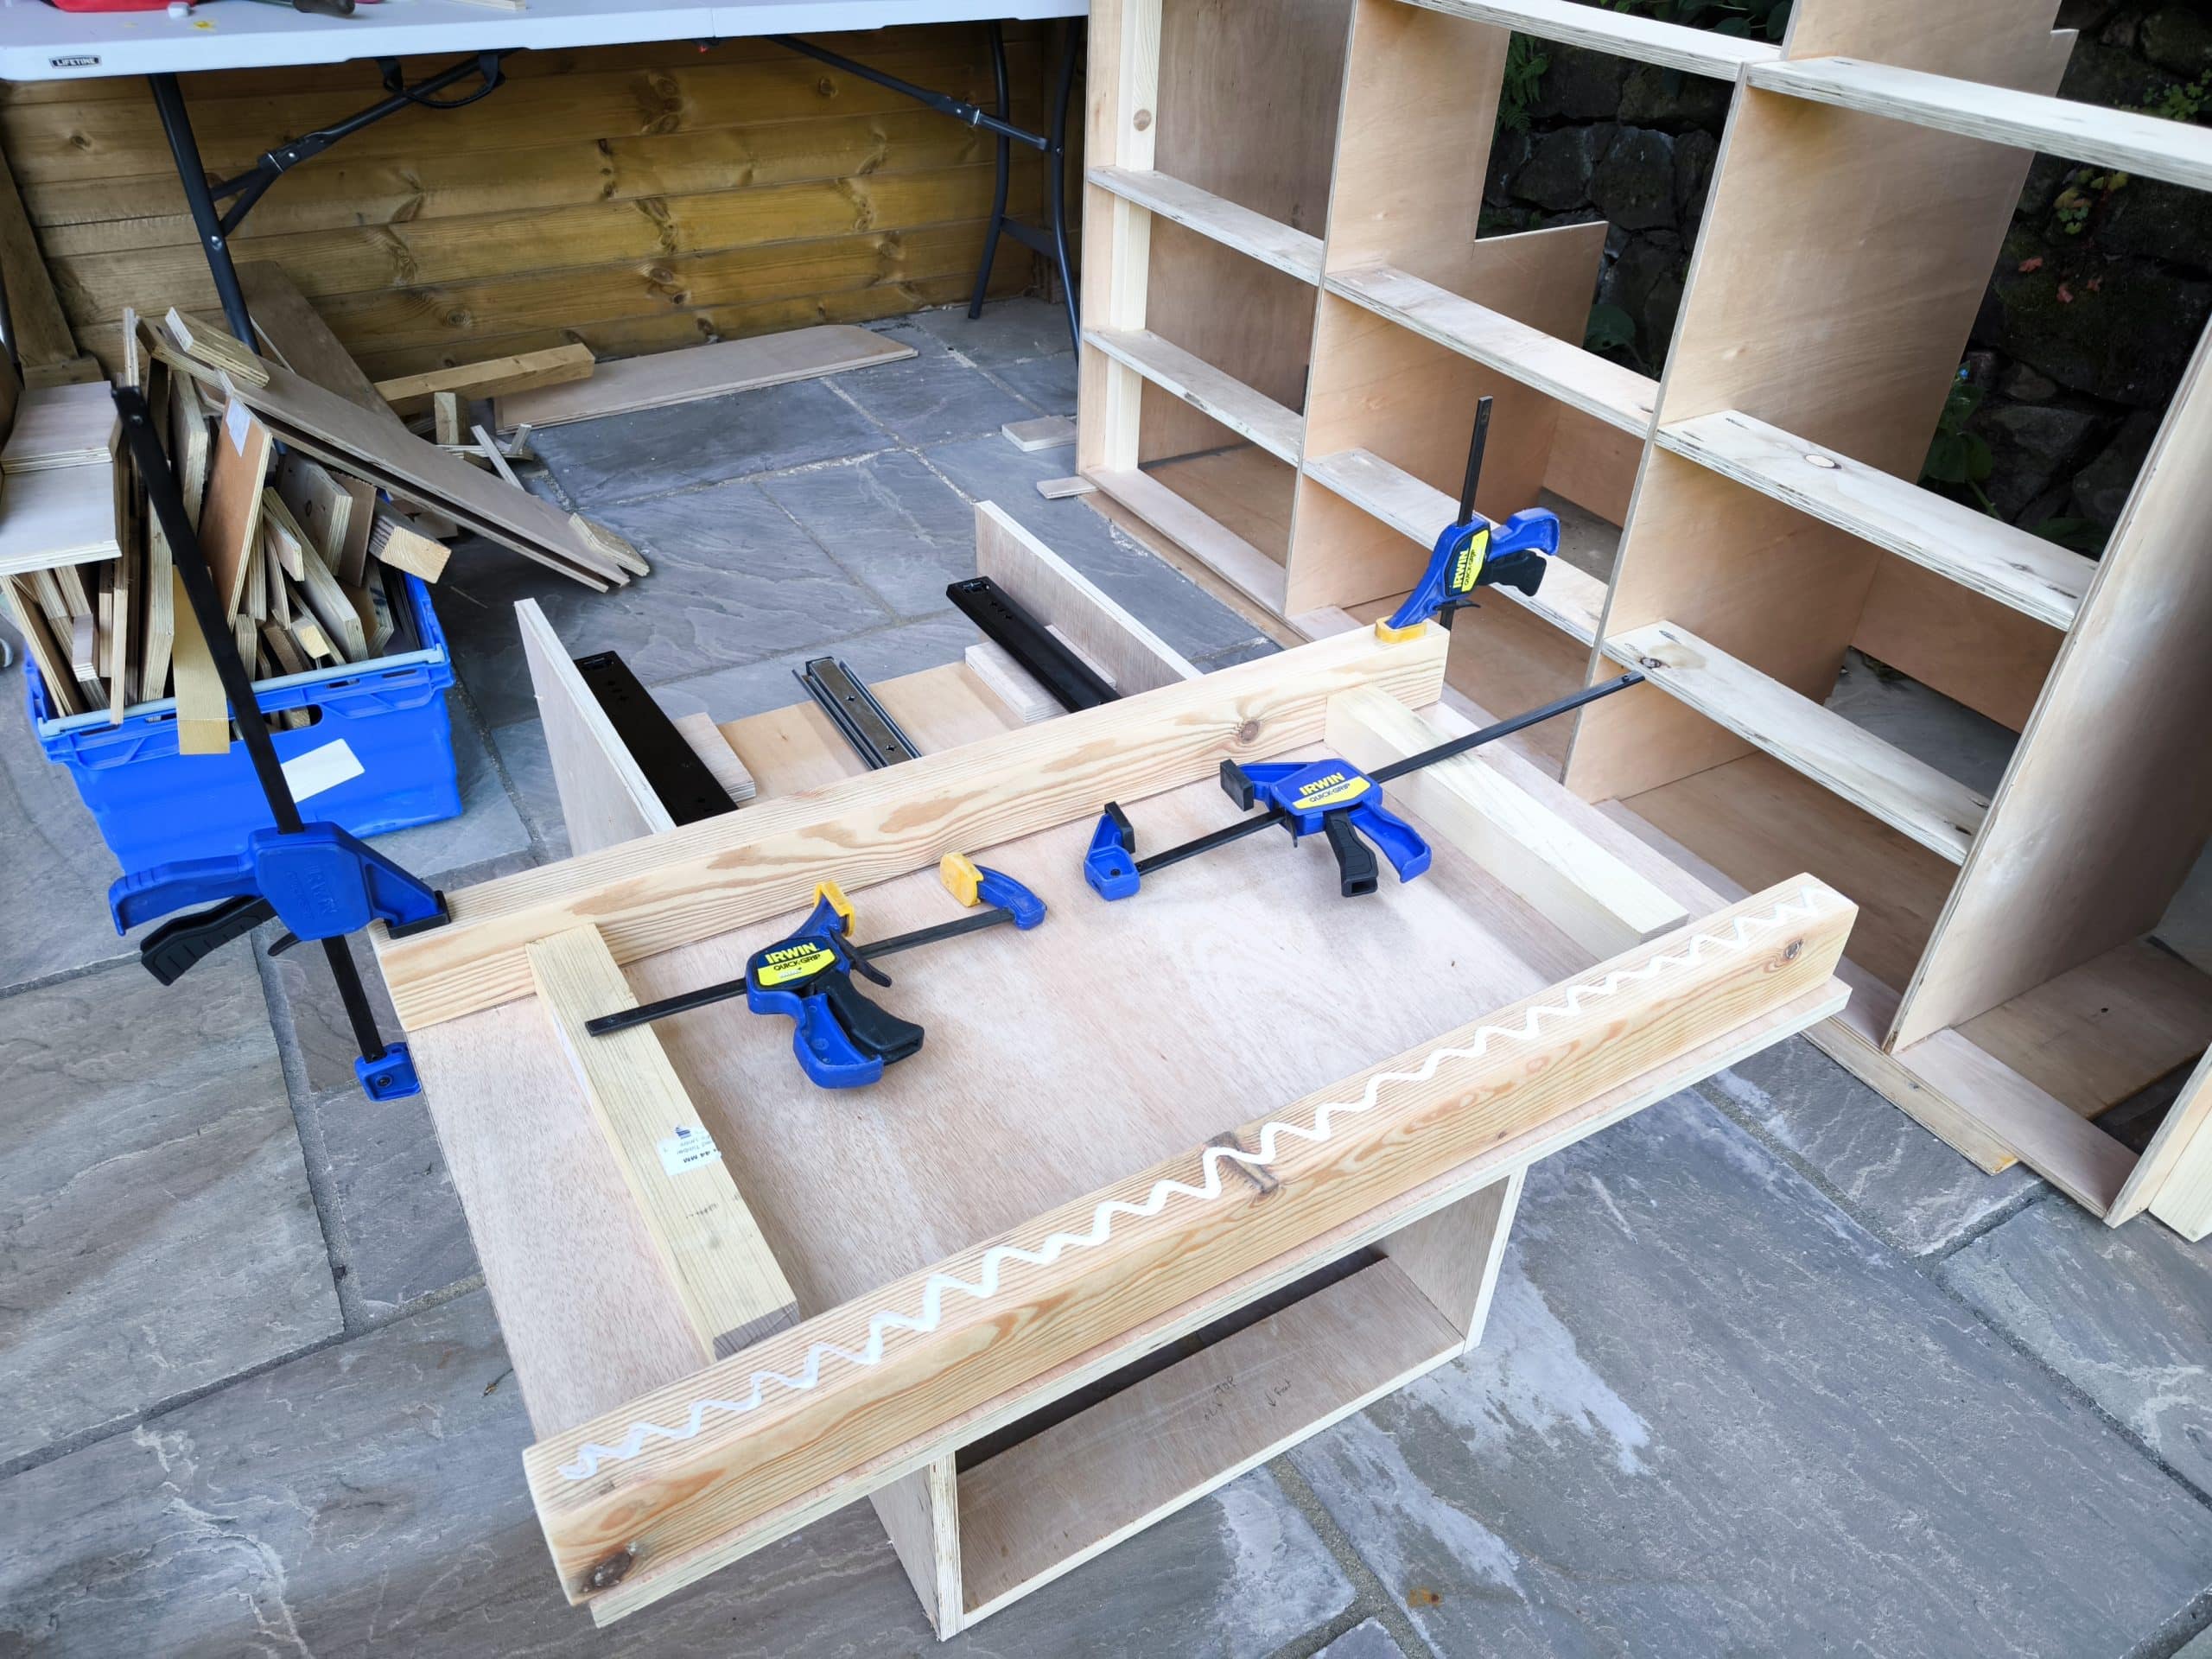
Once that was done I then screwed and glued together the panels to create the structure that will hold the fridge draw. This one needs to be strong as it will be holding a full fridge out at 800mm cantilever.
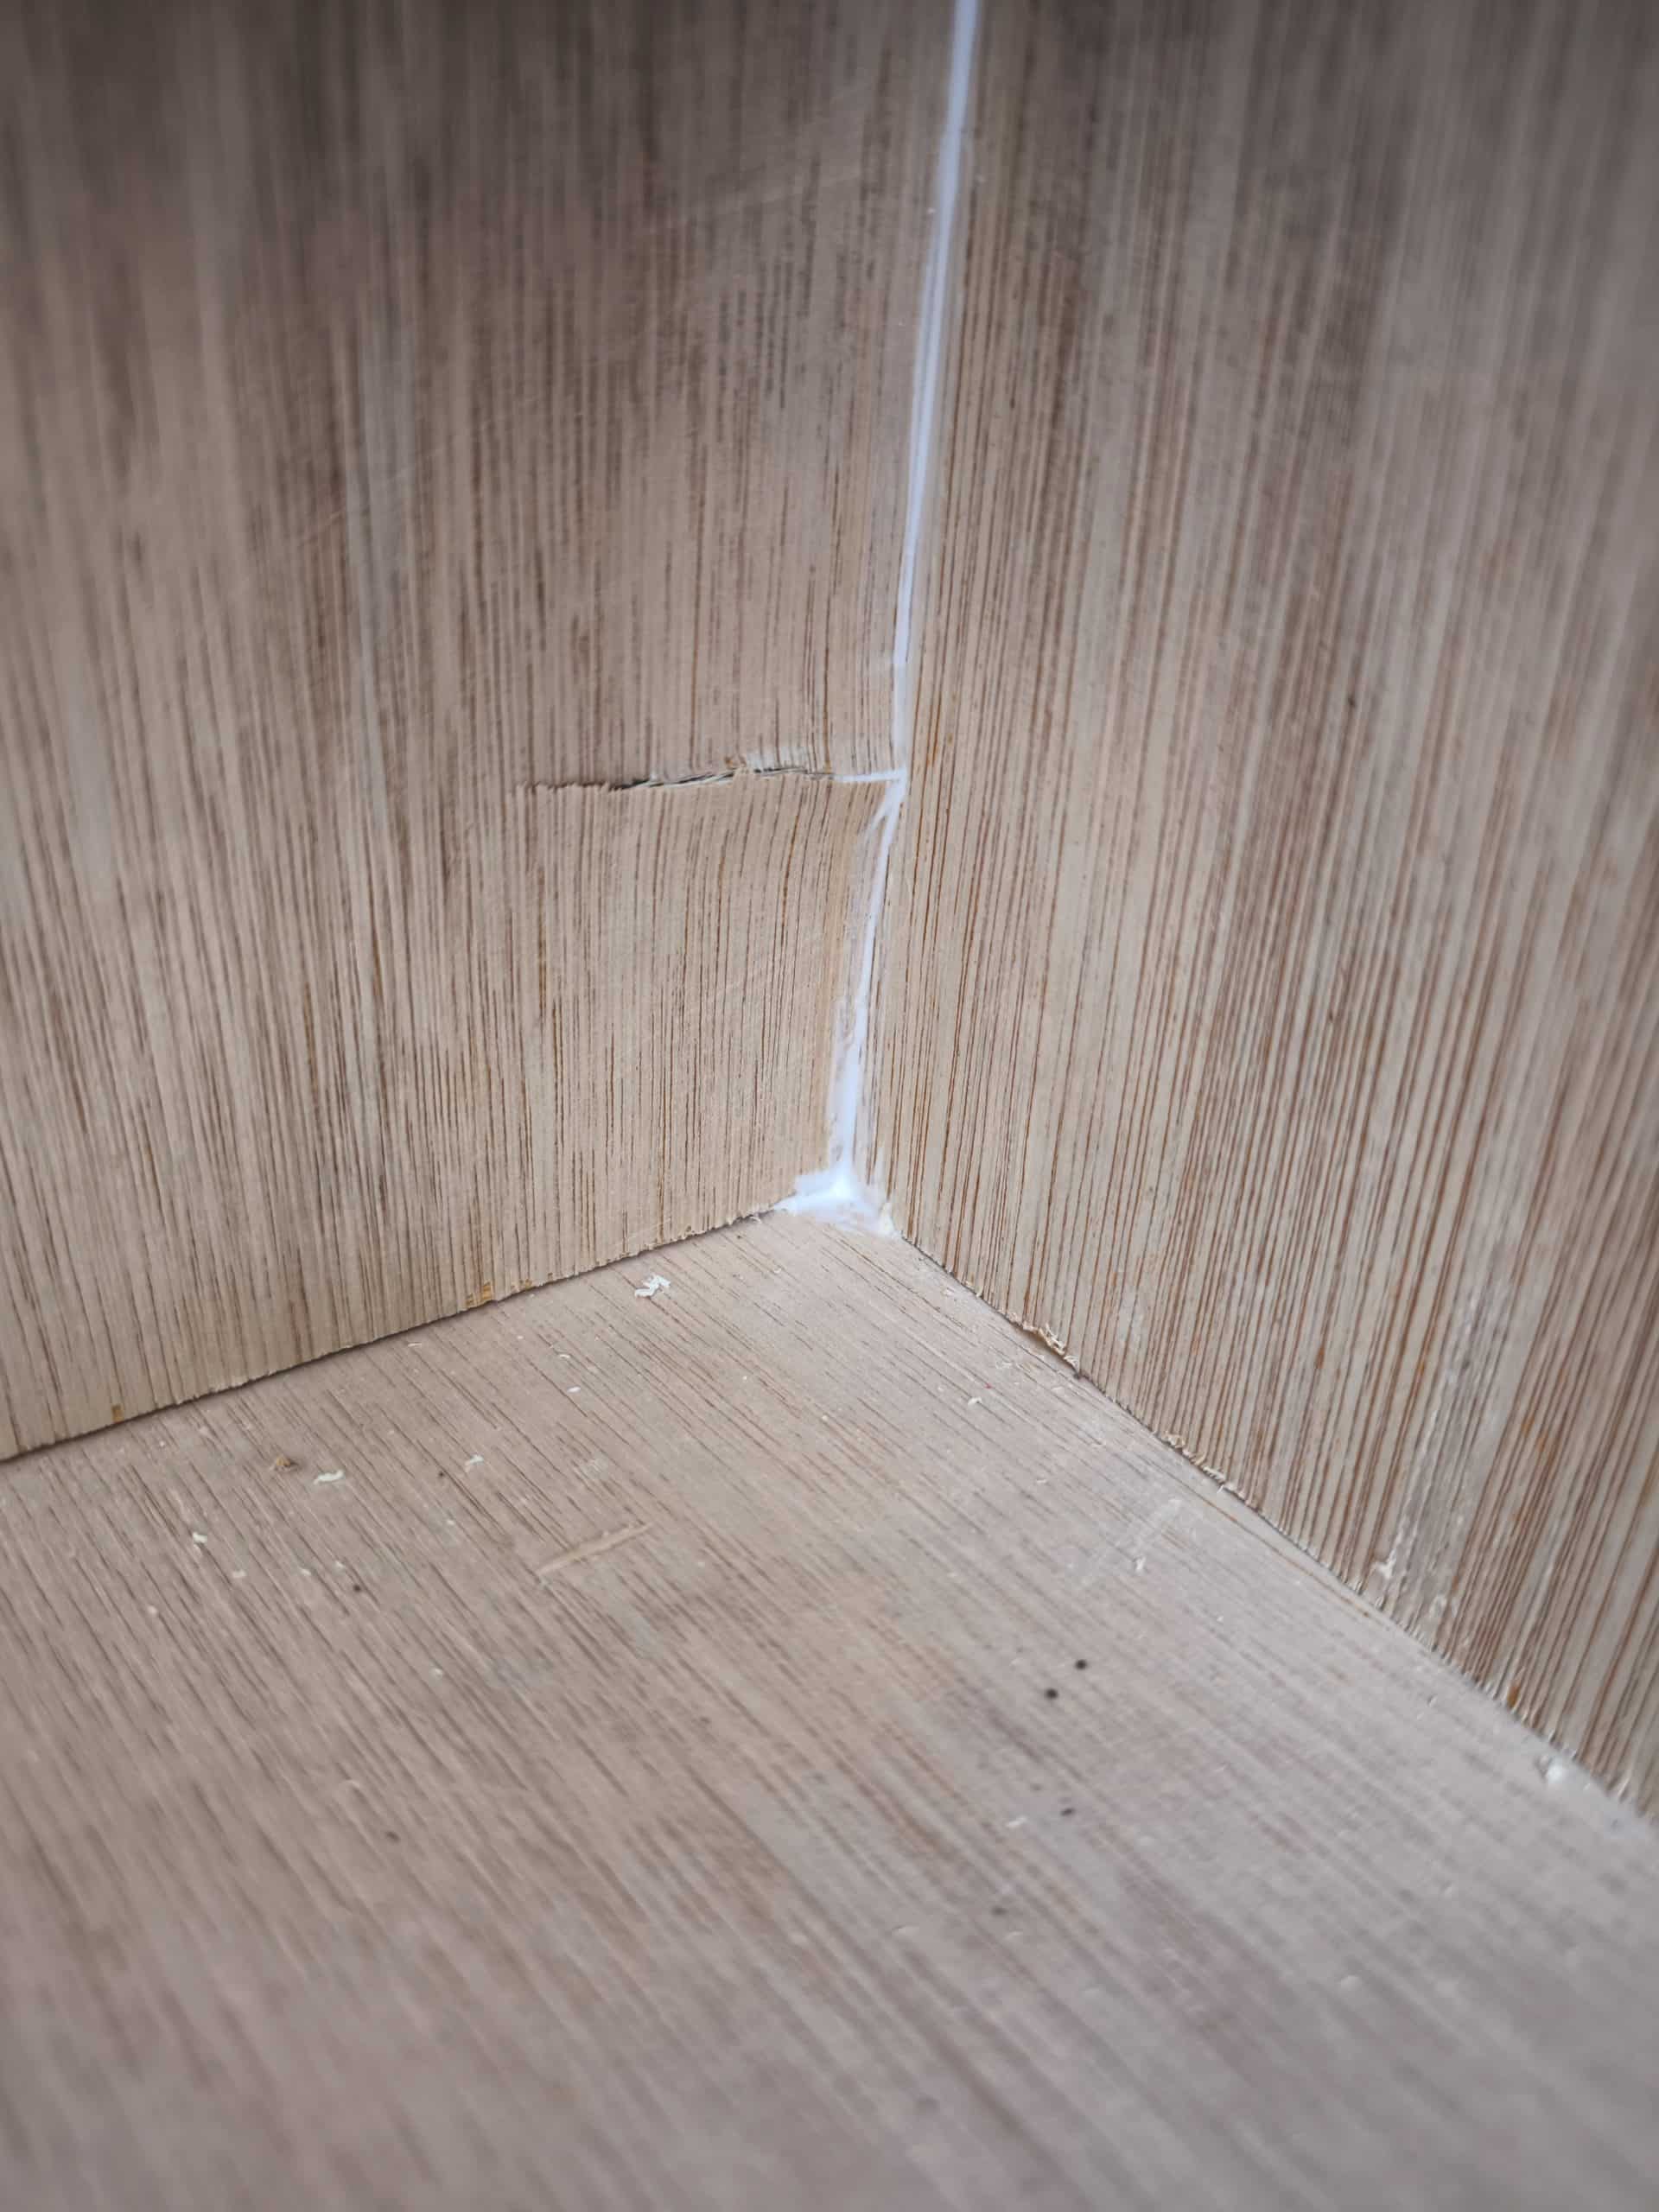
Only two small mistakes made today. Cutting the spacers to go around the structural post I followed the wrong side of the pencil mark and made it 1mm too deep. But this got screwed together with a packing piece and worked perfectly. And then right at the end of the day I was screwing together to plywood panels and a screw split the panel slightly as it drove in. Luckily this will be right at the back, buried in the cabinets and never seen.
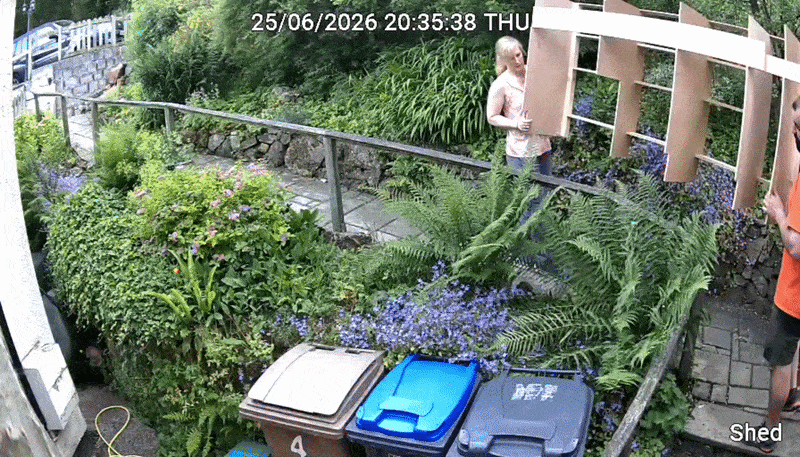
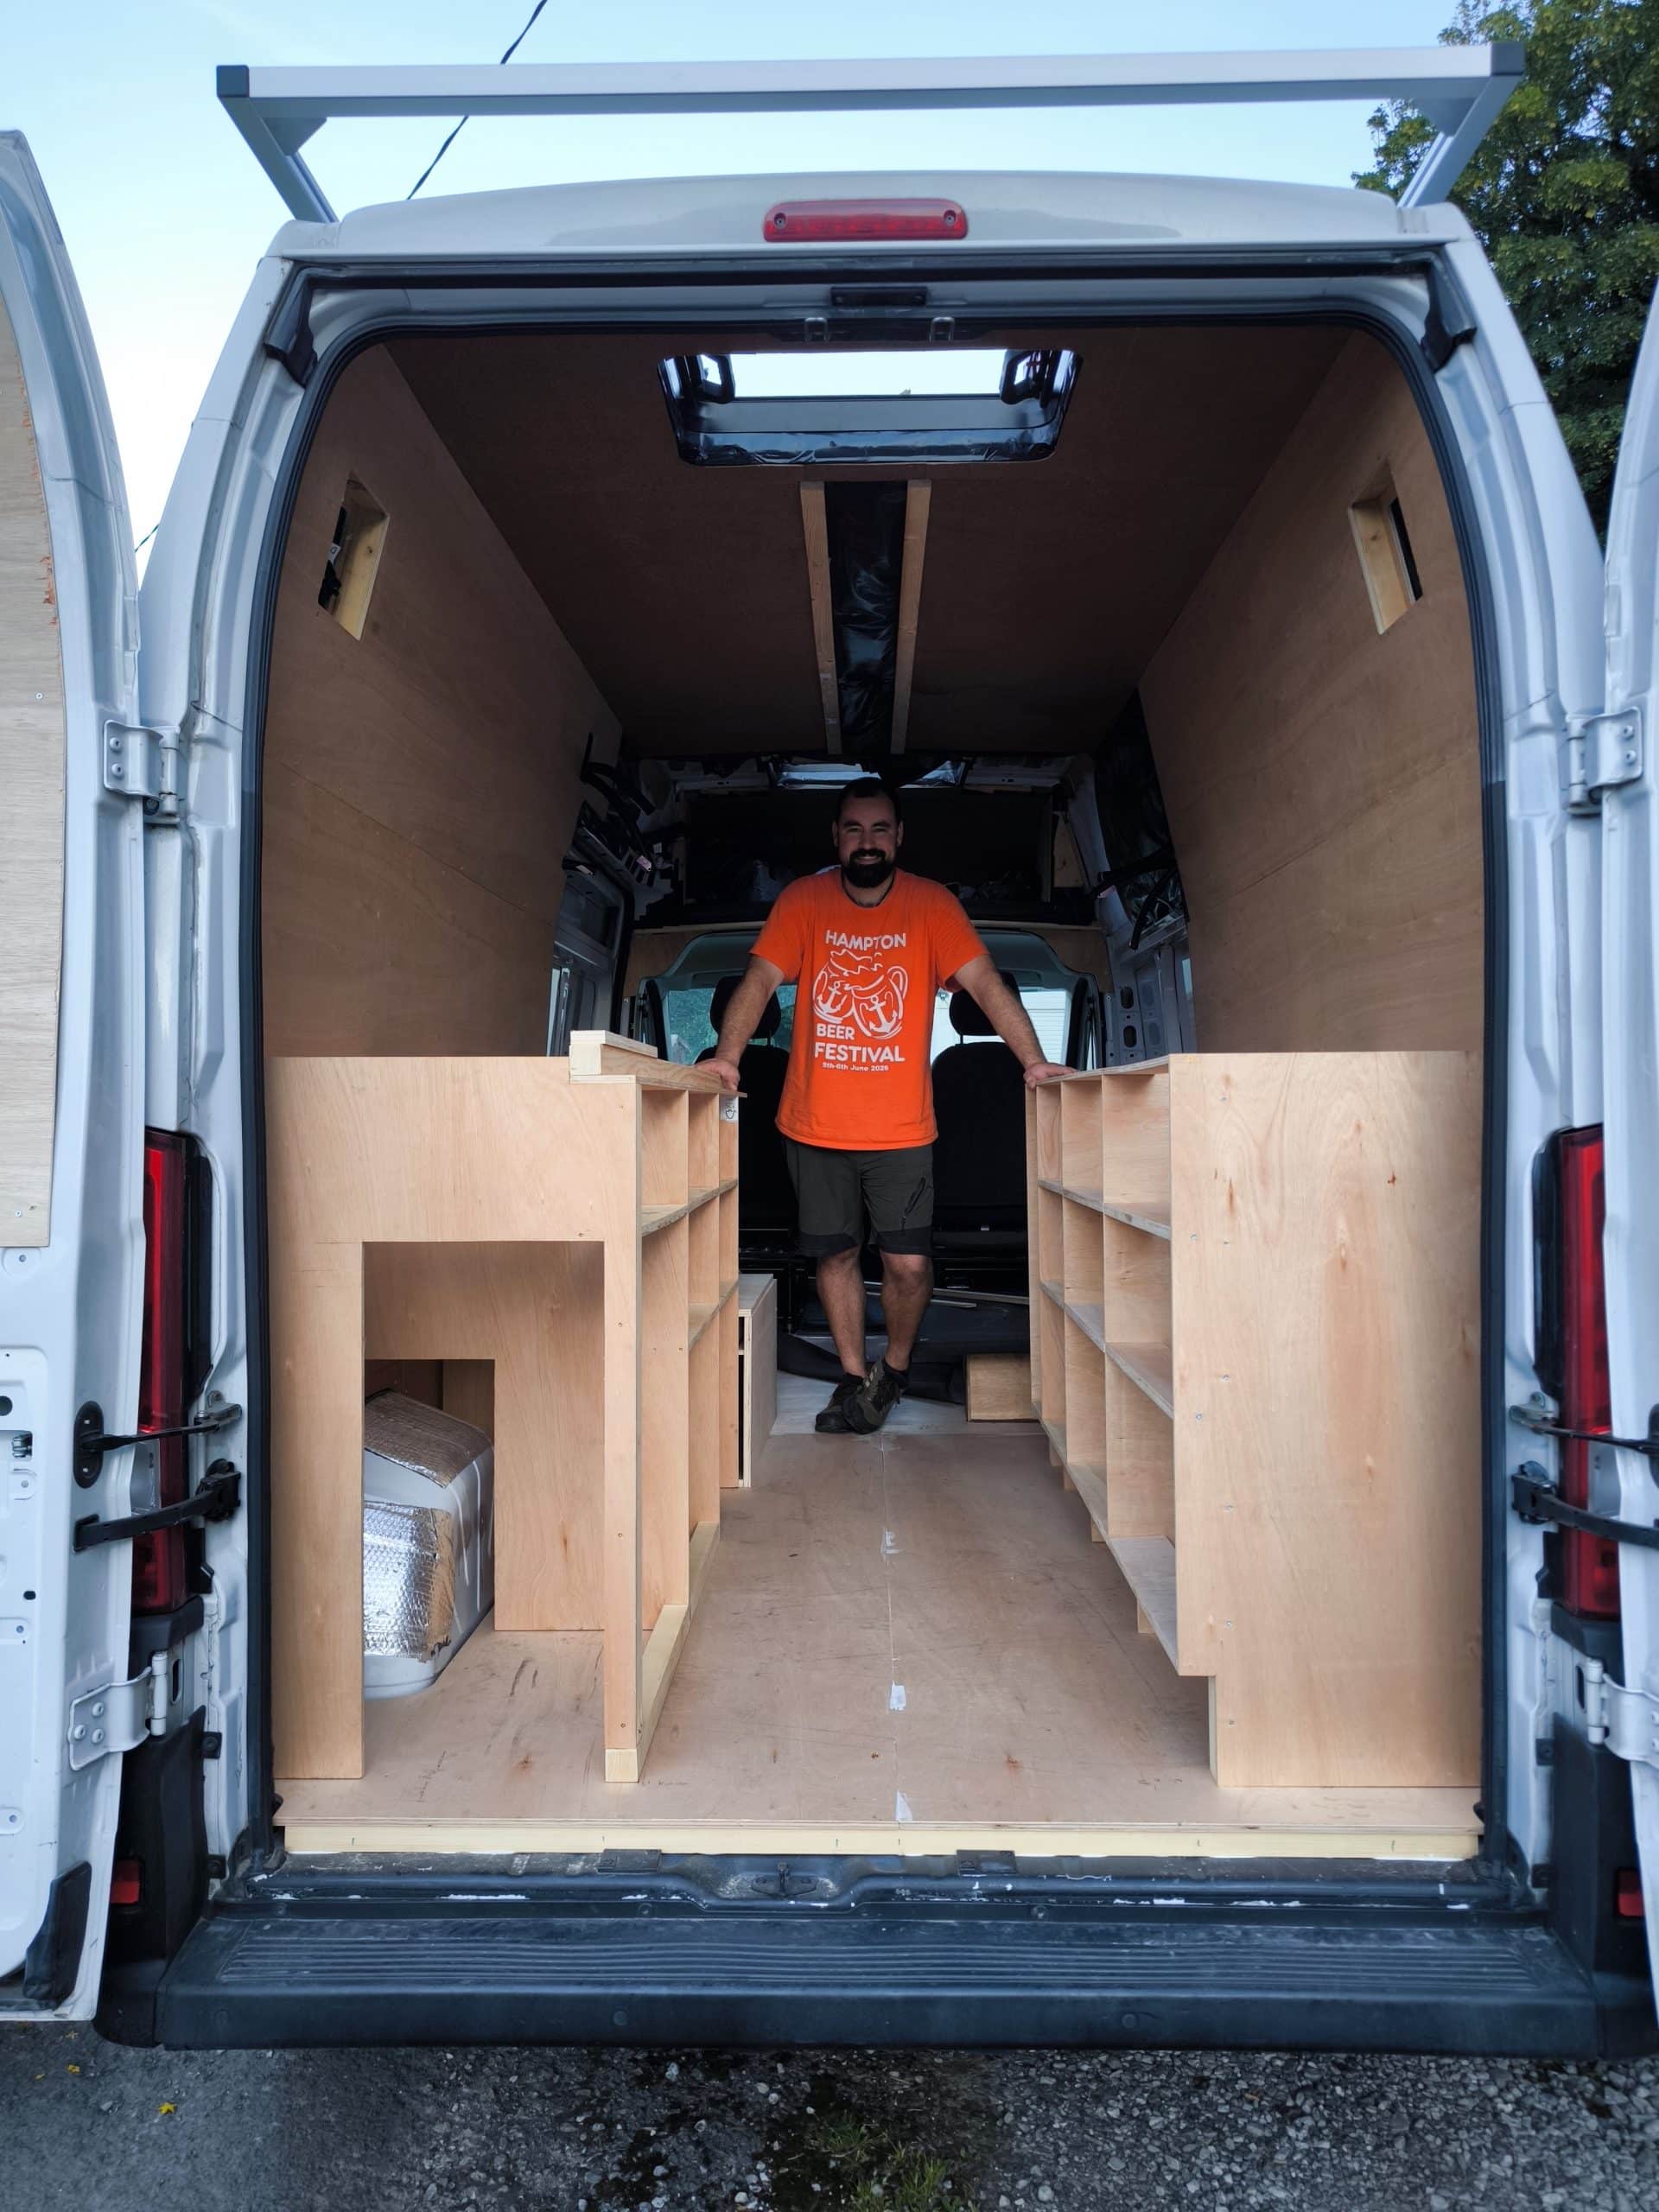
At the end of the day I had two cabinets created that will make up the bed end of the van. Aimi helped me get them up to the van and lifted them in. And while I spent a long time taking measurements and 3D modeling everything so that it would fit, you just don’t know until you put it in place. And I’m very happy to report that it looks like it’s slotted into place perfectly! We will find out how close to perfect it is when we do the final fit but for now I’m very happy. It’s incredible to finally starts to see how the finished shape looks and how much space we have.