Diary Of A Camper Conversion
Let’s get this door finished, it’s been bugging me for too long.
Last length of 12mm went on easy peasey, but then i reassessed the top. It’s all built from 12mm, but this is where, if any, load will be applied from the bed. Maybe it will get leaned on so could really do with being thicker.
That, and I wasn’t happy leaving a triangular hole in the corner of the bed by the rear pillar, nor a large gap between doors. I decided to replace the top with a thicker 18mm bit and shape it into the van. It’s now got a triangular section to cover that gap and a 50mm overhang towards the other door. As much as I’d like to close it, there will have to be a gap in the middle, else the door wouldn’t open.
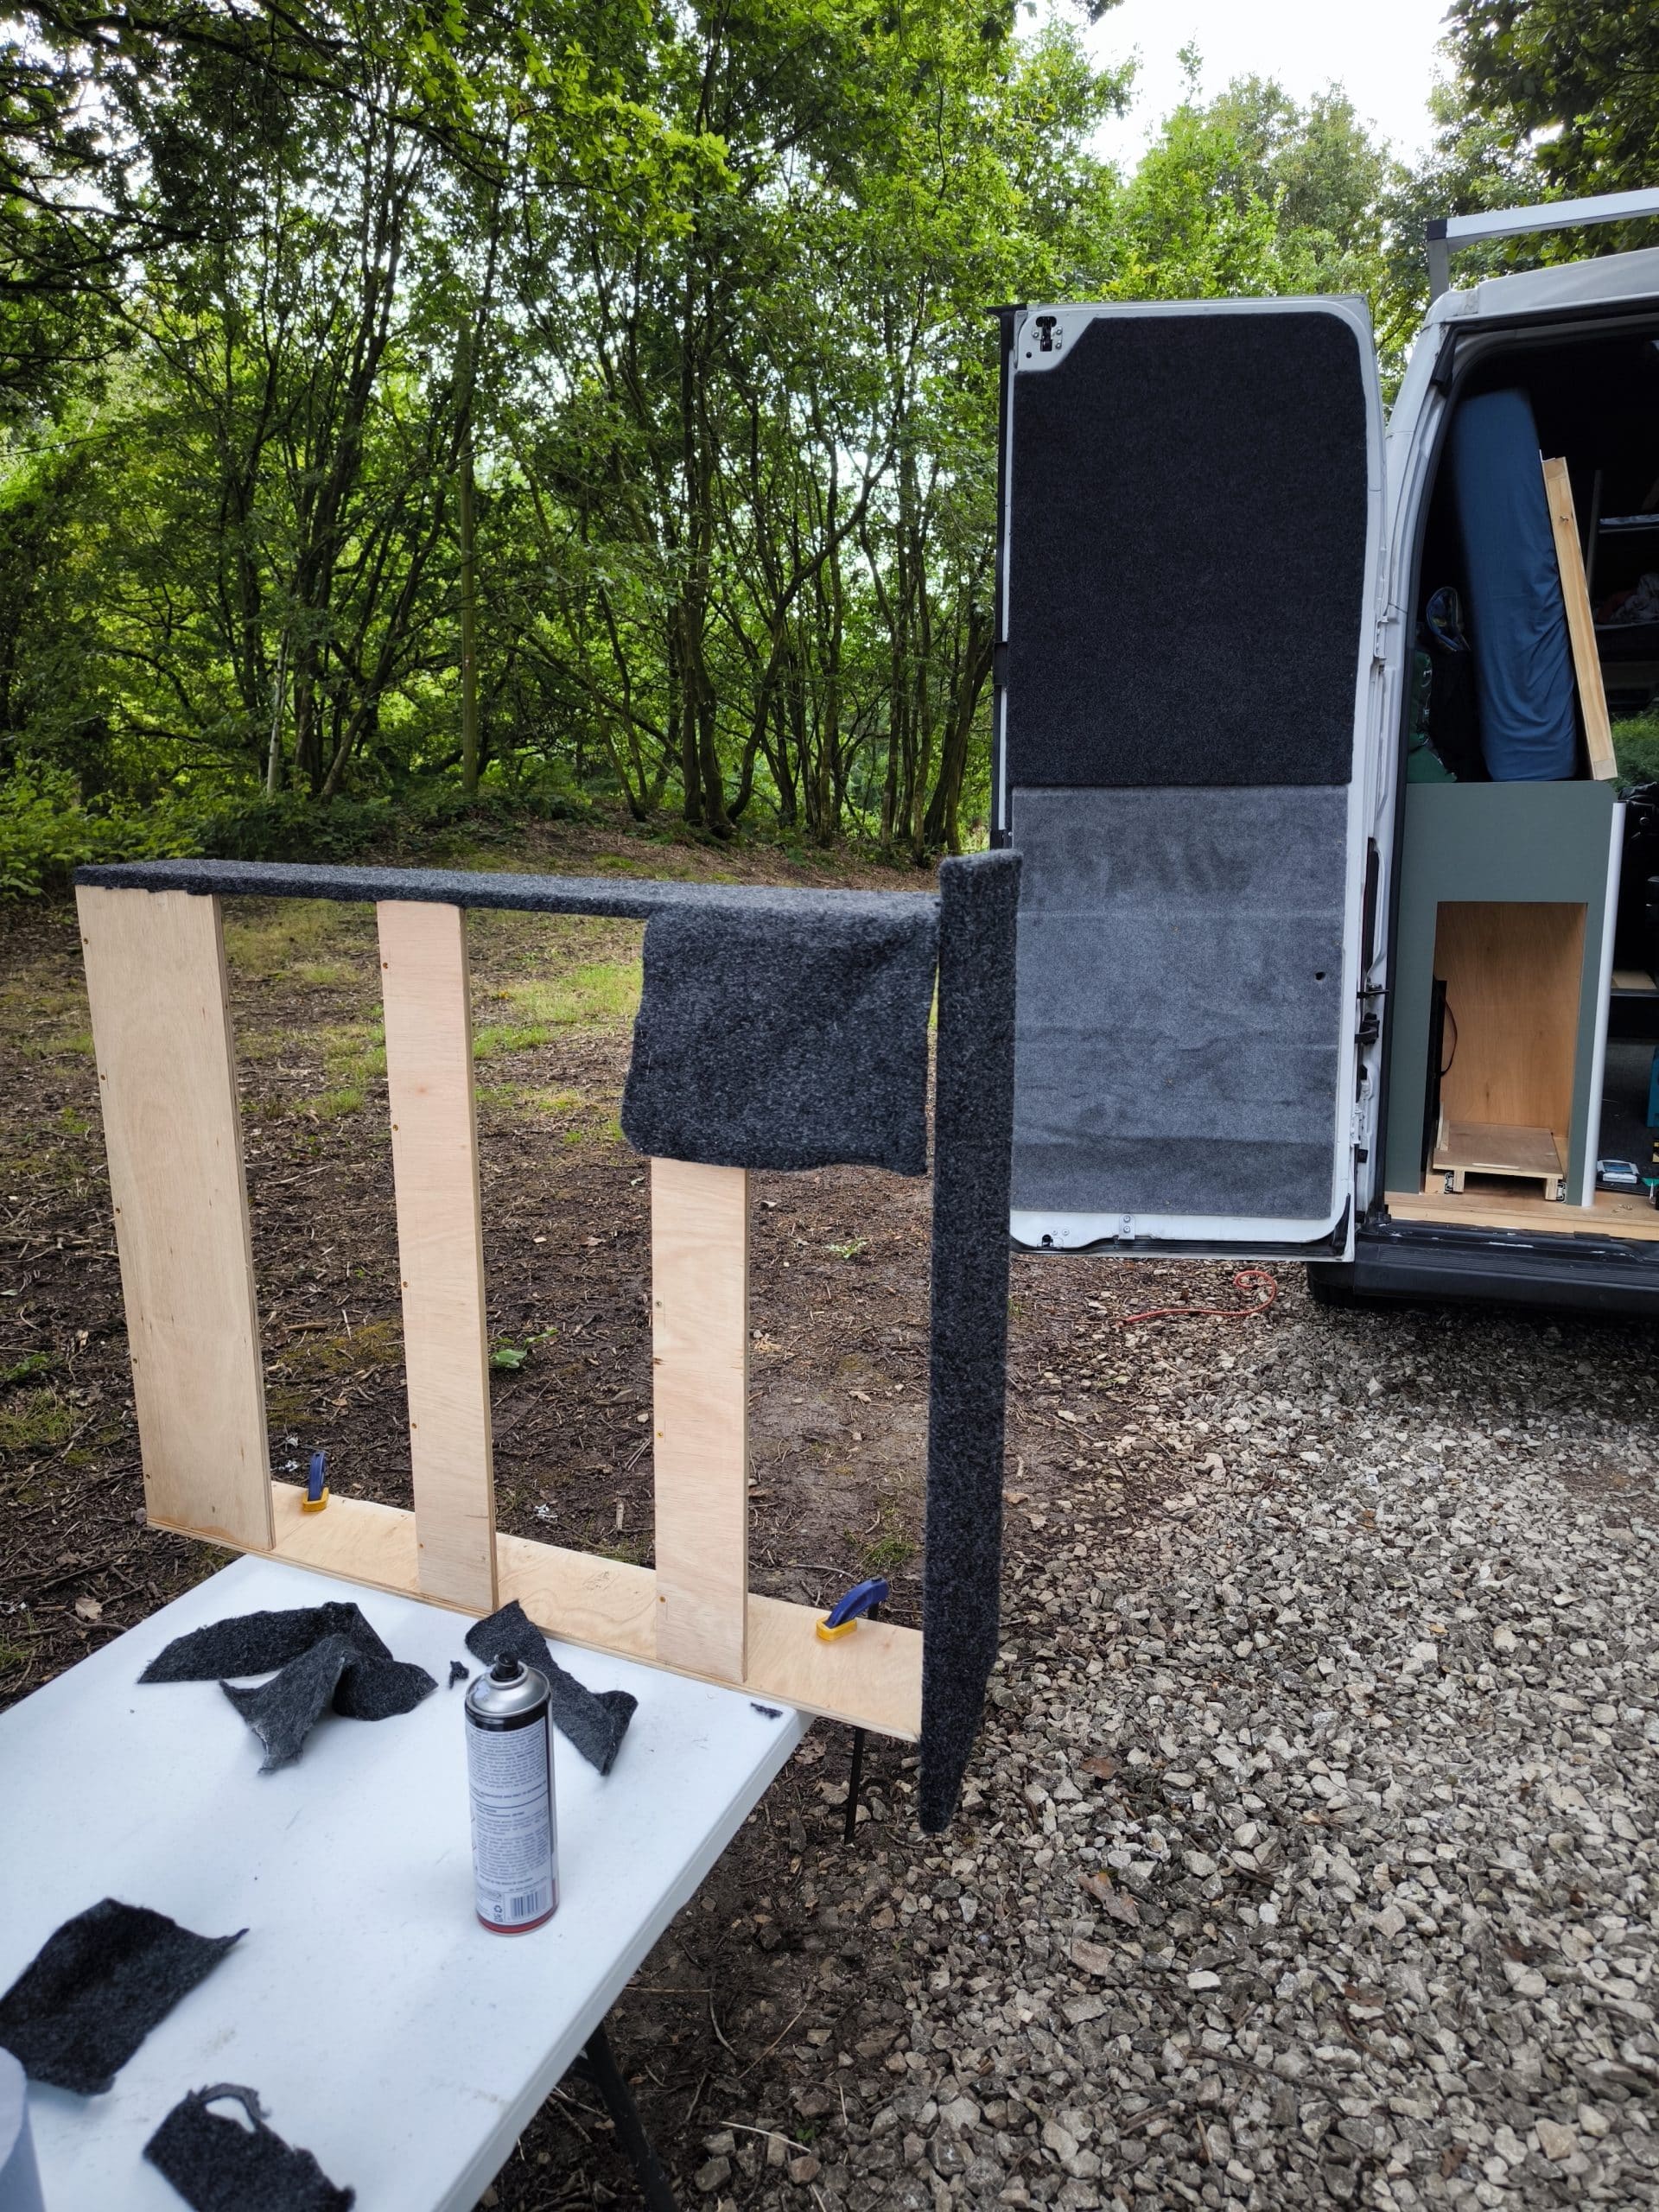
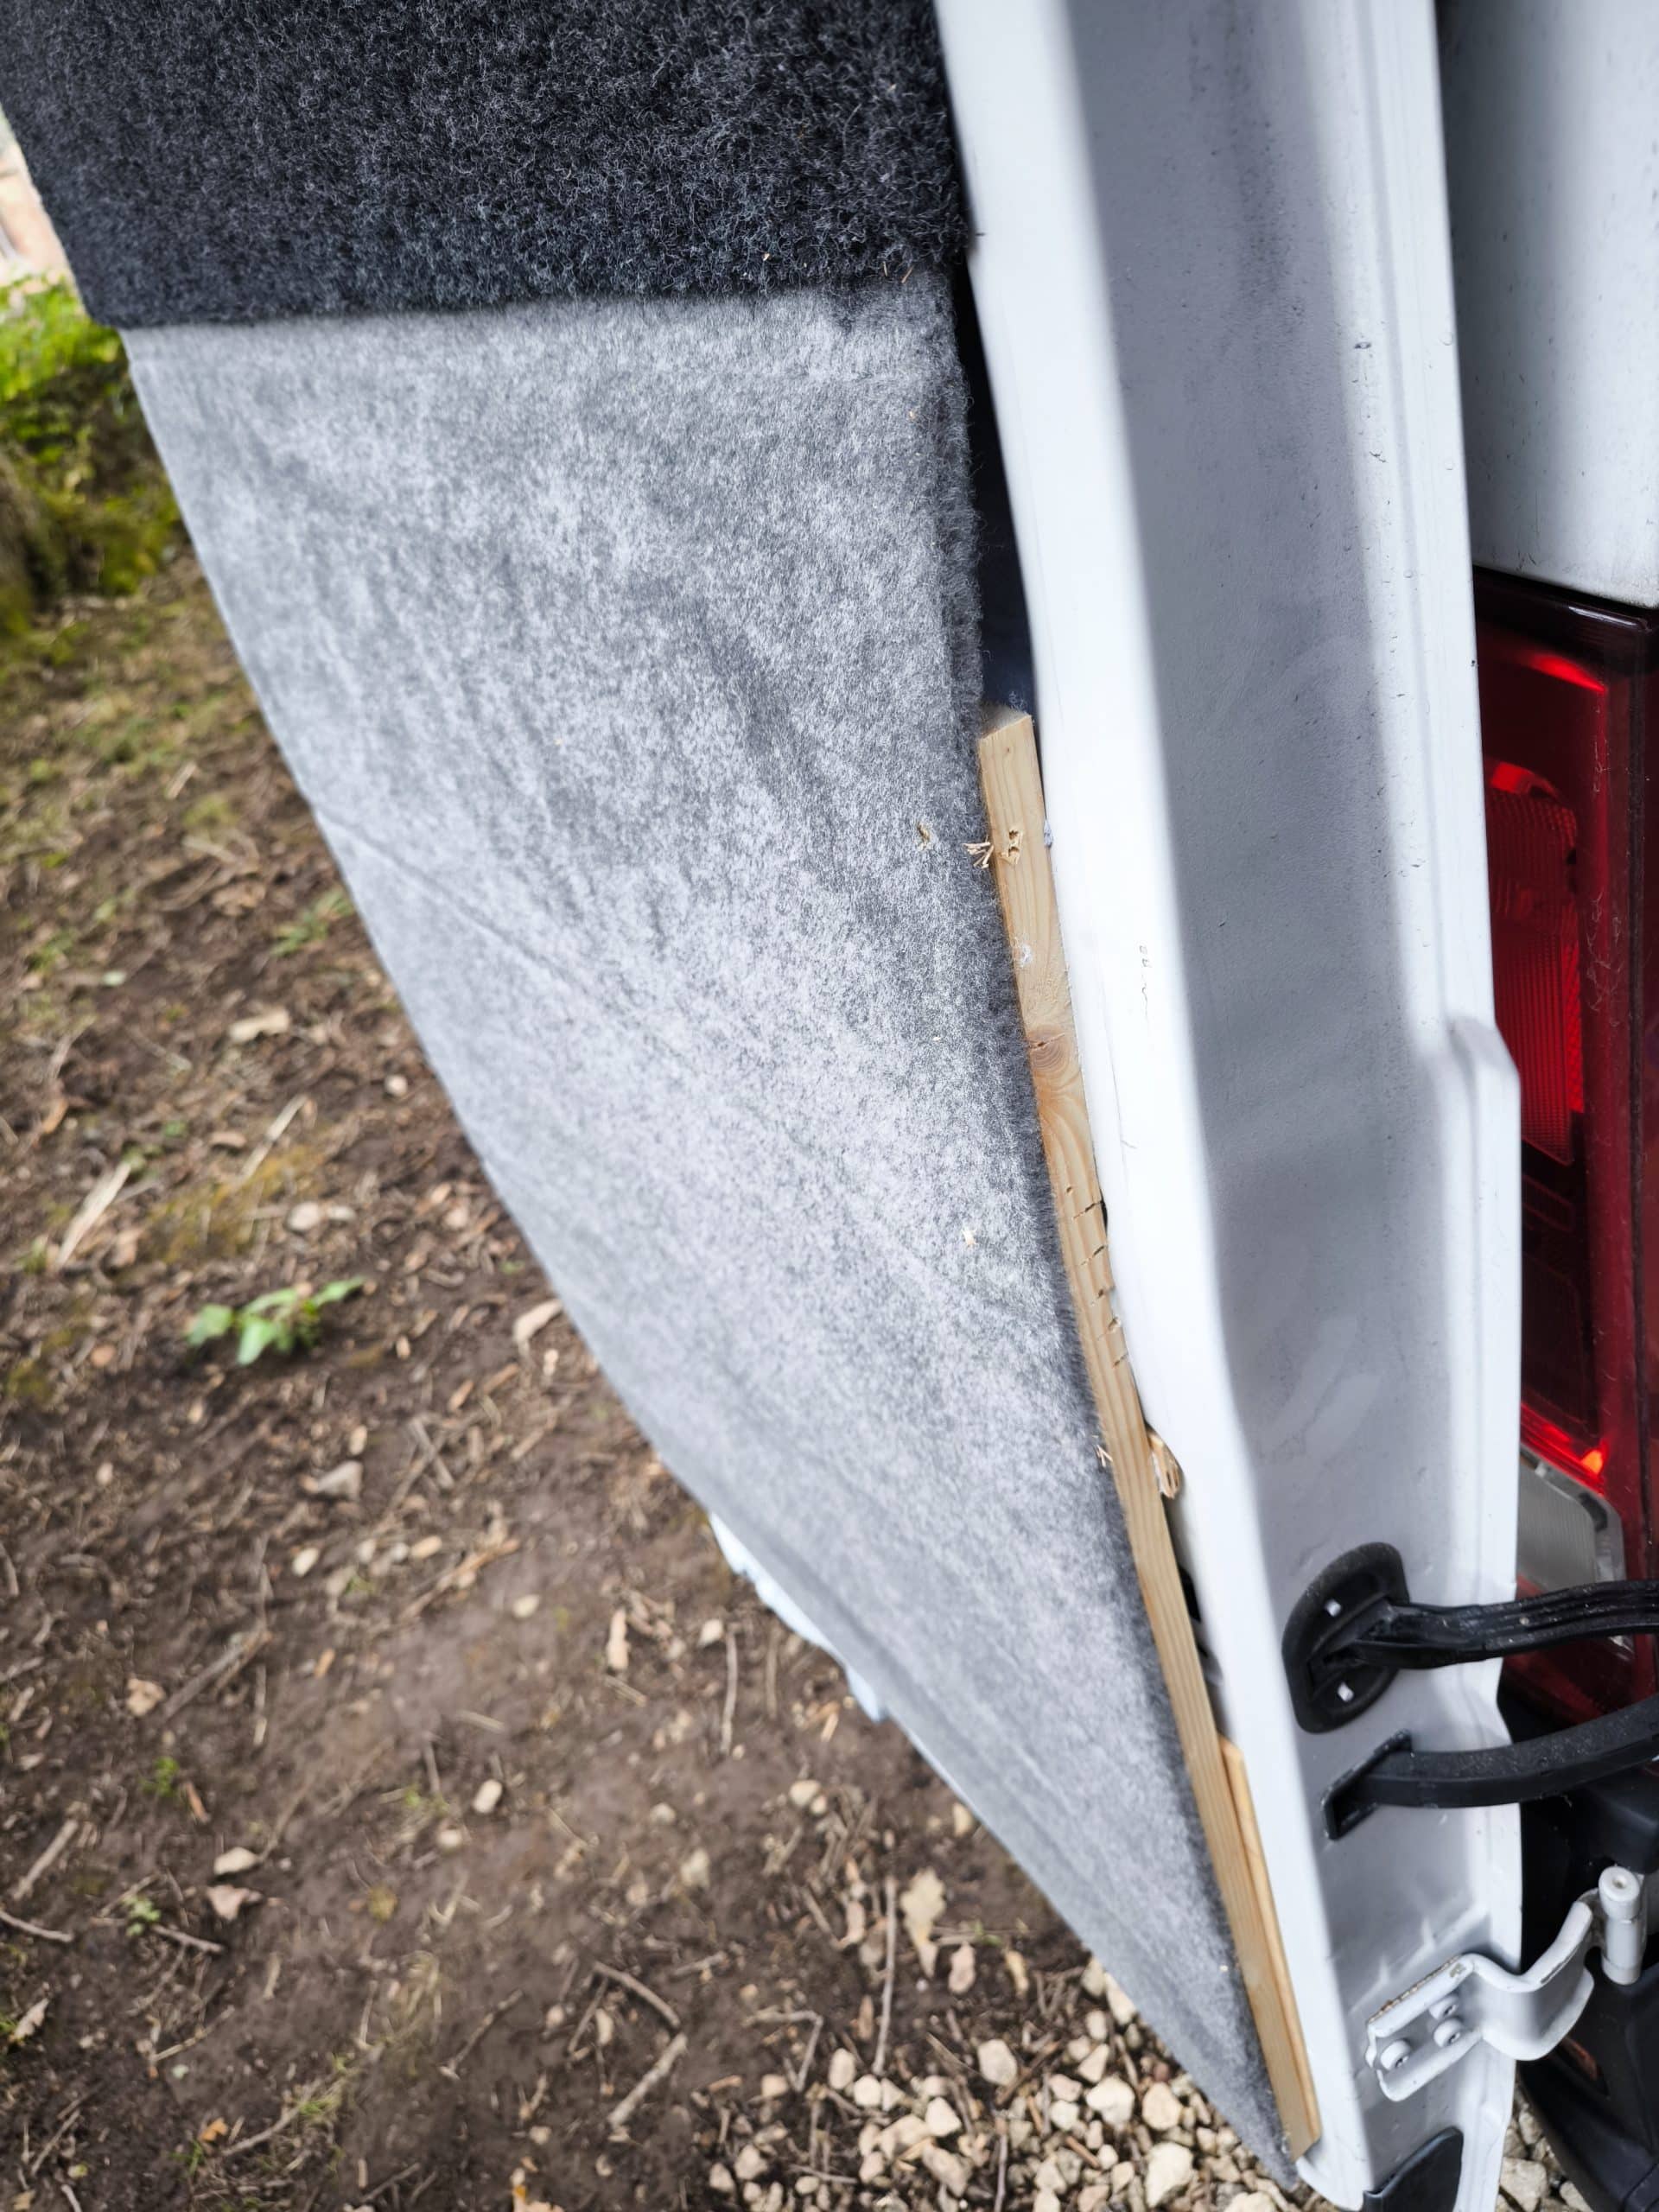
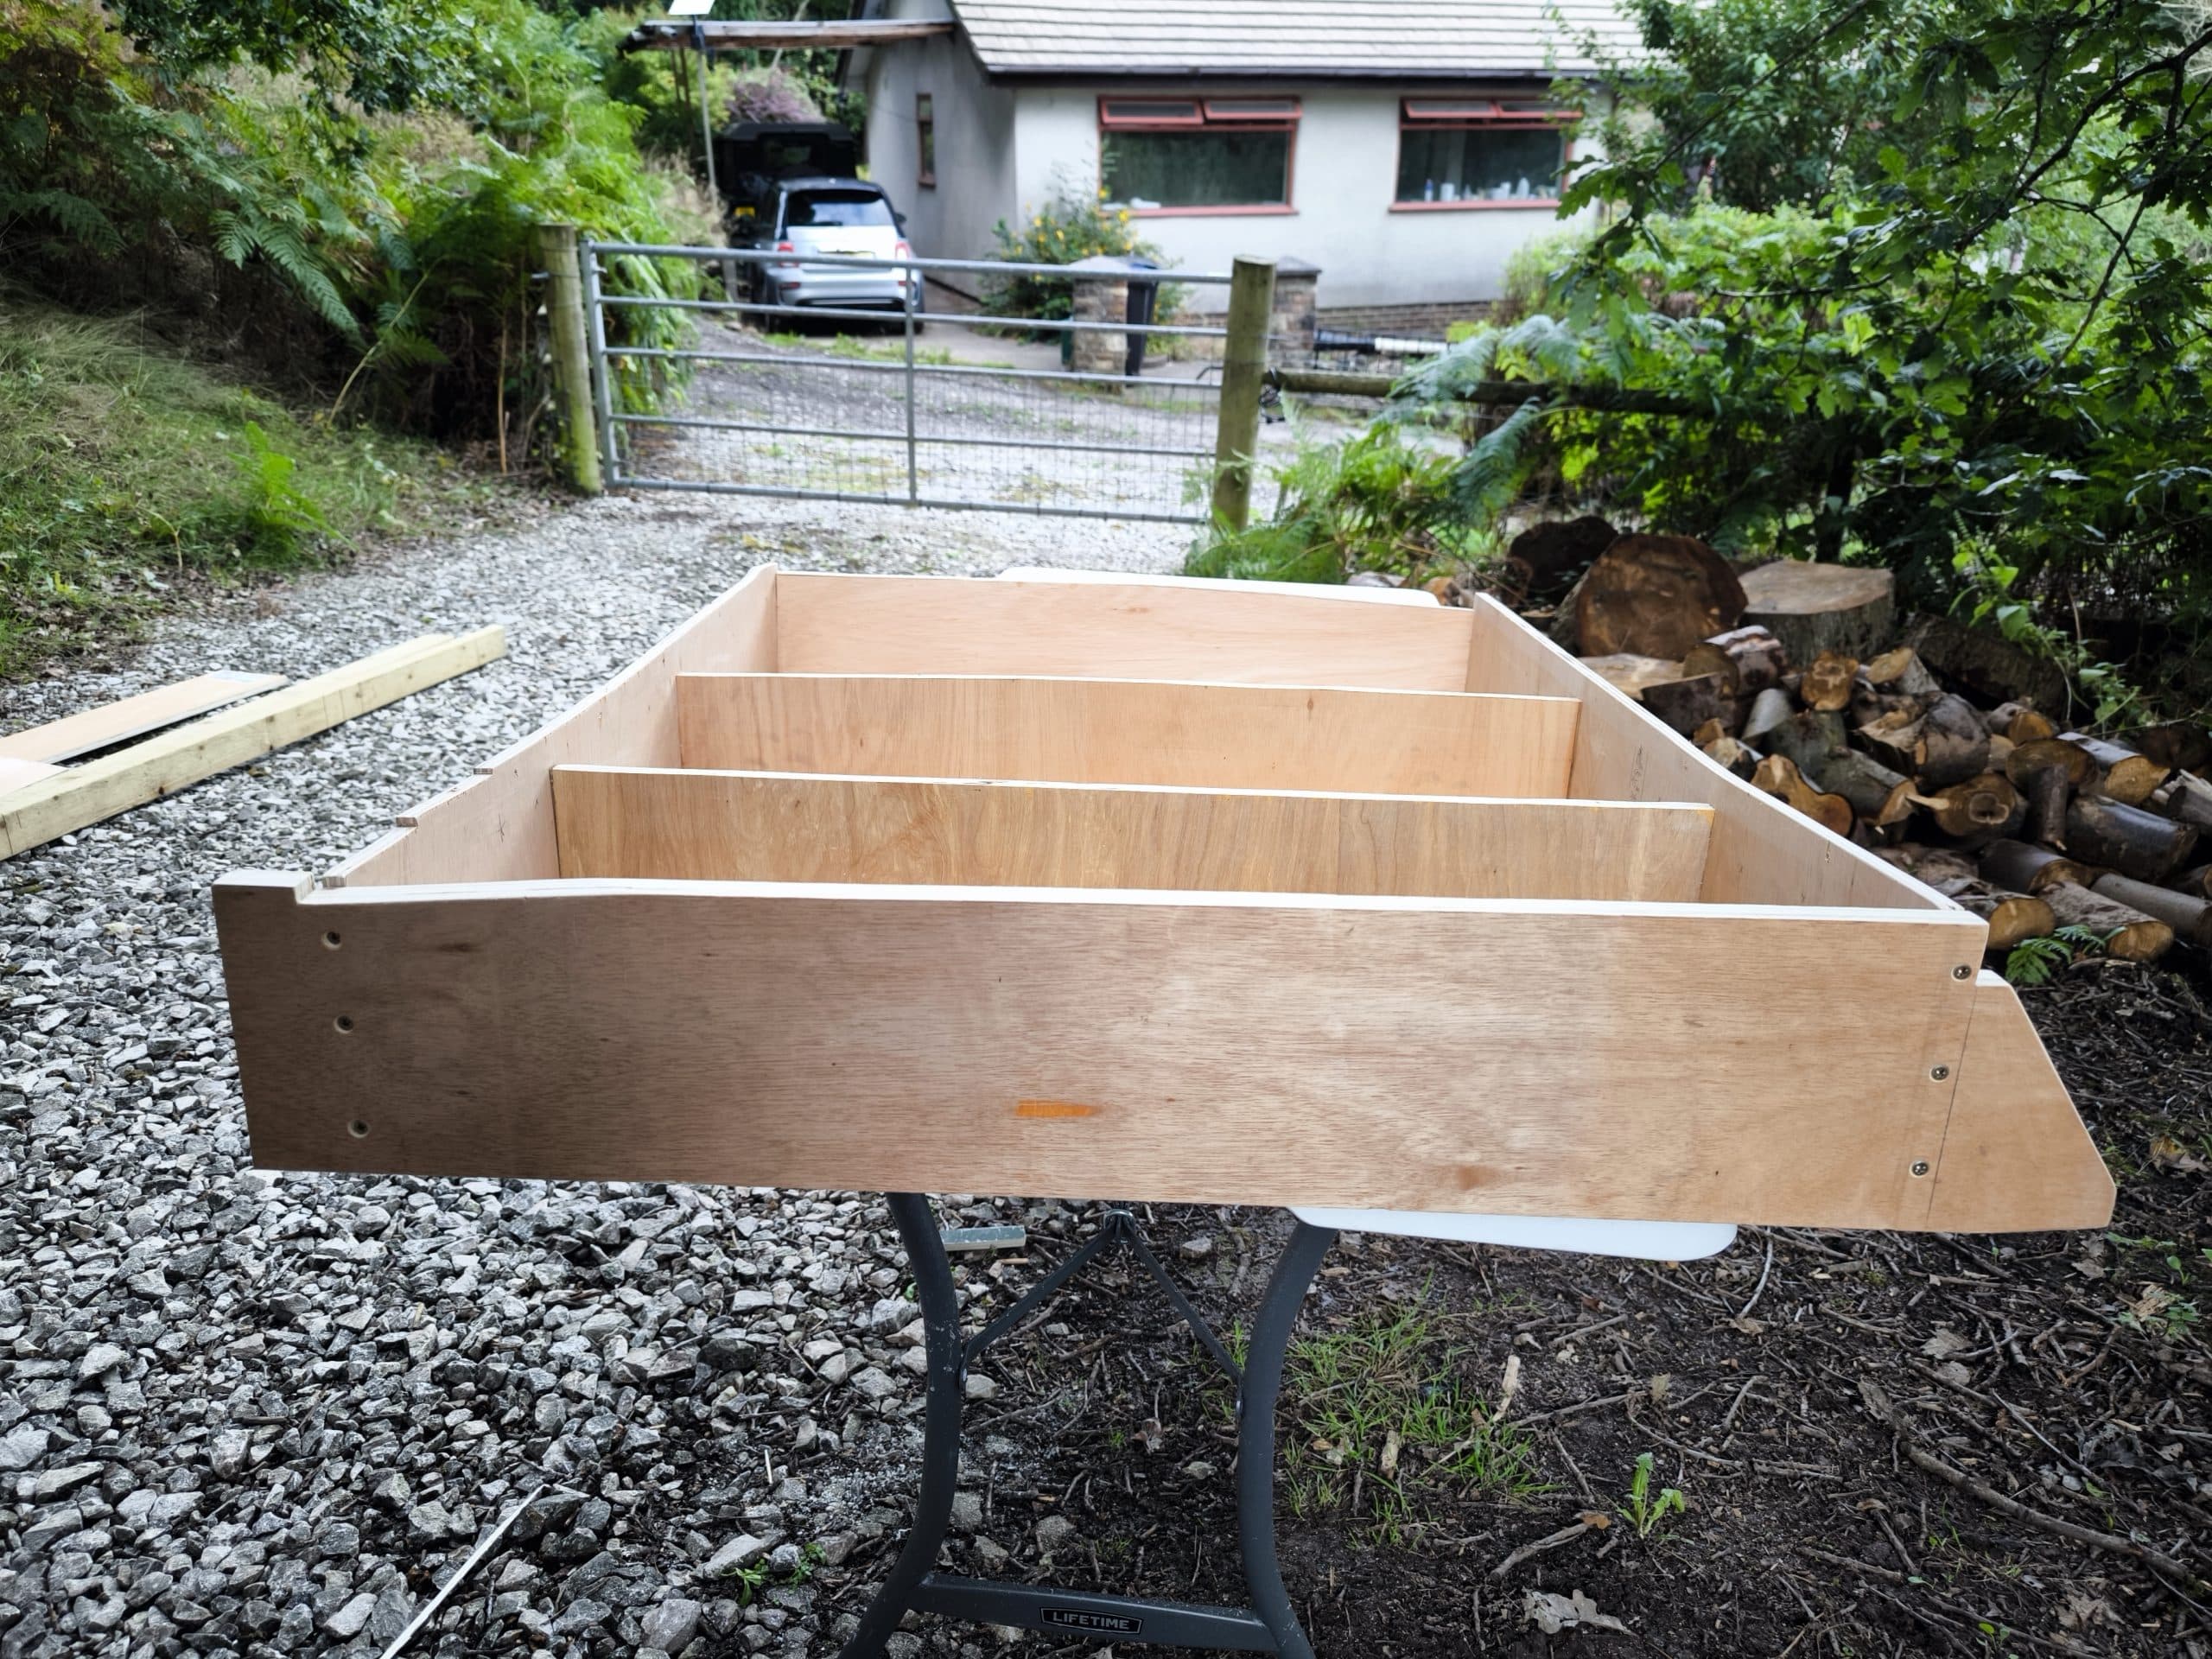
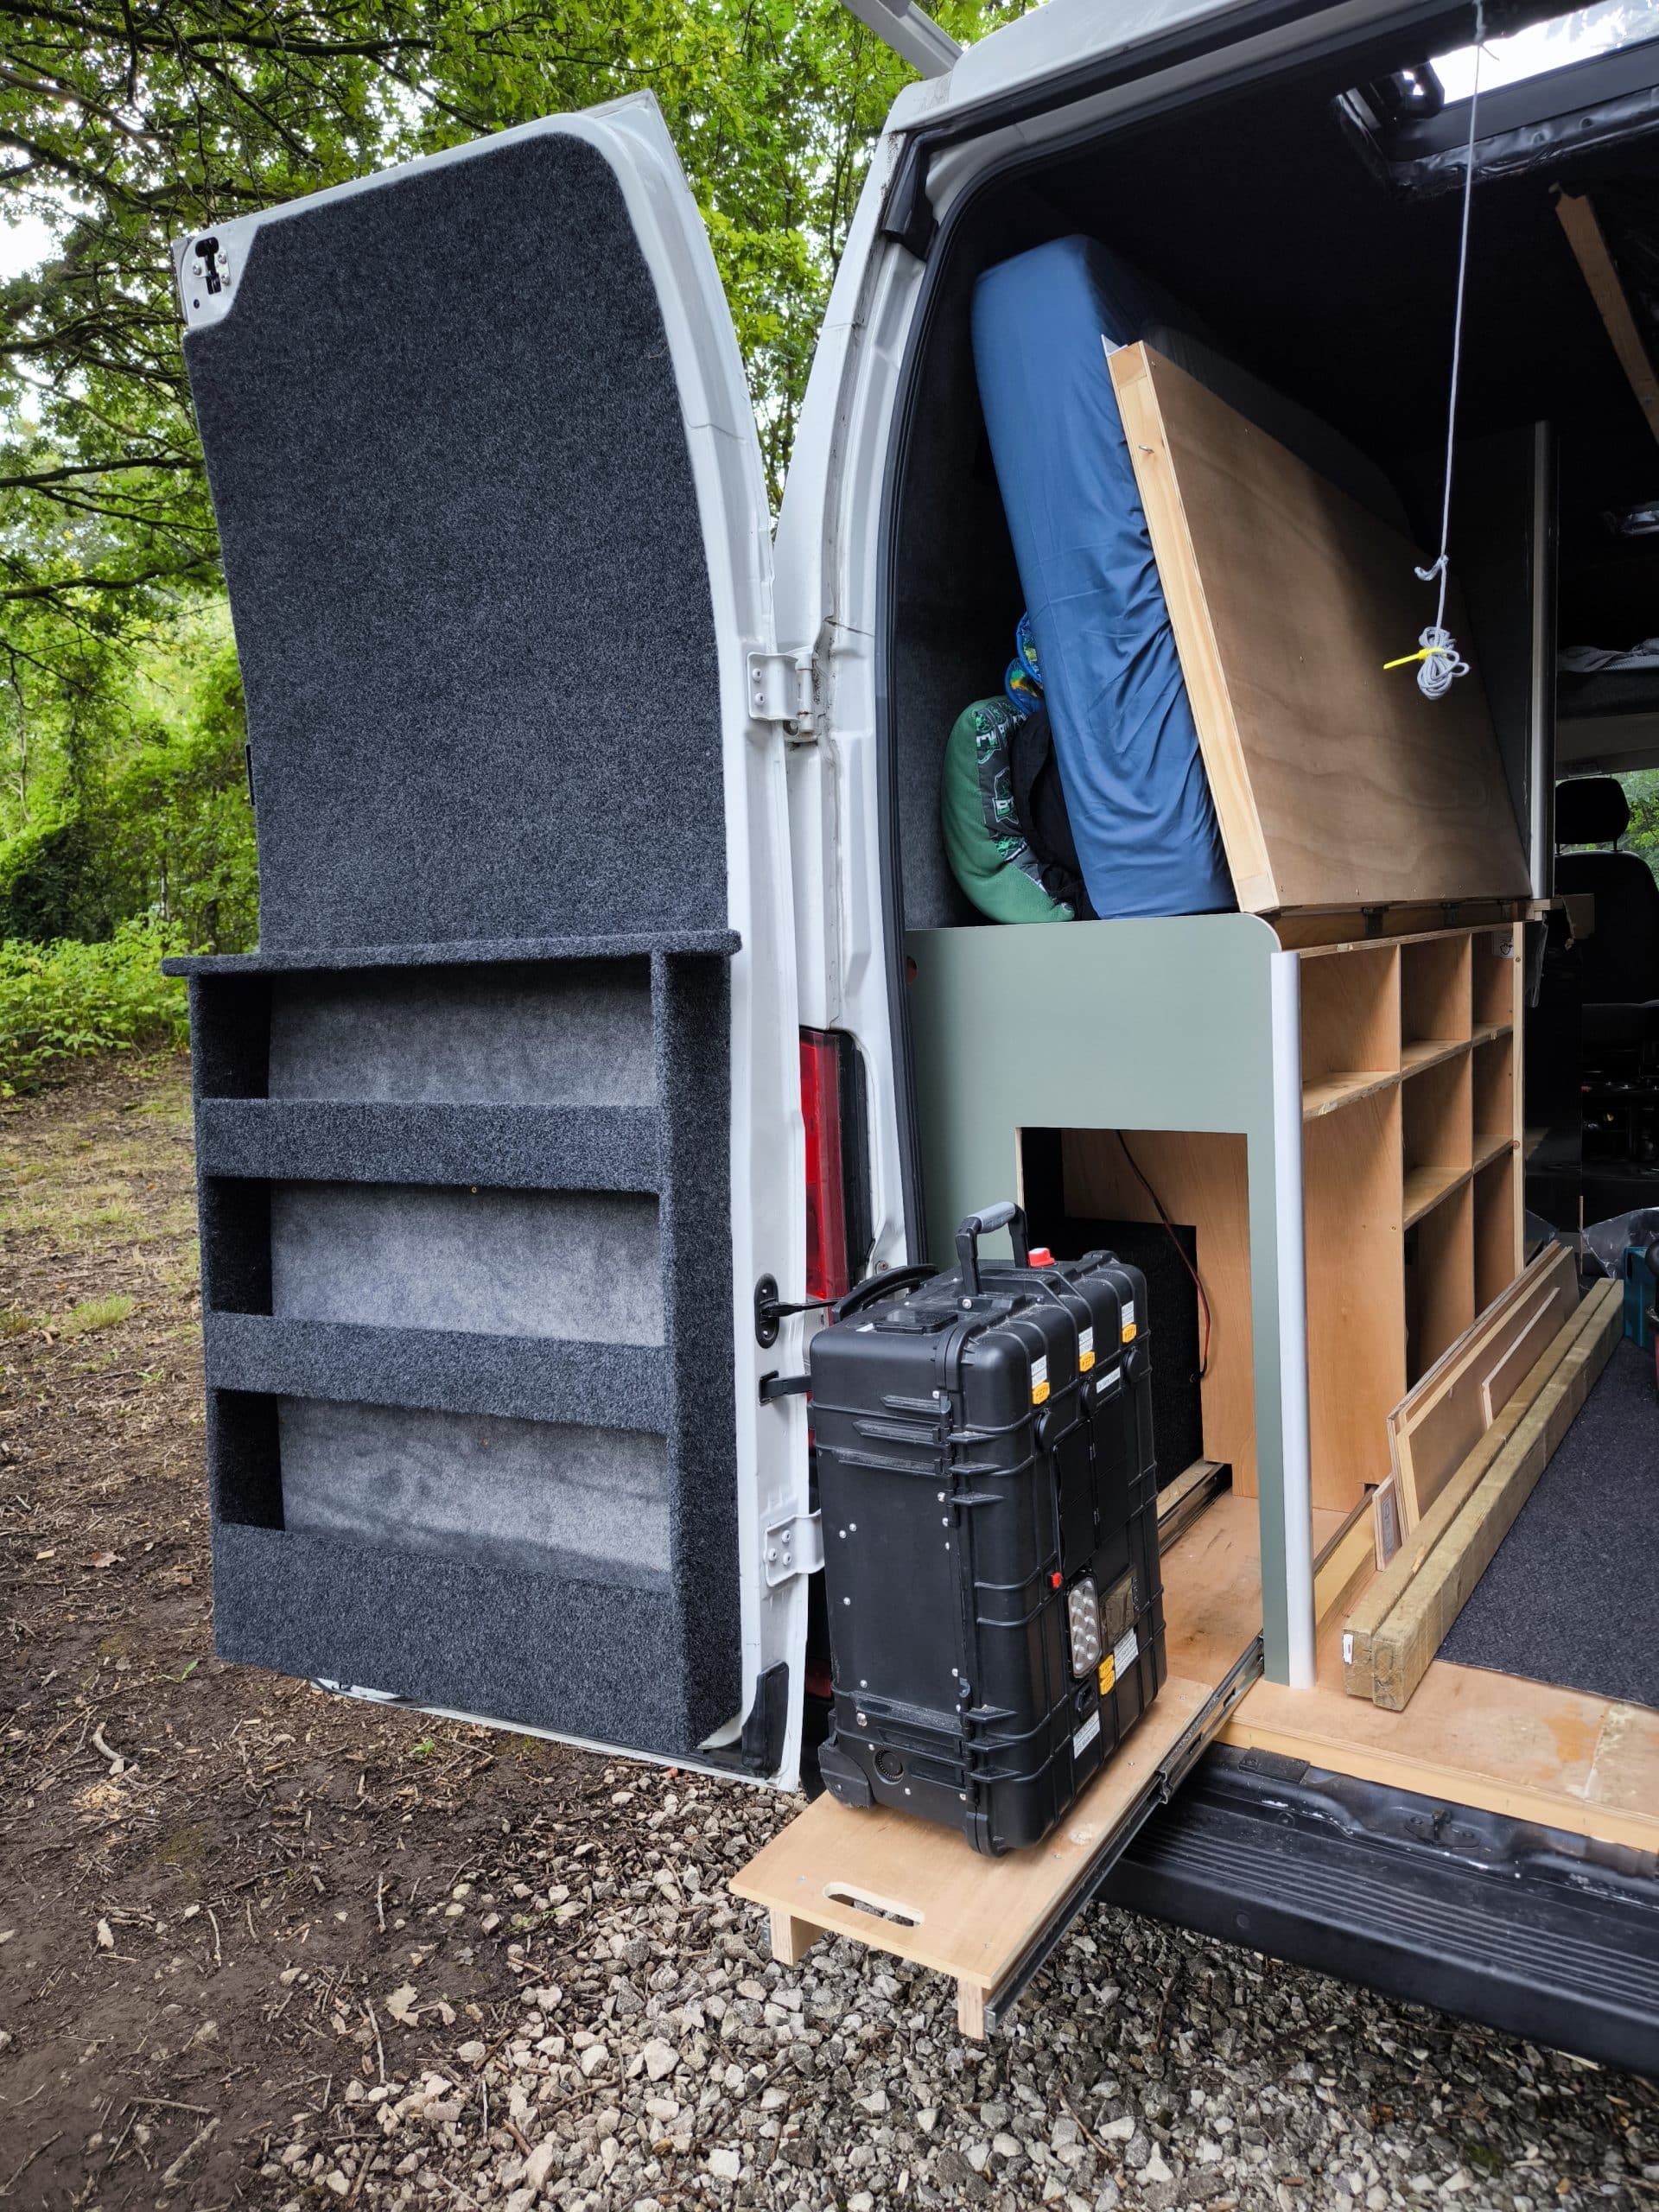
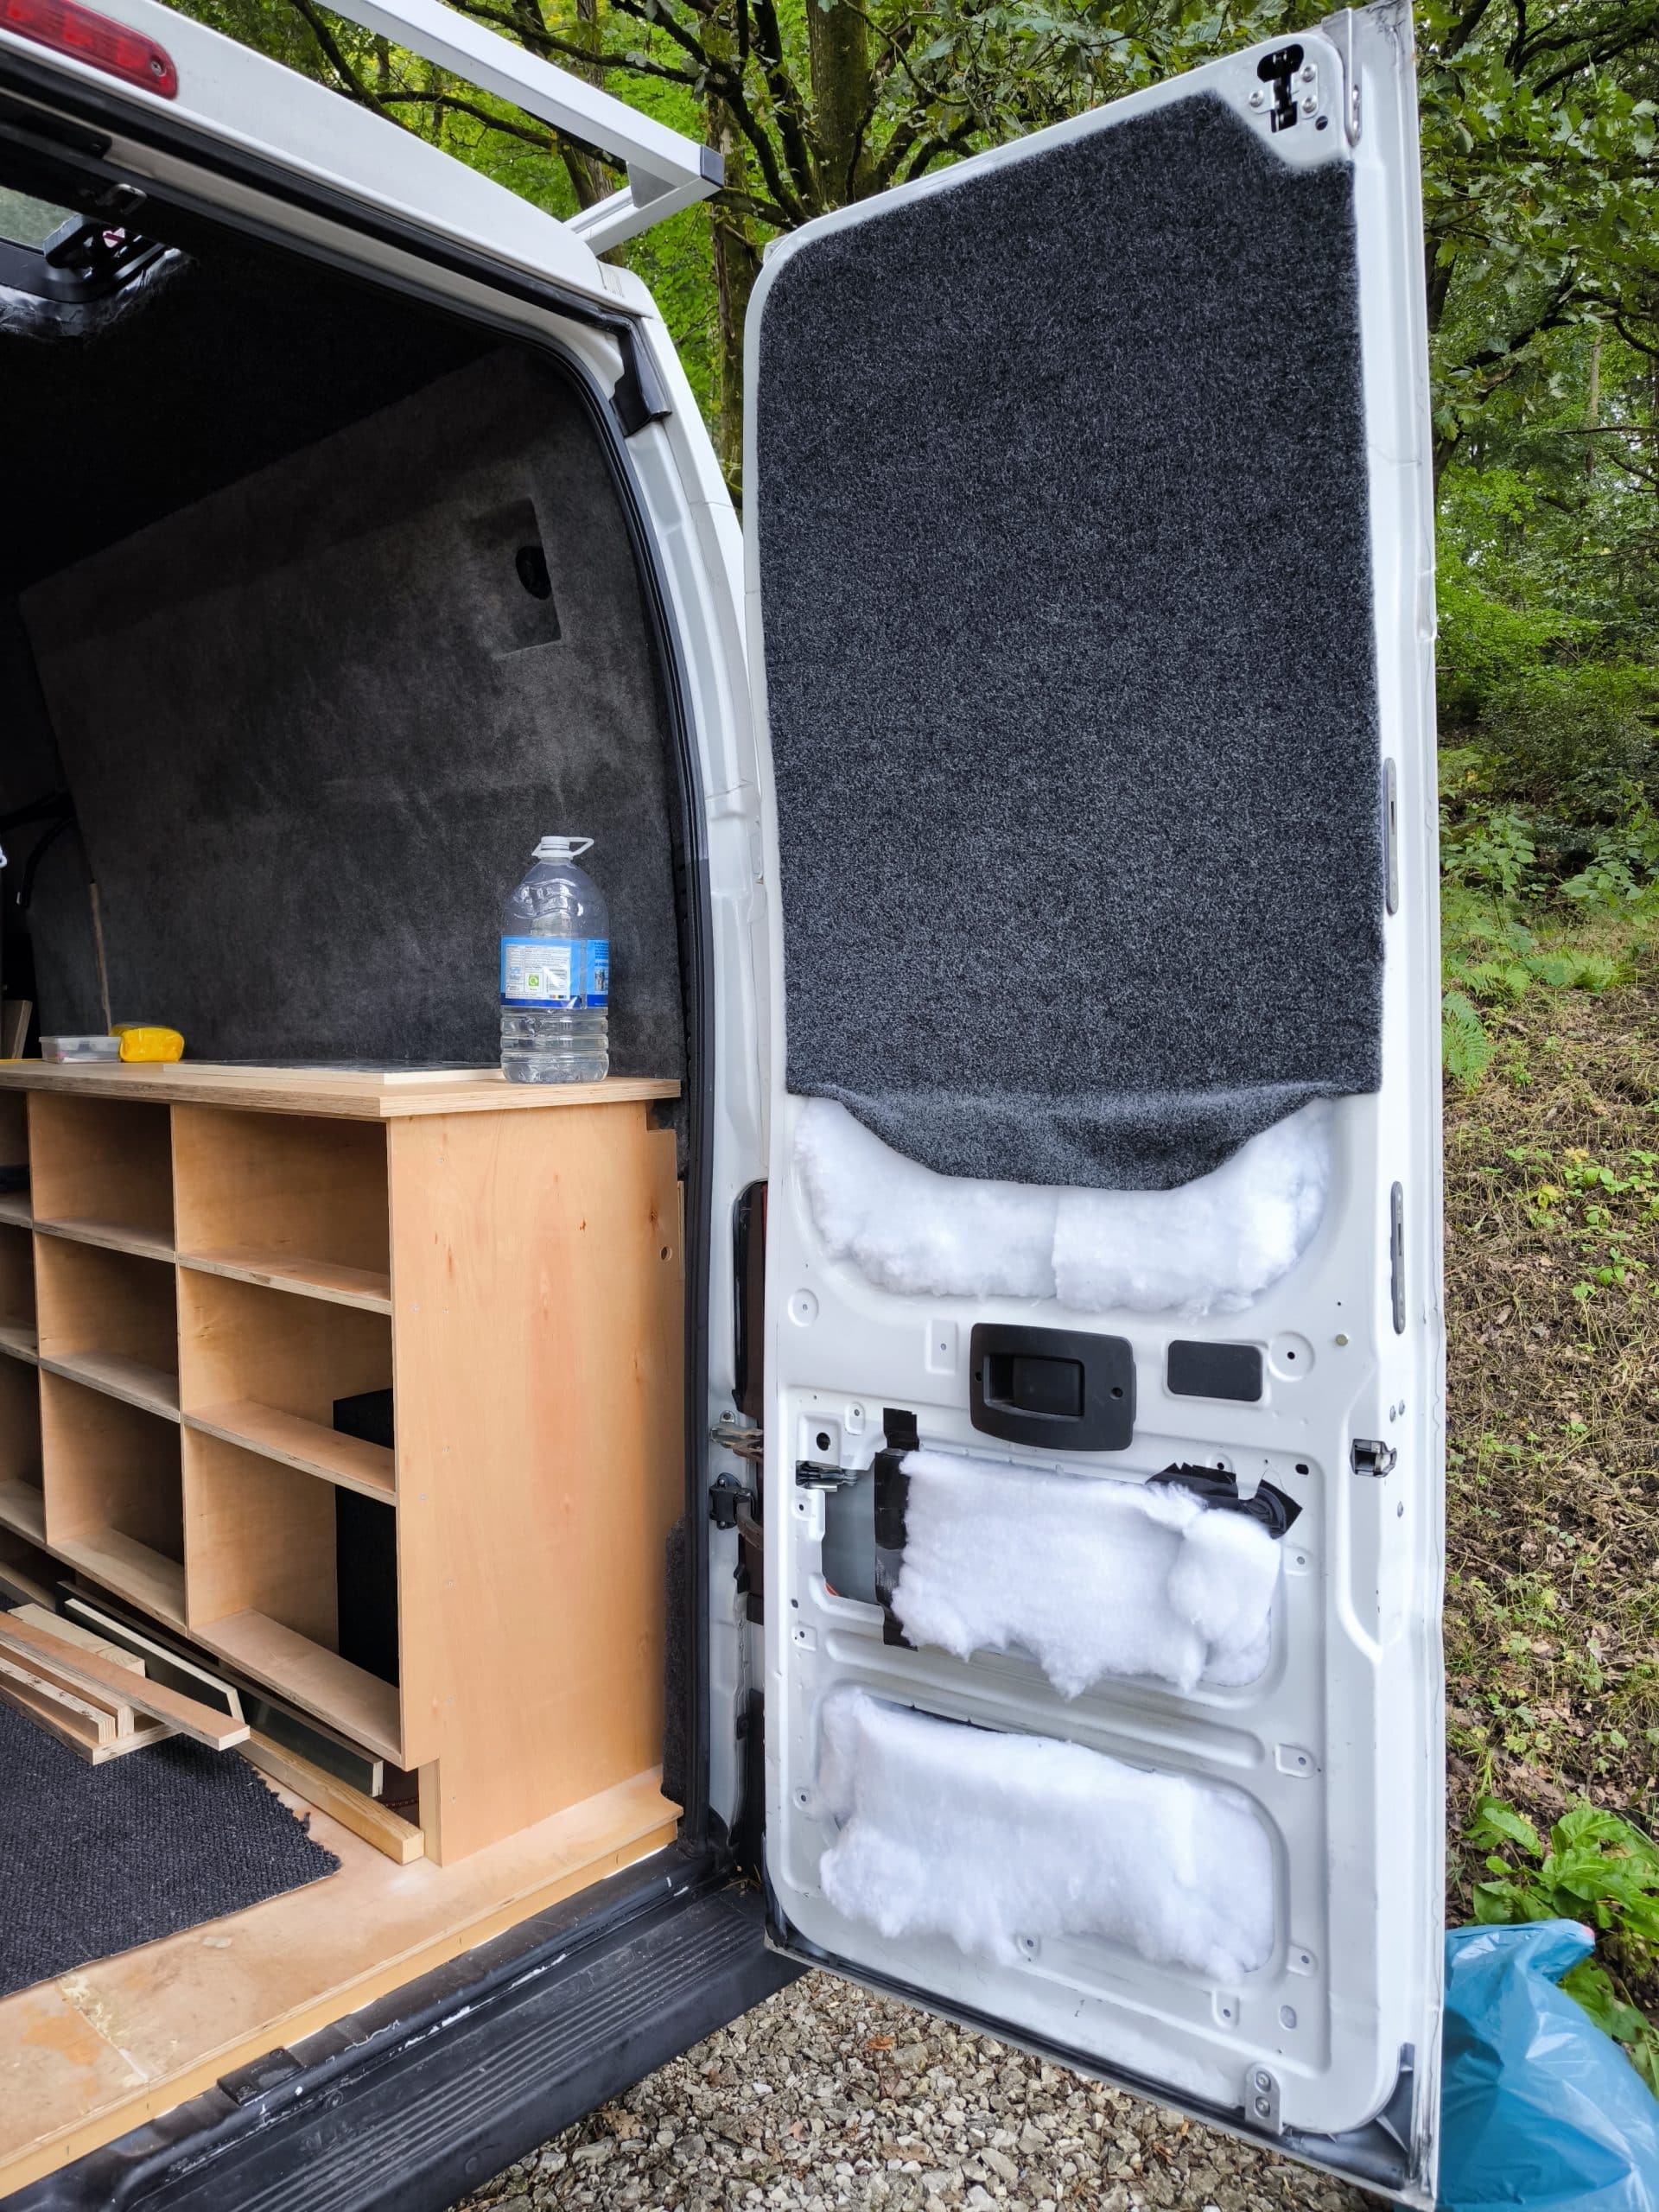
But once fully built, it was time to cover it in carpet and cover up all the dodgy joints haha! I built this cabinet carefully so that, while there will be screw heads showing, they will be discreet. This means the whole thing can be removed, along with the backing panel to access lights, cables and locking mechanism of the van if needed.
Covering it in carpet was much like the rest of the van, but by now I’d had plenty of practice. I was very happy with the result, even though i had to join bits of carpet on the front in plain view. The joints are so subtle they are almost invisible.
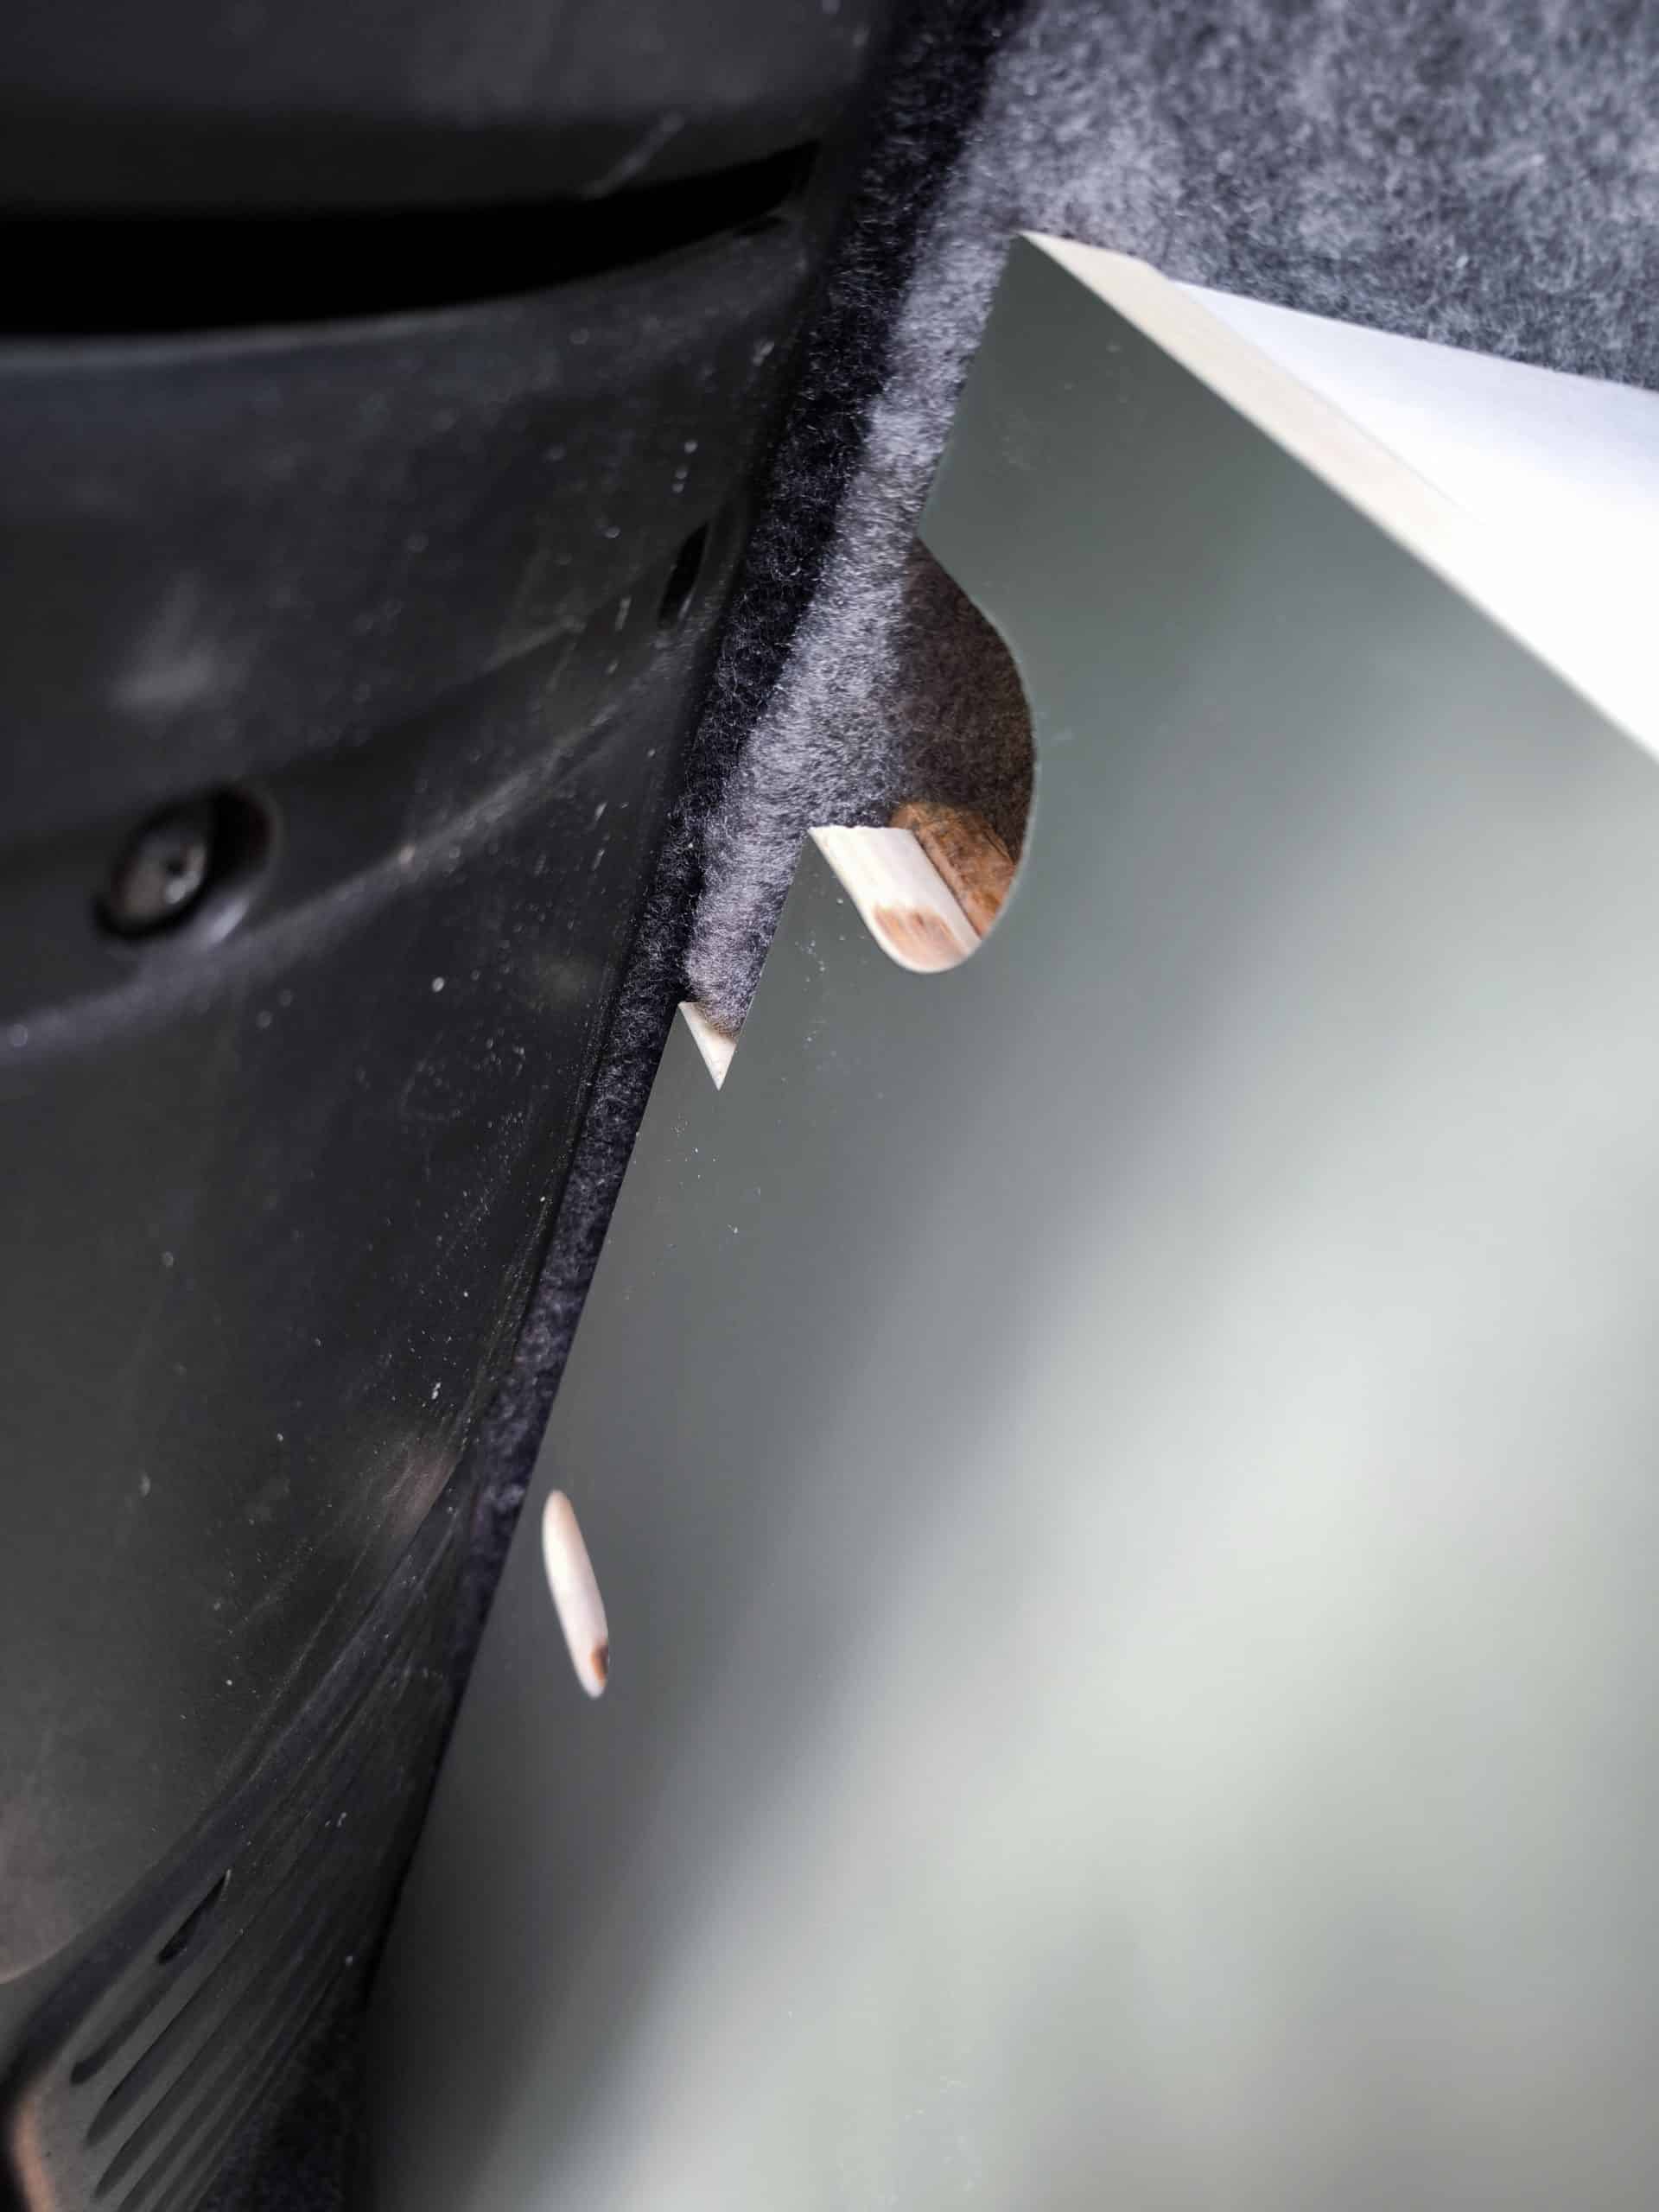
I also took this time to put in another green panel to close in the rear bed structure. While it just looks like a flat sheet of green ply, it needed a lot of fettling to get it to fit nicely. It was a bit tight to the rear pillar so i took an angle off one edge, the wall panel needed a cutout and the holes for accessing the screws covering the lighting panel needed carefully cutting with a hole saw.
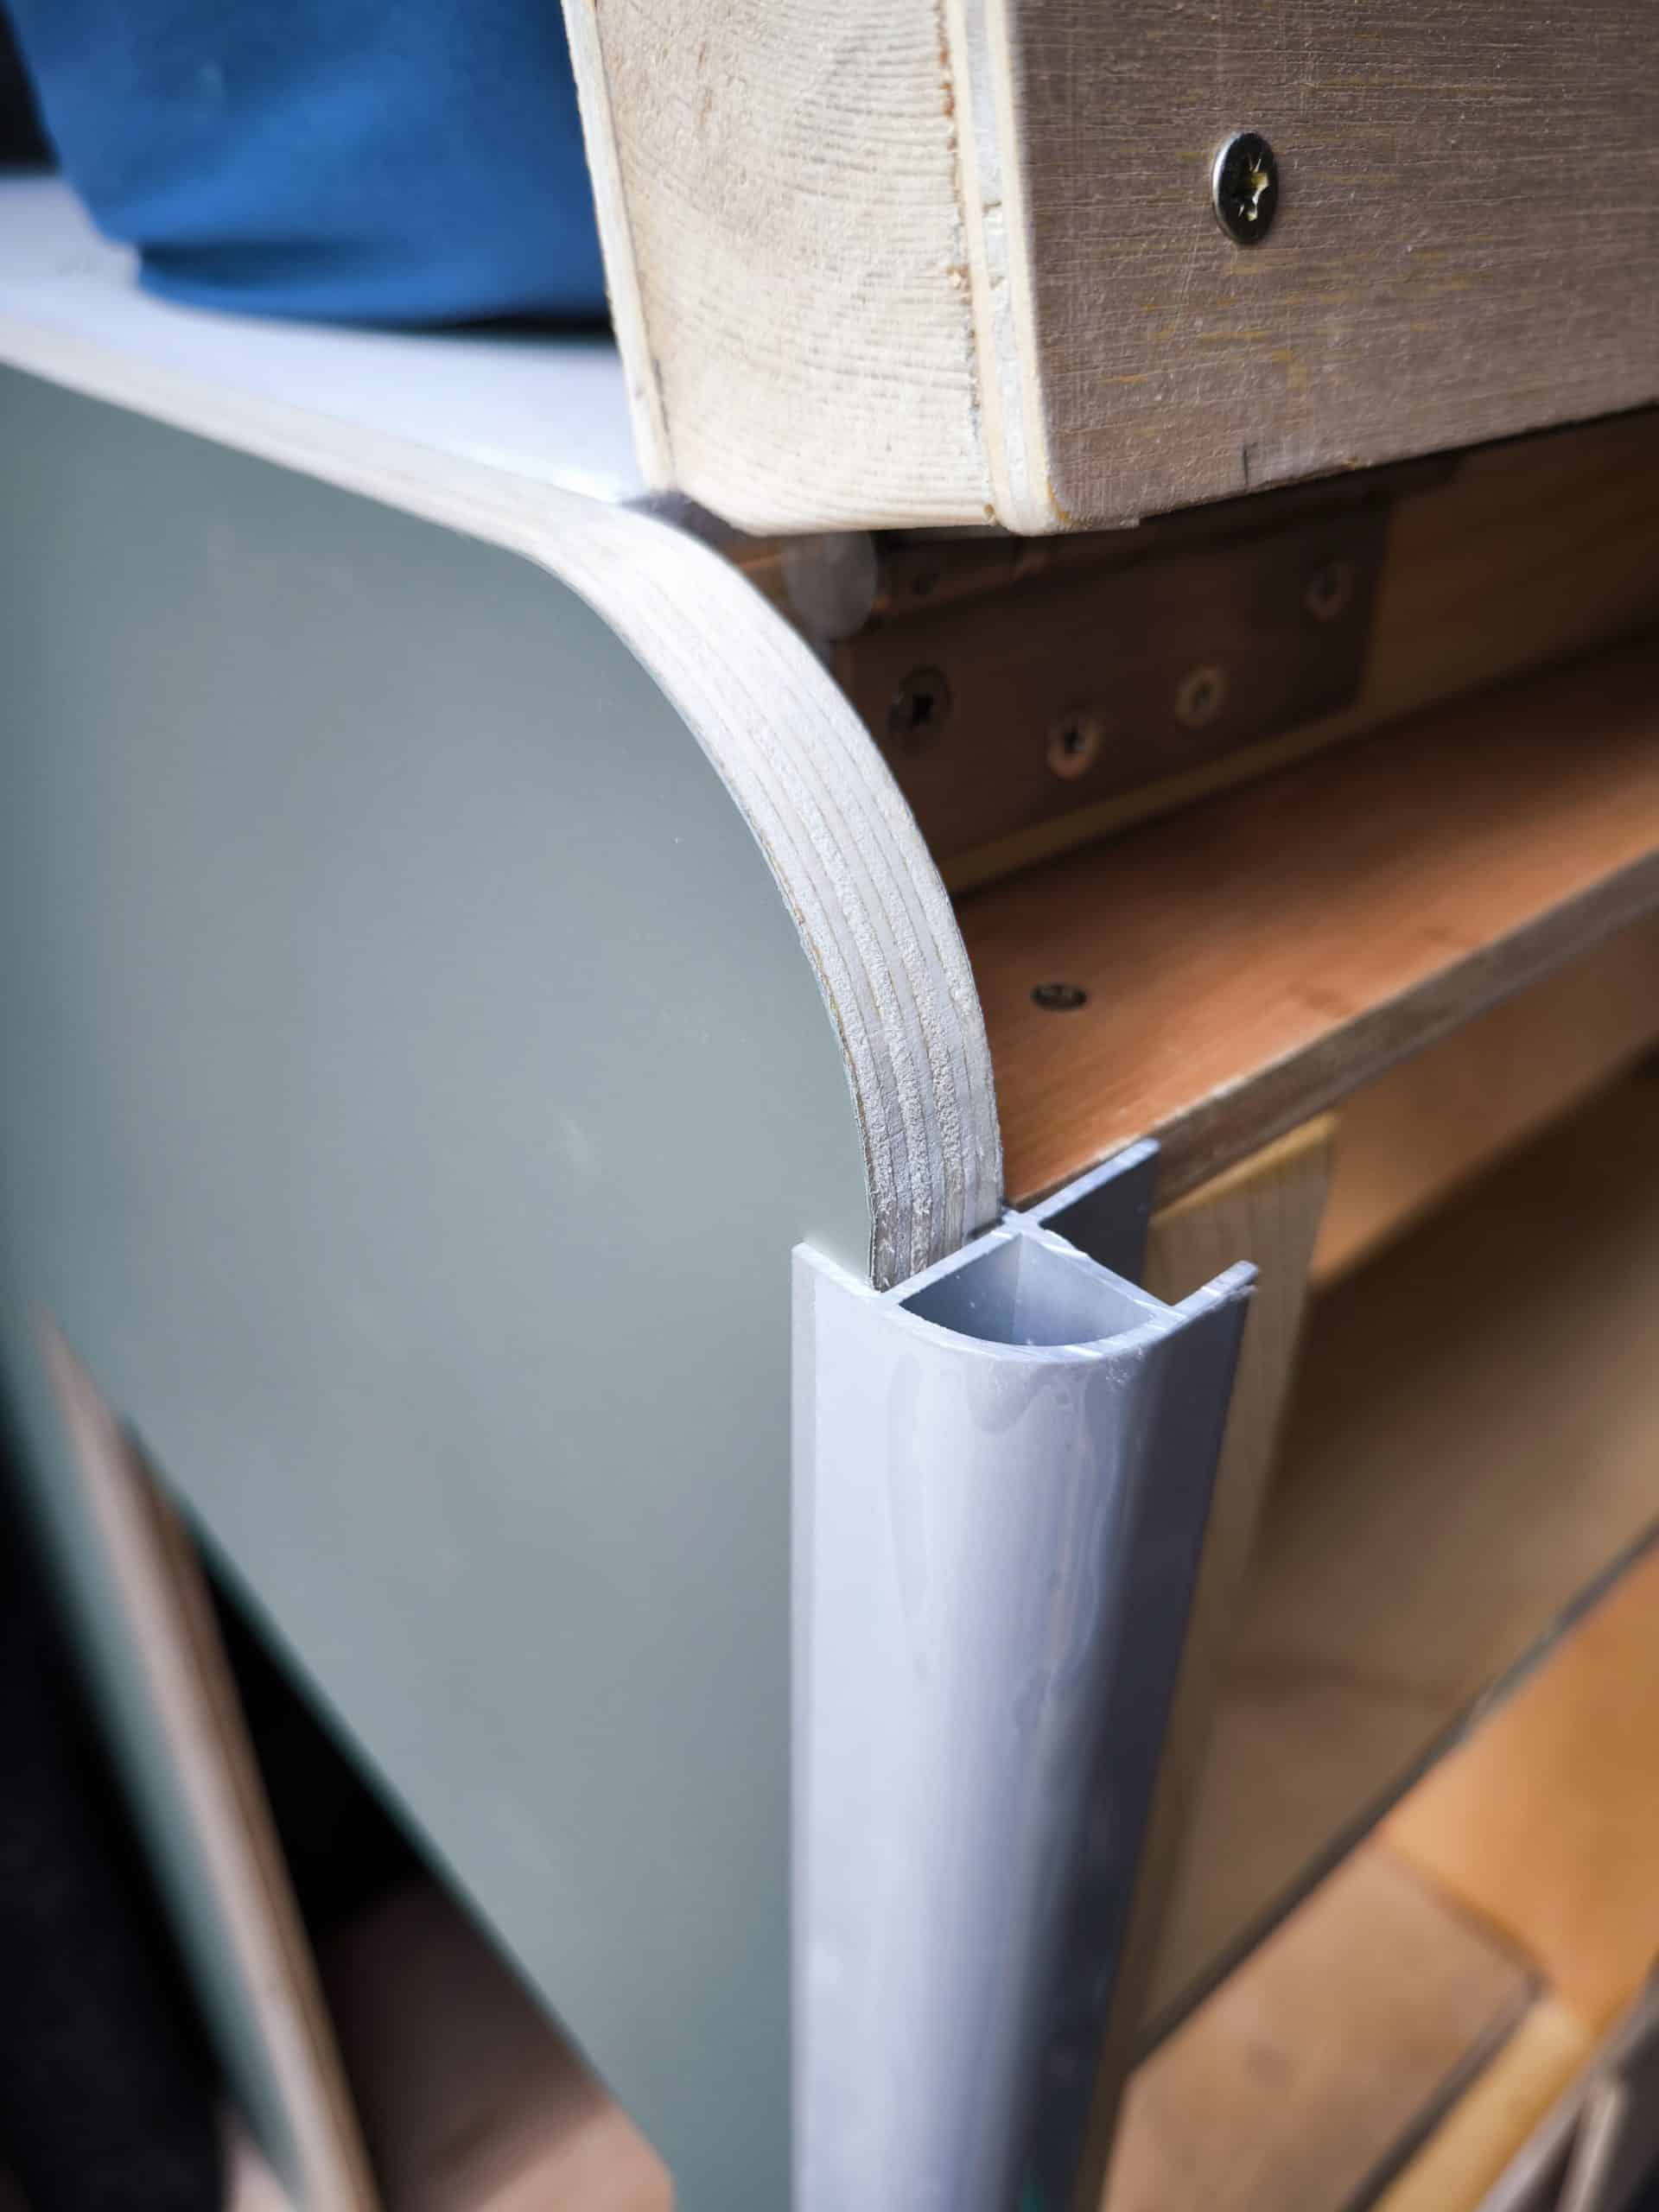
Then, the last thing was to put in a bit of silver corner trim. Because the cabinet is open at the rear, and open into the kitchen so we can access the battery, this means a large amount of weight will be traveling down to the floor in this corner. So here I’ve built the frame from a solid 44x44mm timber. However, this means I cannot just screw in from the rear, so I’m using the corner trim to hold it in place (and some glue)
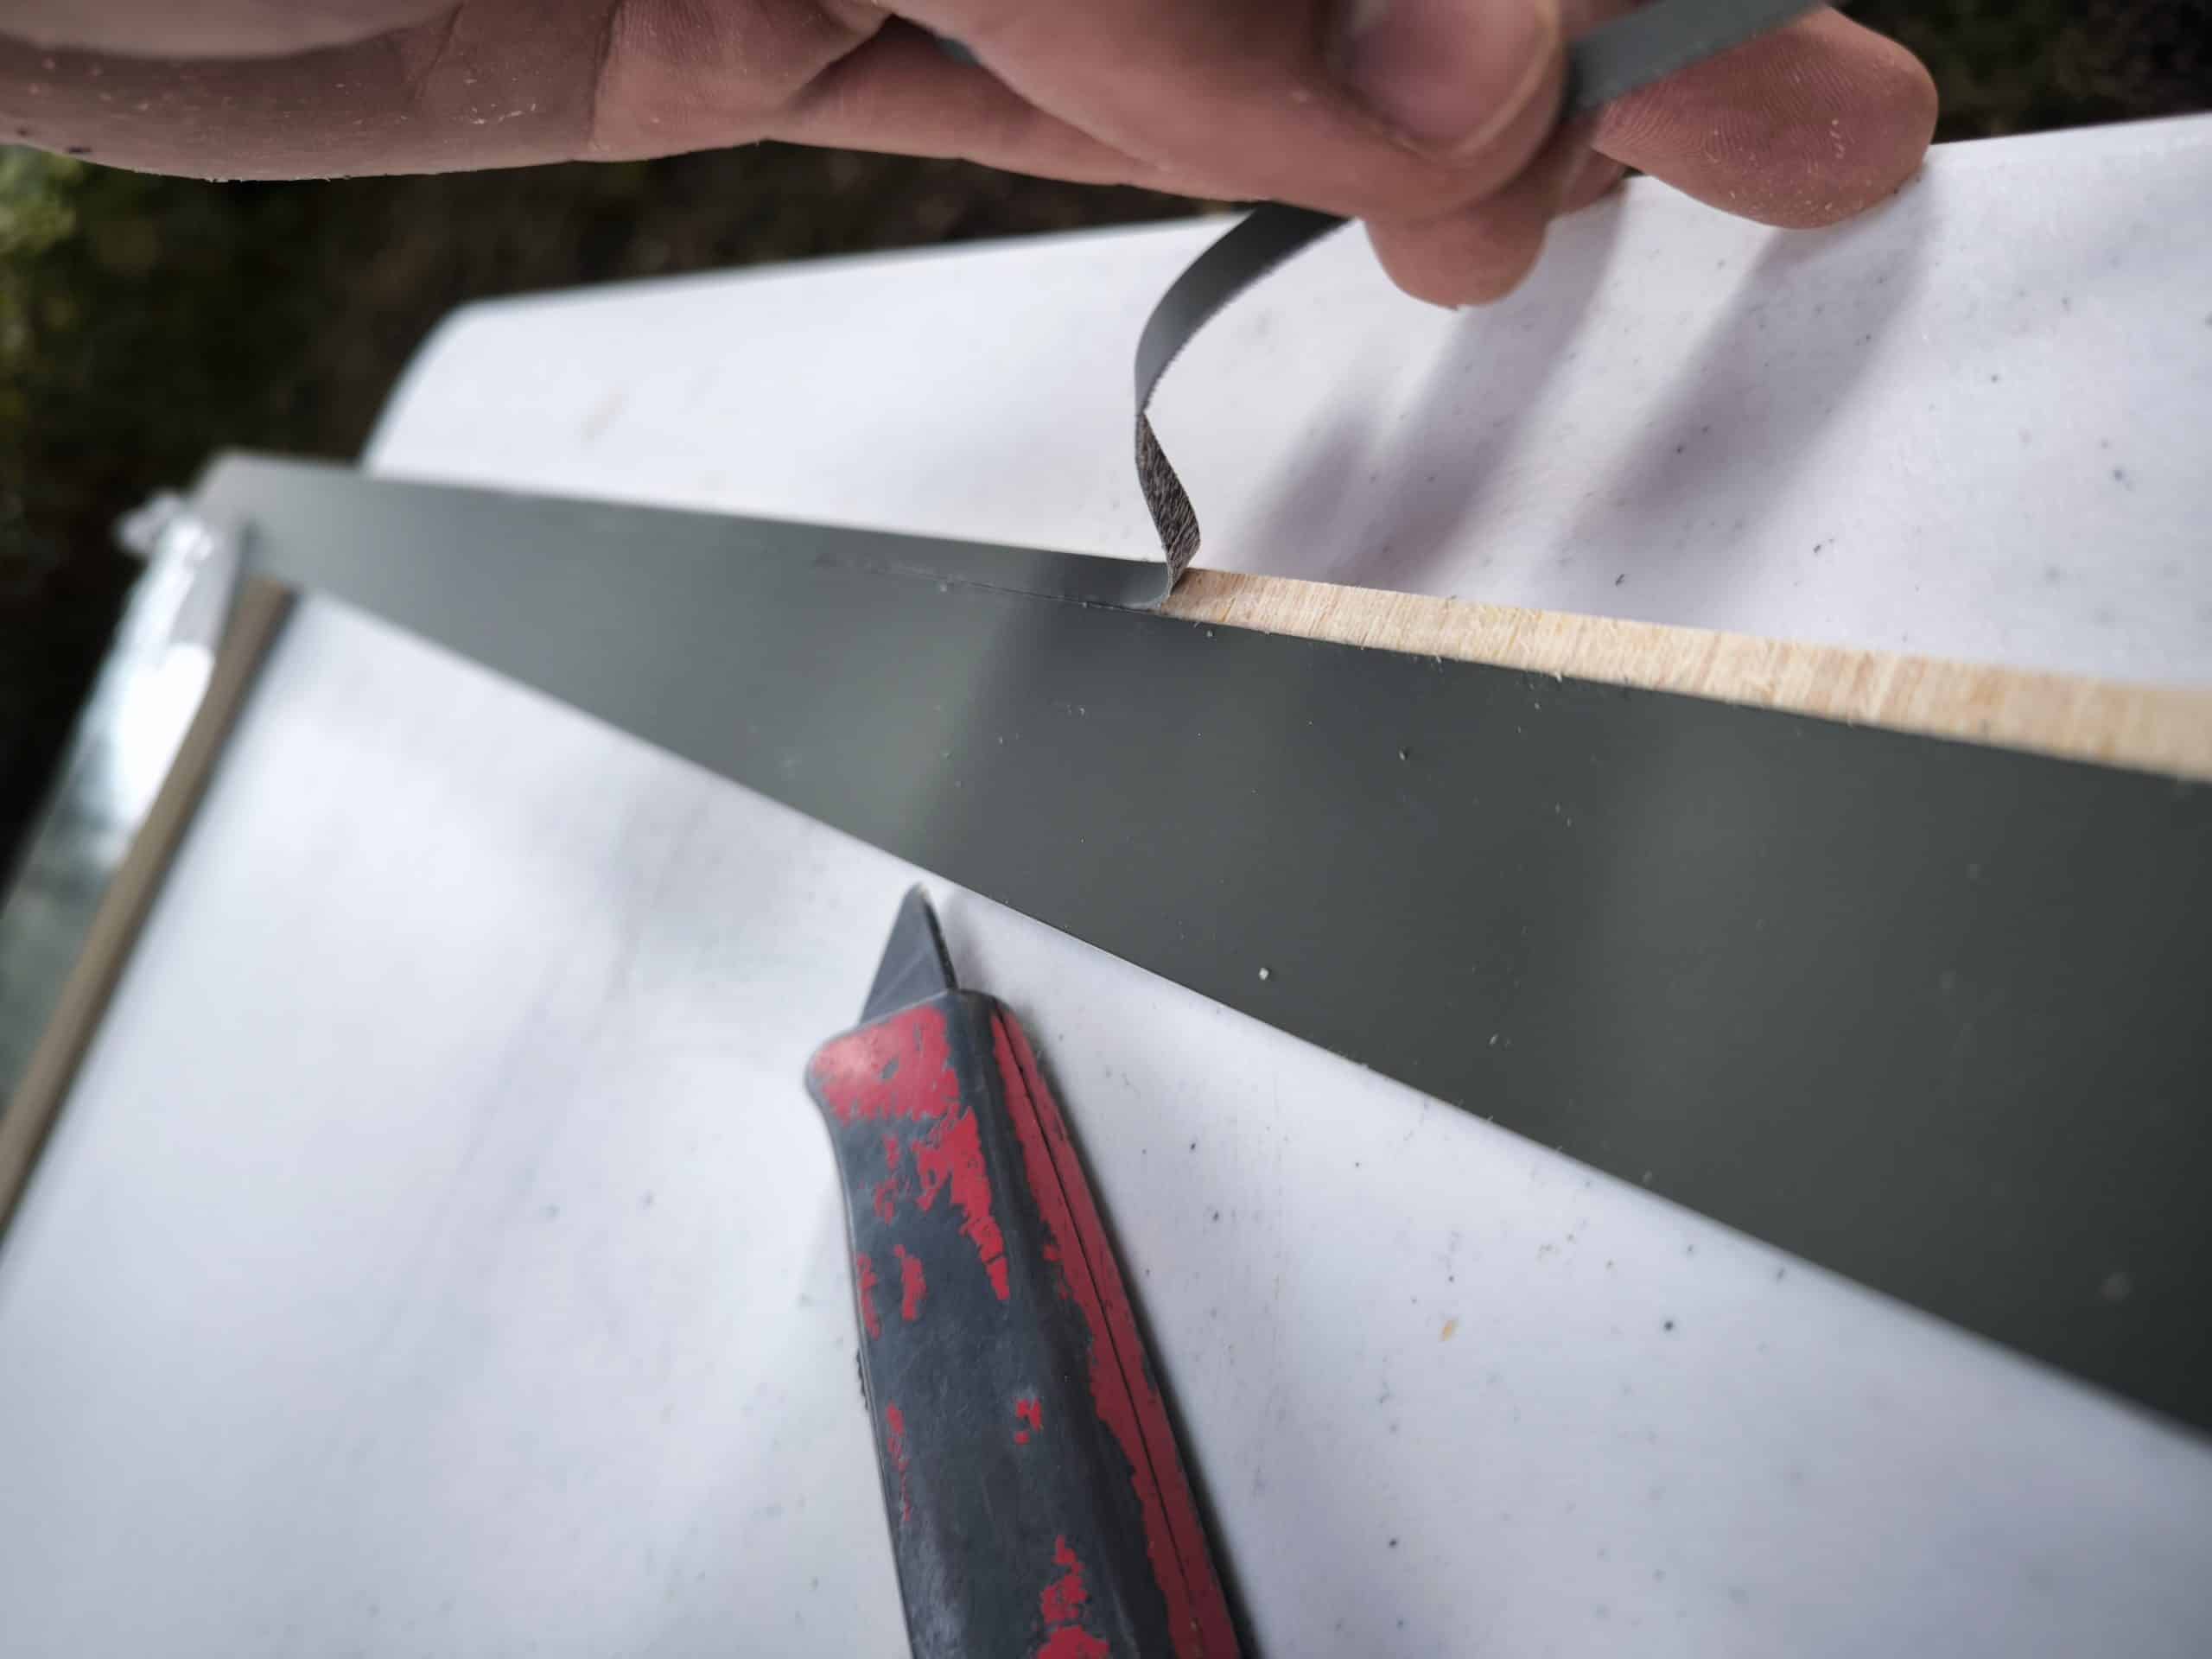
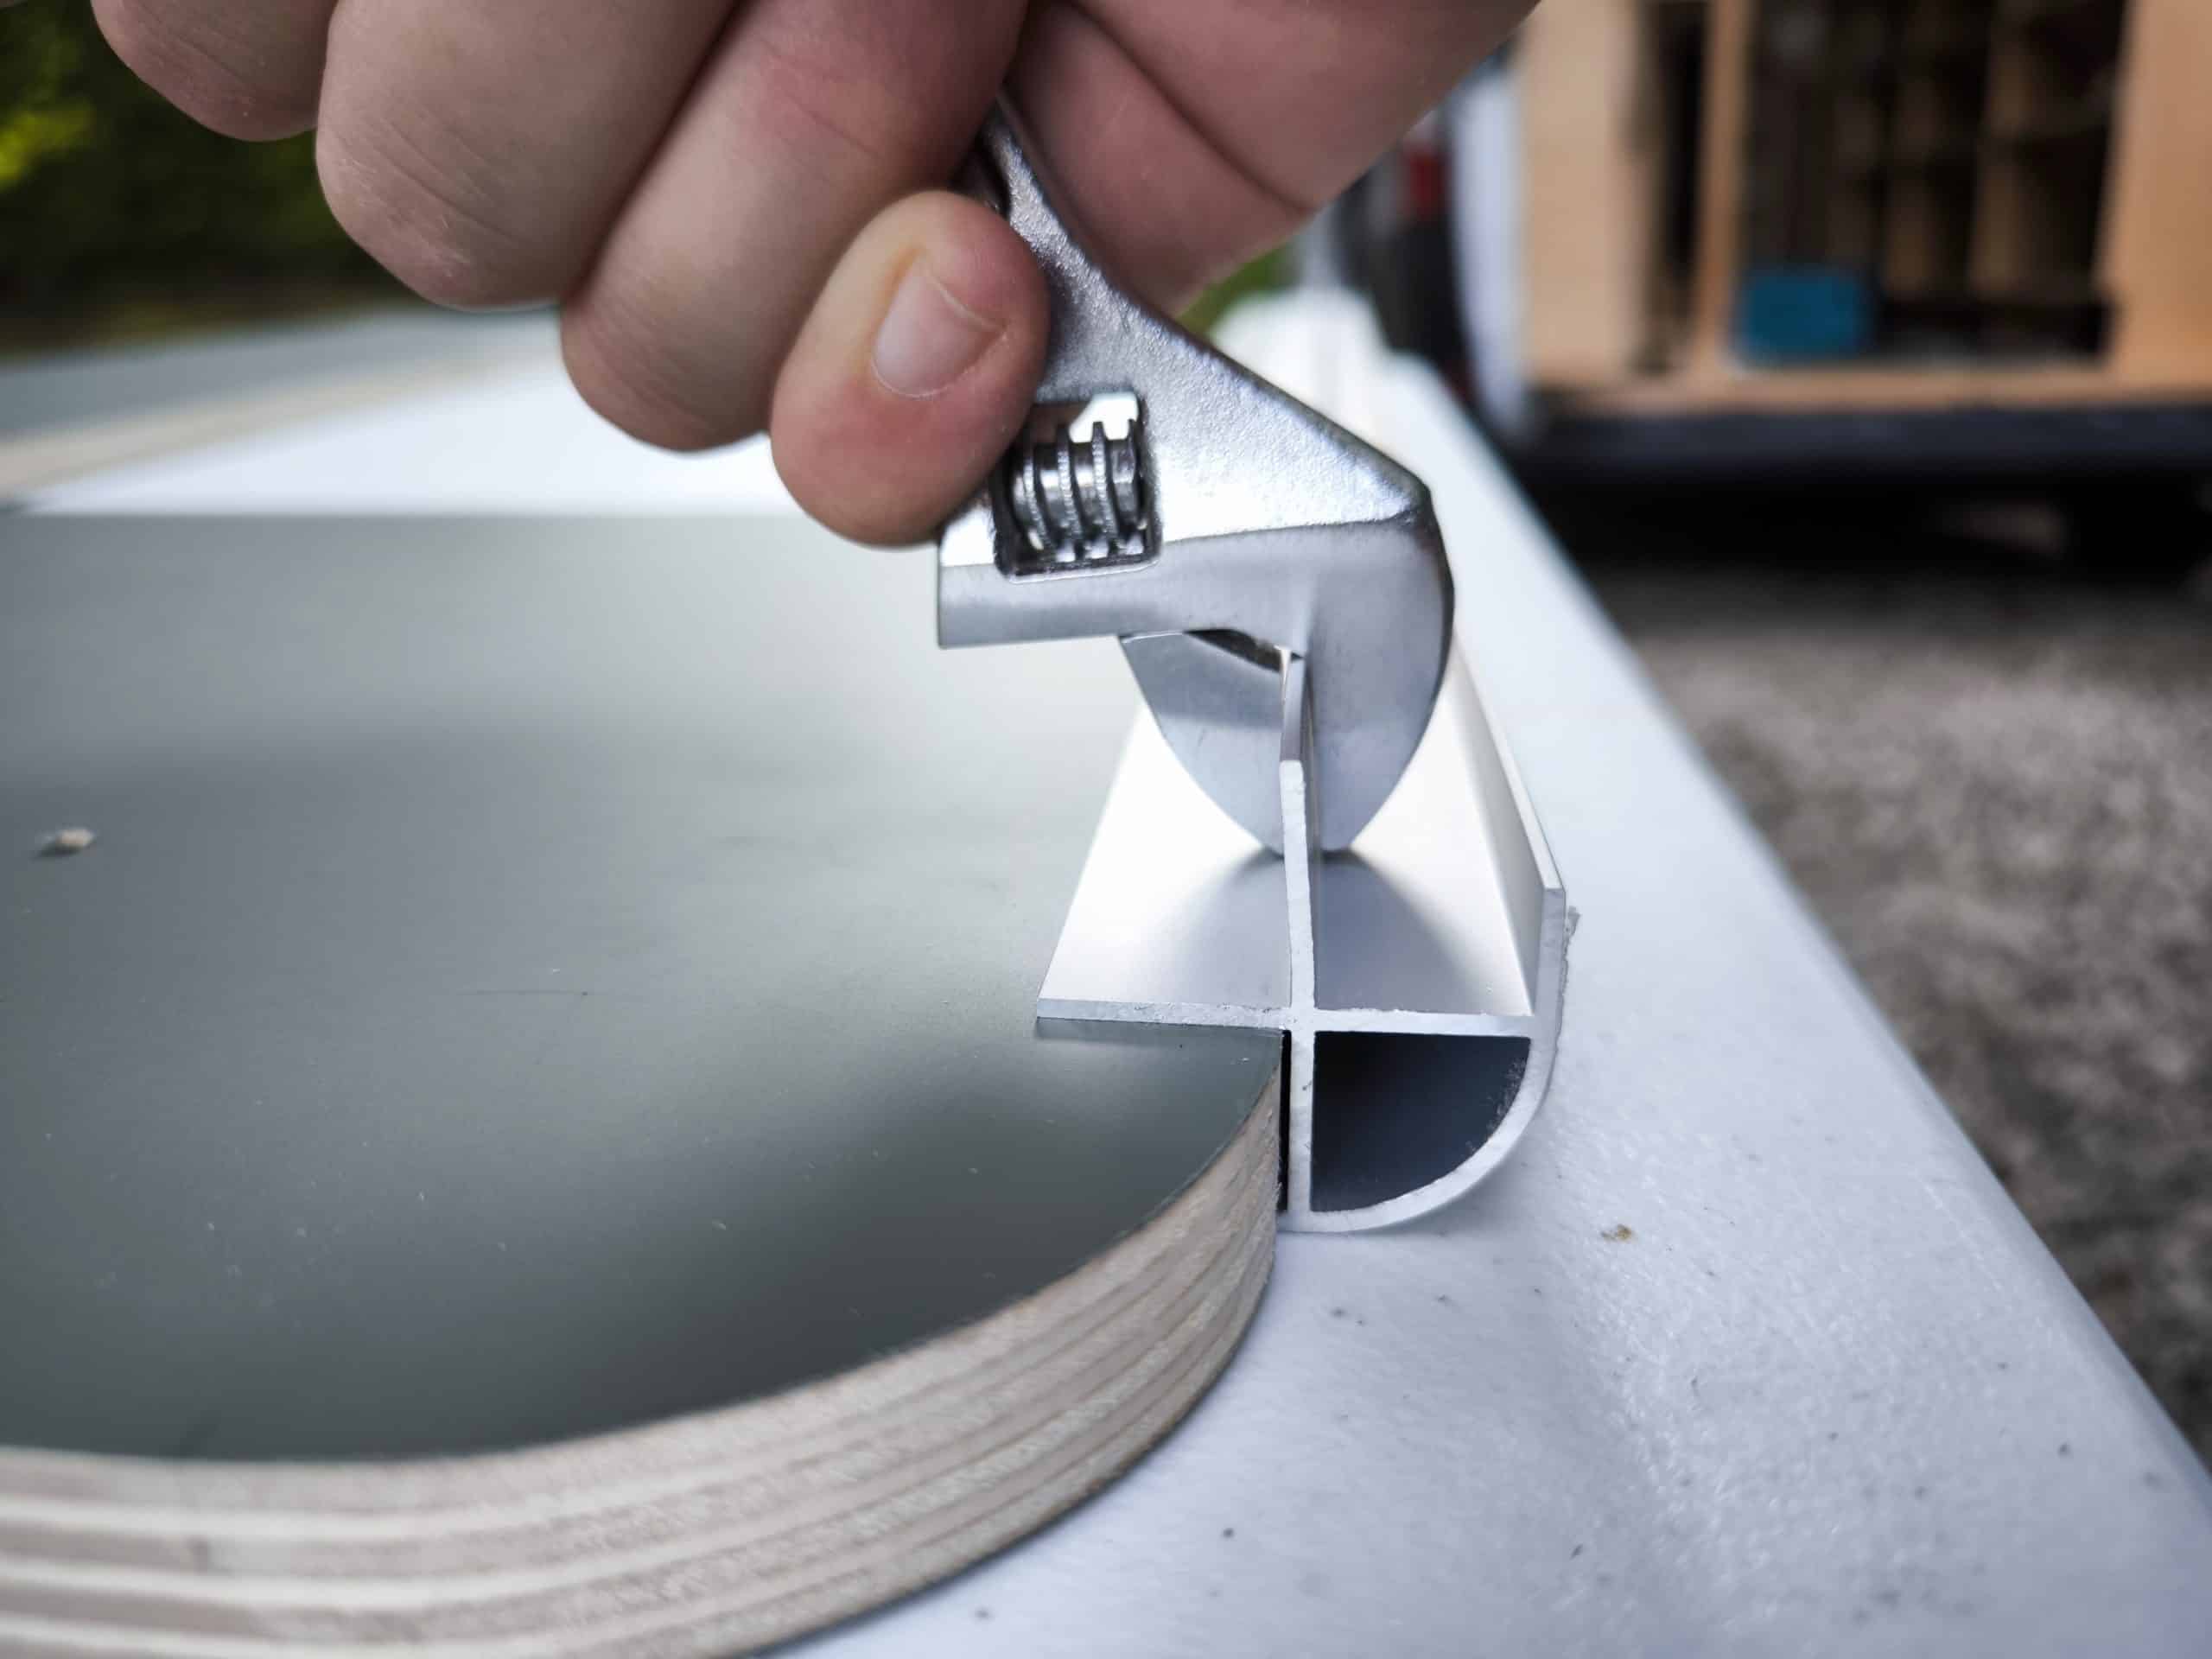
Luckily I’ve still got Edds chopsaw and it can easily cut aluminium to length. I then put some holes in the flange and counter sunk them to help with fitting. This corner trim is REALLY tight on the green ply. I have to remove a bit of the green to even get close to fitting it, but it was still too tight. In the end, i got an adjustable spanner and bent the flanges out just a little bit to help it slide into place. A few tiny screws and it’s home.
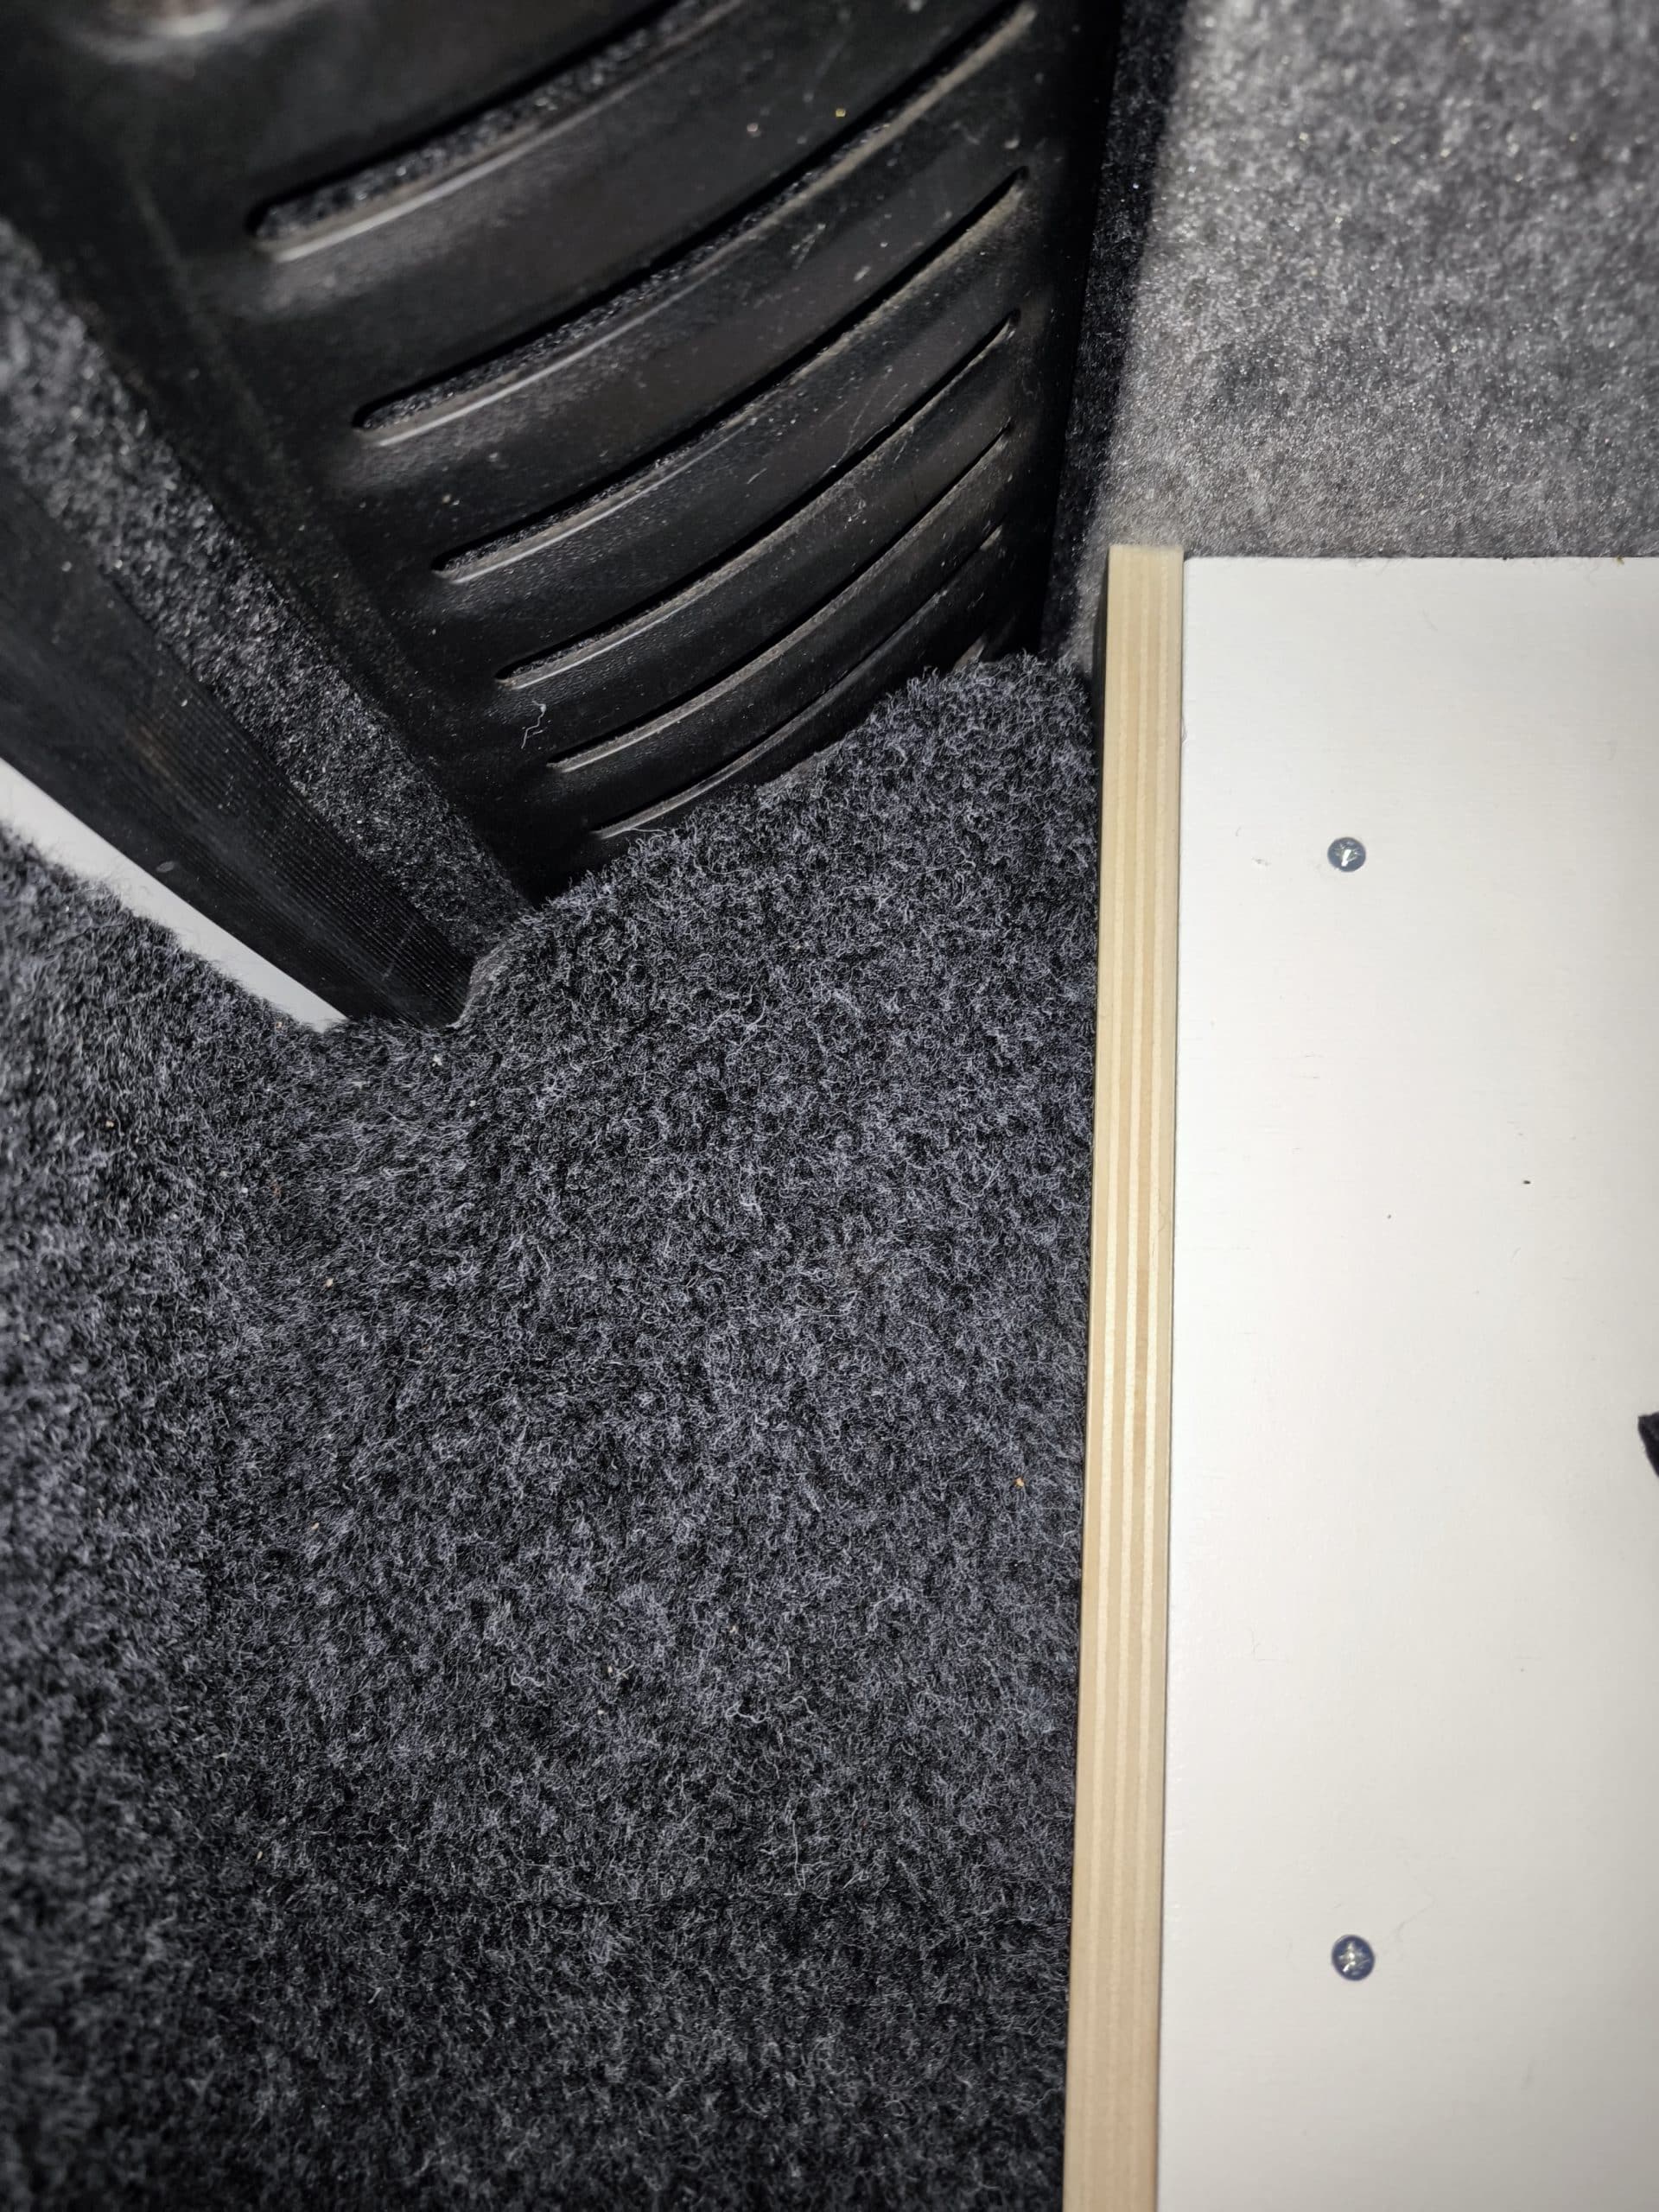
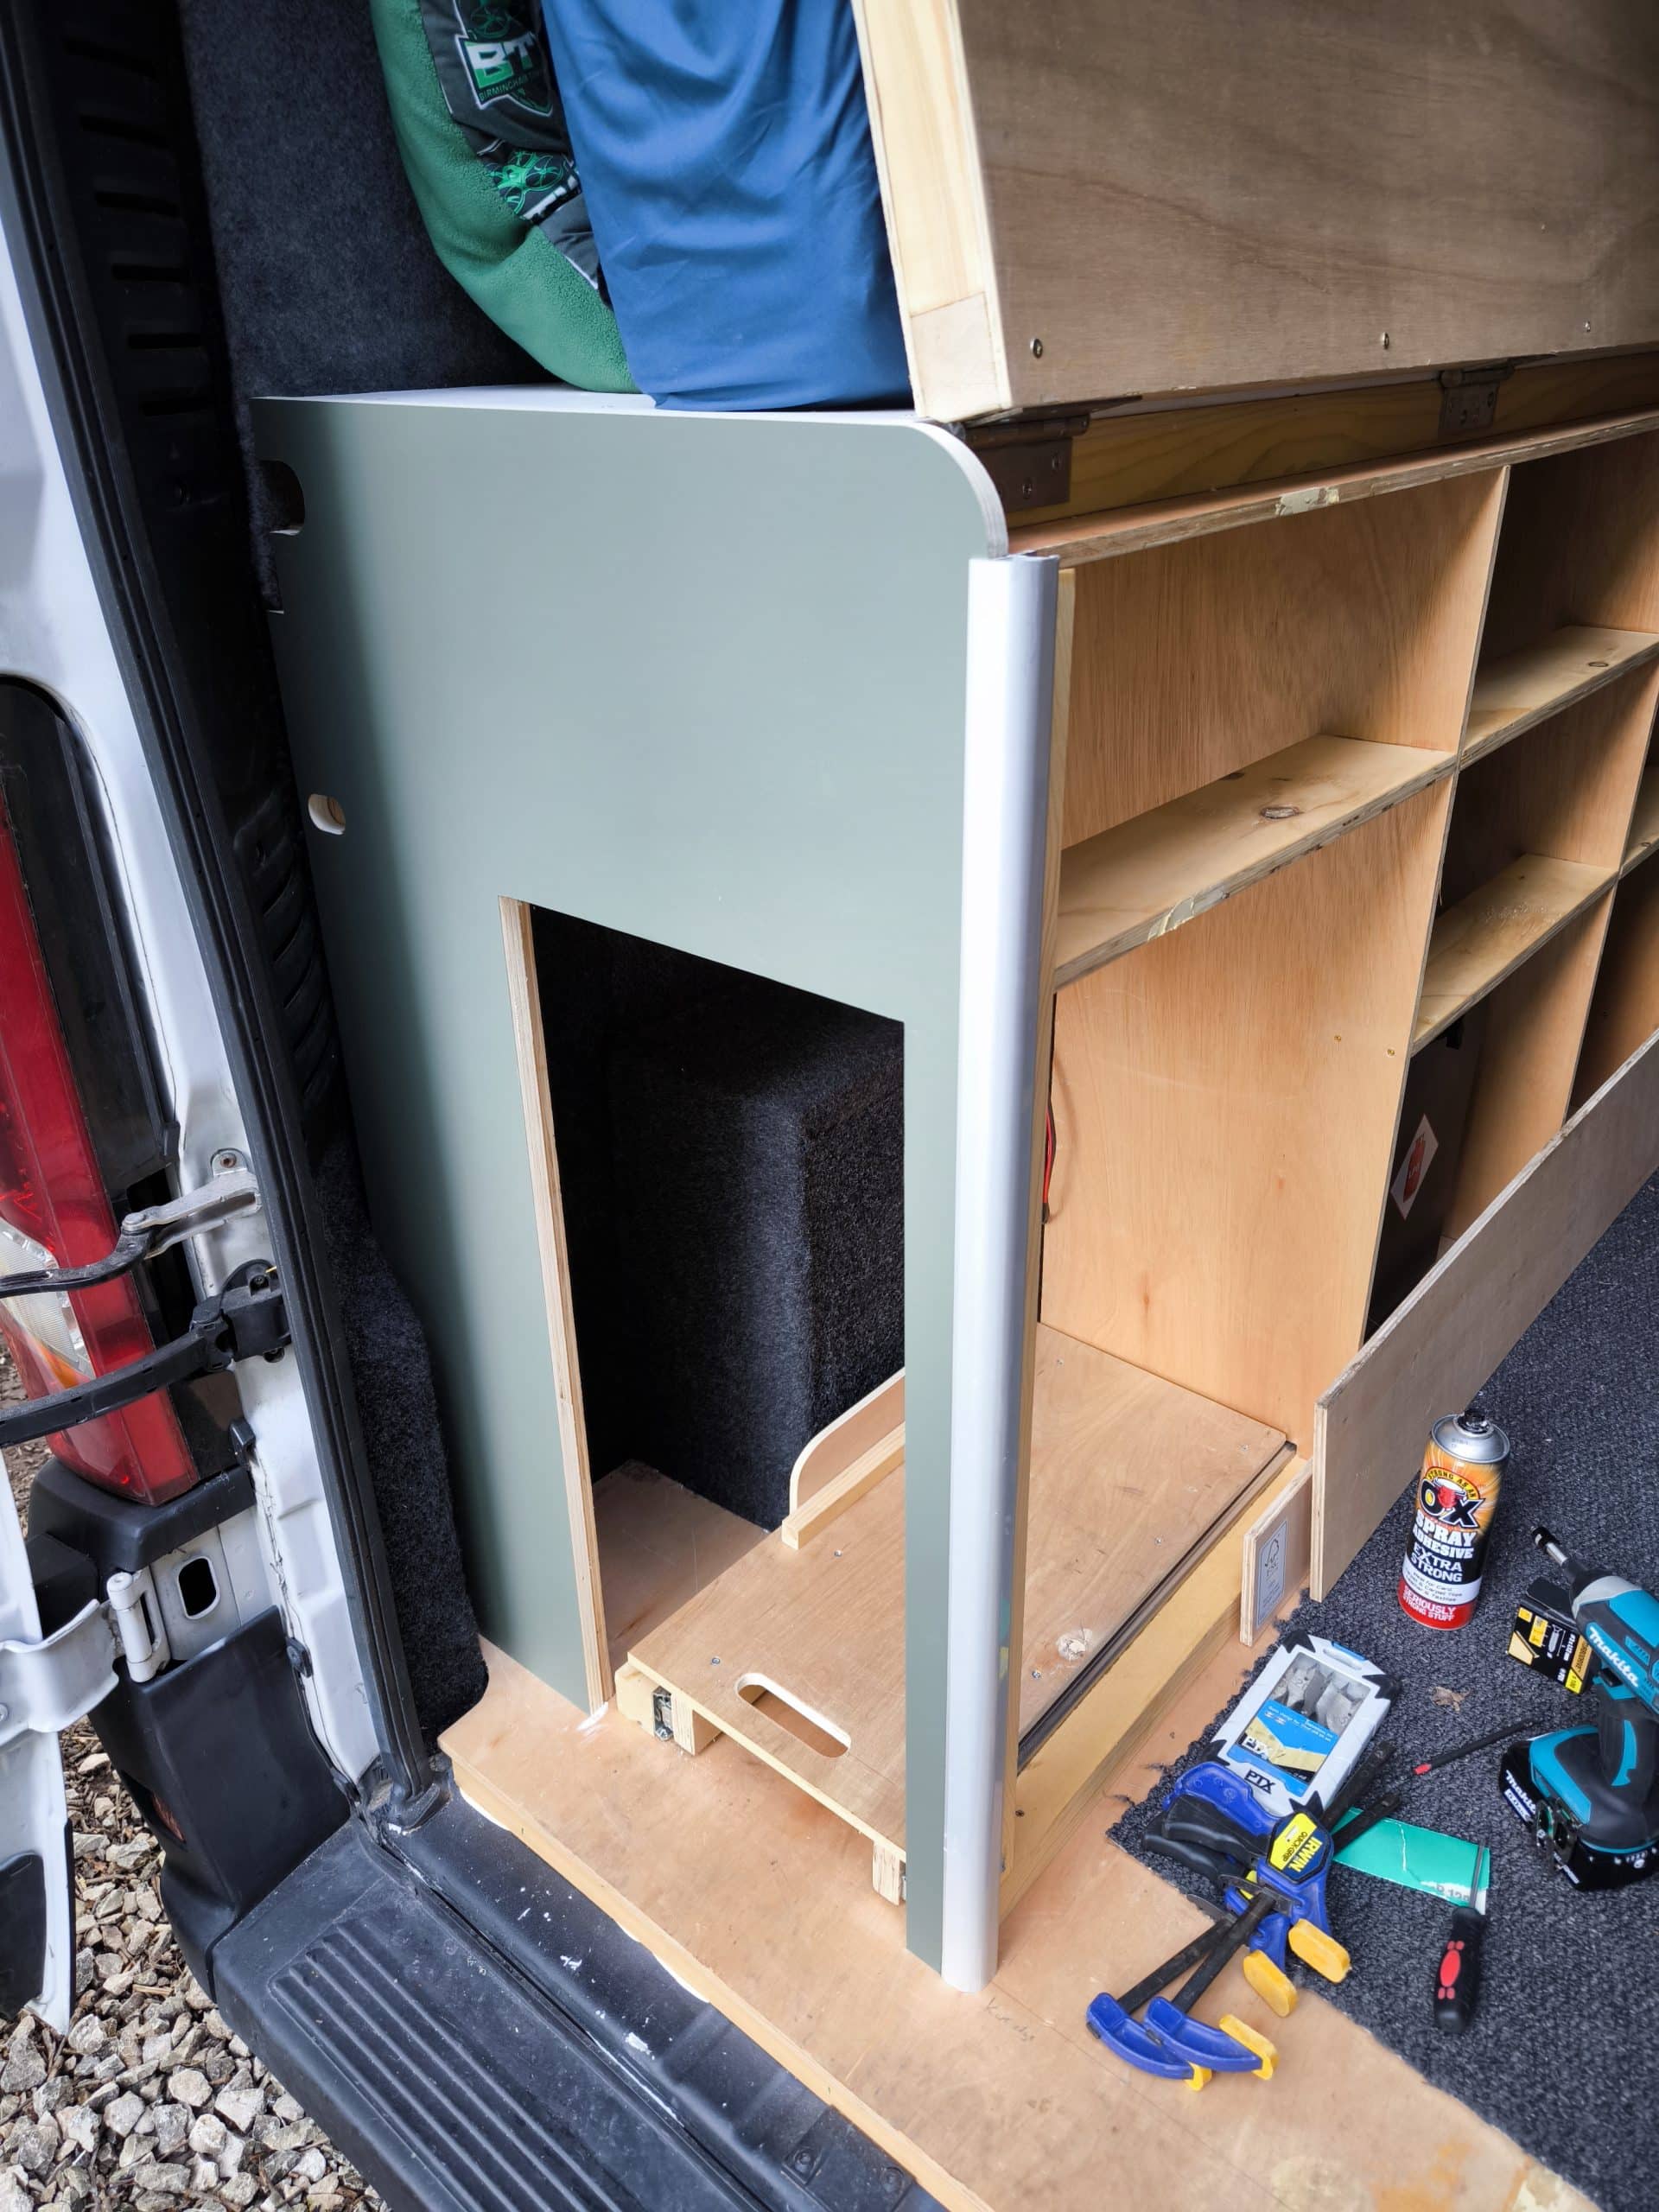
I’m VERY satisfied with how this turned out. It was a lot of measuring and thinking about how it was going to be built before even starting. I love that the triangle corner is filled and swings neatly into place and how the bed drawbridge drops in PERFECTLY next to the green ply. I’m especially happy with how the top edge of the green ply, is EXACTLY level with the bed surface, and it fits precisely in the space i left between the door cupboard and the main bed cabinets. Honestly, they basically touch, but without exerting any pressure. Sometimes I impress myself.
I wonder if I am truly gifted and can do the same on the other door?