Diary Of A Camper Conversion
I’m a sweaty, stinky man this evening. Its not been a hard days work sweat as nothing was very heavy or laborious. And its not even a hot day sweat, as its only got up to about 25 deg and there has been a lovely breeze all day. No, its been a day of stressful sweat.
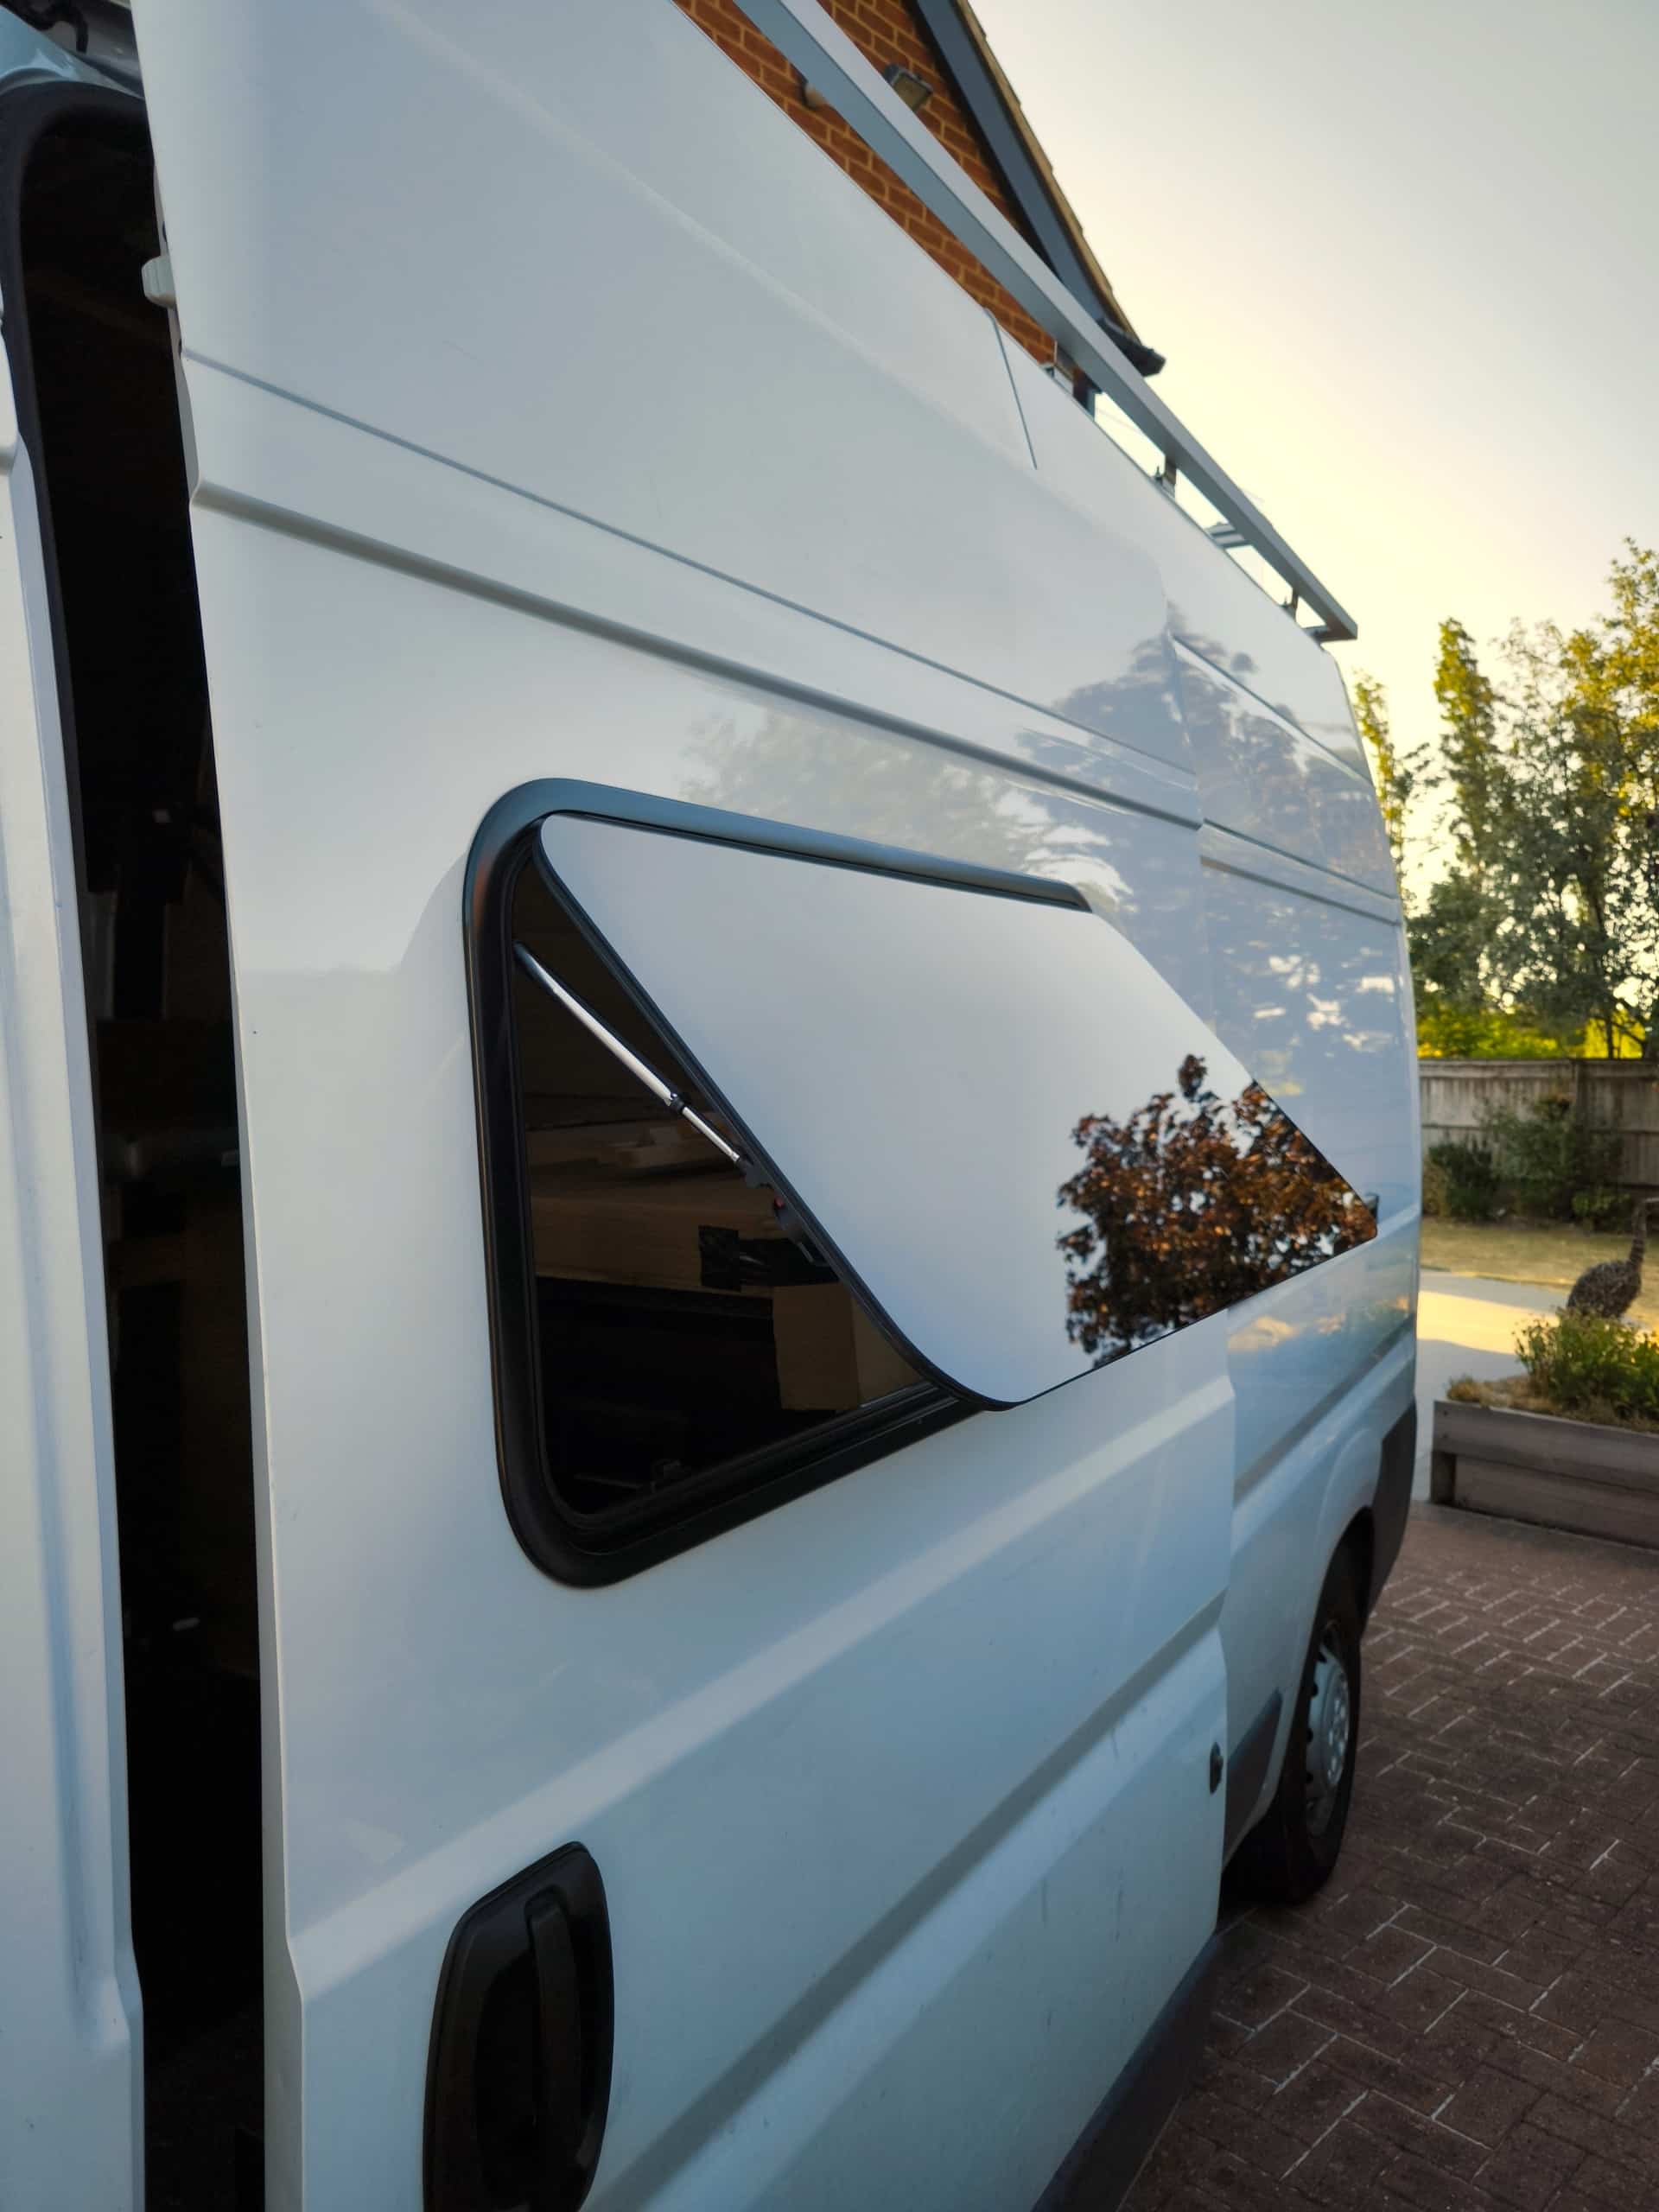
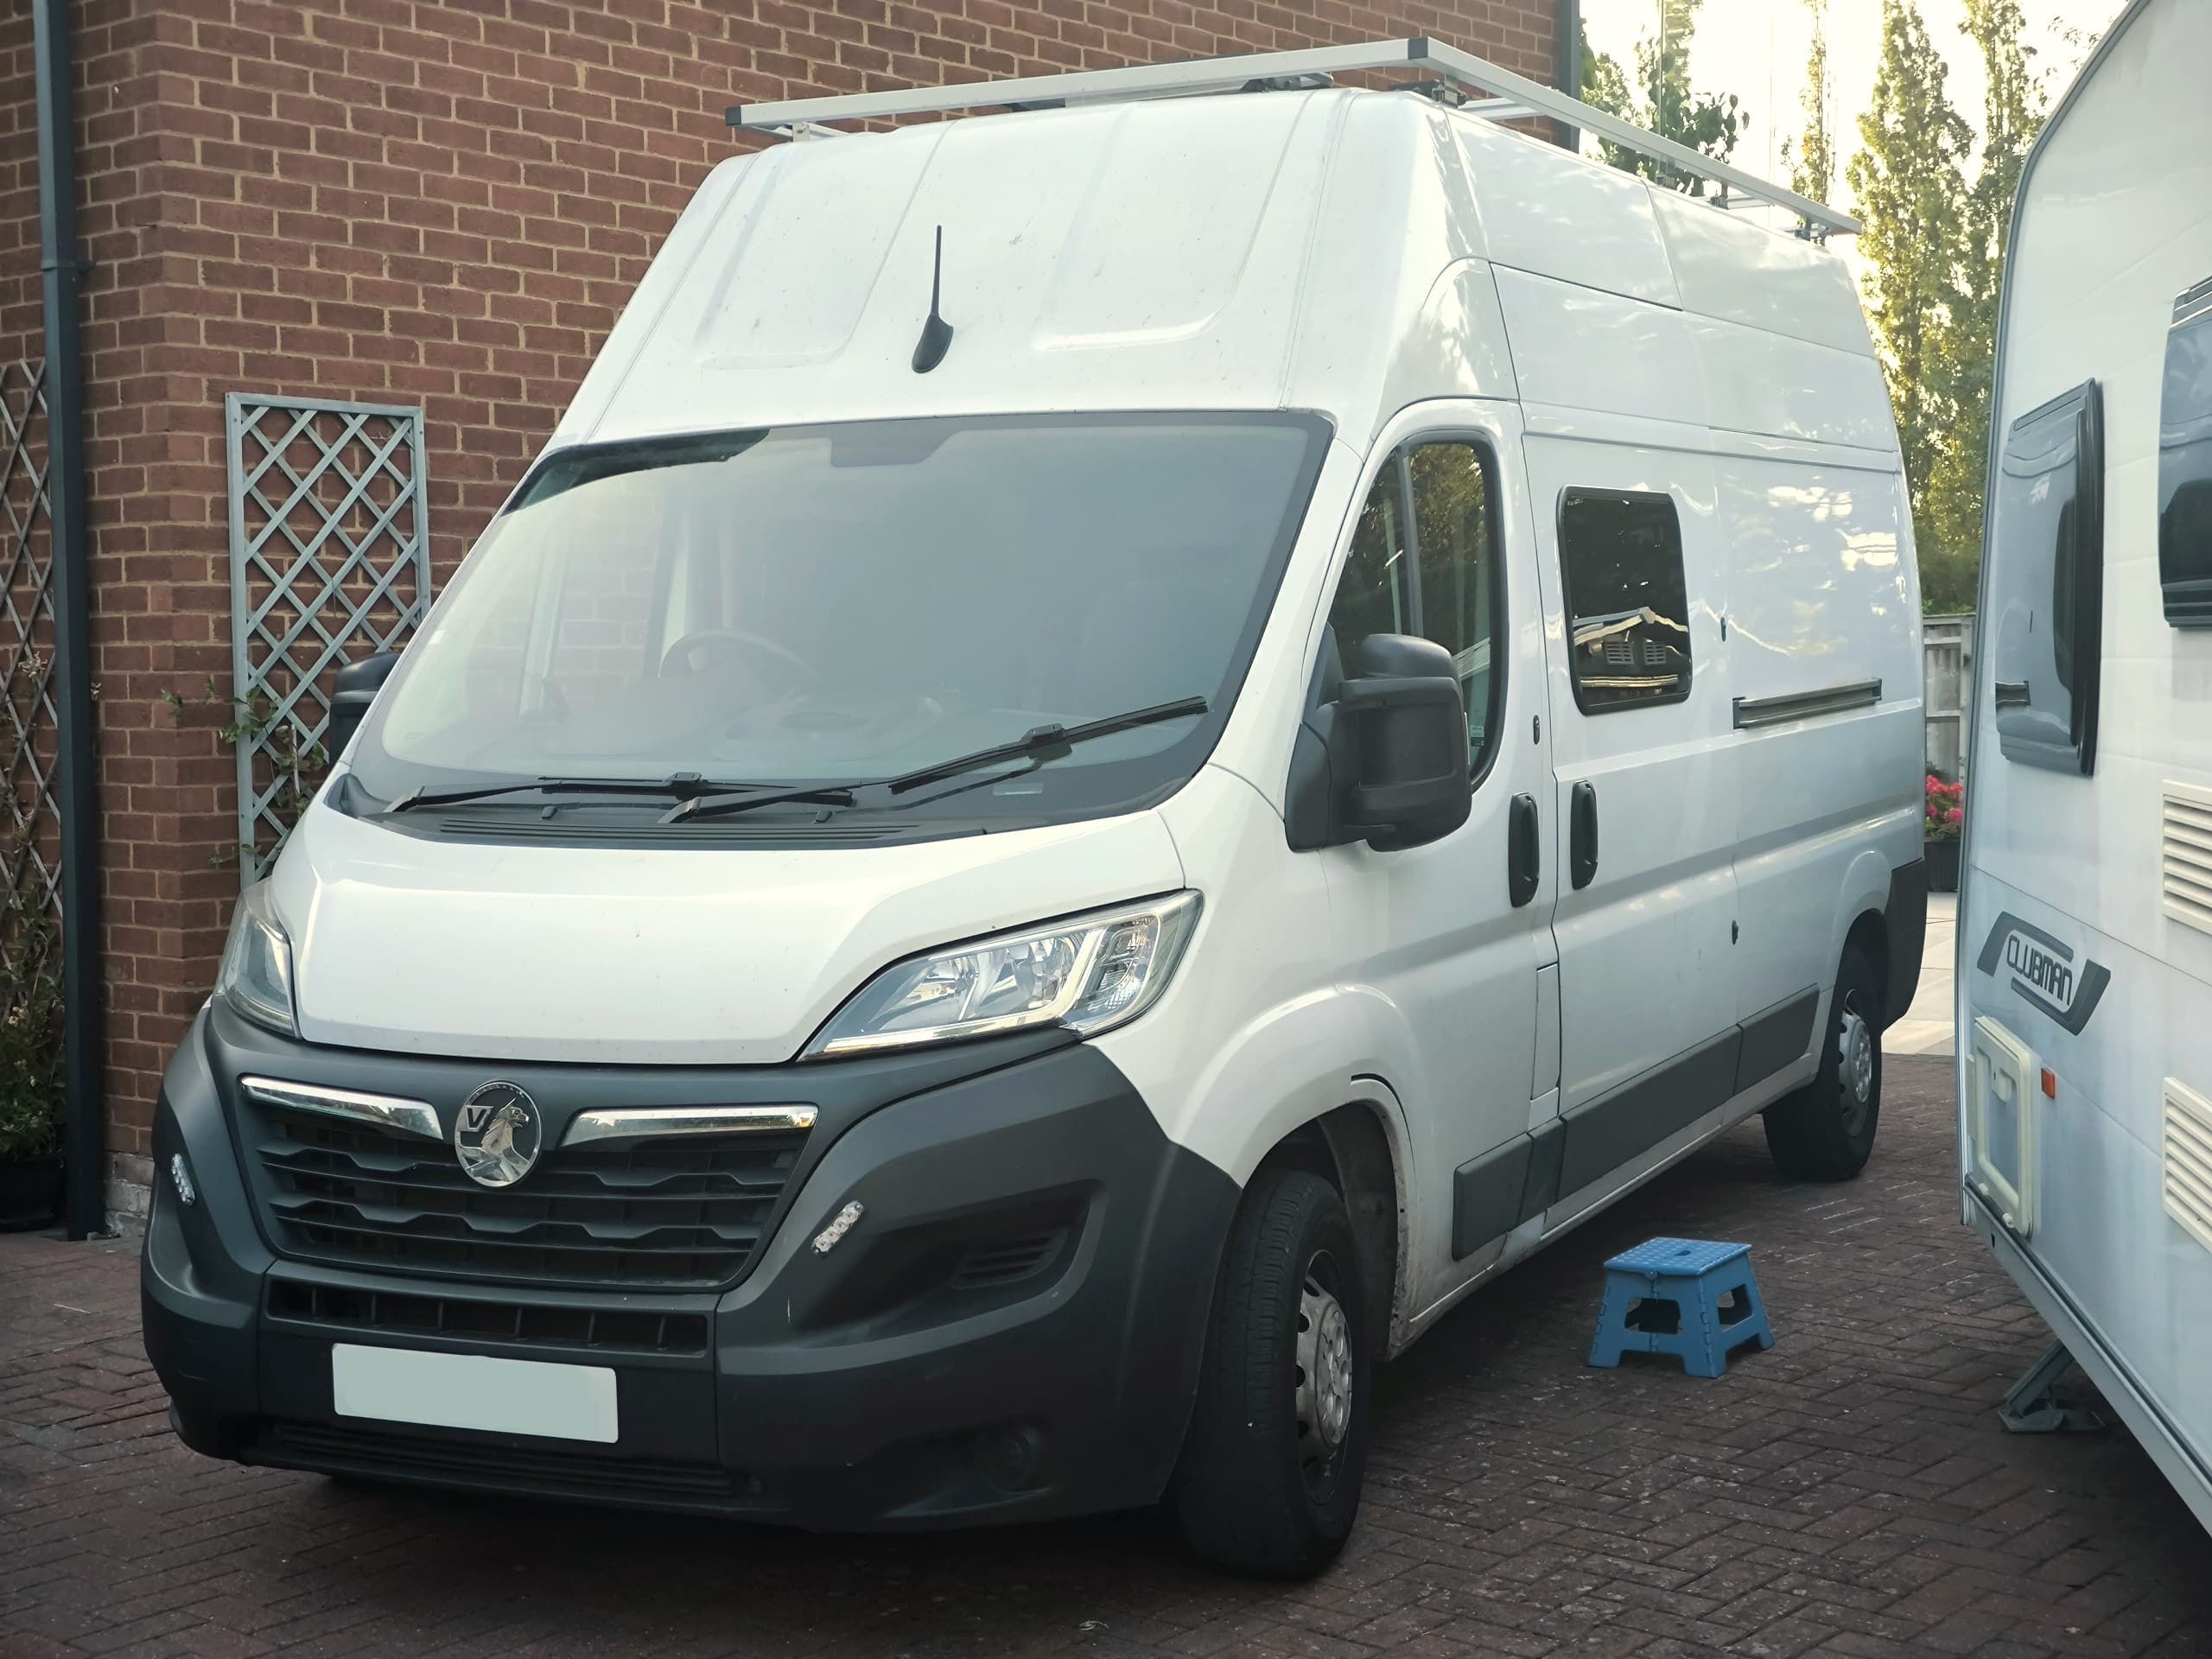
This was the last major surgery to the van – cutting huge holes in both sides to install windows. It’s such a dramatic “don’t fuck it up” job, that I’ve been sweating all day.
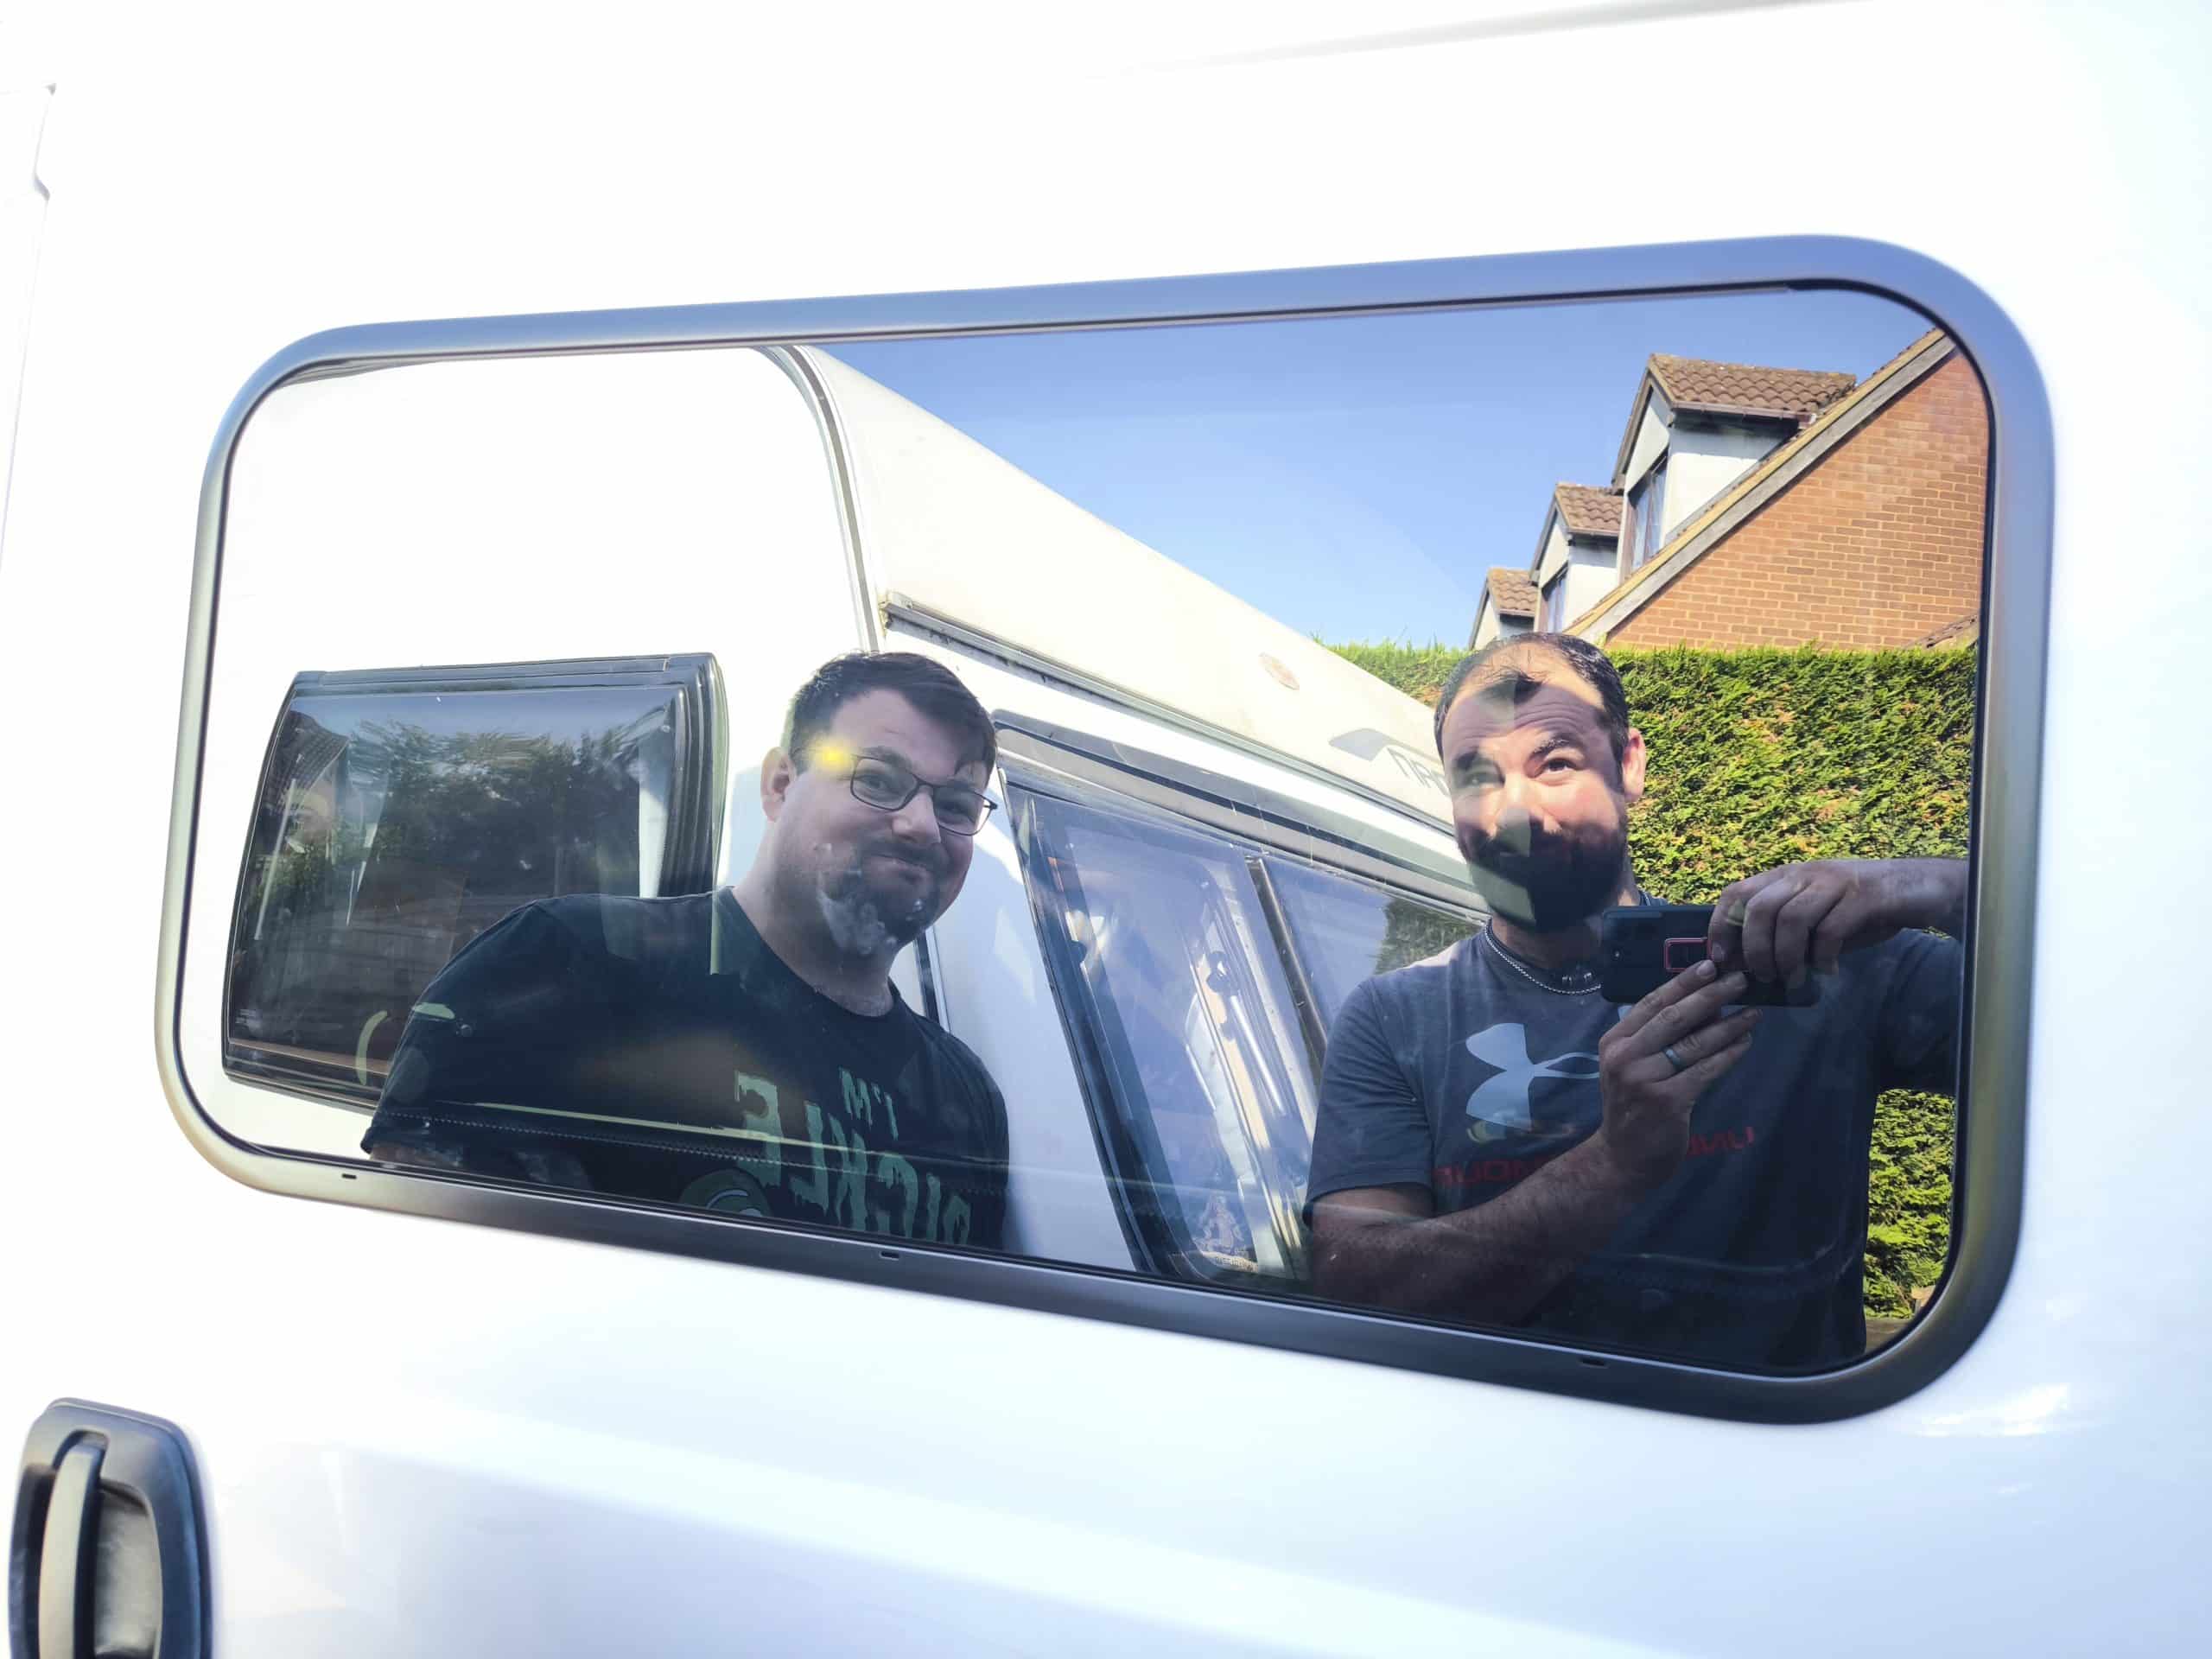
Luckily, David was available to help and so with 2 heads thinking about the process, measuring things multiple times and planning every move, we got it done.
But when I woke this morning I was not so sure. I was greeted with misty rain, on a day I set aside to cut huge holes in the van, of course!
We started by checking where the window would go. As far forward as possible to reduce the blind spot, or centered on the panel for aesthetics? Near the top so the window was as visible above the work surface as possible, or vertically centered so it looks correct? We measured and moved it around for a while until settling on as far forwards as possible and vertically centered in the panel.
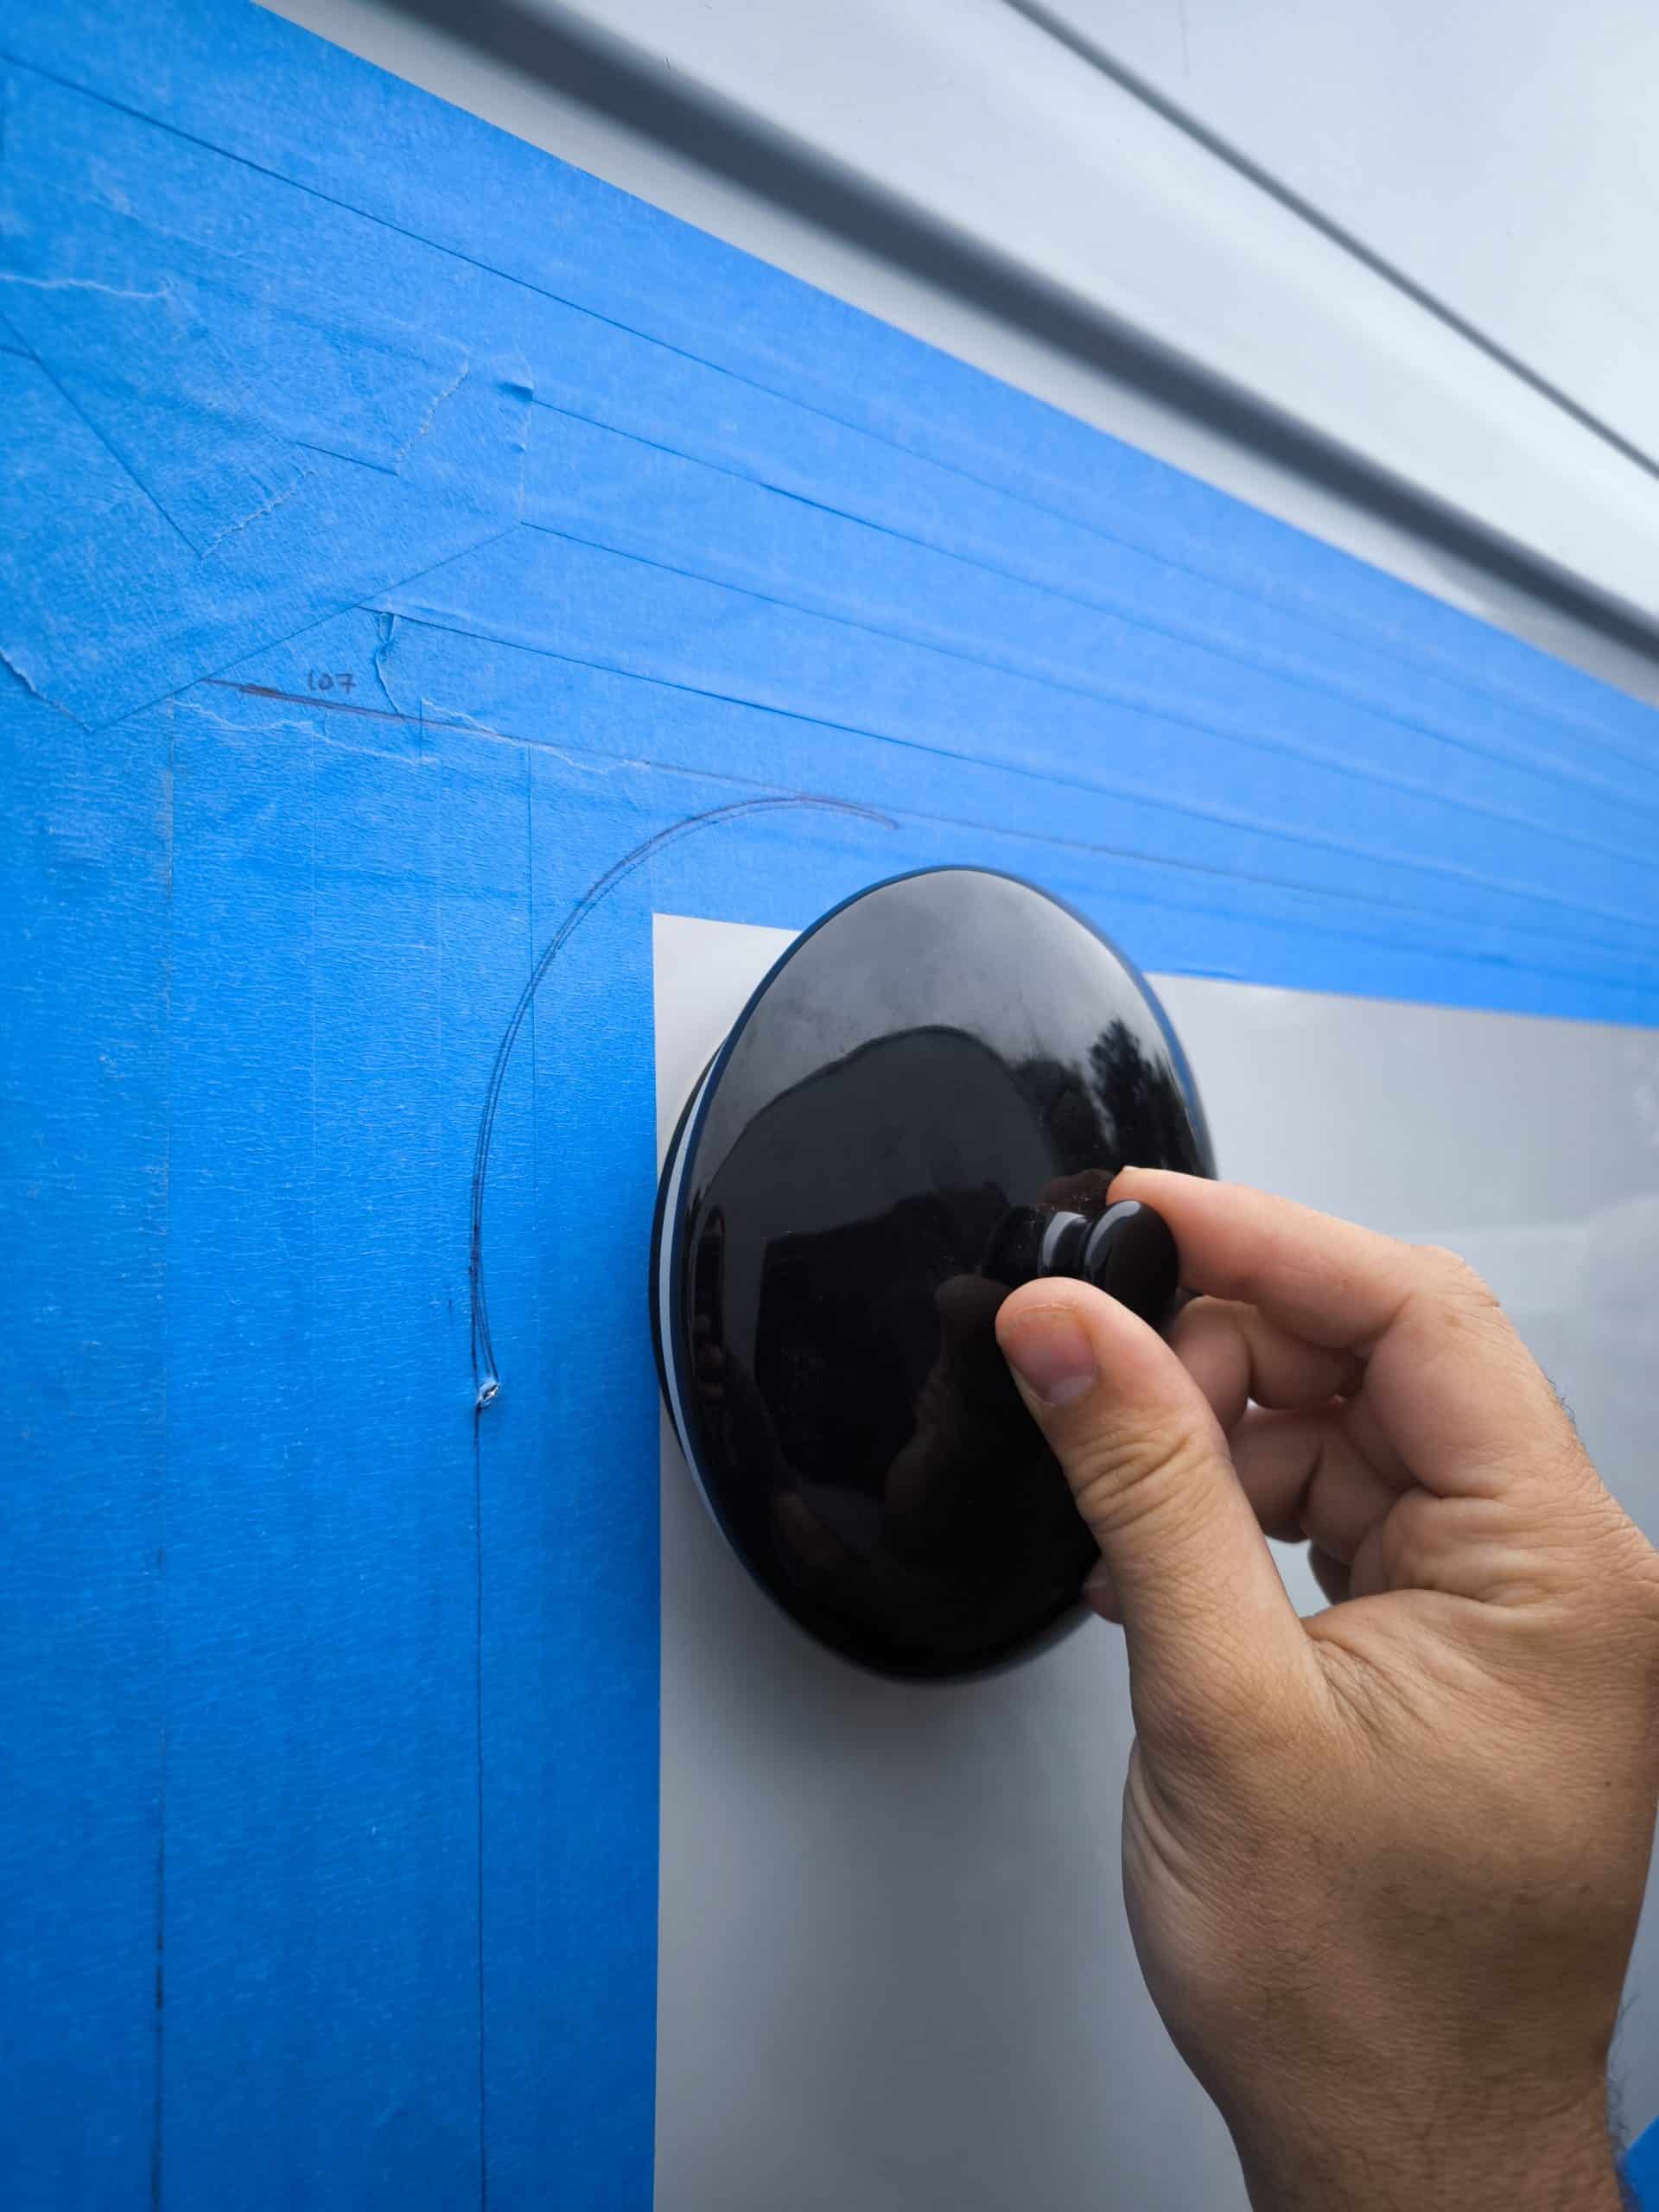
Then, starting on the sliding door panel we measured out really carefully drawing onto masking tape. I scouted thru the kitchen and found a cookie jar lid to trace around with the perfect radius that matched the window frame.
At this point we double checked measurements and realised that we had assumed that the angle from the edge of the door to the panel crease was 90 deg. Some quick trigonometry later and it proved to be true and our rectangle was square… If that makes sense.
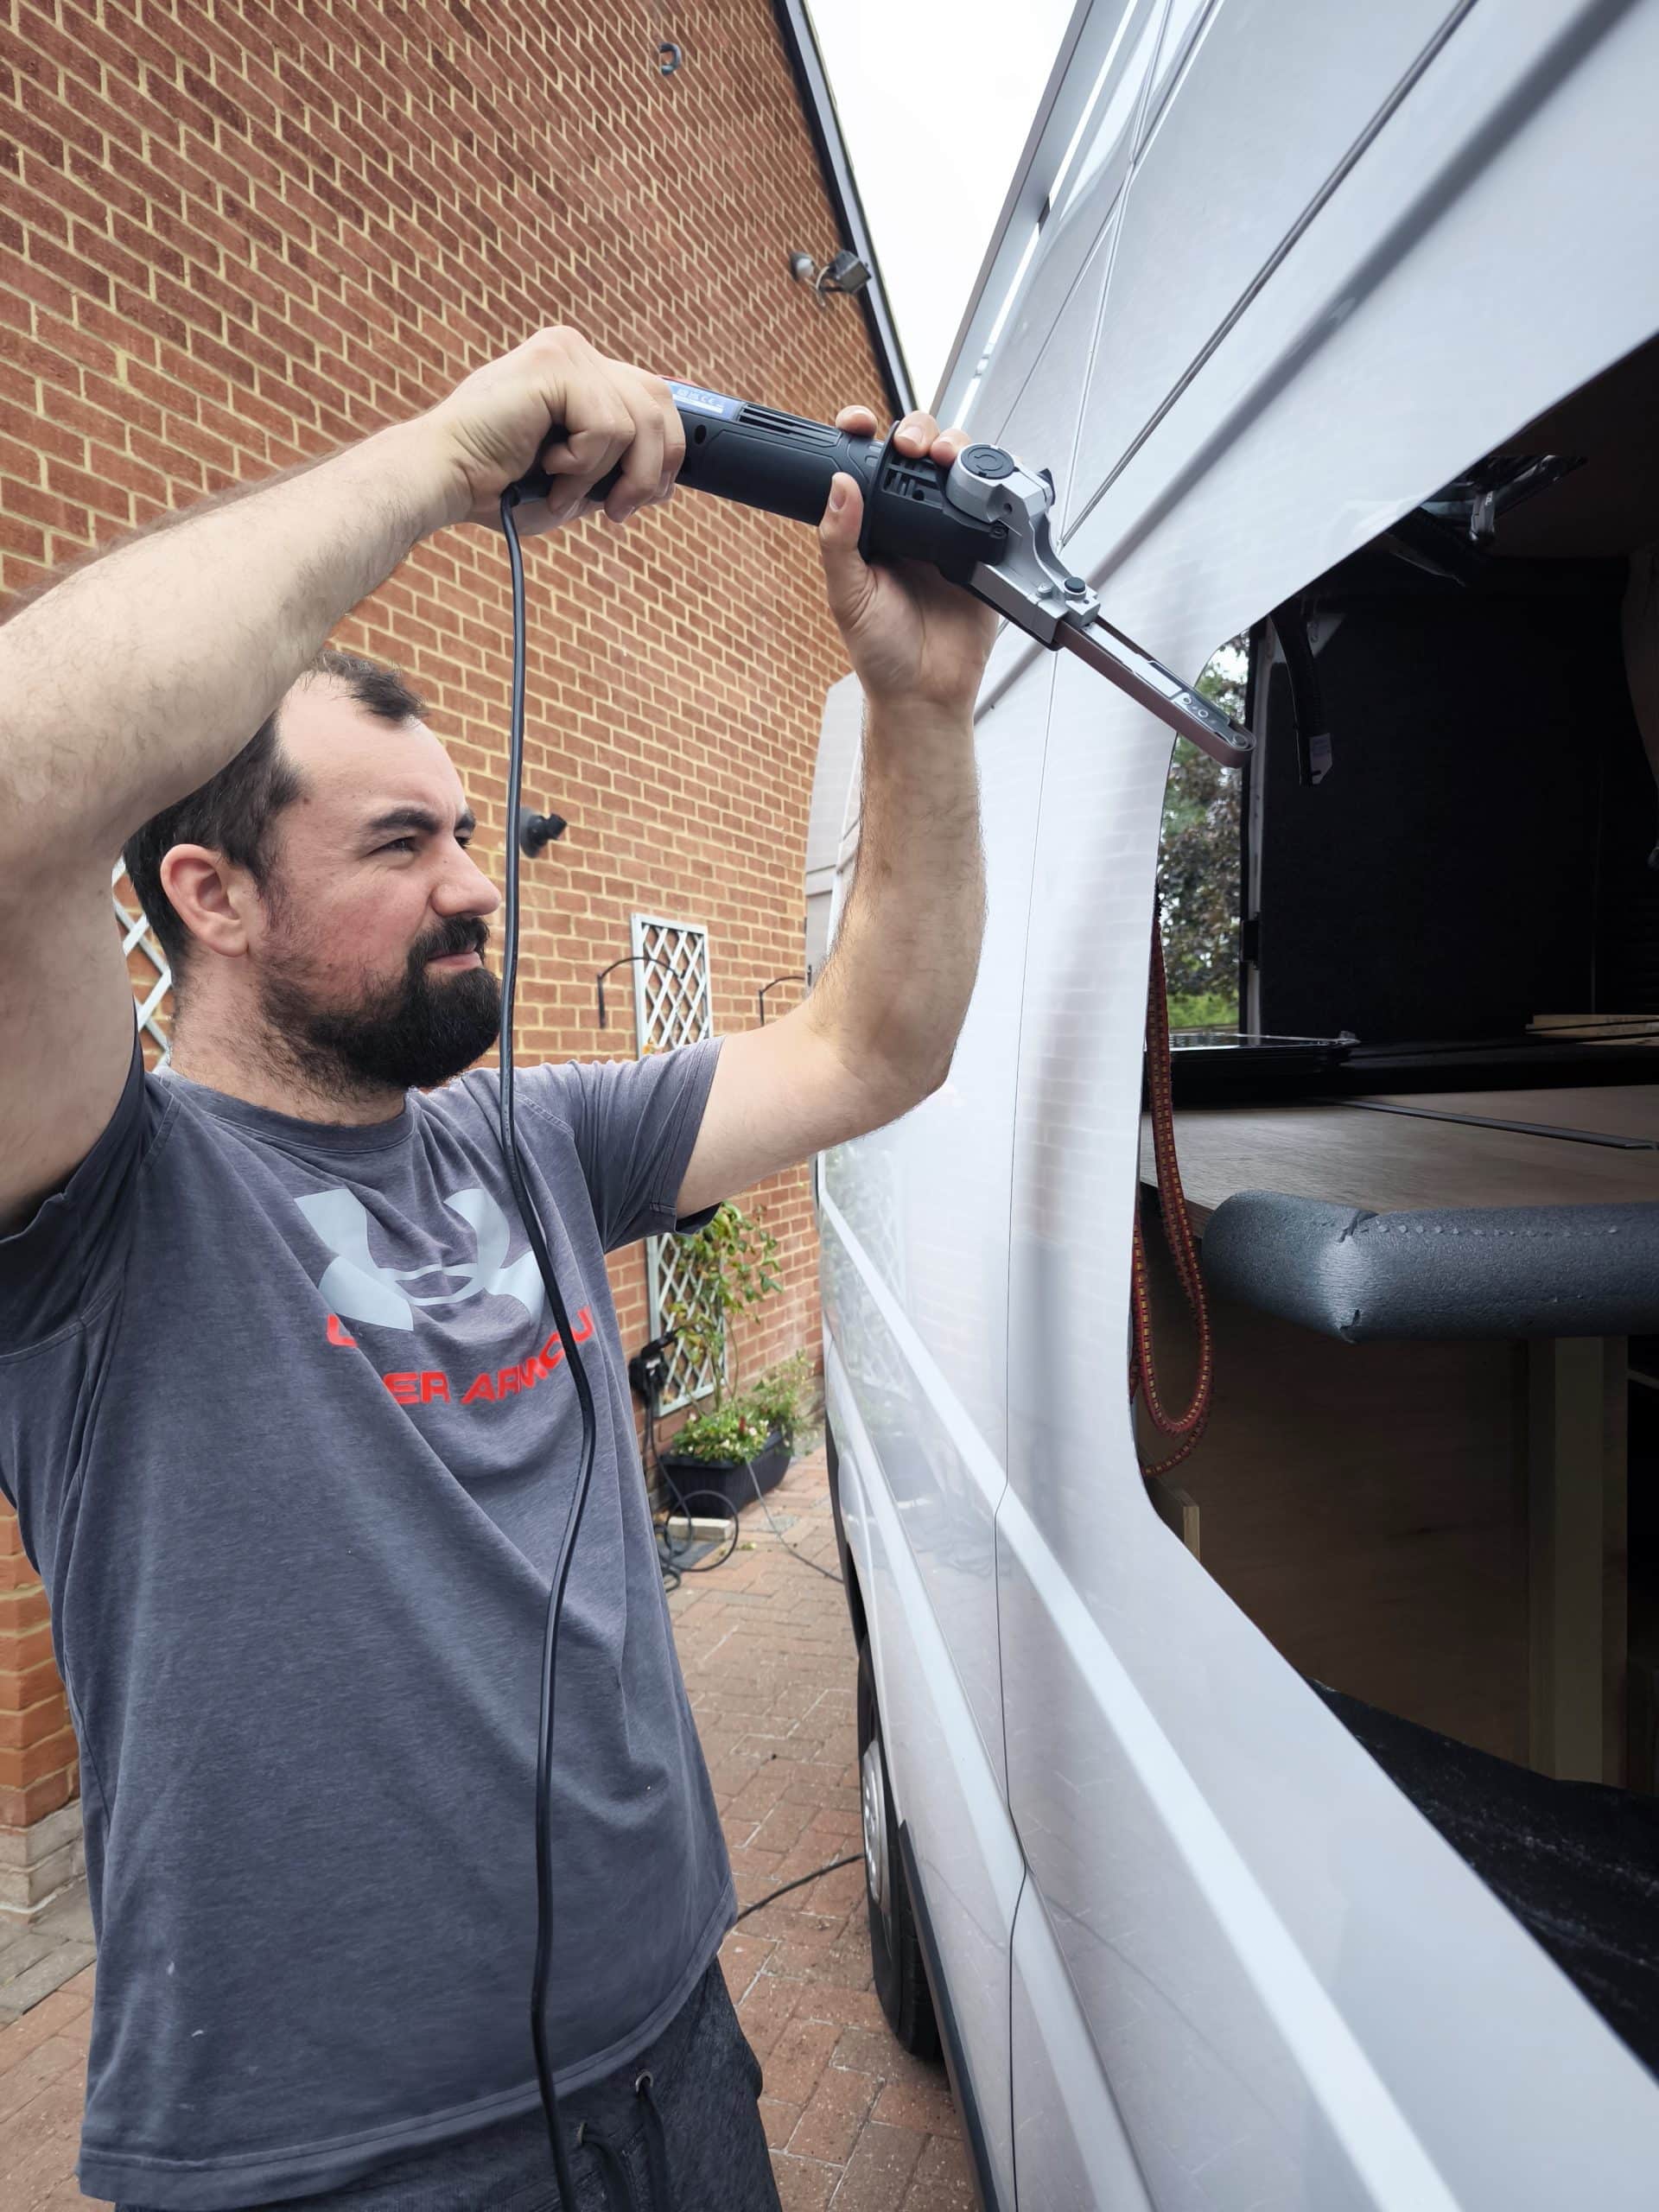
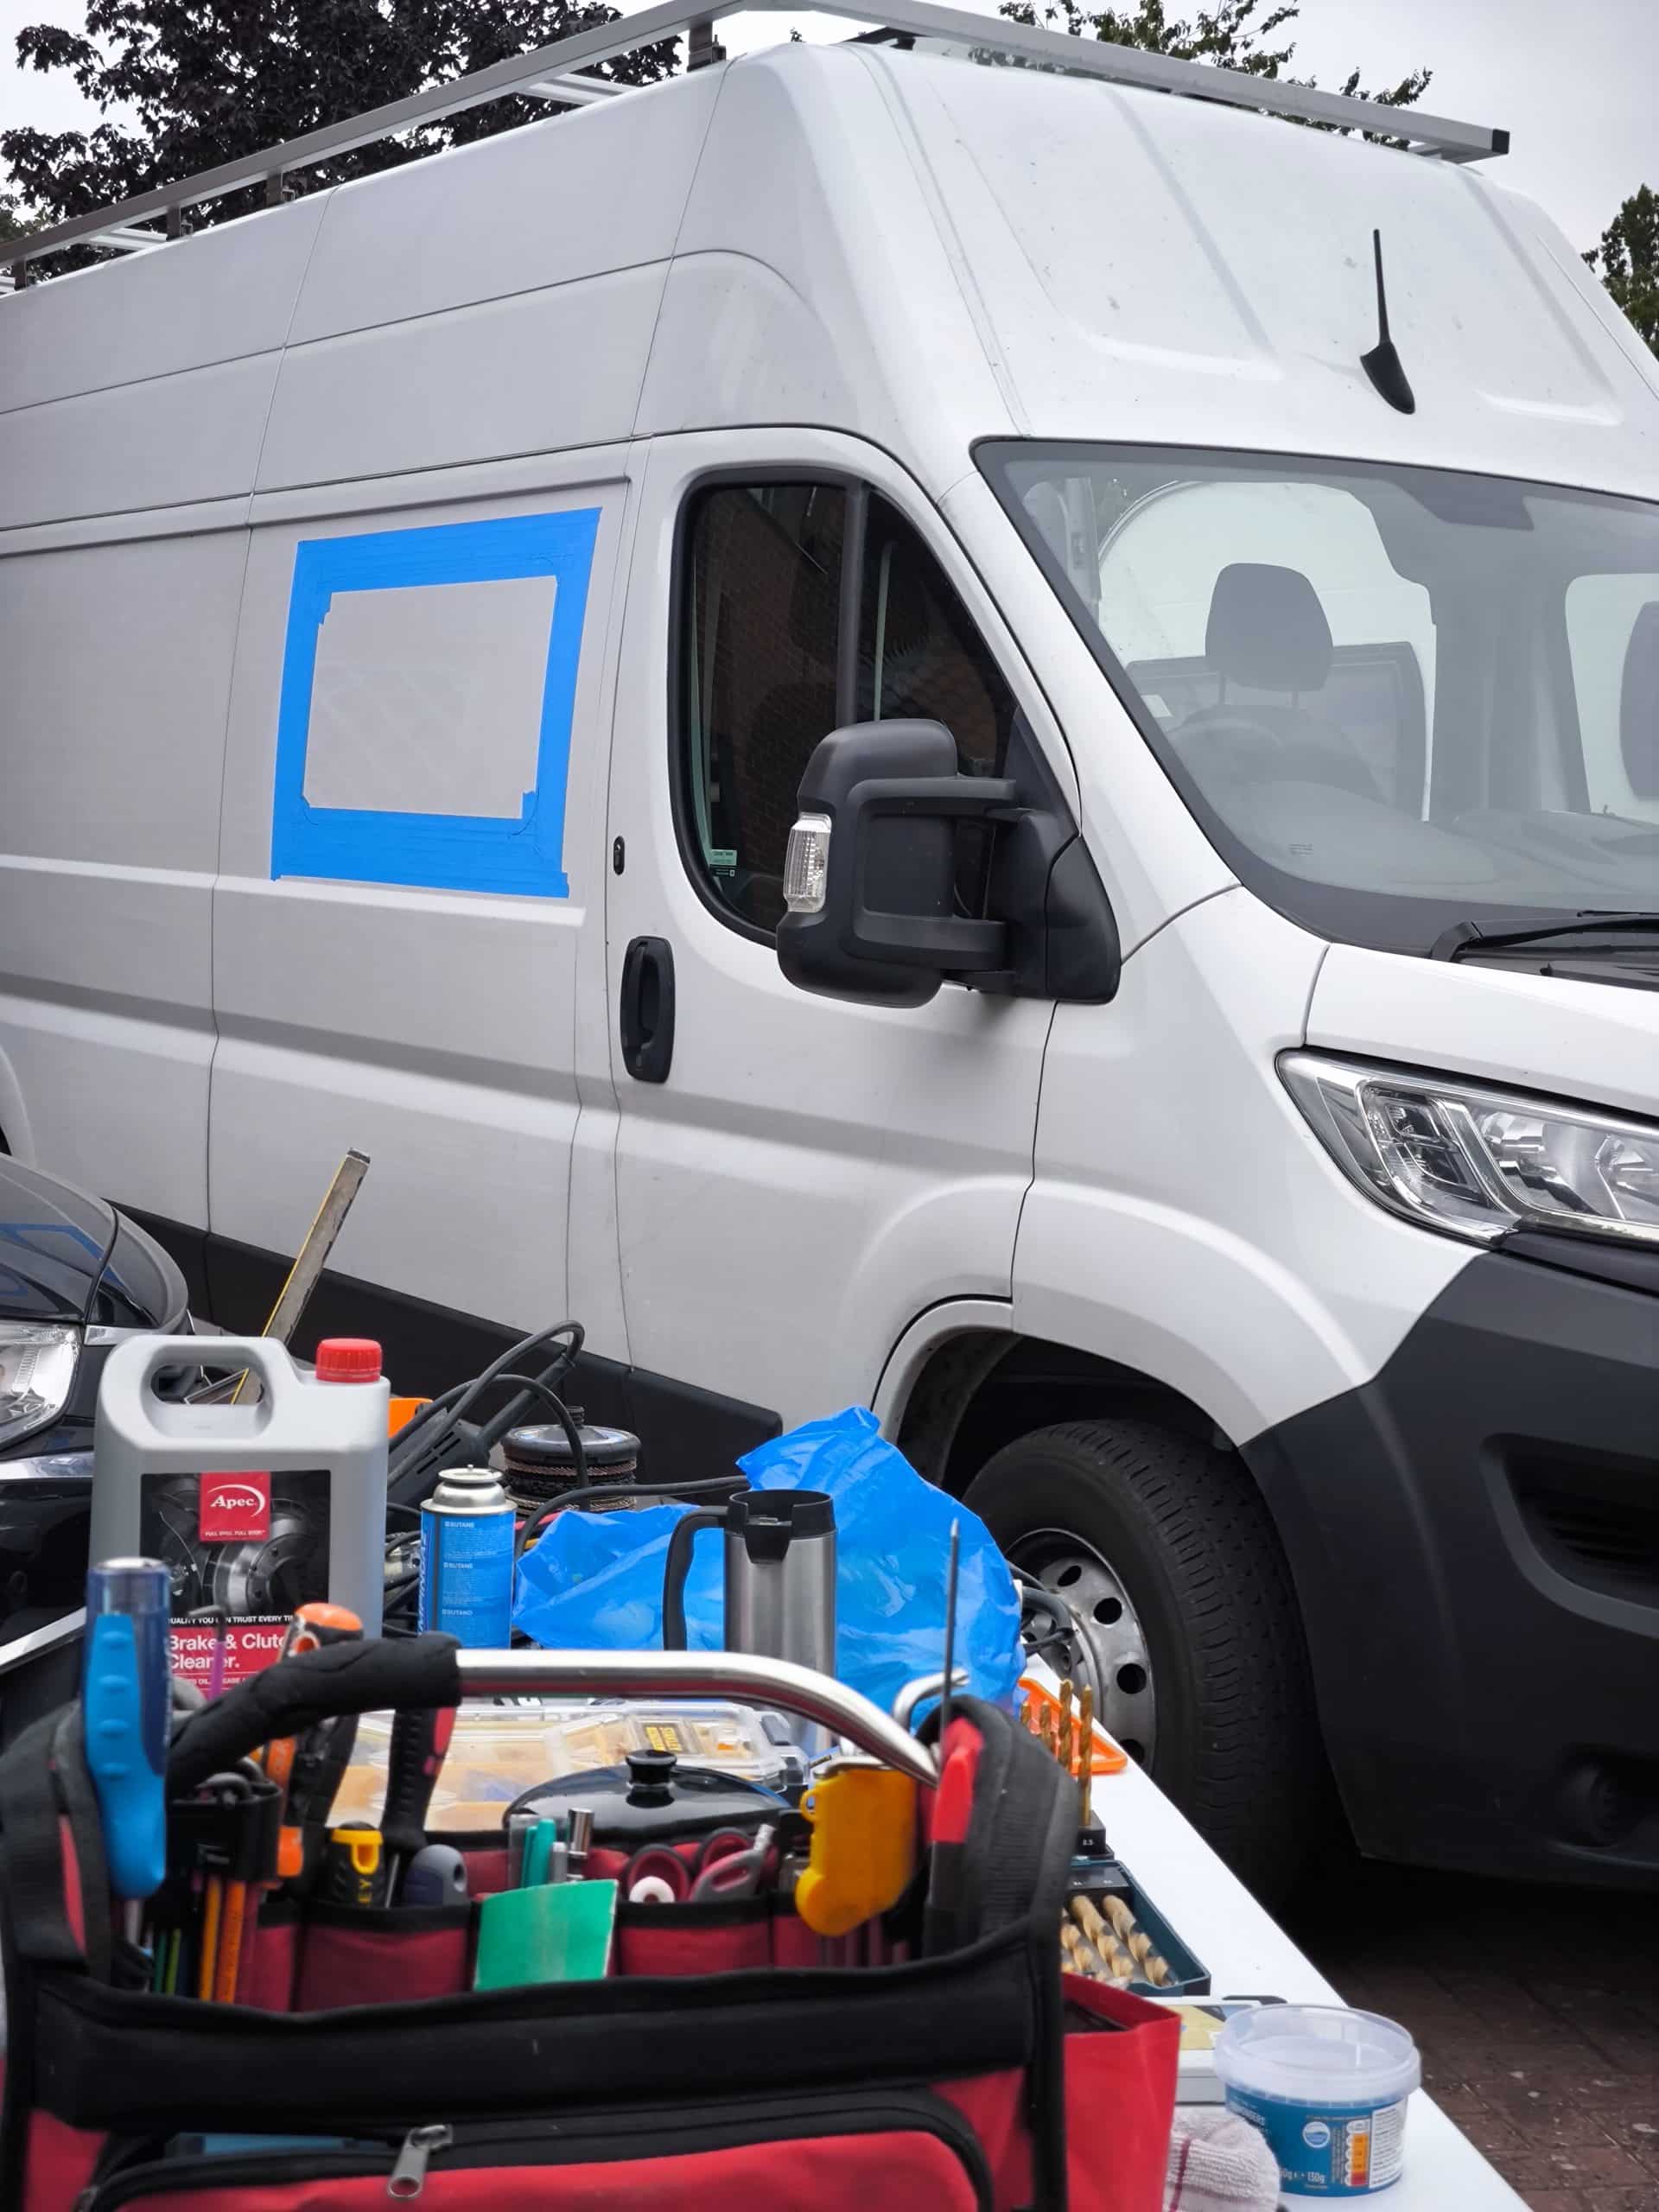
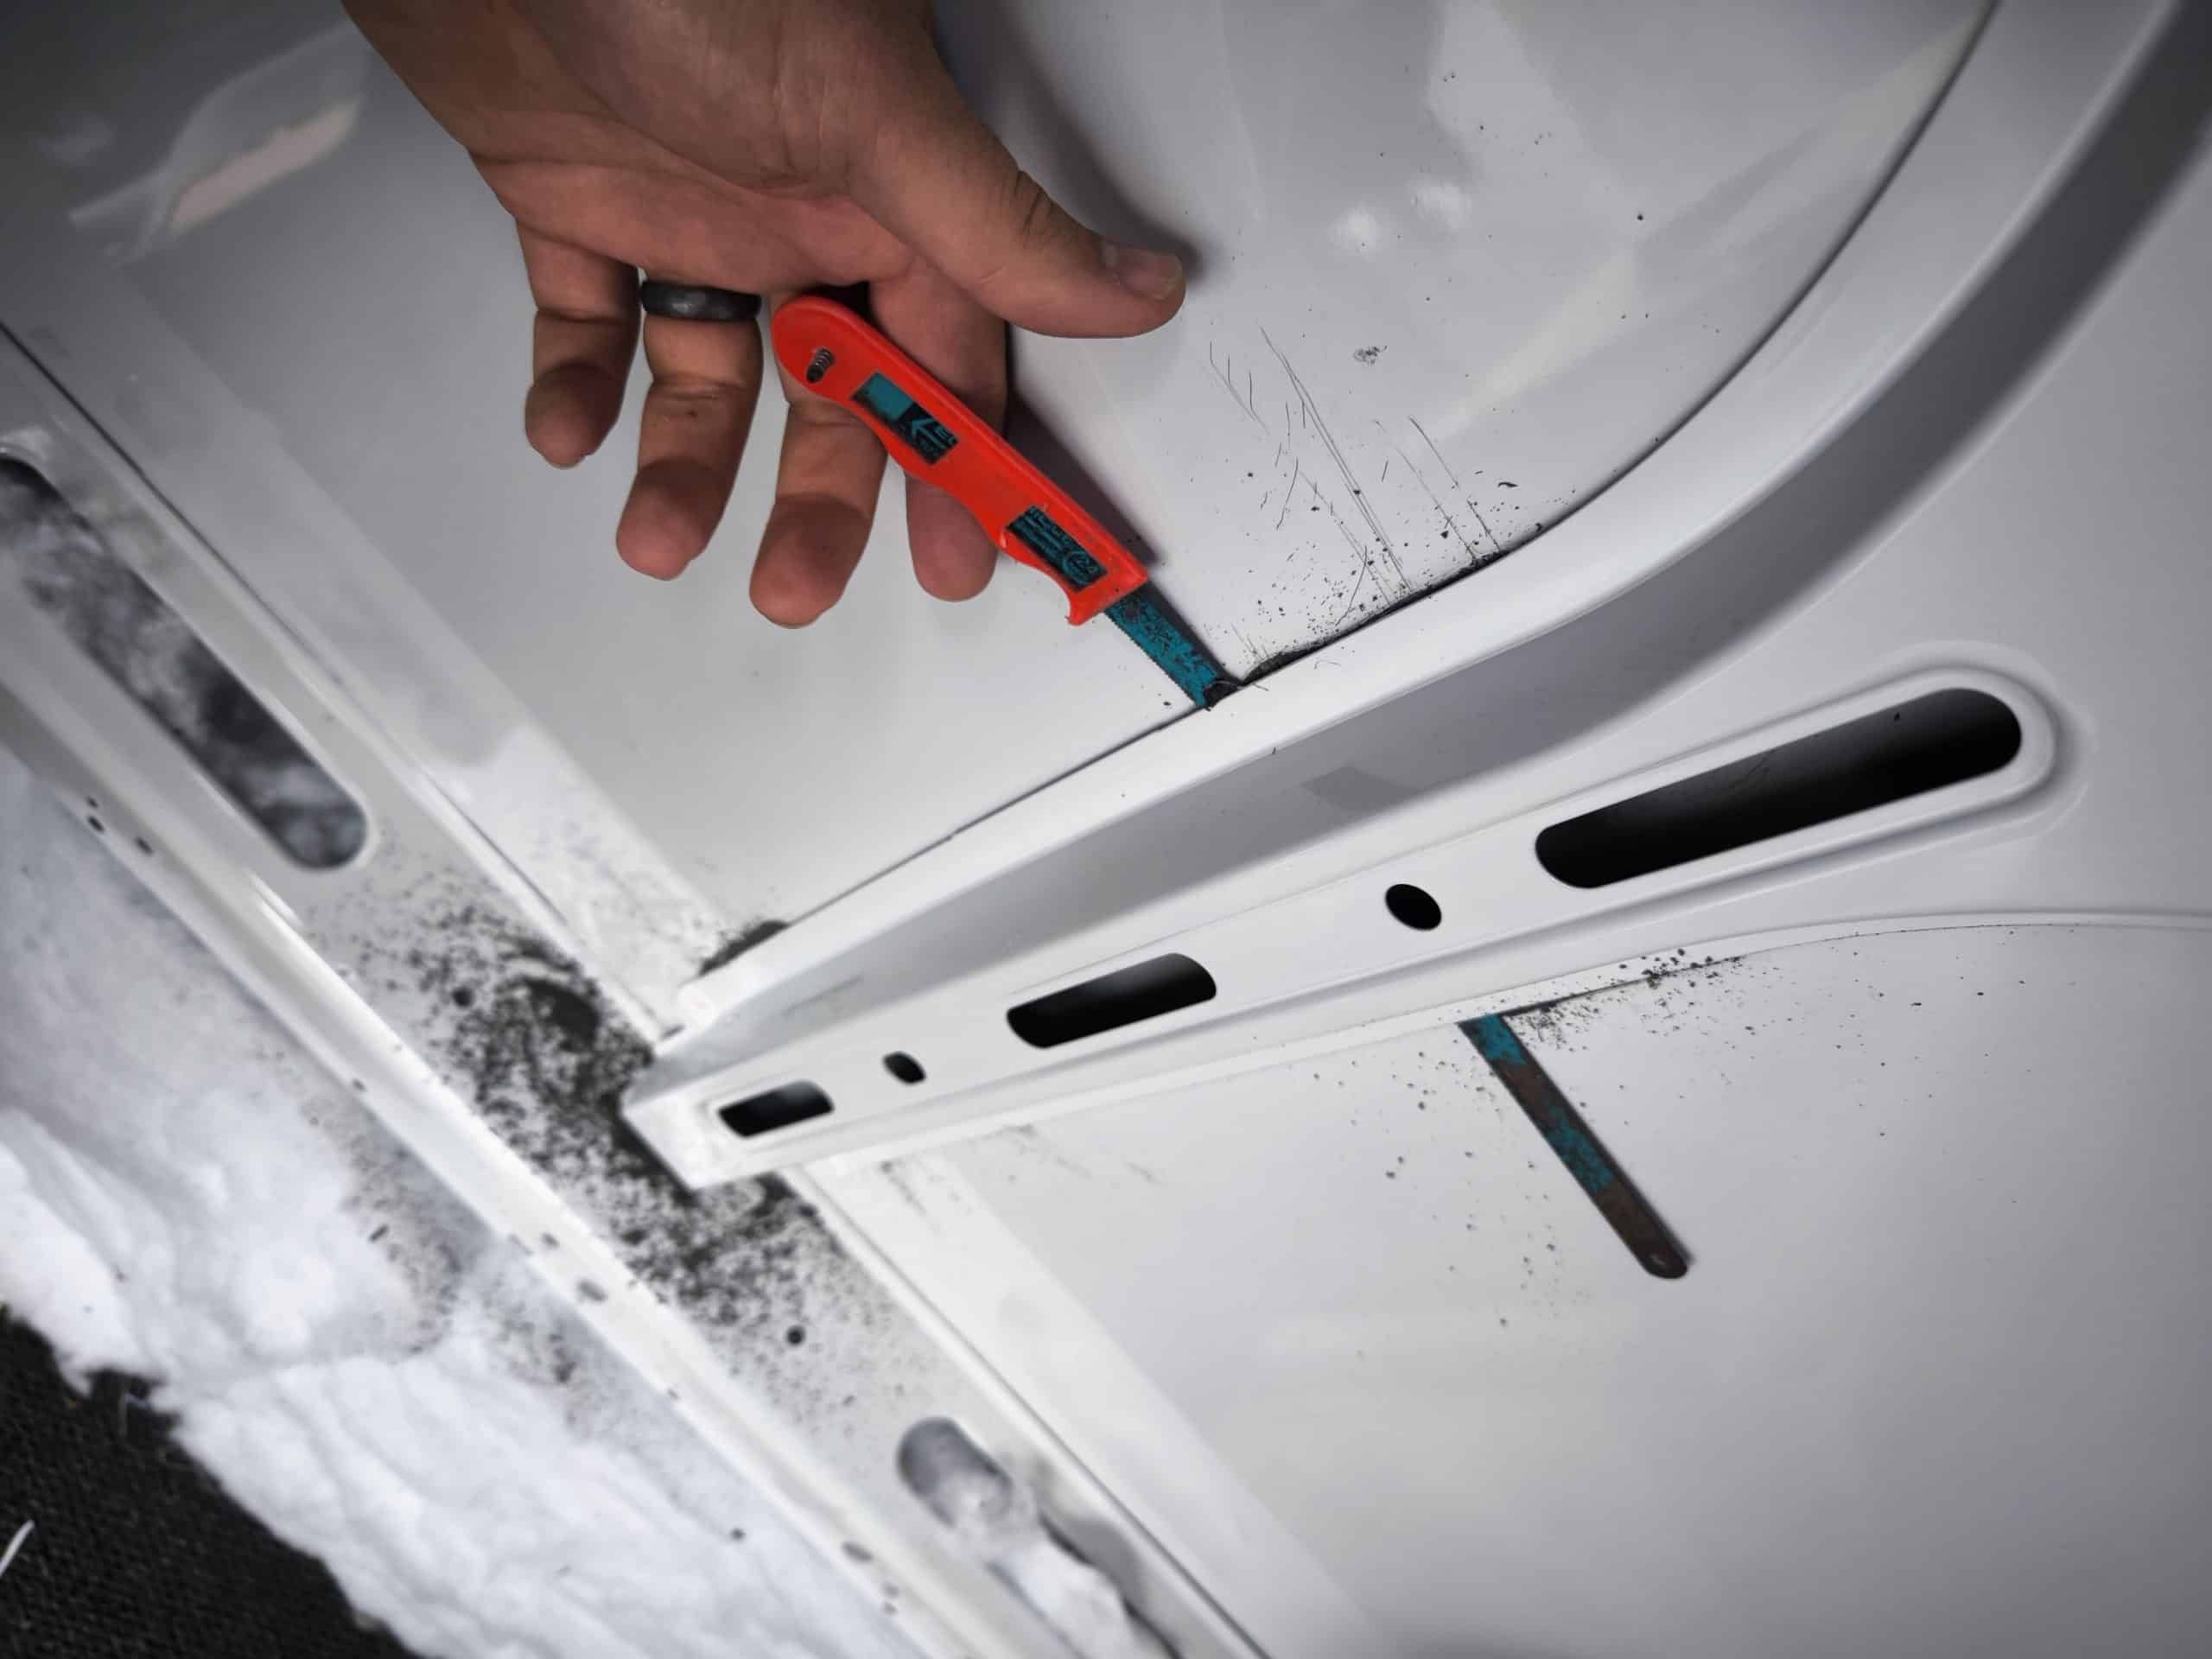
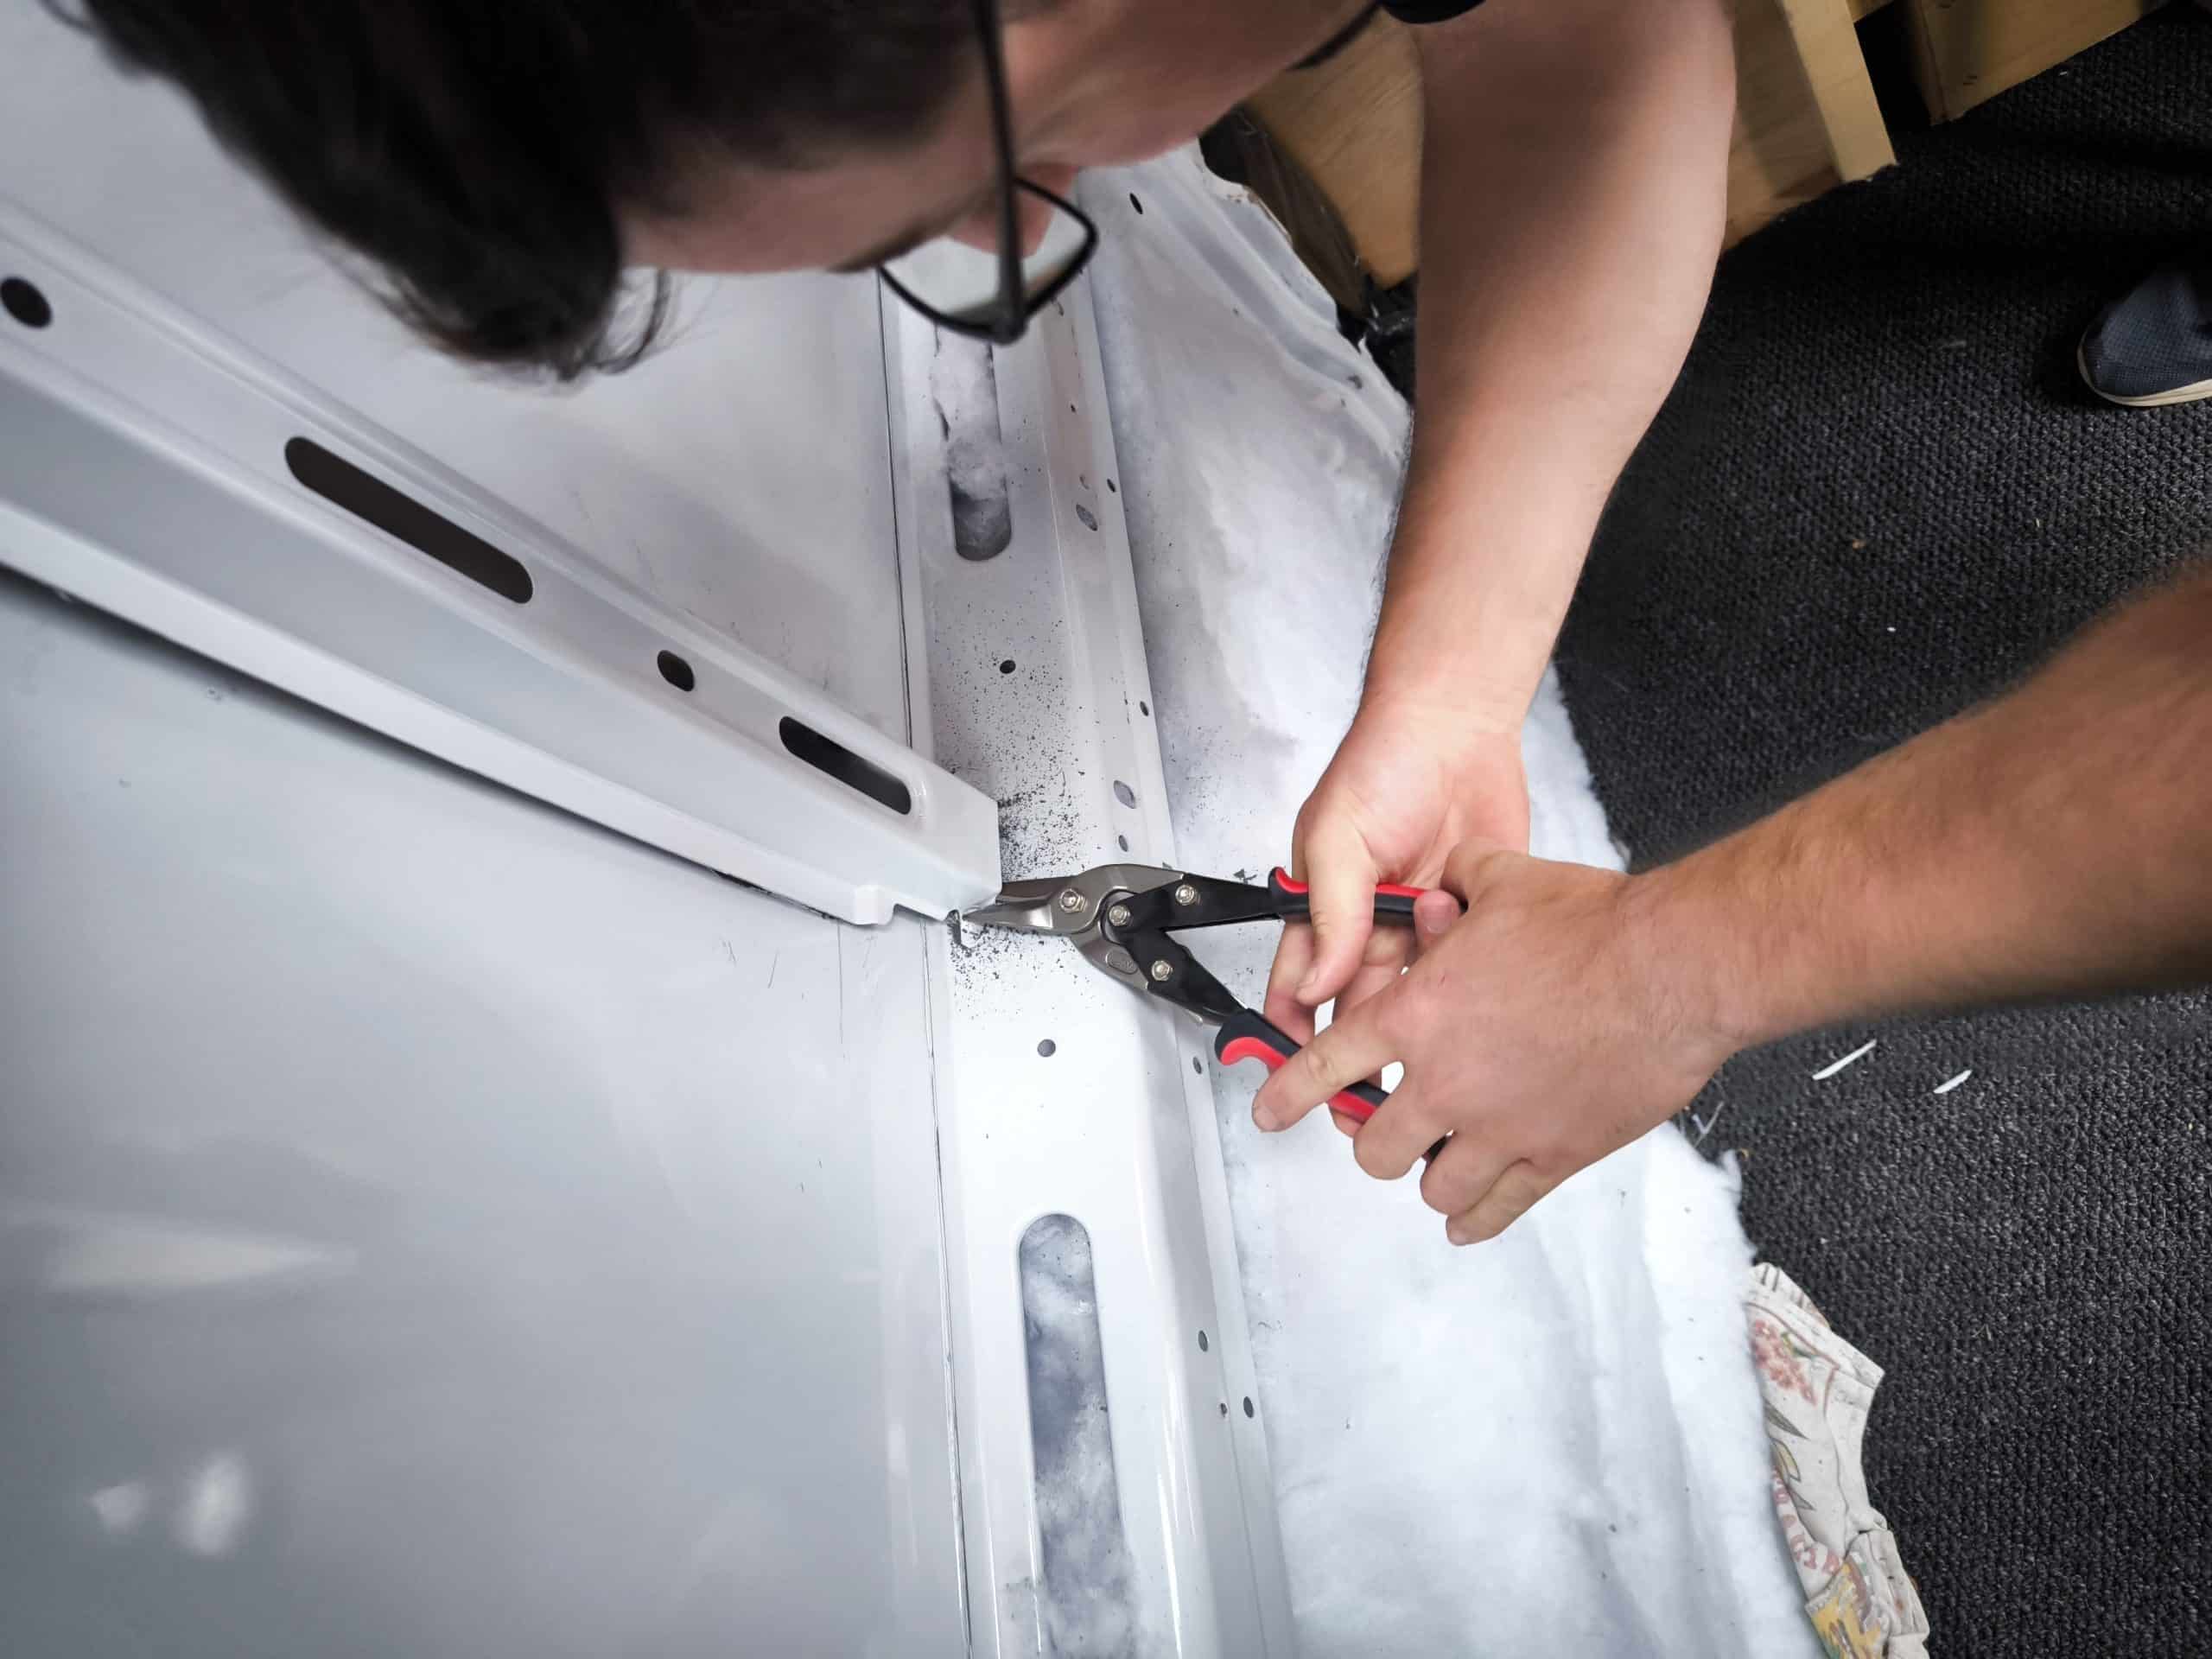
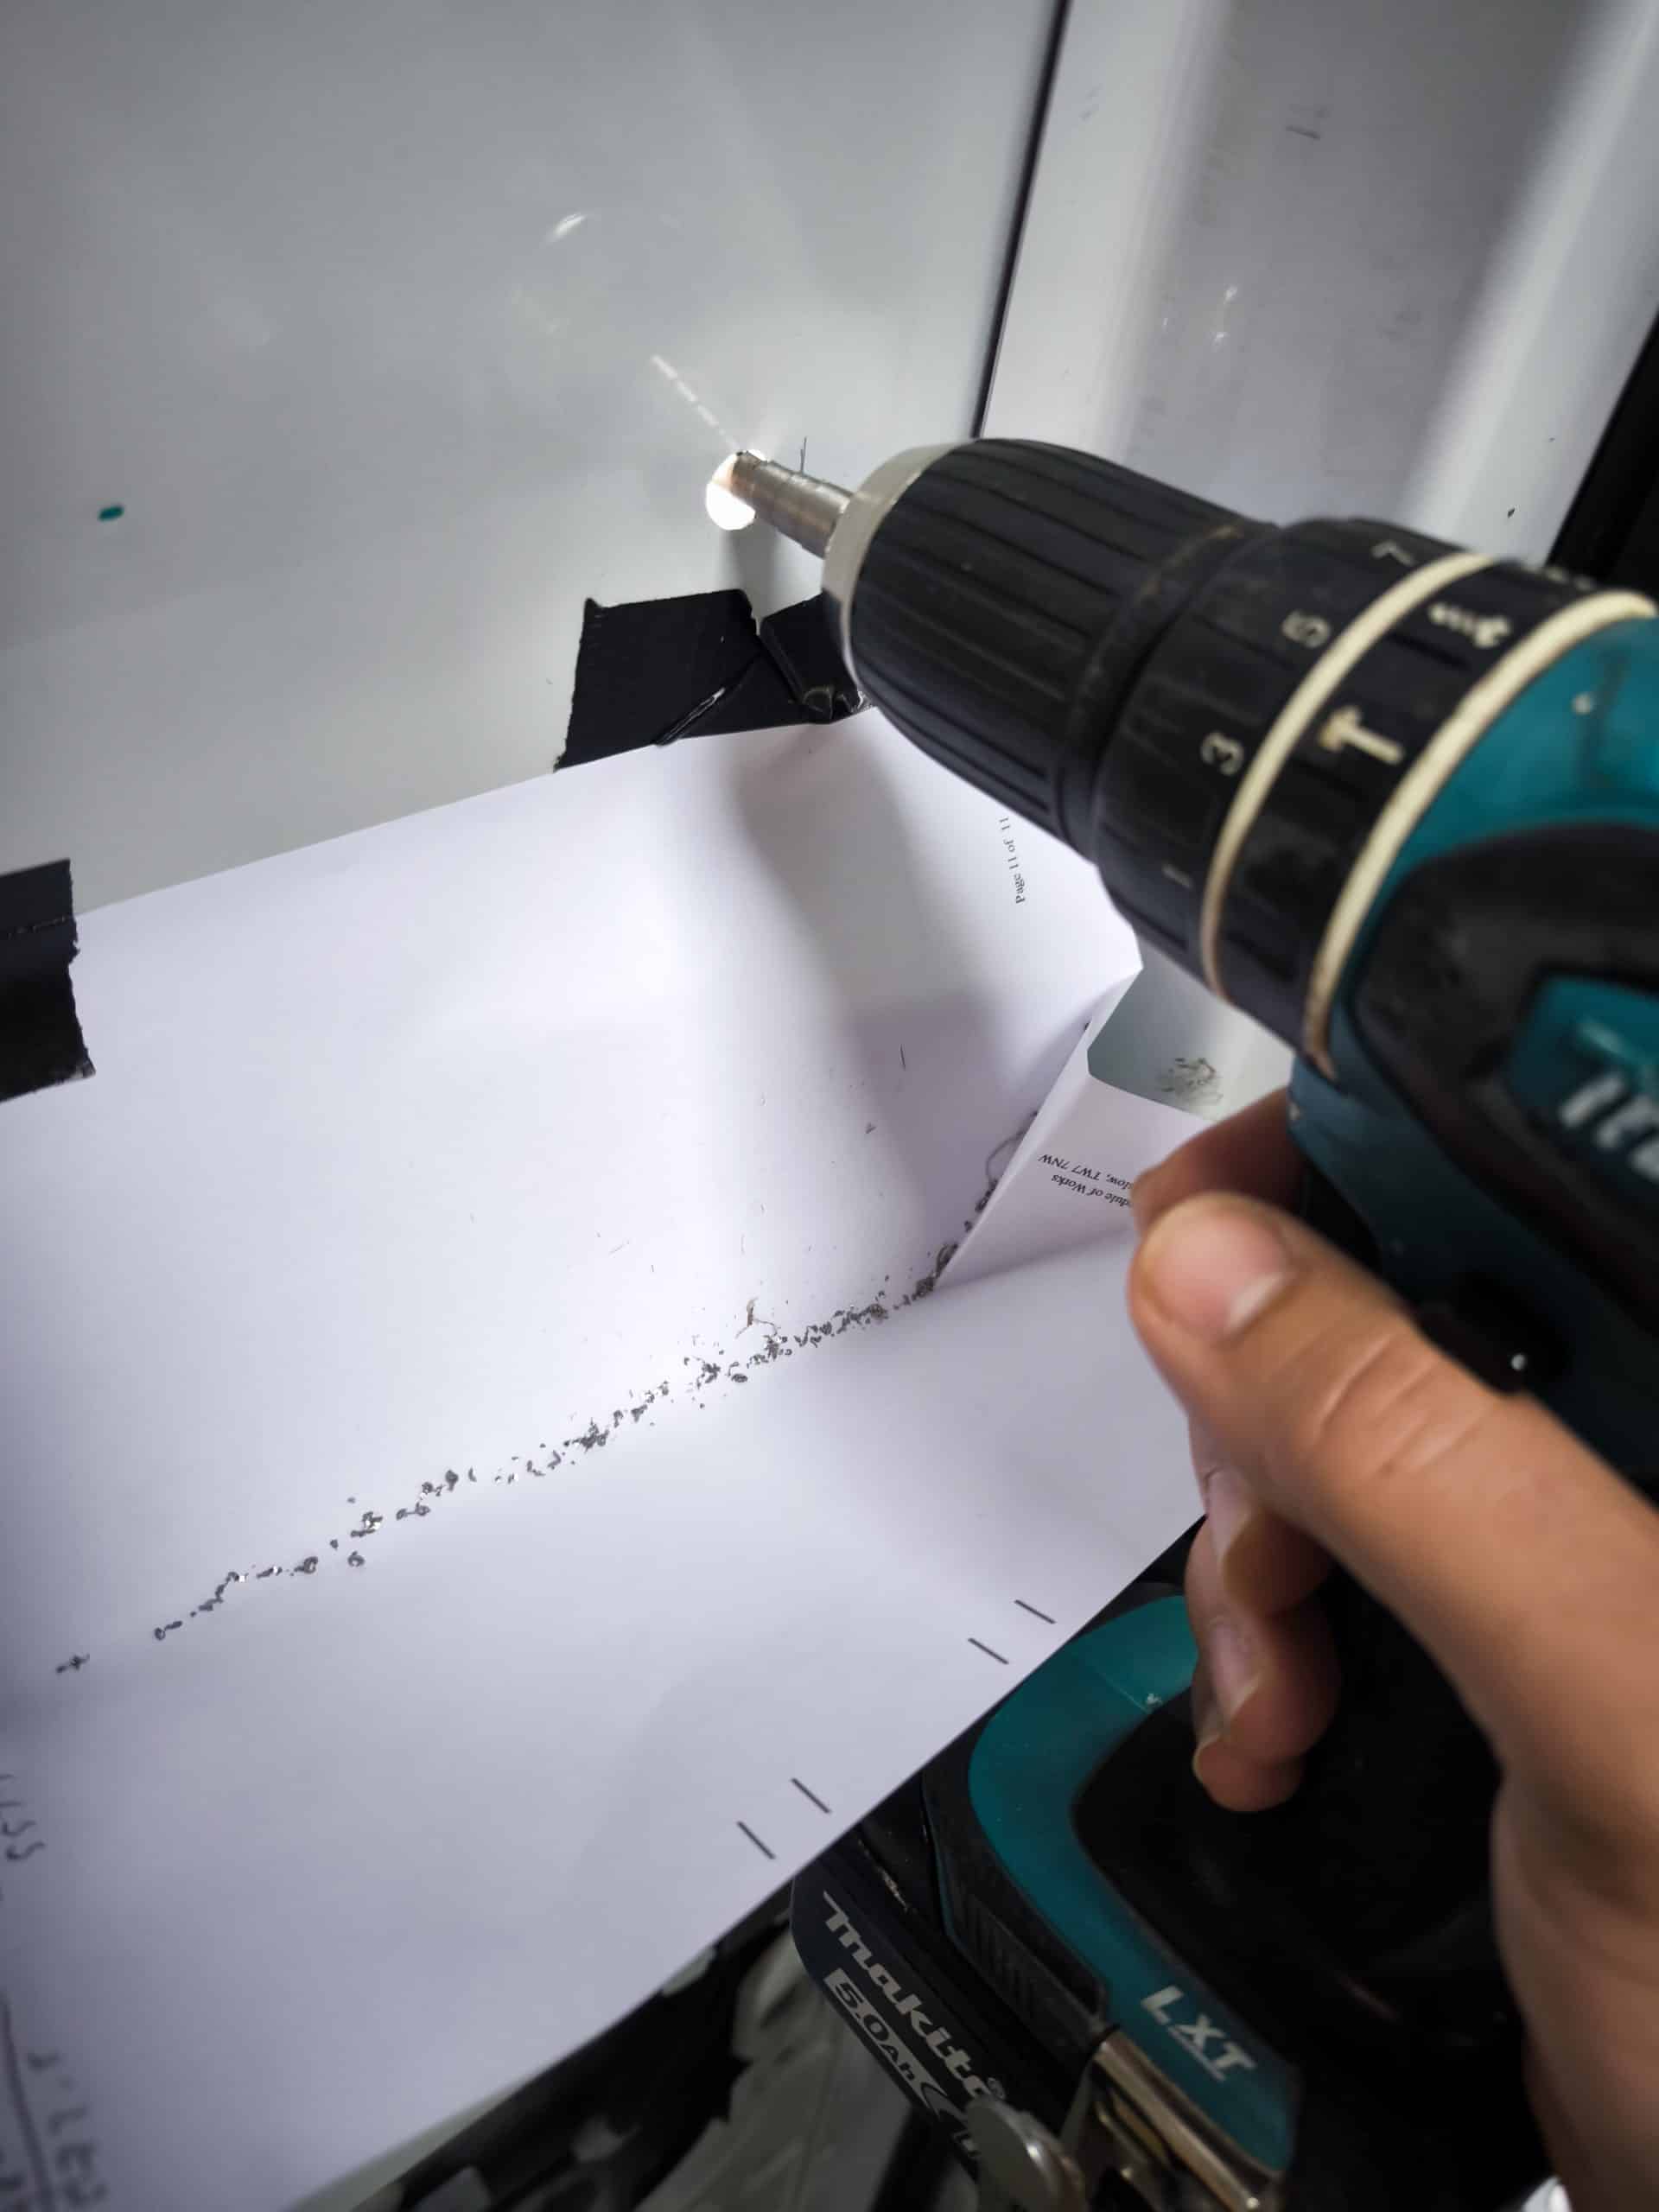
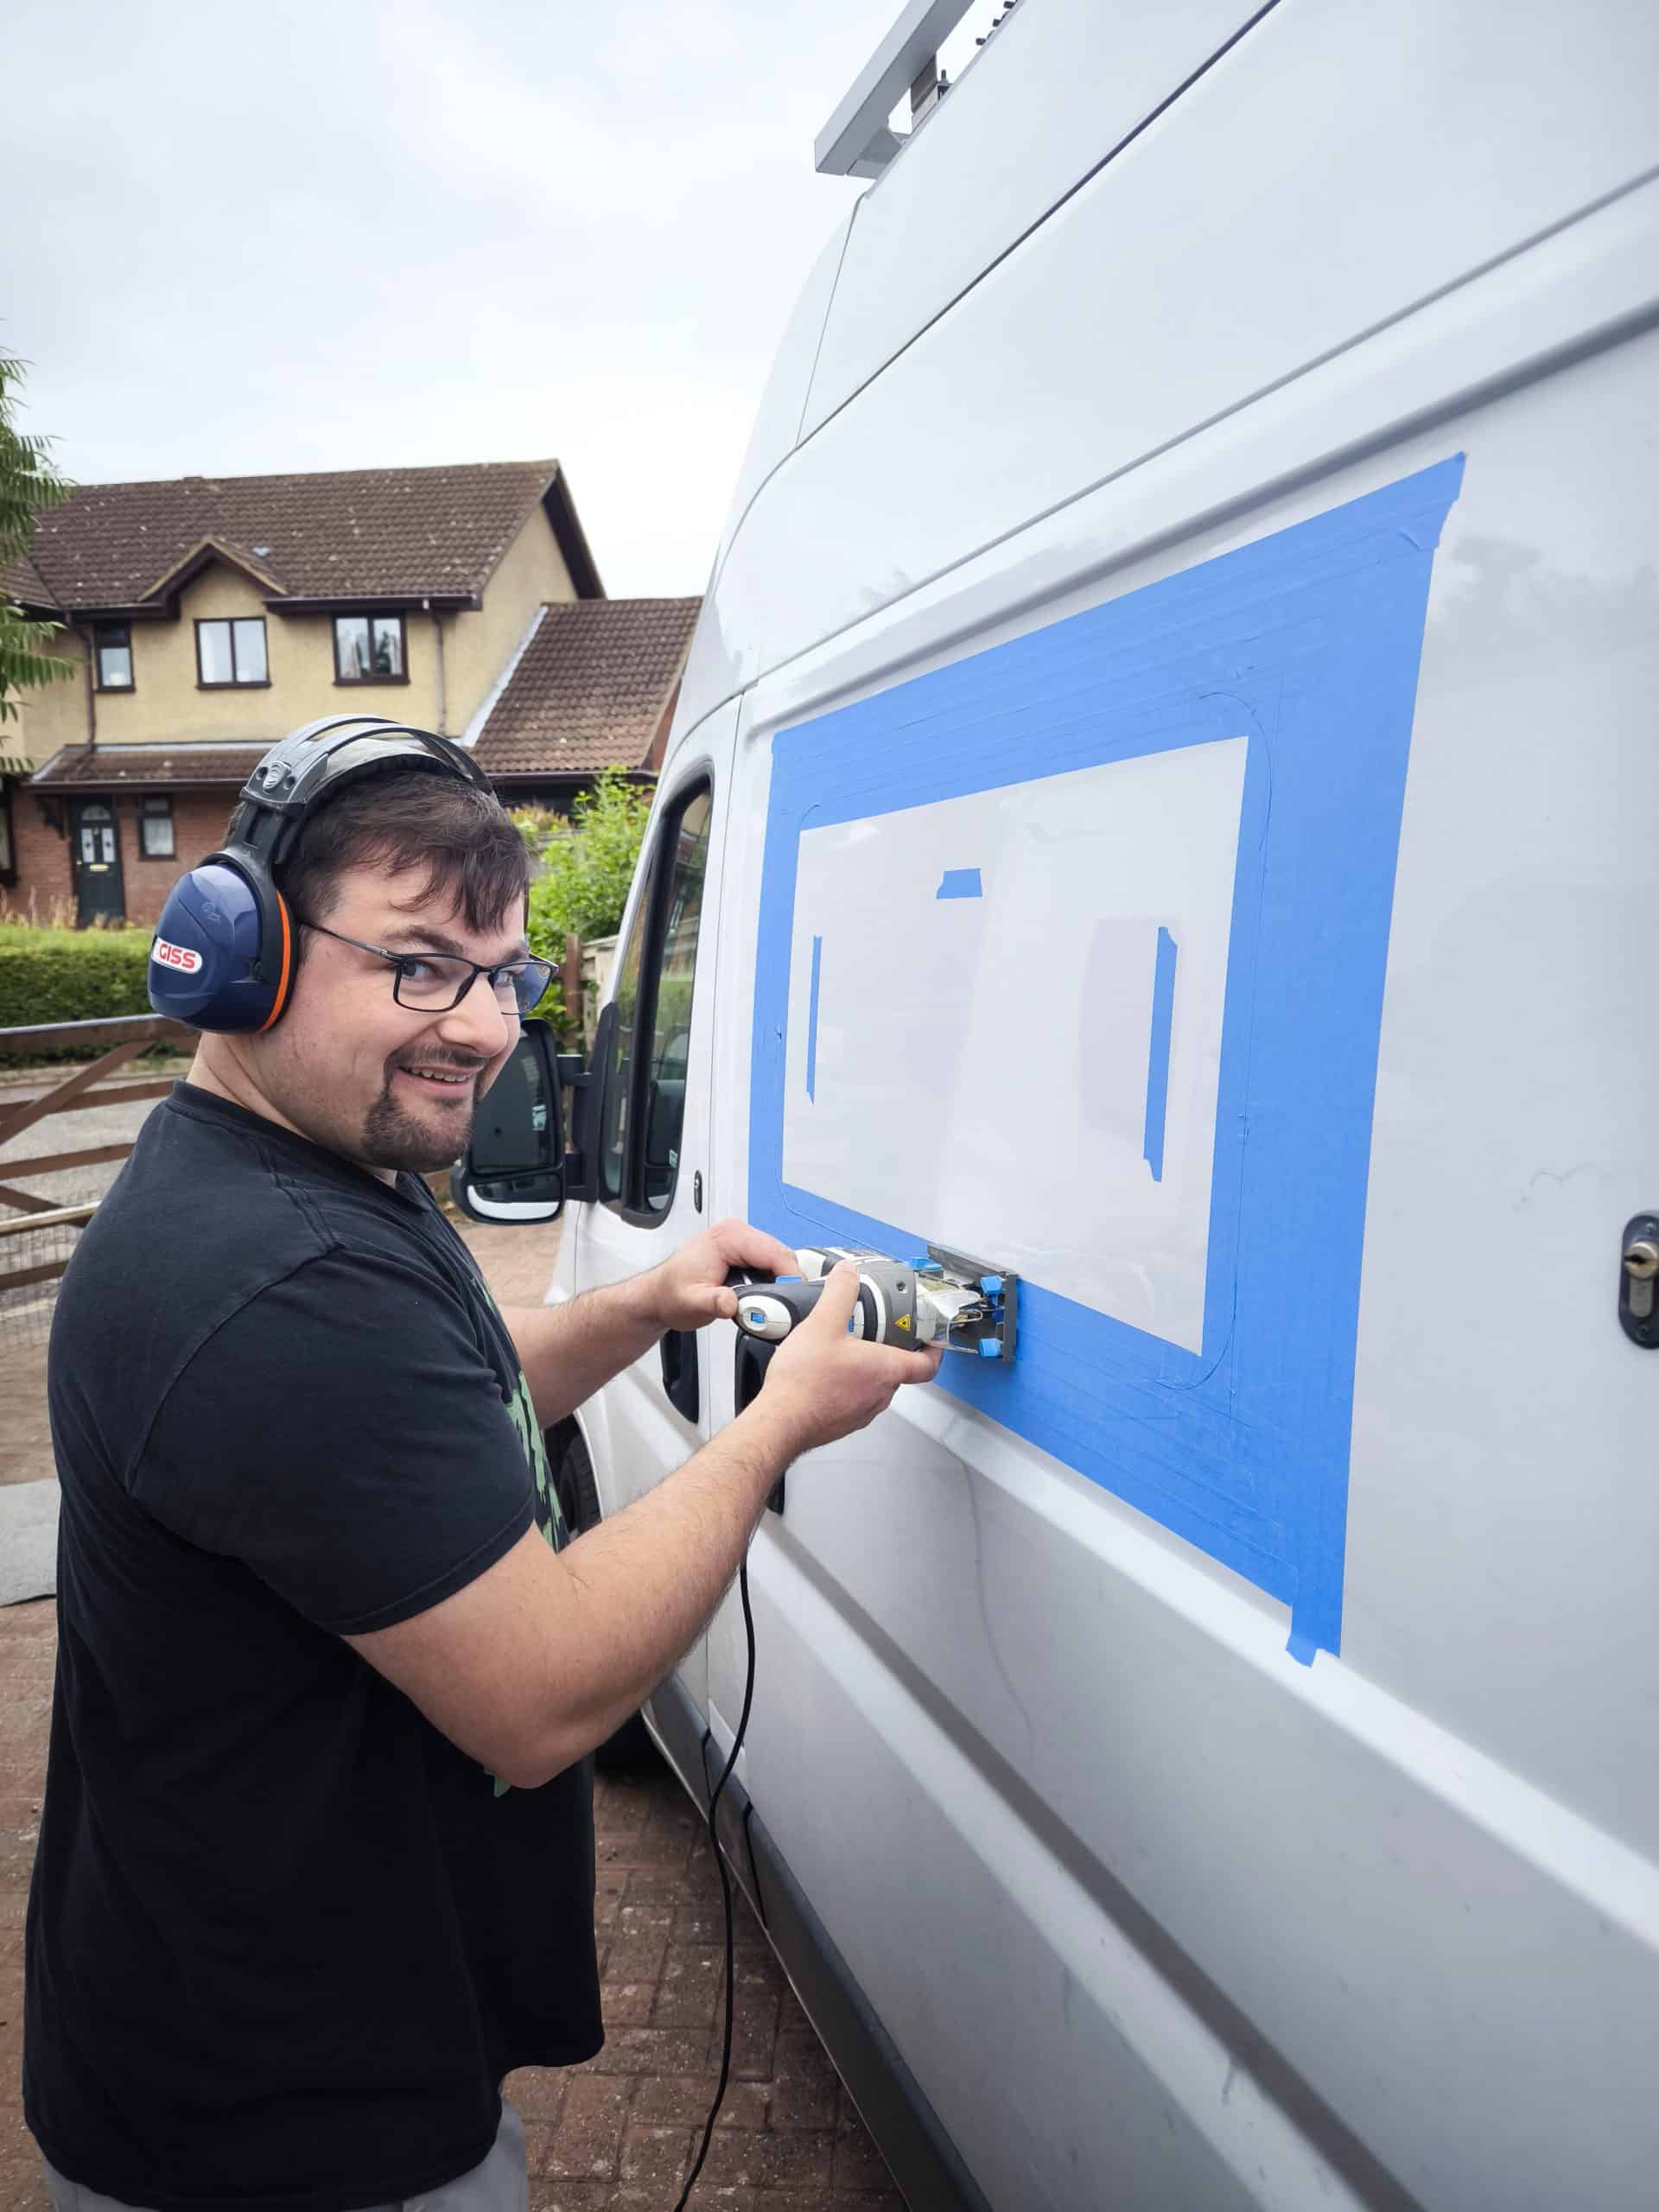
The no going back moment was drilling the pilot hole. This was to get the jigsaw into the panel and then the hole just got bigger and bigger. We used some plastic sheeting to catch as many metal shavings as possible. Once cut out and the edges power sanded smooth, all the messy cutting was done. We used a bare hacksaw blade to unstick the reinforcement rib from the panel and David used some beefy tin snips to cut it off.
A small oversight was forgetting to bring a paint brush. We sprayed some paint into a cup and then used our fingers to smear it onto the bare metal edges. It was automotive finger painting and we got as messy as 5 year olds, but it worked.
While this dried, we had a spot of lunch and then built 2 really simple wooden frames with timber we collected this morning in the drizzle. This was so the clamping flange had something to pull against. I decided to chamfer the inside edge of the timber. This was to ensure there was space for a decent bead of continuous sealant.
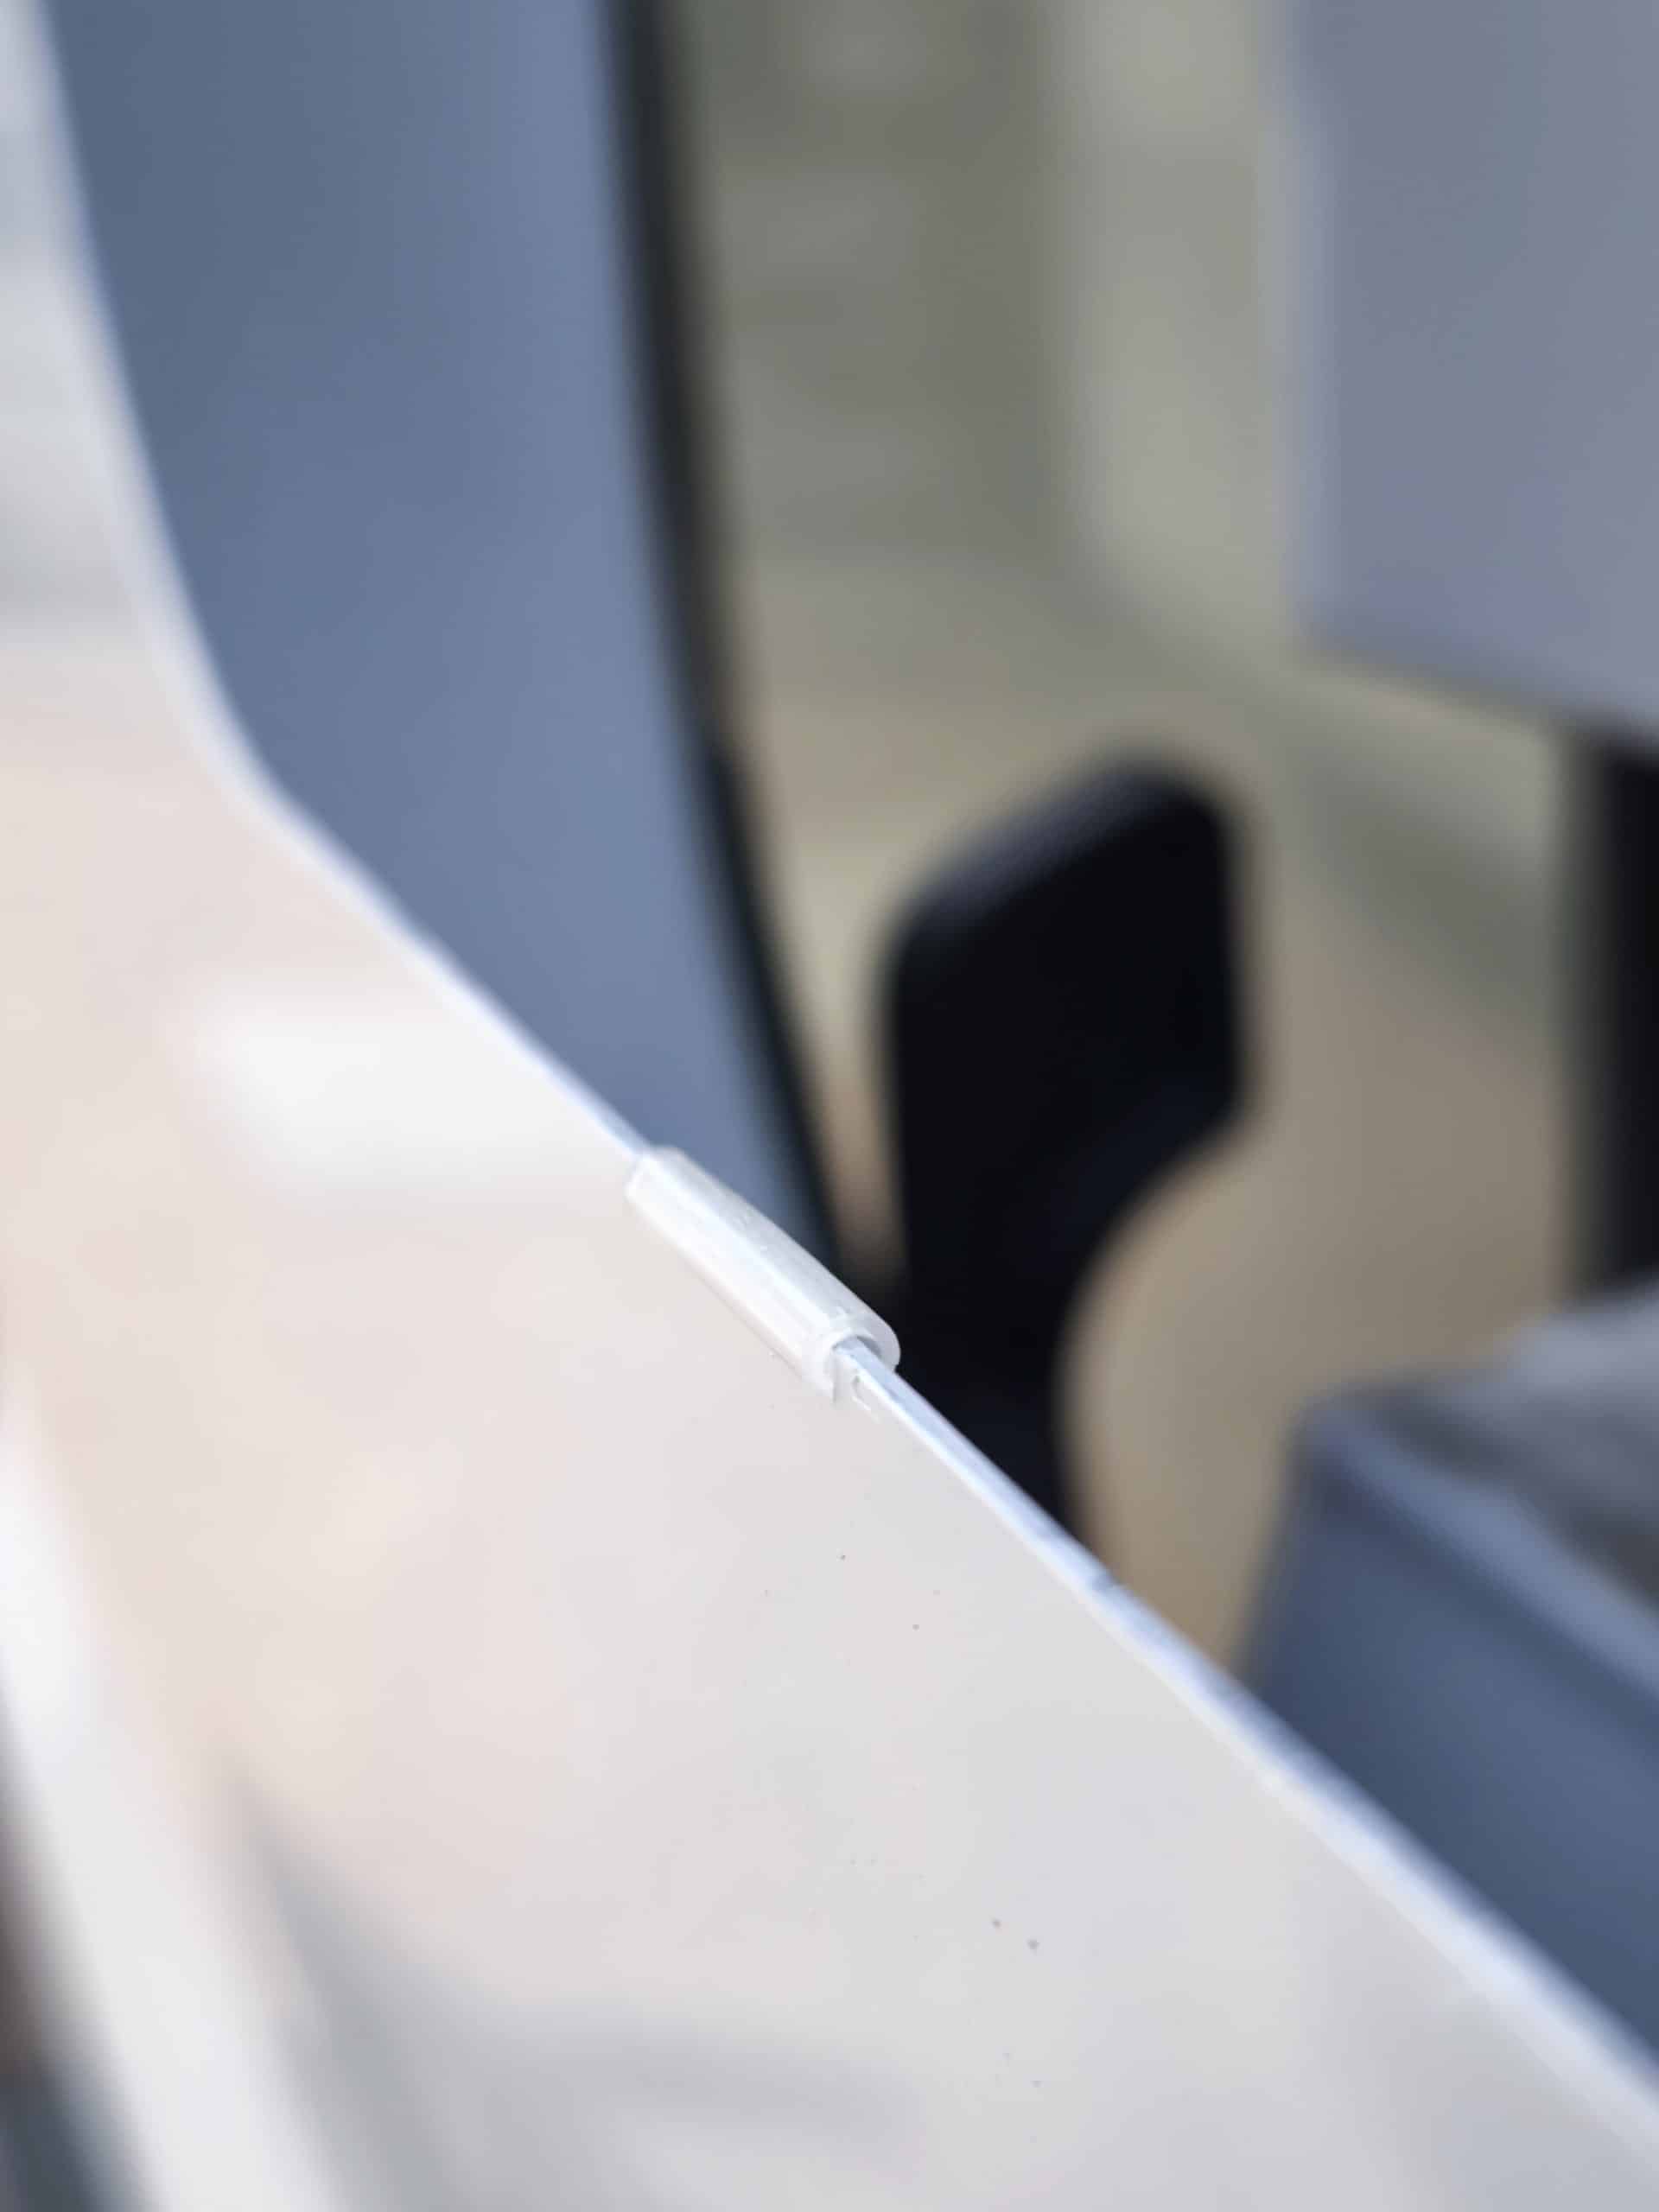
We also used 2 small bits of biro plastic straw to hold the window up off the edge of the panel. I didn’t want the window to be resting directly on the metal edge because there would be the chance of vibrations comprising a very thin film of sealant at that point. The plastic straws create a millimeter gap all the way along the bottom edge sealant can fill.
Everything ready, we cleaned up, tidied tools, prepared tables and paper towels and laid out cardboard to protect the cabinets from stray sealant.
It was go time.
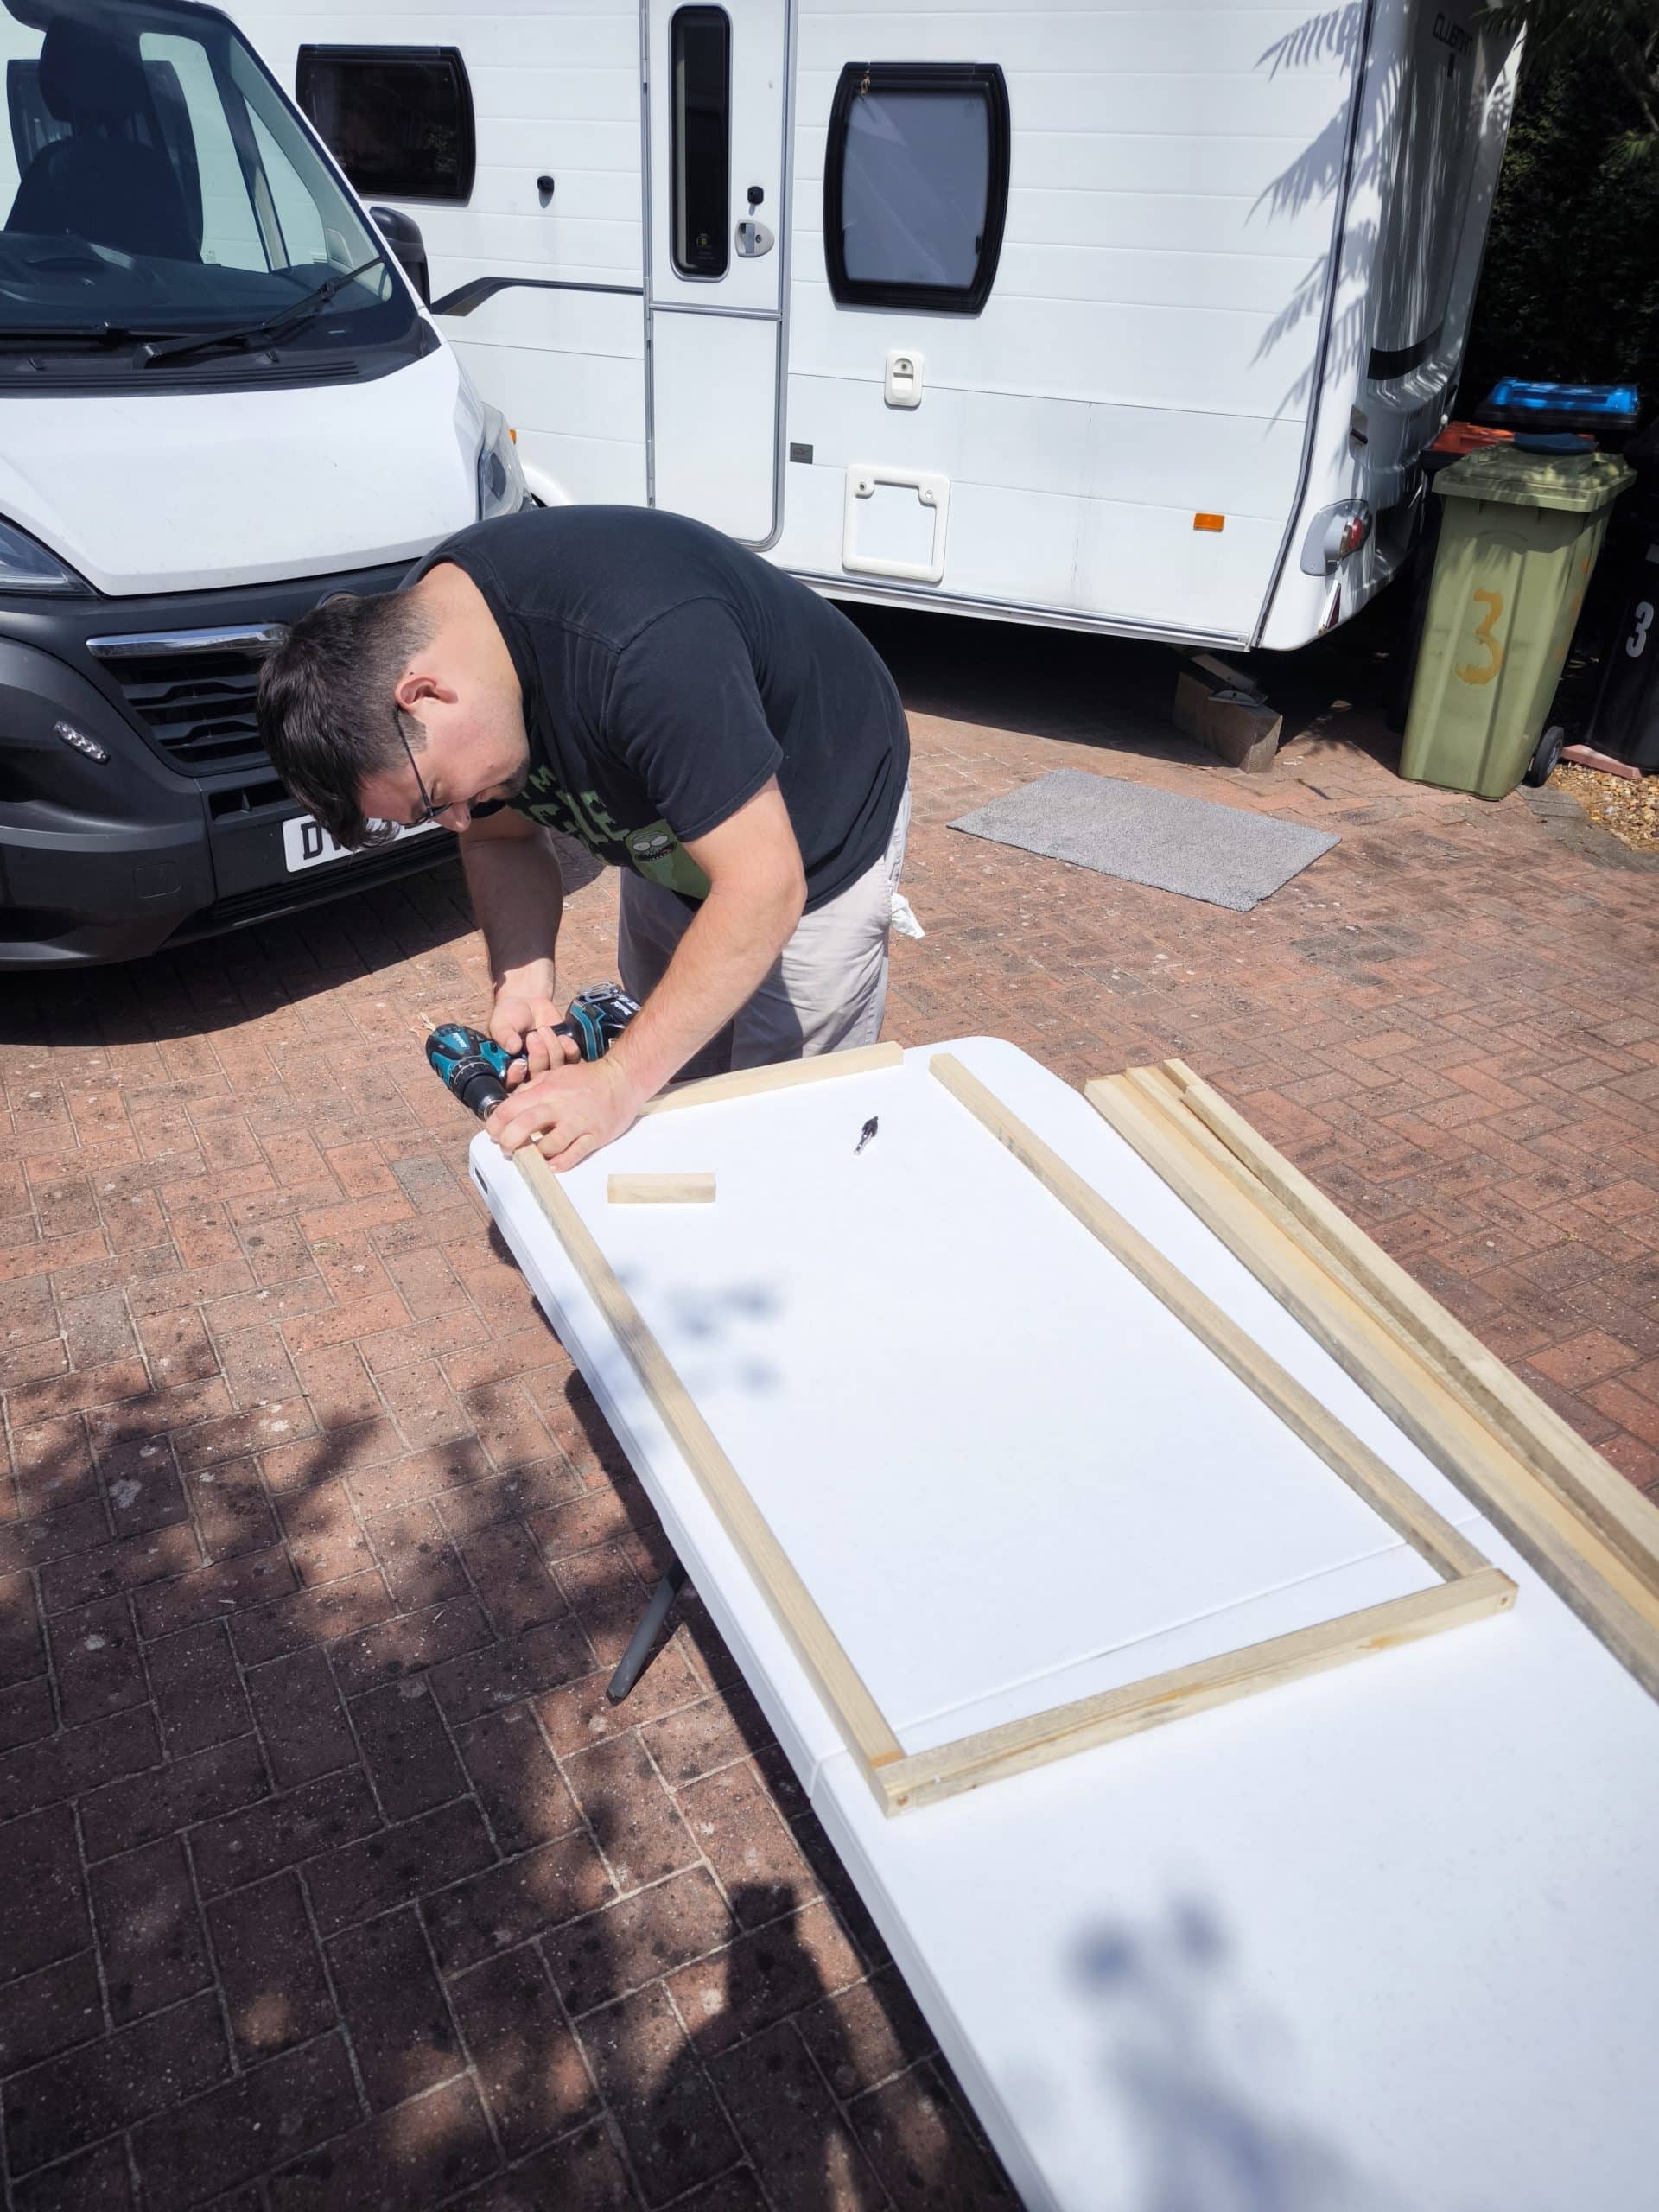
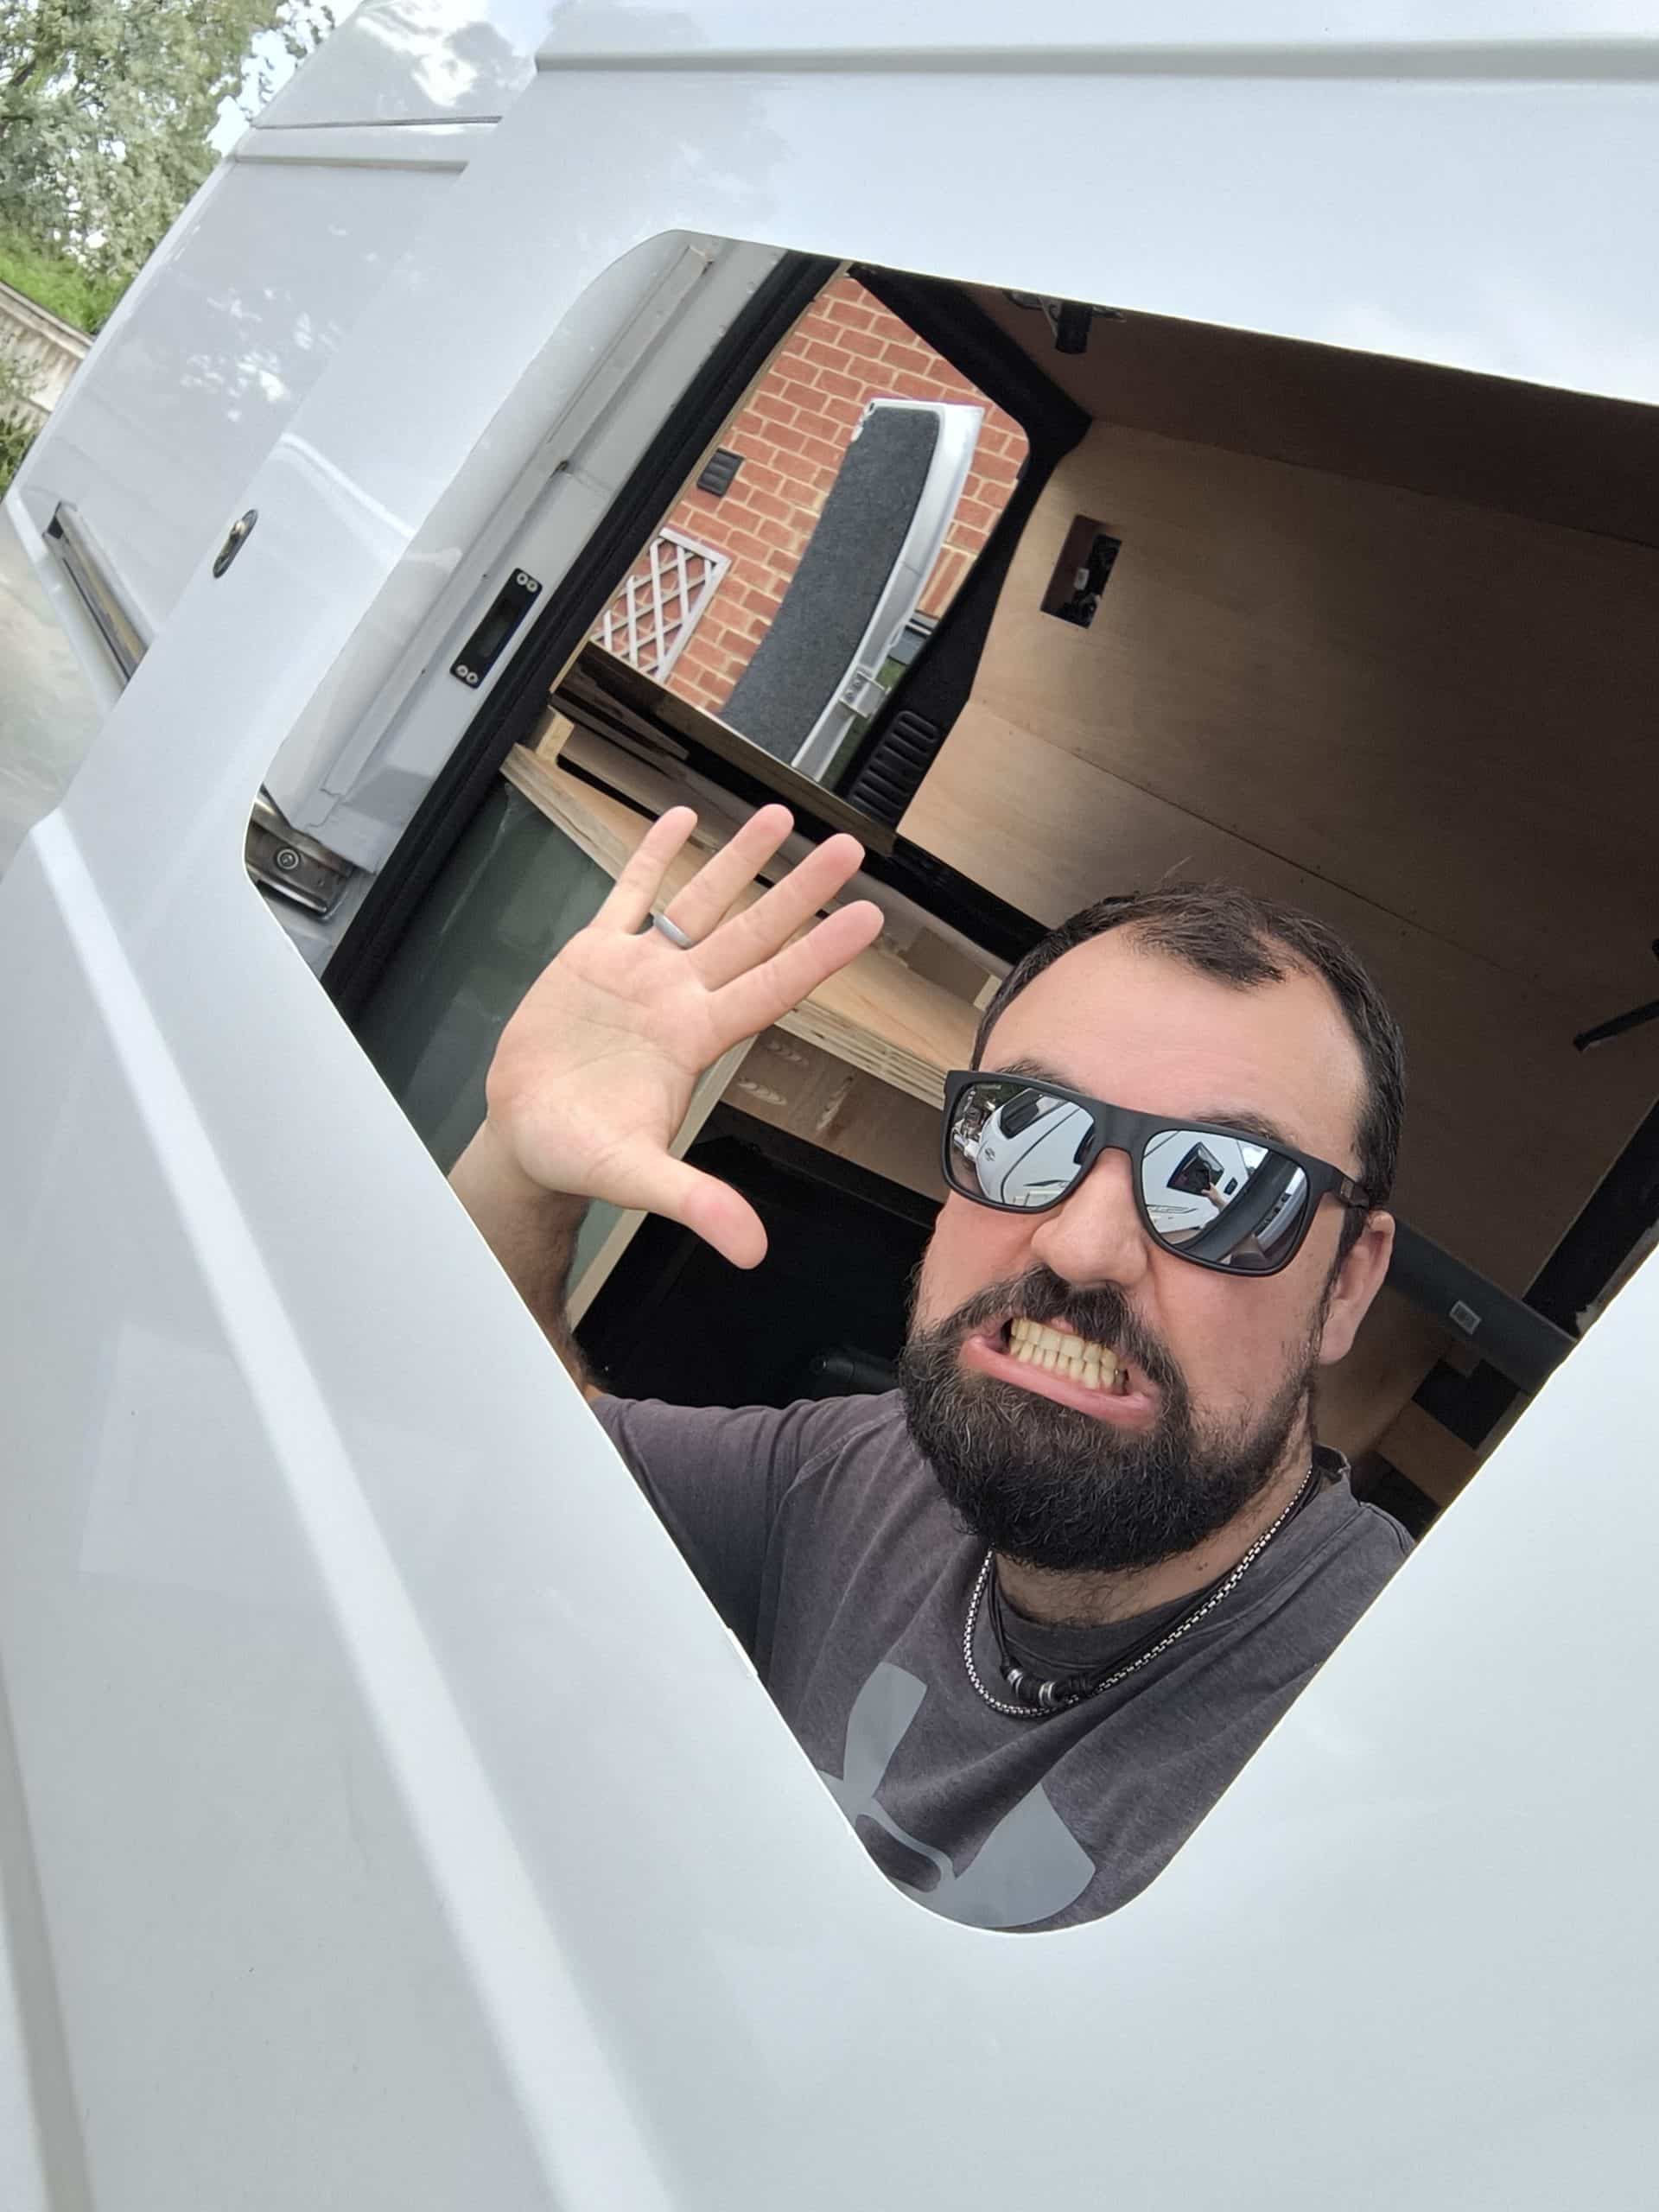
Black Sikaflex was piped onto the mating surface on the window and then working together, we carefully squidged <technical term] it into the panel hole. A small smear of sealant all the way around the wooden frame was pushed into place and then the clamping ring was screwed into place.
Of course, clamping this in place splooged <more technical words] sealant out the edges as it tightened up. David worked frantically outside to clean this up immediately as I put in all the screws and sealant splooged out everywhere. At least we know the gaps are completely filled, but it was a pain to clean up the sealant as quickly as possible.
I took no photos of this whole process, but luckily Zoe caught the action. I was too busy sweating hard to try and get the sealant on, windows in and neatly cleaned up. But obviously I got covered in the black goop. This was mainly because after having installed the drivers side window very smoothly, the sliding door side nearly went very badly.
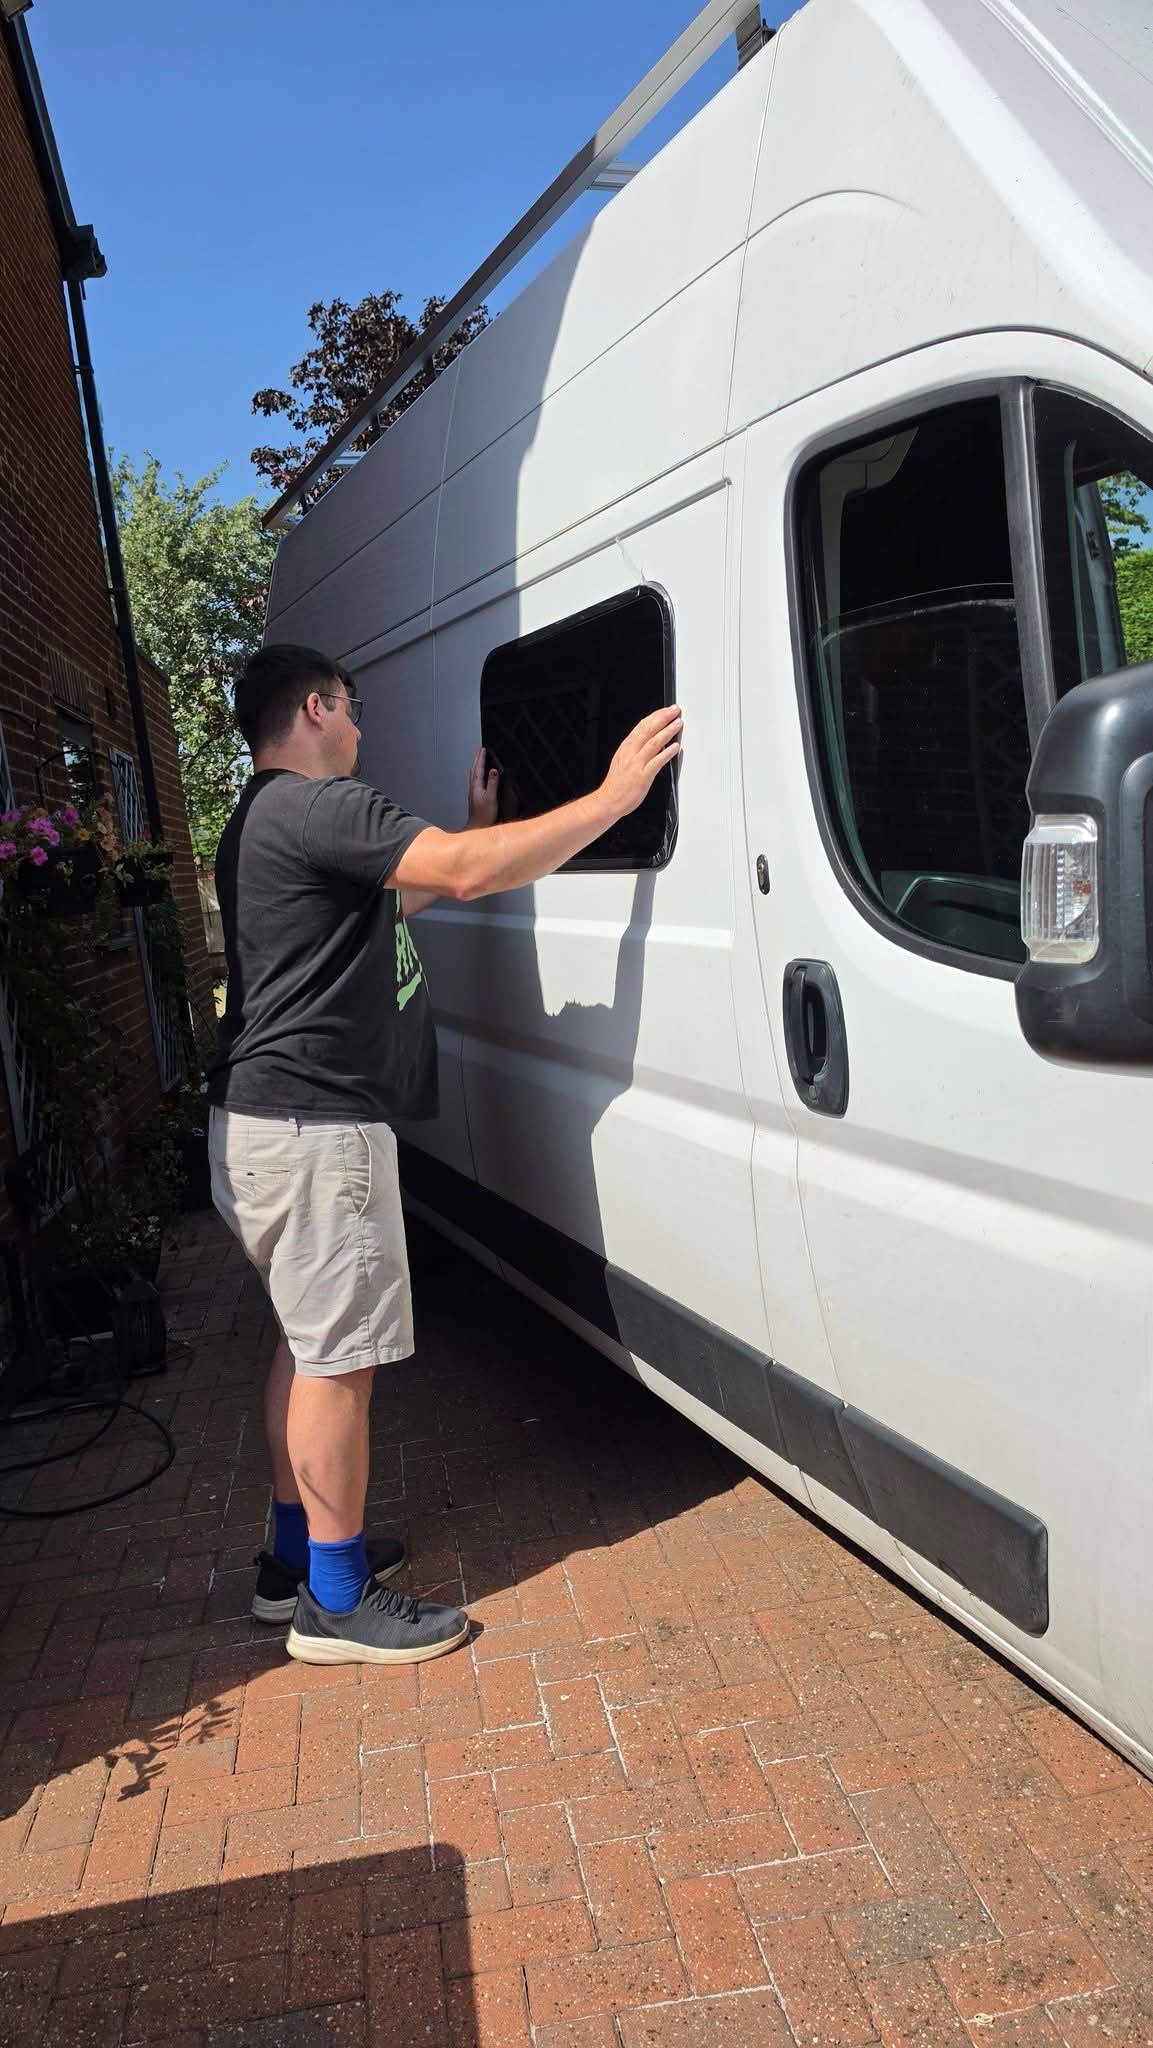
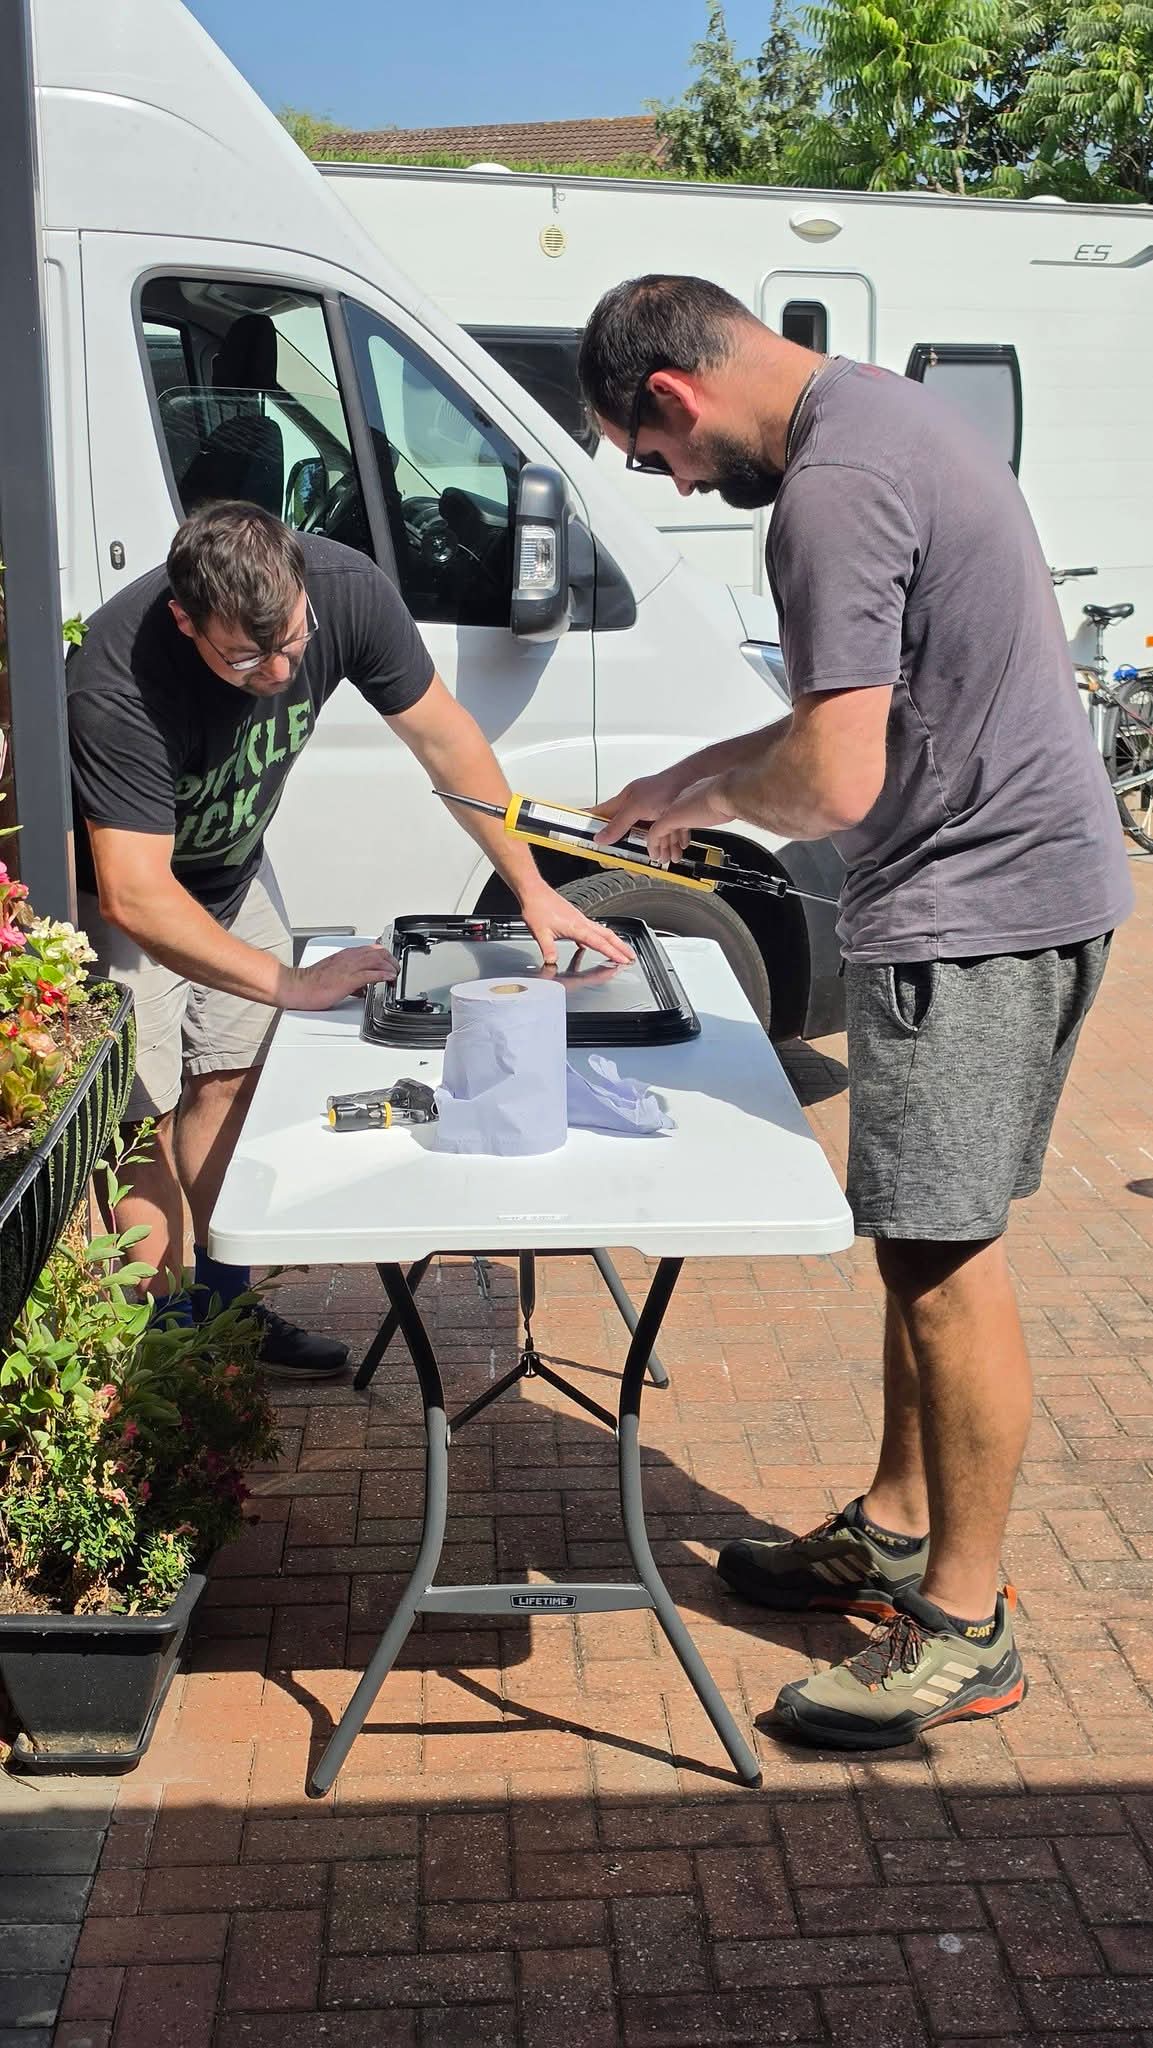
We should have test fitted the wooden frame but once the sealant was piped on, the countdown had started. Only then did we find that the wooden frame fouled the metal flange at the edge of the door. There was nothing for it but to get black sealant everywhere and cut our frame up to make it fit. It all worked out and seems to have stuck in place just fine, but it was incredibly stressful to get it done quickly.
Now all there is to be done is to wait for the Sikaflex to cure and we will have our windows! We will have to check them carefully when it next rains to see if they are watertight, but they are honestly installed as best as we could do. If they do leak then they will have to be redone and I’ll have to pay someone to do it because I’ve no idea how we would have done it better (other than the test fitting frame debacle)
Fingers crossed they are in and done.