Diary Of A Camper Conversion
Wow I got a lot done today!
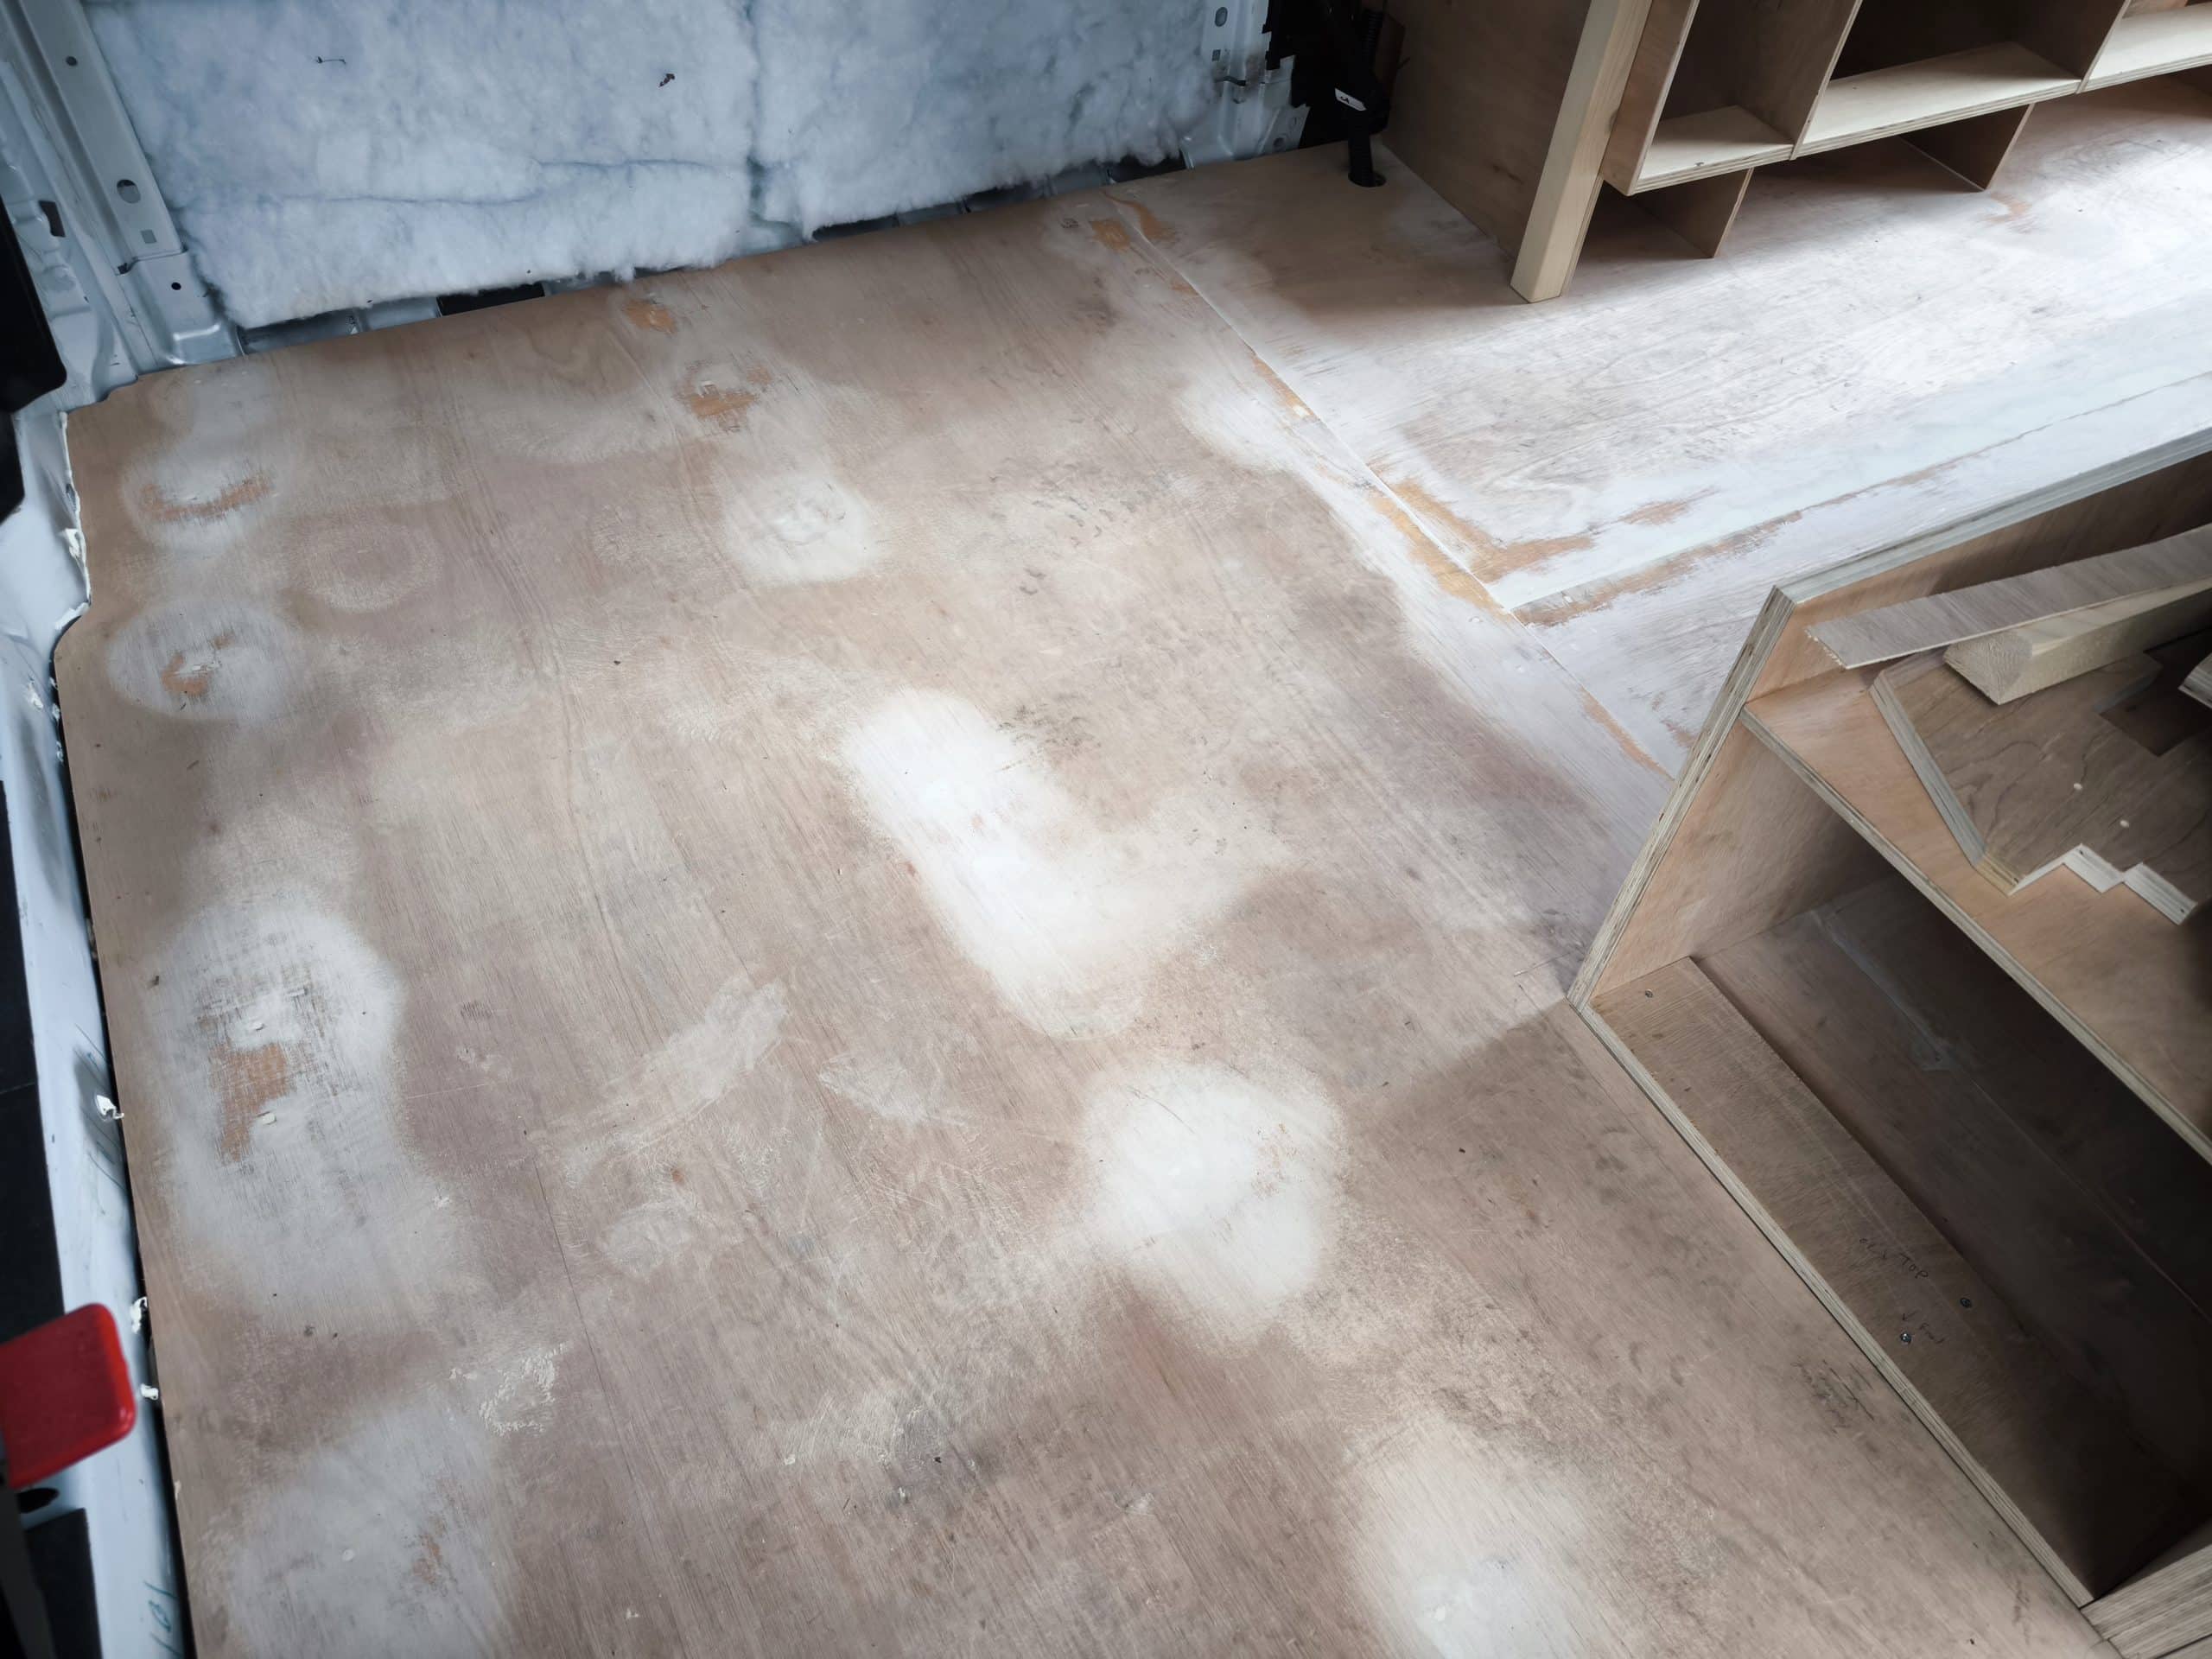
I started with the boring bit, and sanded floor filler smooth. Hopefully this step will pay off when the vinyl goes down.
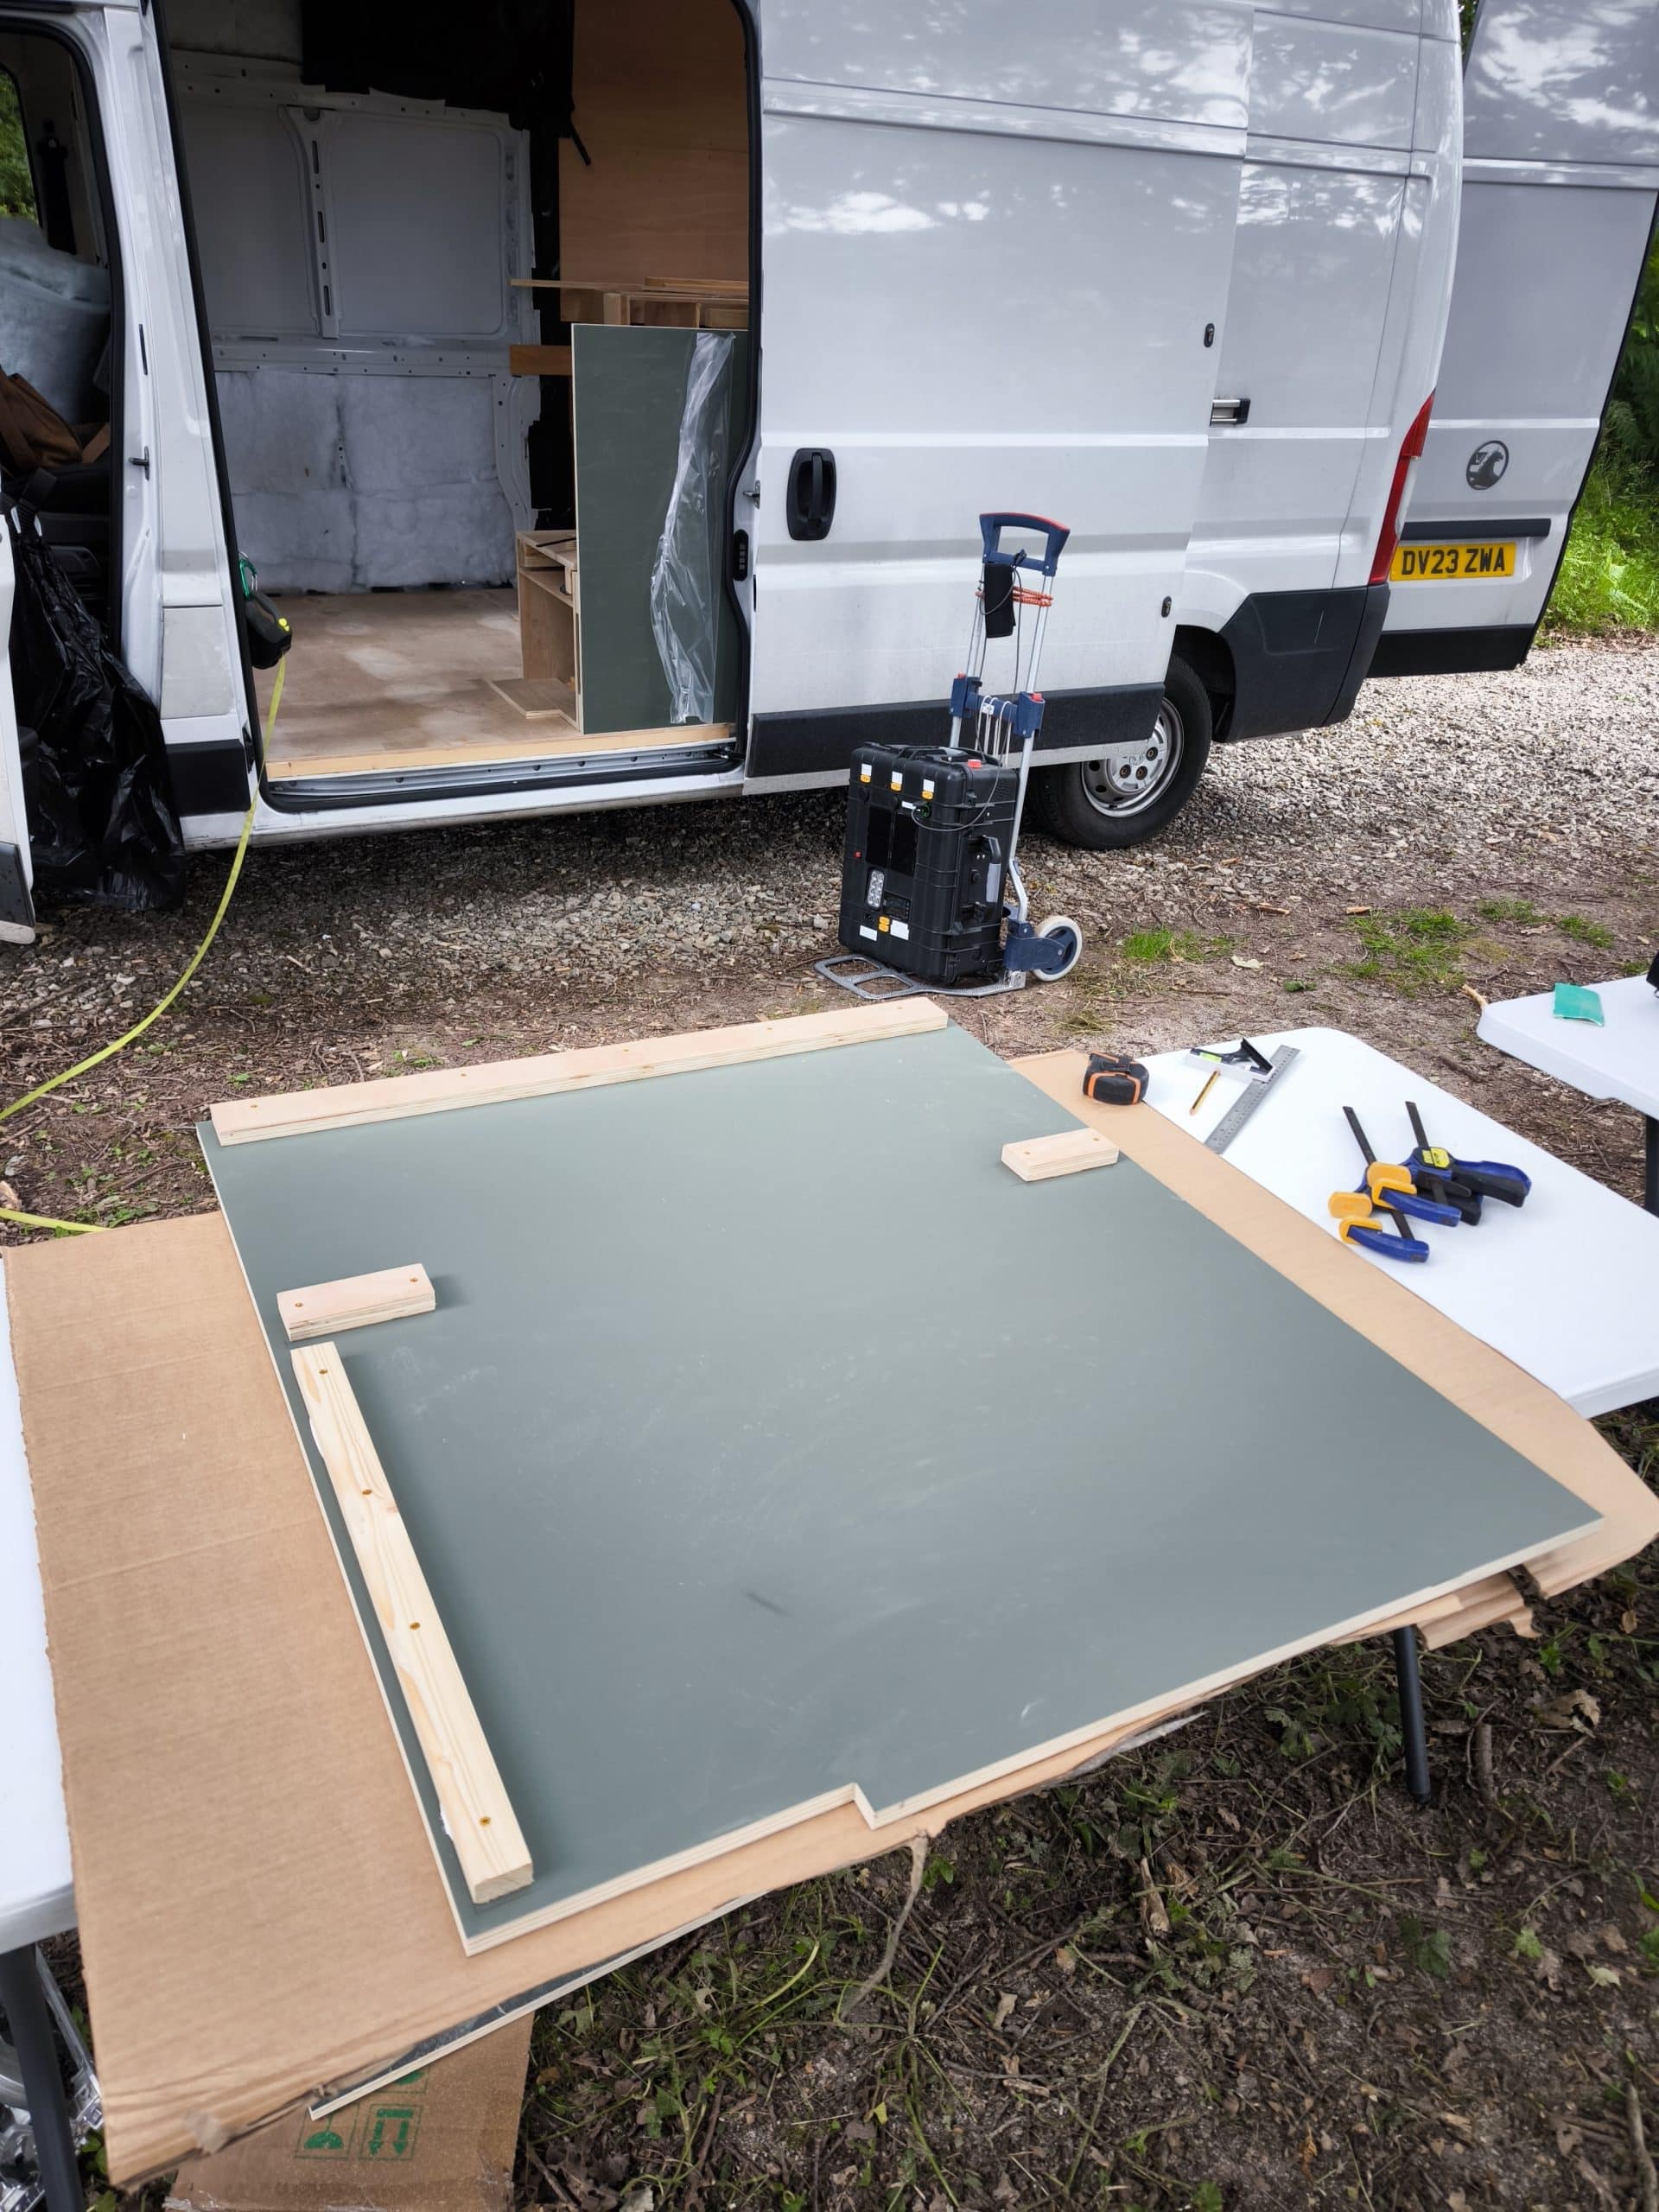
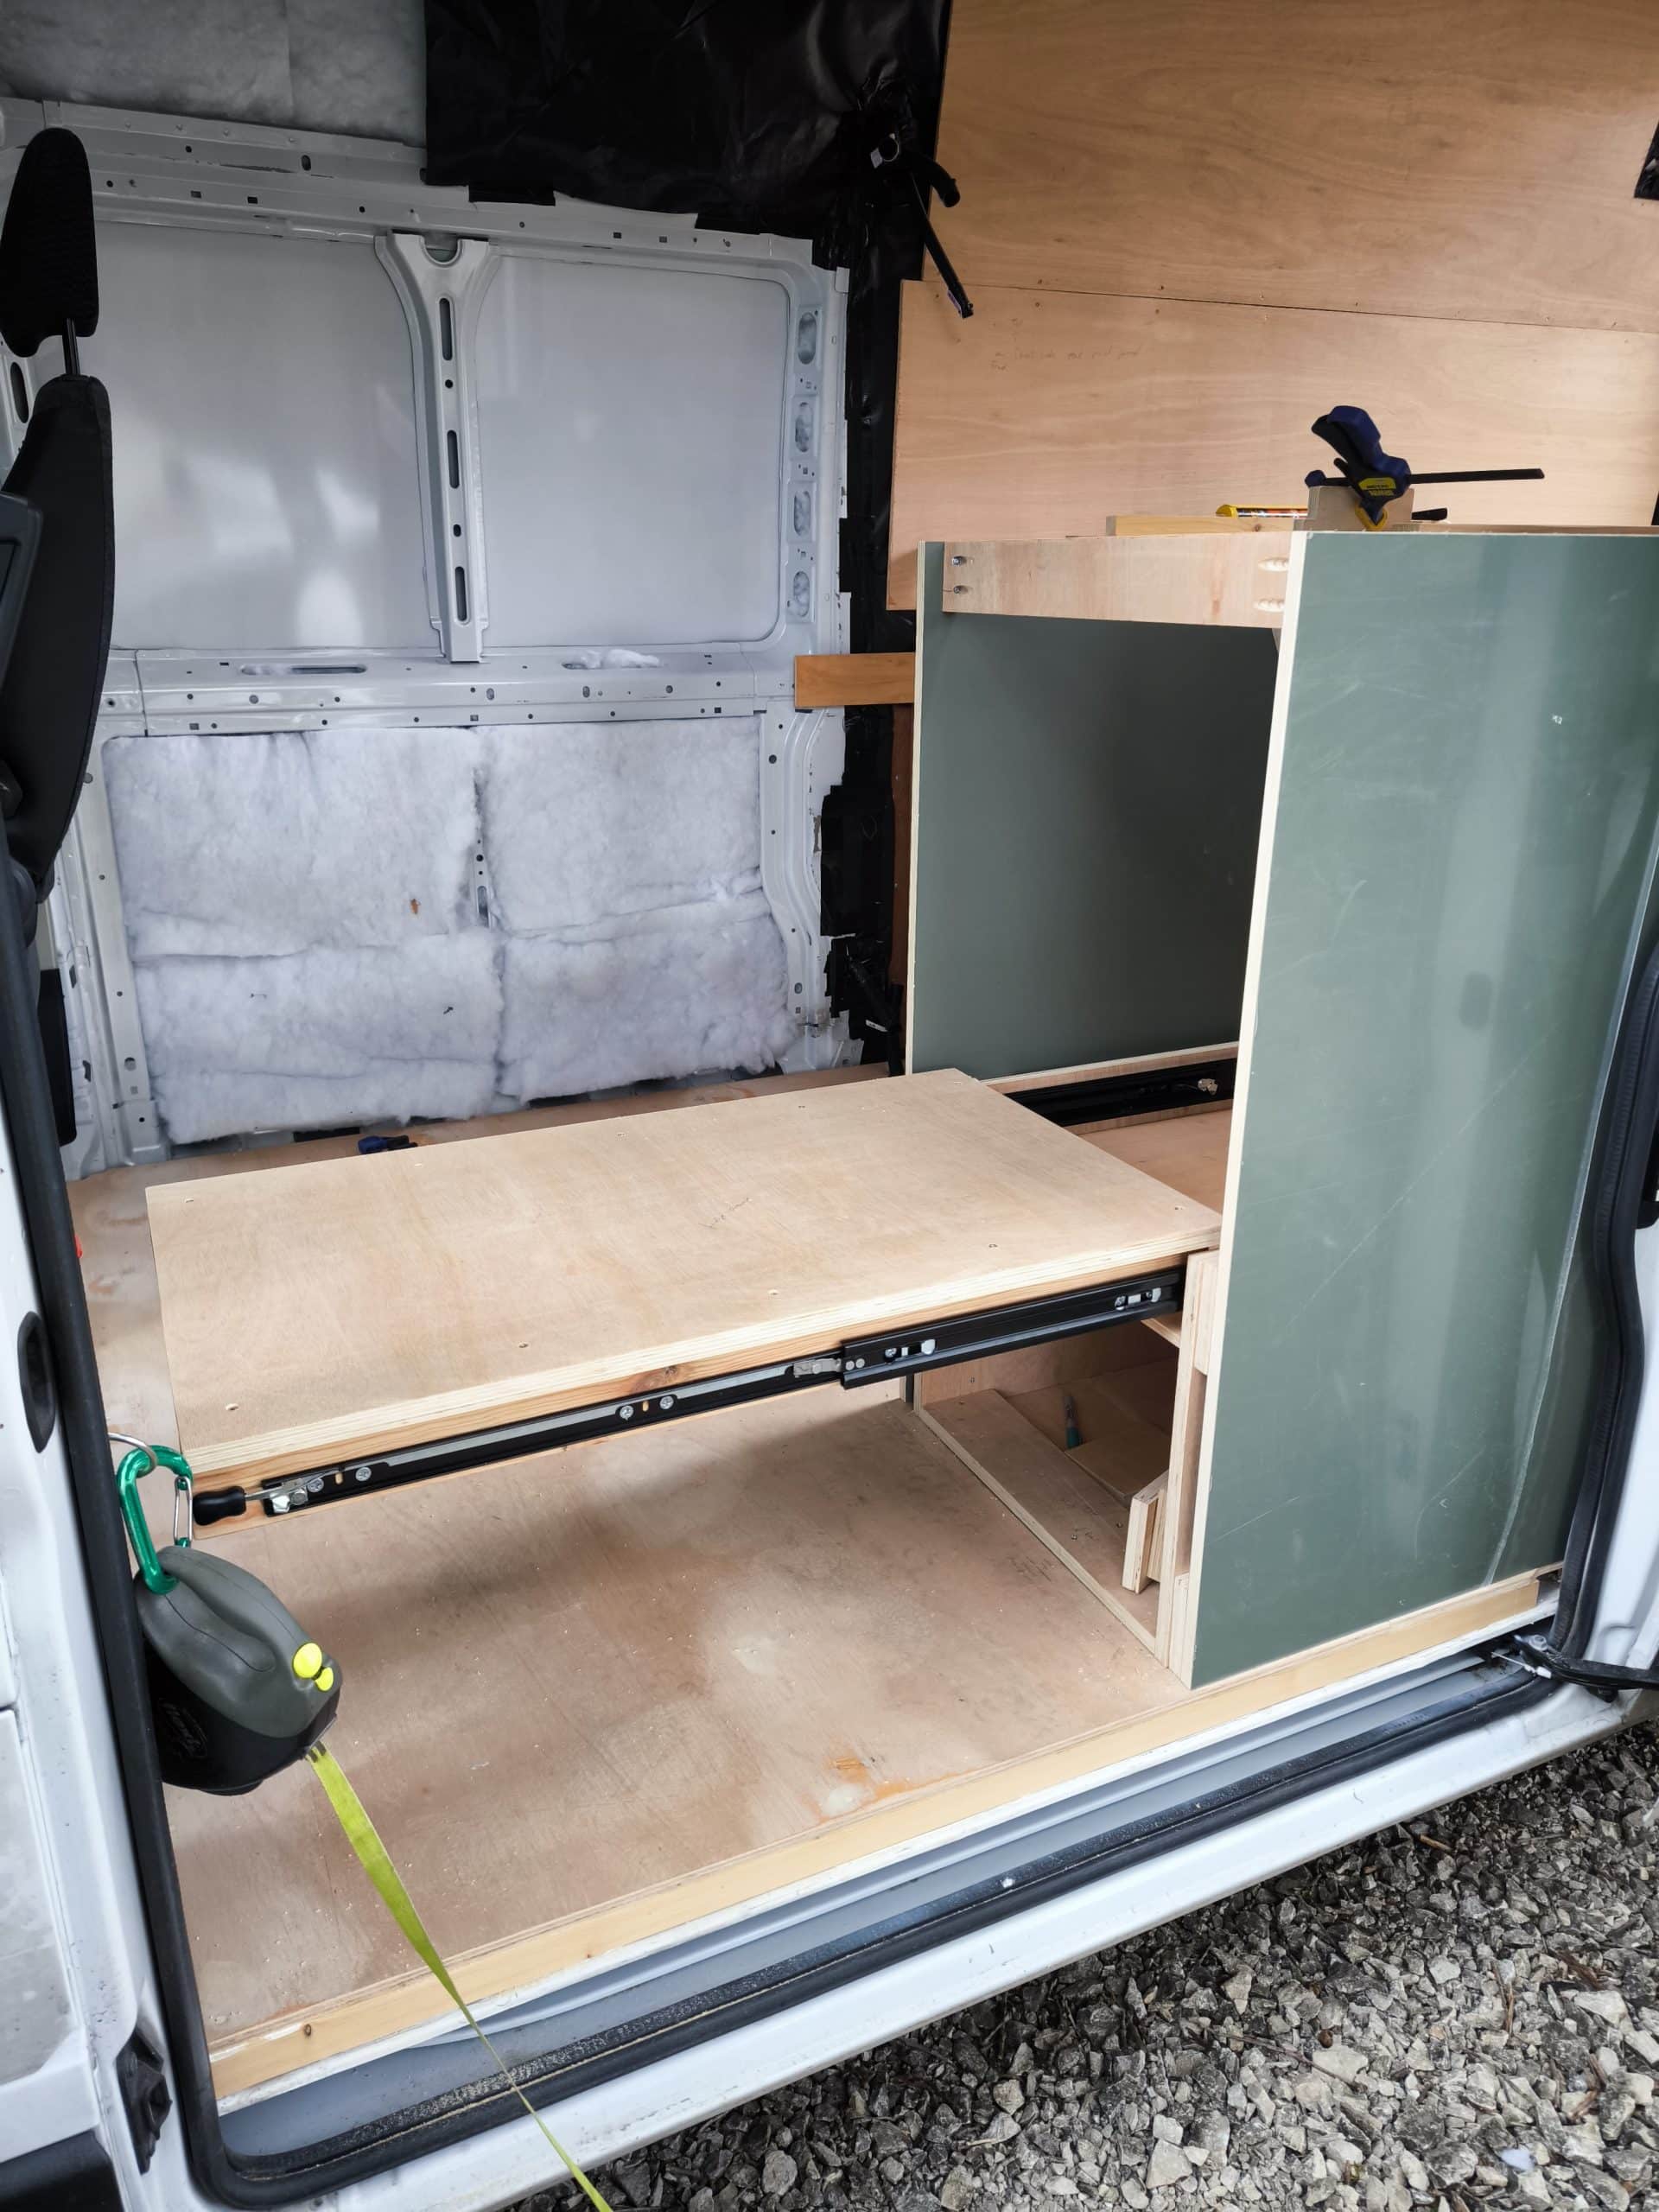
Then I set about the far more exciting/nerve-wracking job of installing the next green panel. This one goes on the inner side of the fridge, from the sliding door and also takes the majority of weight from someone climbing up into bed. I put a lot of thought into how this would work and where the forces would go and came up with some really strange shape load distribution plates.
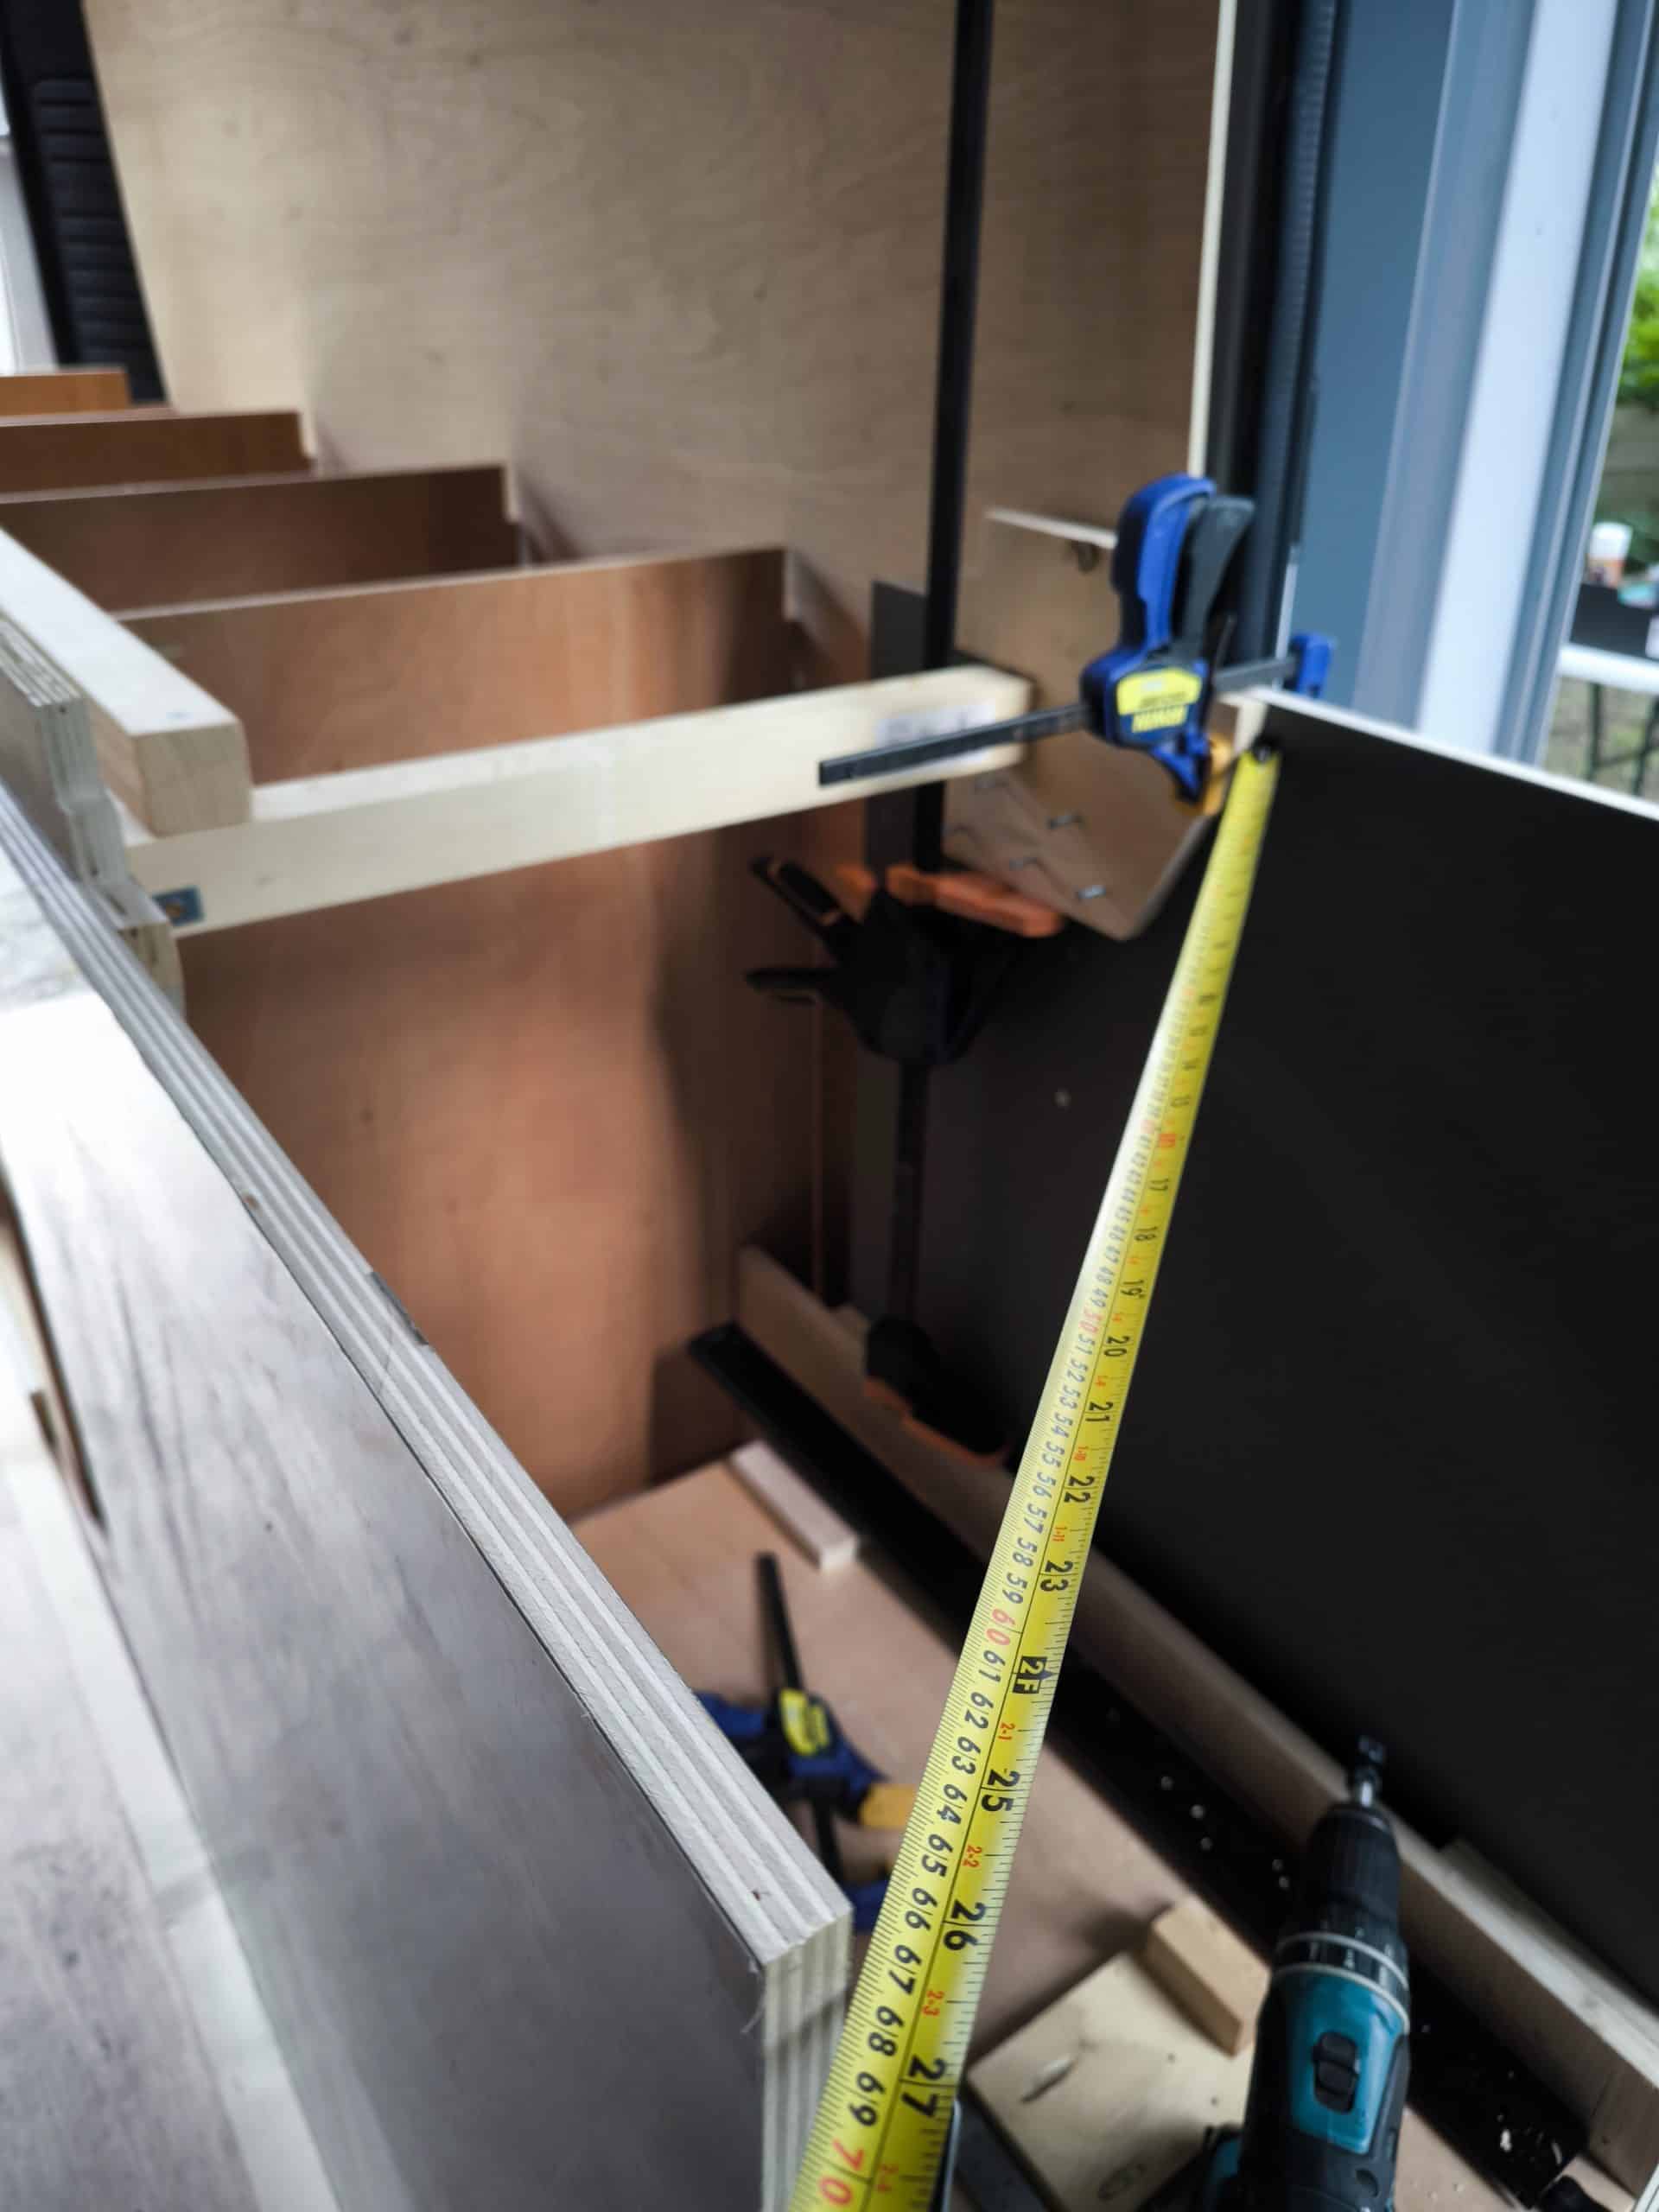
I spent a long time lining everything up, checking and re-checking measurements, squareness, alignment until I was finally satisfied and could start screwing things in. It’s funny how the 3D digital world is close, but not quite the same as the real world. This is mostly due the the strange metal shapes of the van skin and frame. I’ve had to pack it out, and make fitting places and scribed edges to make things fit neatly, but invariably it’s not perfect and so my cabinet it not perfect, but it’s within a couple mm, so I’m happy.
Importantly, I designed to the minimum size in the model knowing that in the van I had a little more space. This means I’ve gained back 8mm width and 20mm length for the fridge. Doesn’t sound like much, but it’s made clearances a lot more comfortable which I’m sure will pay off later.
The inner green panel first had some packer pieces cut, then glued and screwed into place. These hold it at the right distance from the fridge structural box and give me something to screw into from inside. They are also there to increase the thickness of the wood where the hefty fridge drawer slides screw into. But, they are not glued to that box. I want to keep the green panel (laboriously) removable as I intend to add a step in future, but it’s not high on the priority list right now.
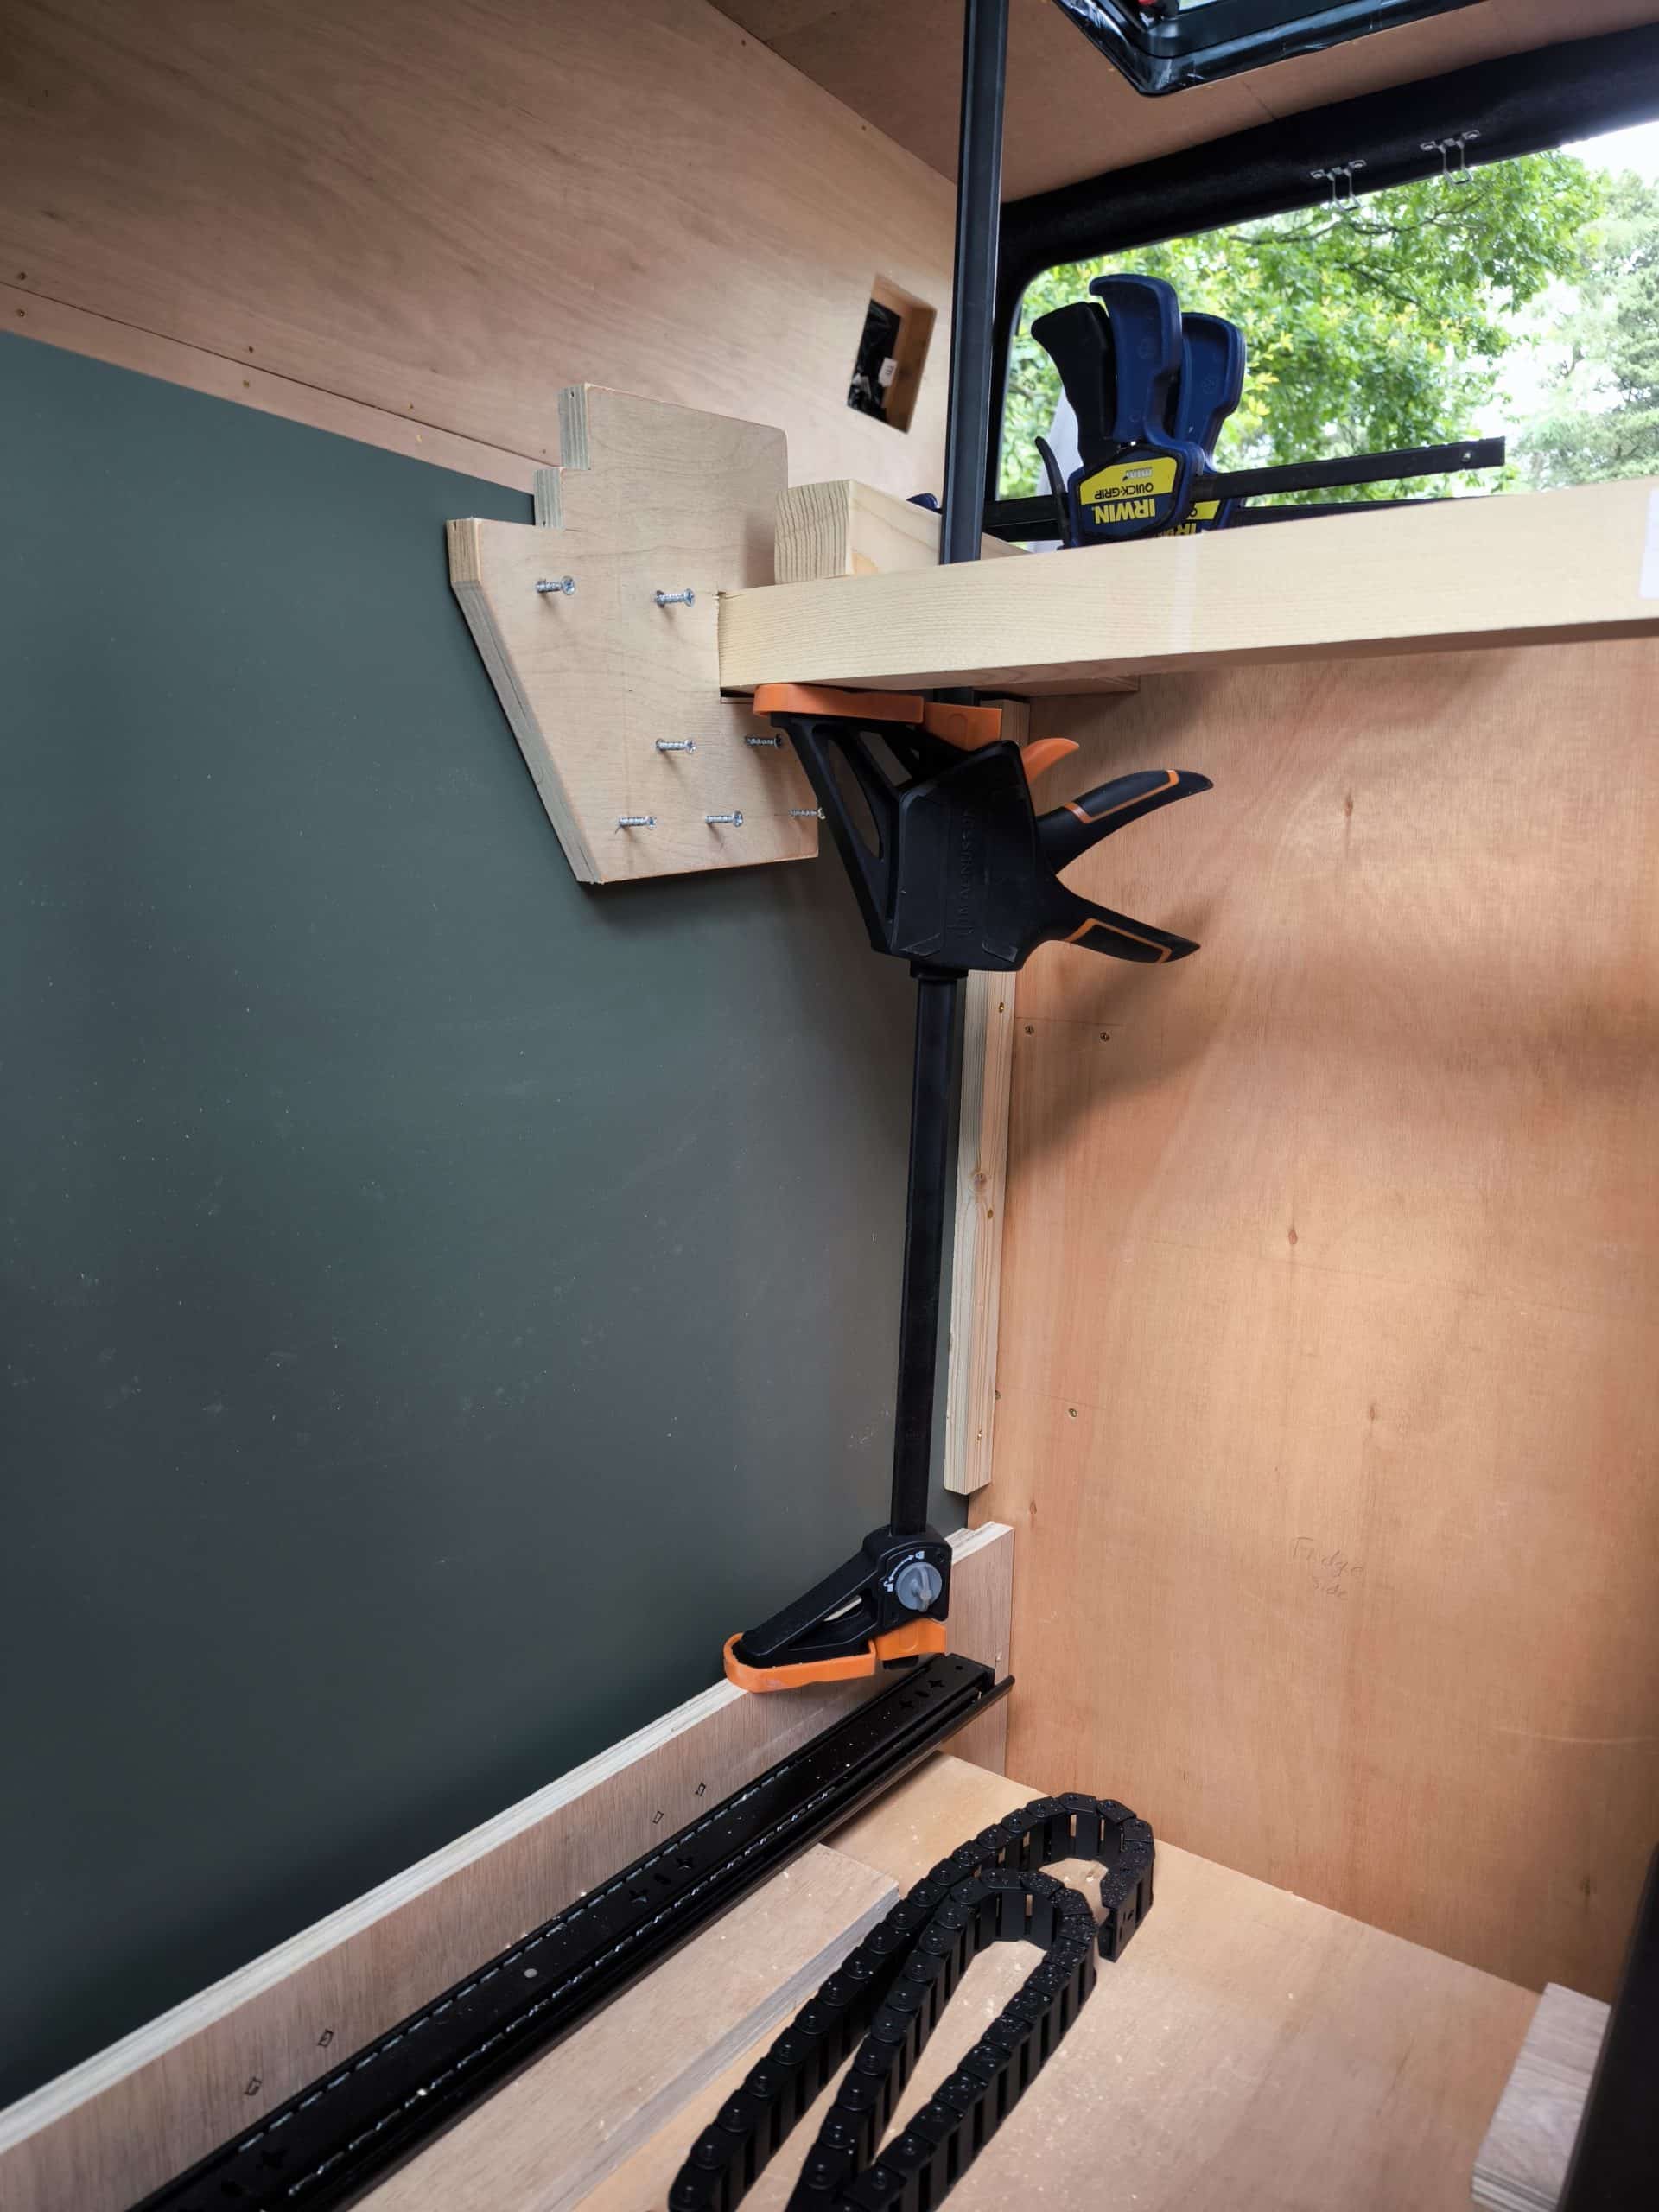
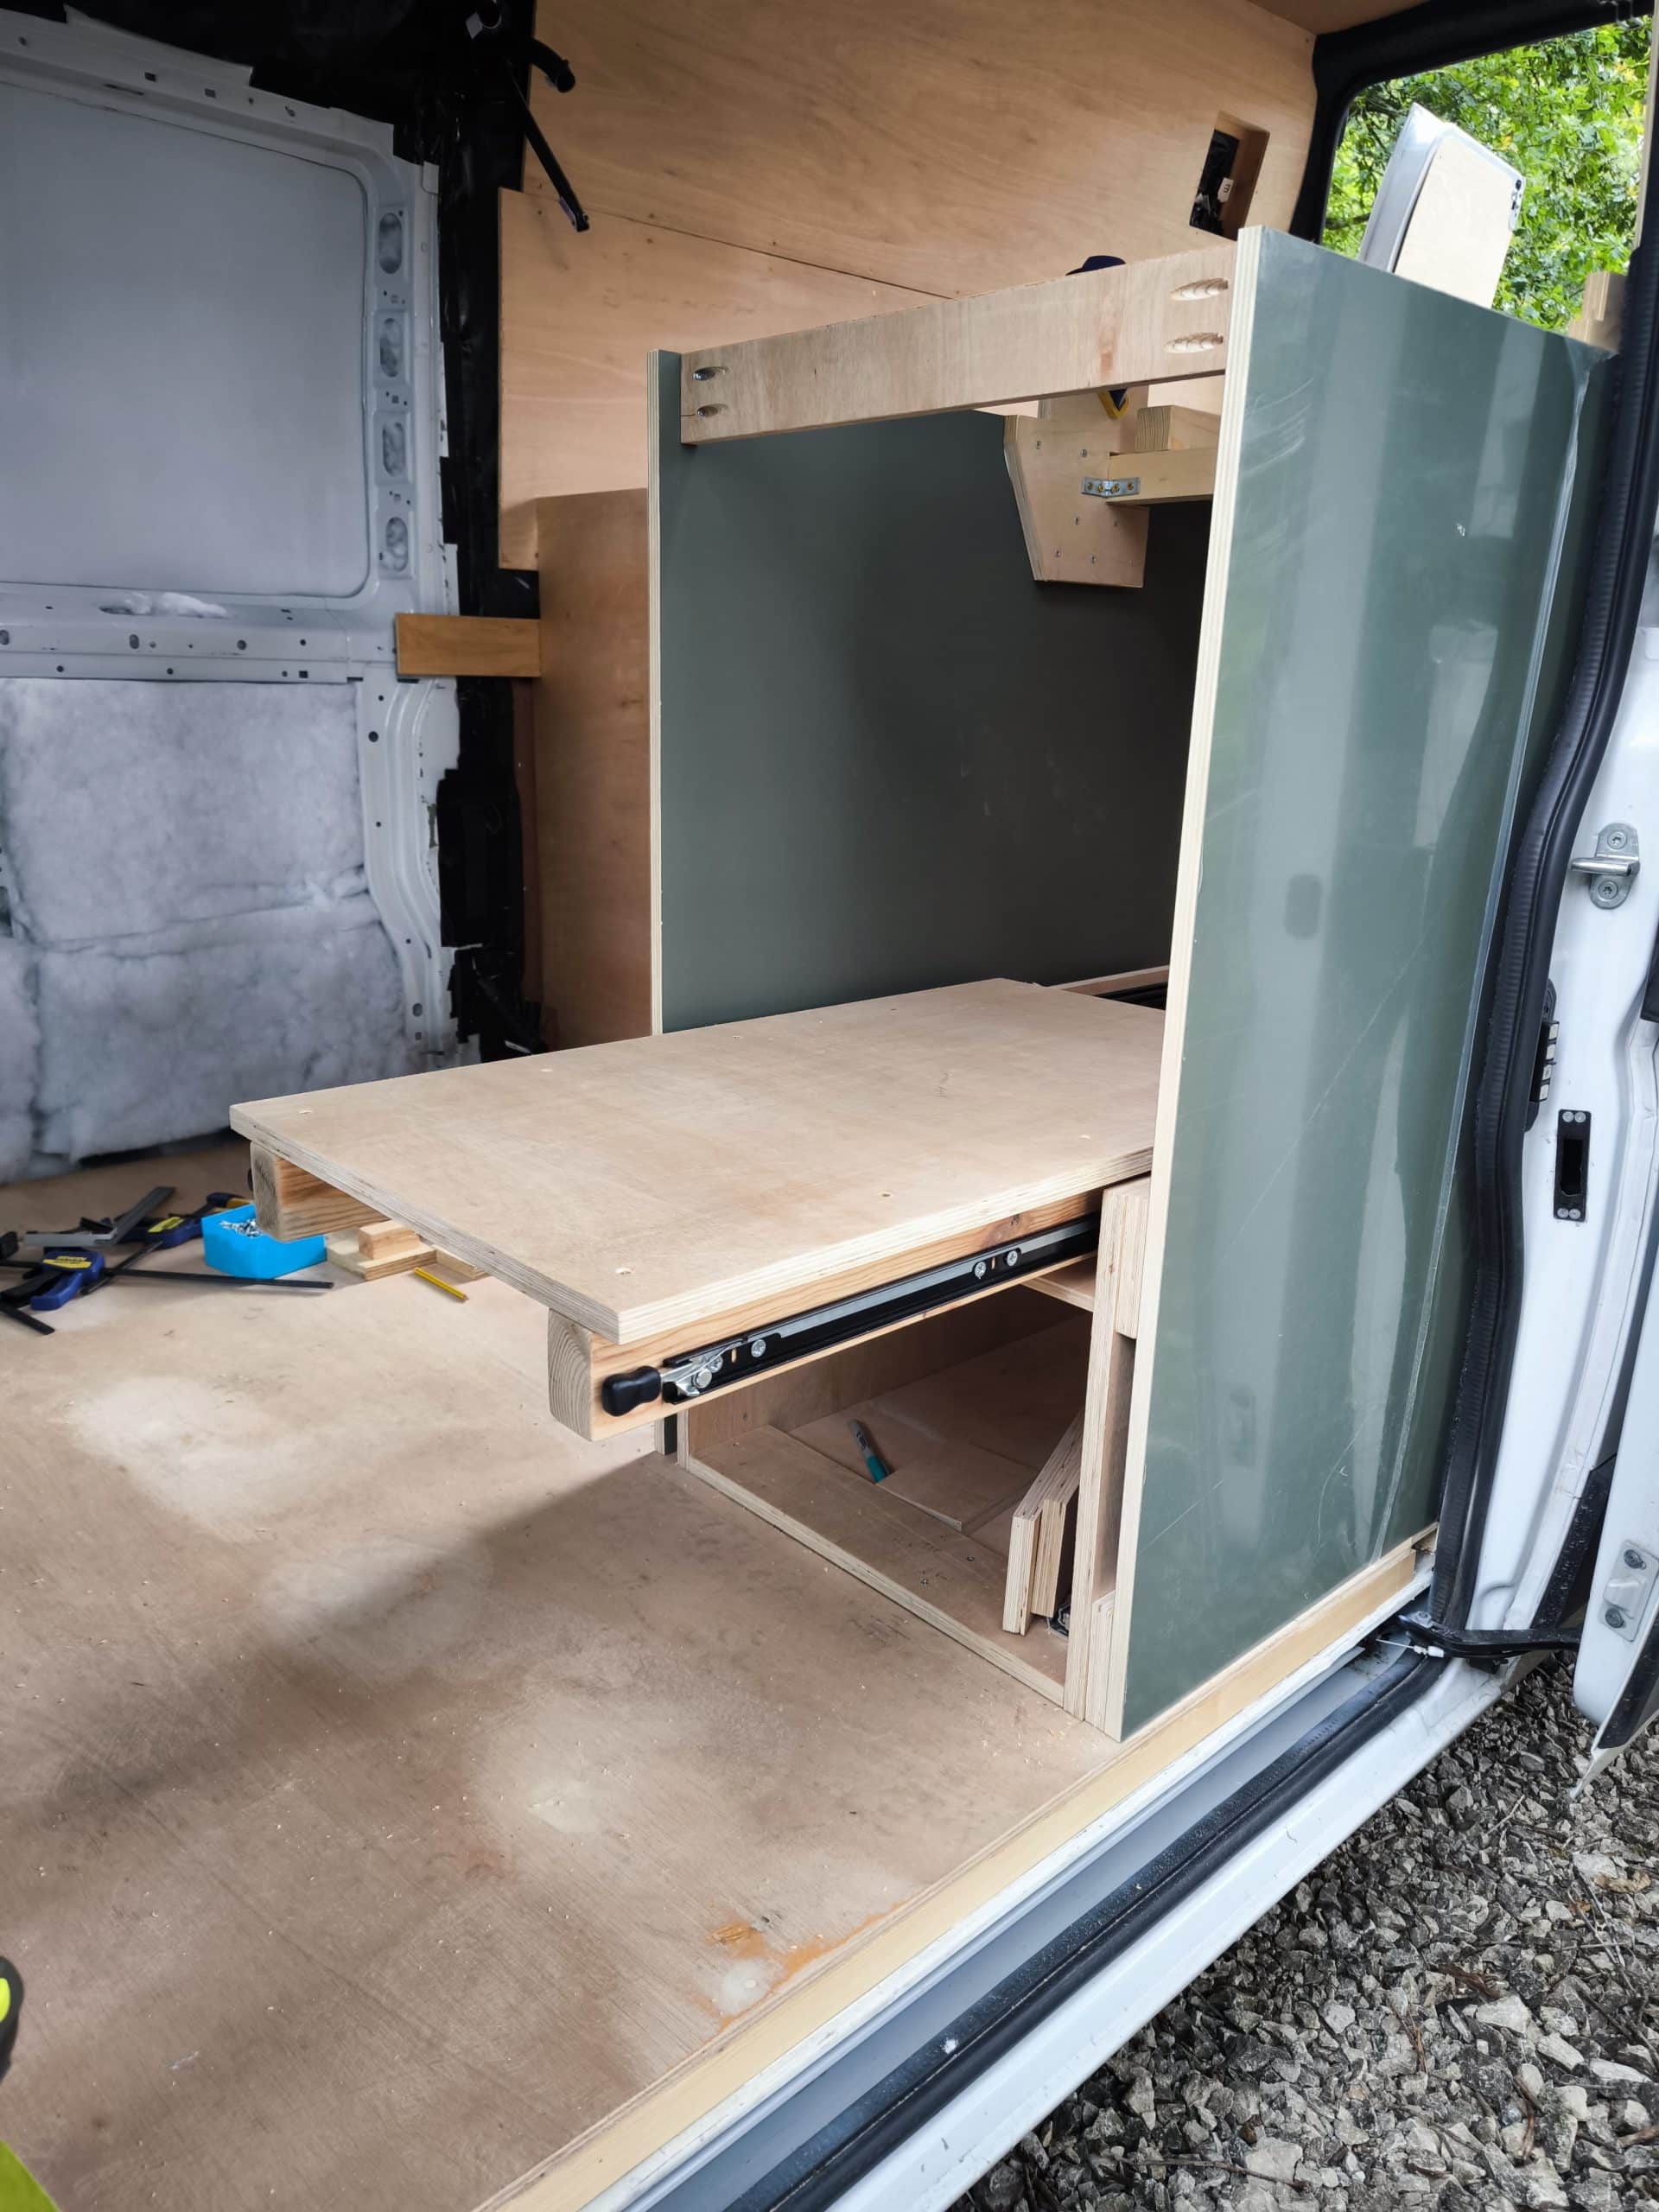
With all the spacer blocks in place, I used the long clamp in reverse to preload the cross support beam before locating, glueing and screwing home the load distribution plates. This is important so the load is taken by the element I want. I also used lots of short screws so they don’t stick thru the green ply but distribute the load between them.
With that, one of the most complex parts of the structure is complete.
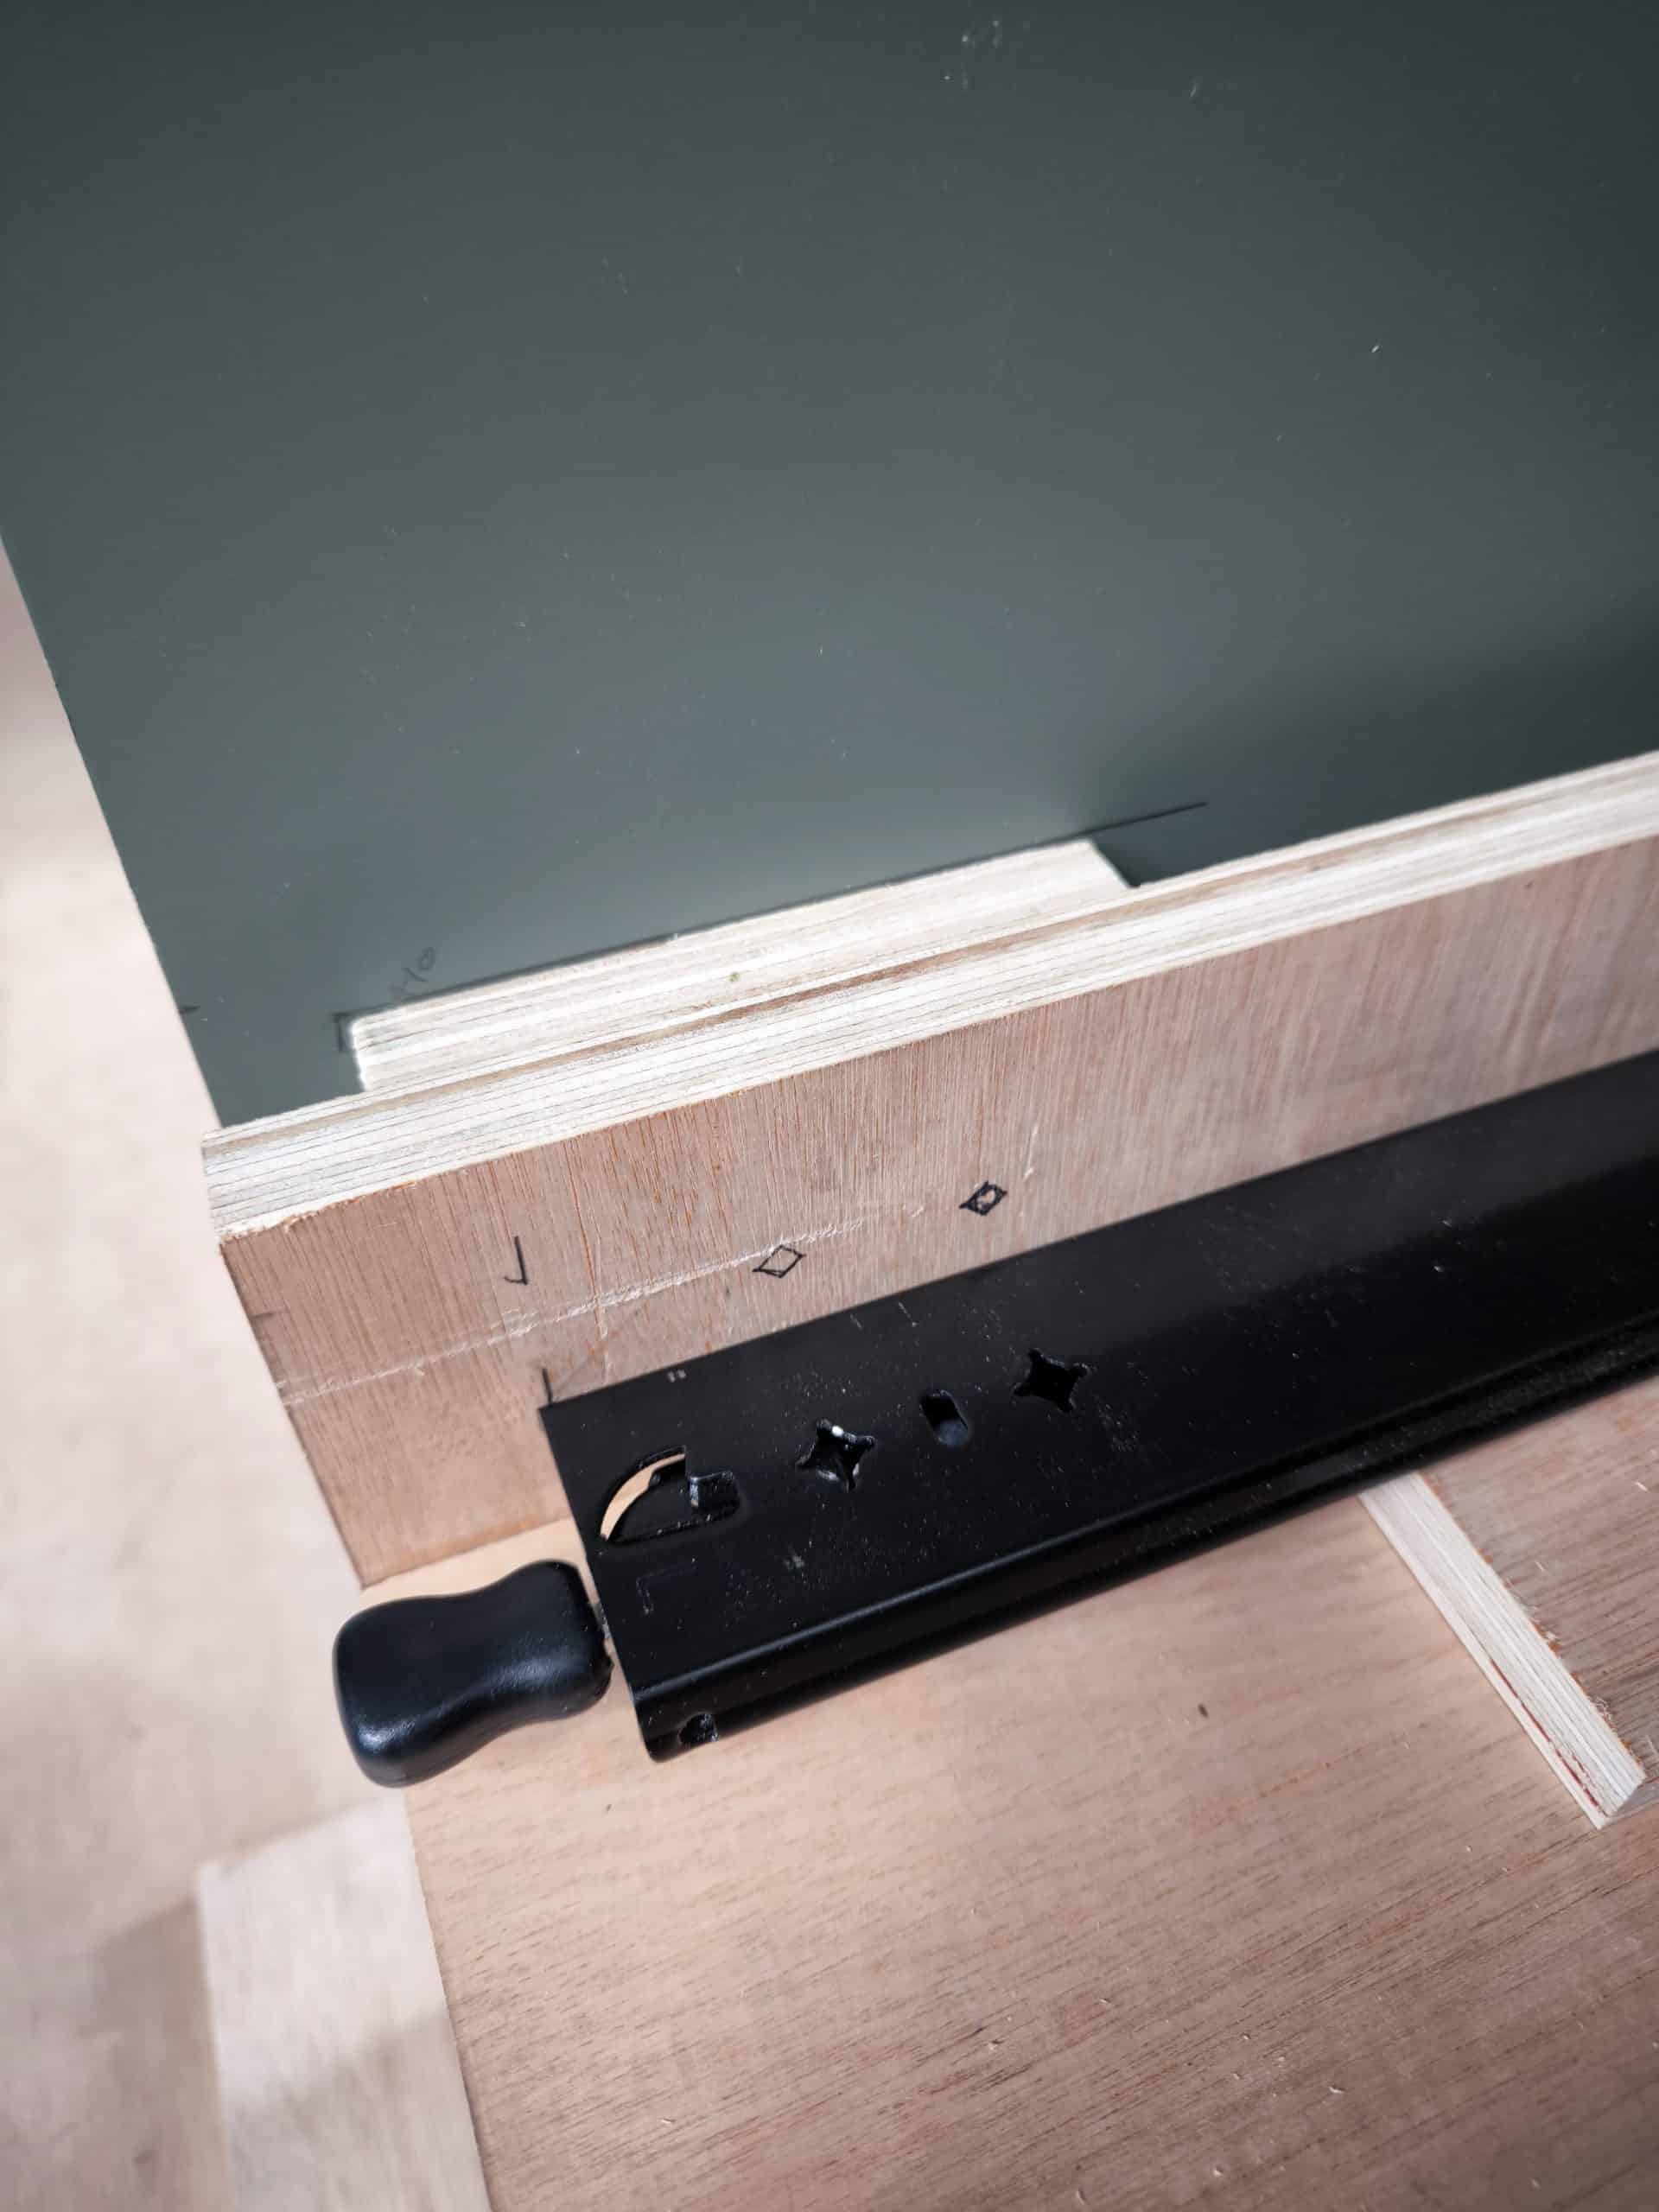
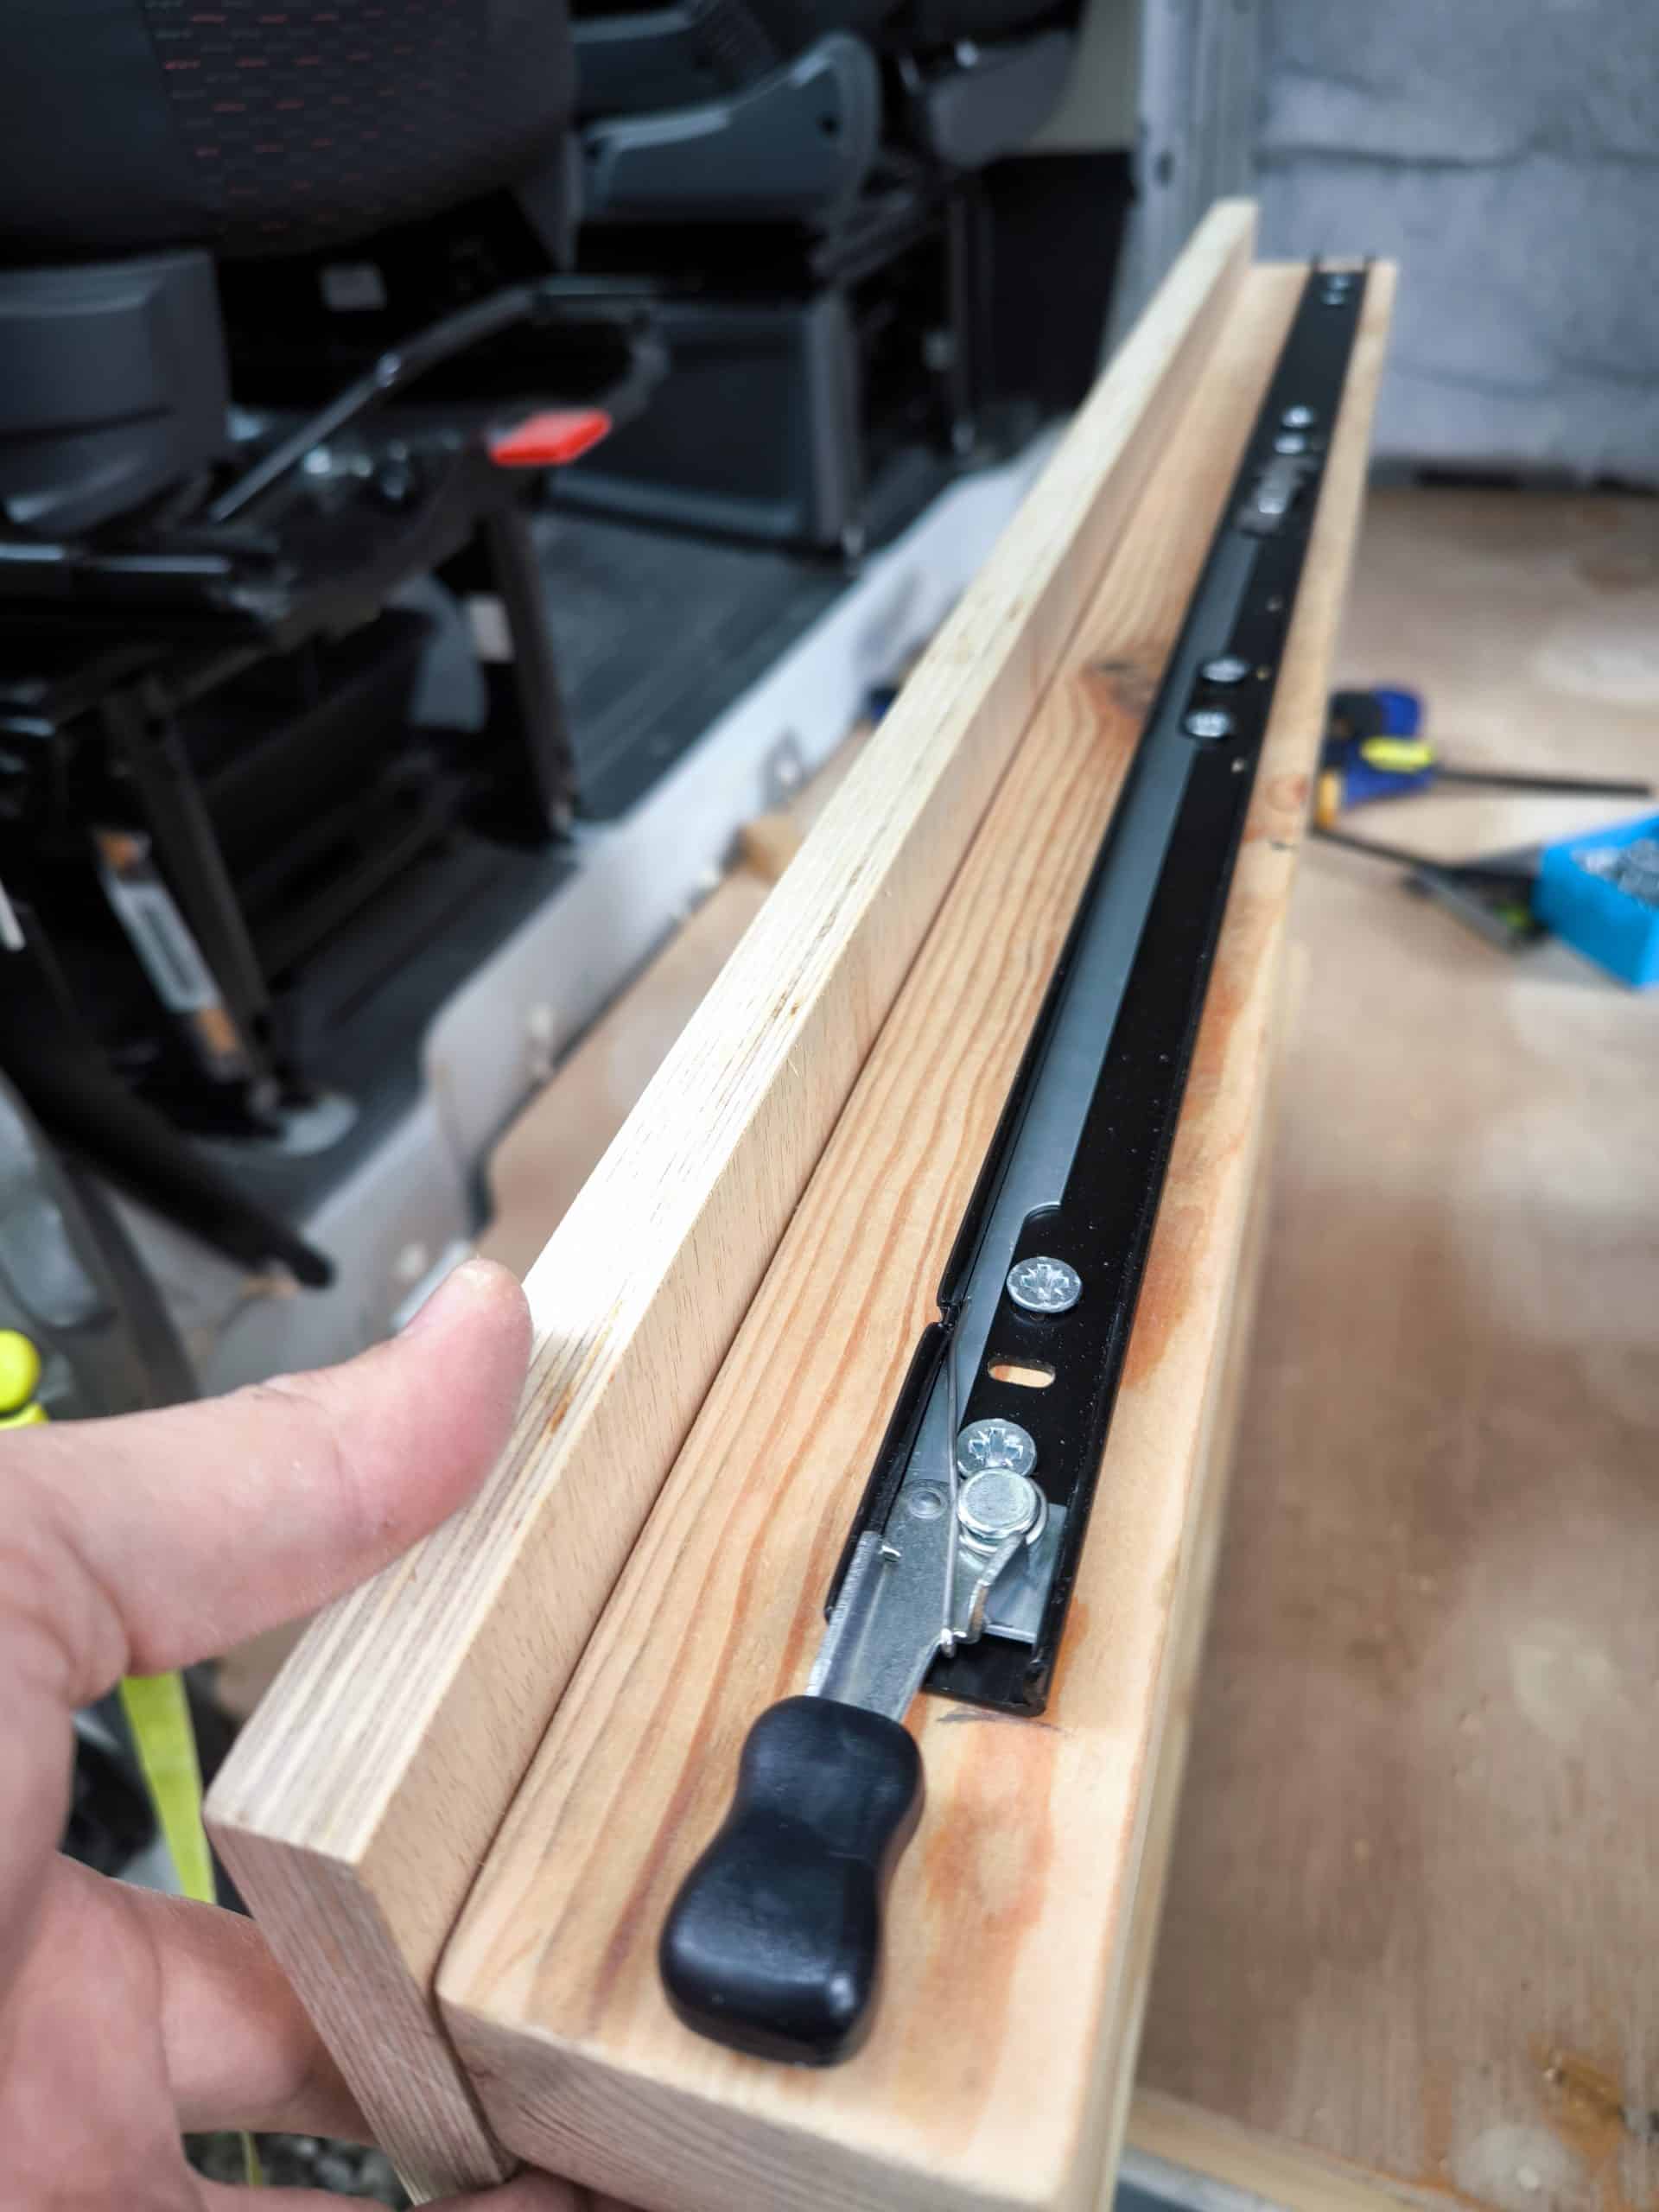
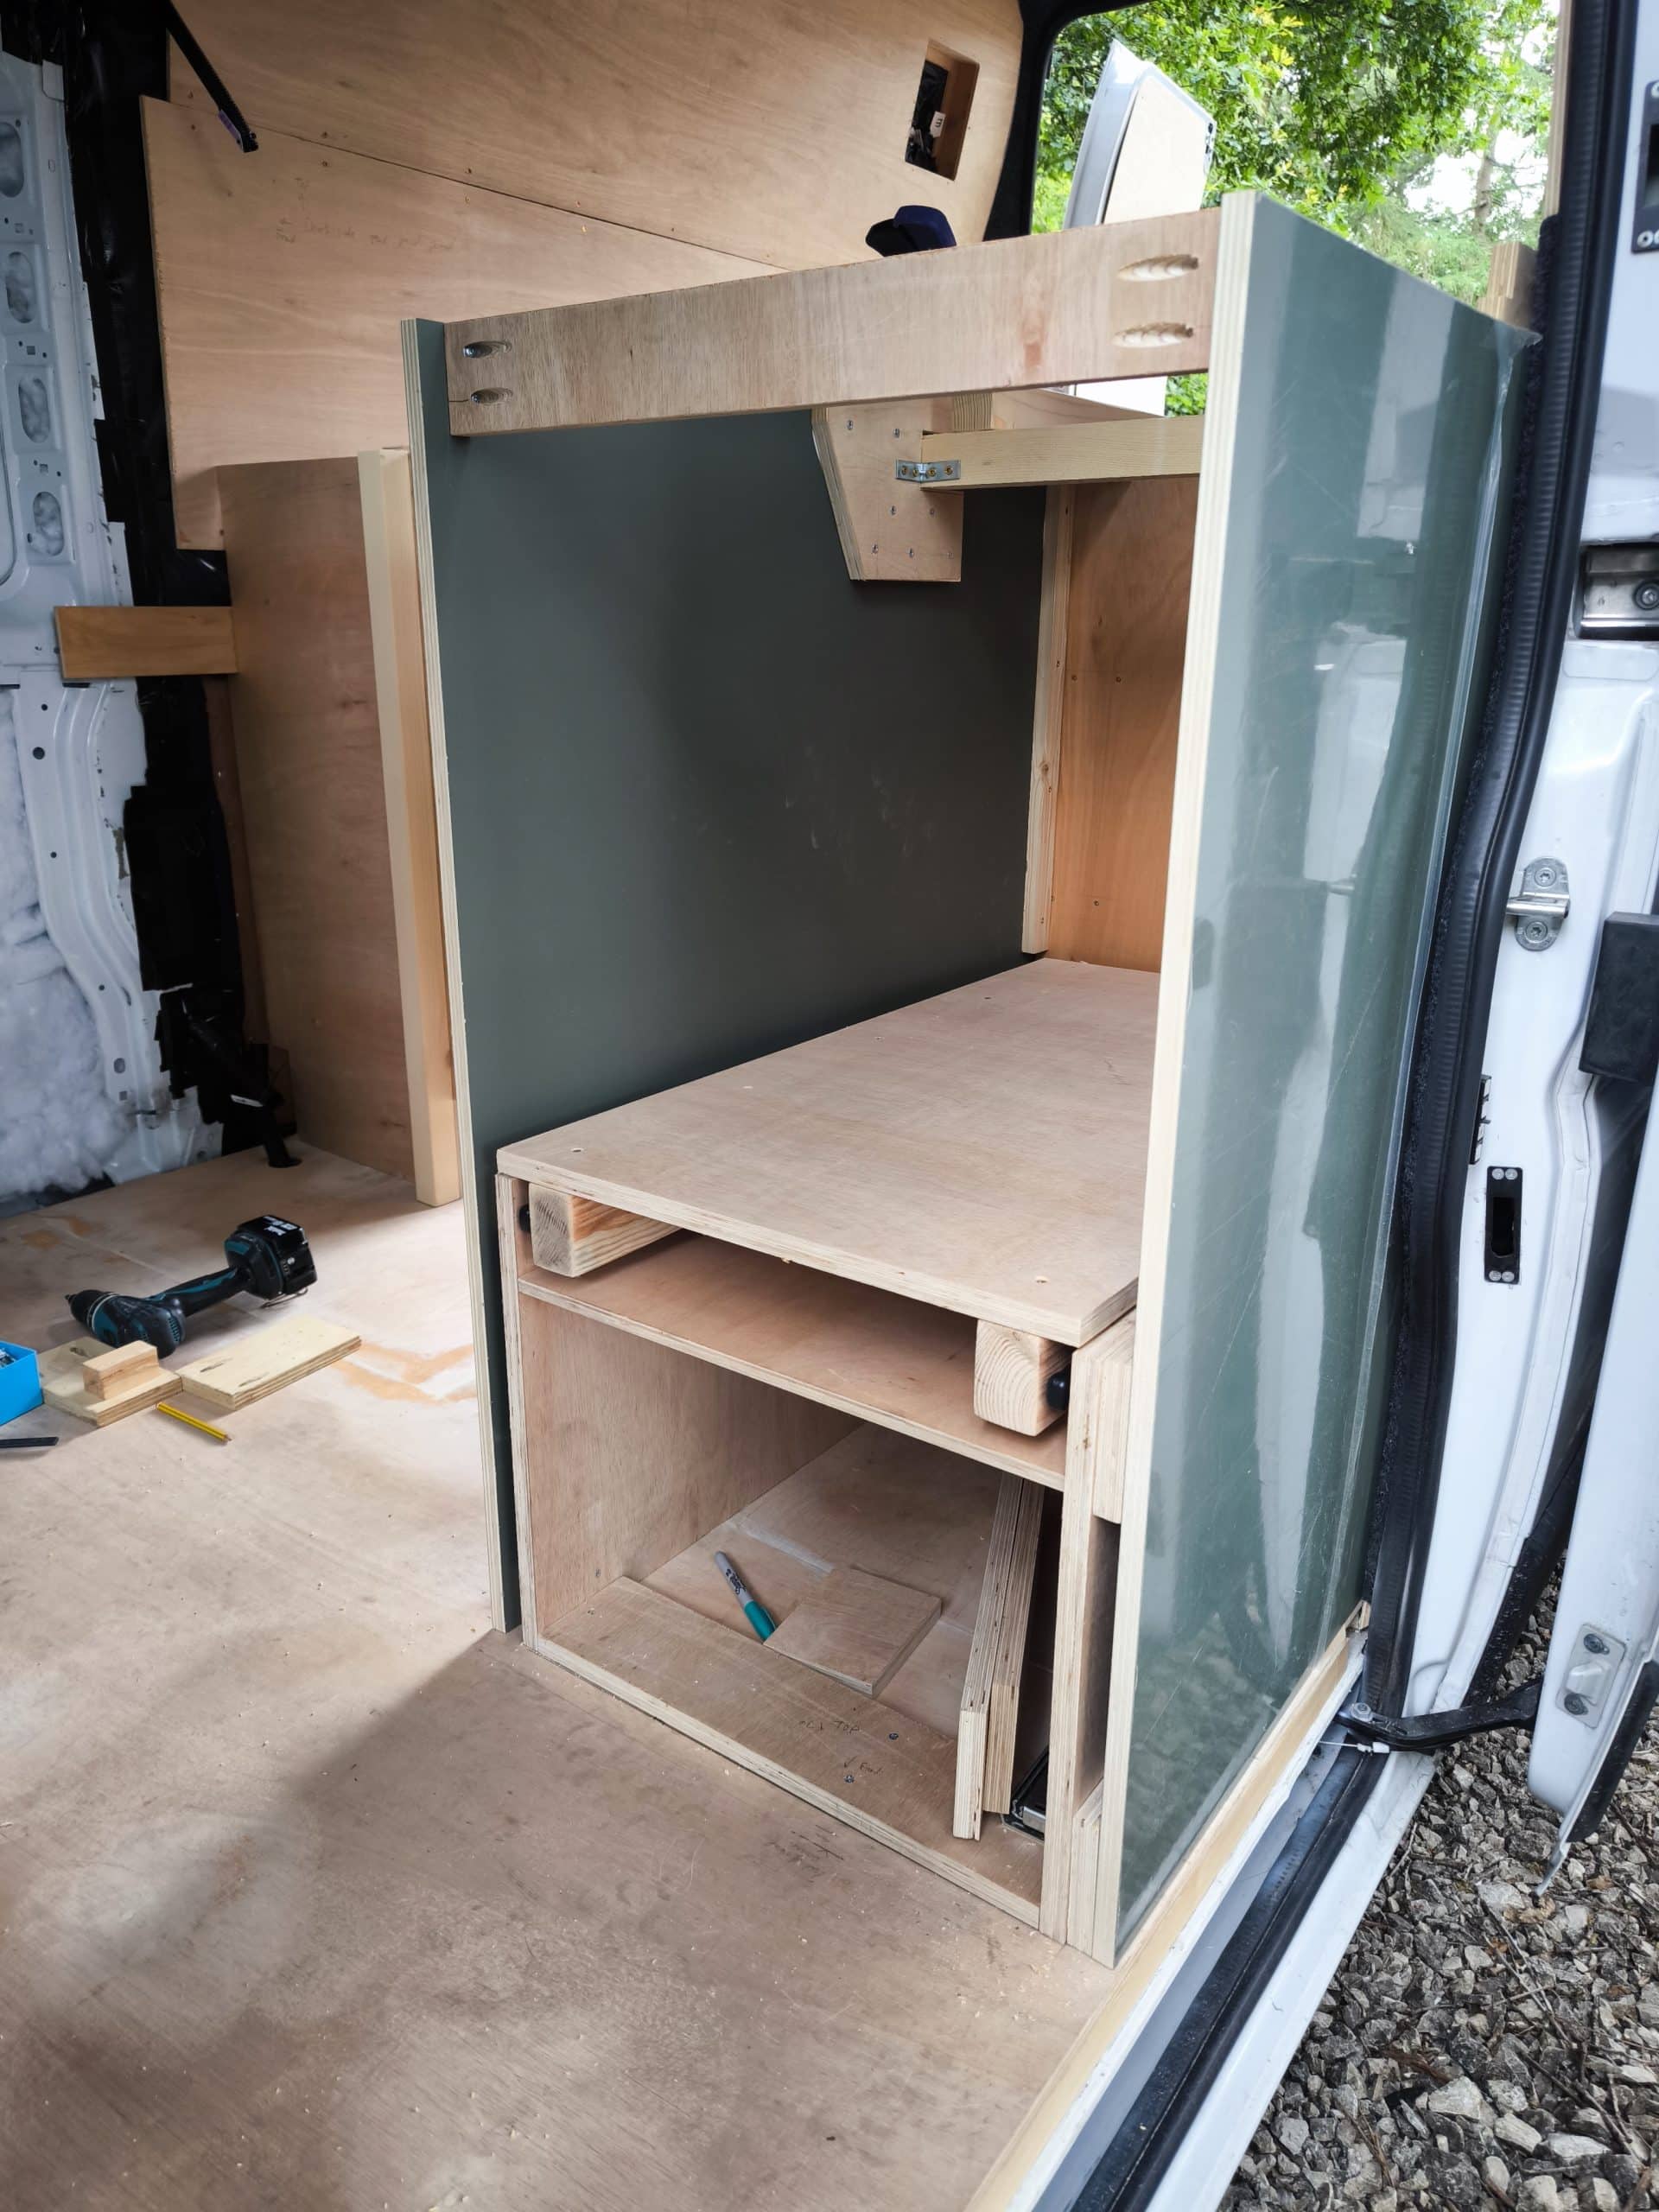
Then I moved on to enjoy that extra 8mm of width as I installed the beefy fridge drawer runners. Using some packers to hold them at the right height they were marked, pre-drilled and screwed home tight. I can only use my chonky screws where those spacer blocks are located right now, but I’ve got some shorter screws on order, so I’ll screw the rest home tomorrow.
Sliding the fridge drawer into it’s runners and feeling it latch home was SOOO SATISFYING. And it glides so nicely, I’m really proud of myself for that whole assembly.
Mechanically (mostly) complete, I positioned and screwed in the energy chain that will keep the cables under control and hidden, as the fridge slides in and out.
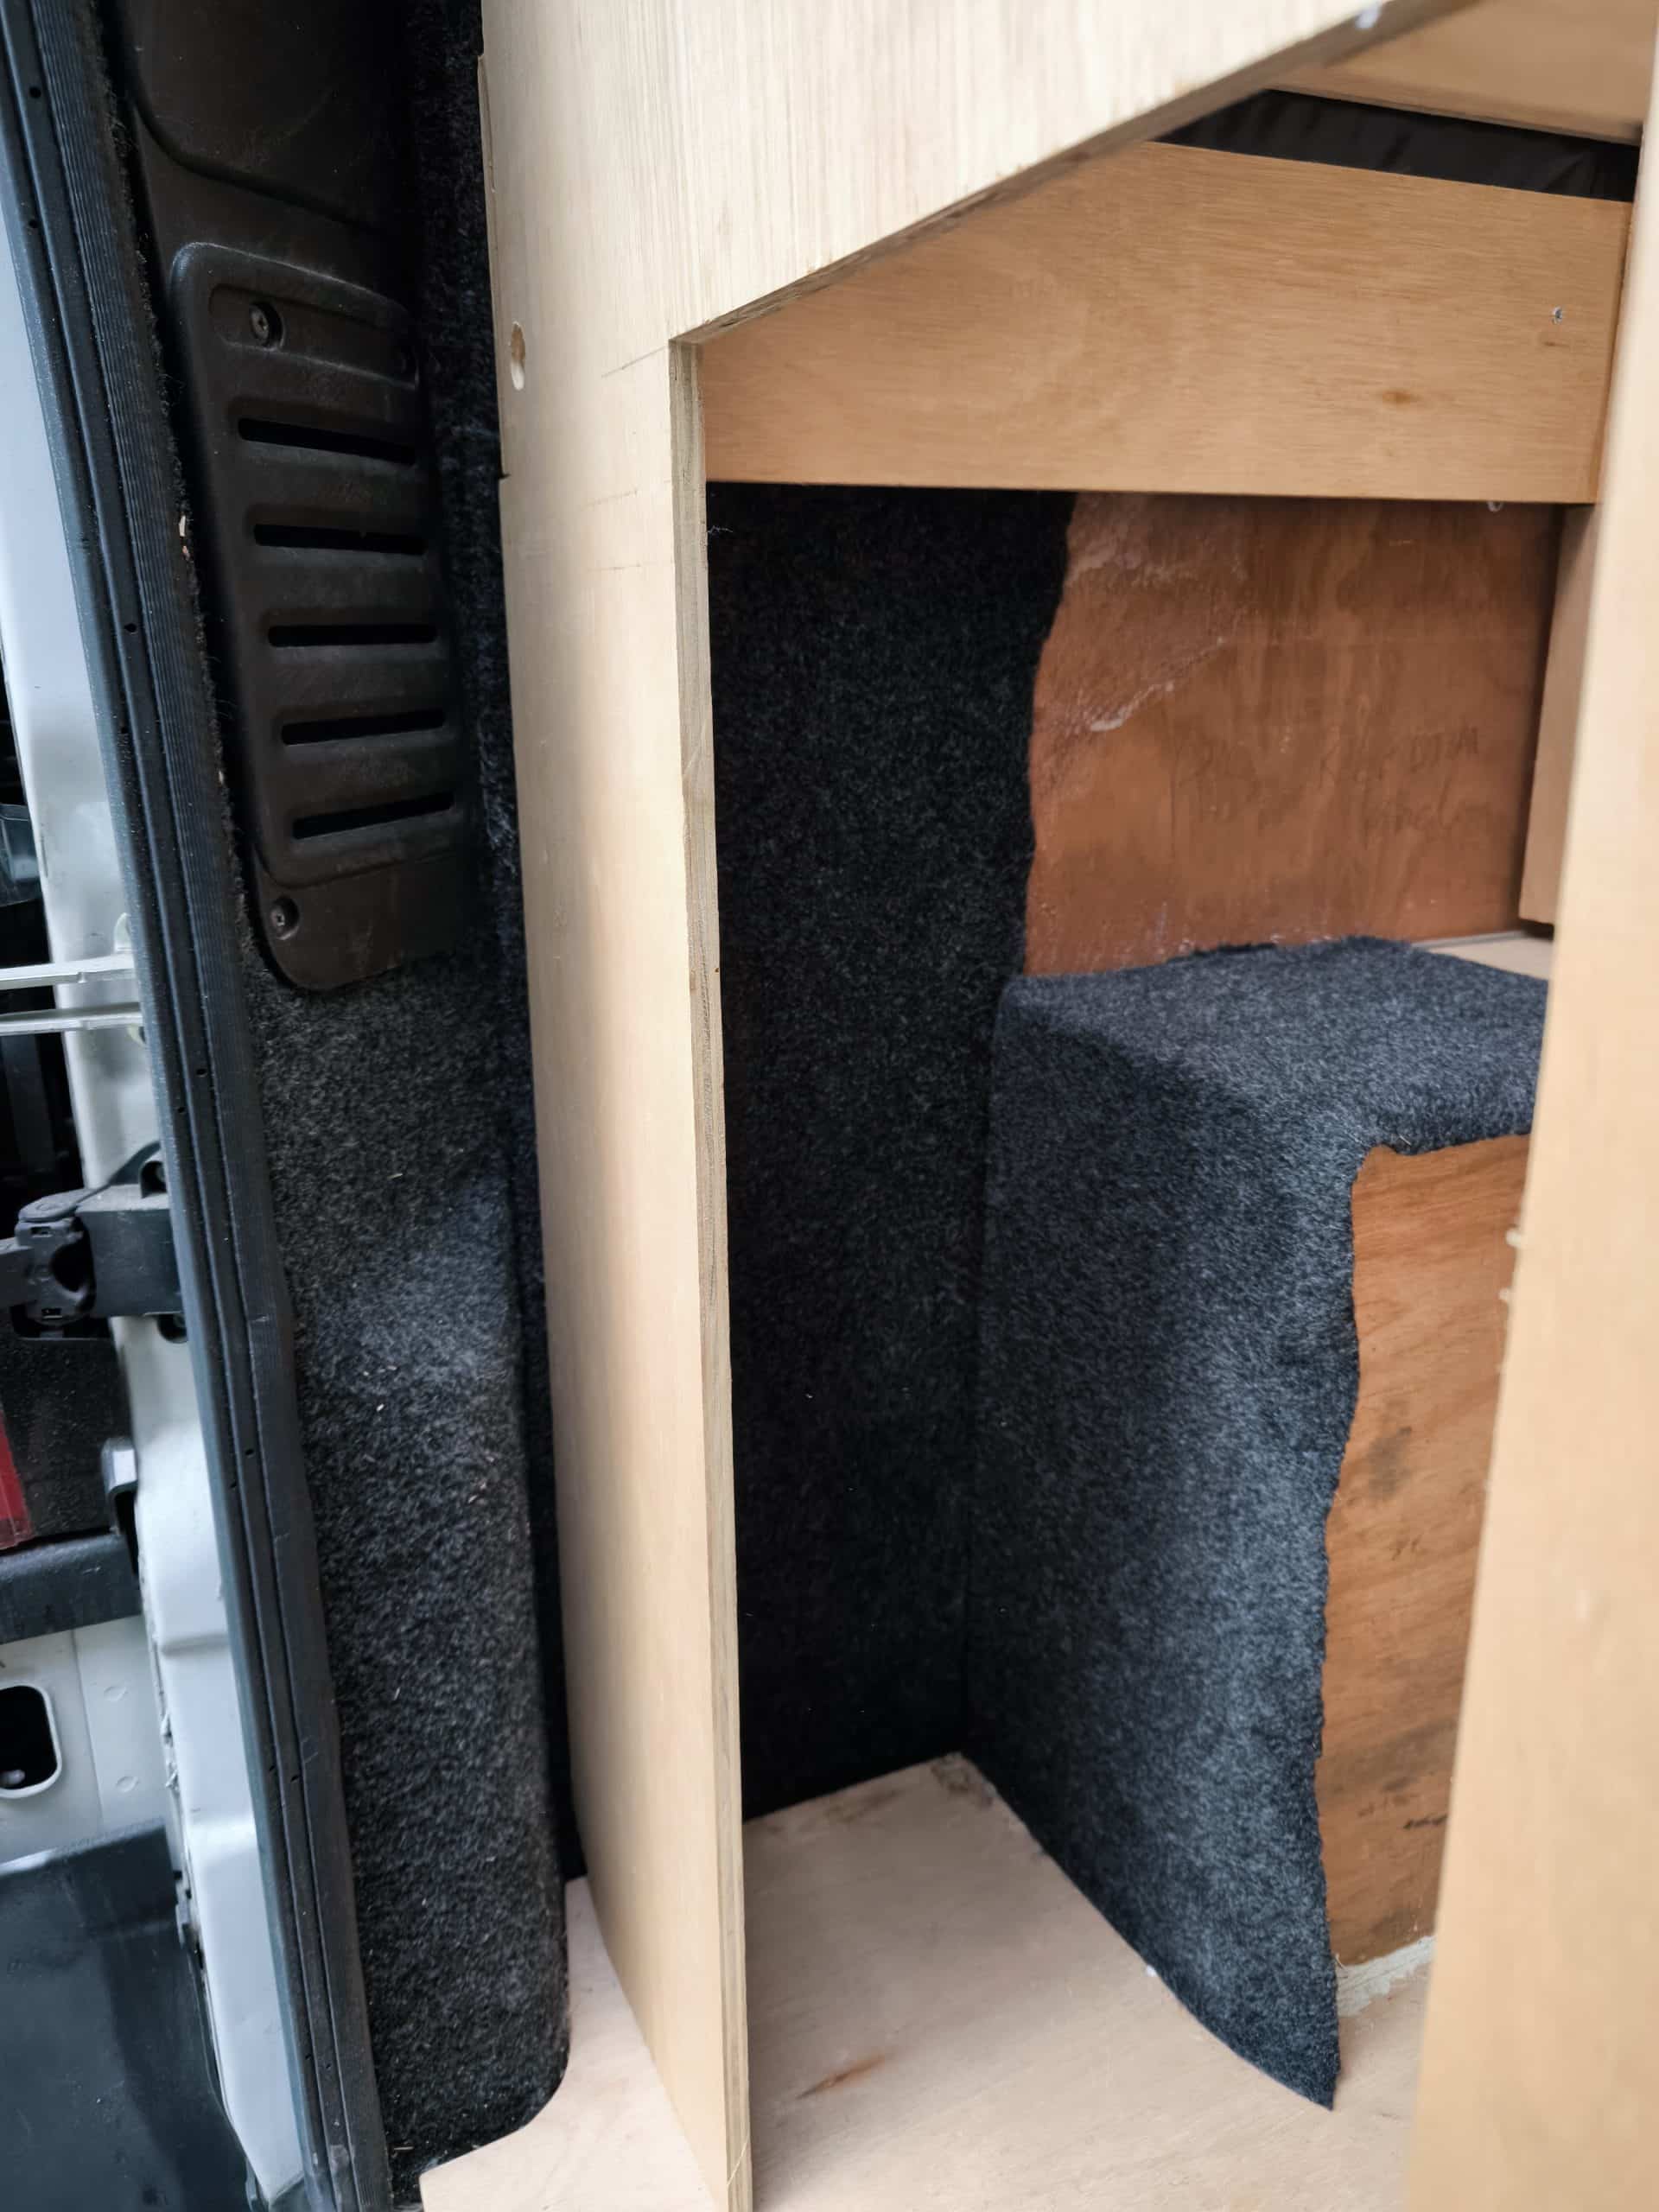
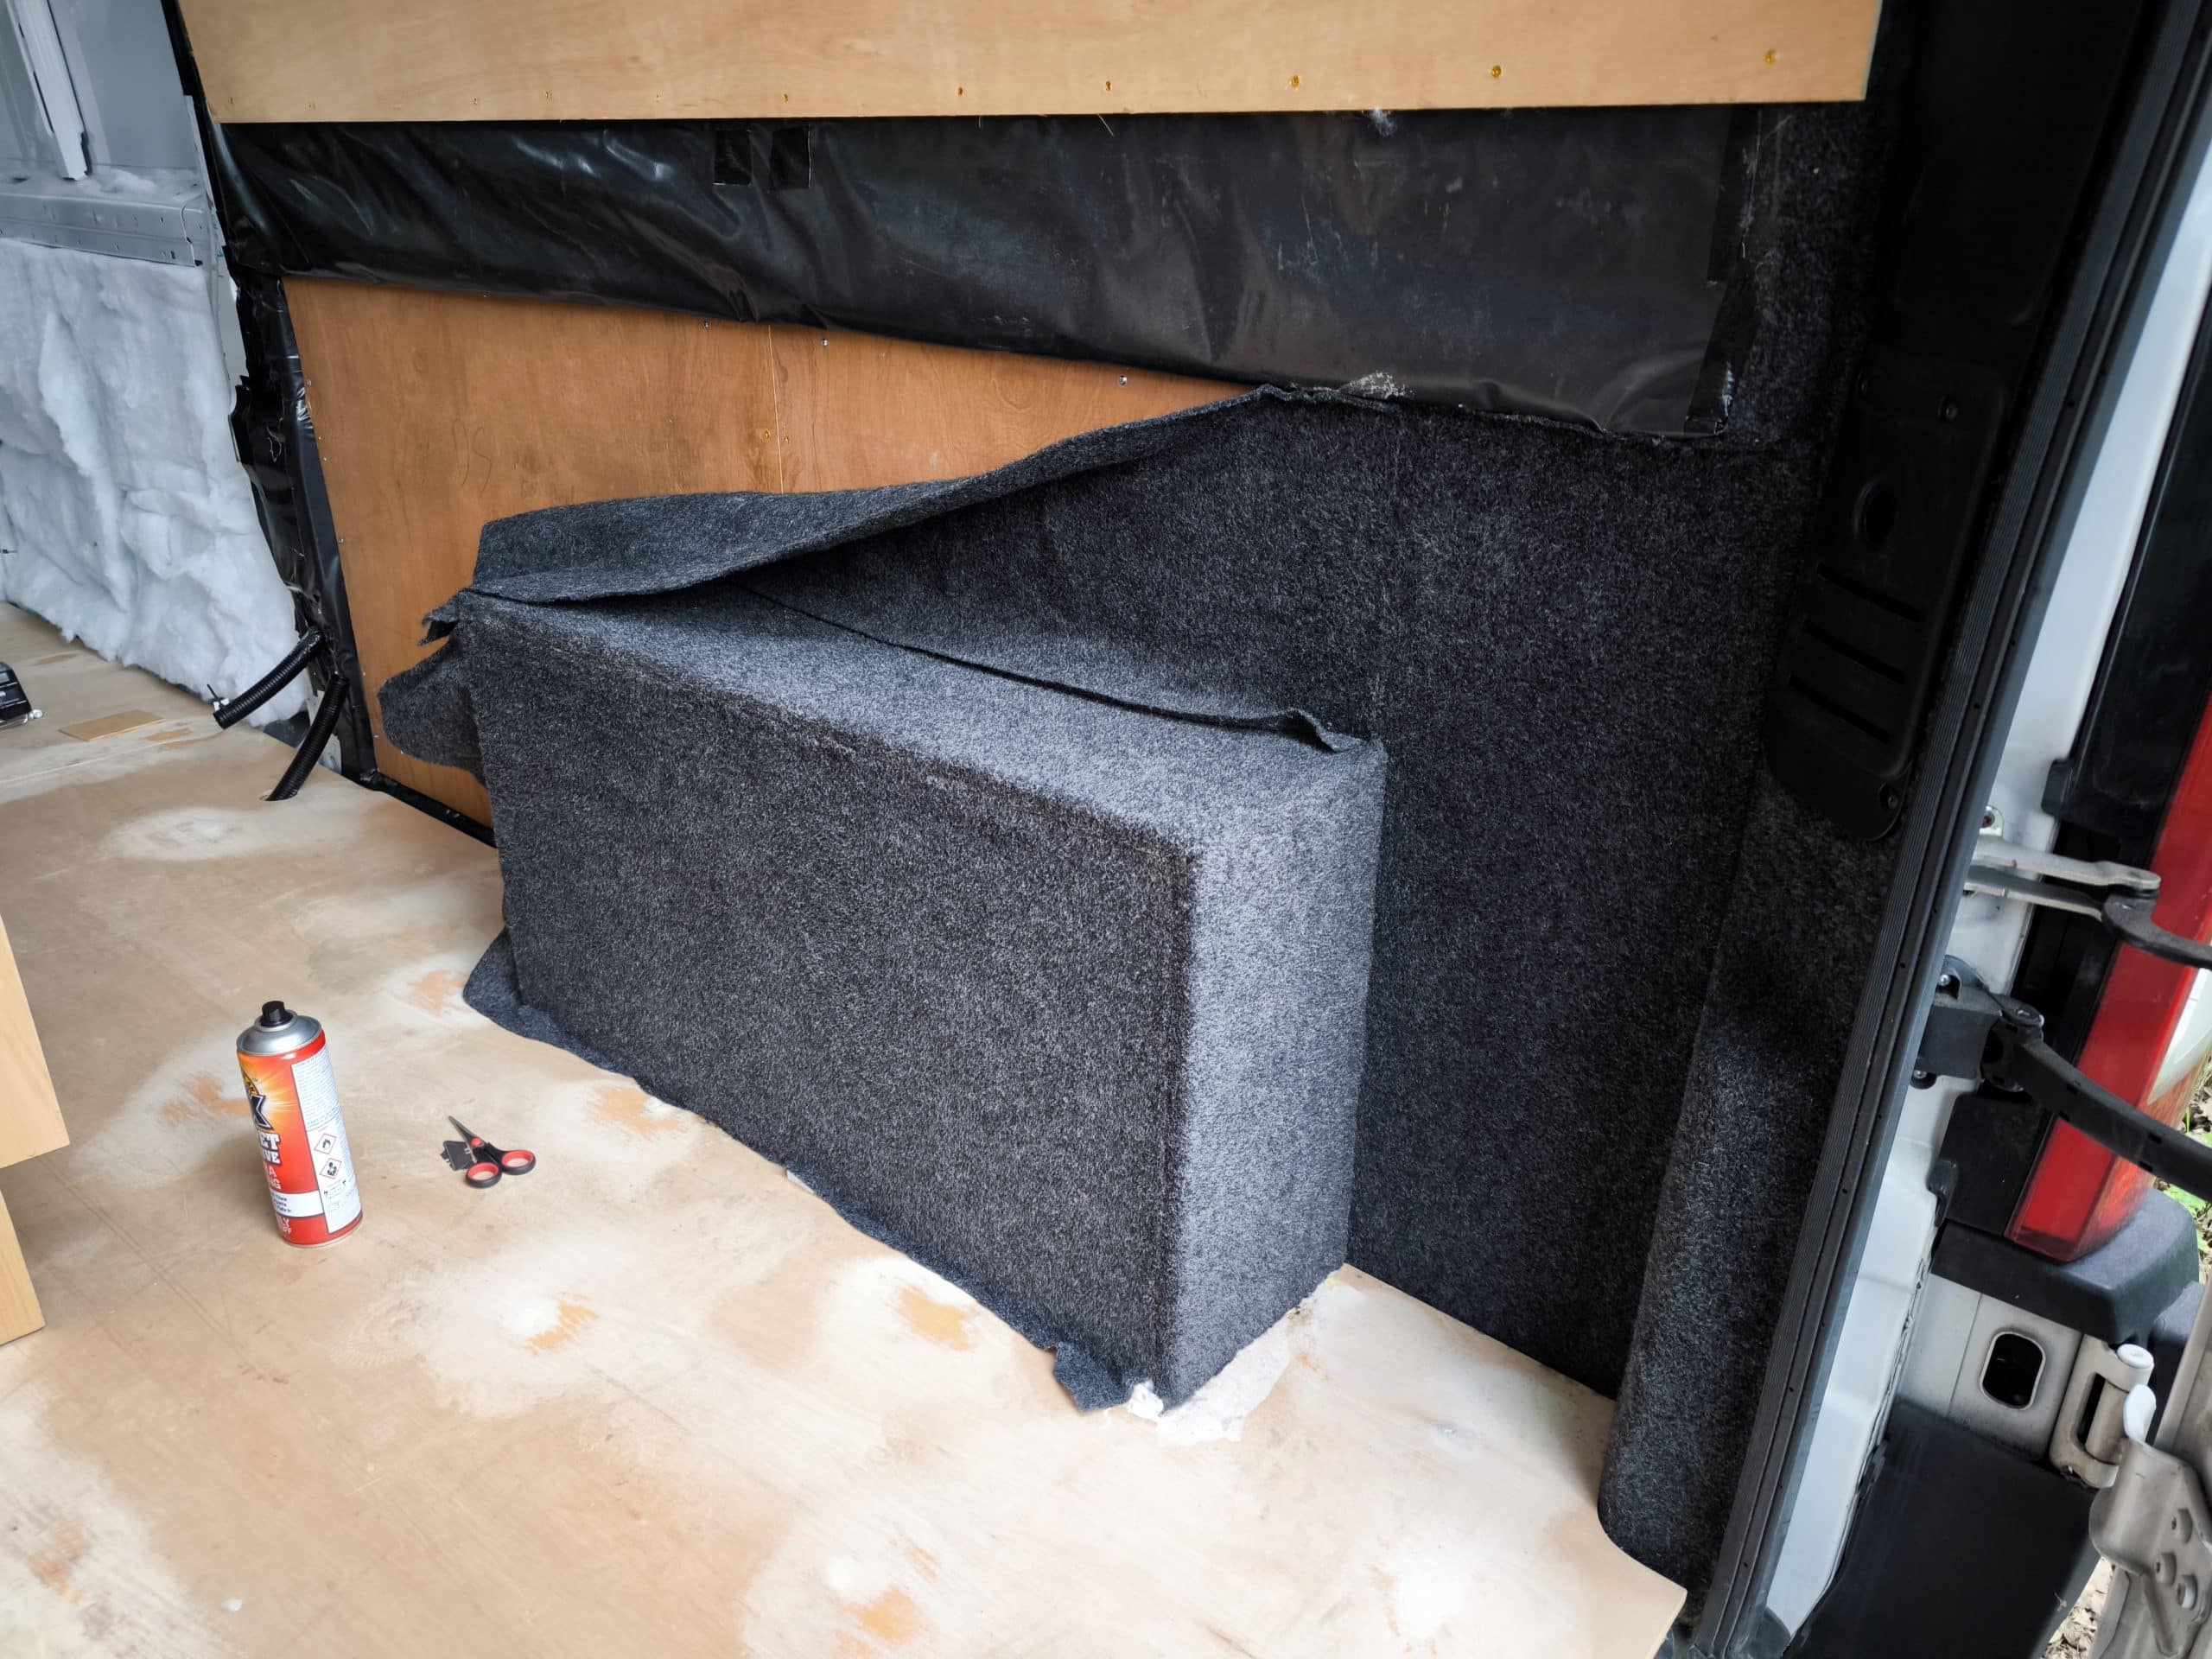
Then I set about pocket hole drilling the base of the RH cabinet ready to be installed. But before screwing it into the van, I realised that carpeting the back of these cabinets would be a ballache once installed. So I used what carpet I had left to do as much as possible.
I’ll have to finish it off the hard way when more arrives. I’ve got to move on if I stand a chance of getting it done before our trip to Wales this weekend!