Diary Of A Camper Conversion
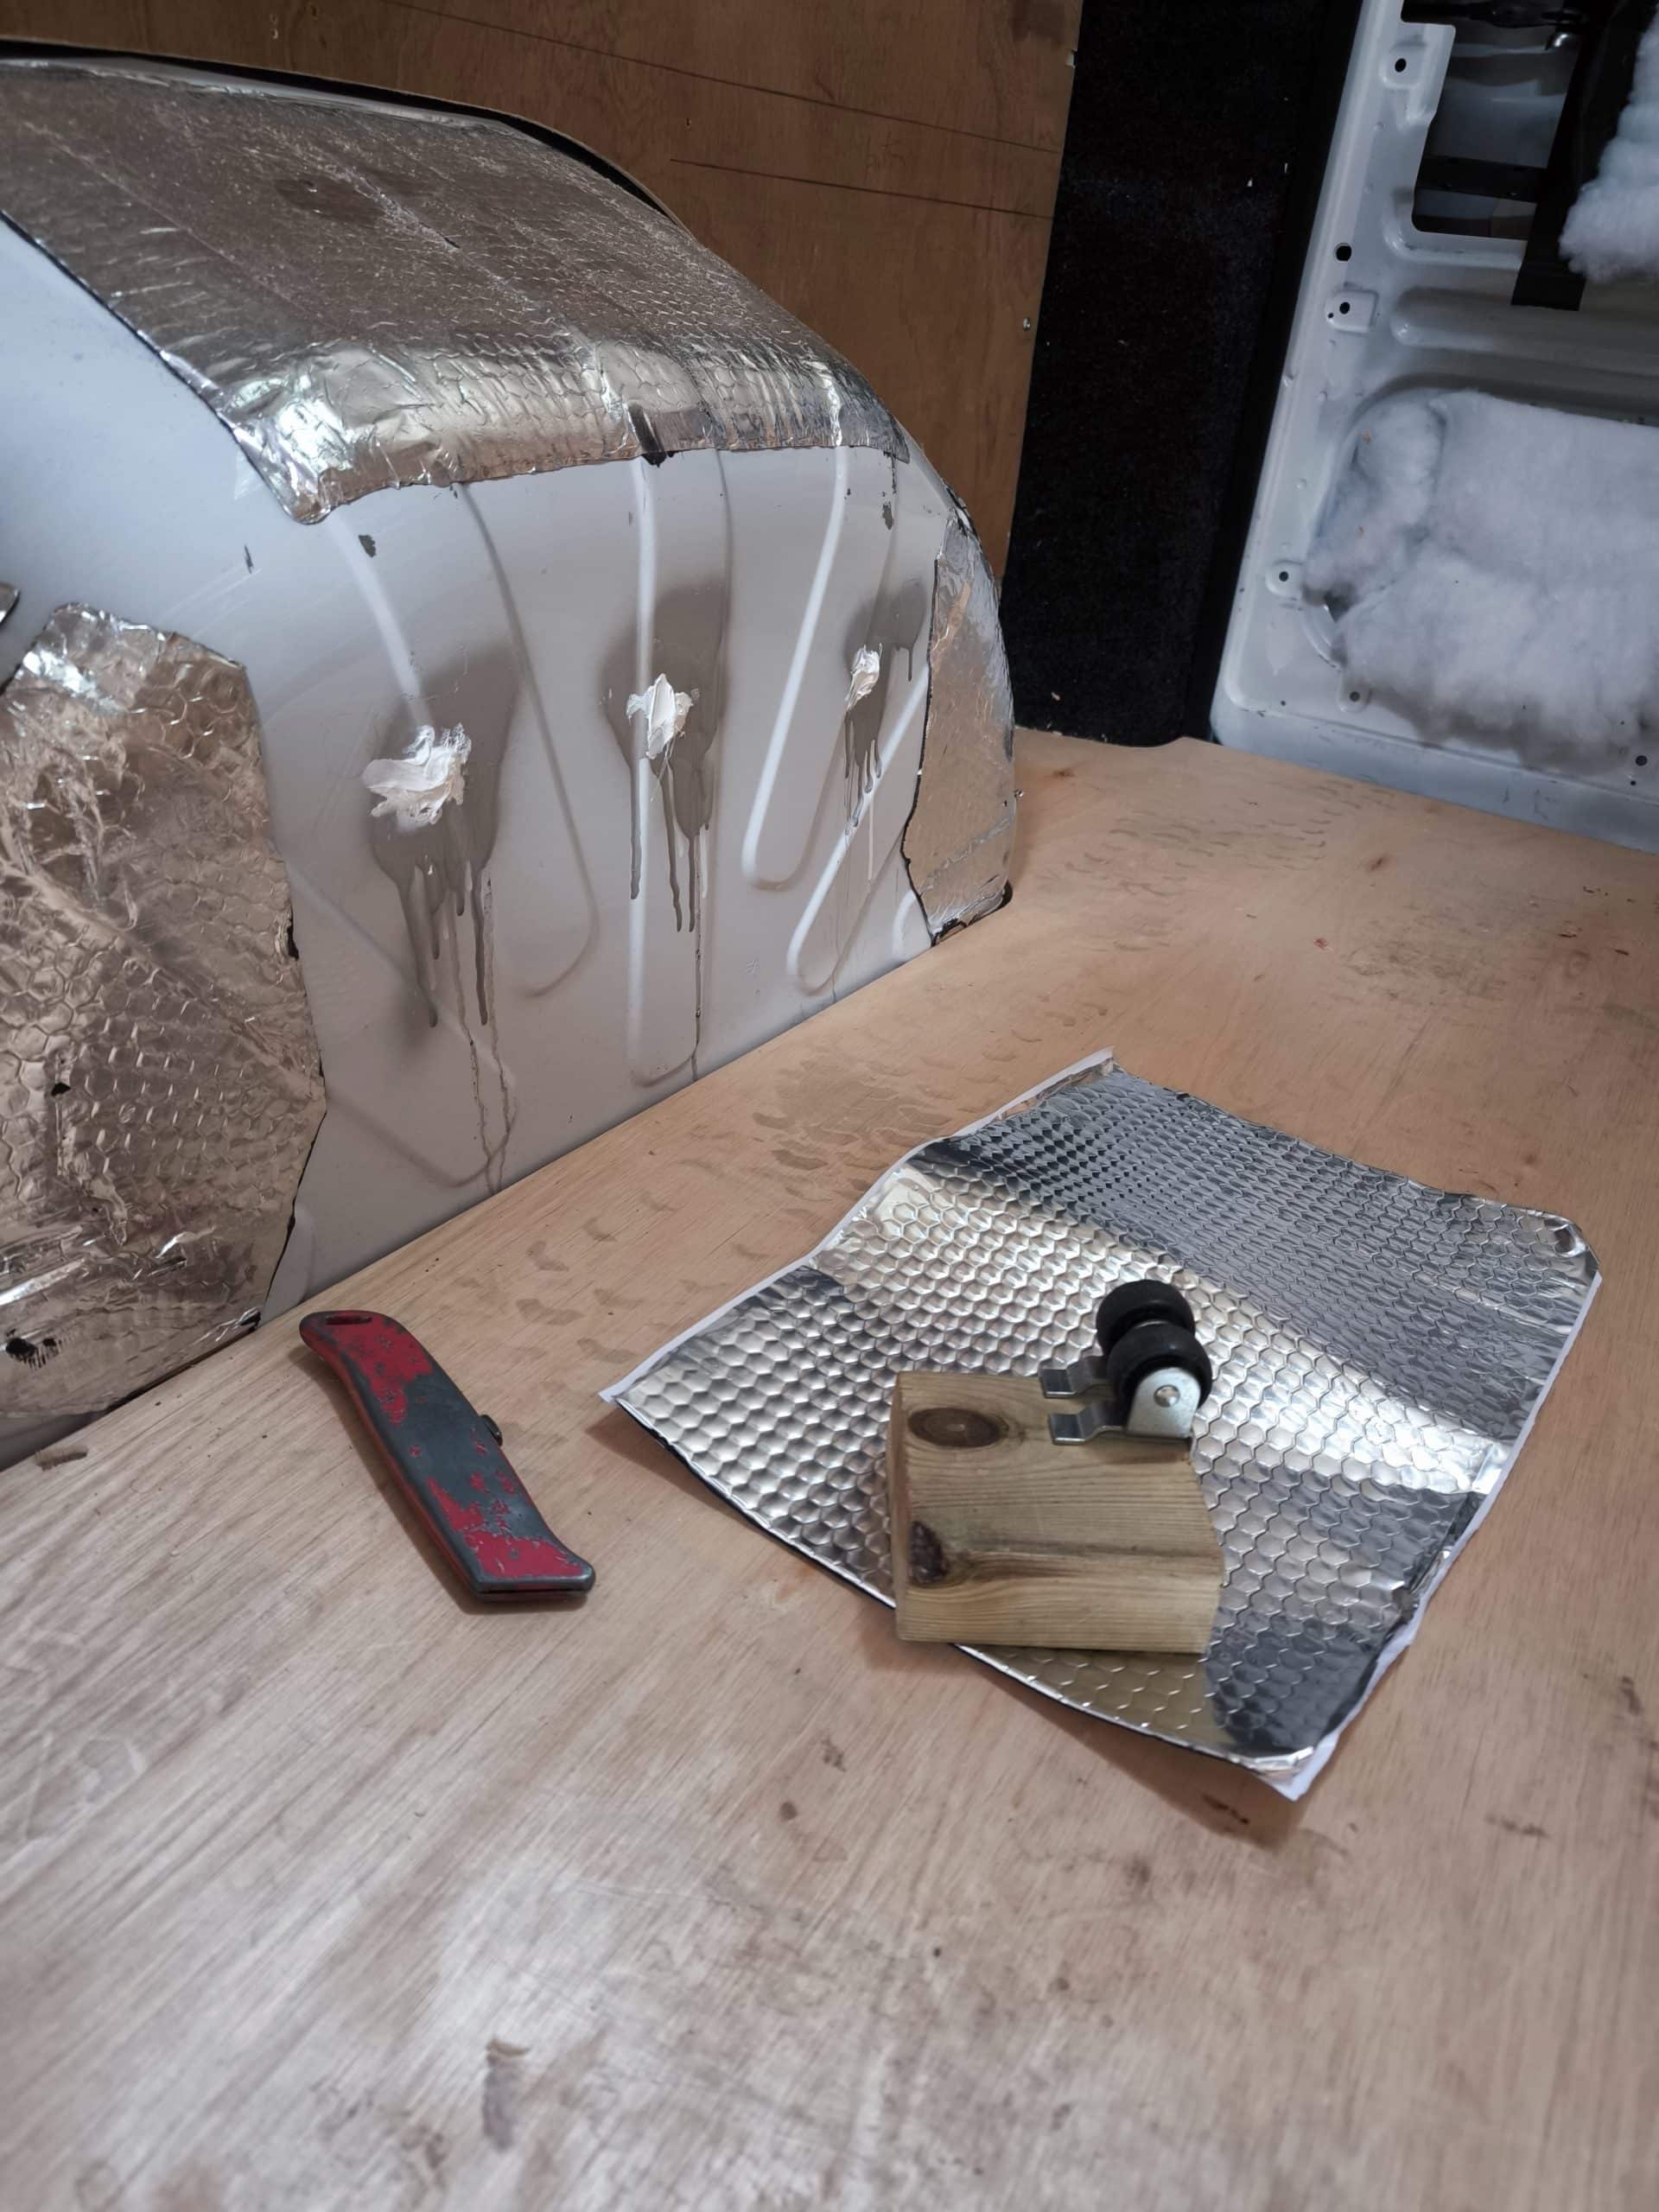
The time has come to cover the wheel wells. I first used a few splodges < technical term] in the butchered holes left by the previous owner. This will keep out the water.
Then I covered the last patch in mass deadening before spray gluing insulation over it all. Finally, a small strip of wood on the wall allowed me to screw the original wheel boxes back over it all. No need to reinvent the wheel-box.
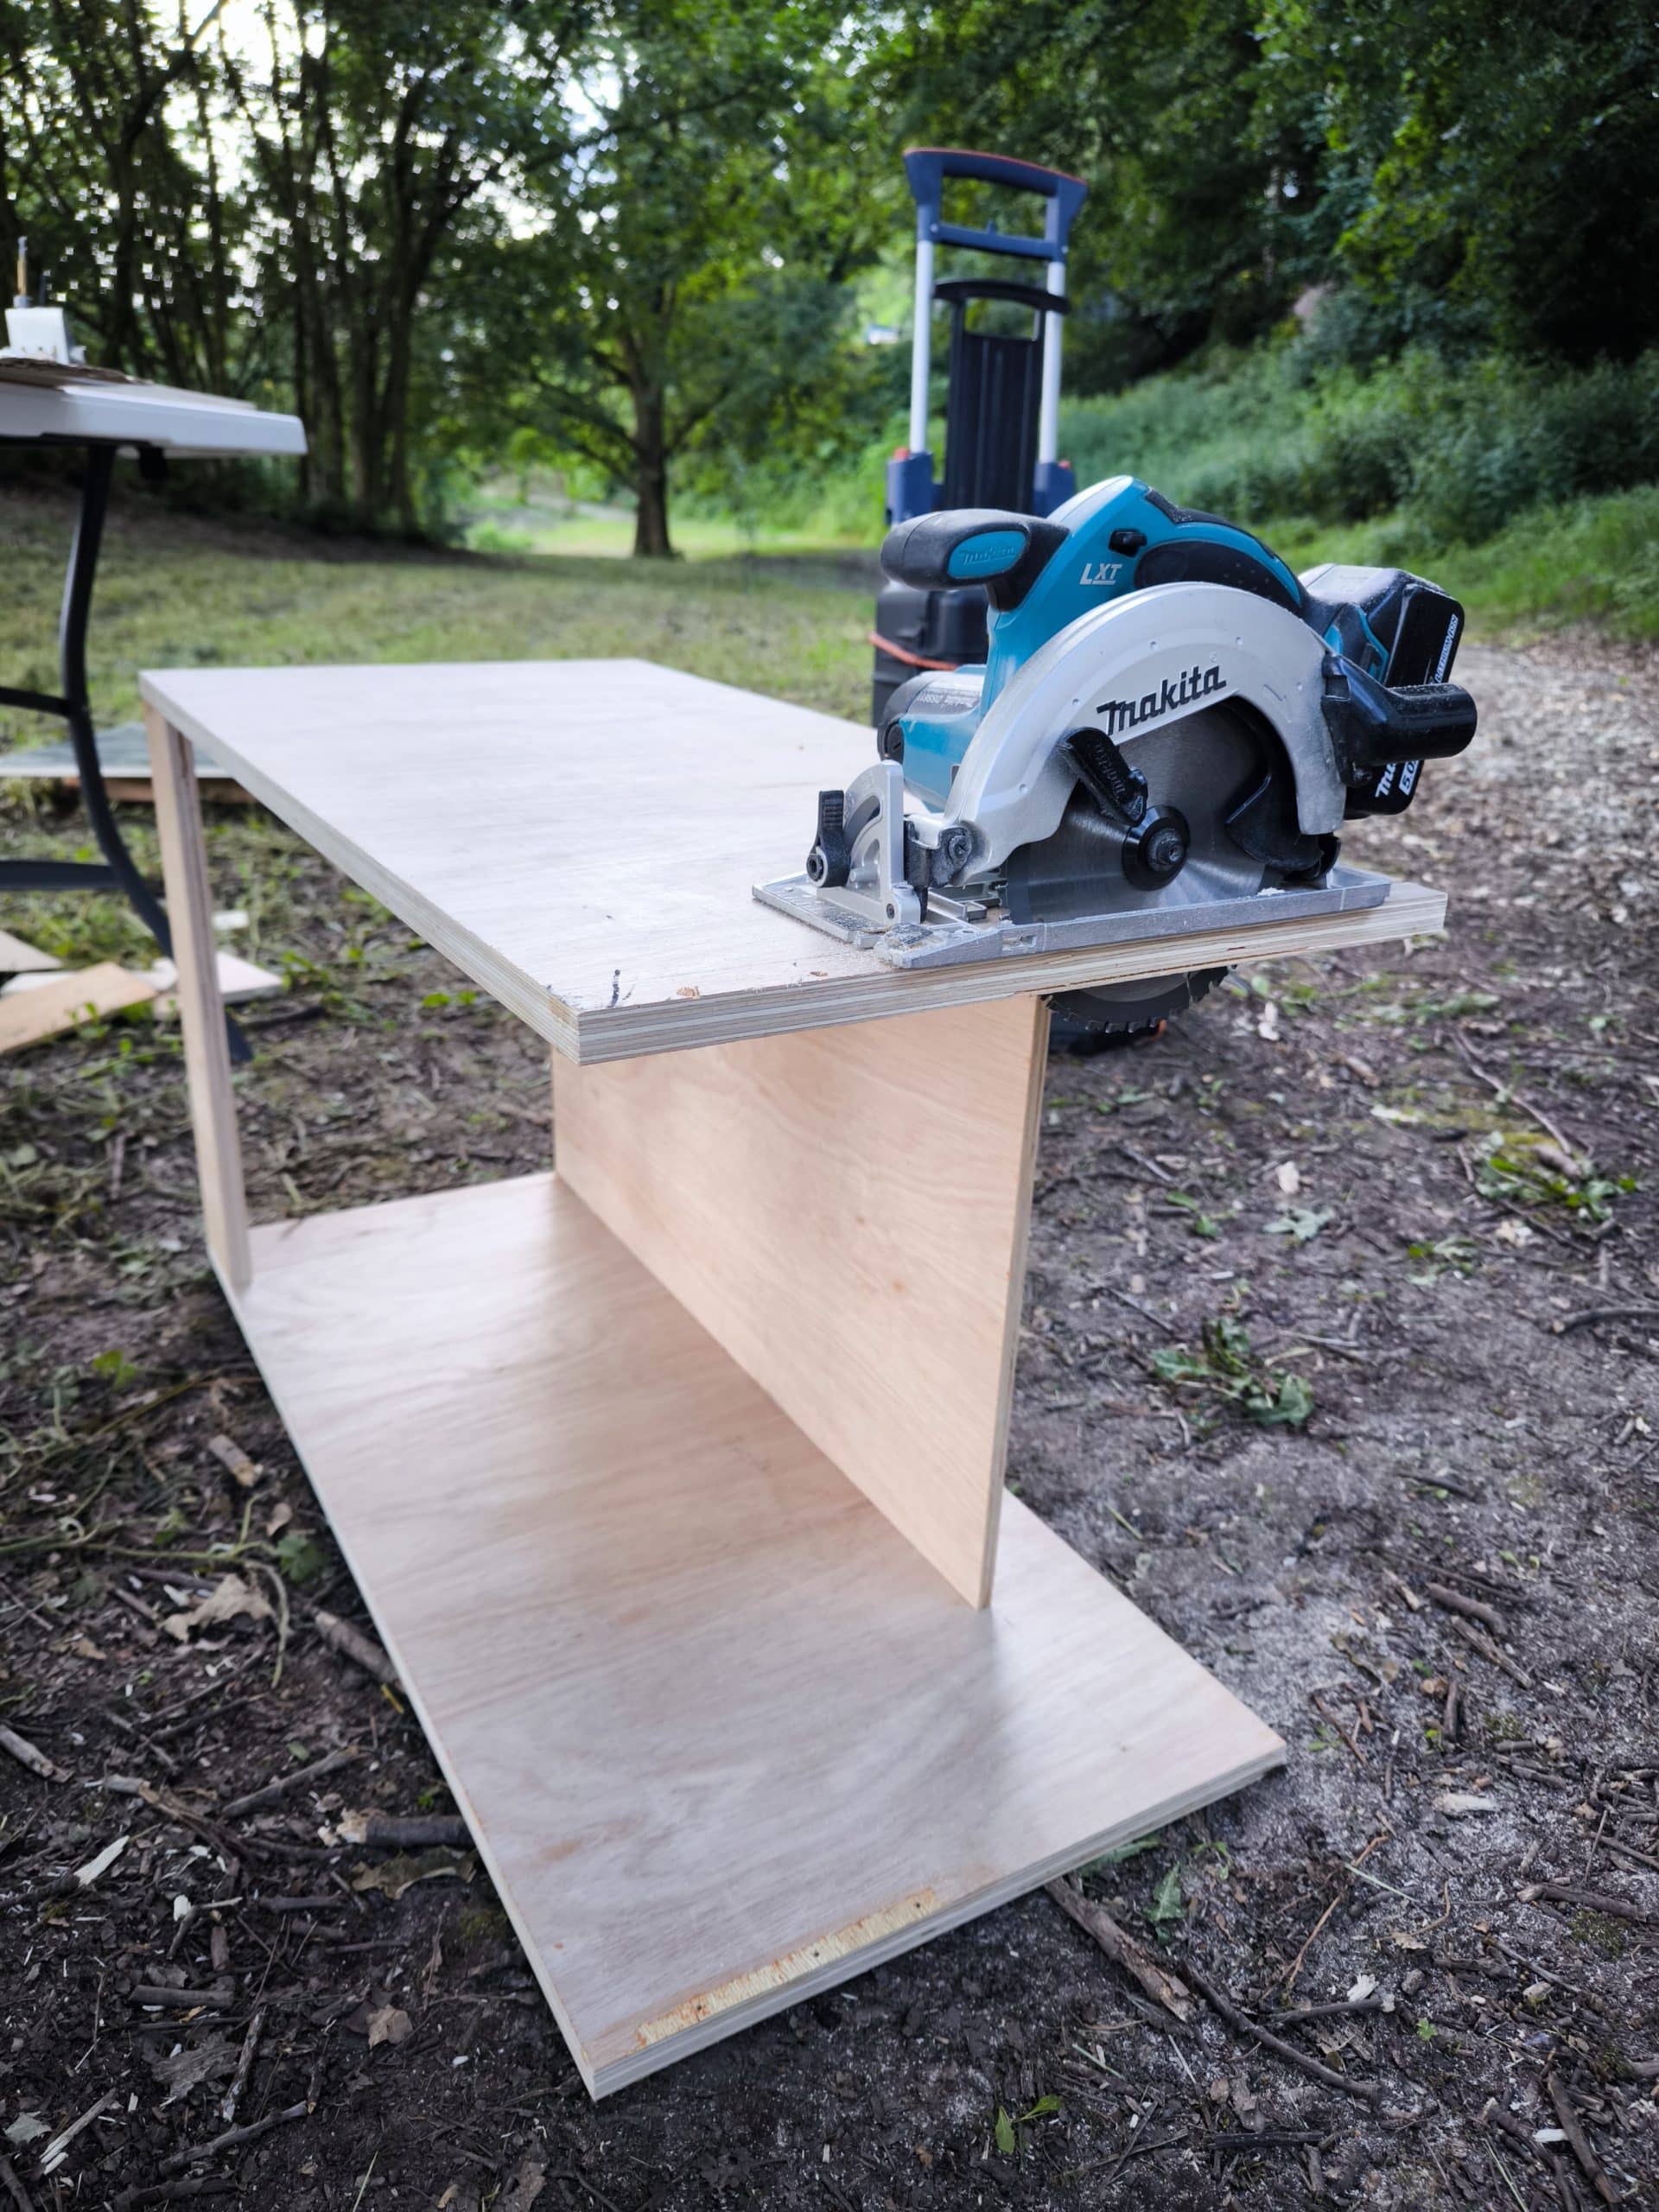
Then I turned the whole van into a glue sniffers wet dream. The filler I’m using on the floor is a two part mix and it’s REALLY smelly. The solvent is pungent and goes off quite quickly so with all the doors open I mixed and spatulated <definitely another technical term] the filler into the floor joints and screw heads.
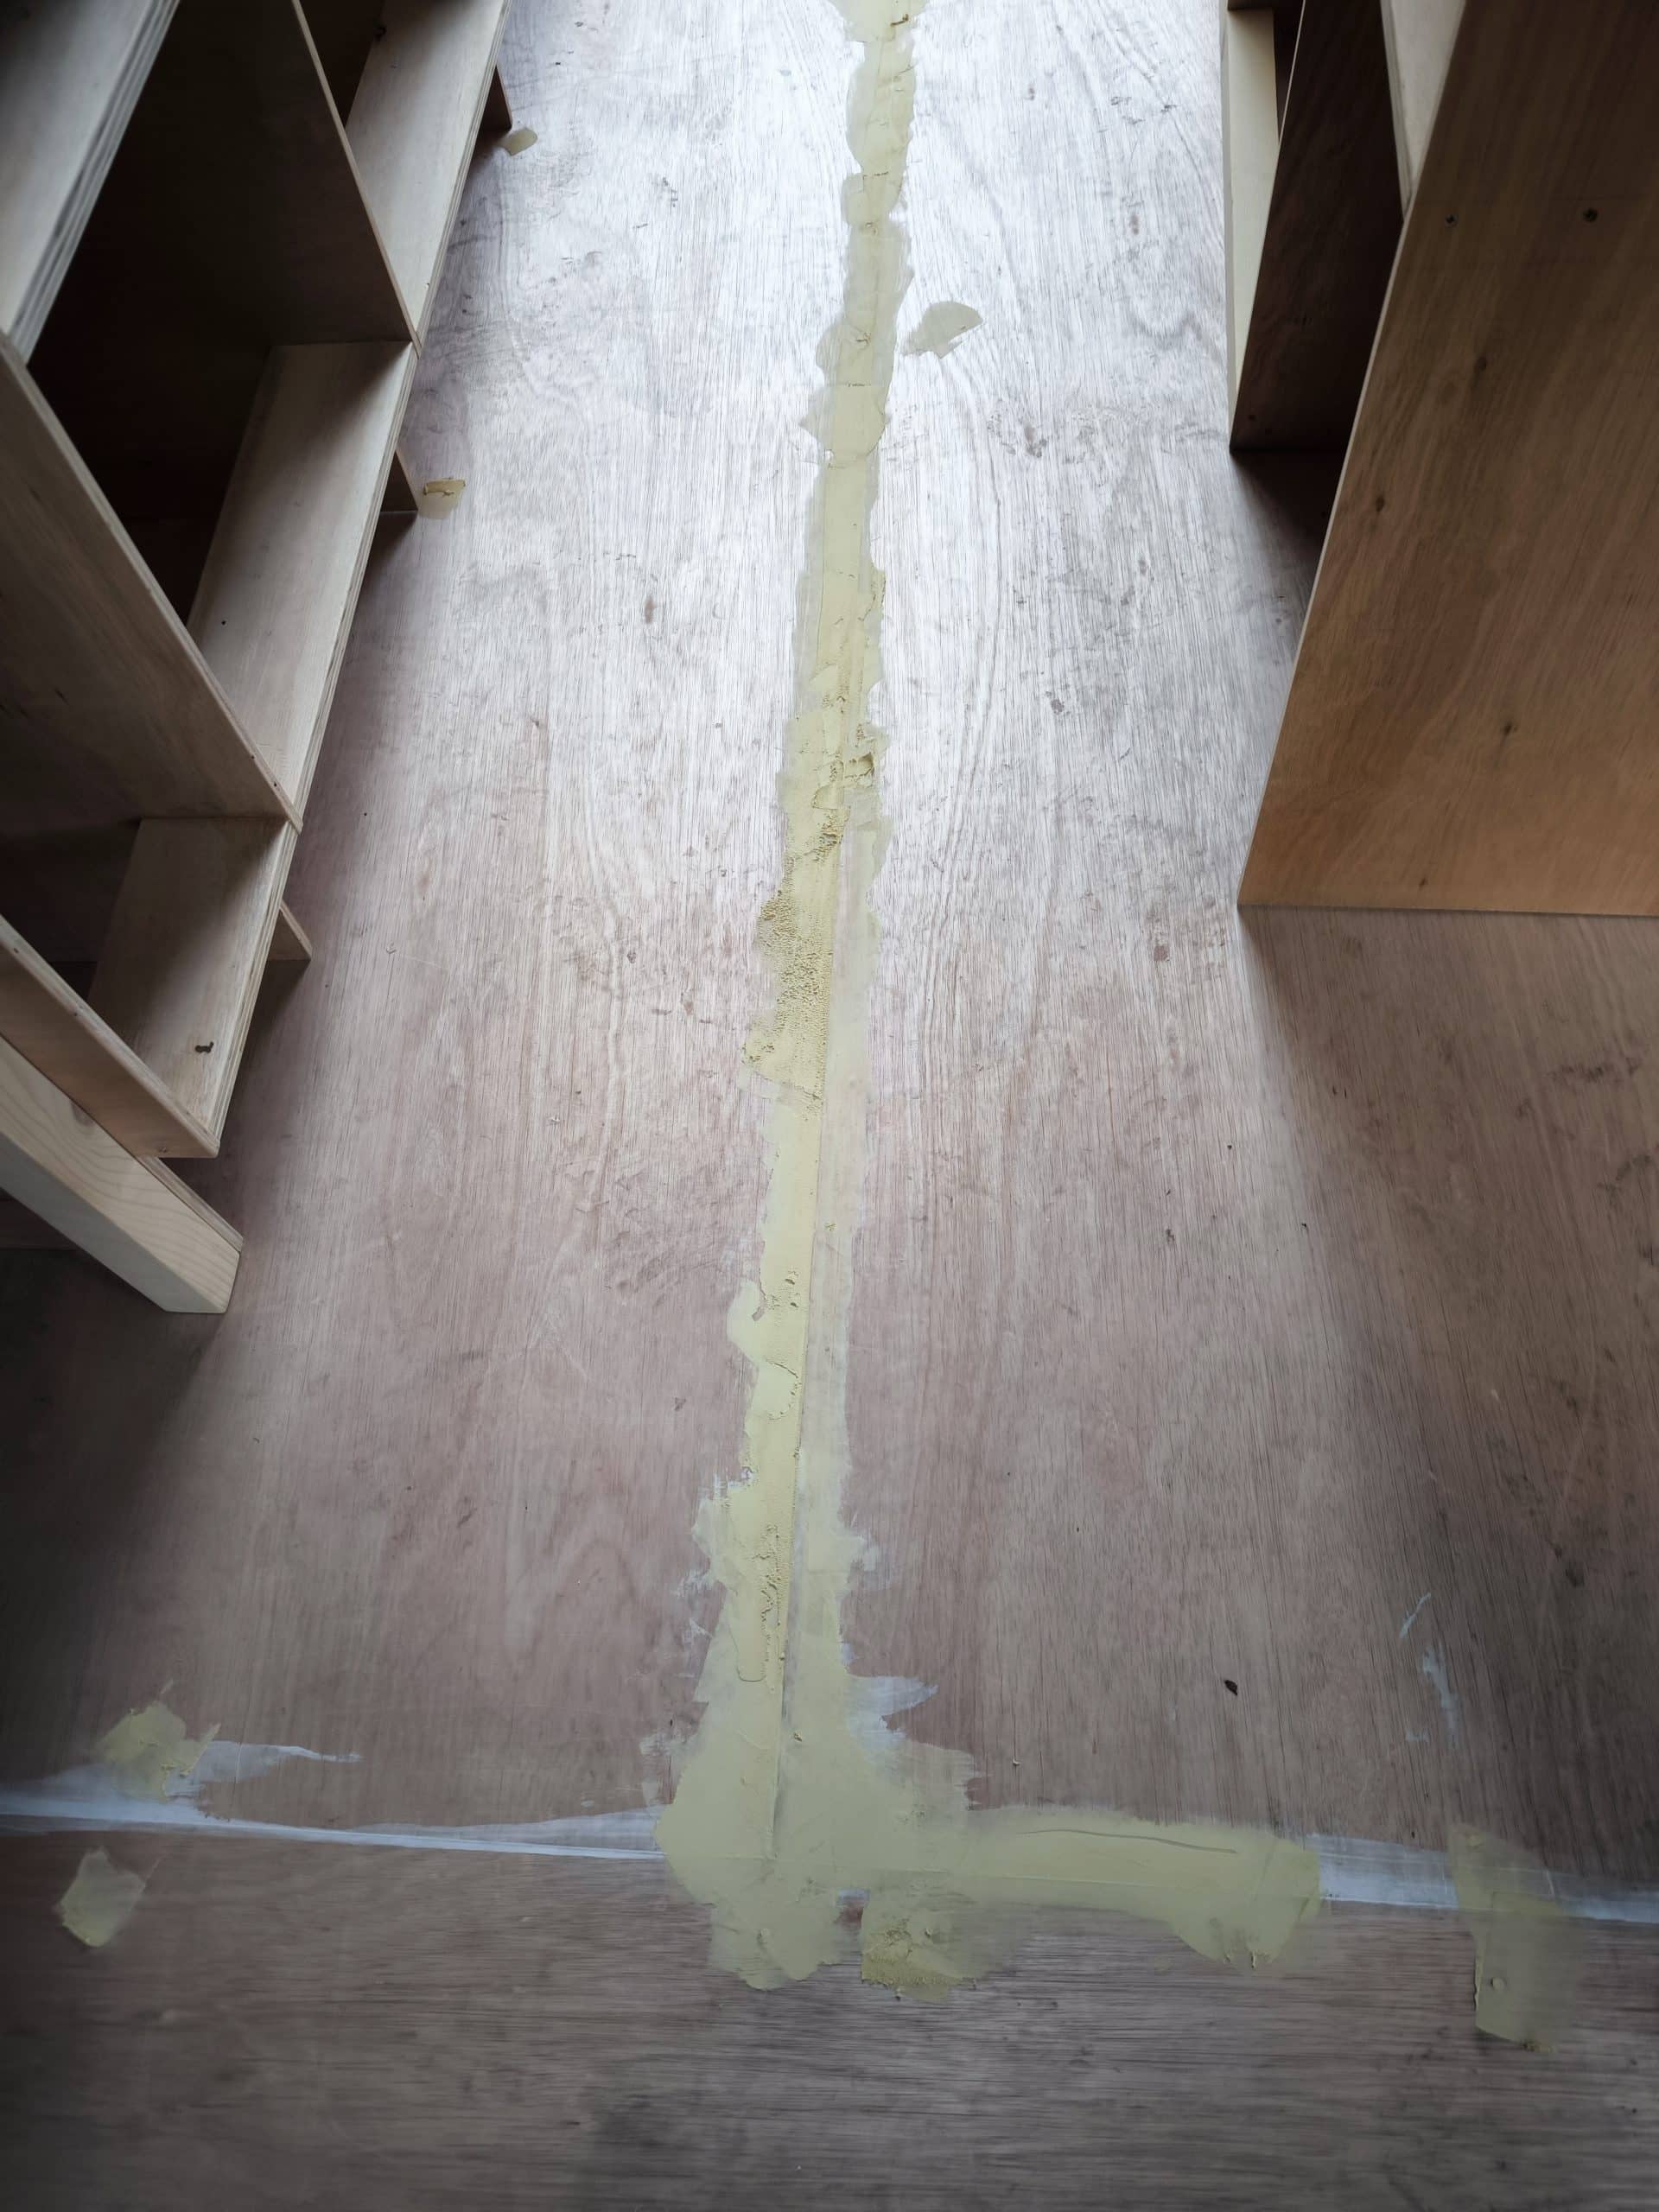
I left it to dry whilst I had lunch. Once dry, this will be sanded smooth so that when the vinyl is put down you won’t see any texture from the surface beneath. On my return, it looked dry and felt dry to the touch but when I sat down on it, I was left with a light brown sticky mess on my butt. I had hoped to sand it down, but I will have to wait longer and now I gotta be careful not to sit on my lovely van seats!
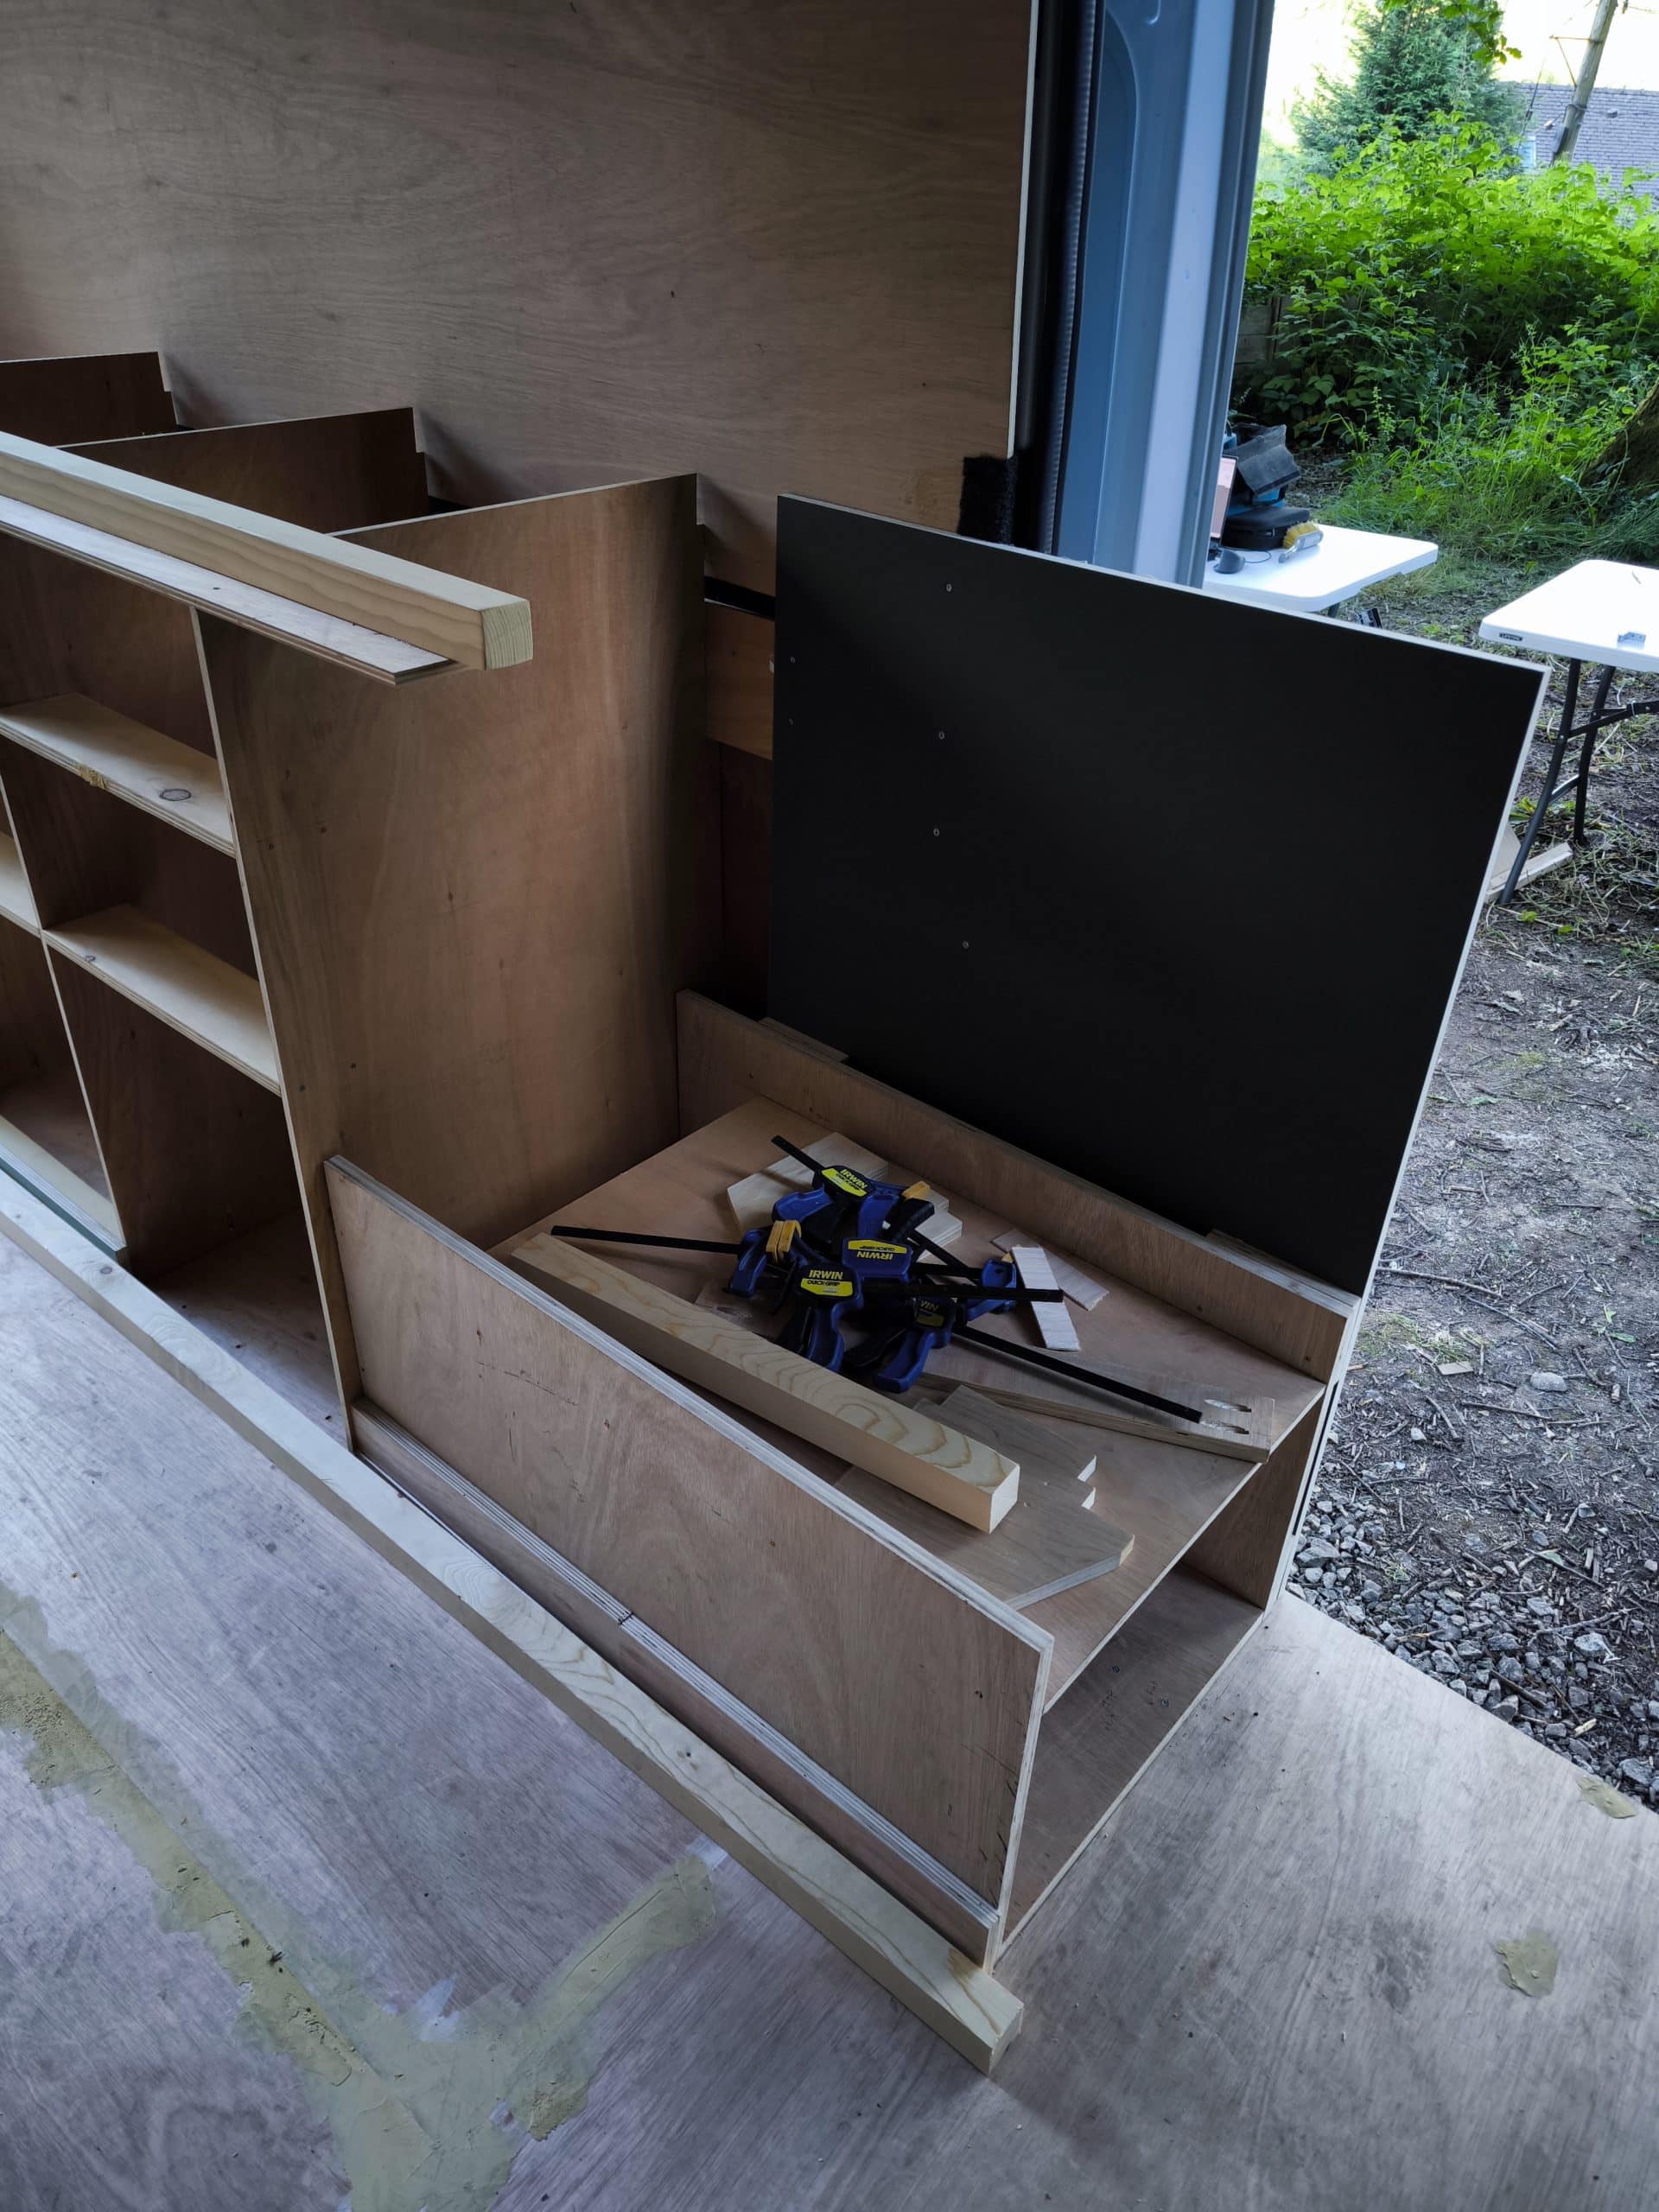
Moving onto the part of the build I’m most nervous about, the fridge drawer. I’m nervous because there is just no margin for error. I’ve designed it with a 4mm tolerance each side, which is huge in engineering, but wood working is very different. Plywood is not flat, batons are not straight, right angles cut with a jigsaw vary in accuracy and joints pull in tighter than when just laid up. All this, and the 50mm space designed into the back of the fridge shelf lead me to this.
I disassembled and cut back the fridge shelf by 20mm. I want to give myself the best chance of the fridge being operable and while this reduces the space available for cables, it increases space for the fridge when opened.
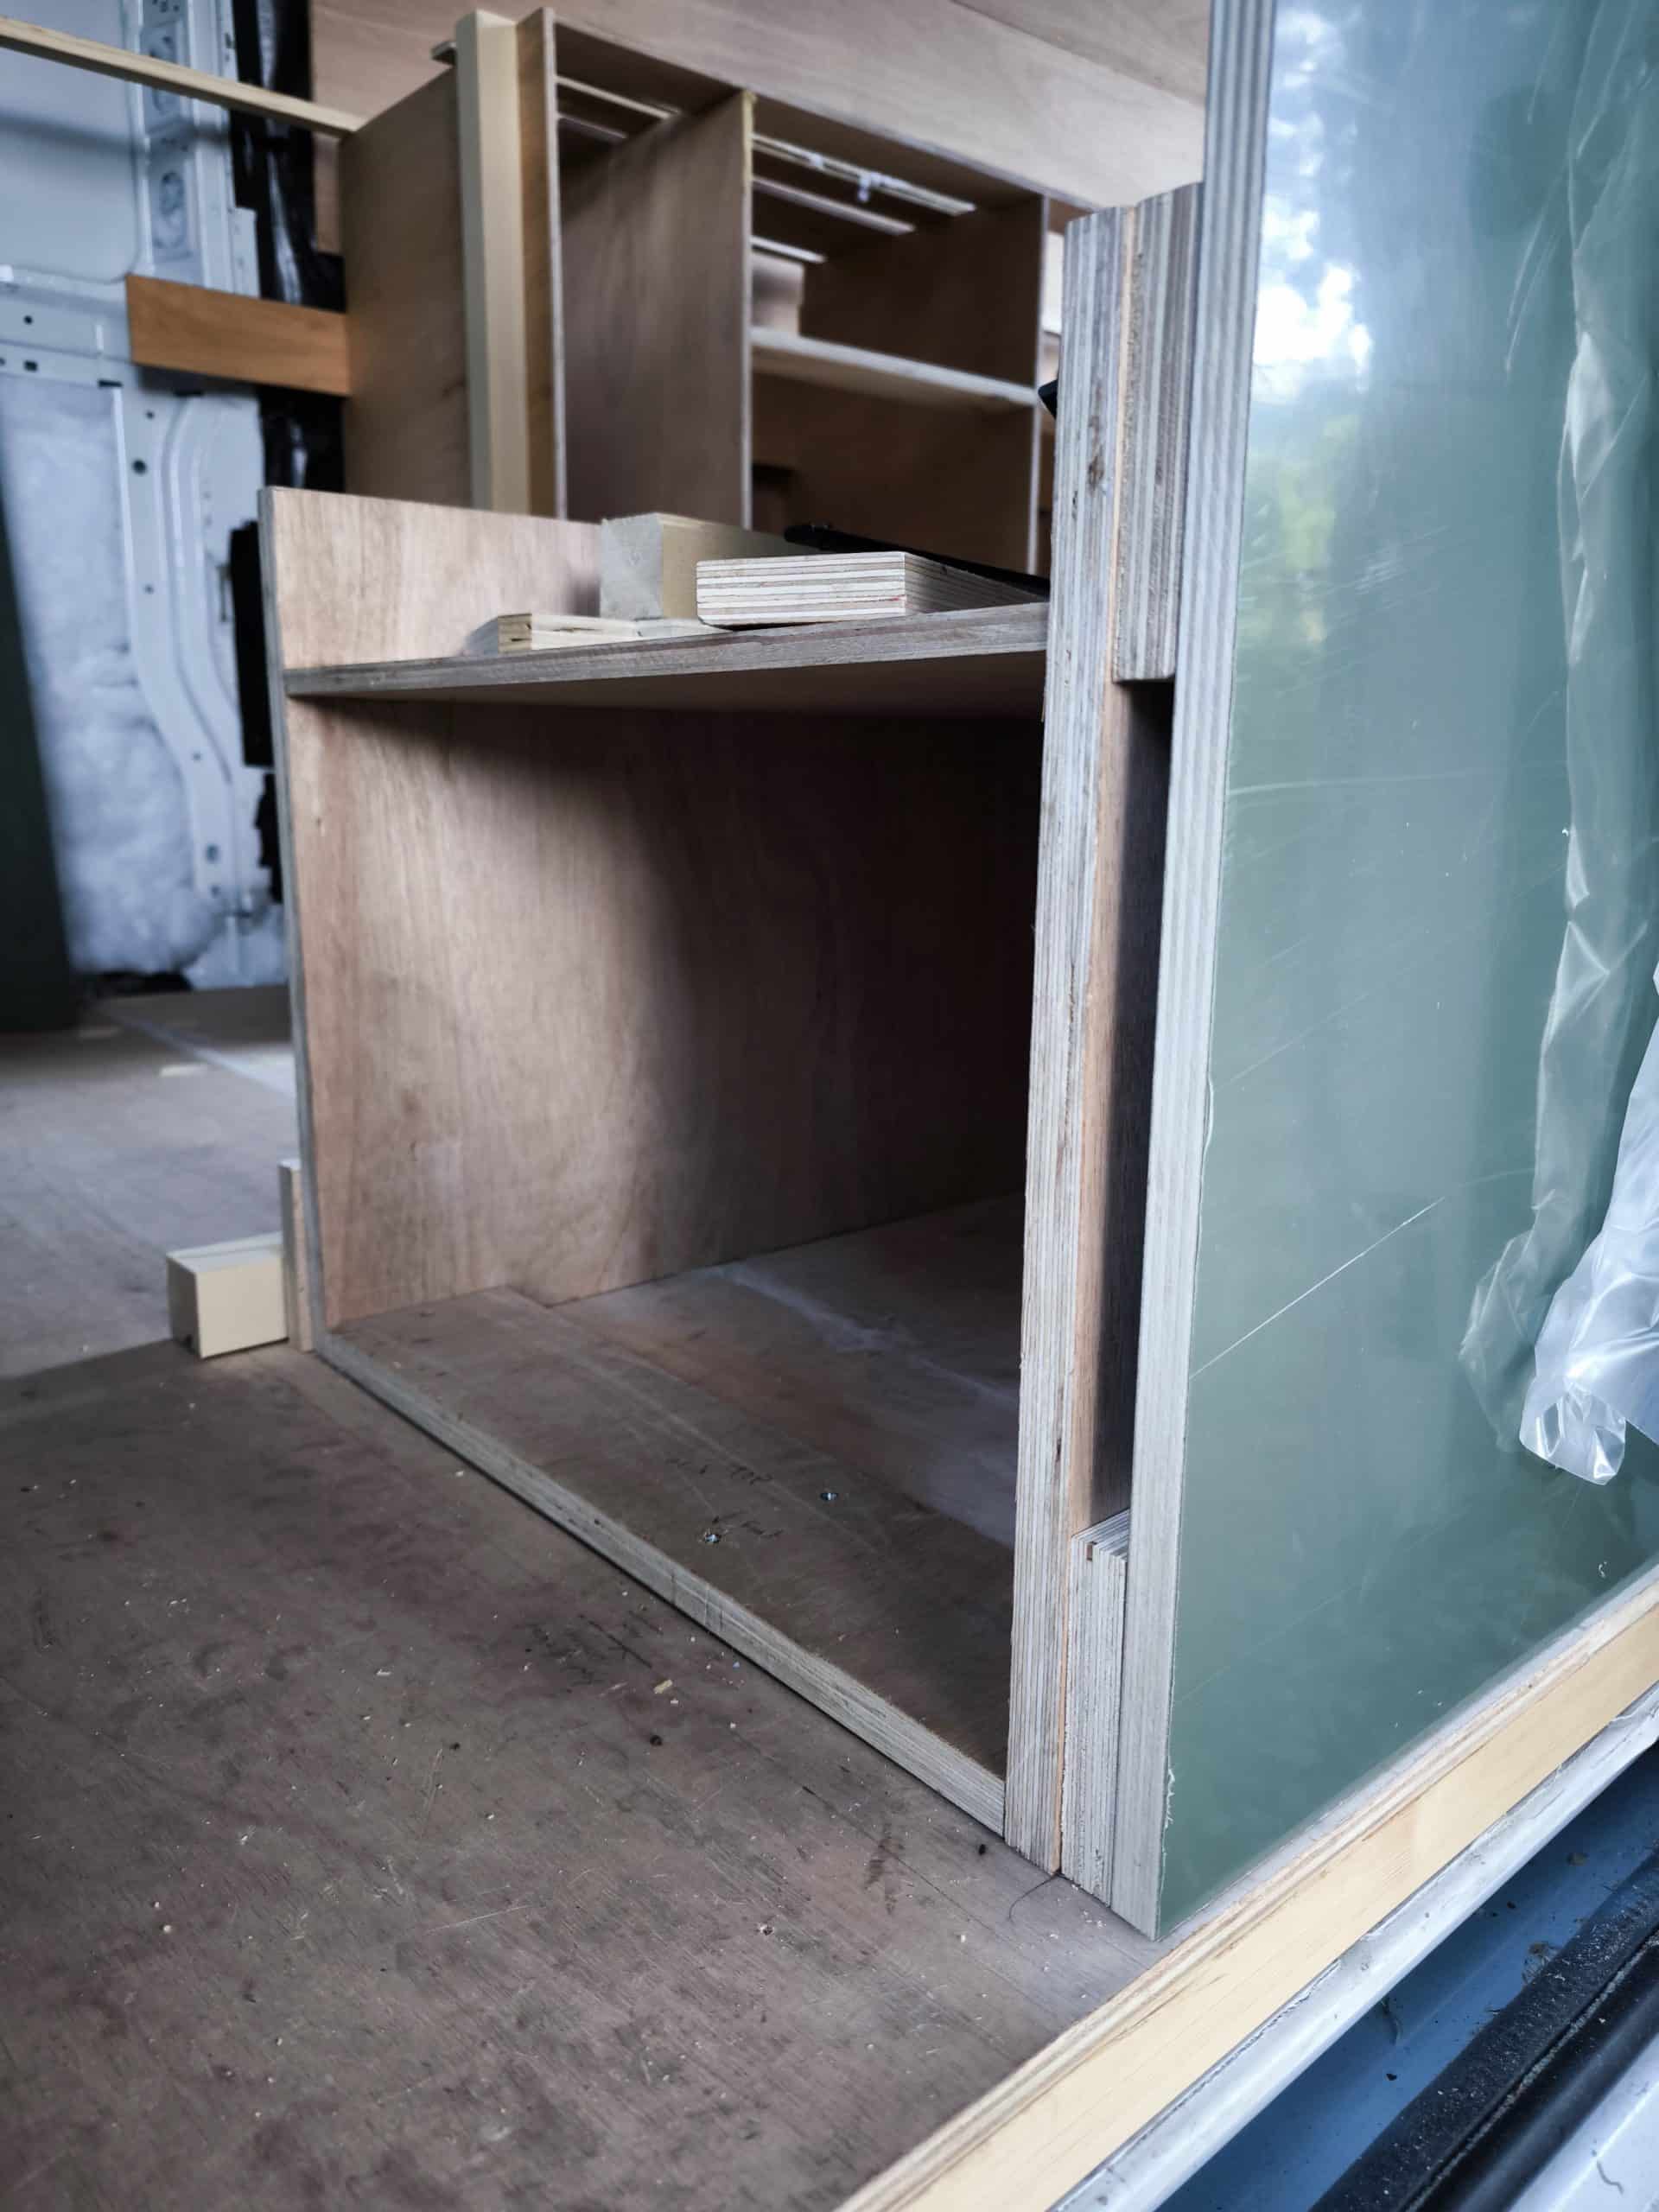
The left hand cabinet is now screwed in place and never leaving.
I then spent a long time lining up the two green panels and measuring everything to ensure it went in the right place. But before screwing it all in, I had to tidy the edges. Where the green panel meets the door seal the metal is all sorts of weird shapes. I created a few plywood shapes to level it all out and then coated it all with dark stretch fabric. You’ll barely see this, but it fills a gap in the bodywork and makes it look much neater.
I prepped the green ply cross pieces, and repurposed the 18mm ply off cuts as spacers and then started the scary job – screwing into the green ply.
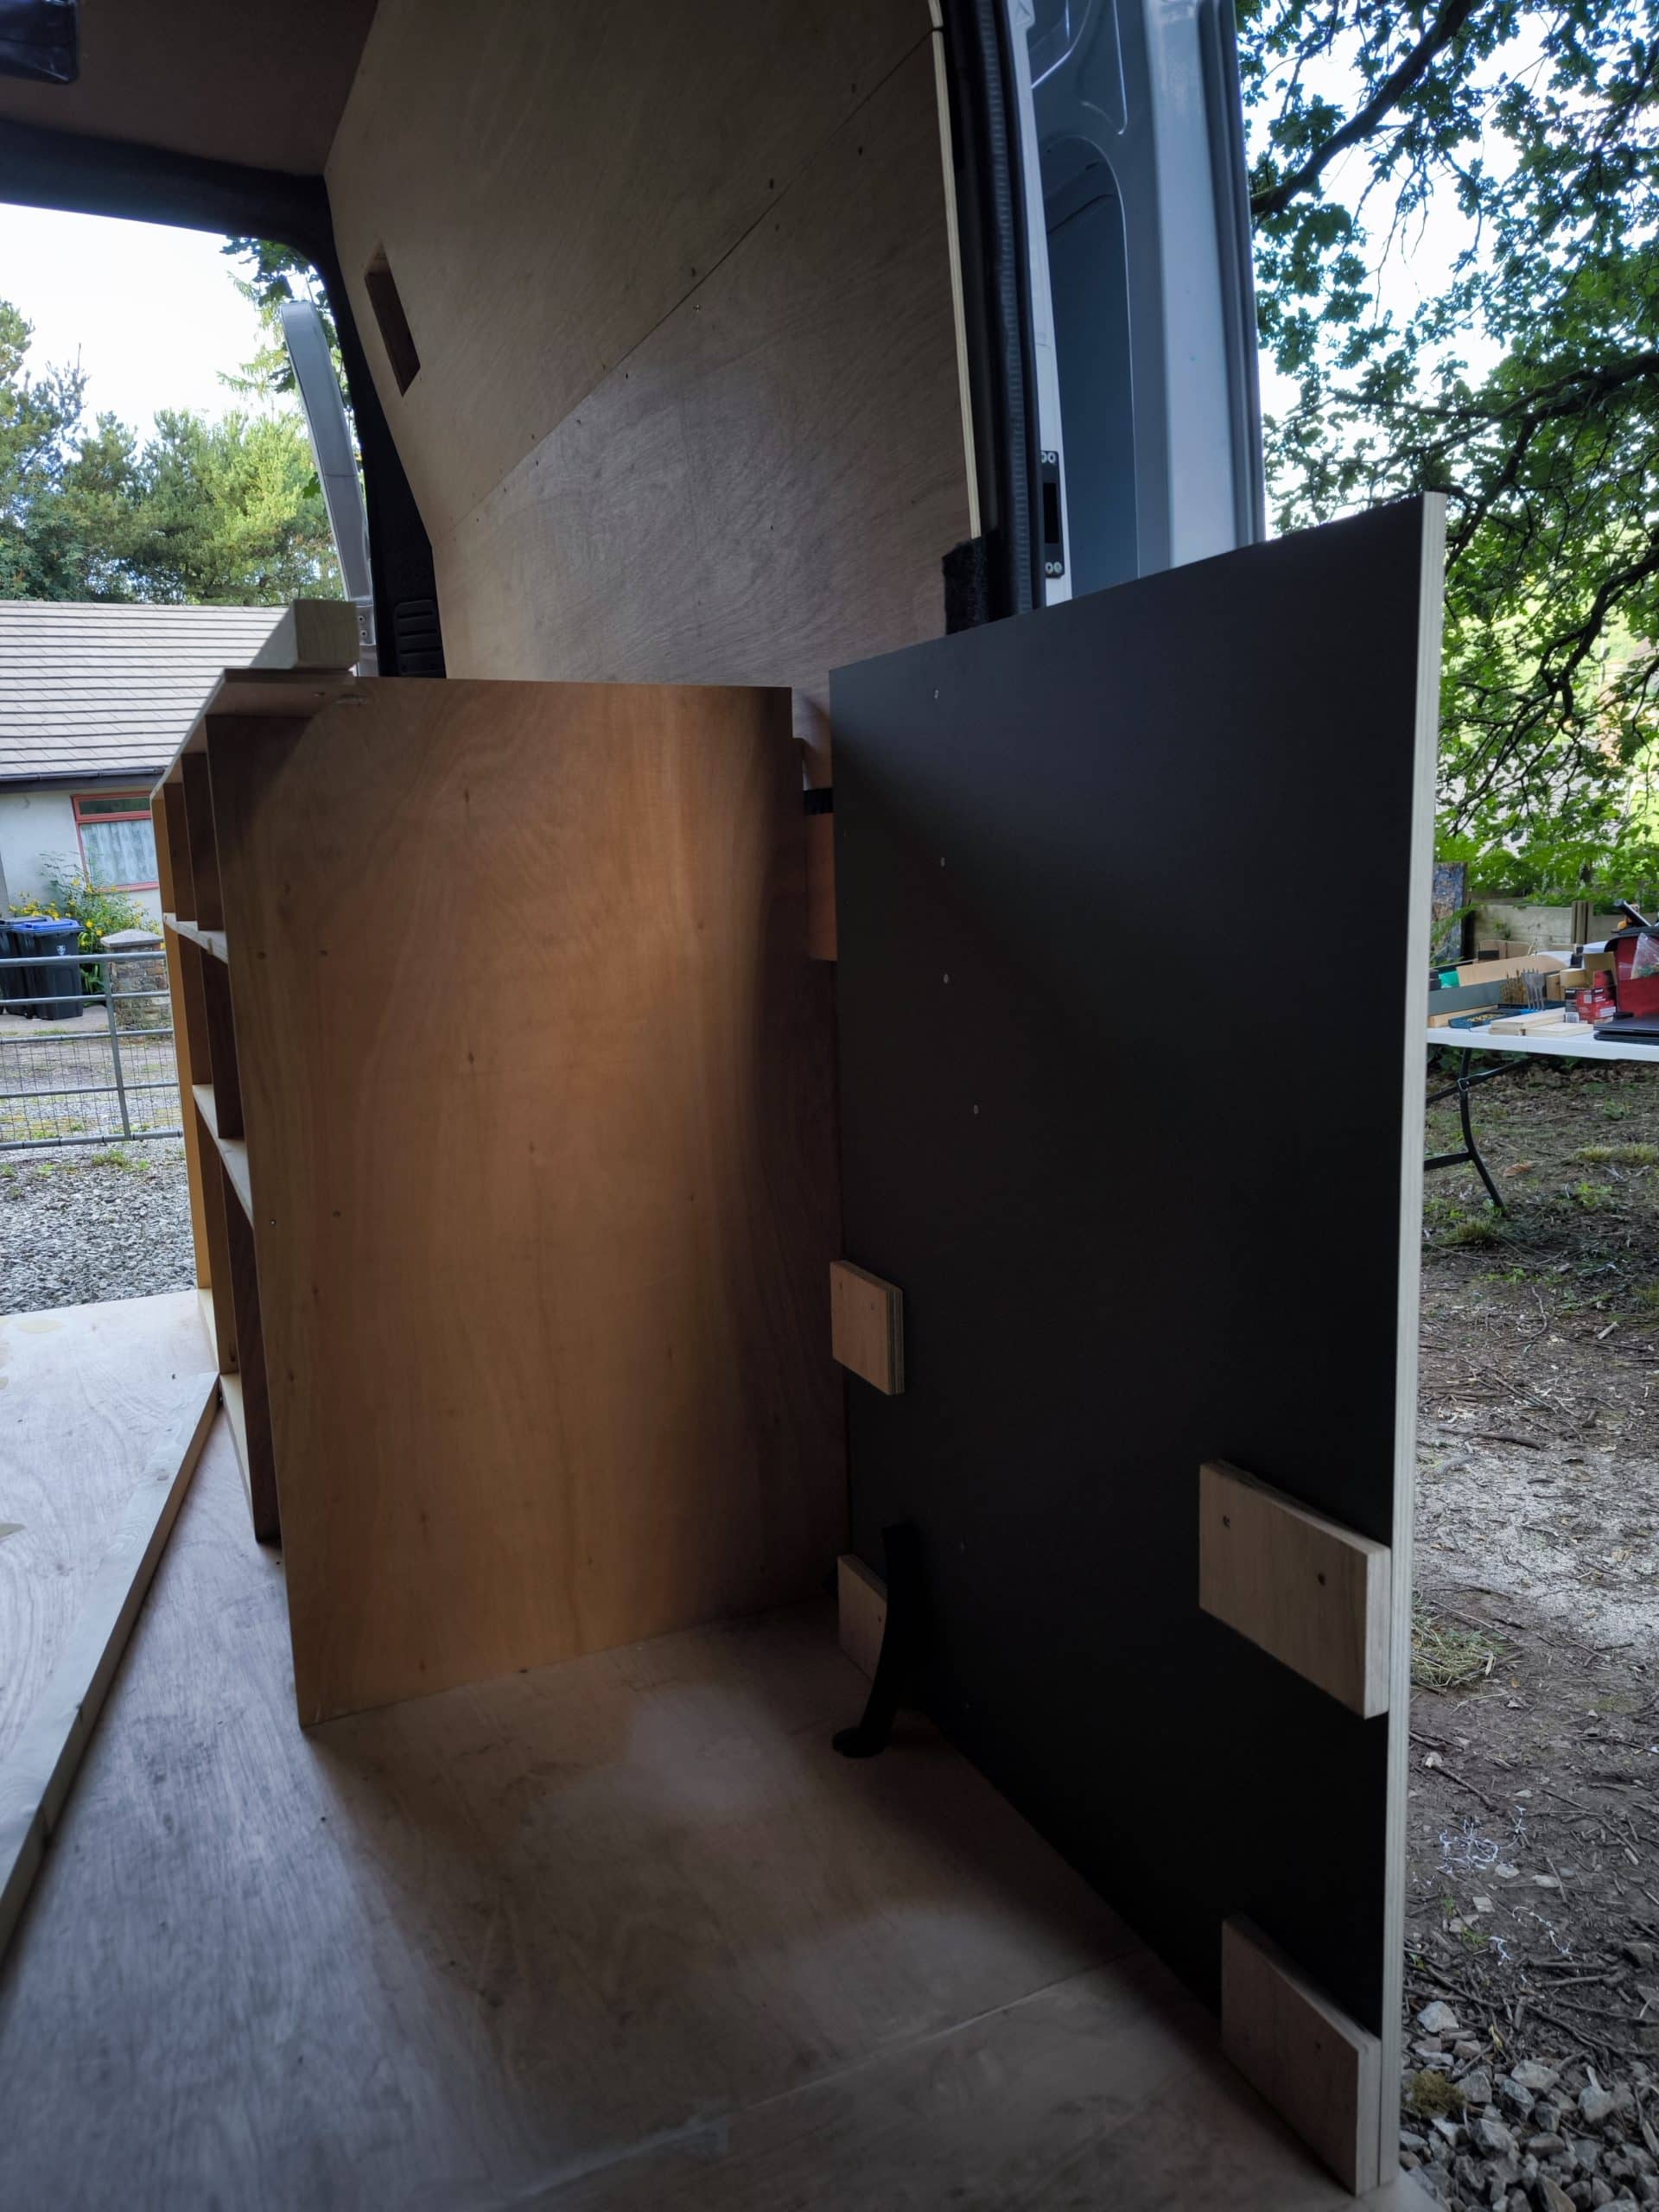
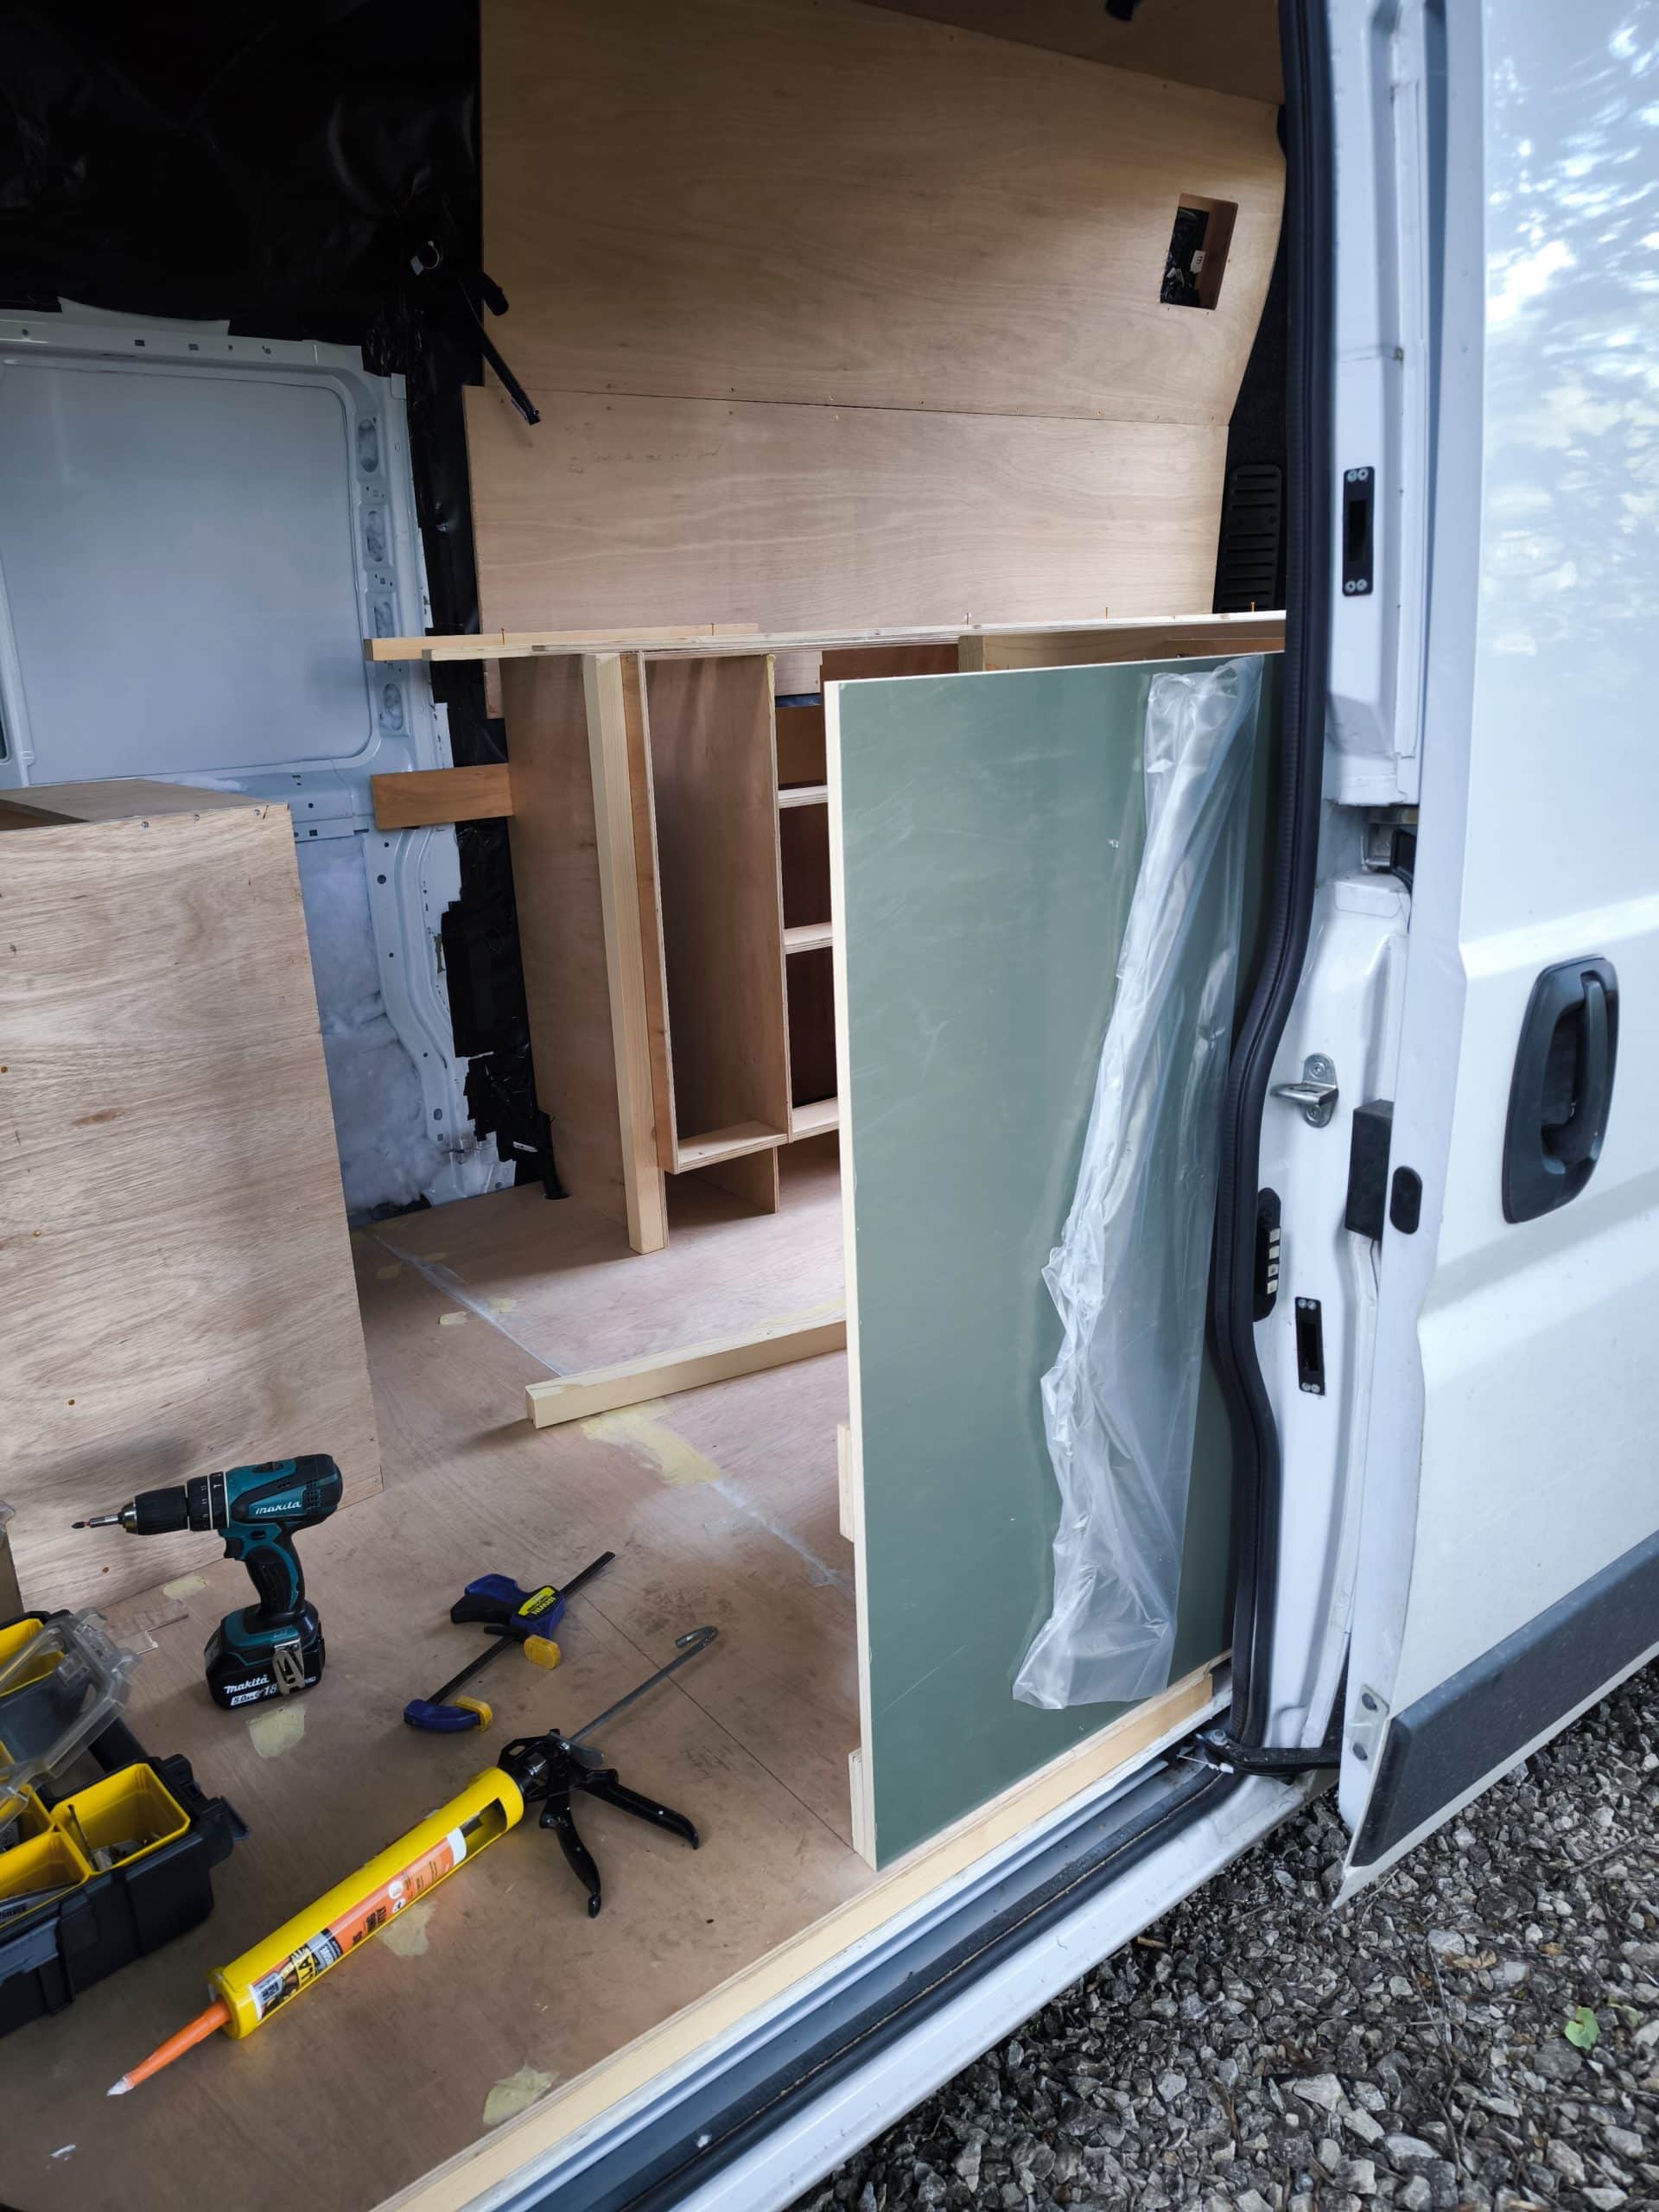
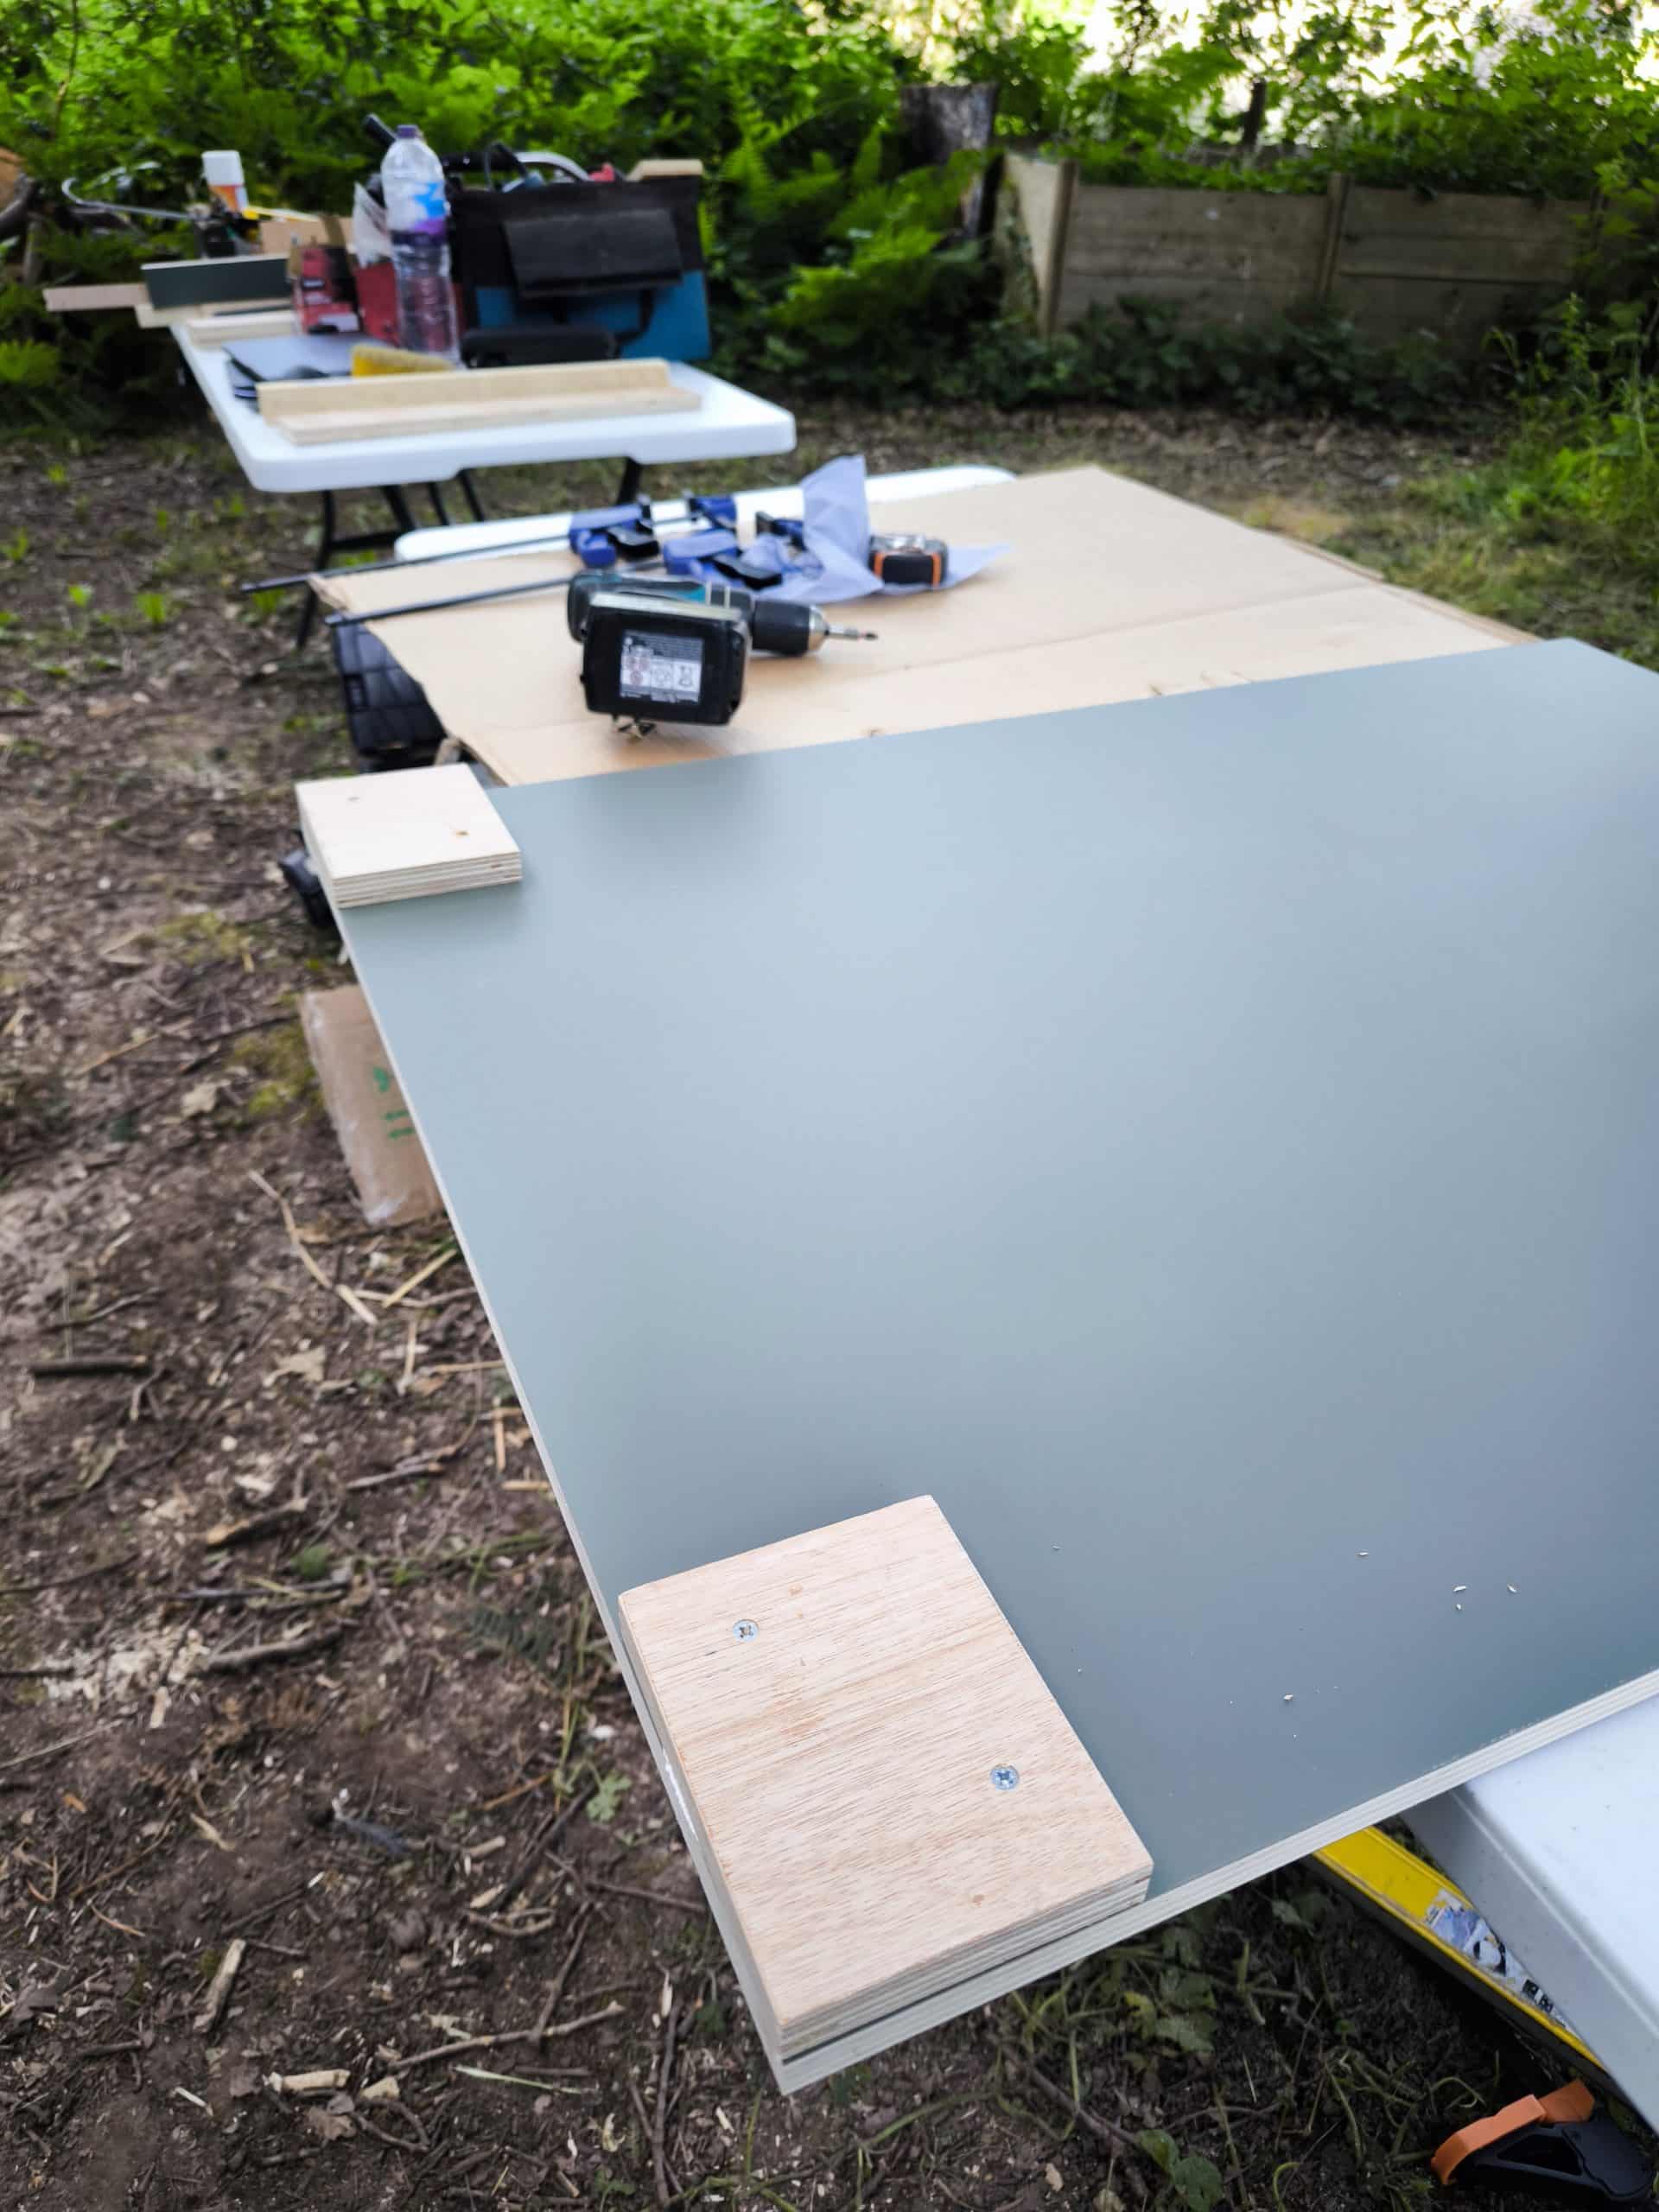
You only get one shot at this and its is a big panel to remake if I messed it up, so I did my absolute best to only drill in places I was sure worked. I nearly buried one screw head too deep but no harm done and is still looking pristine.
That’s all i got done today between lugging stuff up the hill, measuring up, checking dimensions, tweaking the design and then remeasuring.