Diary Of A Camper Conversion
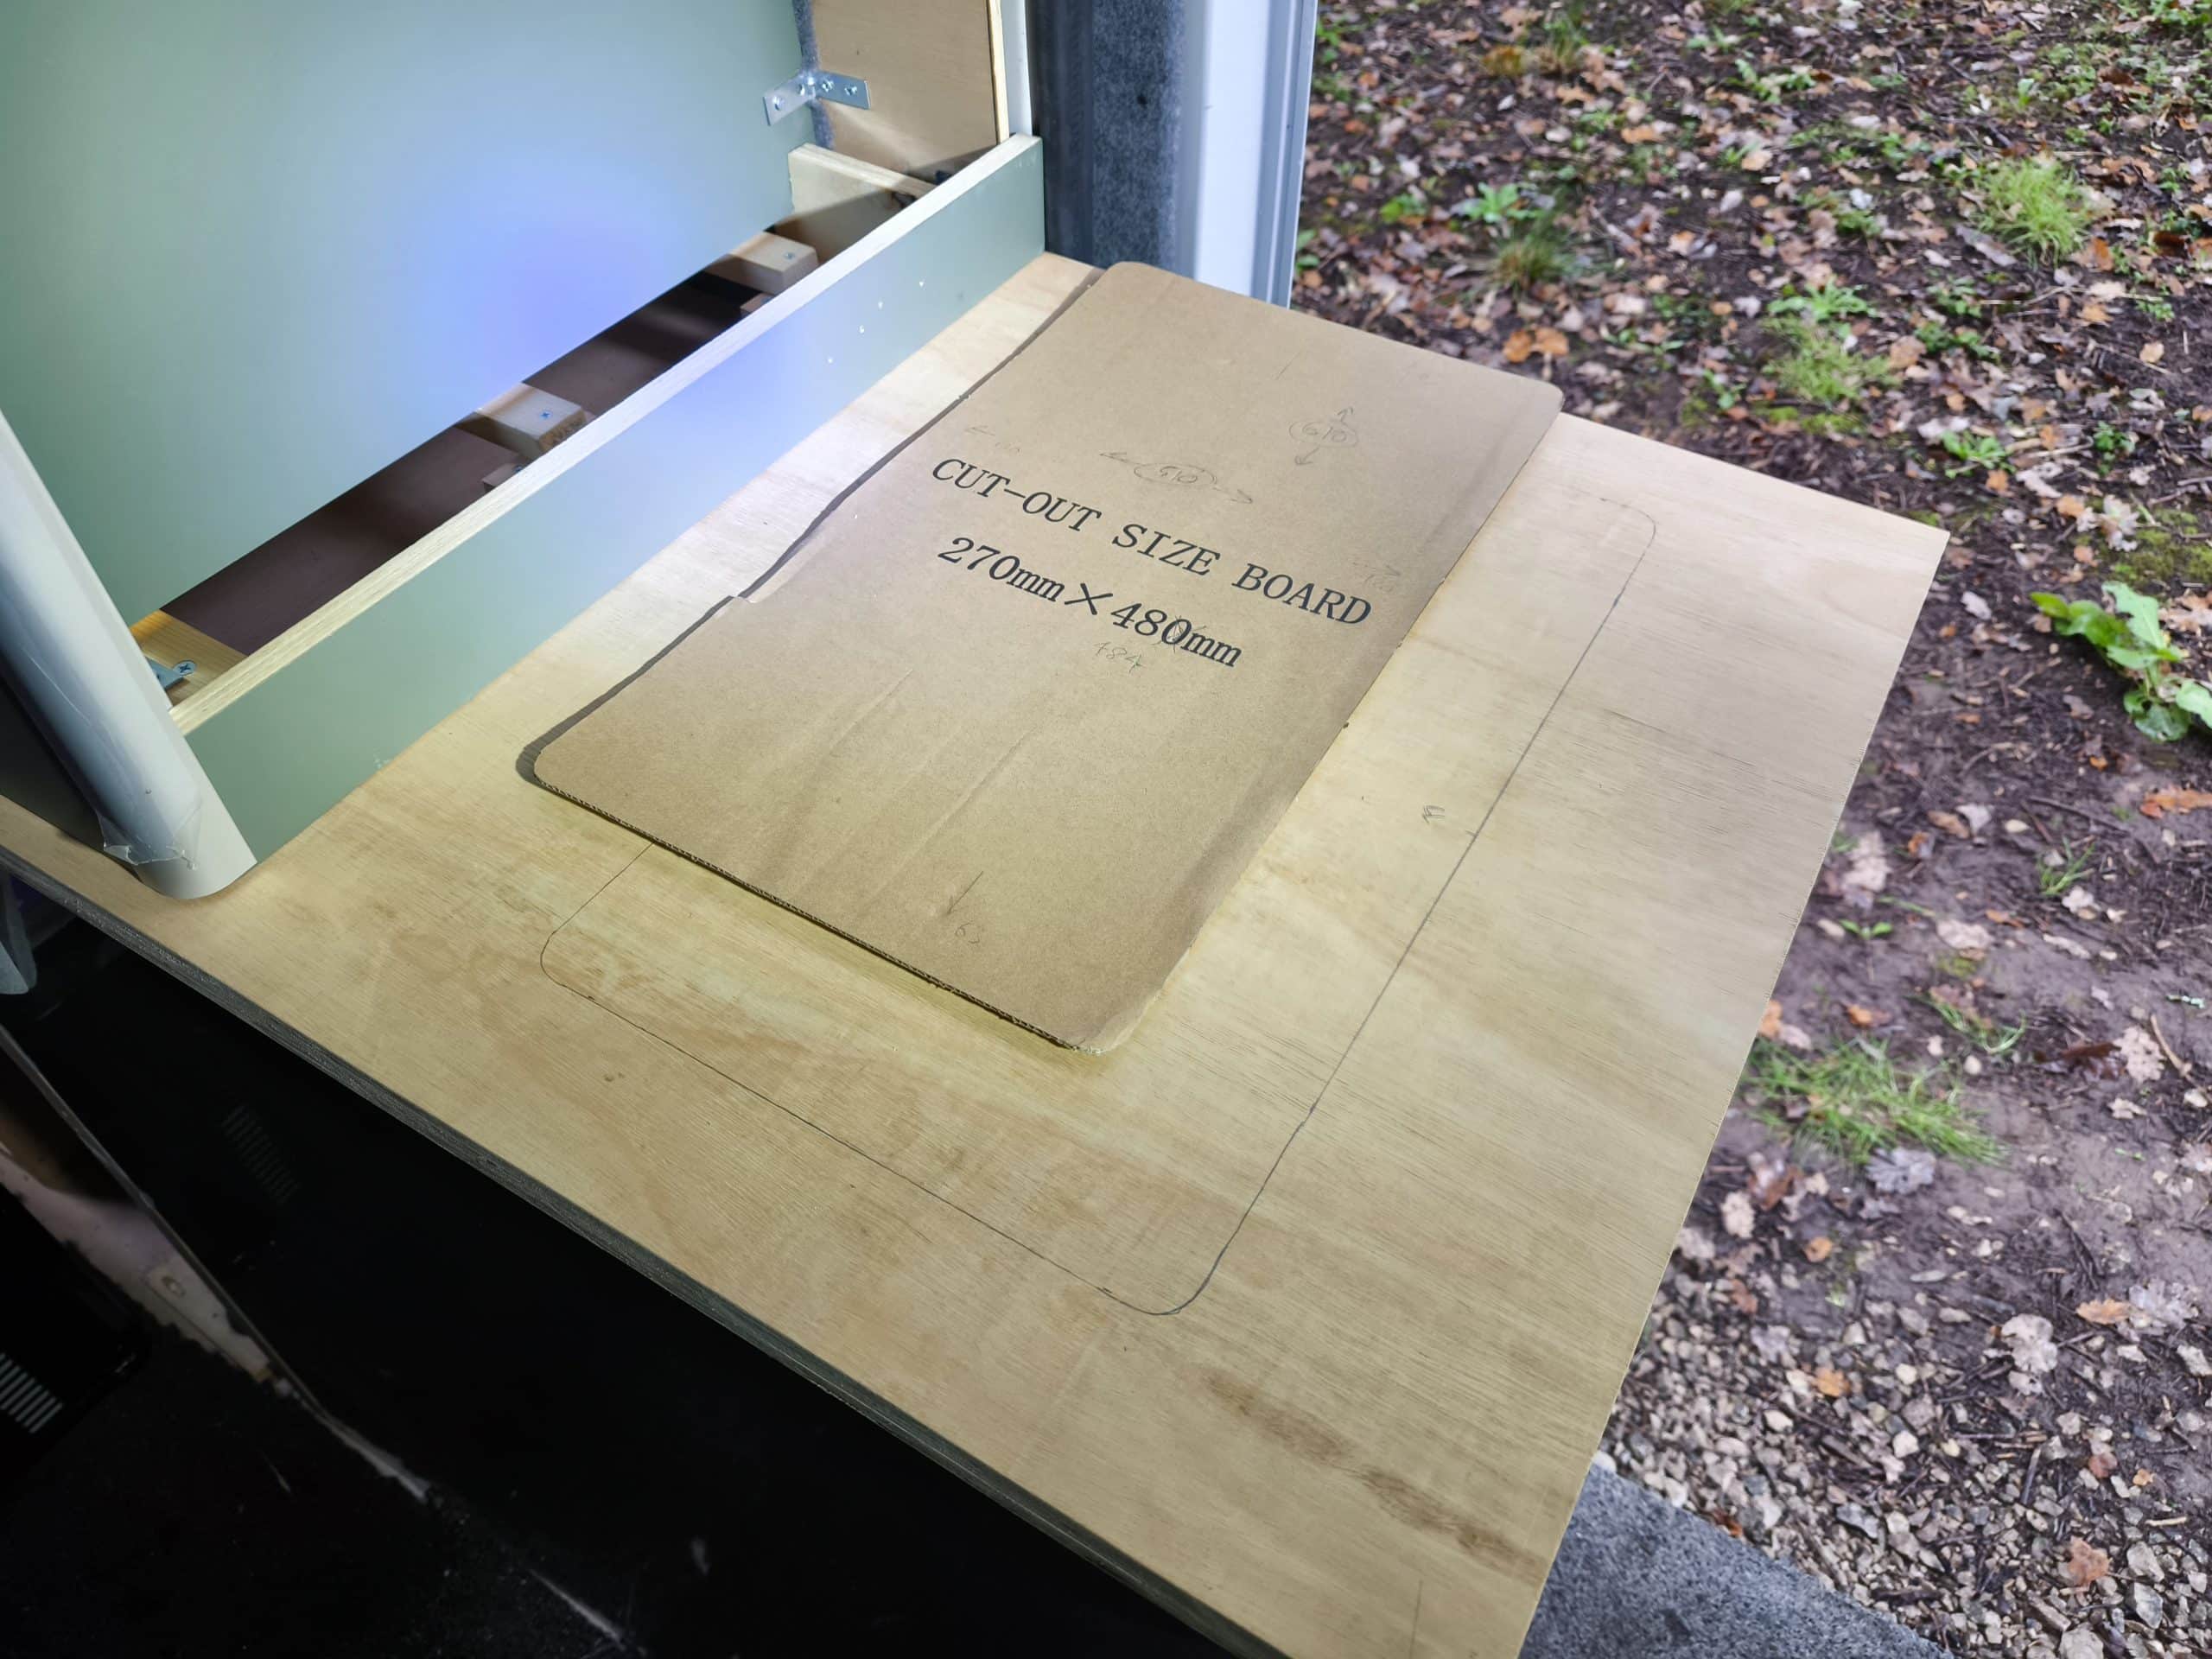
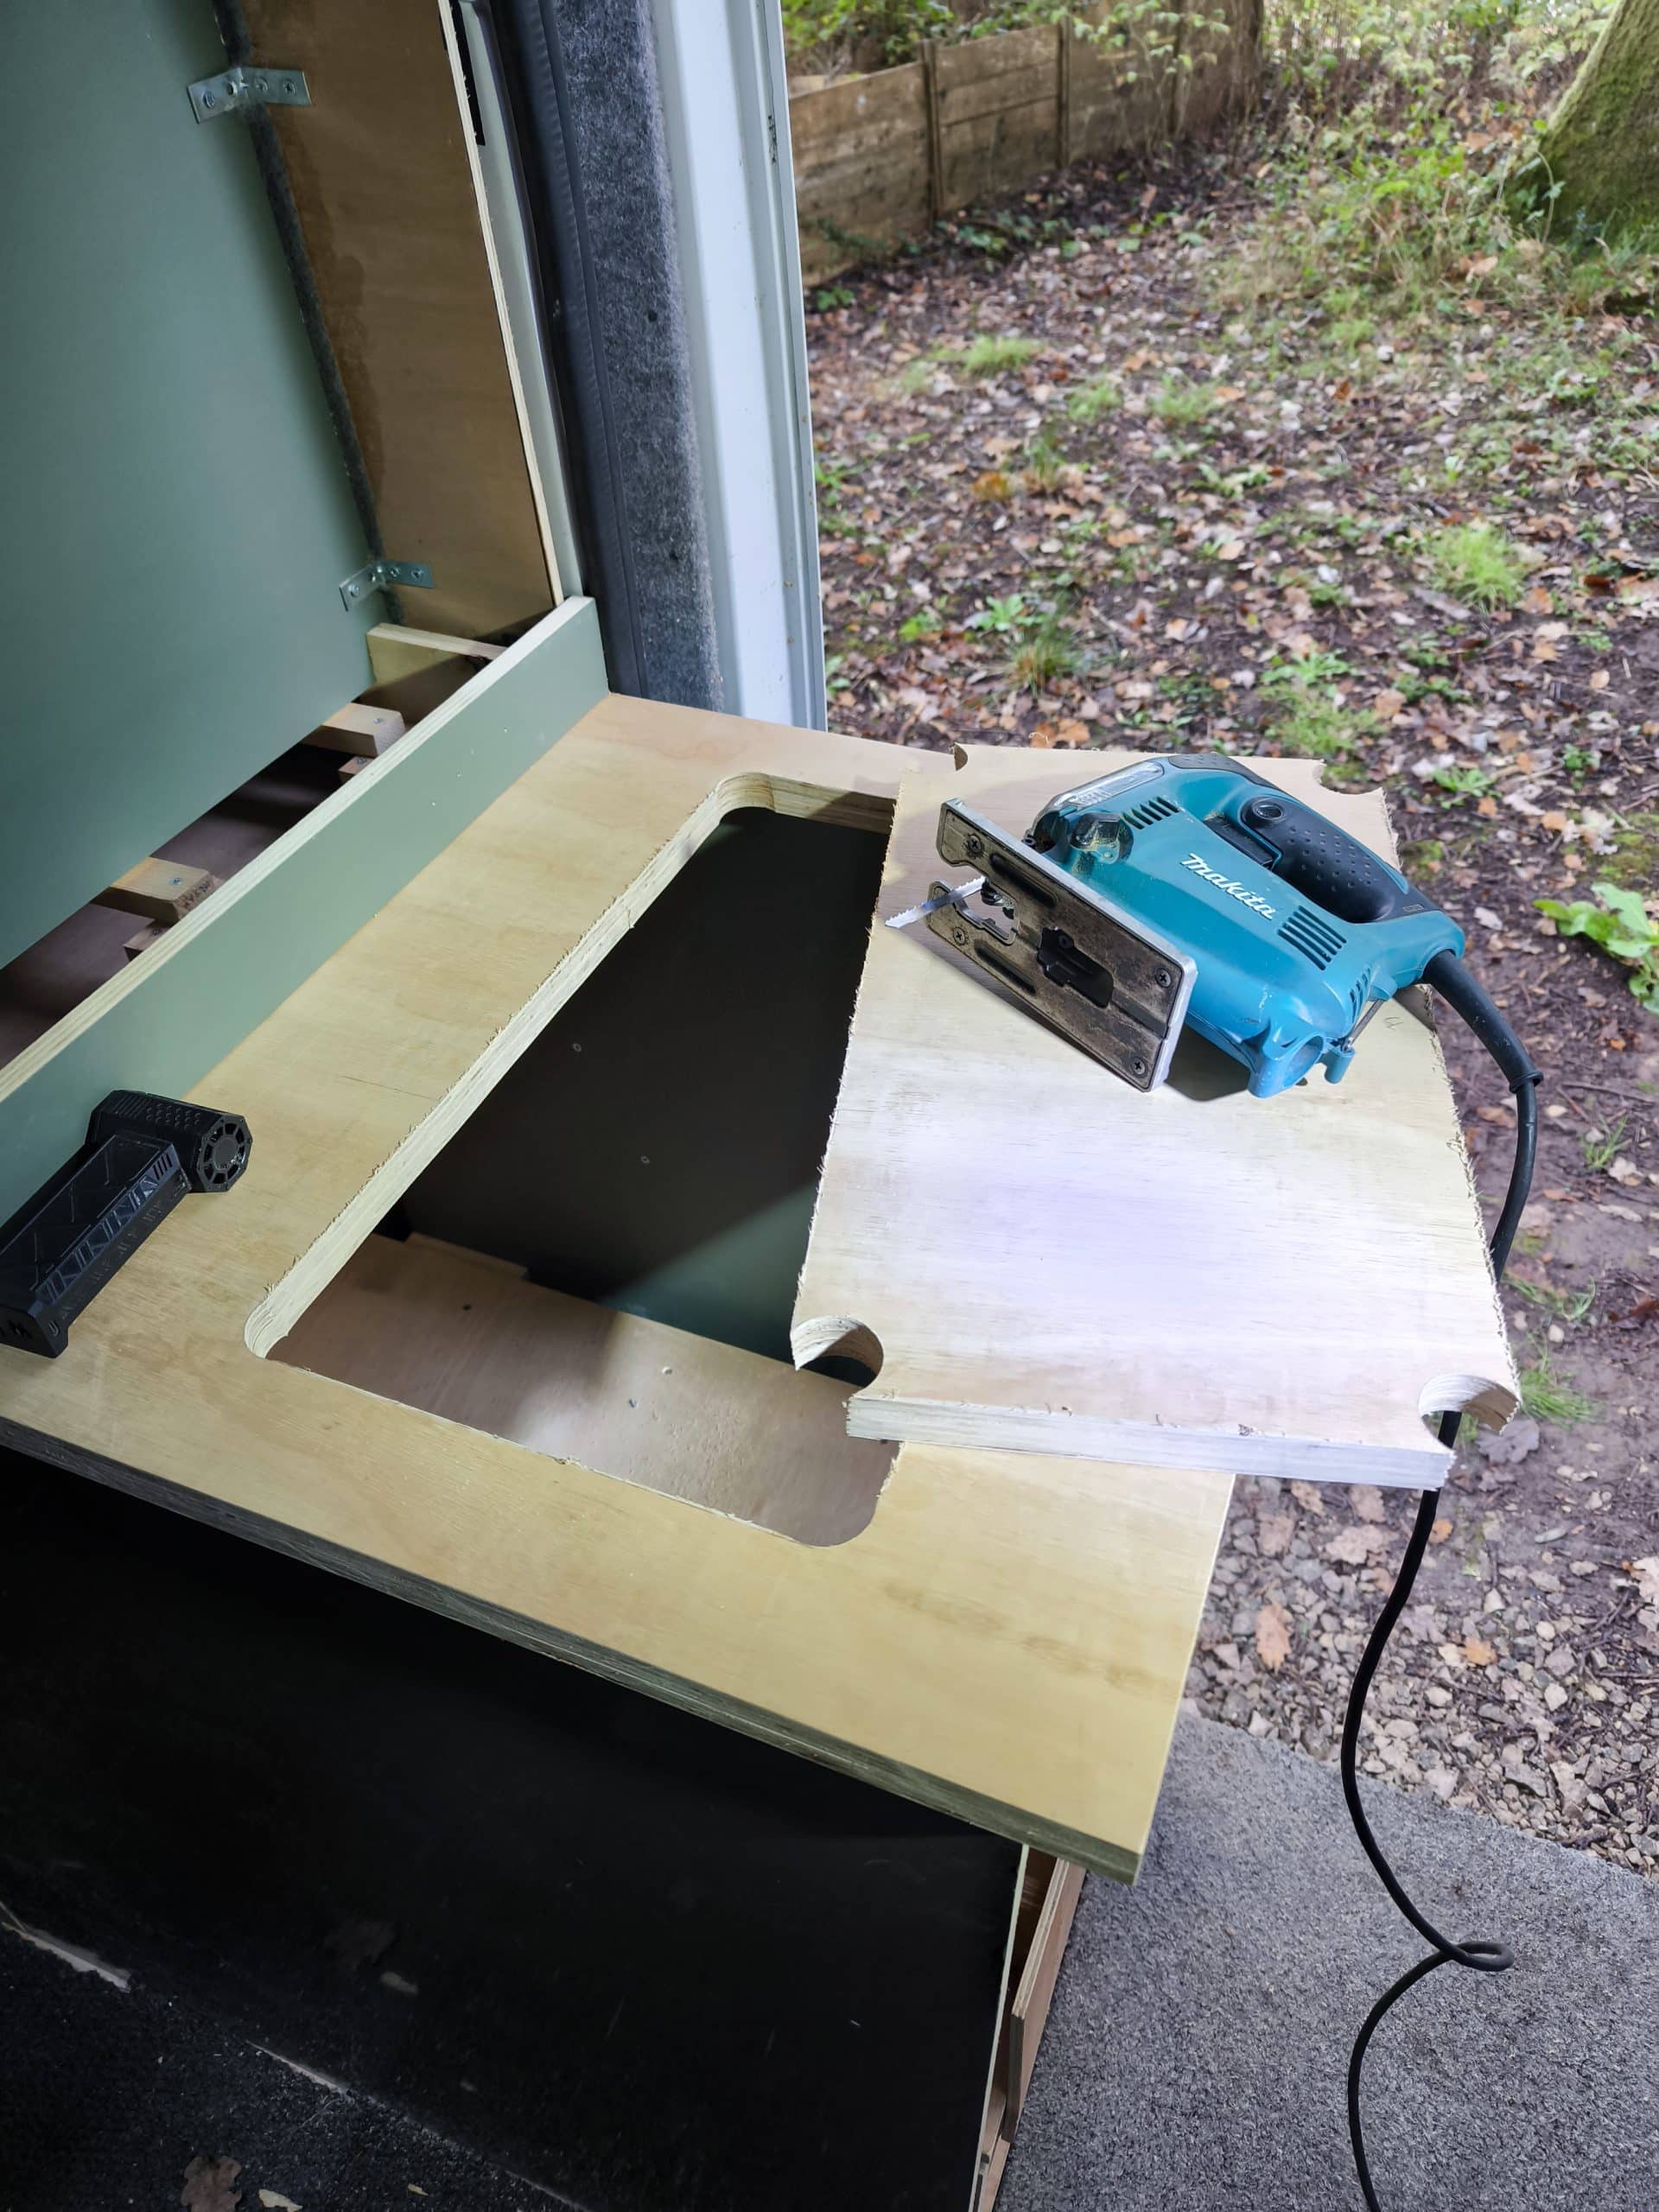
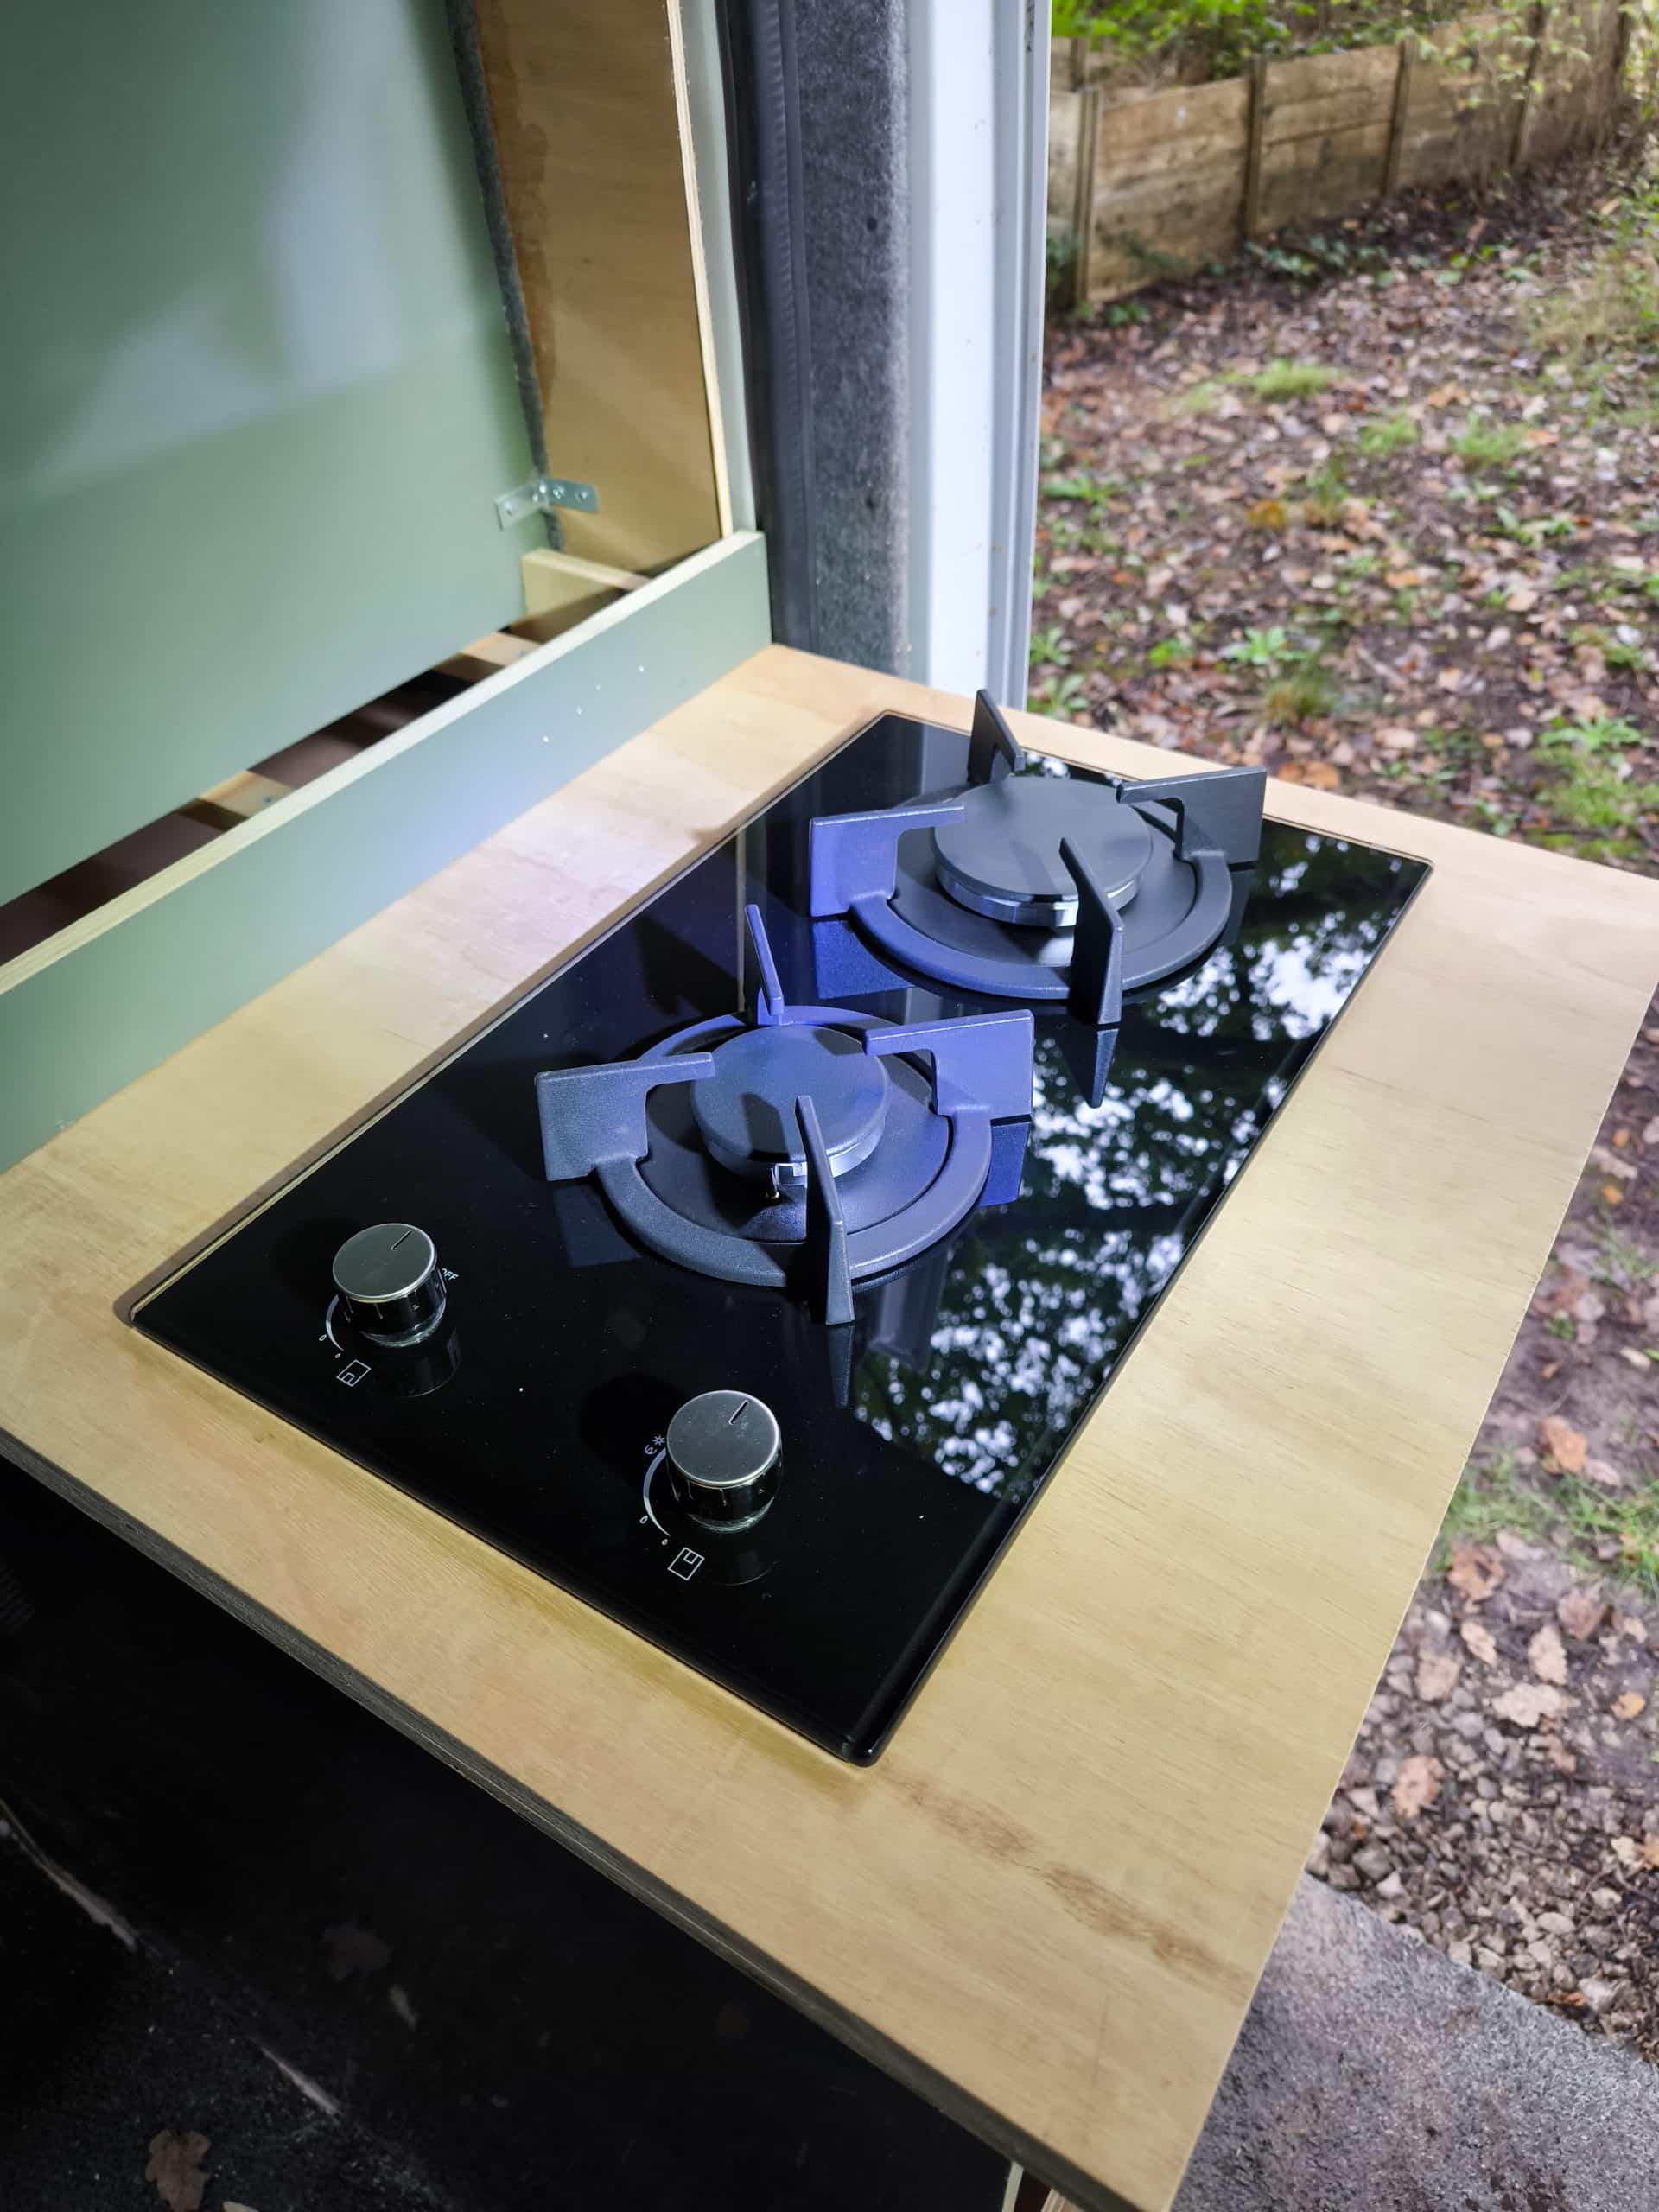
This morning was devoted to installing the gas hob in the work surface by the sliding door. This was one of those jobs that was measure 5 times, get ready to cut, and then measure again just to make sure. But once it was in I had a real burst of motivation as it’s one of the first visible appliances installed. As a side bonus it also meant one of the cardboard boxes in my shed could now go in the bin!
But back to the heating system…
With the burner location decided upon, I now had to work out the best way to route the pipes and connect them all together with pumps and the blower box.
I plopped the hot water tank in my water cupboard on the floor at the back as the main component. This is the cupboard beneath where my sink will be located and will be entirely filled with utilities.
Which way round?
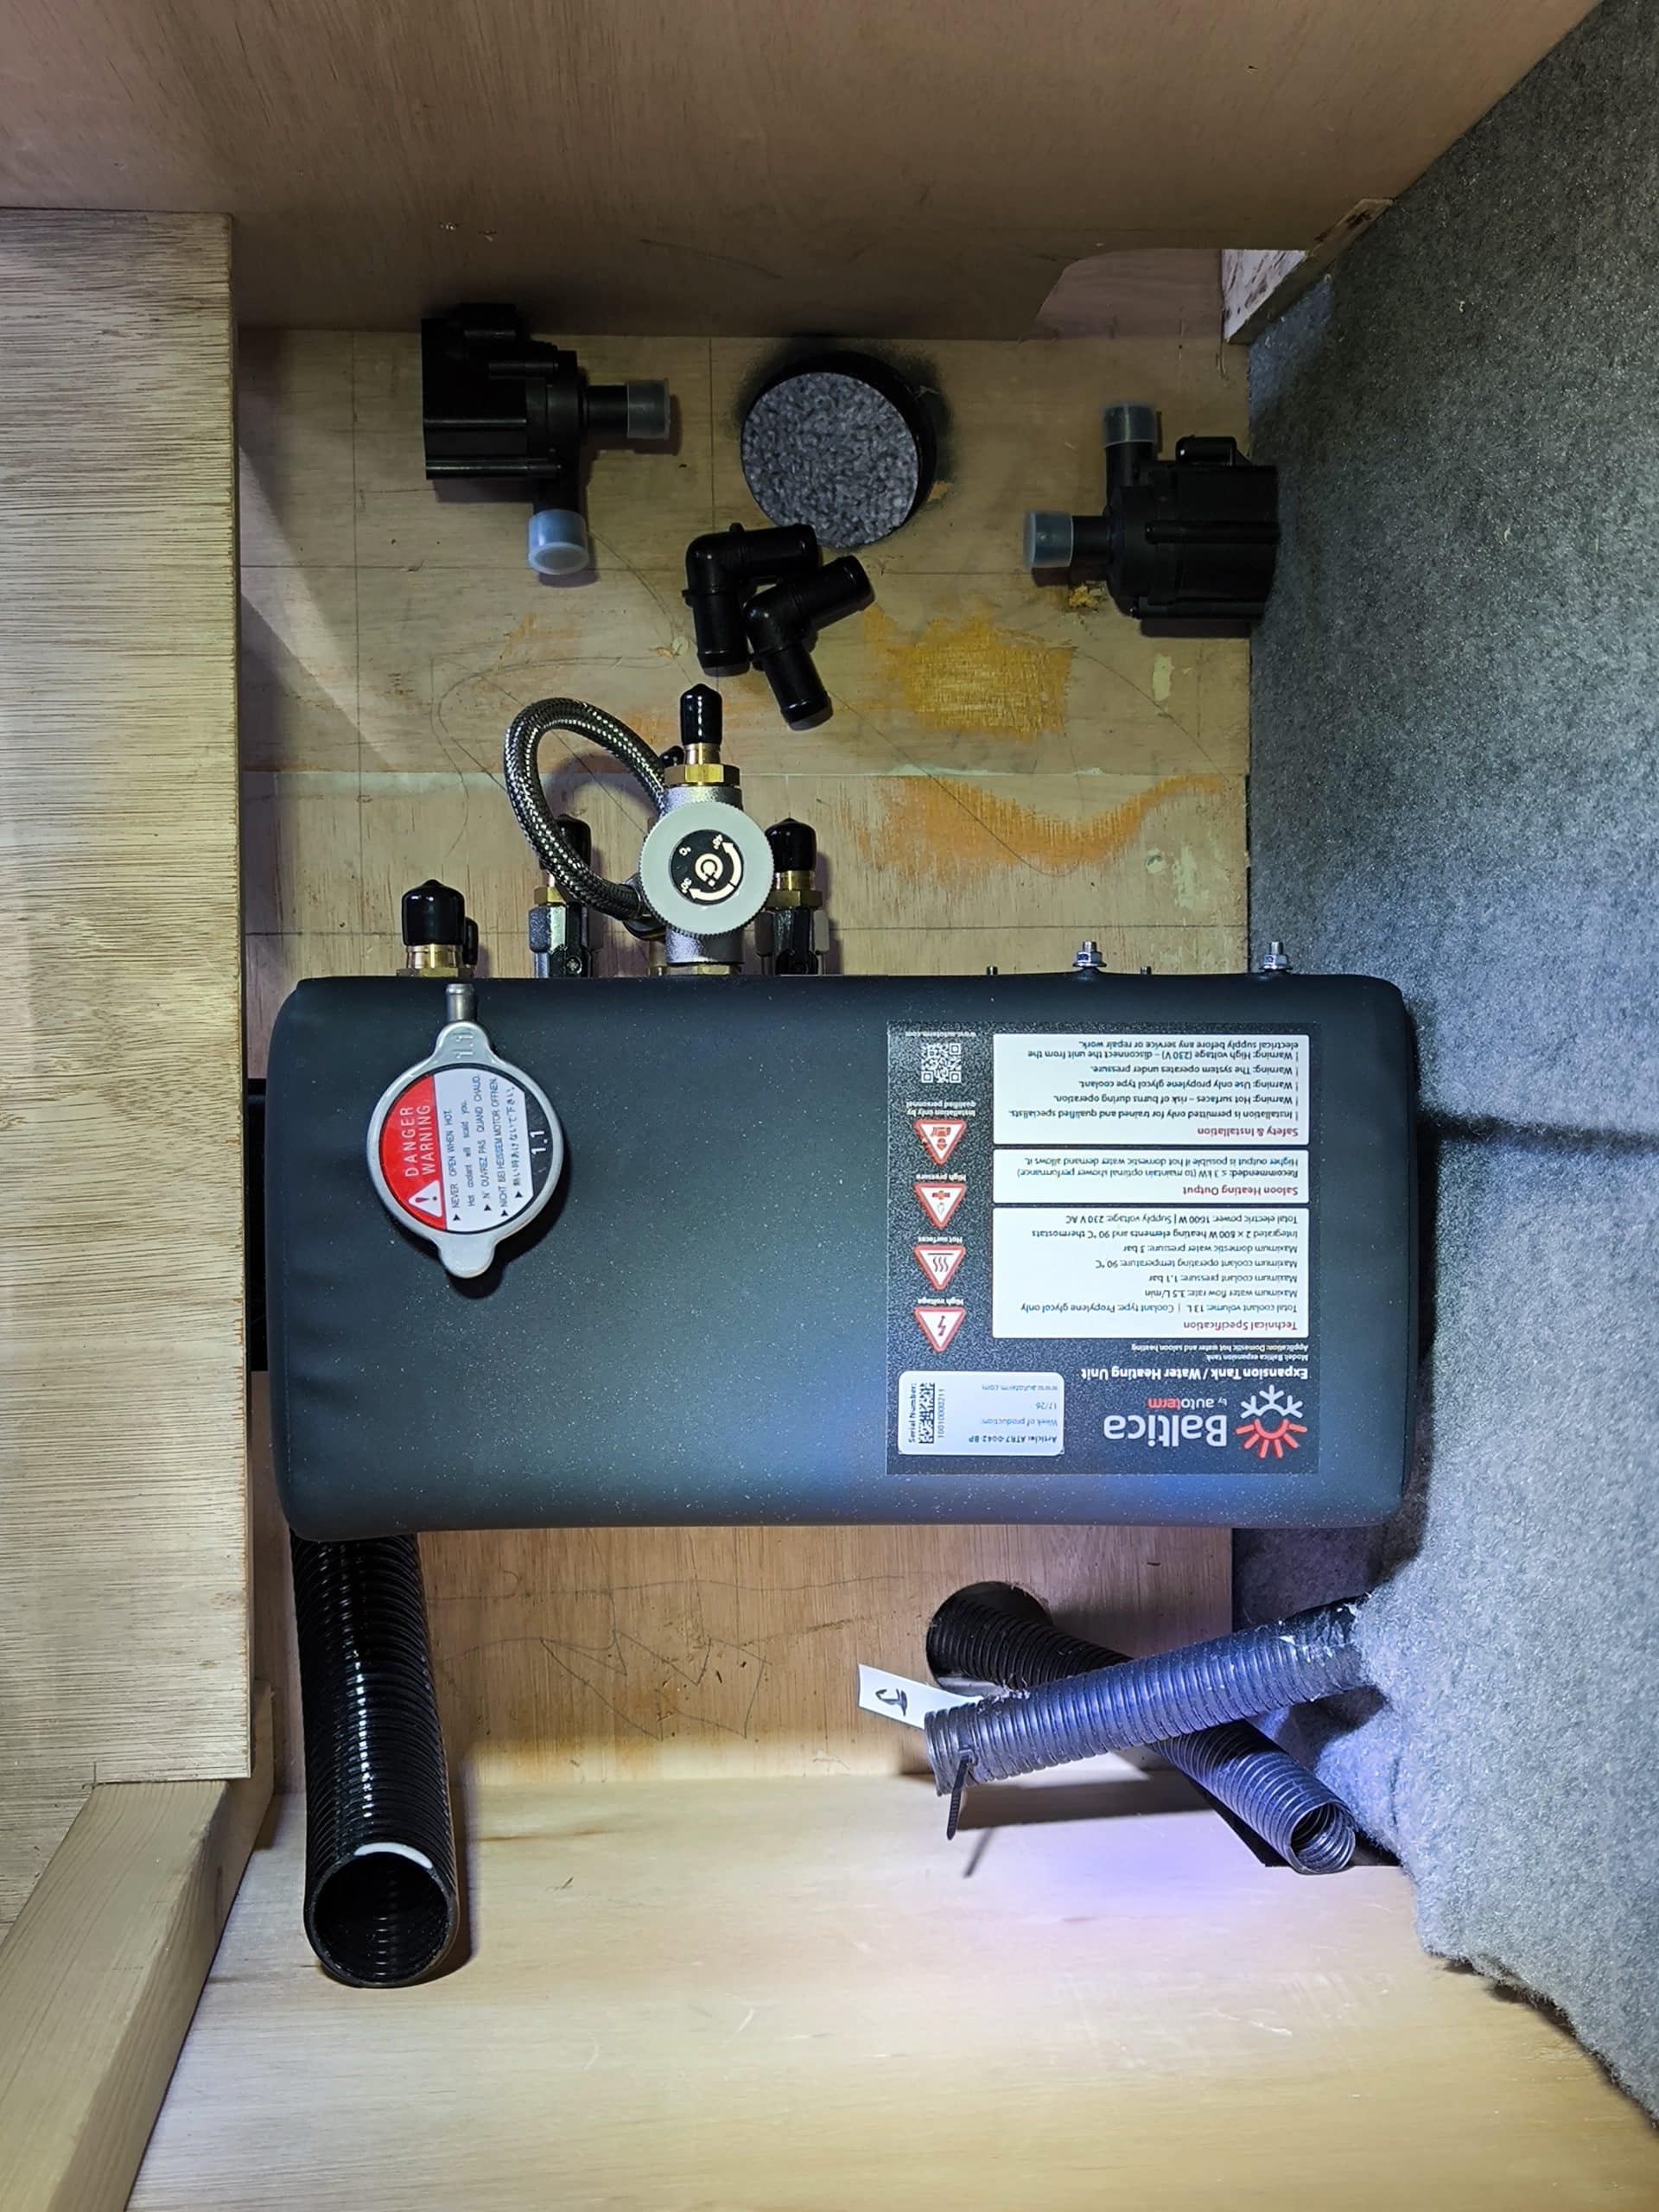
Sideways separates electricity and water quite nicely visually but doesn’t do much for anything else. That was only briefly entertained because it fits perfectly between the cabinet and the back wall but.
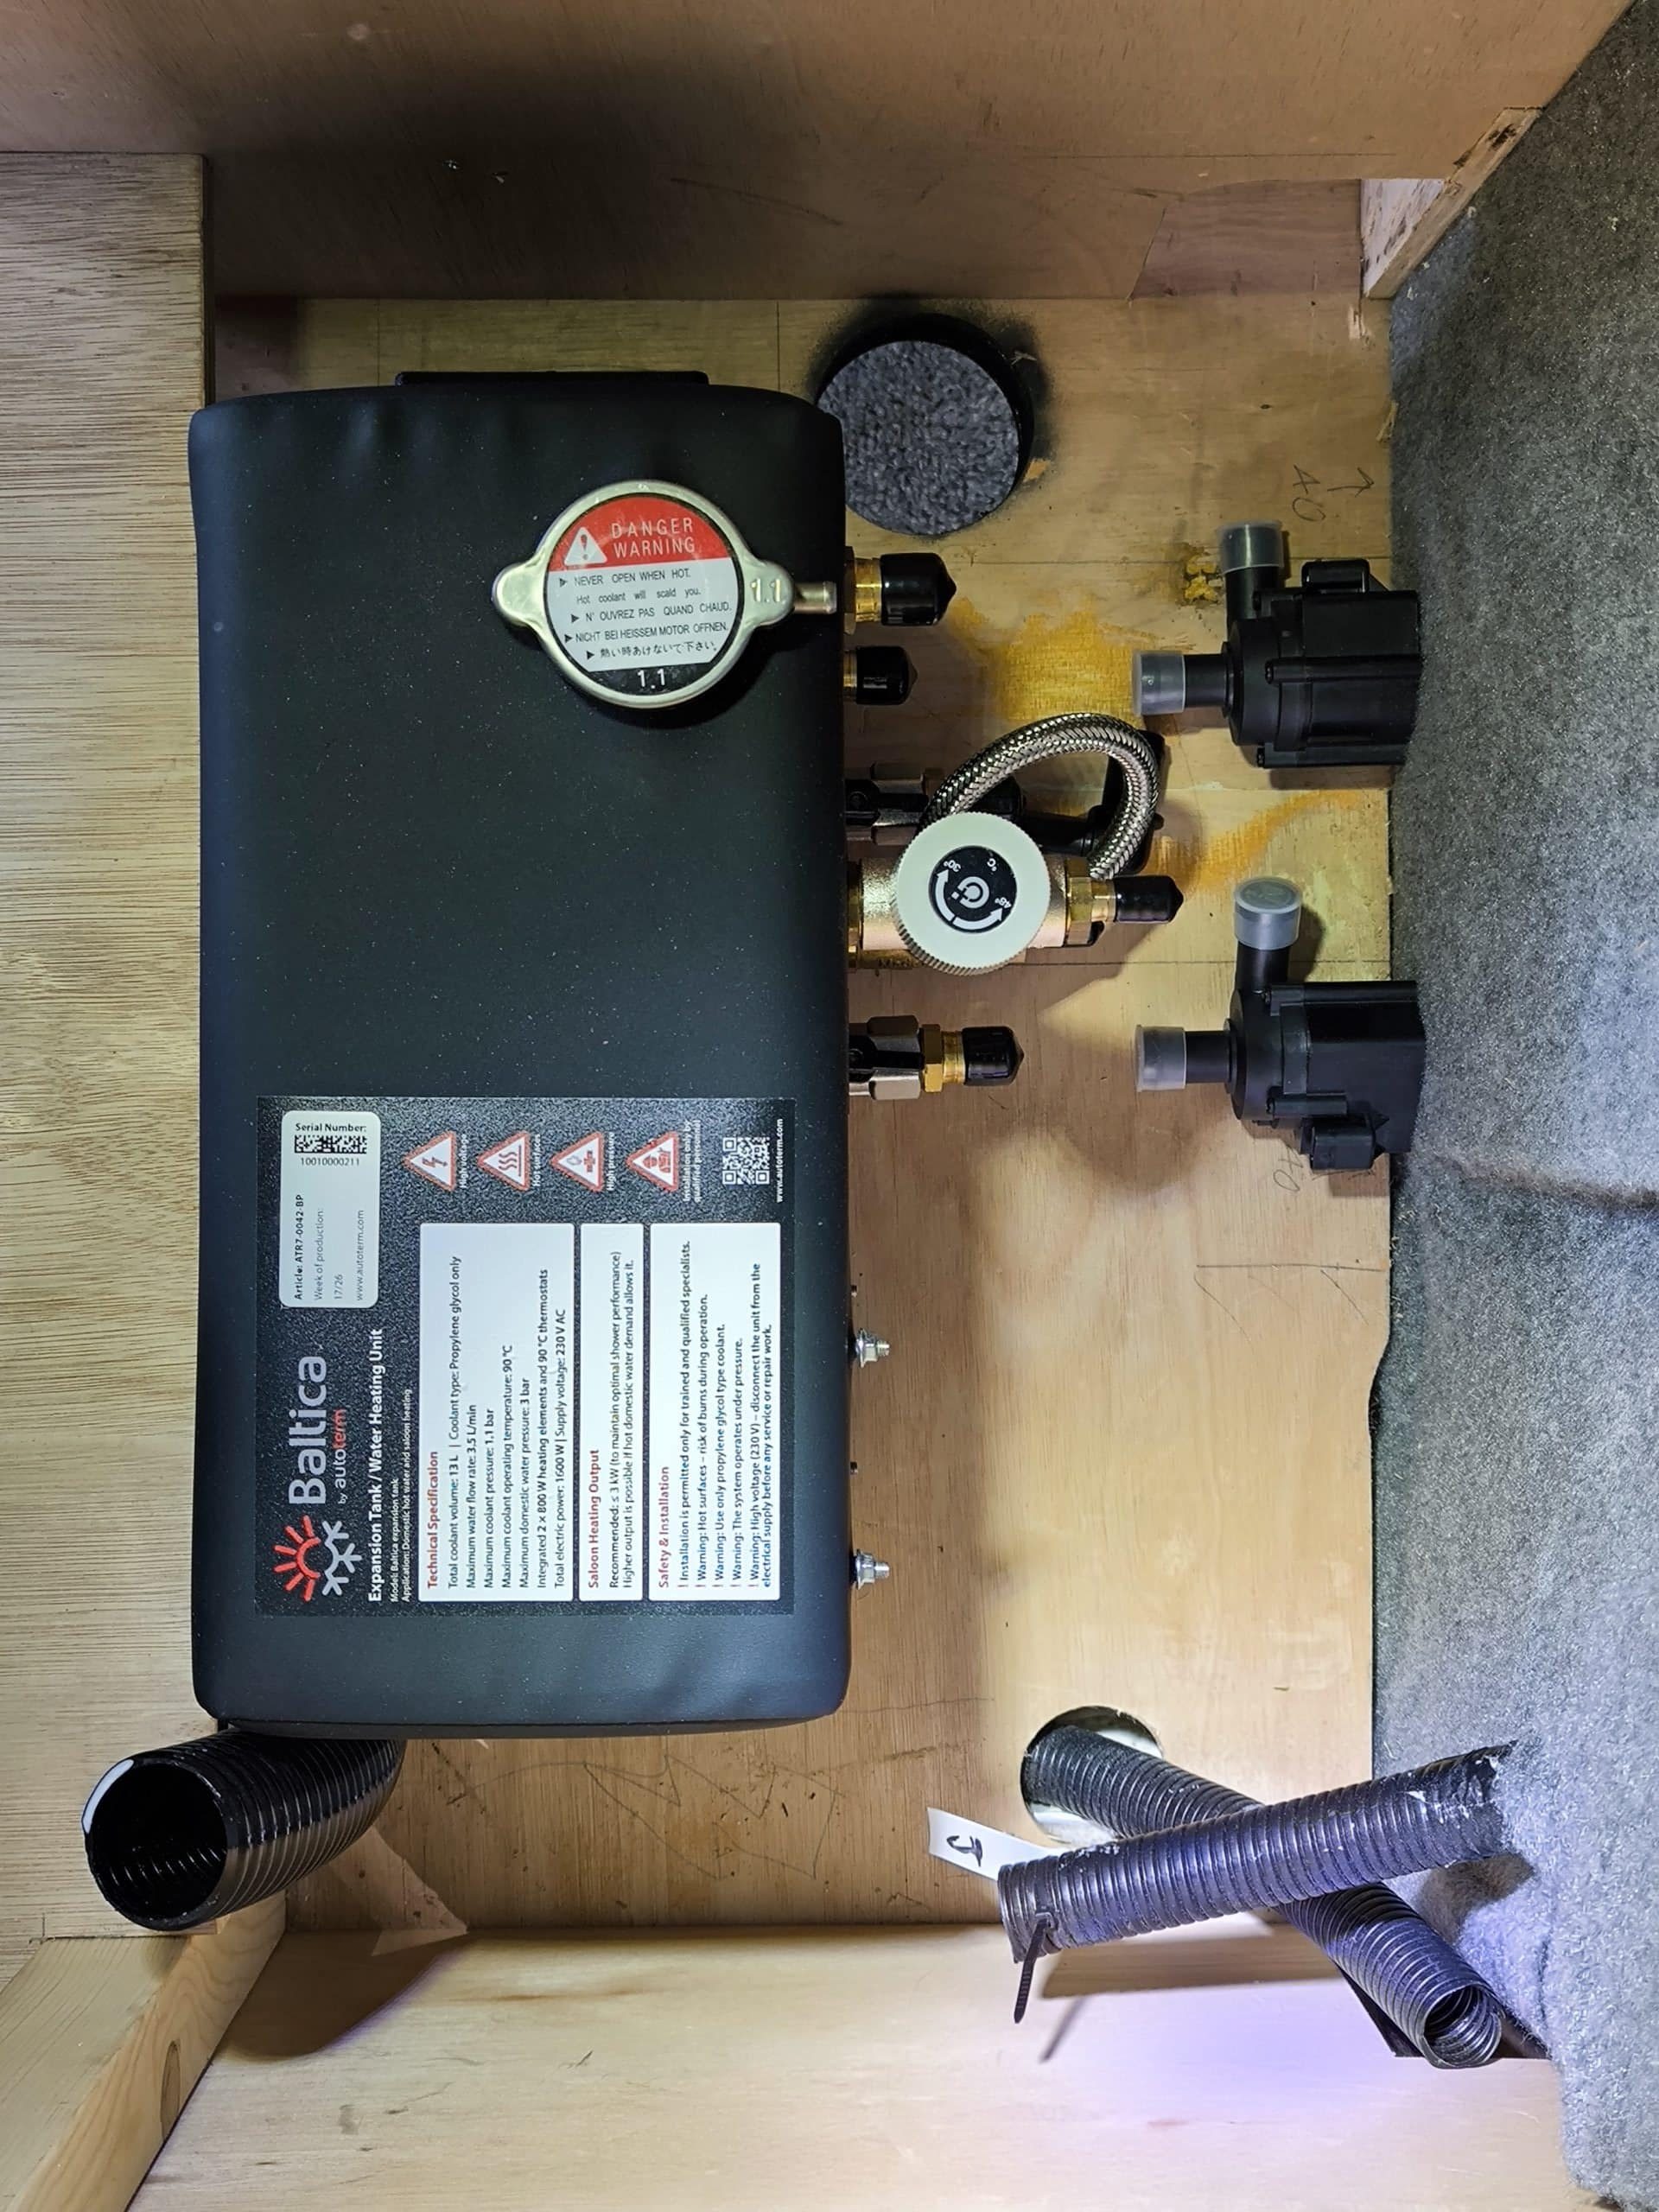
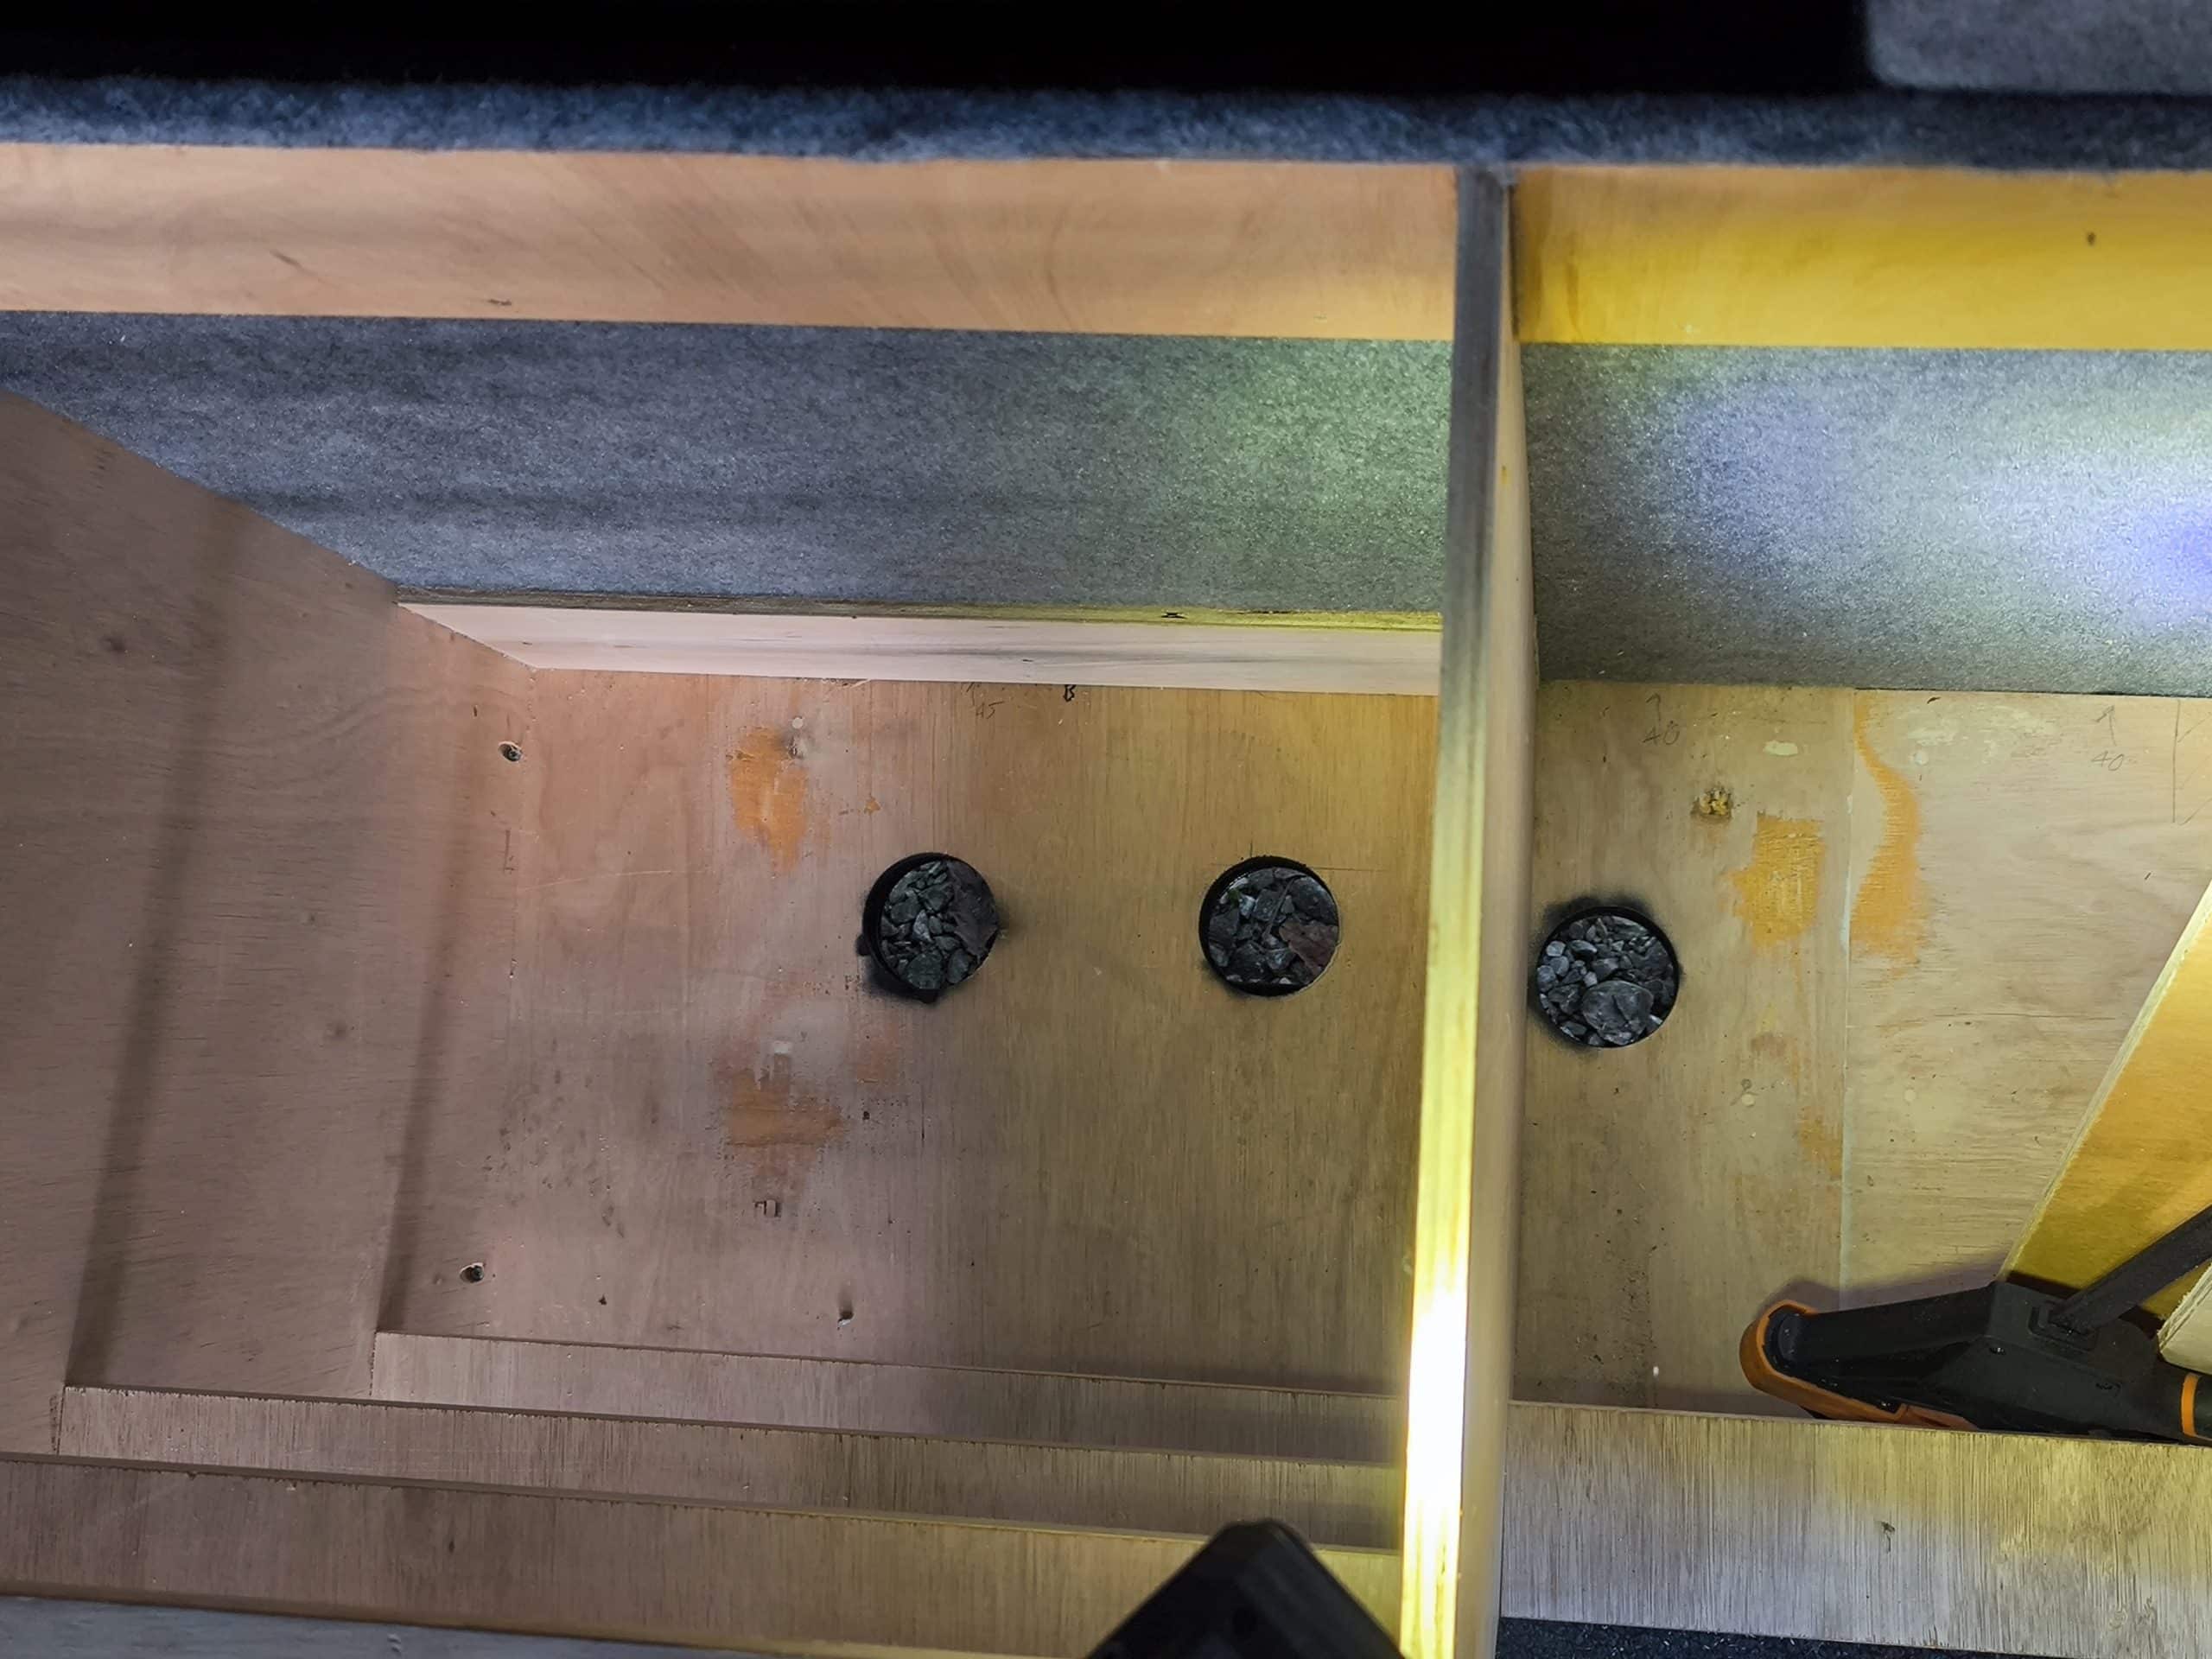
Back to front was my preferred orientation for a good part of yesterday and this morning. I even got so far as to cut and fit some piping, measuring out lengths and then clamping them to the barbed ports on the tank. The main reason for entertaining this mounting location was that it maintained access to the floor space where it’s possible to drill through to under the van. The tank sits neatly above a structural member and the remaining floor can be drilled anywhere to accommodate pipes, like the sink waste water pipe.
But this particular location also would mean any pipes exiting the van would be close to the exhaust pipe. Not so much of a problem for small heating pipes, but there’s no way a 50mm waste pipe will get past the exhaust without getting melted.
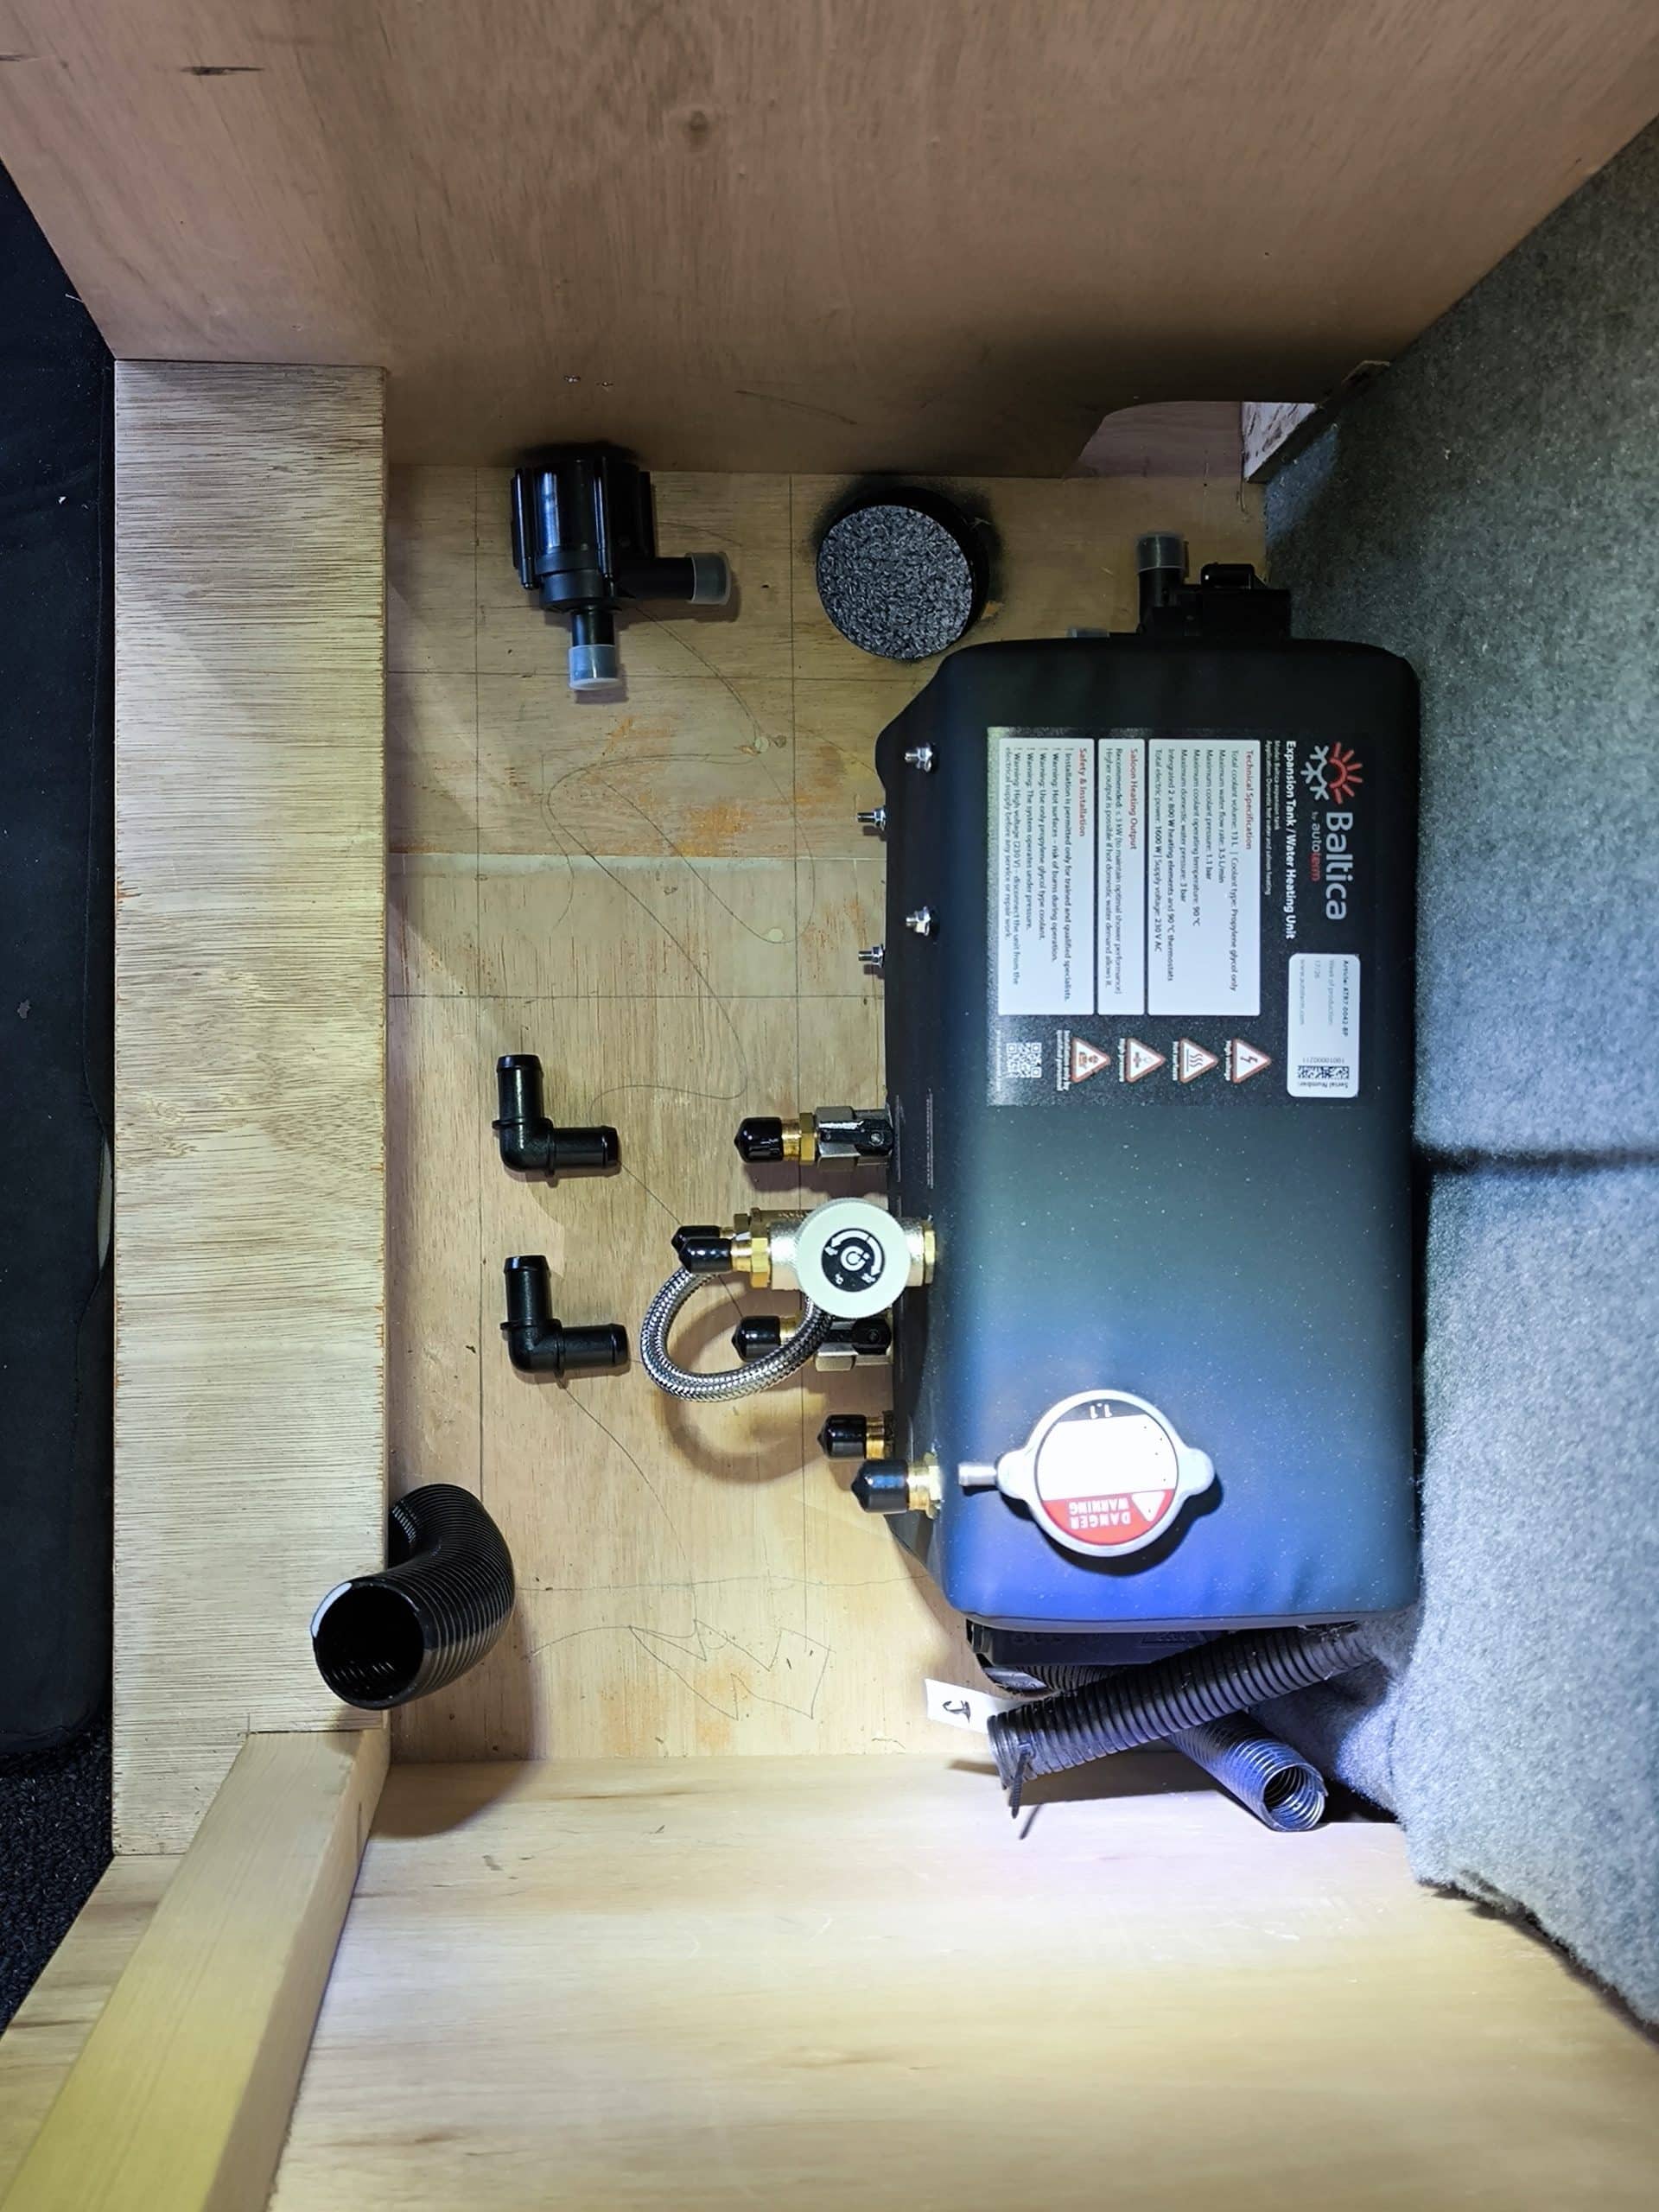
I therefore had to find an alternate route for this pipe which led to the only logical and expected outcome of the install. A conventionally placed tank in the bottom of the cupboard at the back. All the ports face you and even the labels are the right way up. But mounting it here covers the easy location to drill the floor. So this meant to fit the water pipe I would need a slightly wonky hole, drilled diagonally into the floor, right at the toe kick of the cabinet. This hole just makes it past the van floor structural member and into the void where the water tanks will sit.
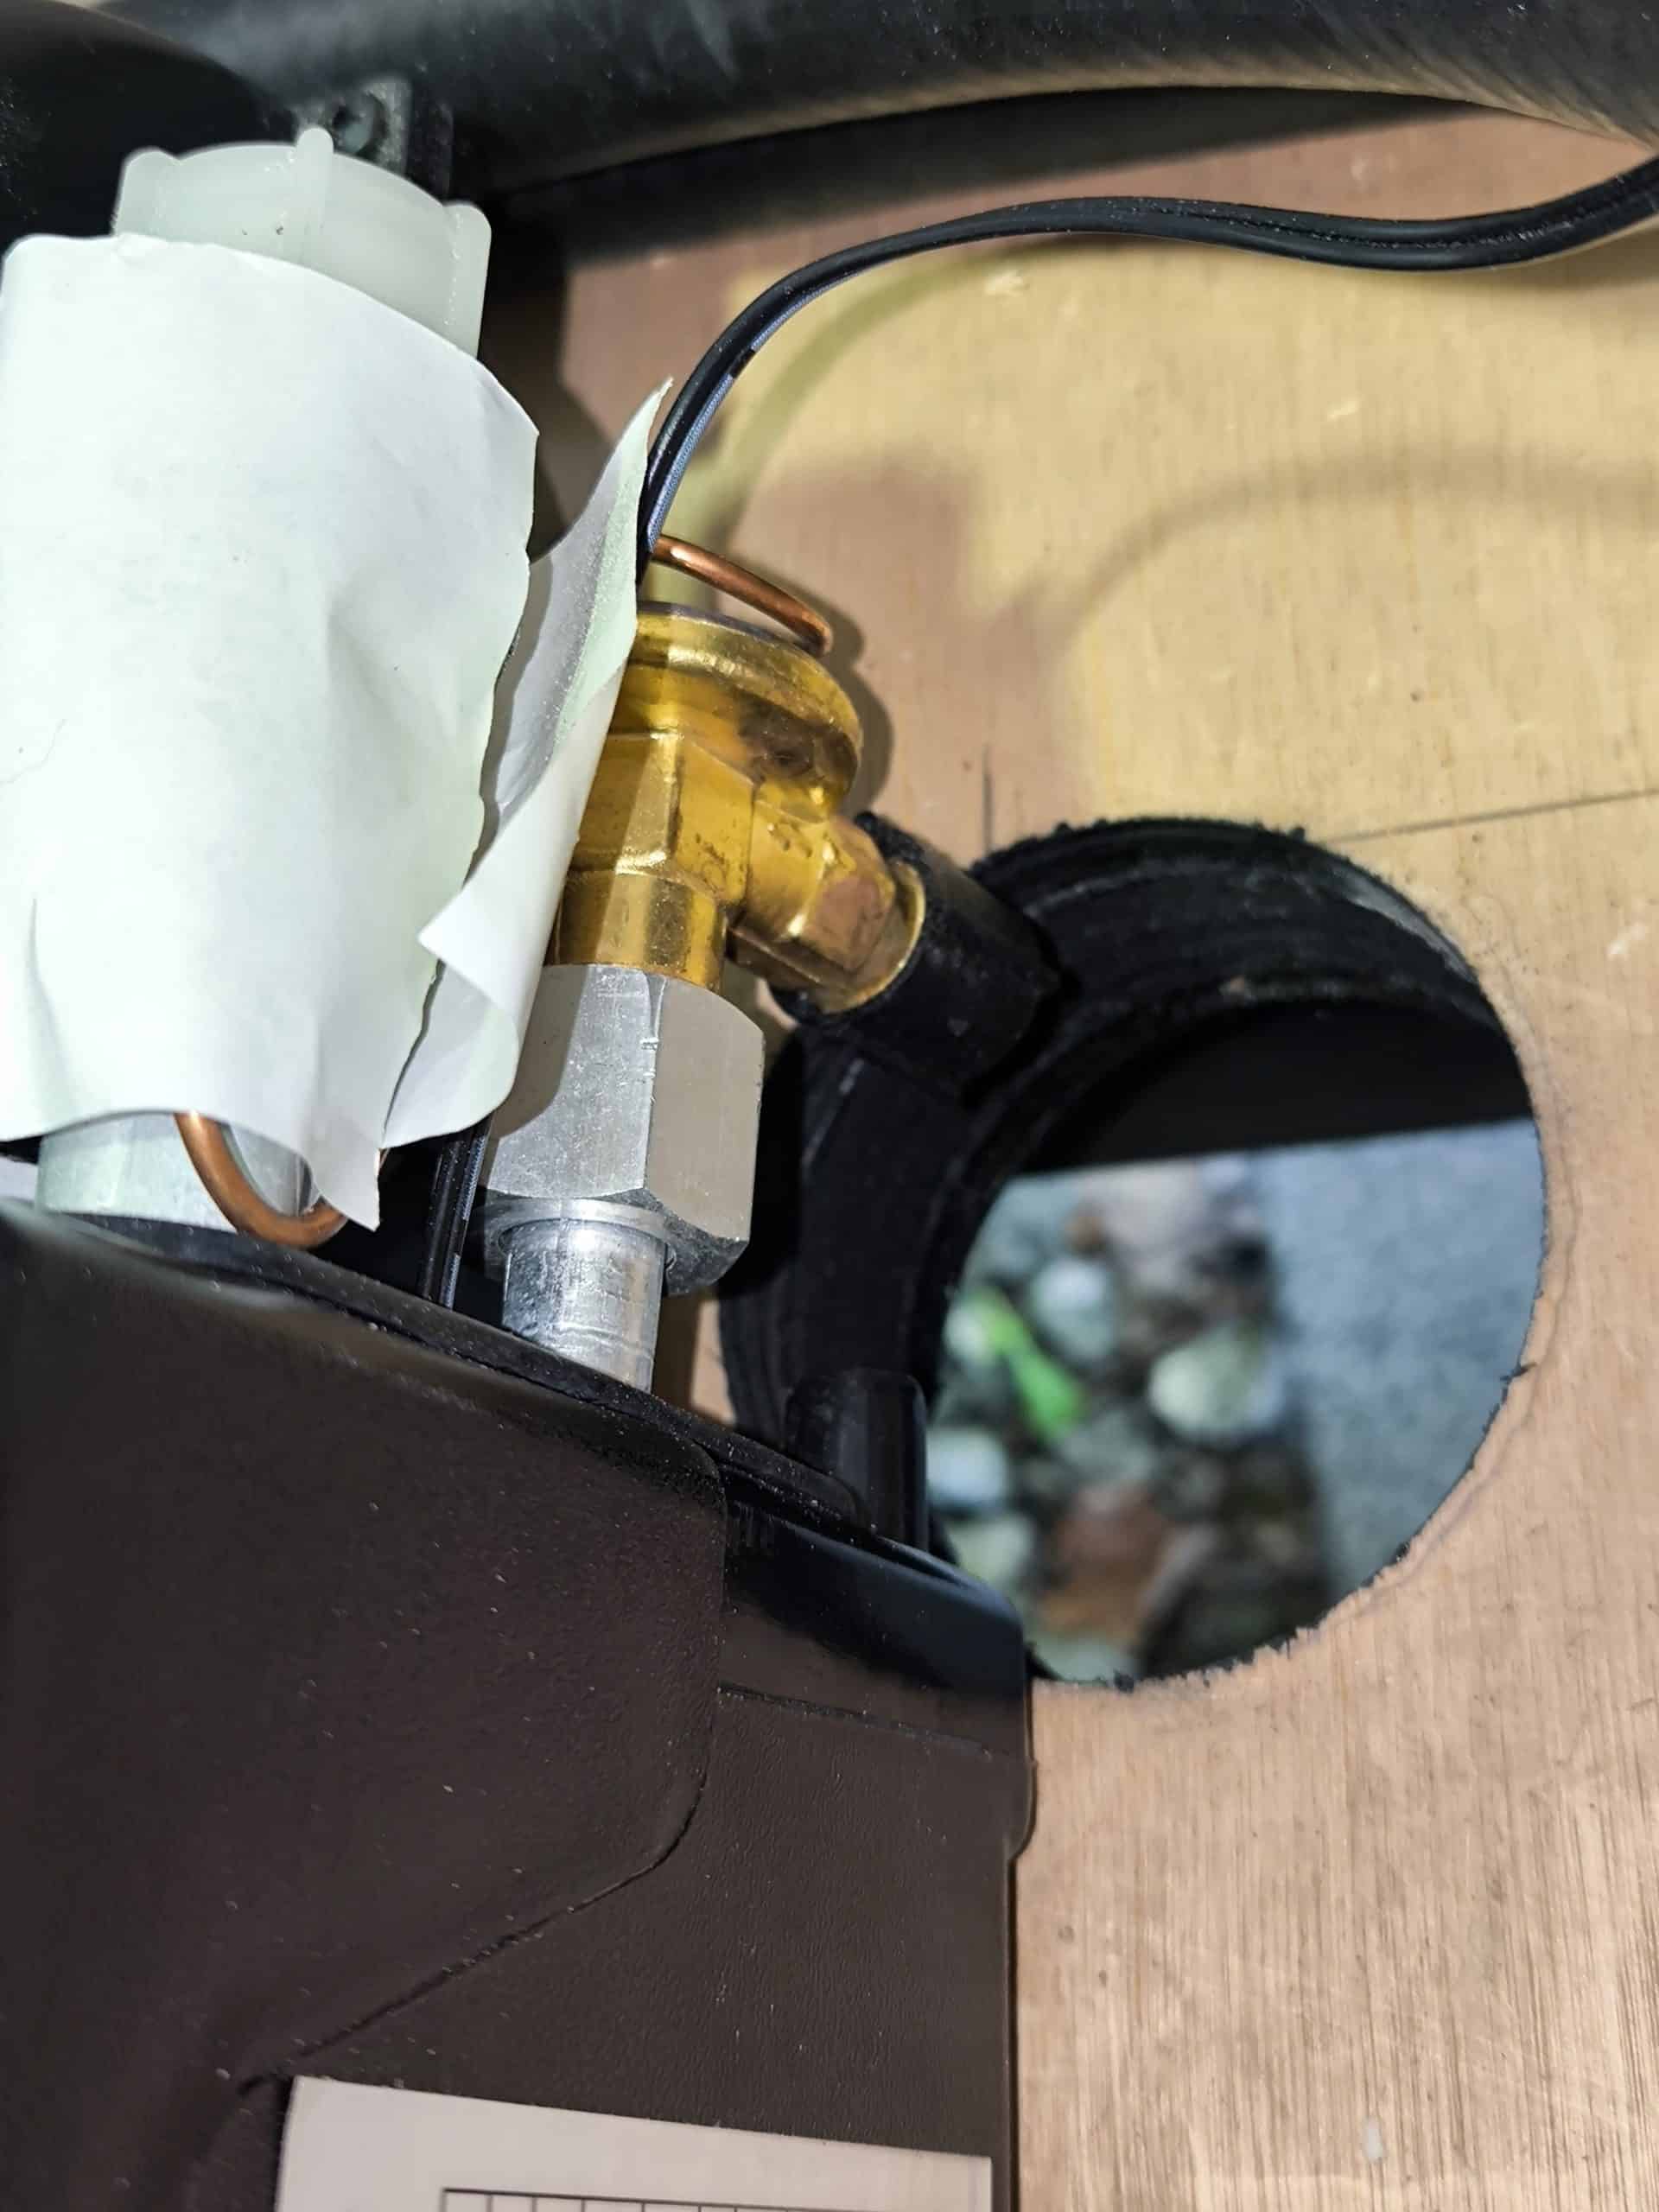
With the tank located I also got the blower box mechanically installed. I managed to fit it into the space below the kitchen drawer unit. This wasn’t an accident (unlike many other convenient instances) I knew how tall the box was and so sized the toe kicks to suit. Even so, it was tight and required some wiggling and bending of brackets to get it seated neatly. It’s going to be super tight to get the ducting to fit, but I’m sure it’s possible.
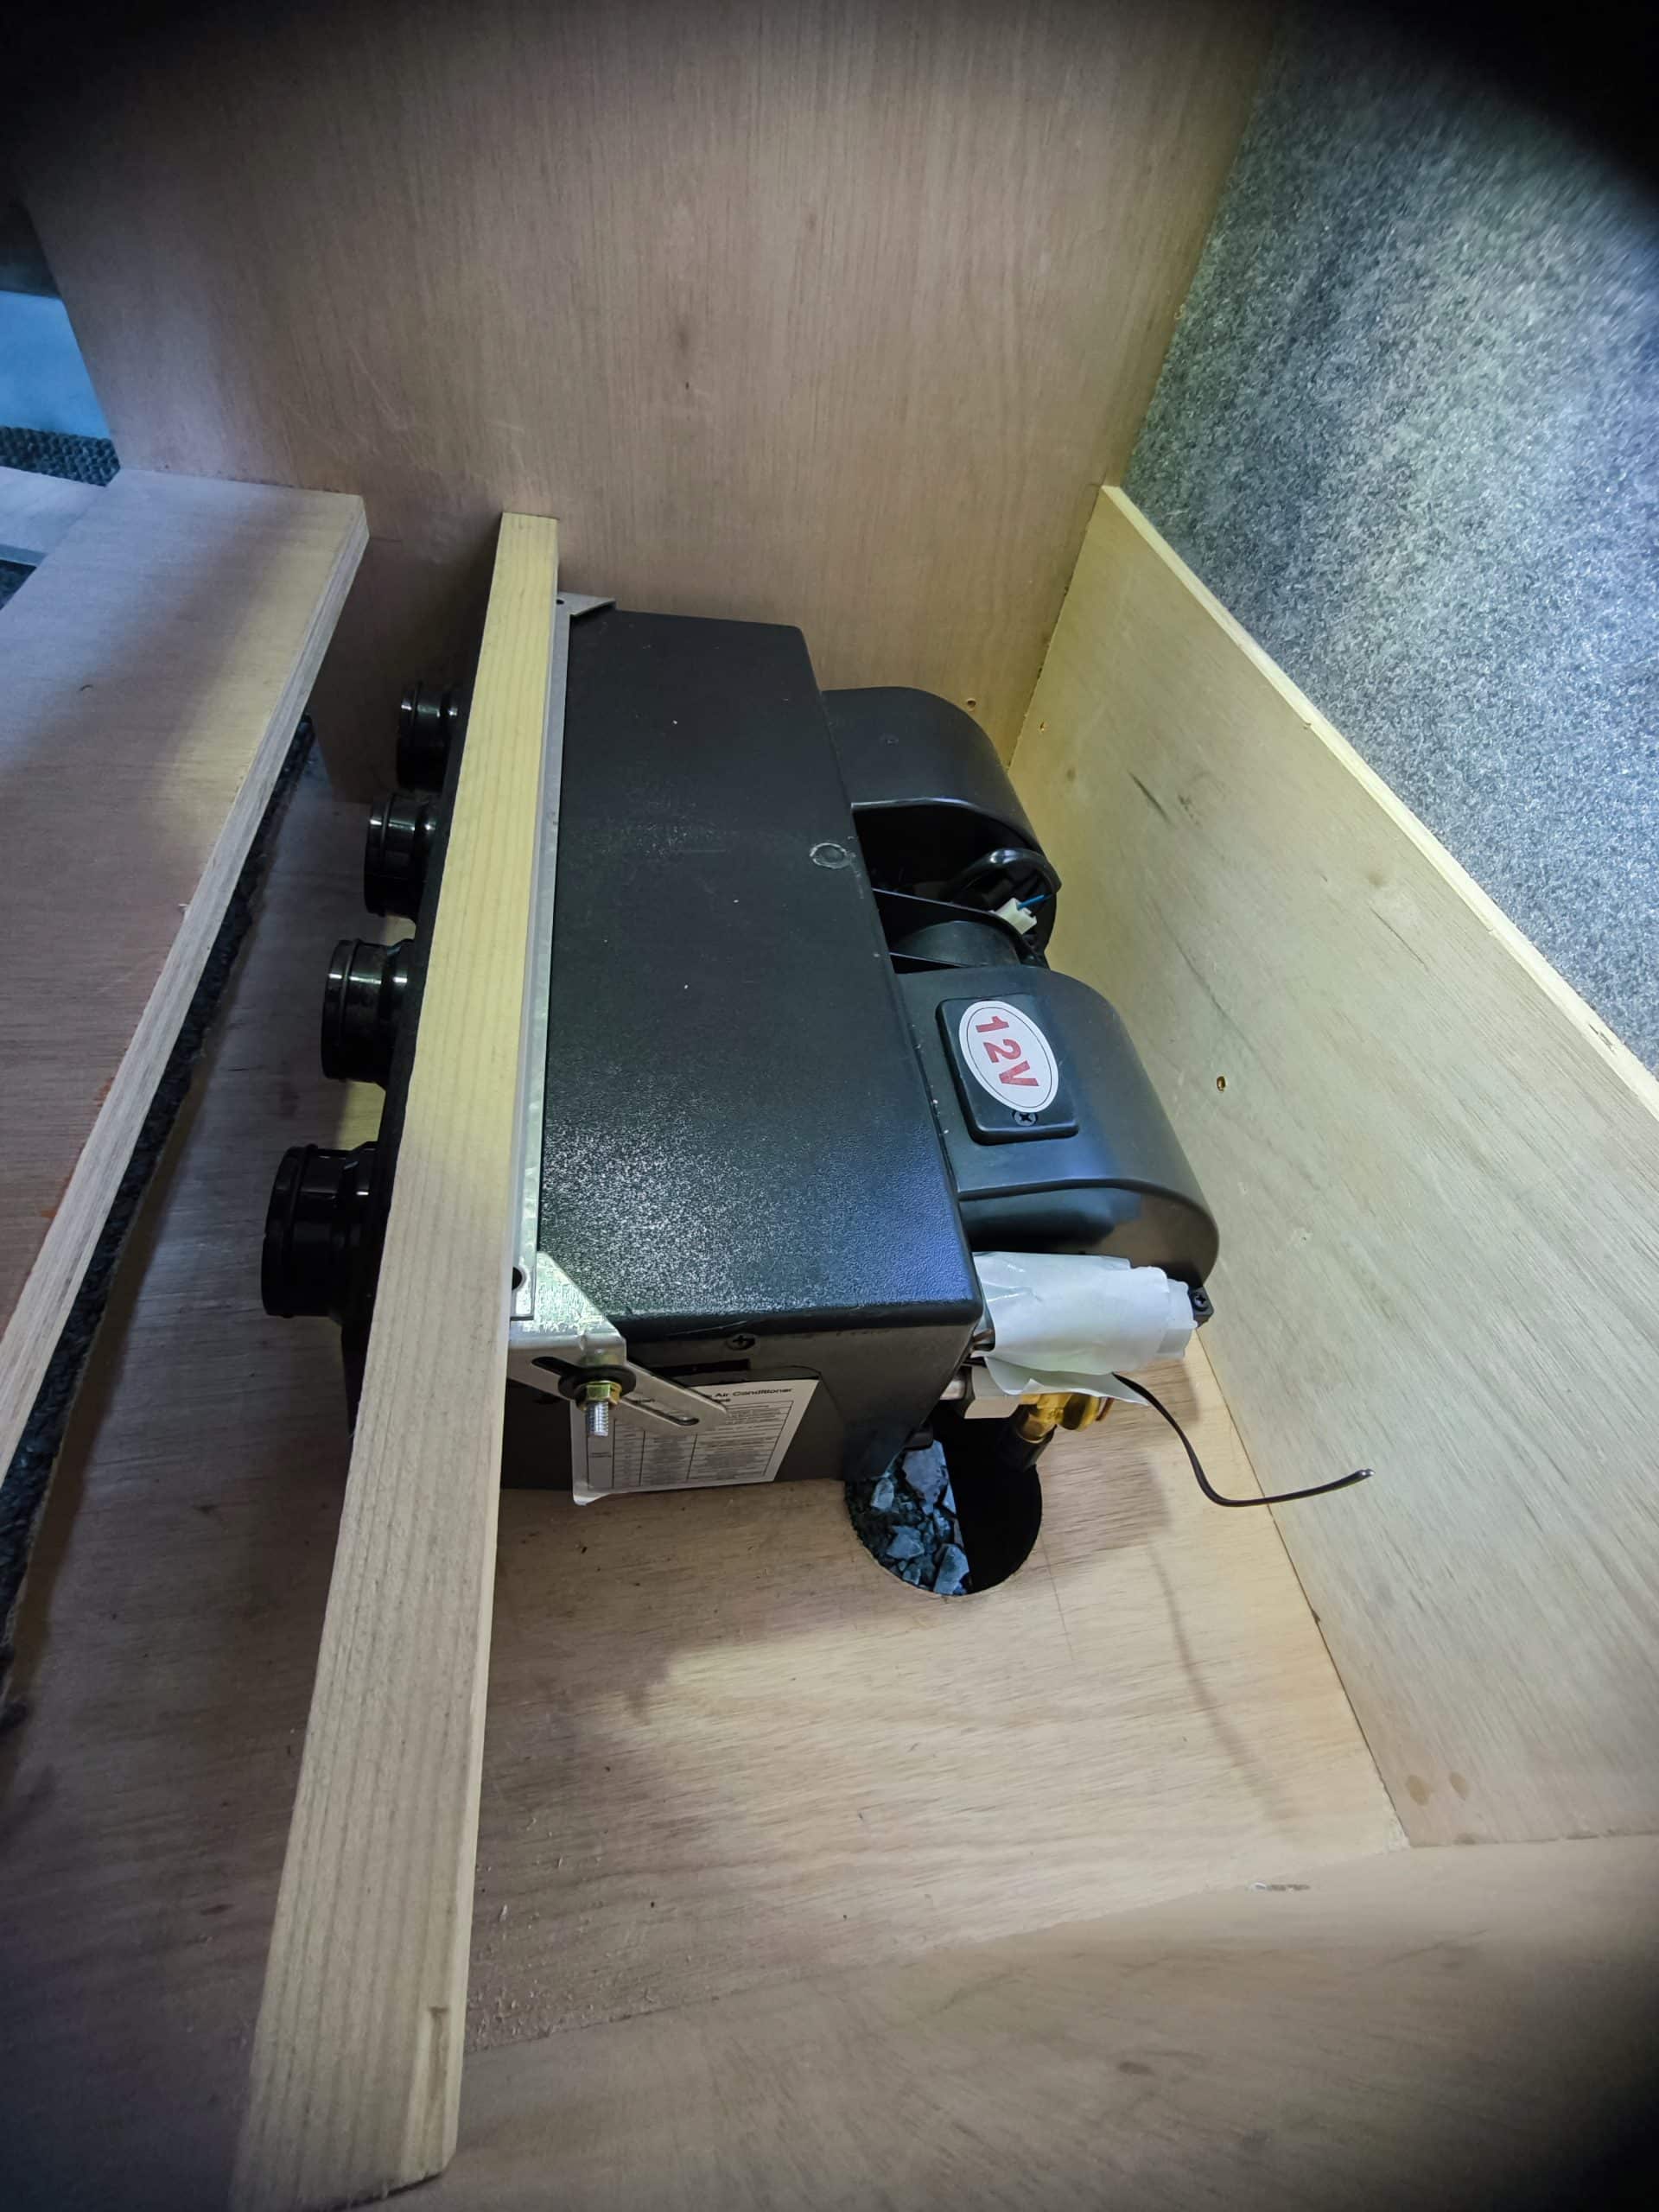
Because this blower box also has a loop for air conditioning, it’s got condensate drain holes. Annoyingly, rather than one in the middle, there are two, one at each end. Well, we live on a steep hill and I don’t want to drill ANOTHER hole in the floor. So I used a bit of sikaflex to fill the hole. Water will be able to flow backwards when we are going up hill to our home and it will drain out that way.
Today was a lot of sitting, looking at the parts, moving things around and testing configurations. It took a long time but I’m confident in where everything goes now and that it will be installed with plenty of space to service and connect more things up later. I’ve also got more holes in the van than I’m really comfortable with …